
Secret Magnetic Vault !Hidden mechanism and Key!

Print Profile(3)


Bill of Materials


Description
Heyhoooo
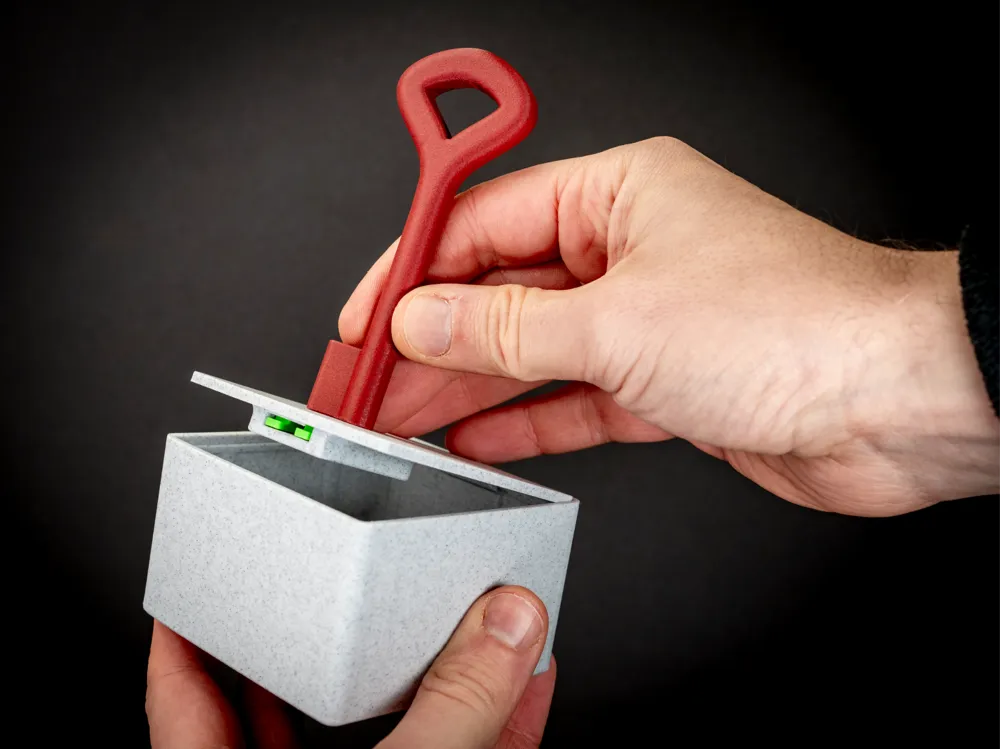
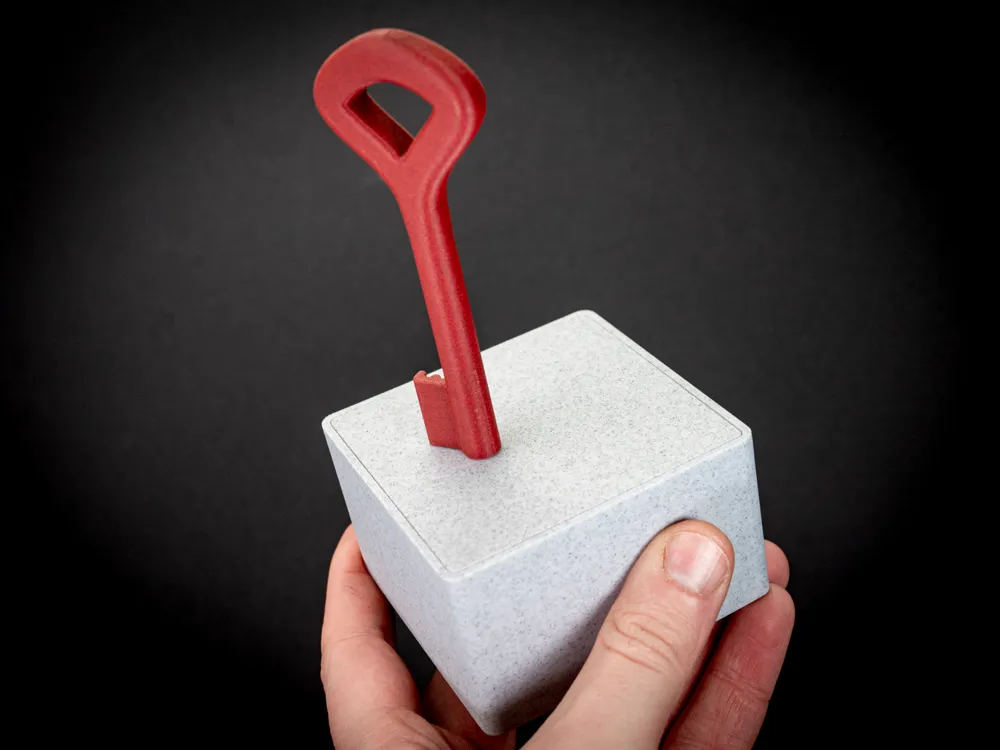
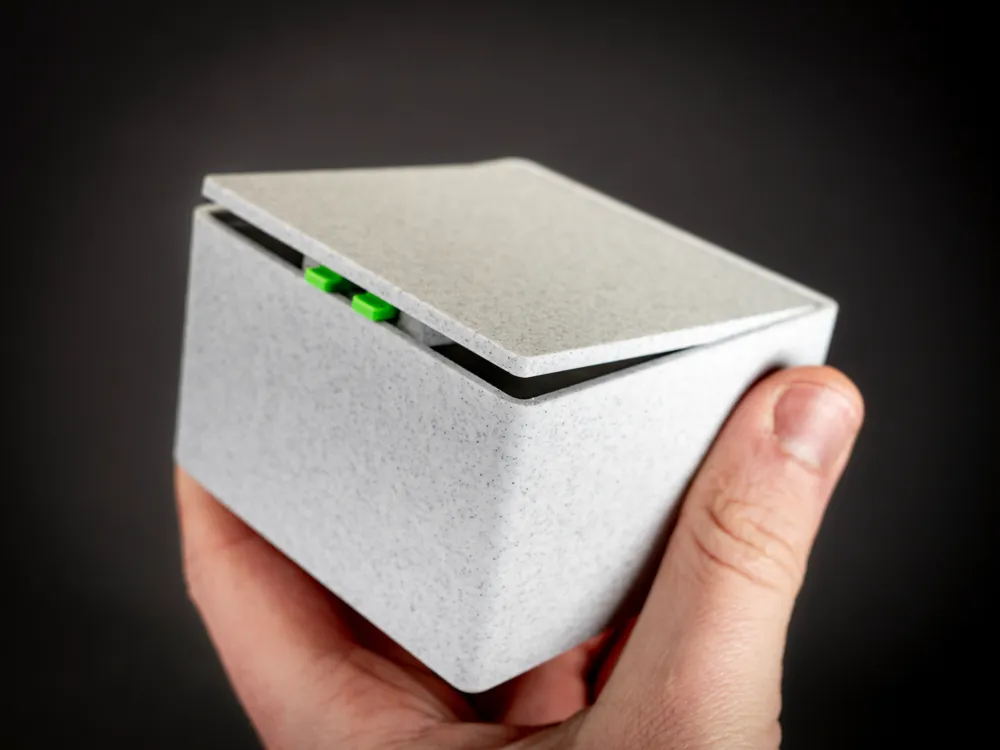
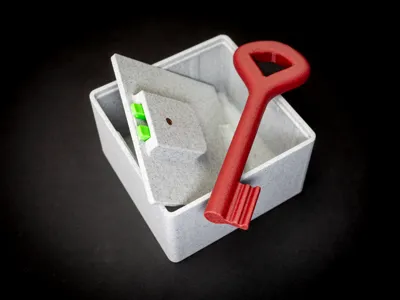
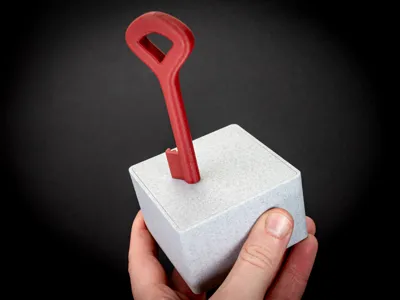
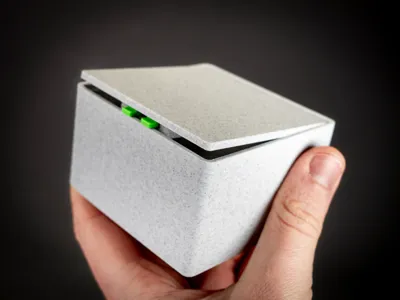
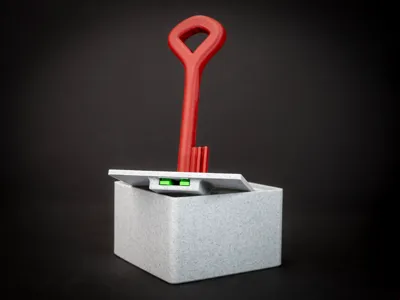
Here I have a secret Vault that I designed for the last MakerFaire.

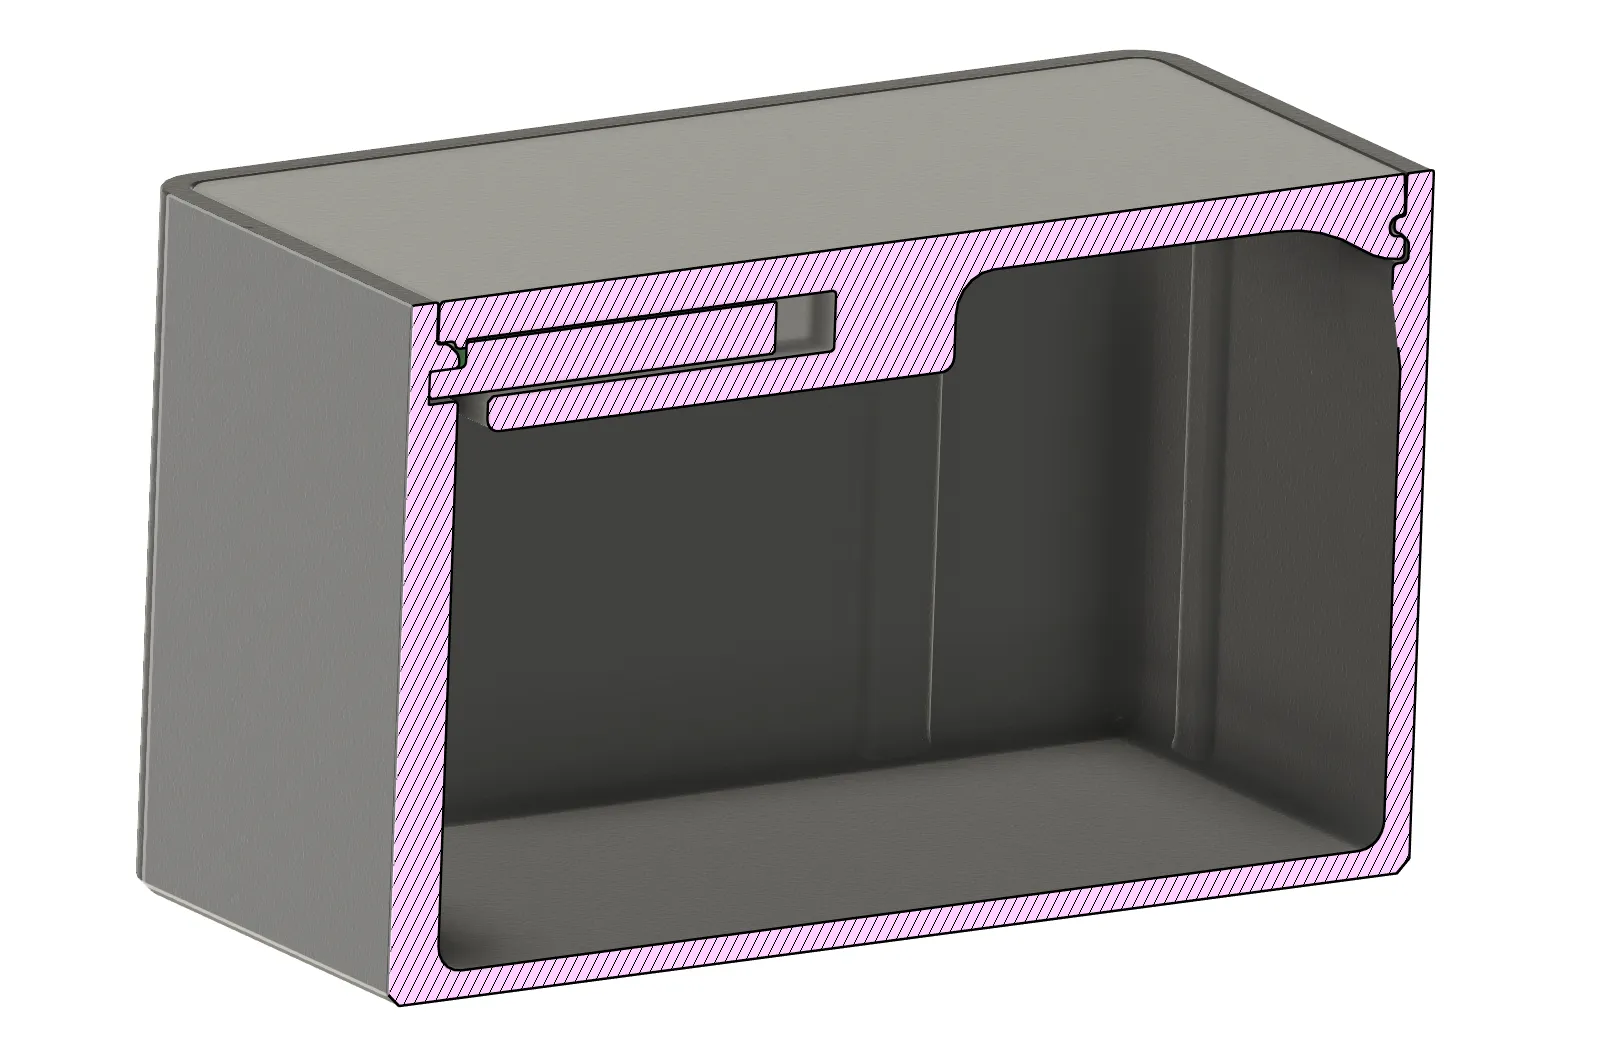
It is a really cool mechanism I spend some time to mimimalize and make it completely secret from the outer view.
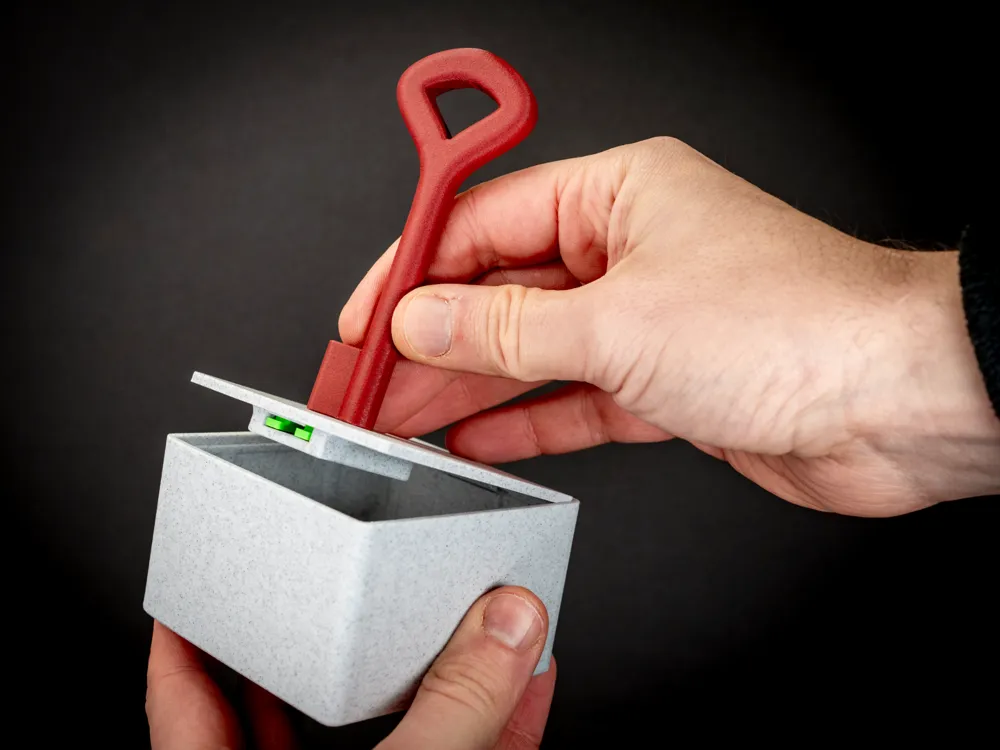
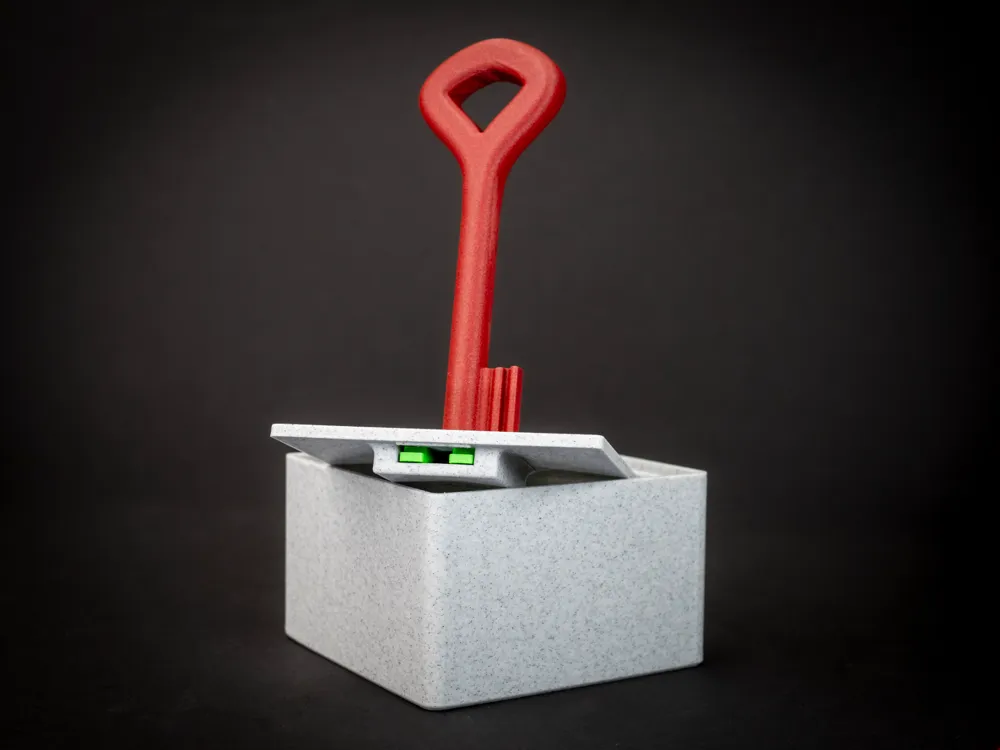
At the faire I gave the Vault + Key to the visitors and even so they had the key most of them were not able to open it :D So someone without the key will have no clue at all!
This magnetic mechanism is very durable and reliable. So I also use it in other designs I already created. I will publish them soon!
Hardware:
In addition to the printed parts you will need:
1 x Magnet 10 mm diameter, 3 mm height.
1 x Magnet 4 mm diameter, 2 mm height.
1 x Magnet 8 mm diameter, 10 - 20 mm height (You can add magnets up: 5 x 3 mm height for example)
Printing:
The parts are not really hard to print. I did not use supports at all. But If you have trouble with small bridges they could help you.
For the Key the print needs to be paused to add the magnet and I recommend to use a brim.
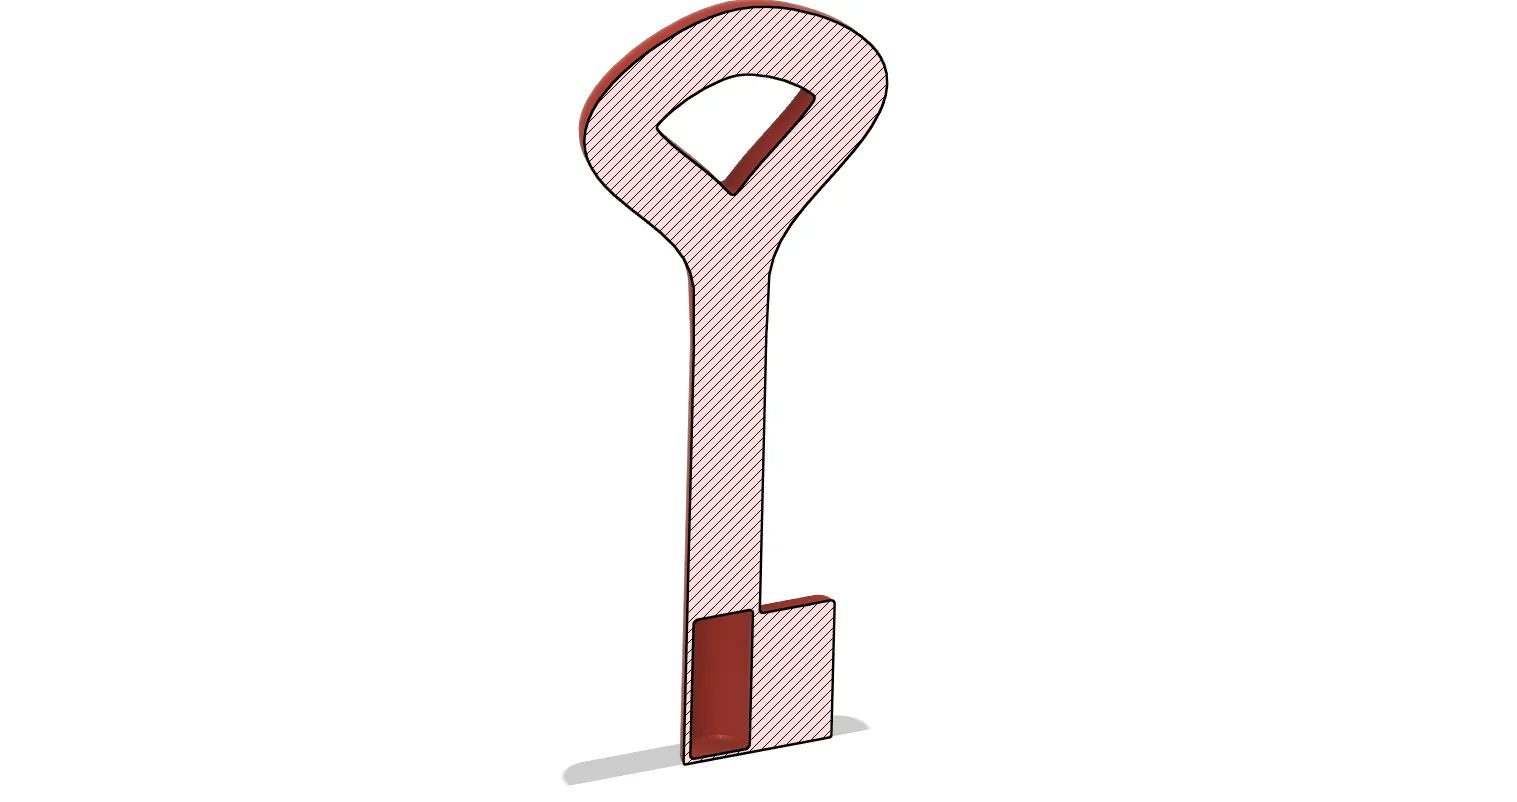
All parts can be printed in PLA. I used 0,2 mm layer height and 25% Infill (Arachne Perimeter Generator)
Assembly:
It is very important to check the right magnetic orientation before you assemble everything!
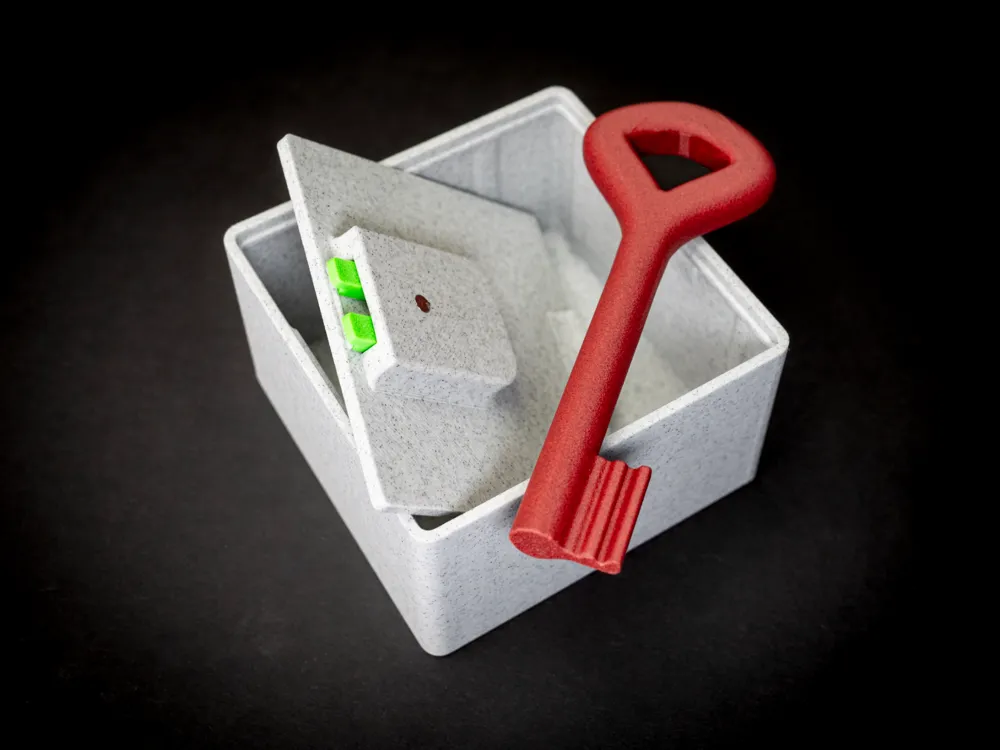
- Place the 10 mm diameter magnet next to the lids mechanism.
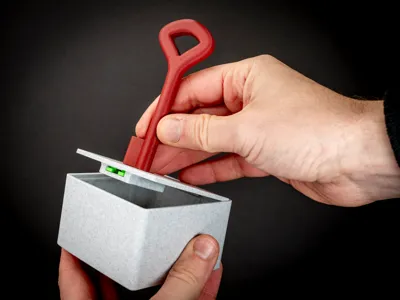
- Add the Key from the other side so the 2 magnets attract each other through the lid.
- Add the Locking mechanism to the 10 mm diameter magnet. There has to be a gap between the tips and the lid. (check Video/Fotos)
- Remove the Key and make sure, not to change to orientation.
- Insert the Locking mechanism into the lid.
- Place the 4 mm magnet on top of the lid and let it orientate itself. (it needs to attract the locks magnet).
- Guide it into the hole and press it into place. If it is very loose you can add a tiny bit of glue. But that should not be necessary.
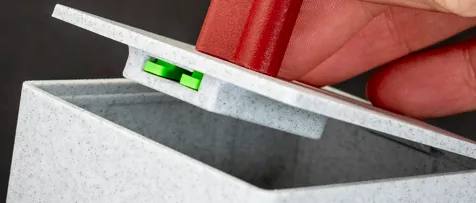
You are ready to go!
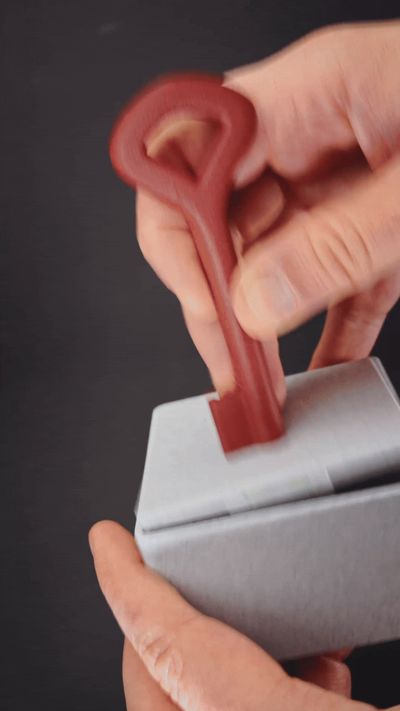
To close the lid make sure to insert it from the back first as shown in the video. If sth. is too tight make sure there is no elephant foot on your prints!.
I testprinted all parts to ensure their printability on: Bambulab X1C, P1S, A1, Prusa XL, MK4S, Mini.
If you like my designs I would really appreciate if you would support me :)
Boost Me (for free)
License

You shall not share, sub-license, sell, rent, host, transfer, or distribute in any way the digital or 3D printed versions of this object, nor any other derivative work of this object in its digital or physical format (including - but not limited to - remixes of this object, and hosting on other digital platforms). The objects may not be used without permission in any way whatsoever in which you charge money, or collect fees.


Comment & Rating (82)