Discreet A1 Filament Wiper Adapter for X1C/E P1S/P


Print Profile(2)


Description
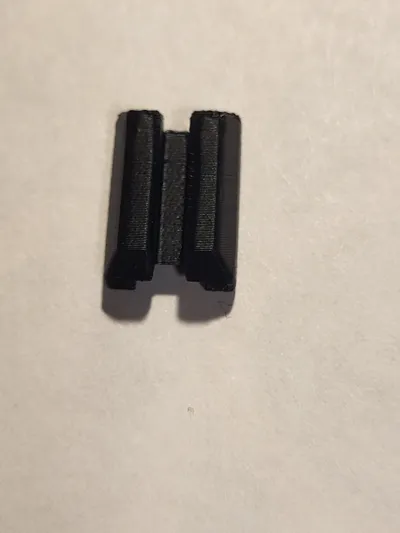
This is an easy, drop in replacement for the PTFE tubing in a standard X1C/E or P1S/P wiper (https://us.store.bambulab.com/collections/spare-parts-for-x1-series/products/nozzle-wiper) that adds a section of A1 cleaning pad. I tried another model (https://makerworld.com/en/models/842285#profileId-791496) but after a week it broke so I decided to take a swing at it myself.
I disliked the look of some of the larger replacement styles that cover the whole poop chute, and this model will preserve the original intent and appearance of your printer nozzle cleaner while giving it a much needed upgrade. It should also function significantly quieter than the original design without interfering with aftermarket plates. This design is specifically for use with an A1 wiper pad (https://us.store.bambulab.com/products/heatbed-nozzle-wiper-a1?srsltid=AfmBOopVU5ZJnlC3_vurwxY0l5ivHnt1tGDvjXpg_7RpyV7a4rYkwq0Z) but I would not be opposed to making a version for the A1 mini pad in the future.
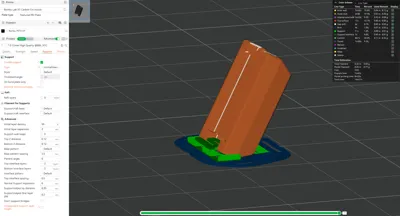
Prints in 17 minutes with 0.80g of material at a diagonal for improved strength/surface finish.
The included profiles are for PETG and PLA, I've tested both of these on my X1C and they seem to work but I would recommend at least PETG since it is going to be very close to the hotend and PLA will warp over time. I don't have access to any ABS/ASA currently but if someone else wanted to let me know how it prints in those it would be greatly appreciated!
All you need to do is:
- Print the part and remove the supports/brim.
- Cut a 3x4 section of A1 wiper pad.
- Using the included double sided tape or CA glue, attach the A1 wiper pad section in the center of the part; I would recommend a test fit to be sure it fits snugly within the recessed area before exposing the adhesive.
- Get your replacement (or original) filament wiper out of your printer using the included allen key.
- Remove the screw and the PTFE tubing and store those appropriately.
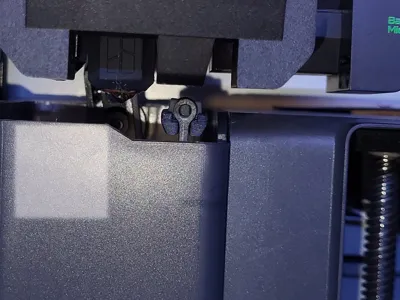
- With your glued together part, install it into the now empty wiper, fully seating one side under the loop and then pushing it past the second one so that it snaps back in place (see picture 13).
- Give both loops a little squeeze on the outside to make sure that they're flush with the outside of your installed part and that it is firmly installed. The top bar of the wiper should be flush across the bottom of the part in the slot and both loops that held the screw should be back to their original positions. If this isn't the case, you may want to remove it and make small modifications with a sharp tool/sandpaper.
- Install back into your printer using the same parts/tools it came out with.
- Enjoy quieter, cleaner prints!
Please leave feedback! I read all of your comments and if there are any improvements/variants that could be made it is simple for me to make modifications. Happy printing!
Boost Me (for free)
Like the model? Want to see more stuff like it in the future? Drop me a boost and a follow!
Comment & Rating (59)