Filament Spool Rack for EZY Storage 18L Container


Print Profile(5)


Description
Update 11/1/25 (Version 4): I'm up to 14 totes myself and I continue to try to make this a little better. In this version, I decreased the size of the snap fit posts based on several comments that they were too tight (they were right!). Installation is much easier now and they are removable incase you put them in the wrong spot. In addition I added a second plate with printable dowel rods since I didn't want to run to the store. Turns out a 12.5 inch dowel will fit diagonally on the build plate. Use wood dowels as I originally recommended or print them, your choice. Not really my idea either… I read it in the comments! Thanks all and enjoy!
Original Description
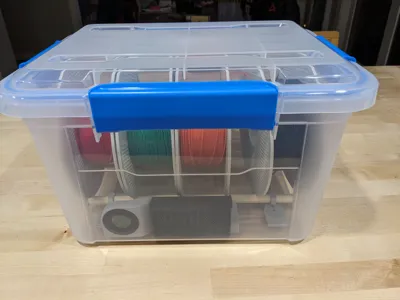
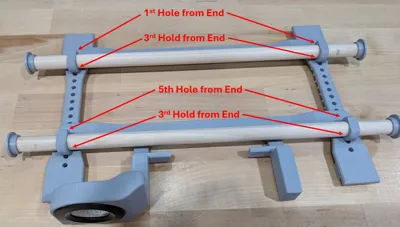
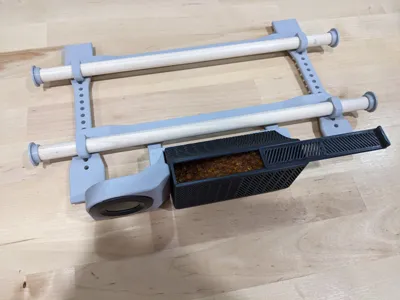
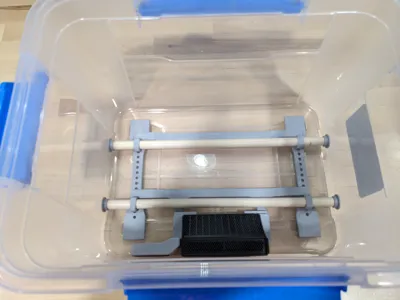
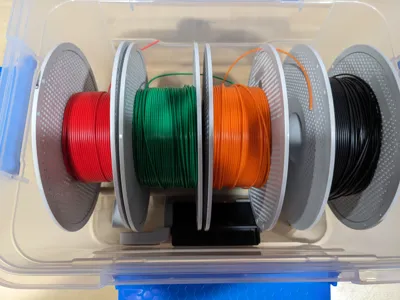
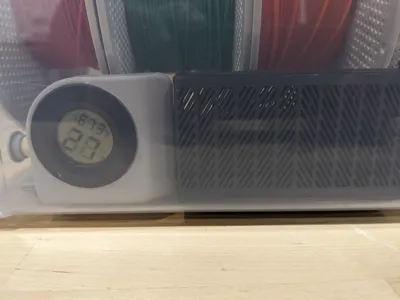
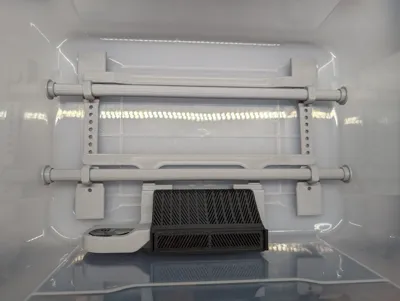
After diving into 3D printing, I found it critical to keep my filament dry. Reading though several forums, I found the EZ Storage 18L box. It was a good fit for 4 spools, had a great seal, and was available from my local Menards. I bought six of them and began storing all my spools inside. I didn't like how the spools rattled around in there and didn't have a good solution to keep desiccant. I searched the web for a solution and found a partial one. https://makerworld.com/en/models/120836?from=search#profileId-435756 This link has the basic spool rack to assemble with ½ in diameter wood dowels. I started with this and added a desiccant box, components to keep it in one place and a mount for the Amazon Humidity gauge used in many of the AMS desiccant boxes. You can buy the humidity gauge here: https://www.amazon.com/dp/B0885TFLZX?ref=ppx_pop_dt_b_product_details&th=1 I printed all this stuff in PETG. I've included a 3mf file to print all parts on one sheet. I also included step files and Solidworks files for all parts incase anyone wants to expand on the idea. Please see the attached pictures for information on what parts you snap fit into what holes. Enjoy!
I recently added labels to all my totes. If you'd like to print material labels for your totes, check out my other design here: https://makerworld.com/en/models/1572784-filament-storage-container-labels#profileId-1654414 I included an alignment jig so you can perfectly center them when using this tote!


Comment & Rating (87)