
Muffin Safe with 3-Number Customizable Combination
Print Profile(3)


Description
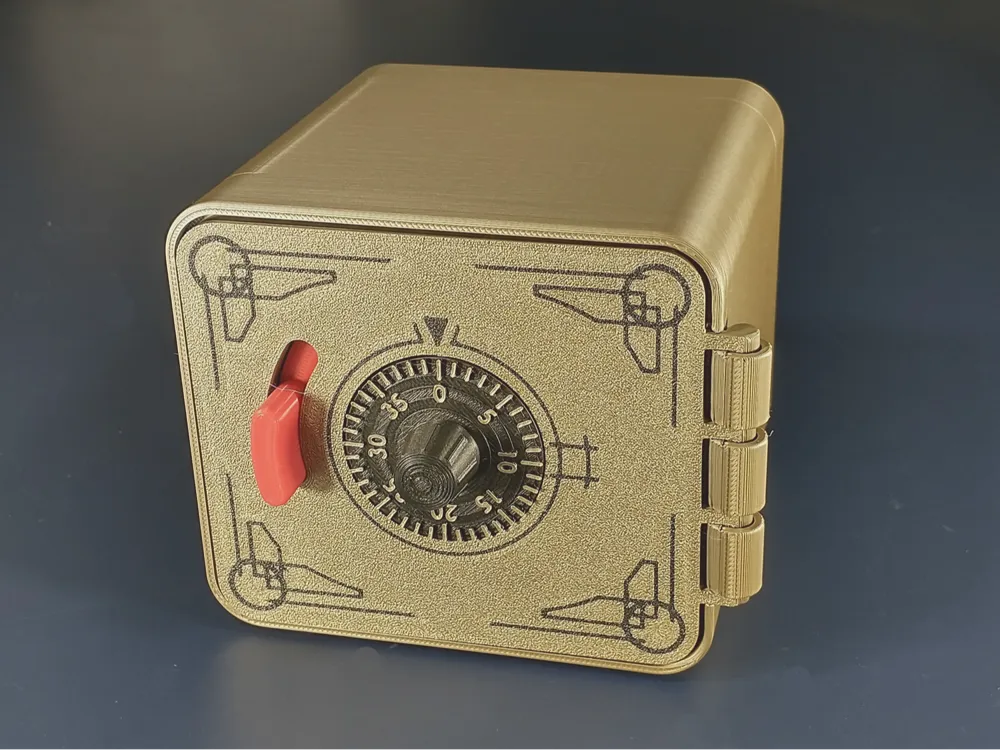
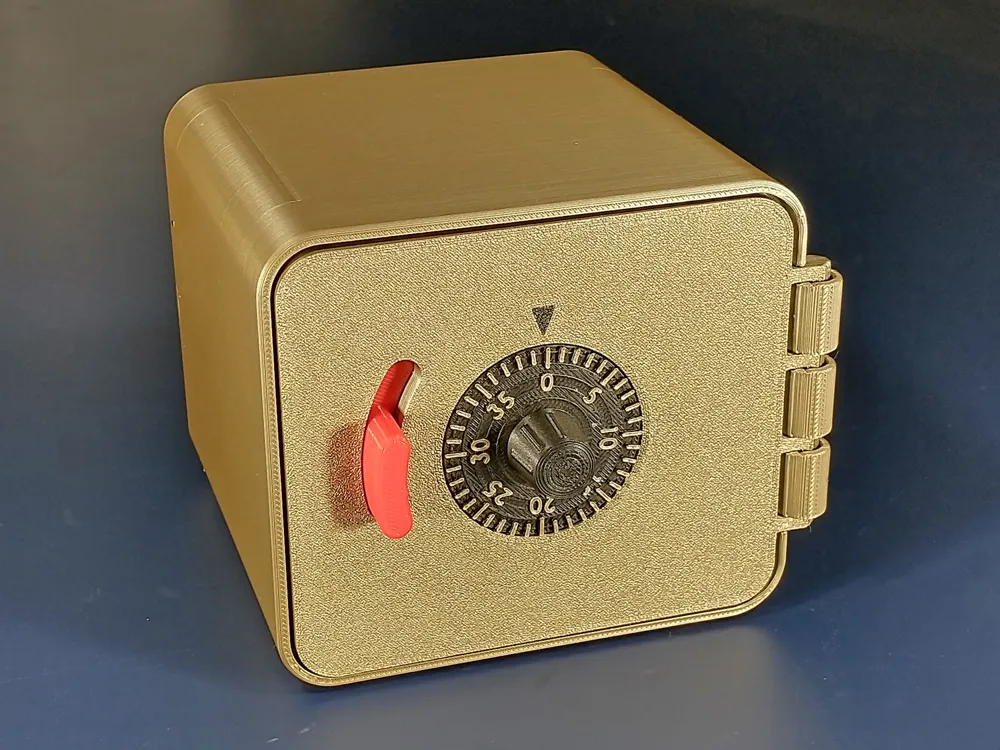
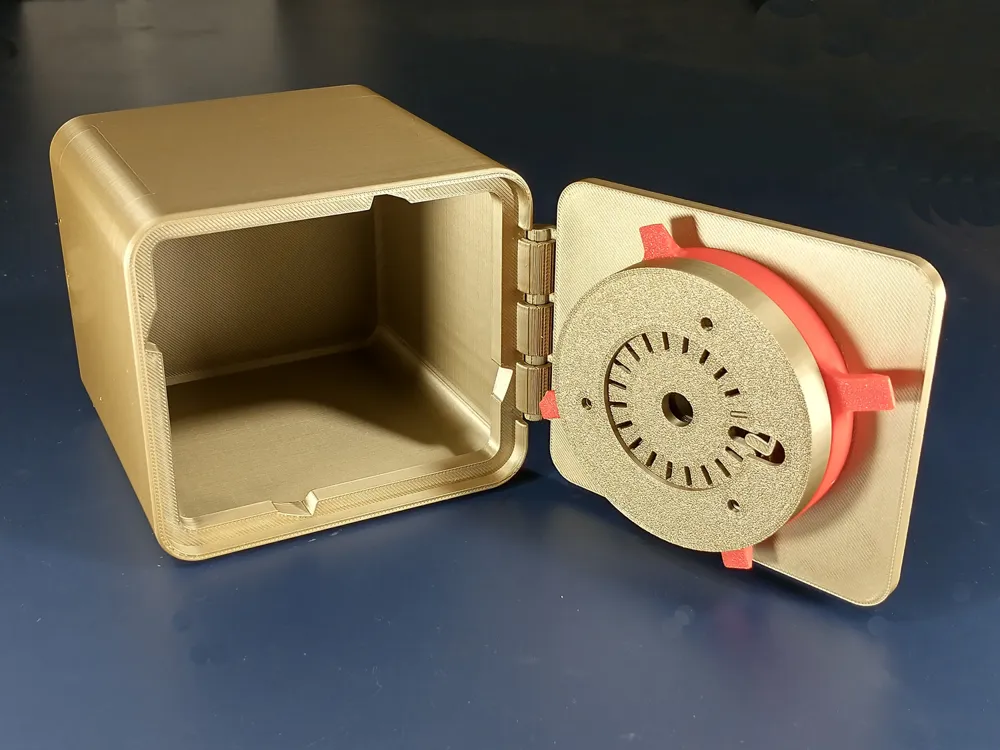
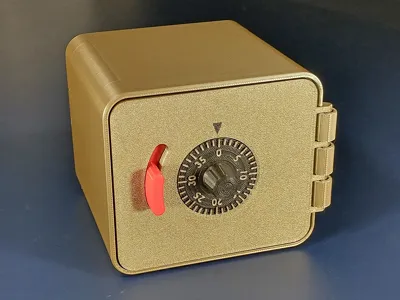
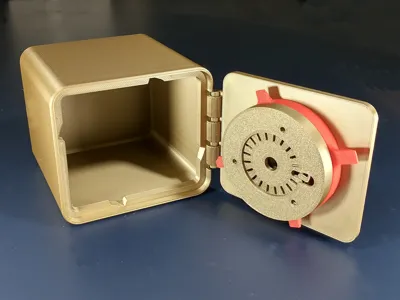
This fully-functional, and dare I say, useful, combination lock safe is a great demonstration of how dial combination locks work. And you can even set your own custom combination. It prints and assembles easily. All the parts fit together with no additional hardware, although you can optionally use three M3 - 10mm screws to more fully secure the lock assembly.
Note: I've provided two different versions of the door: a fancy one with decorations in the corners, and a plain one for the all-business folks.
Printing
The provided 3MF file uses 2-color printing on the door (to highlight the marker) and on the dial (to highlight the numbers and ticks). You can easily remove the painting on the dial and highlight the numbers with a Sharpie instead. On the door the marker is just a separate, very thin triangular piece that you can just eliminate altogether and just print the rest of the door.
The only tricky part of the print is that you need supports on the box for the overhanging hinge knuckles. The 3MF file uses tree supports that break away easily, although you'll need some cutters to trim the tree into pieces to get all the branches removed. Also, to enhance the strength of the hinge knuckles, I've included a modifier that slows the print speed way down to get full fusion of the layers in this vulnerable spot.
Assembly
1. First note that on the door, there is a nub/leaf spring section that needs to be broken free from the lower layers. Just grab the nub and give it a gentle twist to snap it free.
-----------------
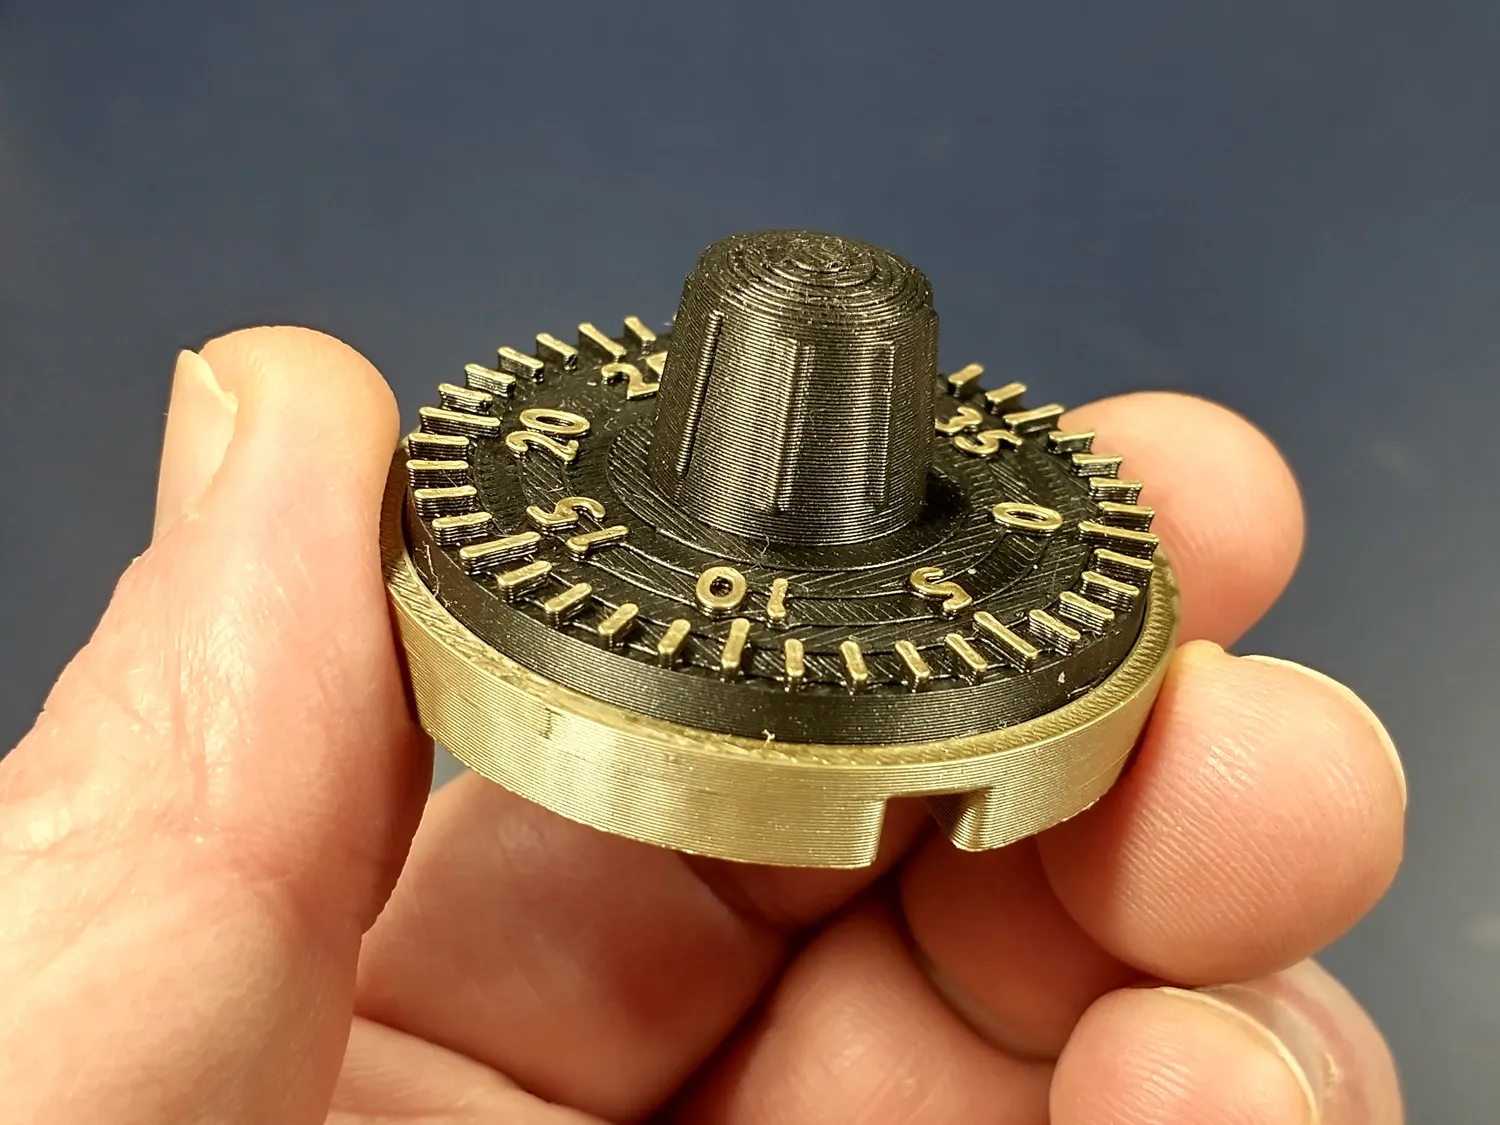
2. The core of the lock mechanism consist of 3 discs, each with a notch in the edge and a radial array of slots. The thickest of these is the front disk. Press the dial into the front disc as shown in any random orientation. (It should be pretty snug, but you can use a drop of superglue if it seems loose.) The 3rd number of your combination will be determined by the orientation of the dial relative to the notch in the edge. (We'll discover your particular combination during the assembly process.)
-----------------
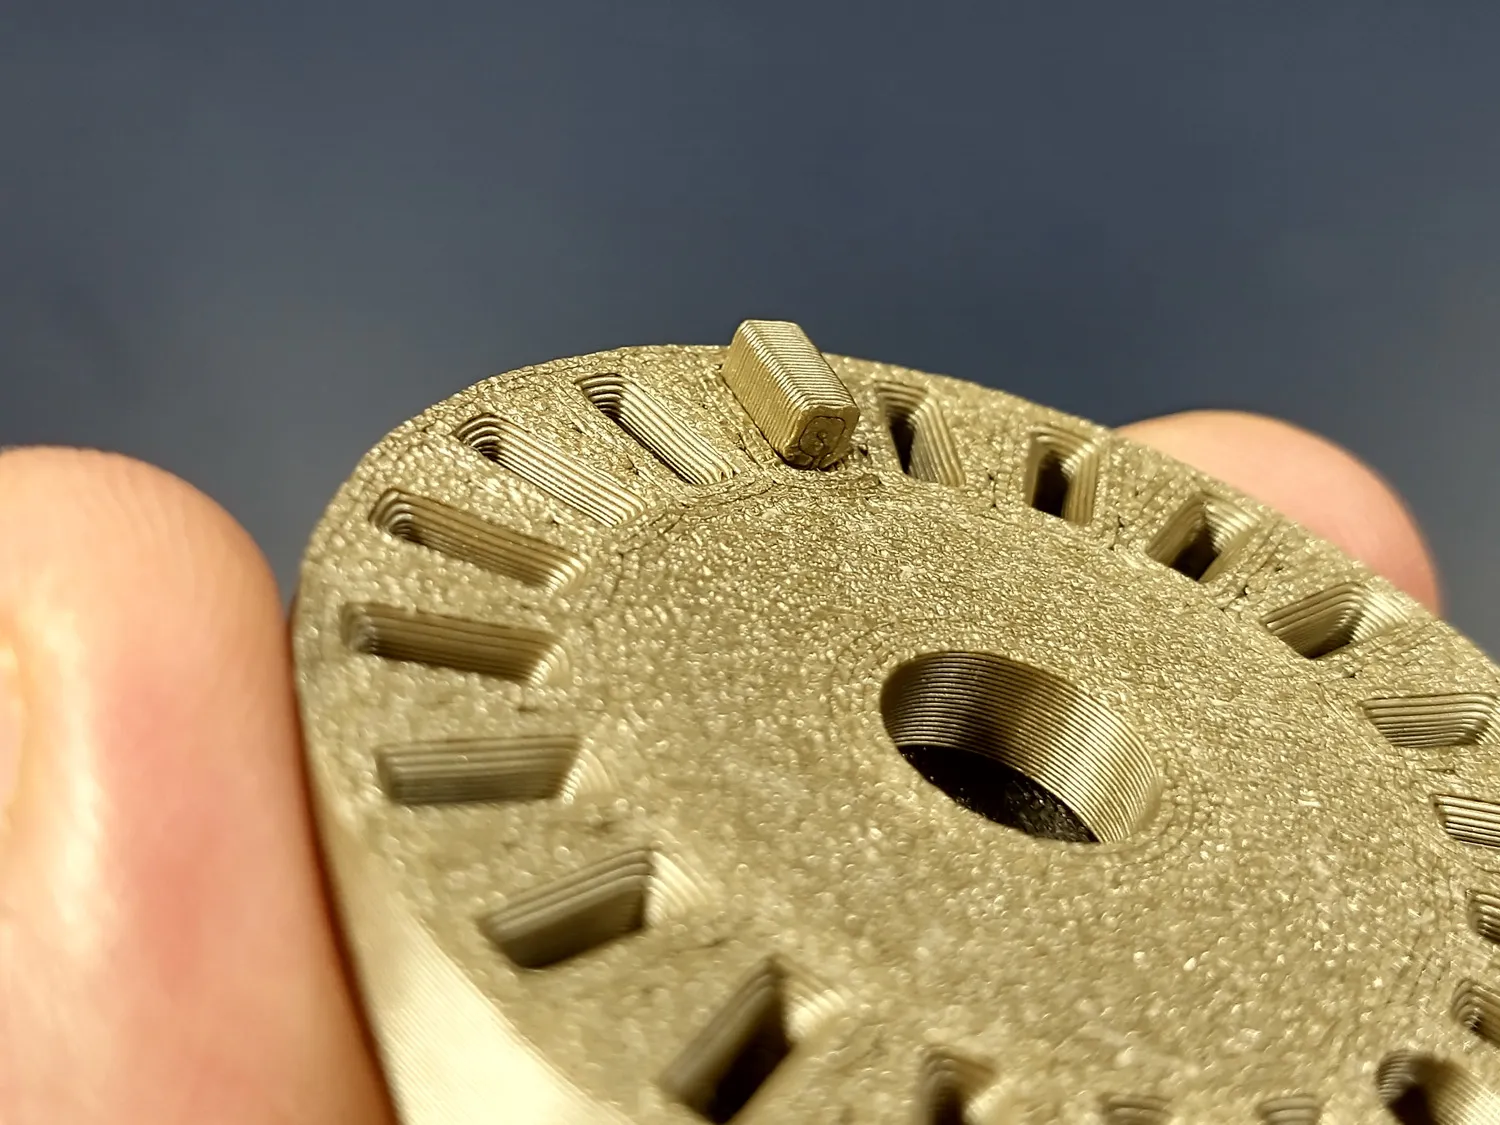
3. There are three small nub pieces included in the 3MF file - 2 short ones and one long one. Take one of the short ones and insert it into one of the slots in the back of the front disc as shown. It really doesn't matter which one.
-----------------
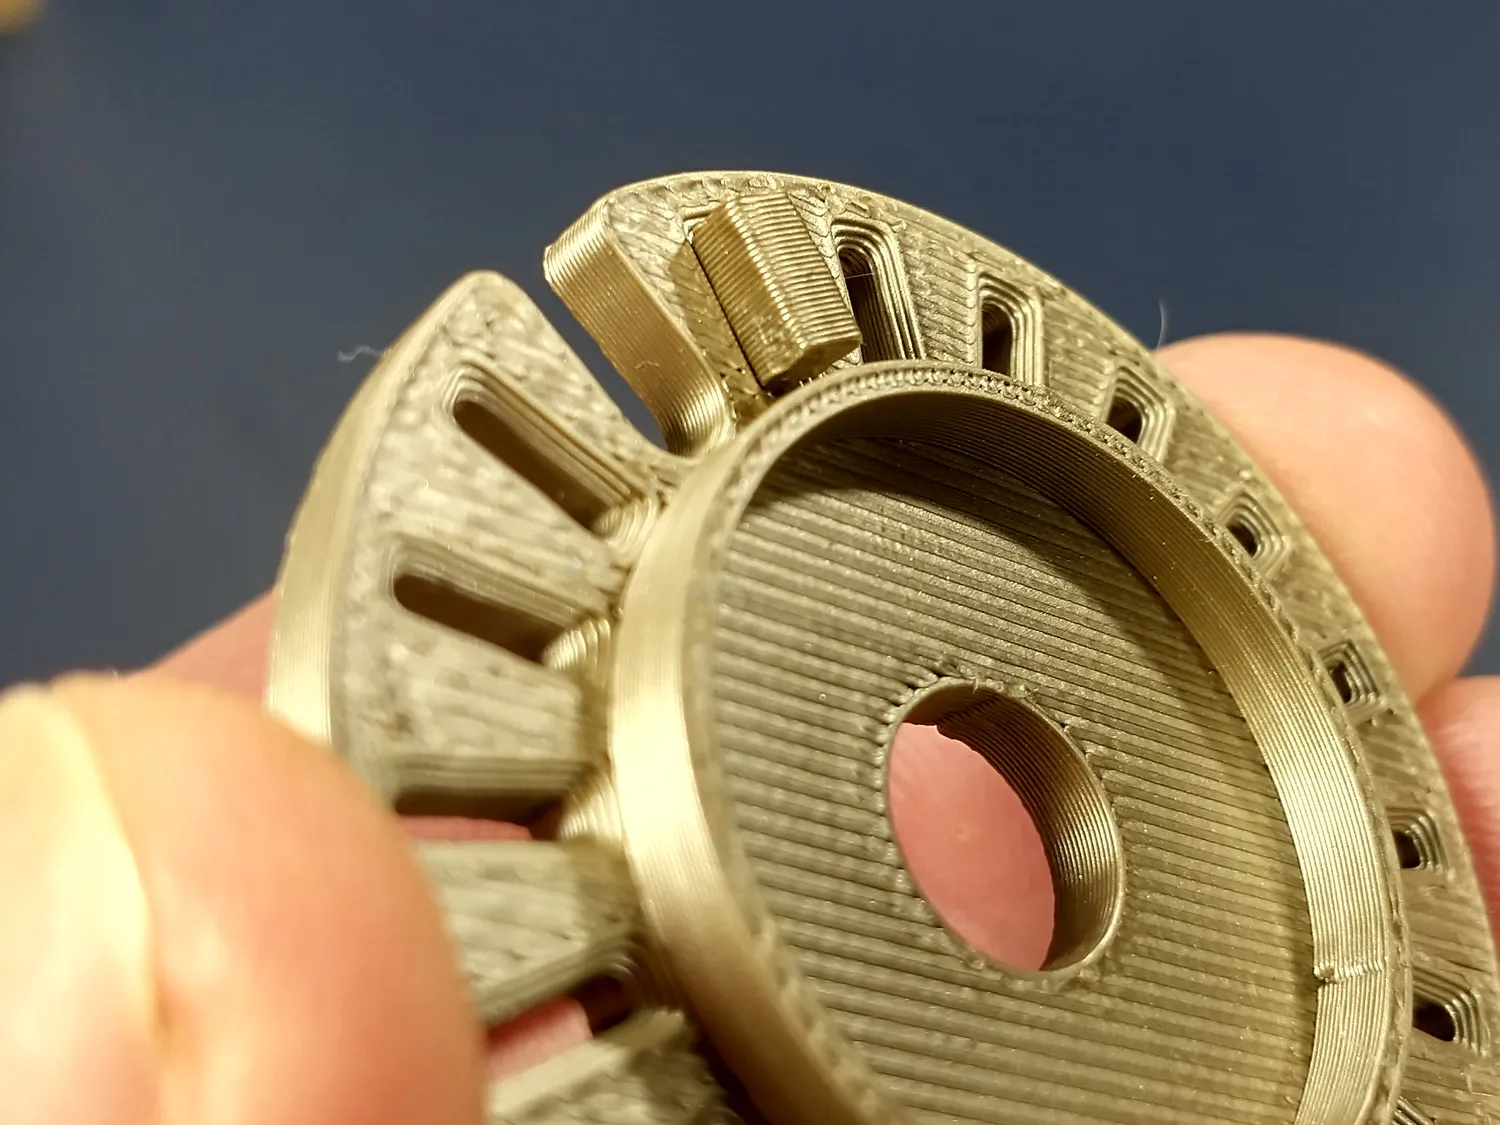
4. The back disk is the one that has the large diameter raised ridge. Take the second short nub and insert it into one of the slots on the back disc as shown. This will set the 1st number of your combination, but we don't know exactly what it will be, yet.
-----------------
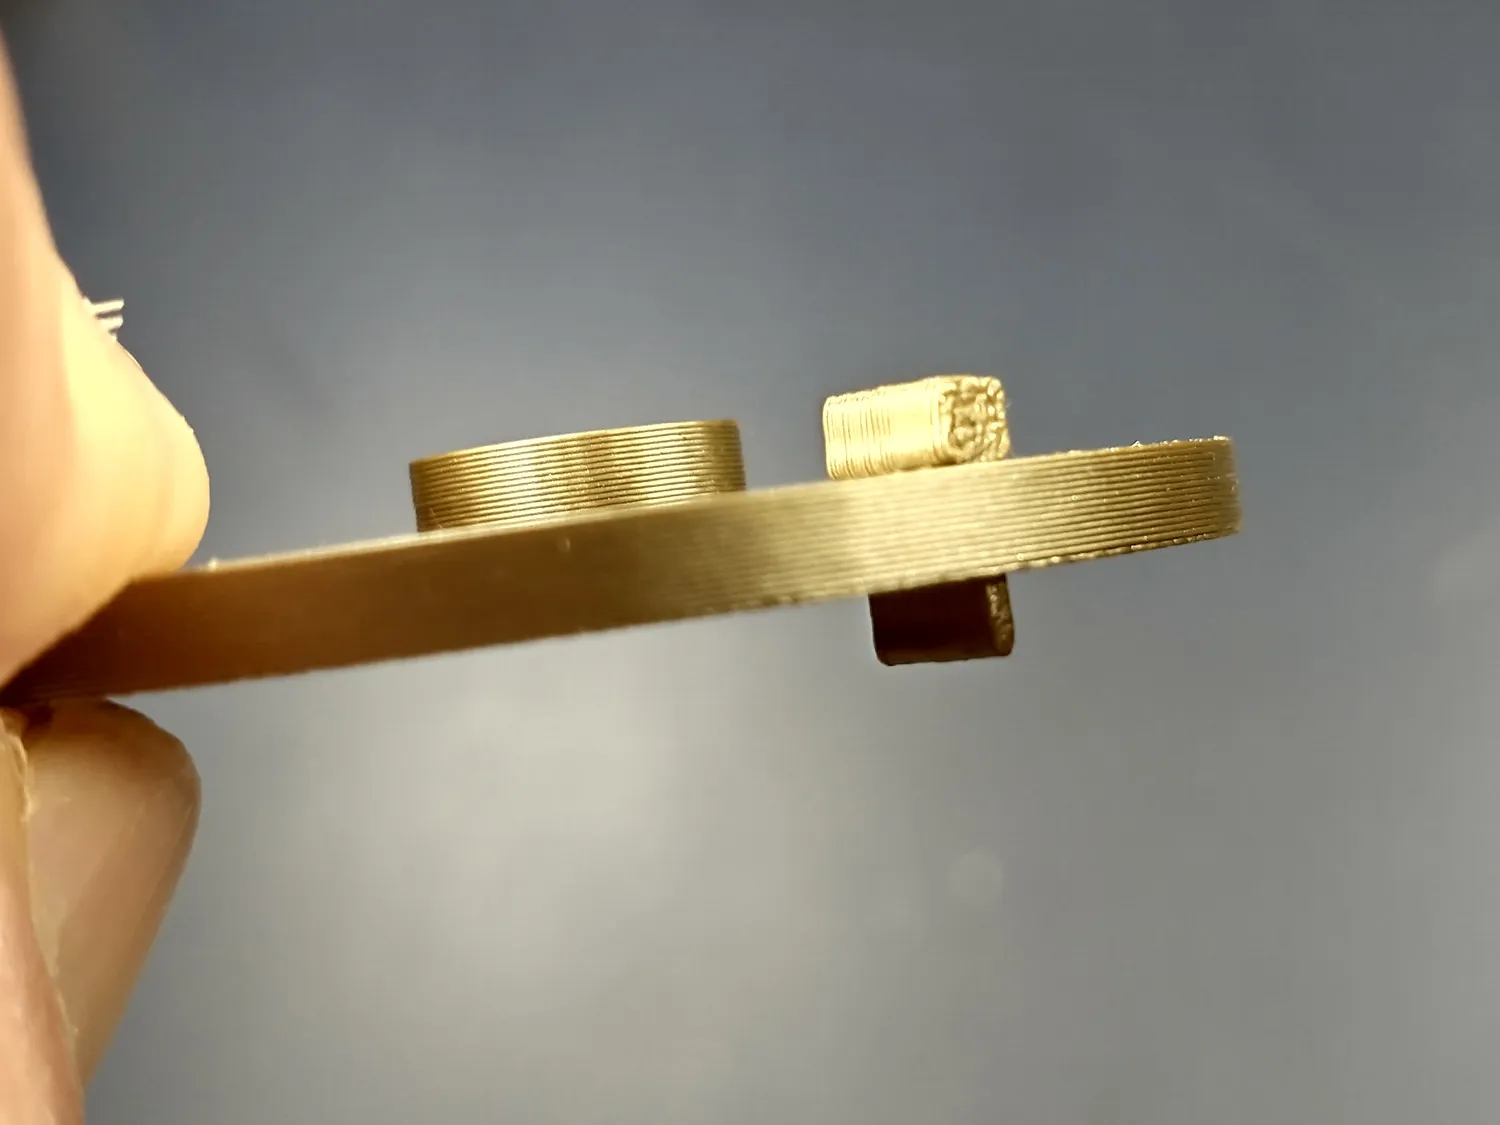
5. Take the long nub and insert it into one of the slots on the middle disc as shown. The slot you choose will affect both the 2nd and 3rd number of your combination,
-----------------
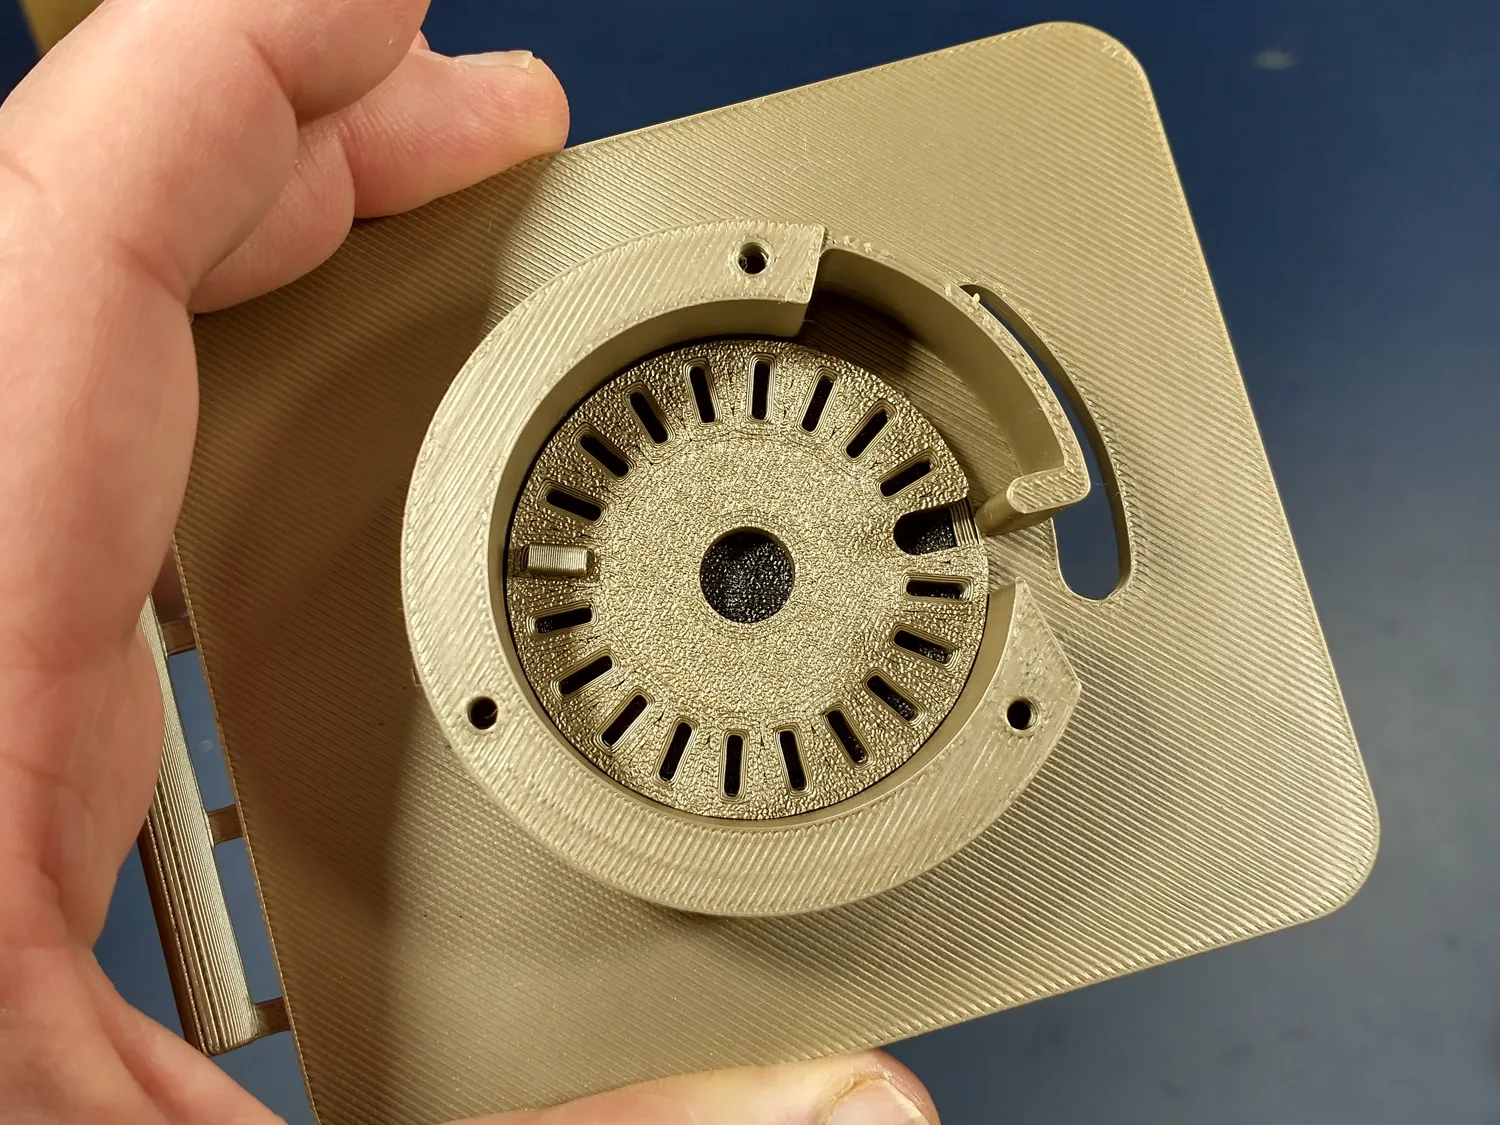
6. Place the front disc/dial into the hole in the door as shown. Orient it so that the notch aligns with the nub on the end of the leaf spring as shown. Carefully peek at the other side and read the number on the dial. This is the 3rd number of your combination.
-----------------
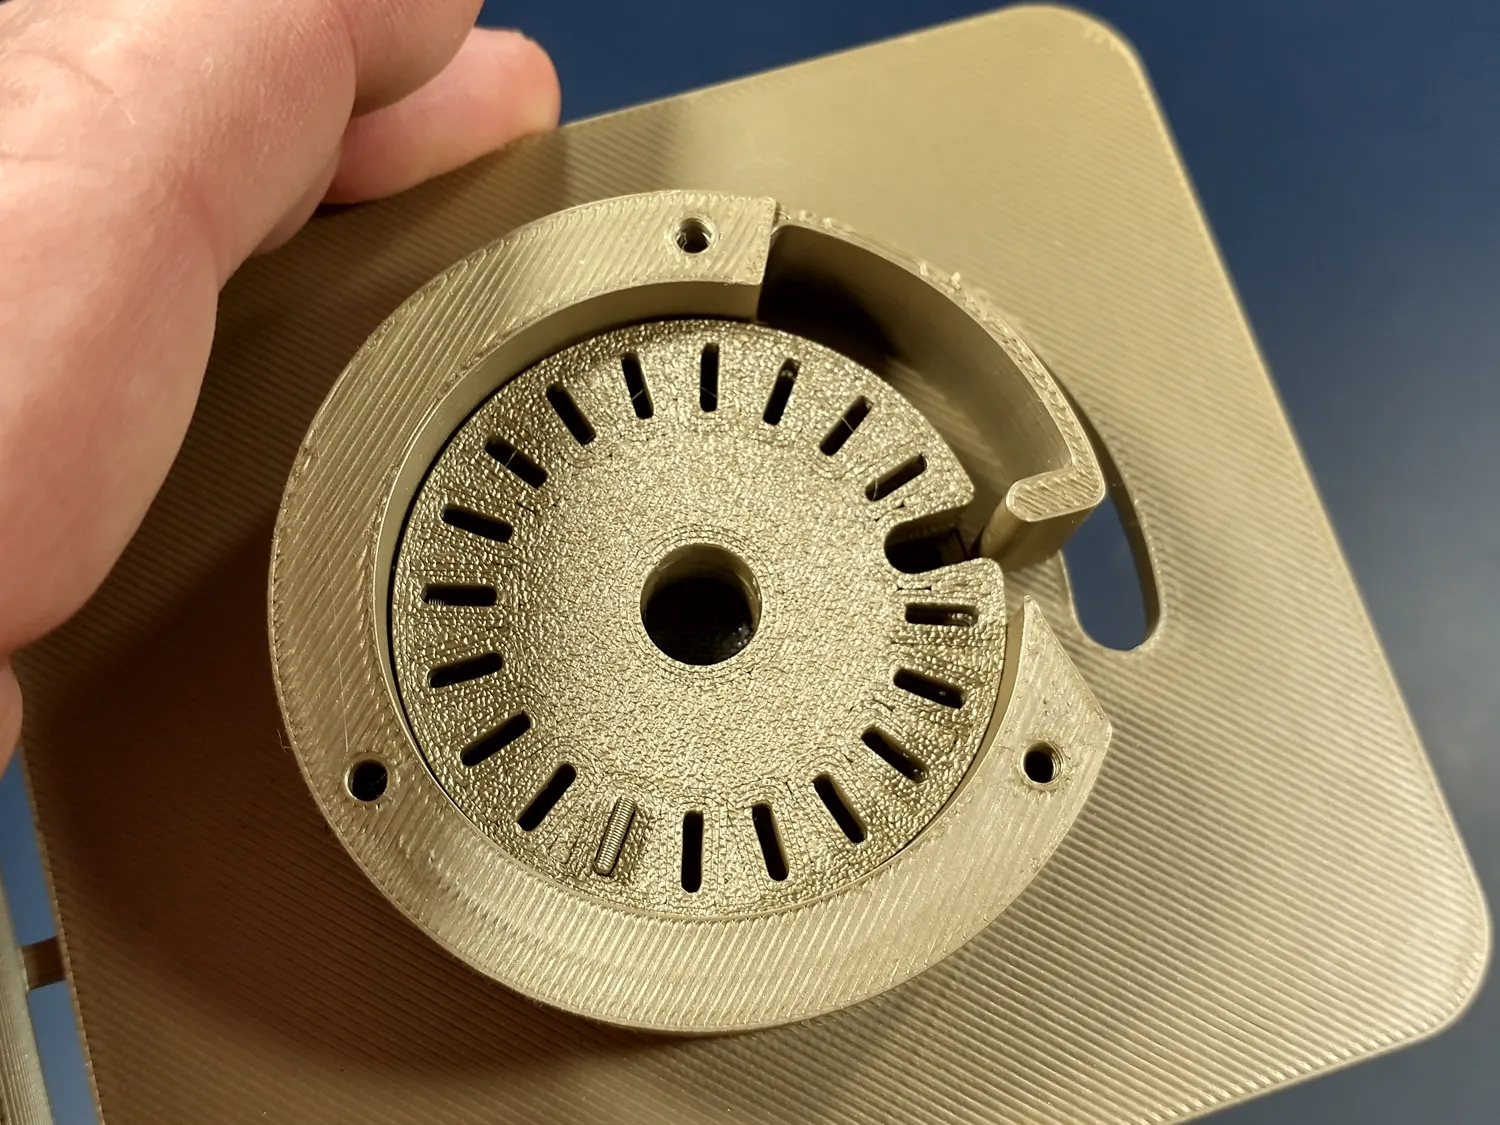
7. Place the middle disc on top of the front disc. Rotate the dial counter-clockwise (when looking at the dial) for 2 full revolutions and then keep turning until the notch aligns with the nub. The number on the dial now reads the 2nd number of your combination.
-----------------
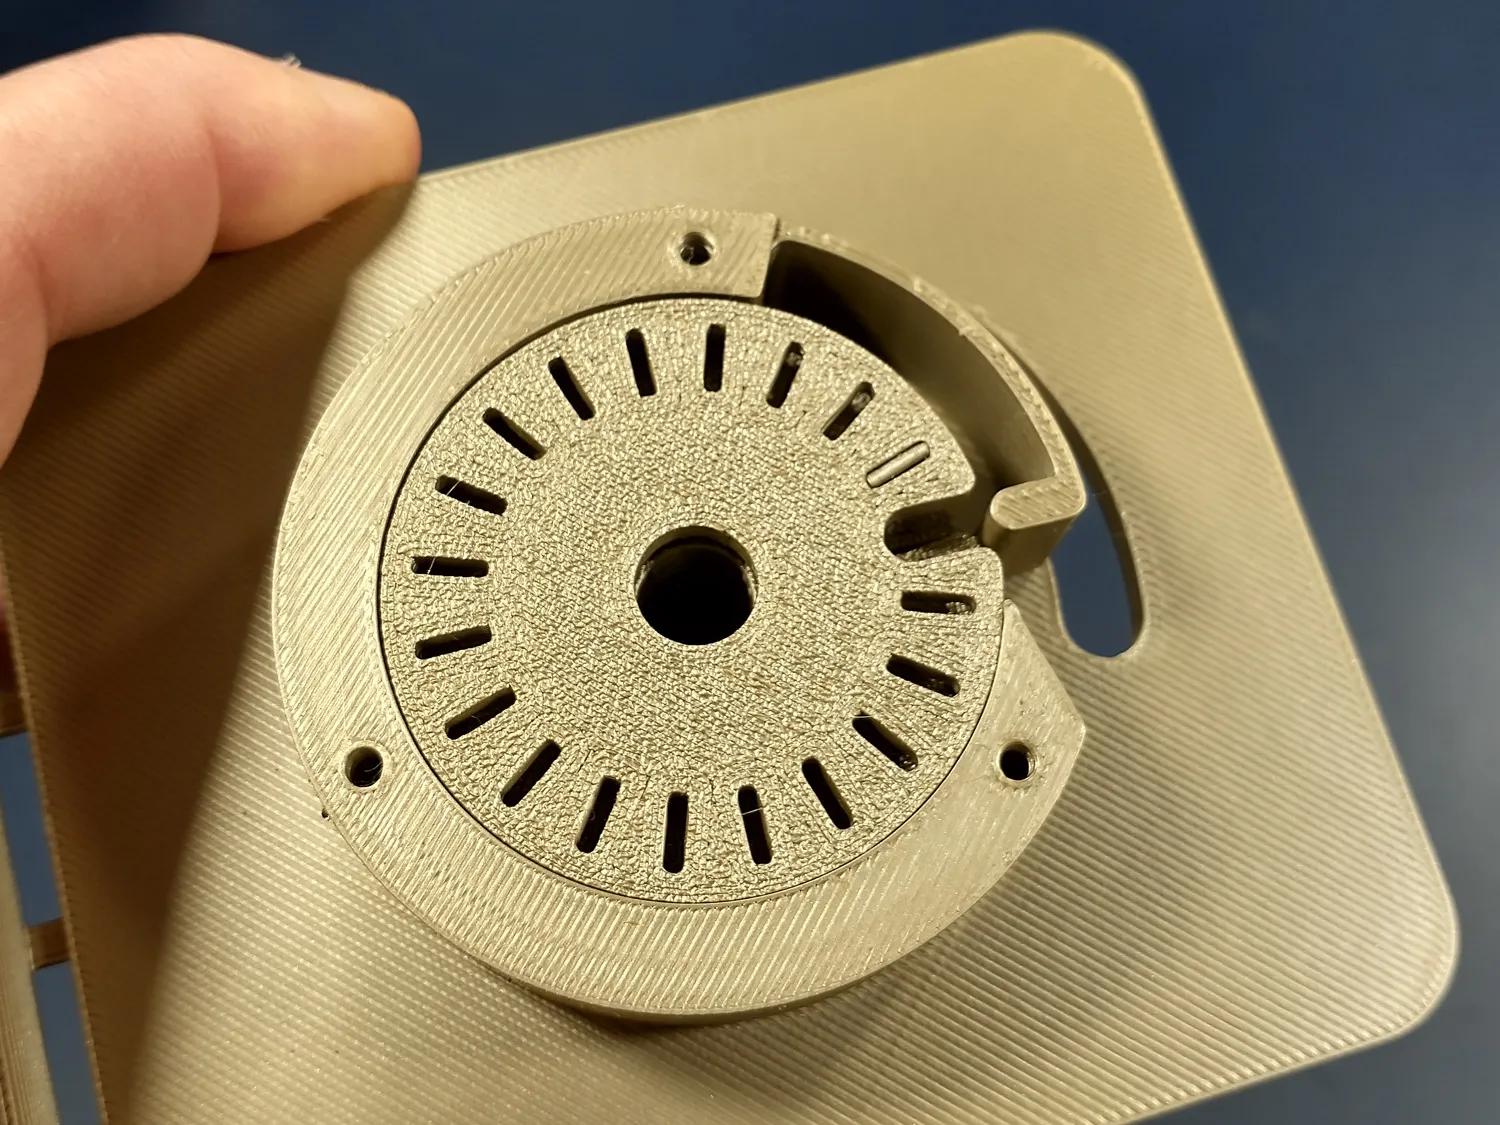
8. Place the back disc on top of the middle disc. Rotate the dial clockwise for 3 full rotations and then keep rotating until, again, the notch aligns with the nub. The dial now reads the 1st number of your combination.
-----------------
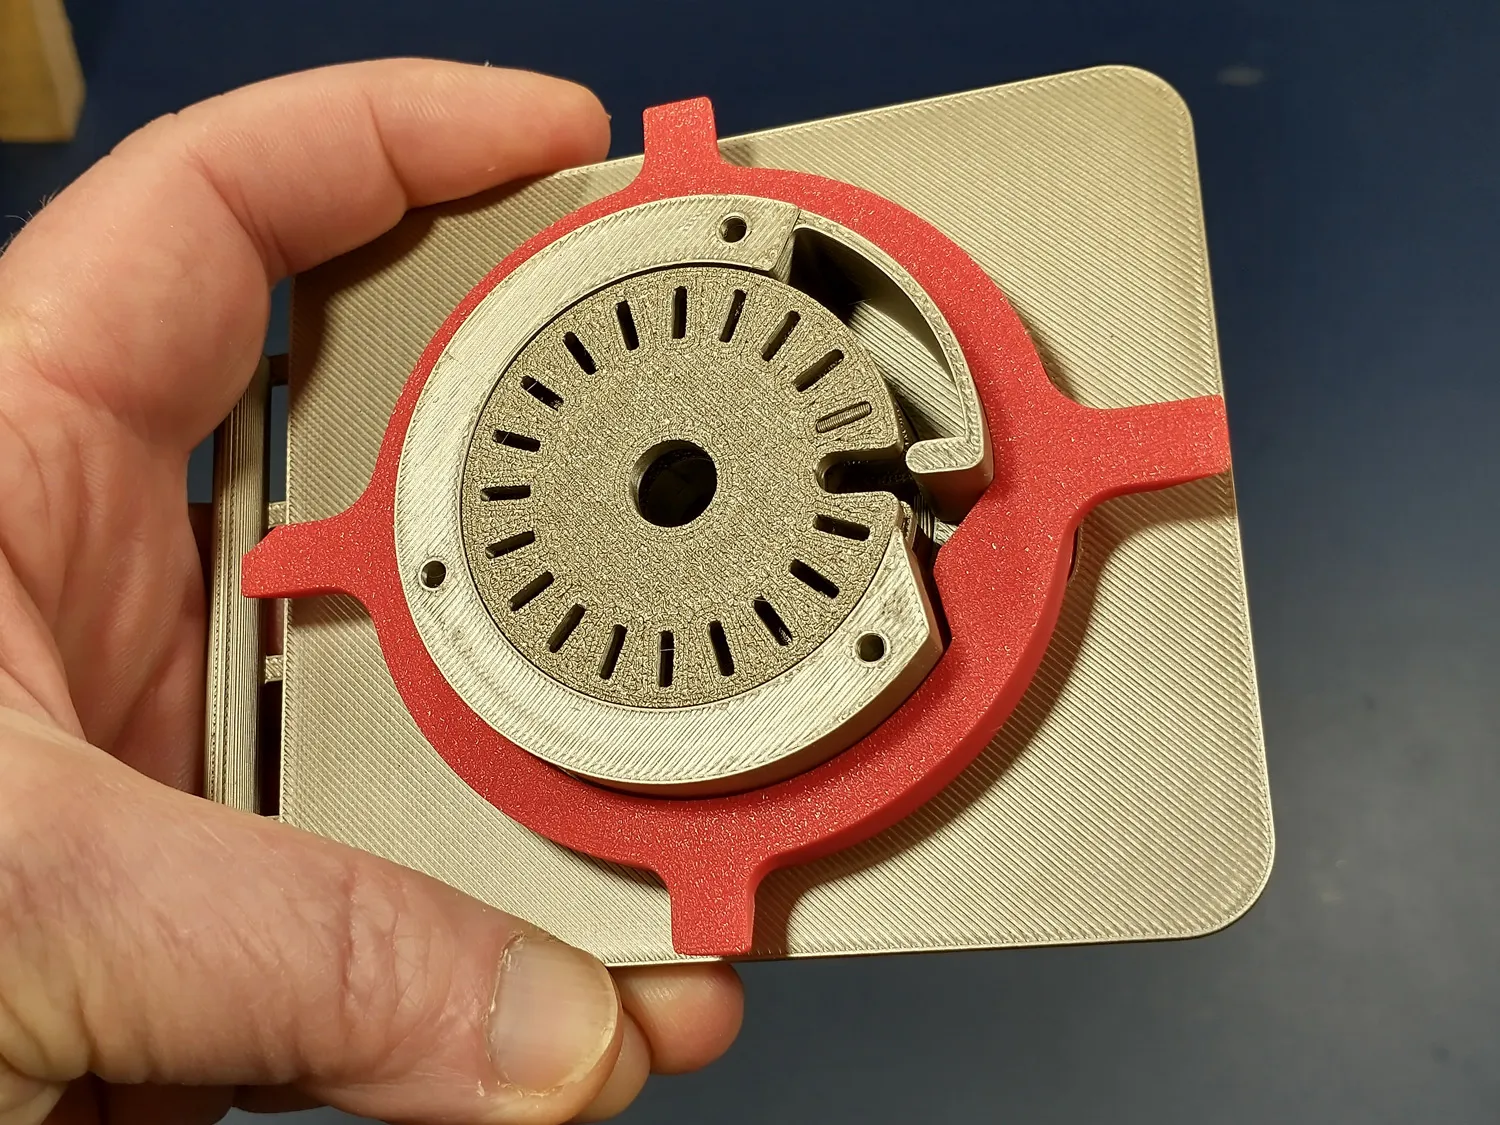
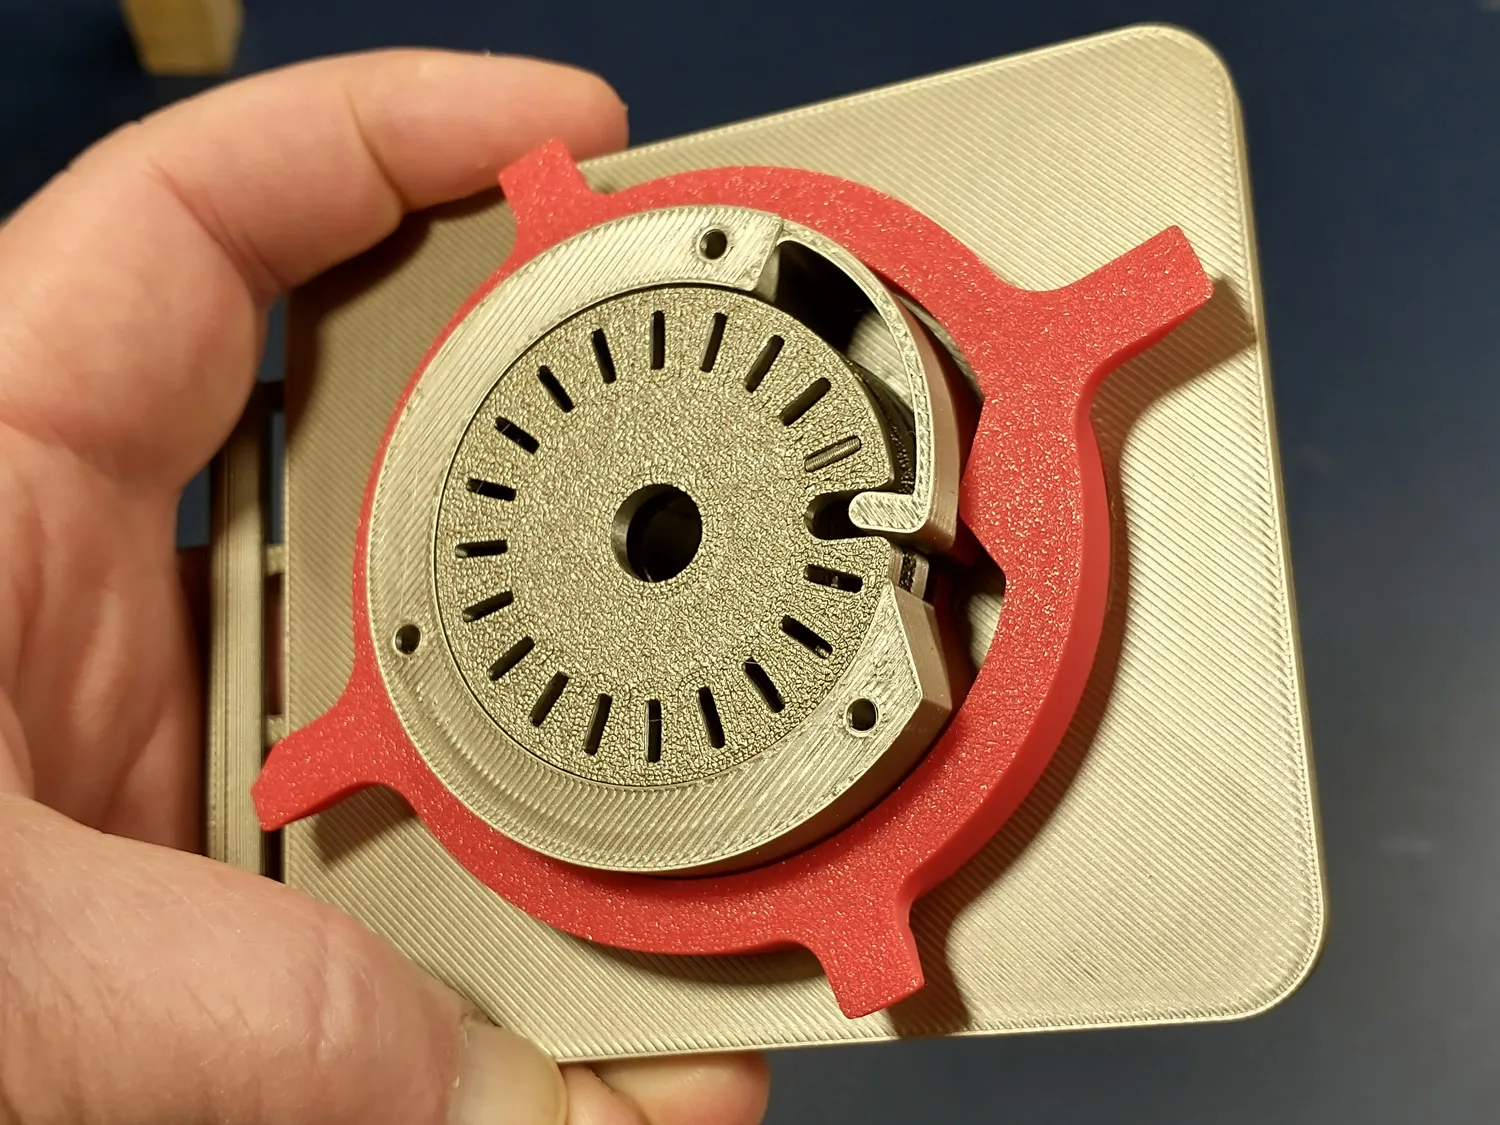
9. Place the latch over the lock assembly so that the latch handle goes through the slot in the door and the bump on the inner diameter of the latch is just below the nub/leaf spring as shown in the first photo. If all three notches on the three disc are lined up with the nub, you should be able to rotate the latch as shown in the second photo.
-----------------
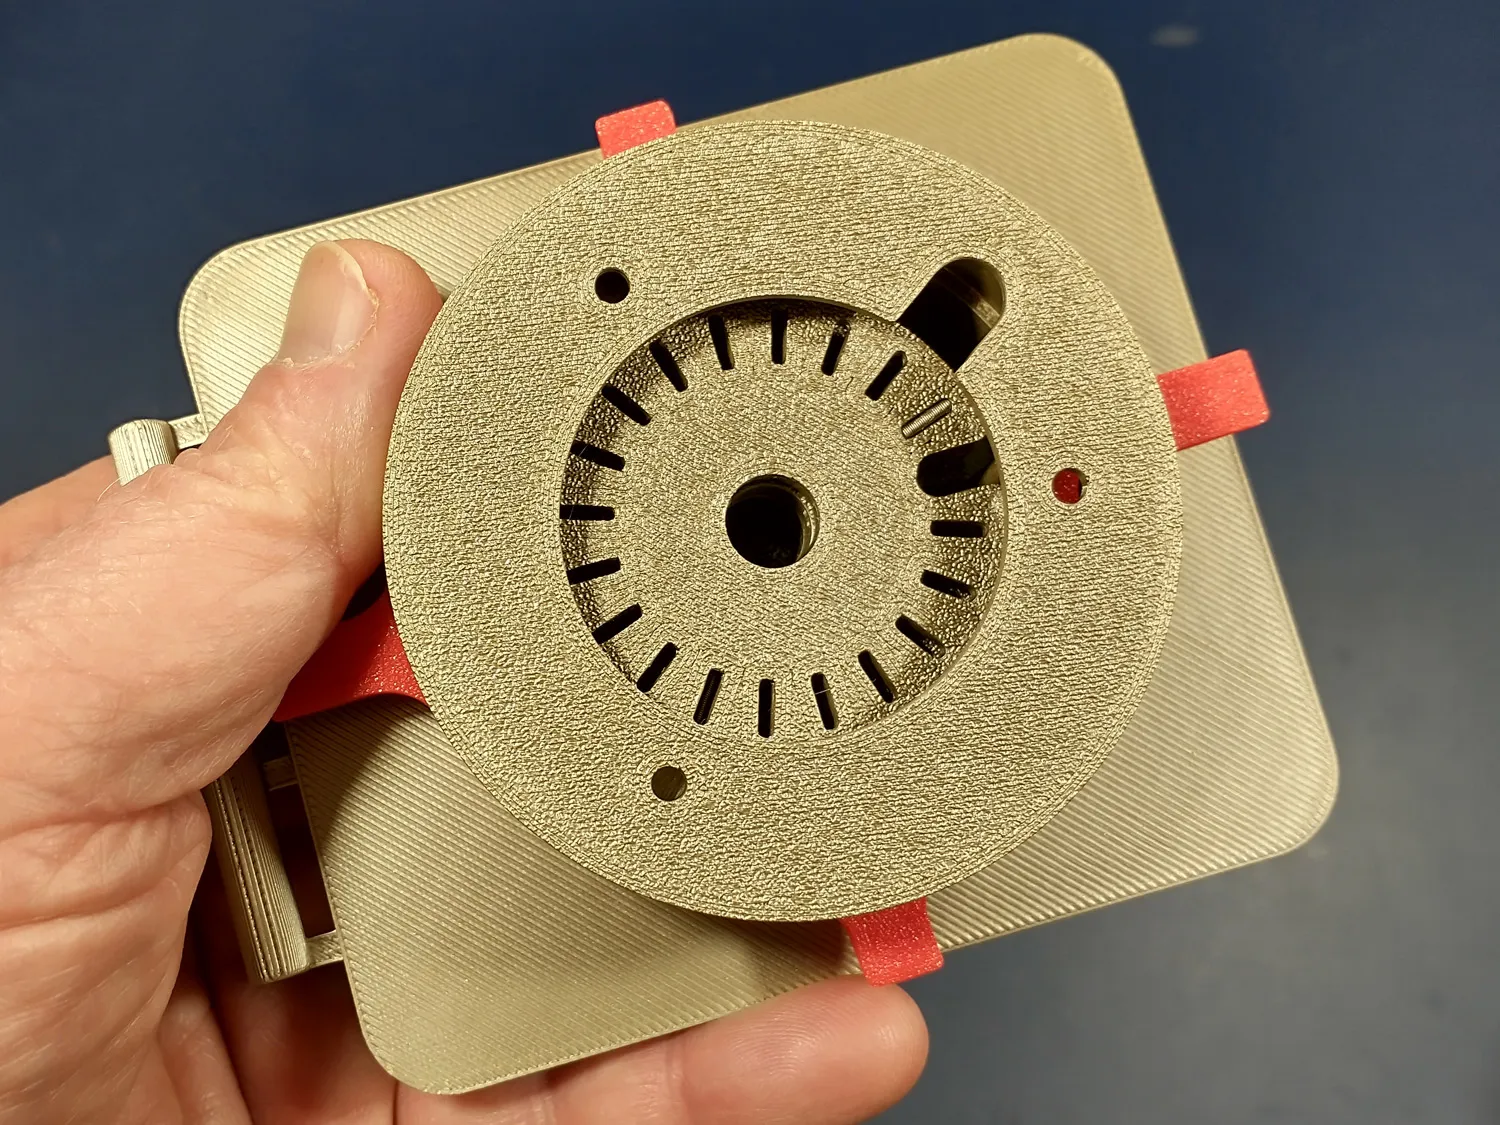
10. The retaining ring holds the entire assembly together. It should be a tight press fit. To get it on, first orient it as shown in the photo so that one of the 3 screw holes is aligned with the gap below the nub. (In this orientation it presses on more easily.) Then rotate the ring clockwise until the screw holes align with the holes below it. This should give a pretty tight press fit. However, if it seems like it might come loose, you can secure the ring with three M3 x 10mm (or 4-40 x 3/8") screws.
-----------------
11. At this point you can test your combination. Start with 3 full clockwise rotations of the dial and then continue to your 1st number. It can help to keep a light downward pressure on the dial. Next, do one full rotation in the counter-clockwise direction and then continue to the 2nd number of your combination. Lastly rotate the dial in the clockwise direction stopping at your 3rd number. If you look at the back, all three notches should be lined up and you should be able to rotate the latch. Do not complete the door assembly until you are sure your combination works!
-----------------
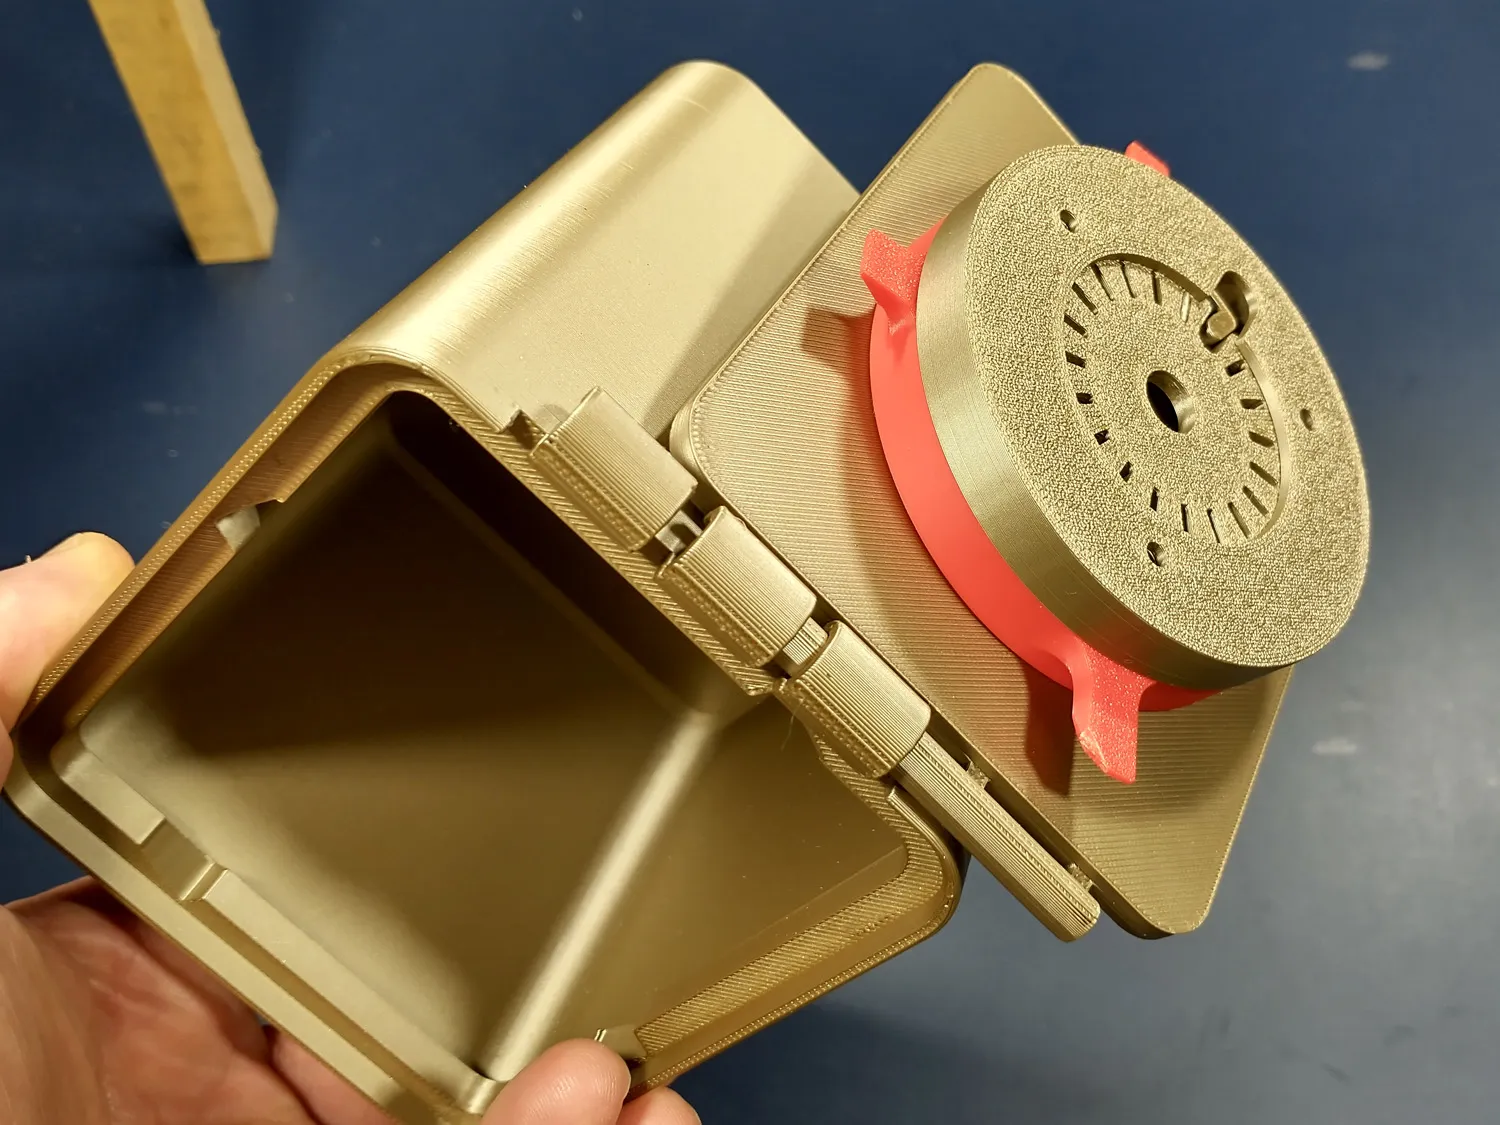
12. Dial in your combination and rotate the latch to the rotated OPEN position. Hold the door in the all-the-way-open position relative to the box and slide the hinge pin into the hinge knuckles on the box. When the door is centered vertically, you will be able to close it. With the door closed, move the latch to the CLOSED position and give the dial a spin. Your safe is now secure!
License



Comment & Rating (26)