
EF lens to RF mount adapter with integrated rotating shift functionality









Print Profile(1)
Description
Requires a manually focusable lens; lenses that cannot be focused without power cannot be manually adjusted, such as the Canon EF 50 1.8 STM.
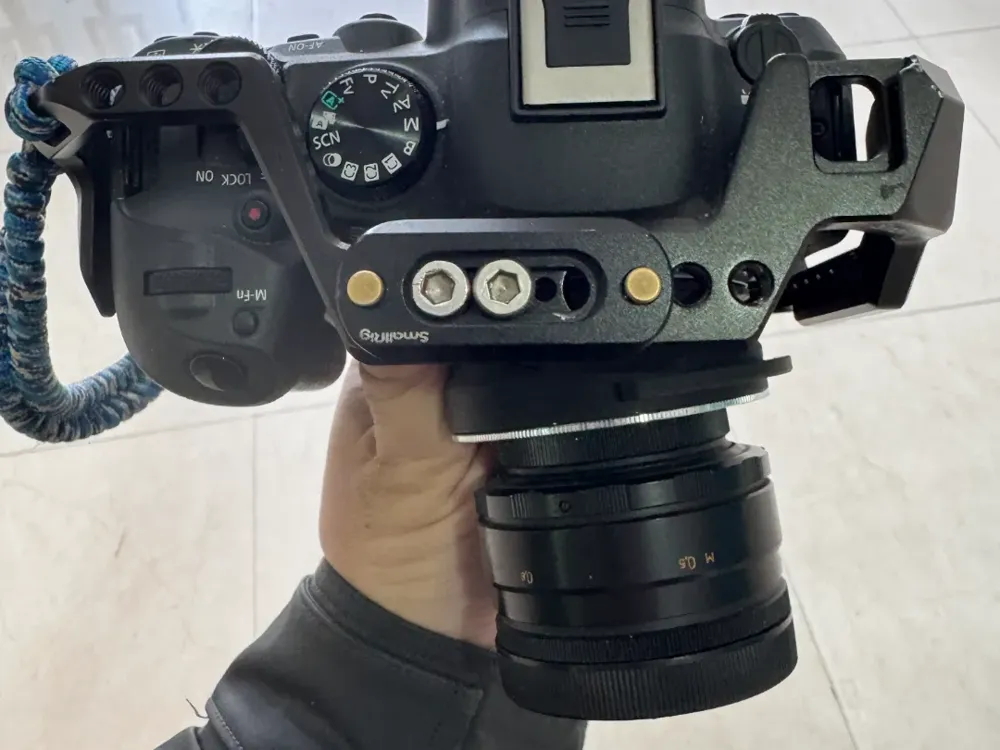
I'm using a modified Laowa lens here.
Additionally, due to limitations in the structural integrity of 3D-printed components,
this adapter is unsuitable for particularly heavy lenses. It is intended for recreational use only, offering an opportunity to experience tilt-shift photography without the expense of purchasing a dedicated lens; professional use is not recommended.
The lens requires a Canon EF mount manual focus lens (third-party manual focus lenses such as Laowa and Venus Optics are recommended), and the camera body must be a Canon R-series mirrorless camera with an RF mount.
Rotating tilt-shift allows for the creation of shallow depth-of-field images with a model-like effect (commonly known as the 'miniature effect'), see images for details.
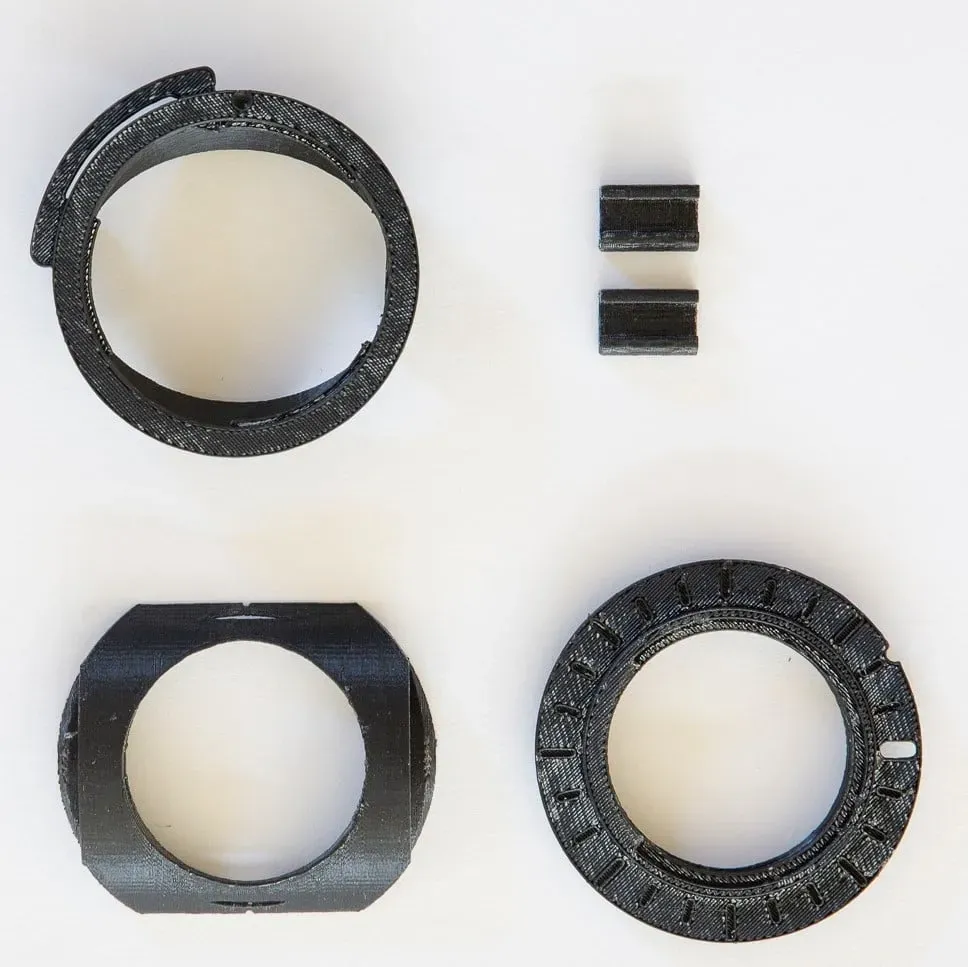
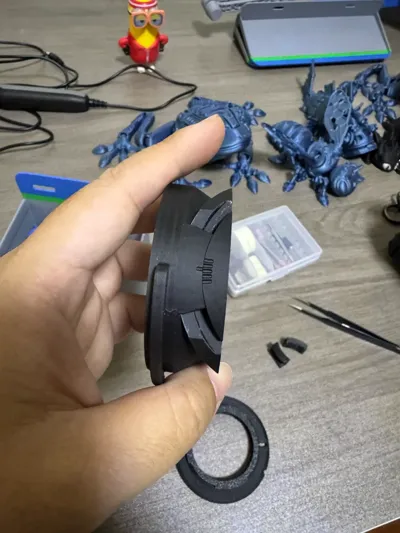
Accessories included: RF mount adapter ring, rotating base, EF mount rotating base, locking clips * 2
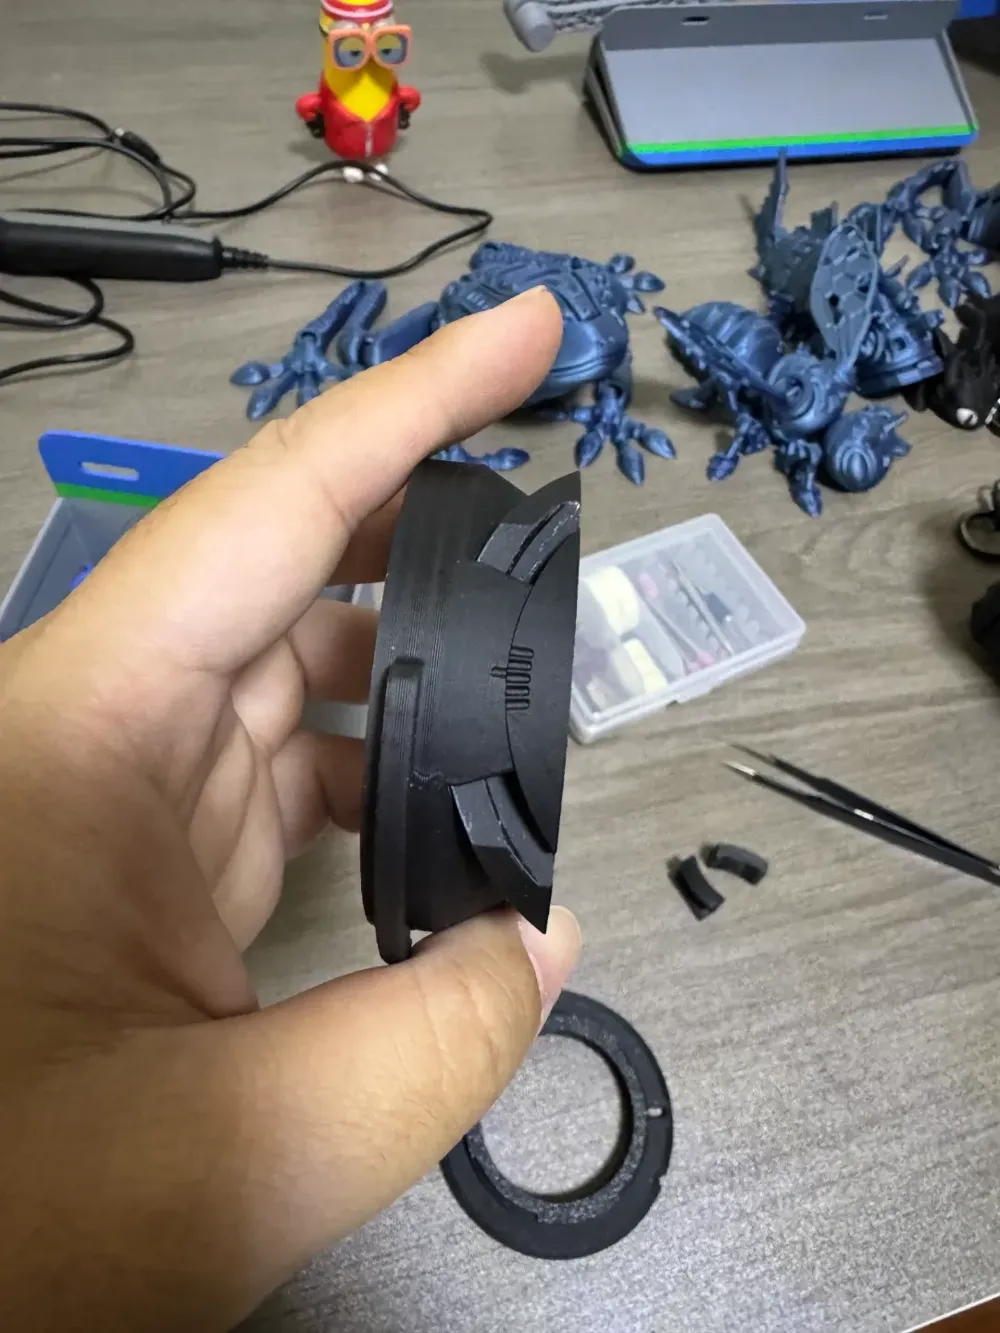
Assembly sequence: The rotating base and the EF mount rotating base interlock to create a rotatable effect. Then, install the RF mount adapter ring on one end of the rotating base; there are recesses inside for installing the locking clips. Pay attention to the positions of the two locking clips; rotate to the correct installation distance before installation. After installing one locking clip, rotate 180 degrees and then install the second.
Finally, a reminder: This model is for recreational use only. I am not responsible for any damages caused by its use, such as lens dropping, etc!!!
Regarding print settings, use 5 wall layers and 50% infill (or 100% for added safety), with triangular infill.
License



Comment & Rating (11)