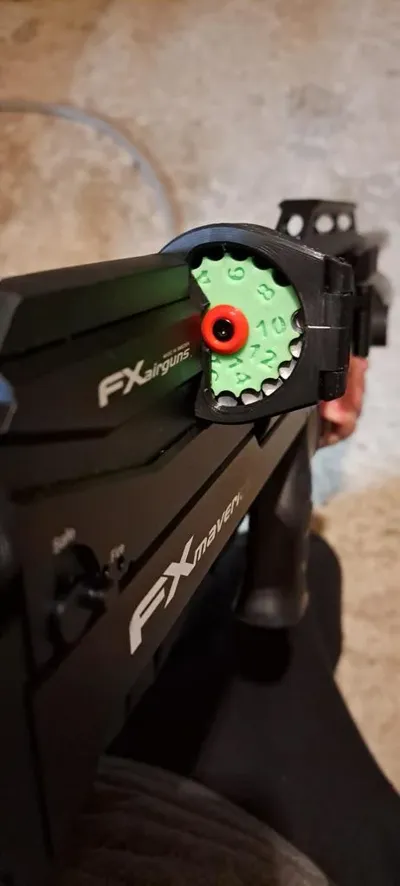
FX Maverick 5.5 Charger


Print Profile(1)

Description
Hello,
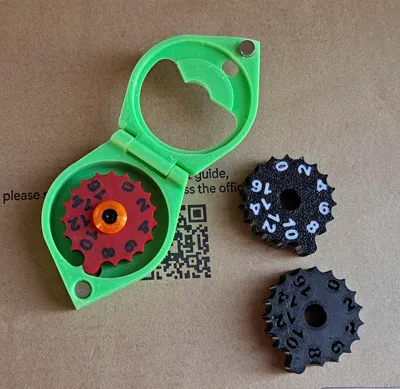
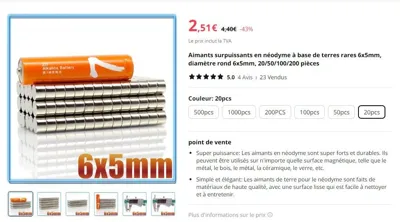
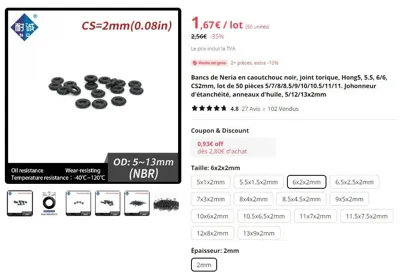
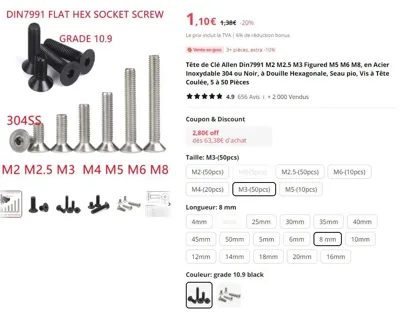
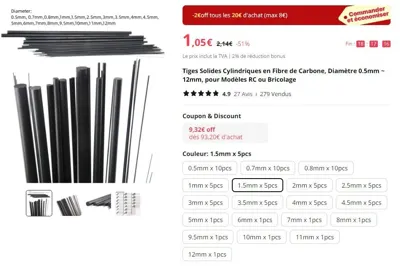
To make the charger, be sure to purchase everything shown in the photos from AliExpress.
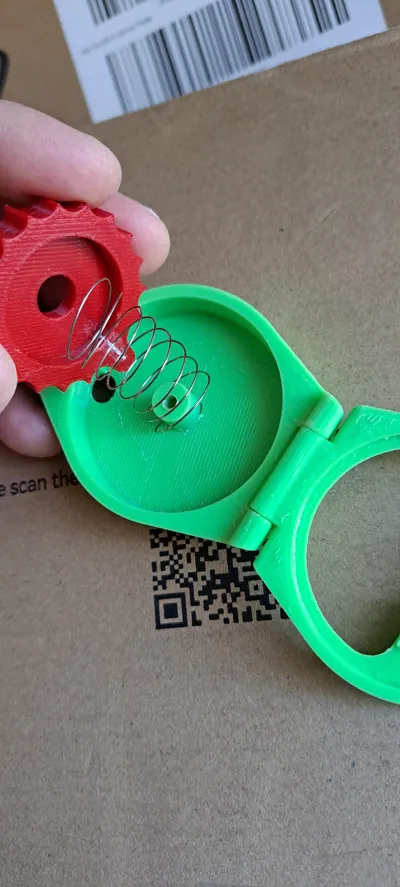
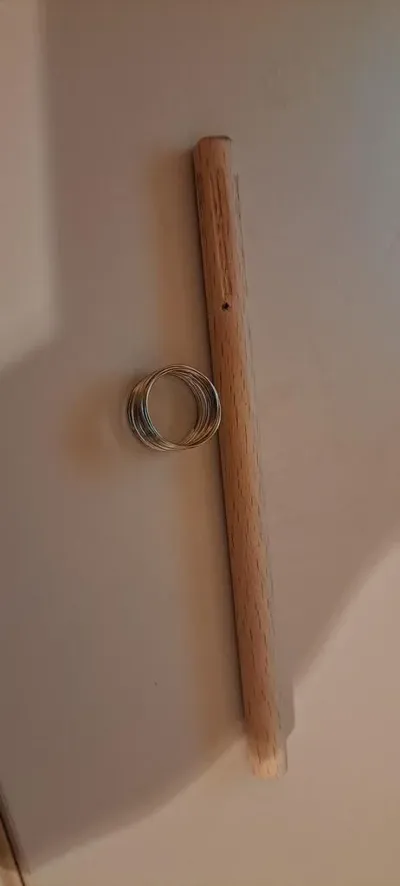
Next, during assembly, the most challenging part is fabricating and installing the return spring.
Cut a 50cm length of spring wire and forcefully wind it onto a 10-15mm piece of wood using a screwdriver; this creates a coil.
Retain approximately 10 coils; thread one end through the small hole in the body and the other into the slot of the gear (see photo). This will require force and should be done with needle-nose pliers.
Then, turn the gear two or three times to create tension.
The rest is fairly straightforward; I adhere all the magnets, small O-rings, and the carbon shaft using super glue.
There is a gear with numerals engraved at 0.6mm for monochrome and one with numerals engraved at 0.01mm for filling the faces with color in Bambu Studio. The models shown in the photos are in PLA.
I've had excellent results printing with translucent PETG.
I welcome any questions or comments.
Thank you.
Comment & Rating (7)