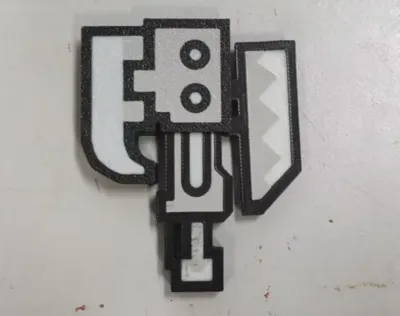
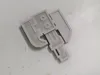
Monster Hunter Switch Axe Transforming Weapon Keychain


Print Profile(5)


Bill of Materials

Description
Membership
Unauthorized resale prohibited!
⚠️ Copyright Notice ⚠️
This model is for personal non-commercial printing only. Distribution to other platforms or commercial sale is strictly forbidden. Support creative work and respect intellectual property rights!
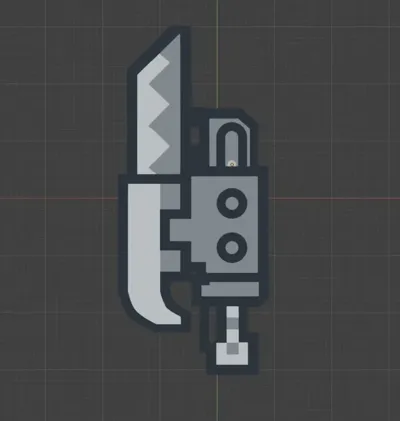
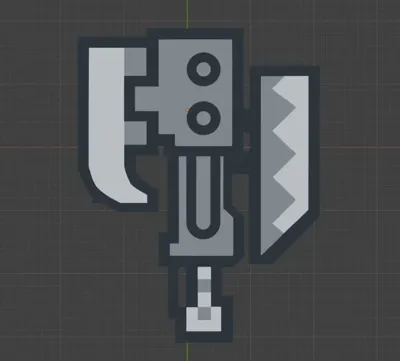
A transformable dual-form weapon~
Re-created based on the following reference images; gratitude to the illustrator~
This version features a hooked axe and a polygonal sword, incorporating longer slides for simpler assembly~
Note: Please use a 0.2mm layer height; do not alter this setting!
Tip: Please use a height of 0.2 and do not change it to any other height!

Assembly instructions are provided after this introduction; please refrain from submitting negative reviews due to oversight, thank you!
There is an assembly tutorial at the back of the introduction.,Please don't give a bad review because you didn't see it, thank you!
Boost Me (for free)
Your support is greatly appreciated if you enjoy this!
Available in two versions: monochrome and multicolor. To ensure both versions are aesthetically pleasing, the model data differs. The monochrome version features an embossed effect (recommended for printing in grey):


Assembly tutorials:
0. Initially, excise a segment of filament to serve as the rotational axis. Subtract a section from the consumables as the axis of rotation.

1. Remove supports; employing a craft knife is recommended for precise cutting! Remove the support, it is recommended to use a utility knife to assist cutting!

2. Align the blade and handle apertures, inserting a filament segment as a pivot. Avoid excessive trimming to prevent binding and ensure smooth operation! Subsequently, secure both sides with transparent tape to prevent the pivot from dislodging. Align the blade with the hole in the handle, insert a piece of filament wire into it as a hinge, don't cut it too long, otherwise it will jam the axe without being silky! After that, use scotch tape to glue both sides to plug the holes so that the hinge does not fall off.
Observe the image markers; incorrect installation should be avoided! Pay attention to the position of the image marker, don't install it backwards!

3. Secure the axe according to the image below, ensuring the rack is engaged with the handle gear before attaching the other side, then completing assembly with the remaining axe component. According to the position of the figure below to card the axe, note that at this time, the rack should be inserted into the handle and the gear bite first, and then buckle on the other side, and finally put on the other half of the axe.

EX. If utilizing the keychain component from Maker's Supply, attach the ring to the axe handle for convenient outdoor transport and display of its impressive transformation capabilities! If you use the keychain component from Maker's Supply, you can attach the ring to the handle of the axe, take it out hunting, and show off its cool transformation!

Membership
License
You shall not share, sub-license, sell, rent, host, transfer, or distribute in any way the digital or 3D printed versions of this object, nor any other derivative work of this object in its digital or physical format (including - but not limited to - remixes of this object, and hosting on other digital platforms). The objects may not be used without permission in any way whatsoever in which you charge money, or collect fees.
Comment & Rating (330)