
Shearwater 125 Anchor Wizard Mounting Plate
Print Profile(2)
Description
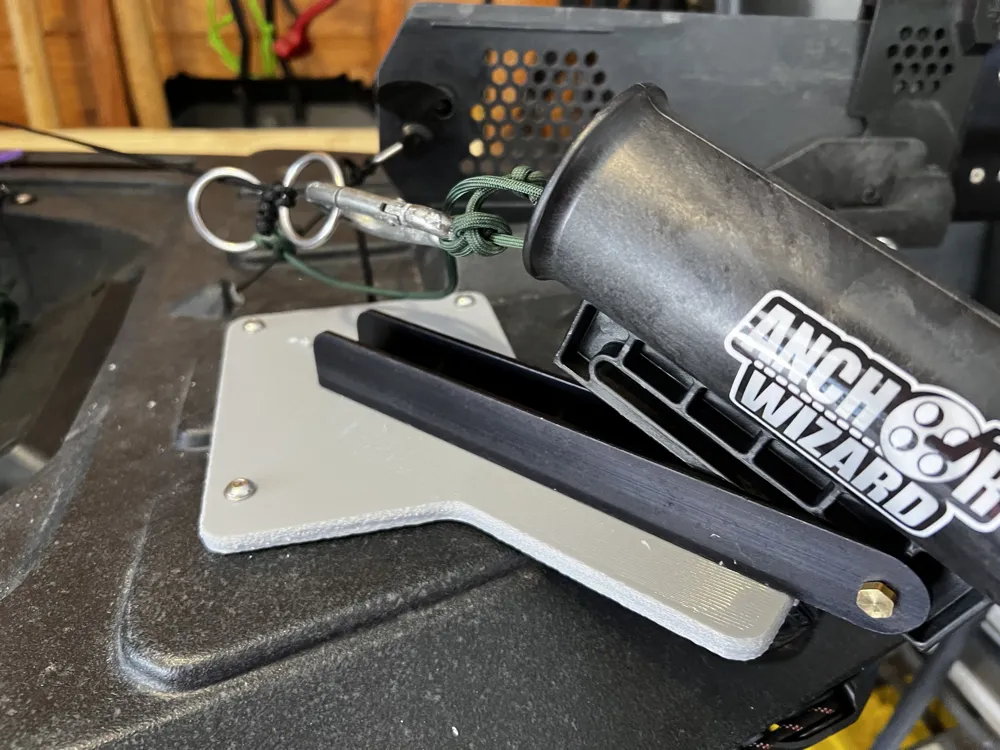
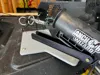
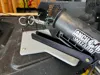
I have an Anchor Wizard for my Shearwater 125 fishing kayak. This plate screws into the Micro Power Pole mounting point on the back and allows the Anchor Wizard drop tube to fully lower to get the best functionality. I only printed & tested the Port (driver's side) version. The starboard
It should be oriented with the top-face down, the little rigidity-bump facing up.
Print with a strong, non-brittle material. PETG or better. High, 60%, infill. Several walls and top & bottom layers.
The Anchor Wizard tube & the anchor will hang off the back side of the kayak, perfect for aligning with an anchor trolley if you so desire. side is a mirror, but untested.
Mounting:
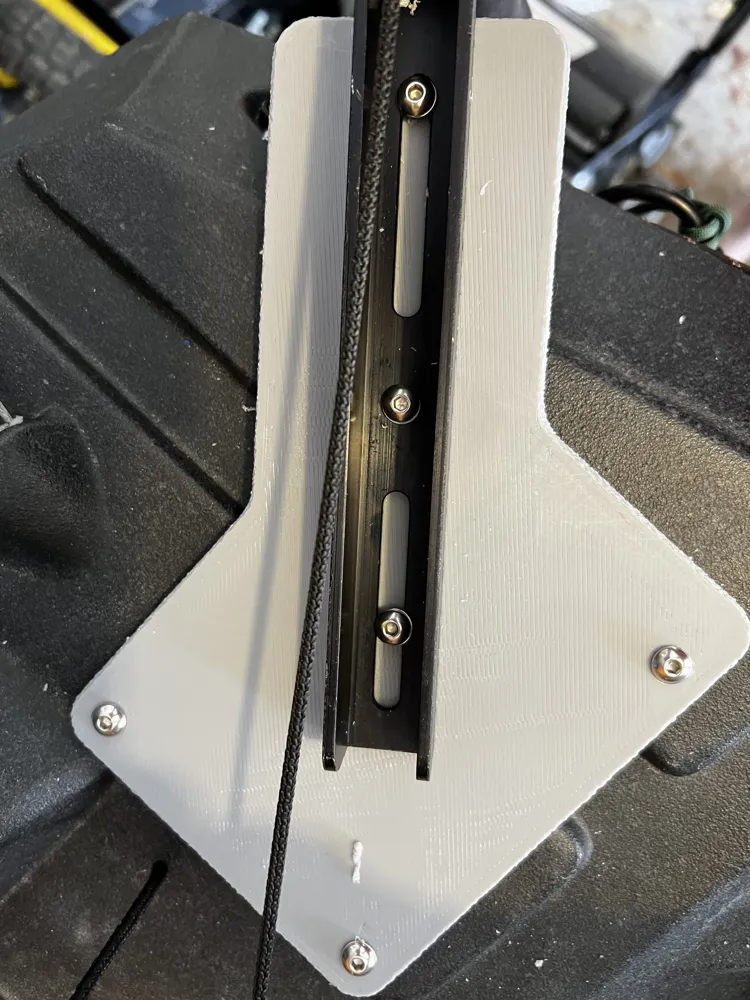
- Use M5 bolts to fasten the plate to the back of the kayak. I aligned the Anchor Wizard rail's center hole to the slotted mounting plate hole and used a slightly longer bolt.
- Mark the points on the plate you want to add extra bolts. I use two more bolts, one near the end and one over the center, where the decorative or drain-channel is on the Shearwater deck.
- Remove mounting plate from the kayak and the Anchor Wizard.
- Drill 5mm or 6mm holes in the plate where you marked.
- Fasten the anchor wizard to the plate using M5 bolts and nuts in the newly drilled holes. Use a washer on each end of the bolt! Leave slightly loose for minor adjustments
- Reattach mounting plate to kayak using M5 bolts. Get a bolt started in one corner, hand tighten only a couple turns, then do the diagonal corner.
- Once all M5 bolts are in place, tighten it all down
Because the Shearwater 125 deck surface is relatively thin, I see a bit of warping. This is why one of the holes is a slot and why I didn't print the hole to mount the Anchor Wizard onto the plate. Once I see a couple examples, I'll be more confident with their placement. OTOH, drilling them is not that big of a deal either!
License



Comment & Rating (0)