
Dune Weaver Sand Table - Enclosed Ombonad Version

Print Profile(1)
![[v1.5.1] 0.16mm layer, 2 walls, 15% infill](https://makerworld.bblmw.com/makerworld/model/US40a4a3be9a02ba/425191879/instance/2024-12-31_8fd5bf1245122.jpg?x-oss-process=image%2Fresize%2Cw_100%2Fformat%2Cwebp)
Bill of Materials

- SEE BOM IN THE DESCRIPTION x 1: for EU, US And Ali Express links for the parts
Description
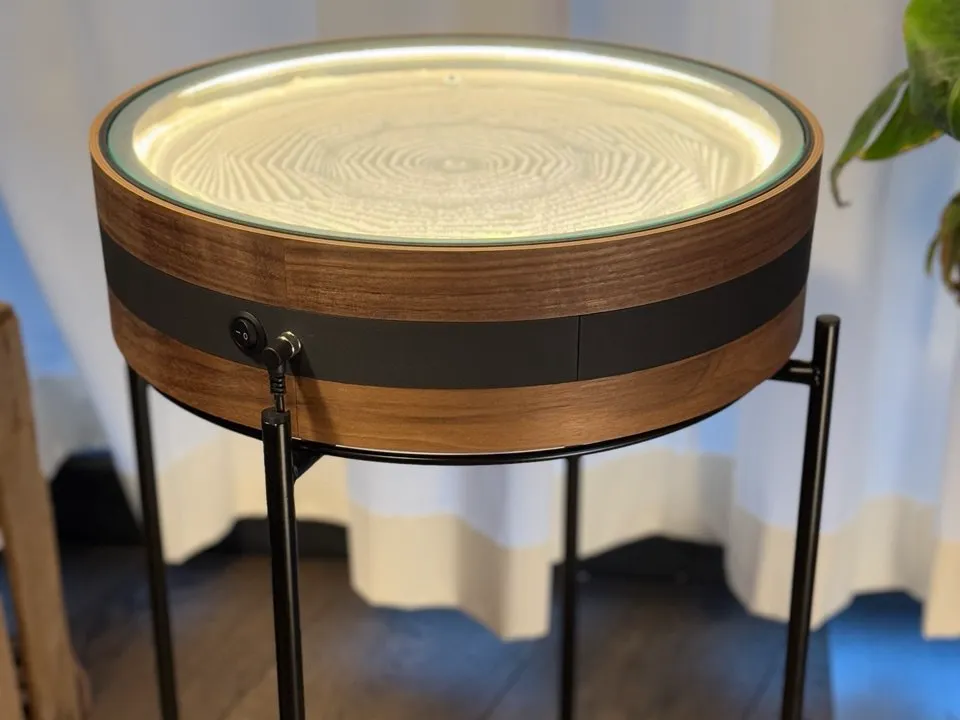
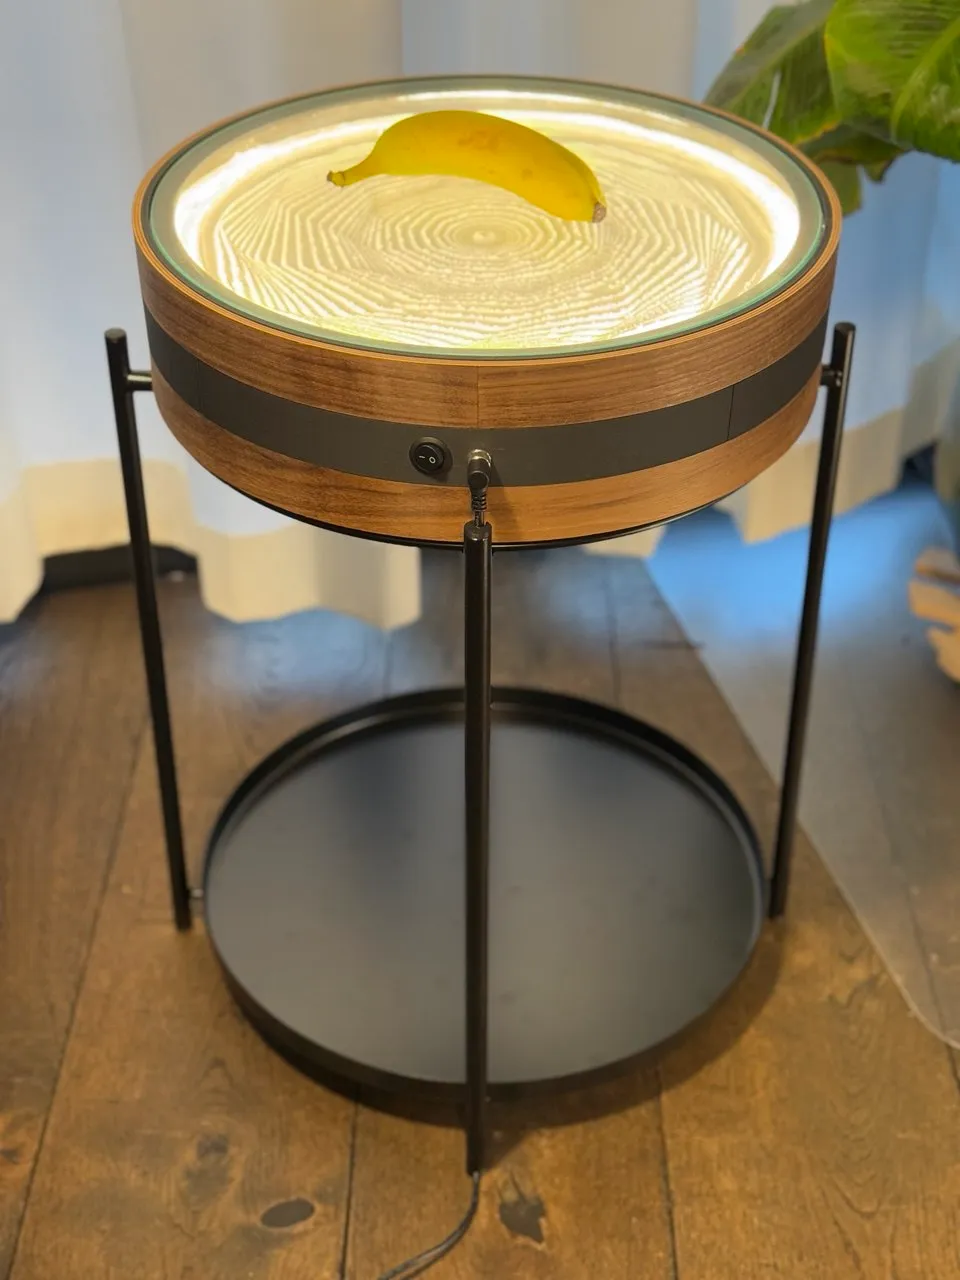
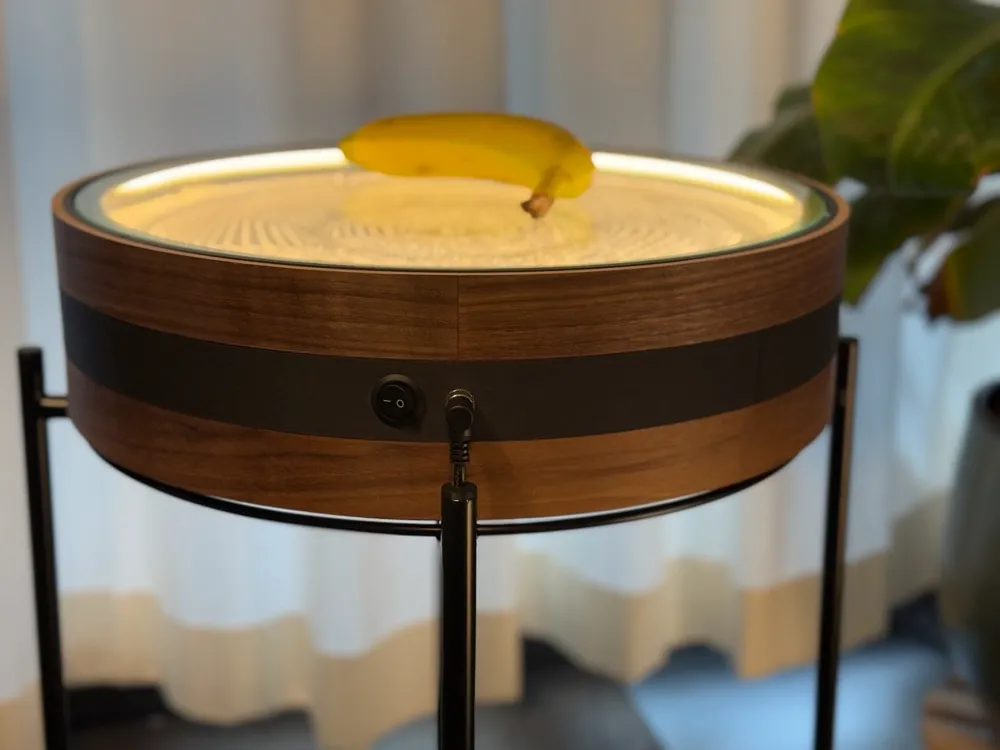
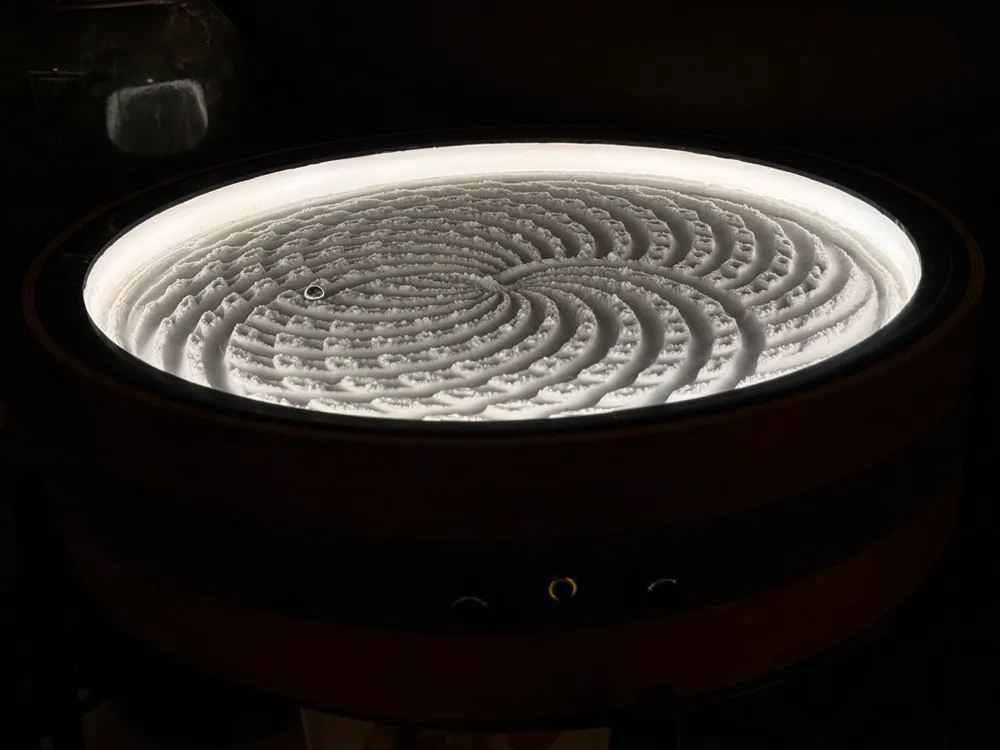
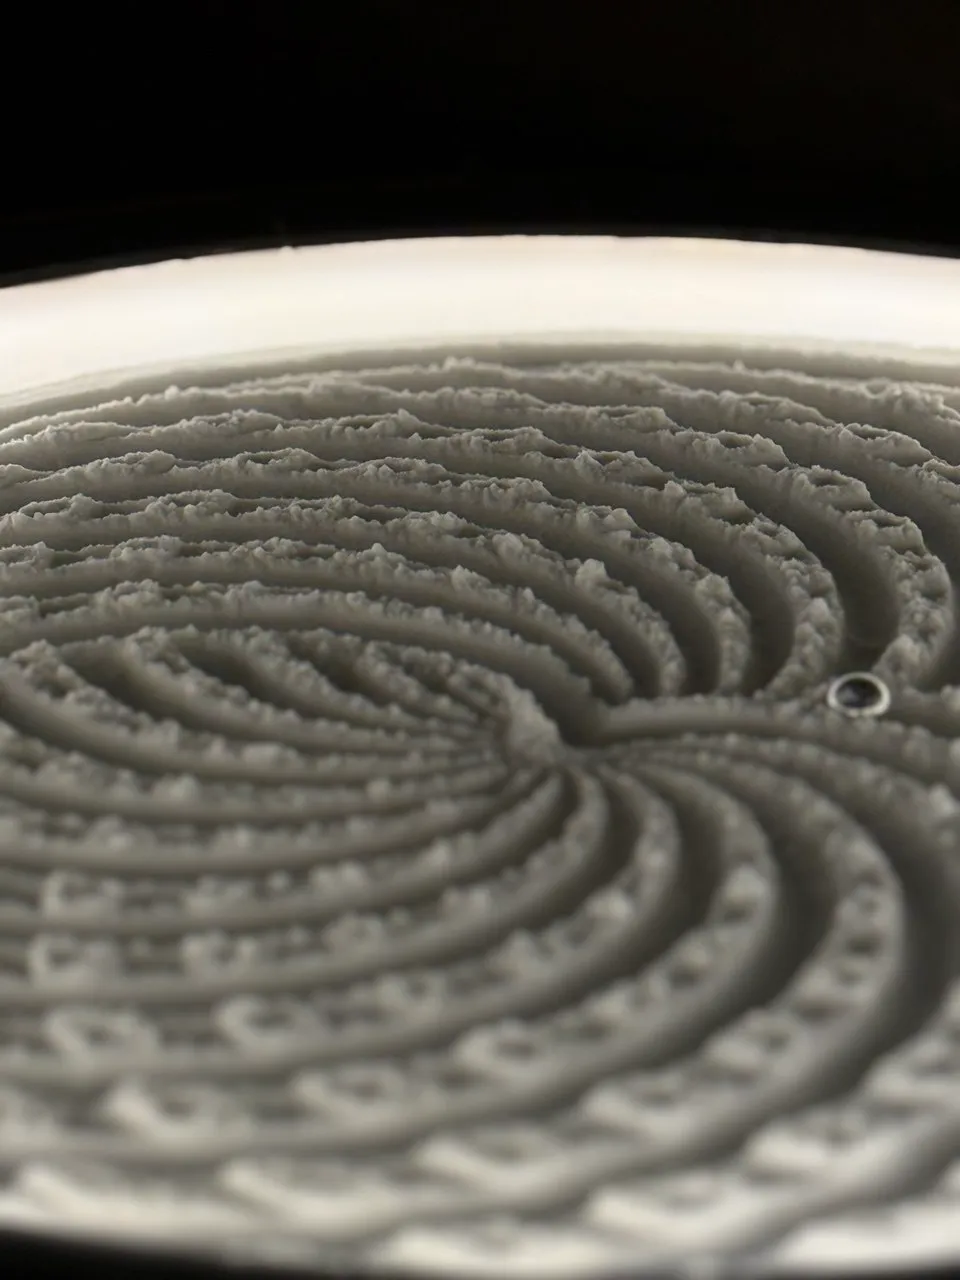
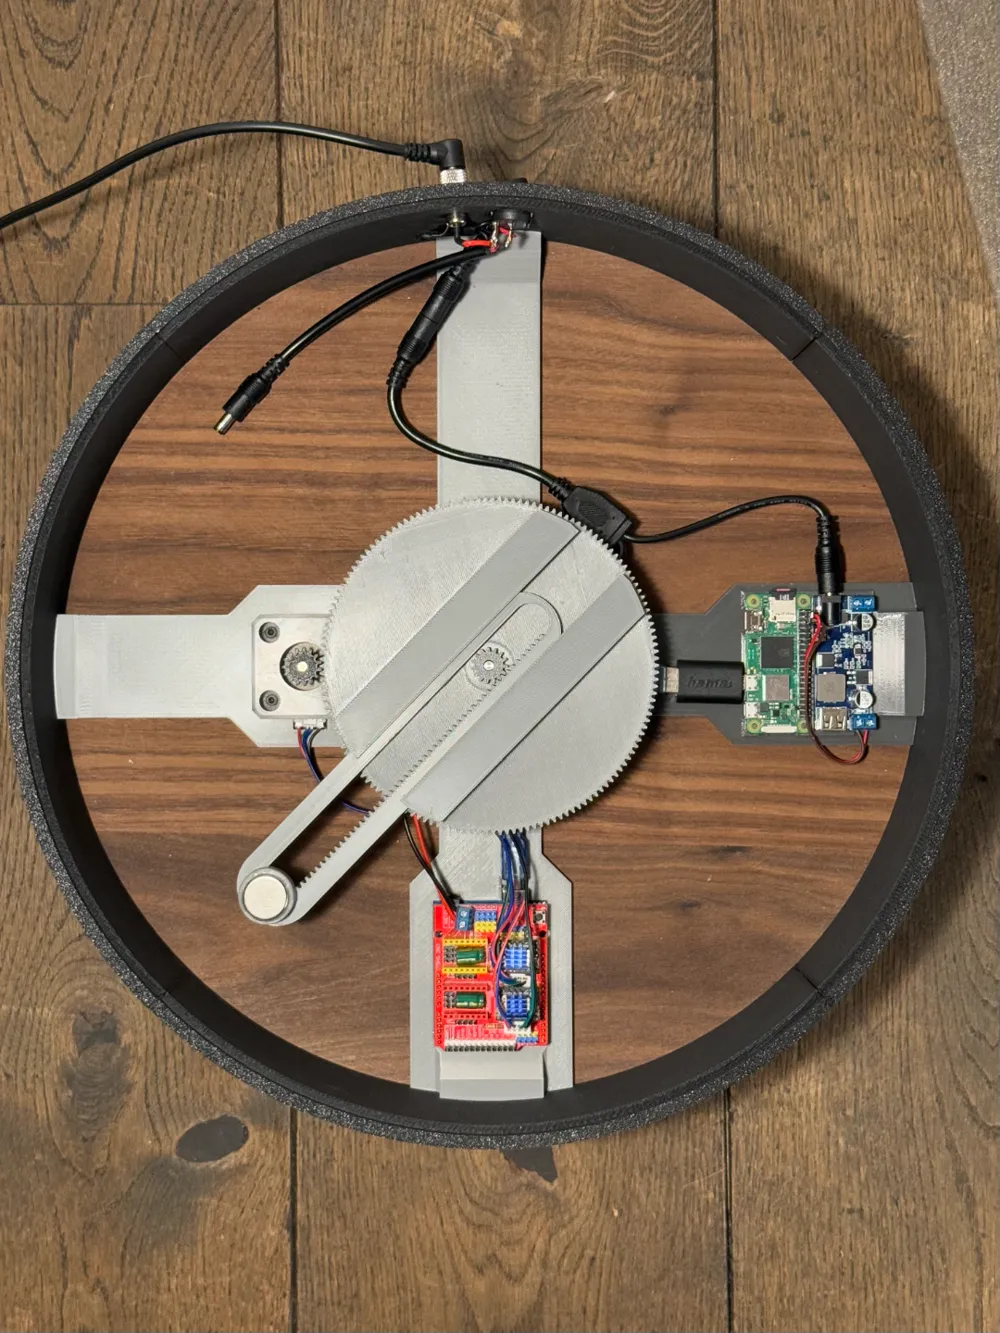
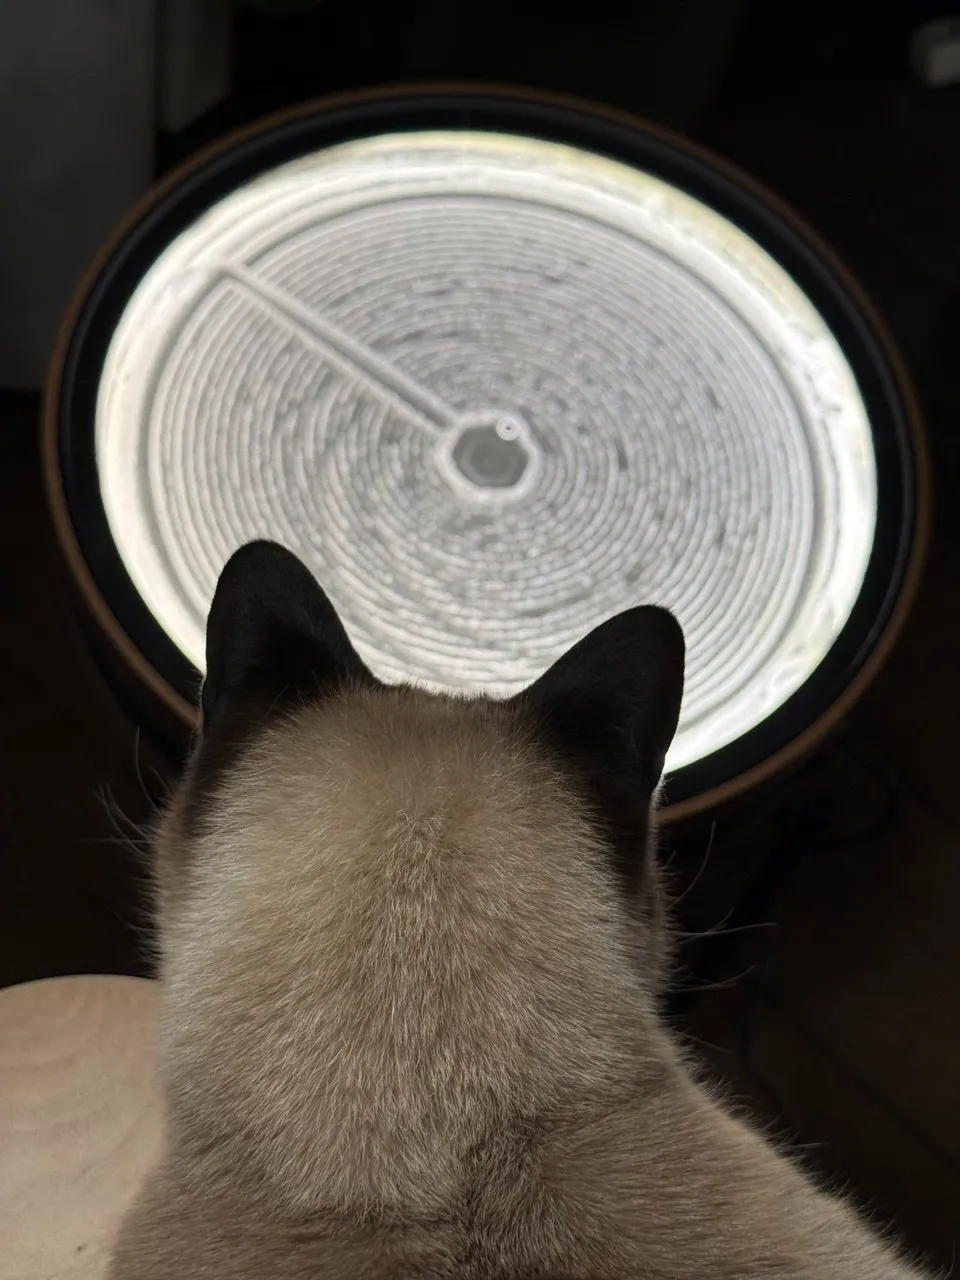
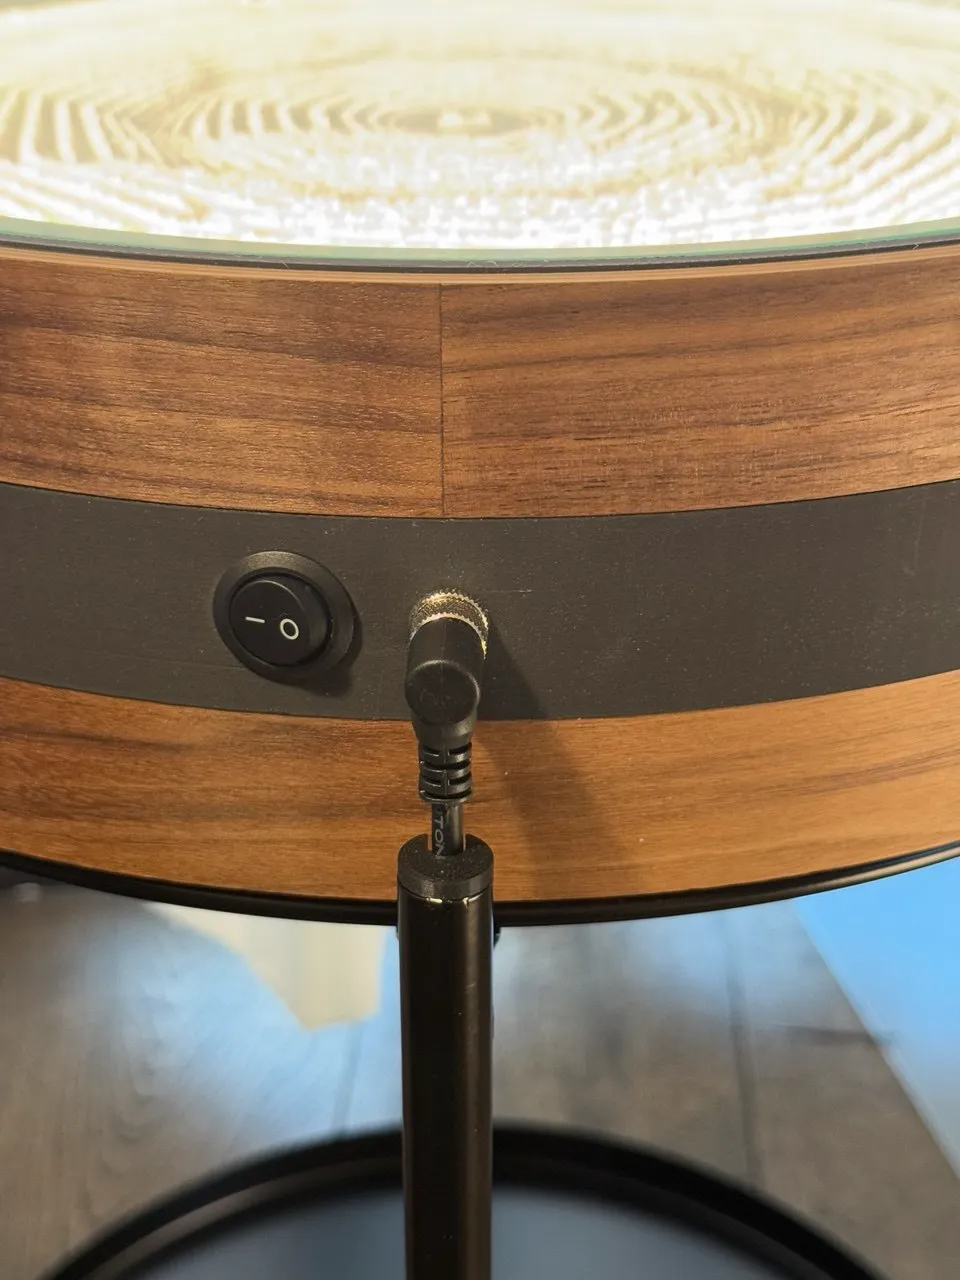
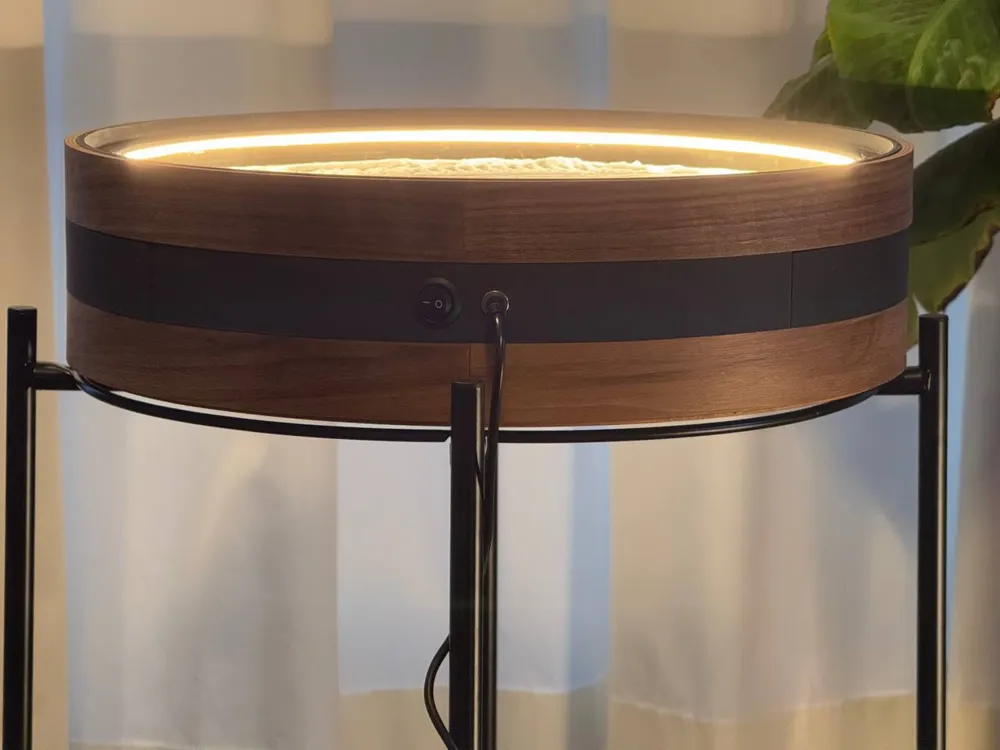
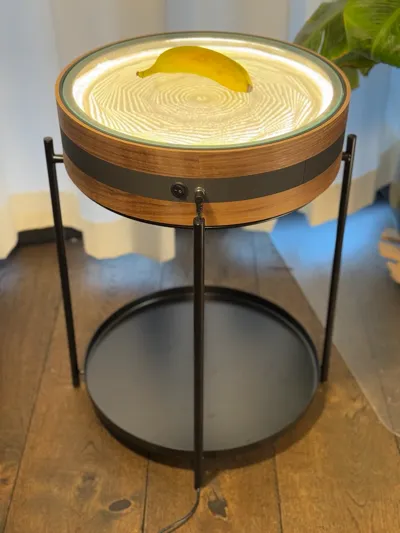
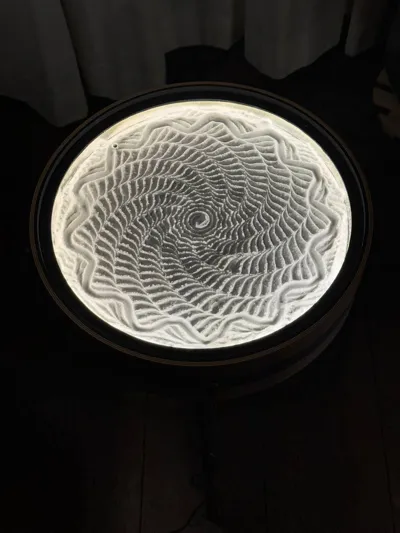
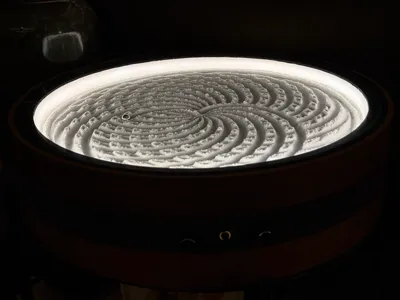
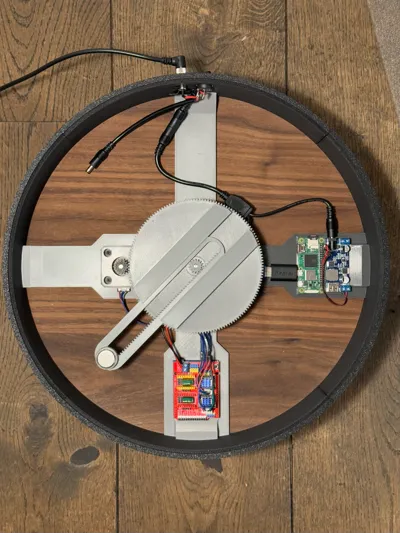
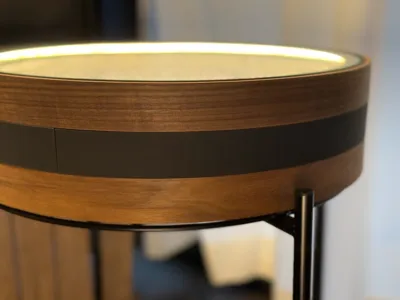
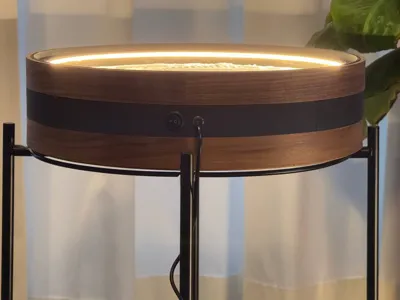
This is a redesigned version of the great Dune Weaver sand table by Tuan Nguyen. The electronics and printed mechanism have been fully enclosed within two IKEA Ombonad trays and a printed ring, featuring a diameter of 42cm, with only one power cable (semi-)visible.
🌀 The v2 software update is now available. Check out https://github.com/tuanchris/dune-weaver/releases/tag/v2.0.3 and the wiki https://github.com/tuanchris/dune-weaver/wiki/V2.0-Update
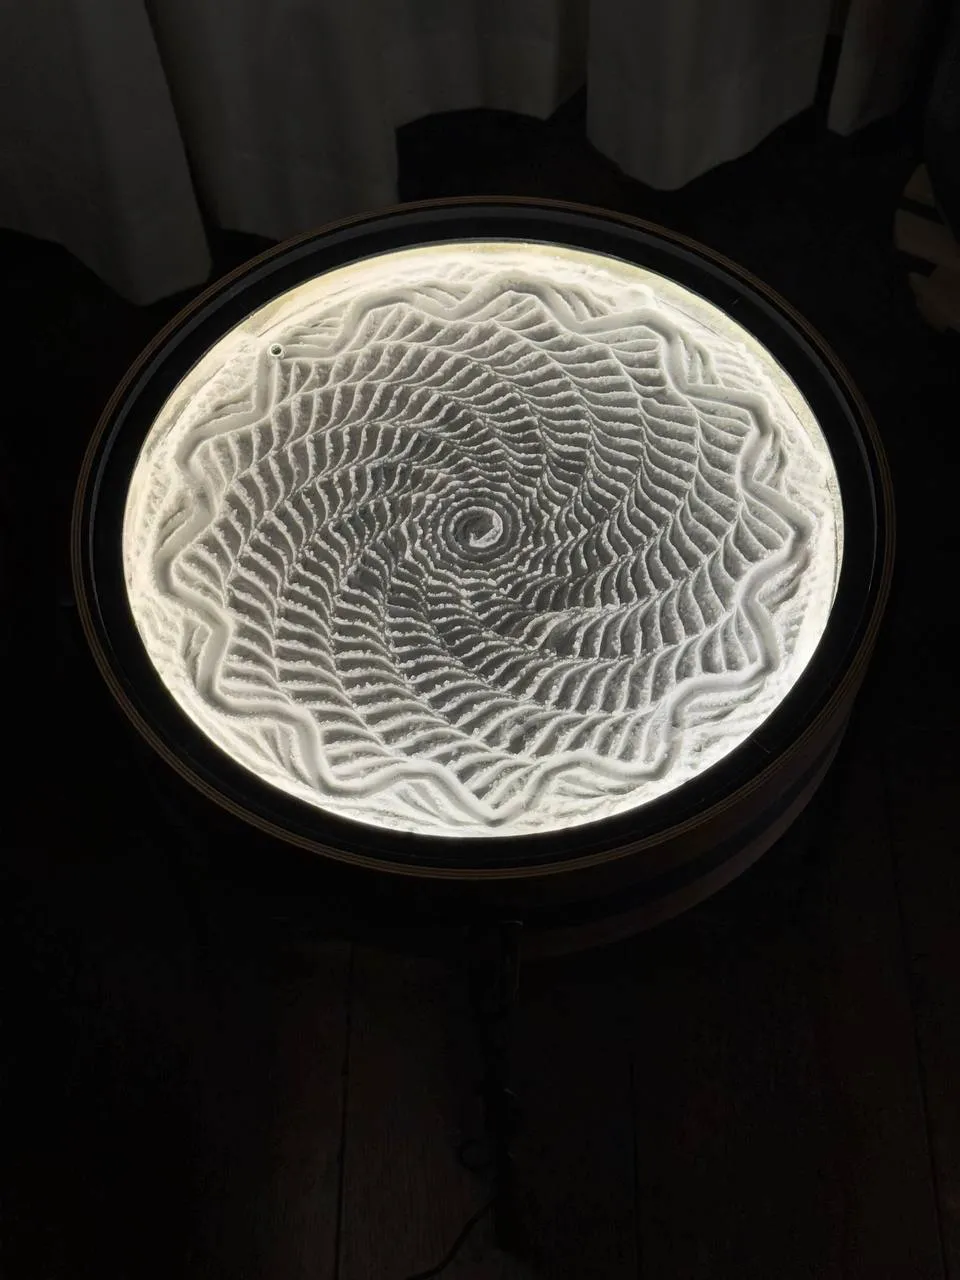
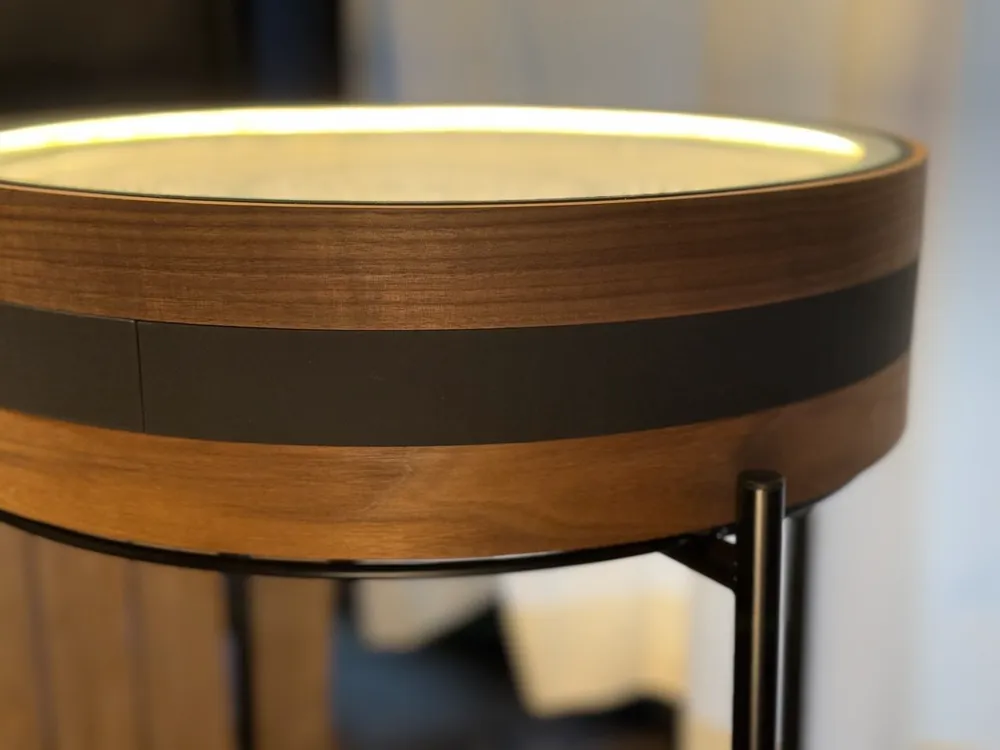
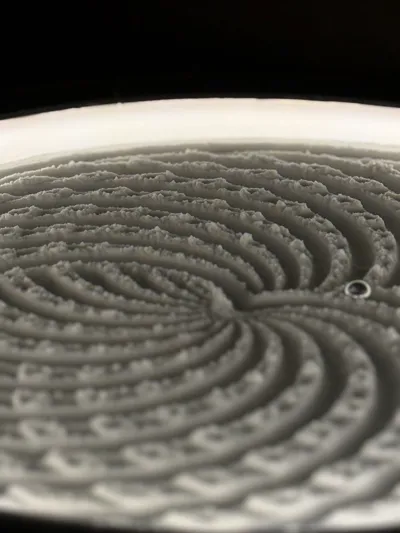
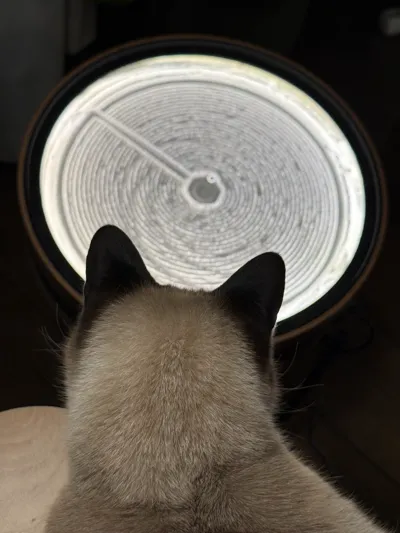
💡 I highly recommend the optional silicone led diffuser for an even more high-end finish. See pictures 4 & 5.
💬 Join us on the Discord channel for tips & tricks, feedback, sharing (new) ideas and troubleshooting: https://discord.gg/mcG7Fqwcjf
Customize
I designed this project to be as customisable as possible. Some components are optional and all the cutouts are customisable in Bambu Studio. That way I hope the project is accessible and fun for different skill-levels.
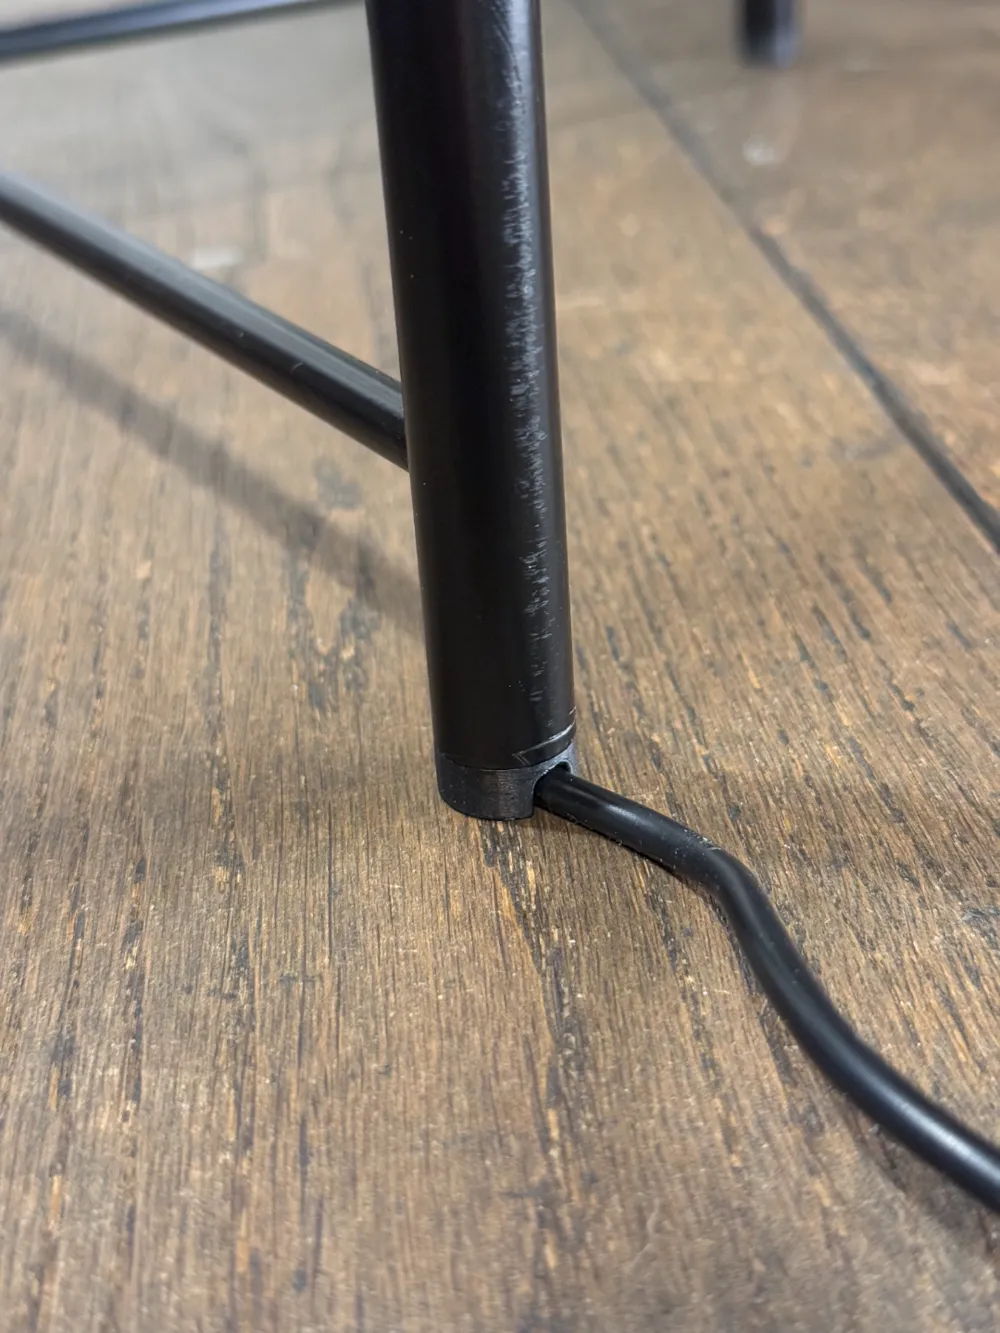
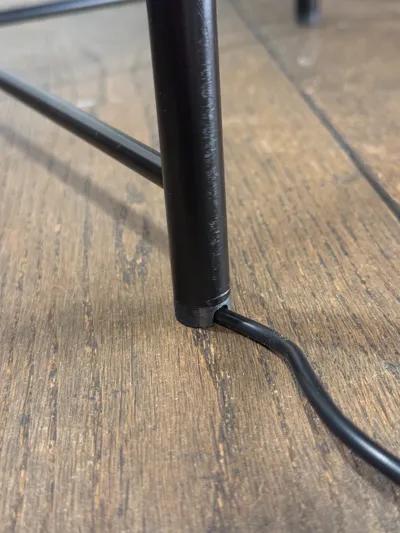
For the table legs I used an IKEA Gladom tray table , it's nice because you can hide the power cable within one of the legs and use its tray to serve as a bottom shelf (+ it's cheap), but you can pick any suitable alternative you’d like. (An alternative I also liked: Ängesbyn)
And if you’d like to go for the minimal-zen-garden aesthetic and don’t want to use a glass tray and integrated LED lights you could even entirely skip the printed parts for the top tray.
Non-soldering option
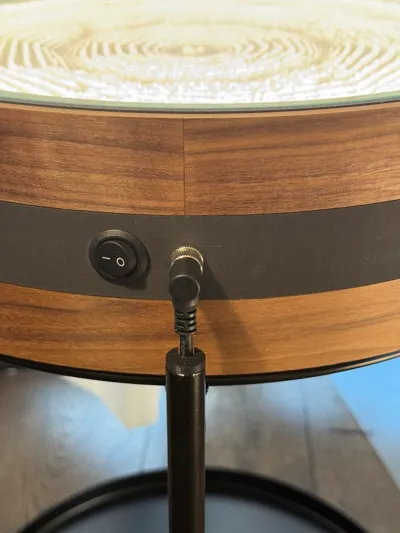
When you can’t or don’t like to solder, you can skip the integrated on/off button and remove that cutout and just use the plug from the 3-way splitter as the main input.
The parts in the BOM that require soldering are marked with an * and there is a non-soldering alternative available.
In the assembly guide you will find more information.
Costs
🔄 Reduced cost with Raspberry Pi Zero 2 W: I’ve just tested the Raspberry Pi Zero 2 W and the app runs flawlessly and it’s likely more than enough for this project. So from now on I’ll recommend buying this instead of the more expensive Raspberry Pi 4 model.
This makes it now possible to build it for ~ €175 for the basic version and ~ €225 for the version with LED, glass top and the legs.
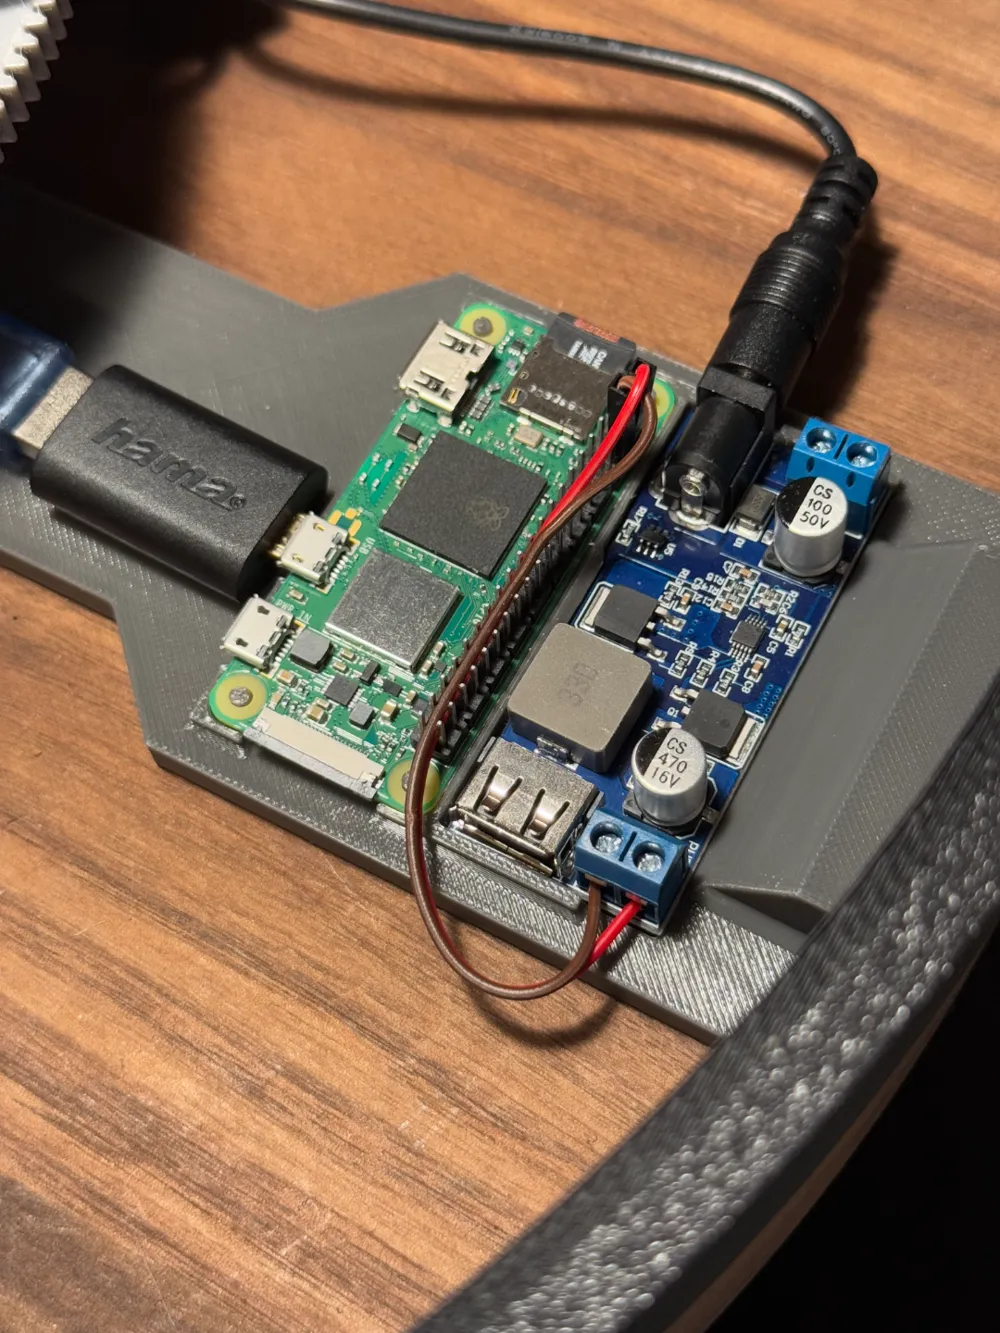
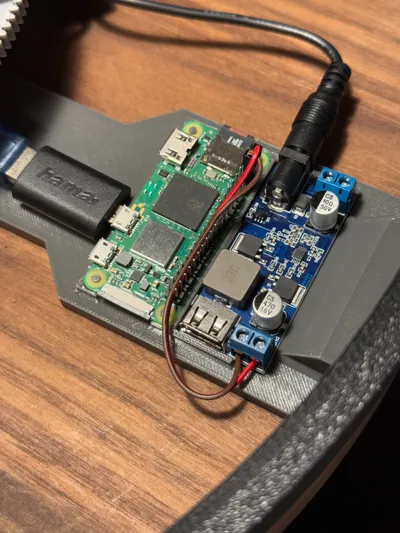
One of the base legs now hold the raspberry pi zero including buck converter.
See Changelog below also for minor fixes and improvements.
In terms of costs the original model by Tuan is likely more budget-friendly.
IKEA takes a big cut of the budget of this project. I ordered most of the parts in the BOM at Amazon which was the fastest but definitely not the cheapest option. So for a second build I’m ordering most of the parts from AliExpress and with that I could get a better picture of the costs. If I had to buy everything from the Required and Recommended parts of the BOM, including Raspberry Pi Zero W 2, it would be a total of ~ €225 (at the time of writing and shipped to EU)
Build
Most parts are interlocking, only 8 m3 screws are needed to secure the motors.
For moving parts, I’ve oriented them in such a way that it minimizes friction for the linear movement by placing the print lines parallel to the motion. If you do have a smooth build plate I recommend it for Plate 2 (gears & motor parts)
This project might involve a bit more than your average print, due to the use of arduino and Raspberry Pi. I’ve tried to document as clearly as possible. Before starting it’s best to read/scan through the documentation once to get a general feel of the process.
💡For skills-level reference: I did not have any experience with Arduino (or cnc related boards and stepper motors in general) but I did have some experience with Raspberry Pi projects and I can do some basic soldering, so this project is surely doable.
| Web App (v2) |
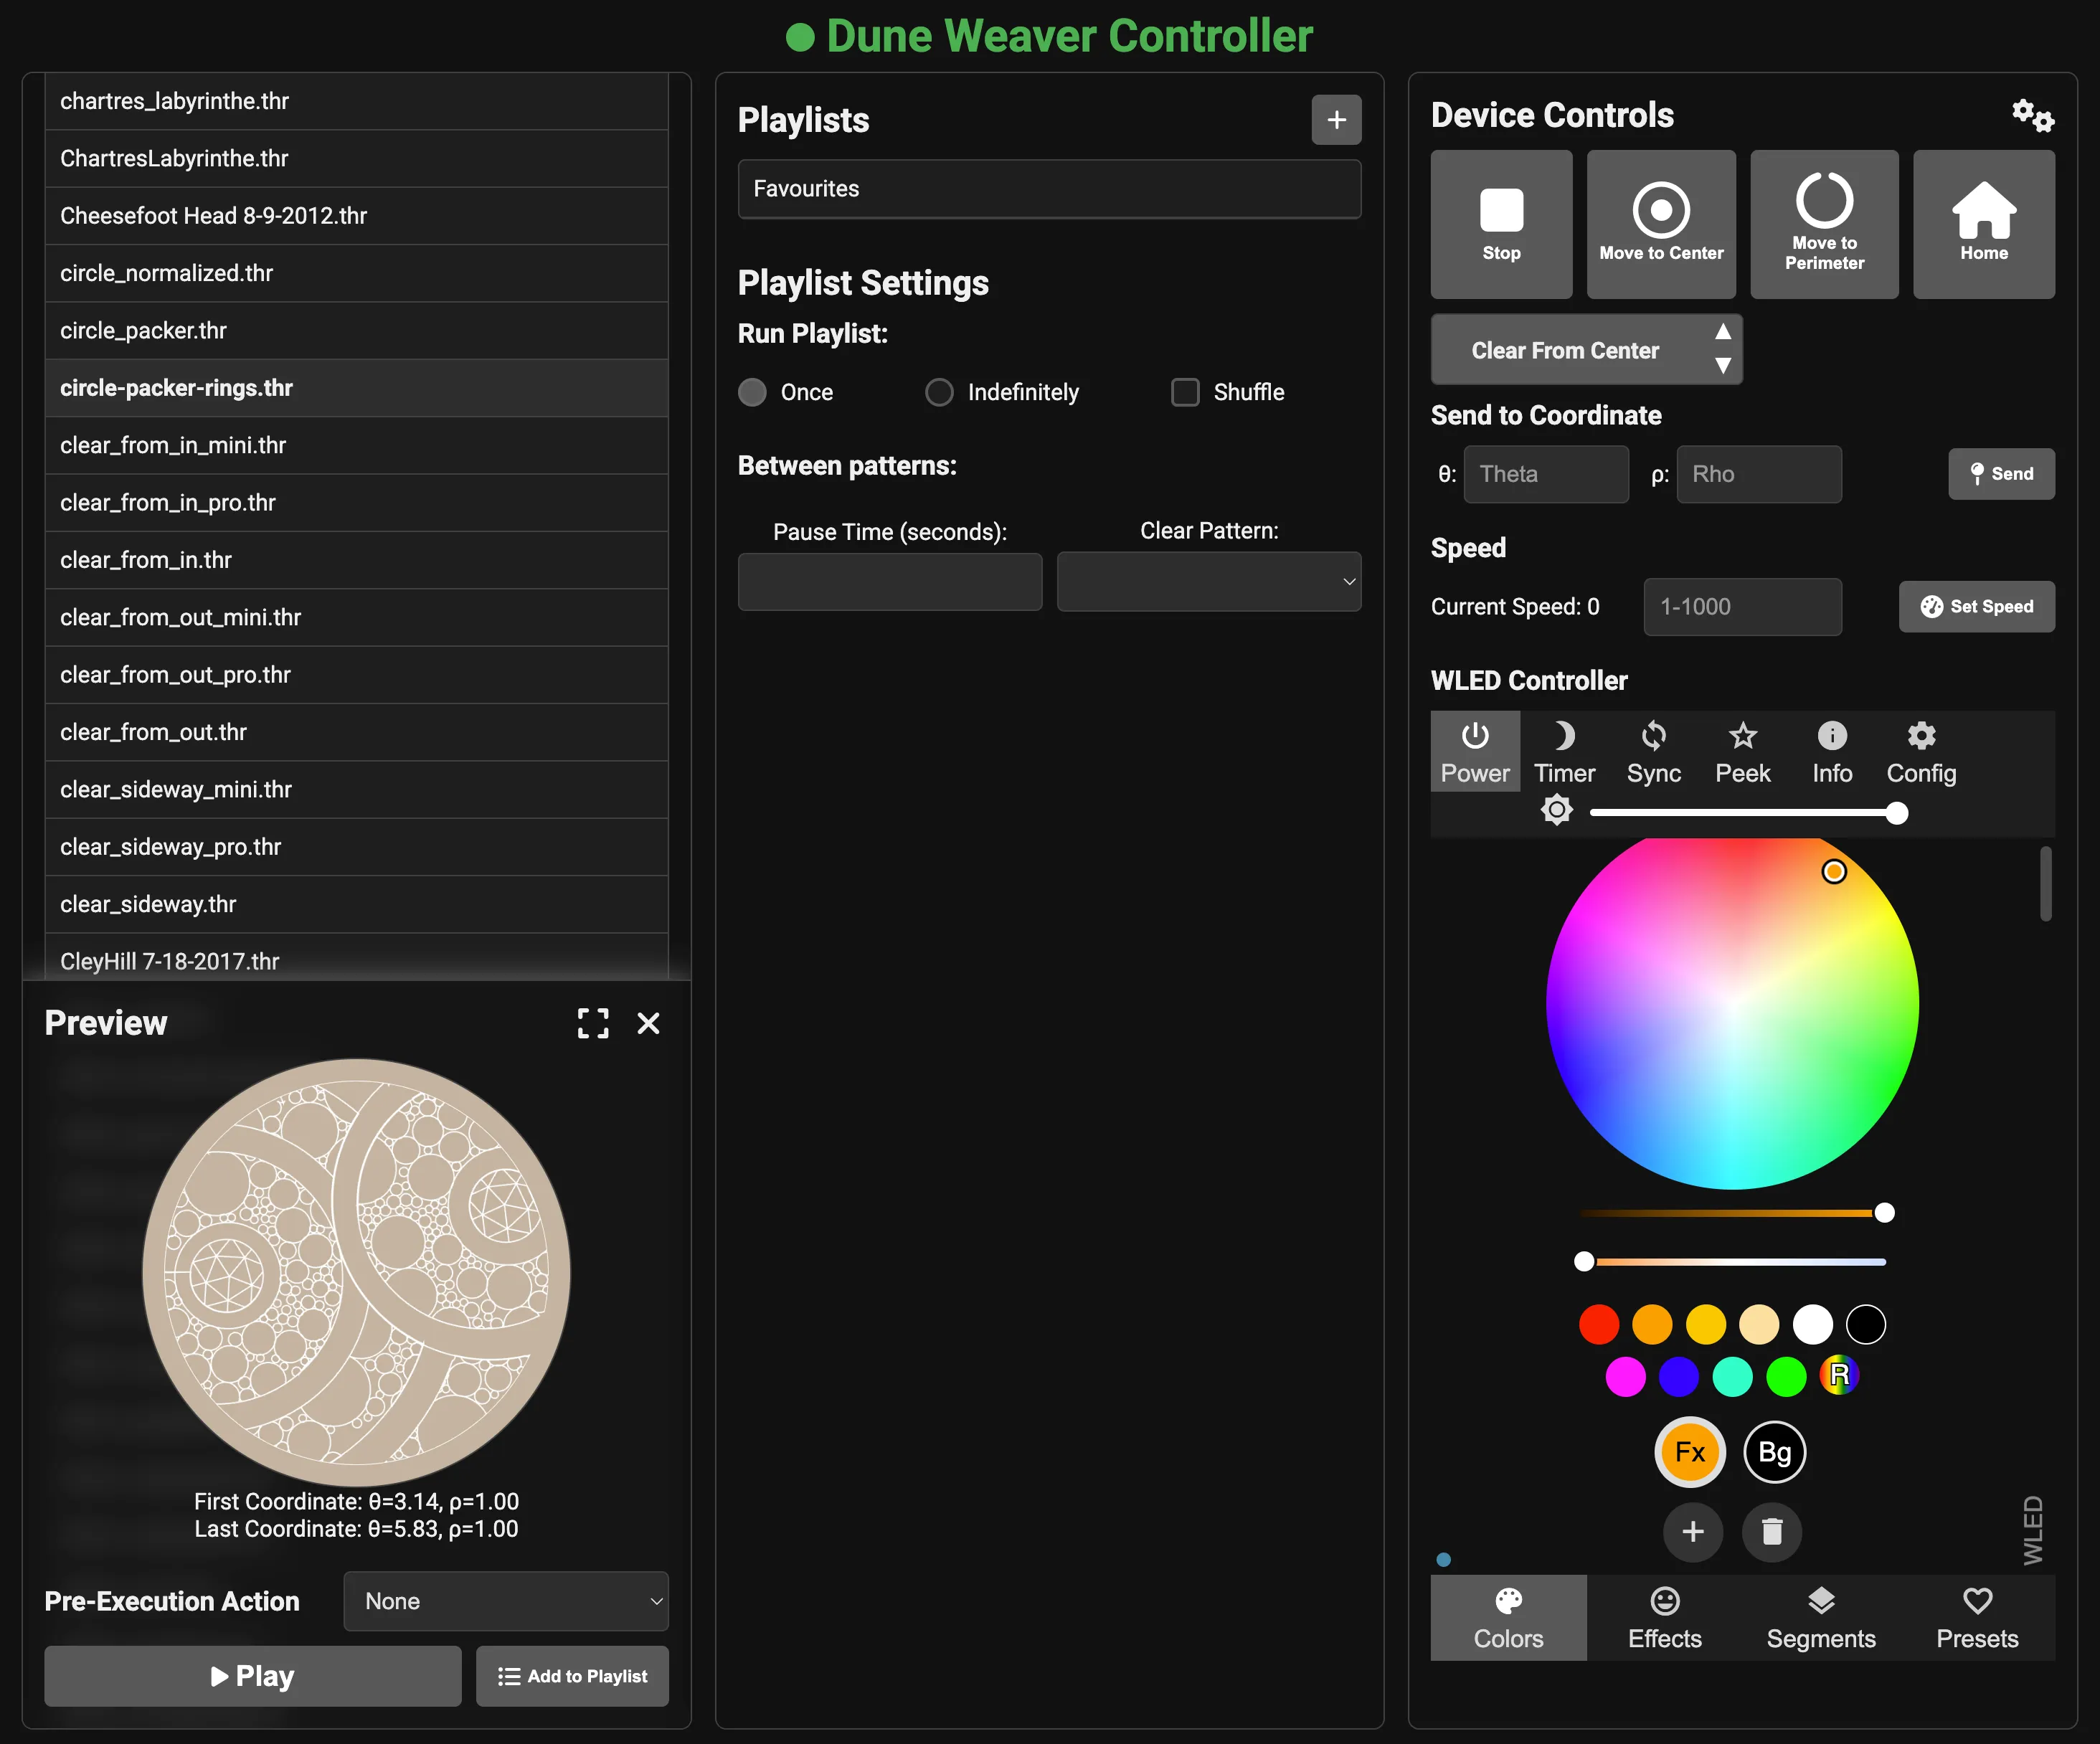 |
Check out upcoming features here: https://github.com/users/tuanchris/projects/2 where you can also comment on specific features, make requests or can contribute yourself :)
Credits
Thanks again to Tuan Nguyen for his work so far and his permission for me to share my version also publicly. And also an honorable mention to u/Scatterthought on Reddit who suggested the idea for using the Ikea tray. In the Bill of Materials in the Assembly Instructions PDF are the EU links (that I used myself) as well as for the US (thanks to @RealGoose for sharing)
ℹ️ Changelog:
- [2025-03-25] 1.5.0
- Updated Side Ring stl with higher quality version to remove the faceting of the angled surface
- [2025-03-15] 1.4.3
- Added DLC32 board as alternative for Arduino + CNC in BOM
- [2025-02-19] 1.4.2
- Bugfix: reset scaling of the top ring to the original size
- Added optional DLC32 board leg (currently in beta, see Discord for more info)
- [2025-02-17] 1.4.1
- Bugfix incorrect z-scale of one of the rings (thanks to thehonorguard for the heads-up)
- Added led diffuser to the optional parts of the BOM
- [2025-01-24] 1.4.0
- Included Improved Gears made by Tuan for better noise reduction and stability
- Added 608 ZZ ball bearings as an optional part in the BOM. It's an drop-in replacement for the printed inner motor column part and it will help with the stability of the big gear.
- Updated App with ‘Currently Playing’ an ‘In-app software and firmware updater’ functionality and a bunch of other UI improvements
- [2025-01-09] 1.2.0
- Added base leg for Raspberry Pi Zero W 2 (Plate 1)
- Added optional Side Ring Quarter with negative part for potentiometer of the LED dimmer
- Updated documentation and BOM
- [2025-01-08] 1.1.6
- Tested and now recommending Raspberry Pi Zero 2 W (instead of the more expensive Raspberry Pi 4)
- Clarified that the build can be done without soldering (except for the integrated on/off button)
- Updated BOM & Assembly Guide to reflect the changes above.
- [2025-01-06] 1.1.5
- Updated BOM with links to AliExpress for reducing cost and updated the estimated costs in the description.
- Removed redundant BOM in assembly guide and the 'List other parts' because in this description it's easier to maintain
- [2025-01-03] 1.1.4
- Added a 12v LED dimmer as an optional part in the BOM. There will be a way to mount it as a knob in the side ring in a future update.
- Updated the US link in BOM for the magnet for a cheaper version and better match with the original size
- Fixed duplicate US link for stepper motors (thanks @mrodr862PBell for the heads-up)
- Added BOM at the description on this page for better visibility for the US links.
- [2025-01-01] 1.1.3
- Updated the US links in BOM of the power adapter and buck converter after test results of @RealGoose.
- Added information about LED dimmer to the Additional Notes and Tips below.
- [2024-12-31] 1.1.2
- Added leg cap to close top of the Gladom leg off as much as possible when hiding the power cable inside one of the legs.
- Added holders to use the tray that came with the Gladom as a bottom tray in the table.
- [2024-12-30] 1.1.1
- Changed BOM to have 1x15cm and 1x20cm (instead of 2x15cm) for the optional short stepper motor cables.
- Added clarification in Assembly Guide to double check pin alignment of optional shorter cables.
- [2024-12-29] 1.1.0
- Added replacement feet inserts for the Gladom Table to be able to hide the power supply cable in one of the legs.
- Added US links, provided by @RealGoose for US based builders, to the BOM in the assembly instructions.
- Added missing M3*10 (8X) screws to BOM
- [2024-12-28] 1.0.0
- Initial version
Boost Me (for free)
Did you like the project? Please share your end result!
⚠️ Additional Notes and Tips
Small remarks about my setup and some personal deviations from the instructions:
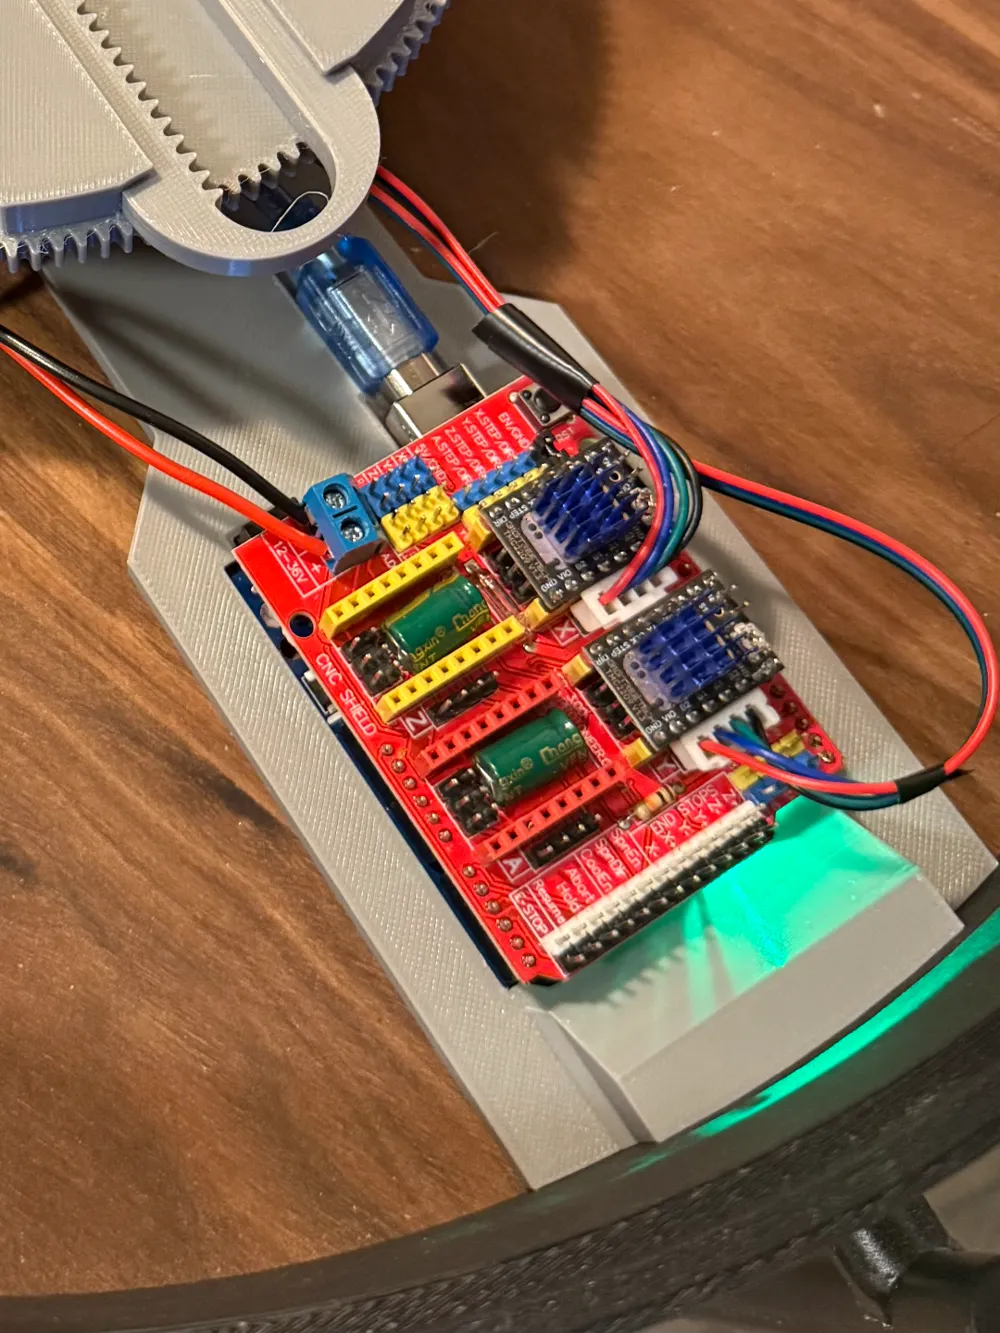
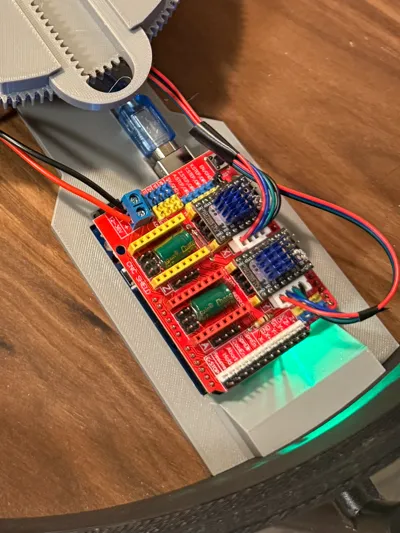
- In my assembly pictures you’ll see a ‘custom made’ 1-to-3 dc splitter and an old Raspberry pi 2 model B because I used what I had laying around. When you order a 3-way dc splitter, make sure to get one that is rated for at least 5A (like the one in the BOM) to have enough headroom and prevent heat. Look for terms like 5A (or more), 60W @12V (or more) or 18AWG or thicker cable.
- The DLC32 board is now recommended for new builds. The Arduino + CNC is still supported but will need different firmware (see updated firmware instructions)
There are some benefits of using the dlc32:- not having to maintain a custom firmware for motor control but rely on proven and widely used firmware
- better batch control of coordinates
- being able to power the Raspberry Pi and LED strip directly from the corresponding 5v and 12v outputs on the board, see wiring instructions , in that case the 1-to-3 splitter cable is not needed.
🛒Bill of Materials EU & US (Amazon) & AliExpress
Please double check the selected option on the product page, sometimes the link leads to a different version/specification. I’ve added the price for the options that are cheapest and/or recommended to get an estimate of the cost. I’ve either used or at least tested these (EU links) myself.*except for the usb-c arduino, I ordered it and will test it but it should be the same as the USB B version, if you want to be sure order the USB B version for now.
Some options have higher quantities than strictly necessary, usually it’s good to have some spare parts and often it’s relatively cheaper. You might still be able to find these parts cheaper. Just keep the specifications in mind and you should be good. I do recommend not to cut corners for the power supply (& related parts).
Core Version (Required) :
- 2x Walnut Tray OMBONAD
- 1x Baking soda (~300g) or fine (decoration) sand of your choice
- Board:
- OPTION A (recommended): 1x DLC 32
- EU: https://amzn.eu/d/7klhe4k
- AliExpress*: https://a.aliexpress.com/_ExPneVI
*(optionally choose a kit with the TMC2209 already included)
- OPTION B: 1x Arduino Uno with CNC Shield
- EU: https://amzn.eu/d/7x9zpqe
- US: https://amzn.to/3DM8JSQ
- AliExpress (USB-C version):
- OPTION A (recommended): 1x DLC 32
- 2x Nema 17 Stepper Motor 42-23 17HS4023 (DC 4.1V 1A)
- EU: https://amzn.eu/d/2E3vJV3
- US: https://amzn.to/3DvvdYu
- AliExpress: https://a.aliexpress.com/_EJiQPIM (€15,98)
- 2x TMC2209 Stepper Motor Driver
- EU: https://amzn.eu/d/hlunDvX
- US: https://amzn.to/3BLxpdQ
- AliExpress: https://a.aliexpress.com/_ExfoyKu (€13,58)
- 1x 12V 5A Power Adapter
- EU:
- Option A: https://amzn.eu/d/4s8s2nu (€16.12)
- Option B: https://amzn.eu/d/3UZcJtl
- US: https://amzn.eu/d/7tr5t7X
- EU:
- 1x 1-to-3 12V DC (rated 5A or higher) splitter cable (5.5mm x 2.1mm plugs)
- EU: https://a.aliexpress.com/_EQlqP04 (€6,99)
- US: https://amzn.to/4fKKqlW
- 1x 20mm x 10mm N52 Neodymium magnet
- EU: https://amzn.eu/d/64CTHRN
- US: https://a.co/d/0QGIkGz
- AliExpress: https://a.aliexpress.com/_EvDFh0Y (€5,99)
- 1x 8-12mm steel ball (10mm seems to work best)
- EU: https://amzn.eu/d/90mKLXf
- US: https://amzn.to/3Dvvxqa
- AliExpress: https://a.aliexpress.com/_EumVsyM (€2,21)
- 8x M3x10mm screws
- EU: https://amzn.eu/d/fi3jpOZ
- AliExpress: https://a.aliexpress.com/_EvsdDLW (€2,08)
- 1x 12V to 5V(3A) DC Buck Converter with USB(-C)
- EU:
- Option USB (recommended): https://amzn.eu/d/gYsy6eT
- Option USB-C*: https://amzn.eu/d/9t4wA2t
- US:
- Option USB (recommended): https://a.co/d/fwd2sEB
- Option USB-C*: https://amzn.to/3PEkpdr
- AliExpress:
- Option USB (recommended): https://a.aliexpress.com/_EyJiiJK (€2,12)
- Option USB-C*: https://a.aliexpress.com/_EG3wtxe
- EU:
- 1x On/Off toggle switch*
- 3x Female DC connector (=> 5A), 5.5mm x 2.1mm)
- EU: https://amzn.eu/d/aaWK8nW (€9,00)
- US: https://amzn.to/40daZvm
Control:
- 1x Raspberry Pi Zero W
- EU: https://www.kiwi-electronics.com/en/raspberry-pi-zero-2-w-10770 (€19,95)
- US: https://a.co/d/1QpNzqx
- 1x Micro USB OTG Adapter
- EU: https://amzn.eu/d/fU1GIeV (€5,94)
- US: https://a.co/d/2aI4gSm
Alternative Option:
1x Raspberry Pi 4
- EU: https://amzn.eu/d/7tr5t7X (€66.45)
- US: https://amzn.to/4fFoR65
- 1x Usb C cable
- AliExpress: https://a.aliexpress.com/_EHYqiYc (€2,49)
* Soldering required
(Side) Table Upgrades (Recommended):
- 1x Table legs GLADOM
- 1x Hardened glass plate Ø40cm x 8mm
- EU: https://amzn.eu/d/bHe5zrk (€22.99)
- US: https://amzn.to/4gptr9L
- 1x 12V COB LED strip (warm white)
- EU:
- Option A: https://amzn.eu/d/6QdcCLv
- Option B: https://amzn.eu/d/e1RsRXL
- US: https://amzn.to/3BCzhph
- AliExpress: https://a.aliexpress.com/_Ew913jW (€2,13)
- EU:
Optional:
- 1x 608 ZZ ball bearings ( 8 x 22 x 7)
- Led Diffuser (2m x 20mm):
- AliExpress: https://a.aliexpress.com/_EIrn9pK
- 1x 12V LED Dimmer
- Potentiometer Option:
- EU: https://amzn.eu/d/fXRQl4V
- US: https://a.co/d/2pgHpkA
- AliExpress: https://a.aliexpress.com/_EjzeddE
- Potentiometer Cap: https://a.aliexpress.com/_EGWfP9S
- Touch flush-mounted Option:
- Potentiometer Option:
- 1x 90 degree dc adapter
- EU:
- Option A: https://amzn.eu/d/i3Ey6Wg
- Option B: https://amzn.eu/d/hp0lM6R
- EU:
- 1x 15cm and 1x 20cm stepper motor cables
- AliExpress: https://a.aliexpress.com/_EjJCP60
Documentation (1)
This remix is based on


License



Comment & Rating (218)