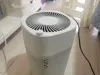
DIY High-颜值 Air Purifier Third Generation (20cm Version)


Print Profile(9)
Description
Boost Me (for free)
Follow these instructions to flawlessly replicate my DIY air purifier—don't two boosts merit such dedication?
DIY High-Aesthetic Air Purifier Generation 1 (15cm Version)
https://makerworld.com.cn/zh/models/610929-diygao-yan-zhi-kong-qi-jing-hua-qi#profileId-545877


DIY High-Aesthetic Air Purifier Generation 2 (17cm Version)


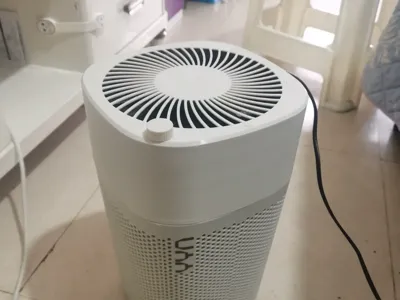
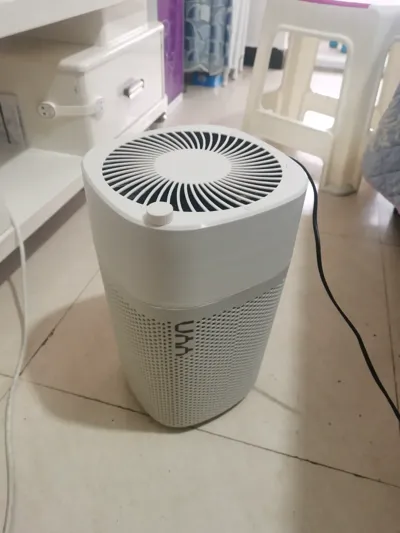
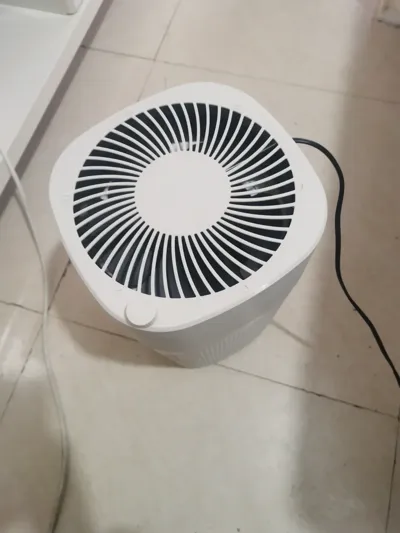
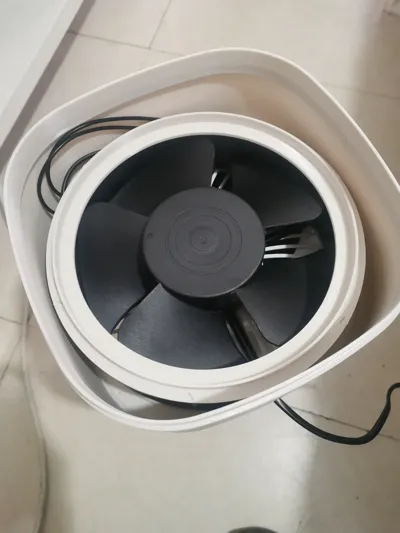
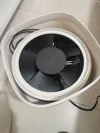
I Brief Introduction: Crafted with a 20cm ball bearing fan, this iteration represents the pinnacle of the series. Boasting a 700 cubic meters per hour airflow, it unites high aesthetics, affordability, and ease of construction—the most balanced DIY air purifier following the 15cm fan model.
II Cost Breakdown: 20cm ball bearing fan + speed controller 61.5 yuan, perforated trash can 12.9 yuan, filter 17 yuan, 3D printing cost 8 yuan; total 99.4 yuan.
III Purchasing Links:
Fan:
【Taobao】7-day unconditional return https://e.tb.cn/h.T6ibUWVdGV4693y?tk=FHAuea0QEkR MF7997 「Factory direct sale axial flow fan 20060 round 22060 220V 380V ball bearing 20cm cooling fan」
Click the link to open directly or search directly on Taobao
Speed Controller:
【Taobao】7-day unconditional return https://e.tb.cn/h.T68FA5TF4POkW4M?tk=yNd4ea09ahB CZ0015 「AC220V AC fan speed controller power cord 220V speed controller switch connecting wire plug 1.8m」
Click the link to open directly or search directly on Taobao
Trash Can:
【Taobao】Guaranteed authentic or full refund https://e.tb.cn/h.T68vNgCiQRCgvNo?tk=KtjOea0kVA8 CZ3458 「Household perforated trash can large bedroom living room lidless press ring kitchen large capacity office high-aesthetic wastebasket」
Click the link to open directly or search directly on Taobao
Filter: The cheapest dust filter on Pinduoduo for 17 yuan, purchase a Xiaomi air purifier filter compatible with generations 1, 2, and 3. Generation 4 has differing dimensions and is incompatible.
Printing Material:
PETG material, approximately 20 yuan per roll.
IV Assembly Materials Required: Needle-nose pliers, electrical tape, small flathead screwdriver, nano adhesive, transparent tape.
V Assembly Instructions:
1 Cut the wires at both ends of the speed controller, leaving 3-5cm. Use a flathead screwdriver to pry open the knob, then pry open the speed controller housing. Use needle-nose pliers to strip the wires, exposing approximately 1cm.
2 Cut the brown wire at the heat shrink location on the fan, strip 1cm, and connect to the speed controller wiring. The speed controller back has the letters WL indicating the input, the side without letters is the output. Connect the wire without letters to the fan, the one with WL letters to the plug side, ensuring proper insulation after connection.
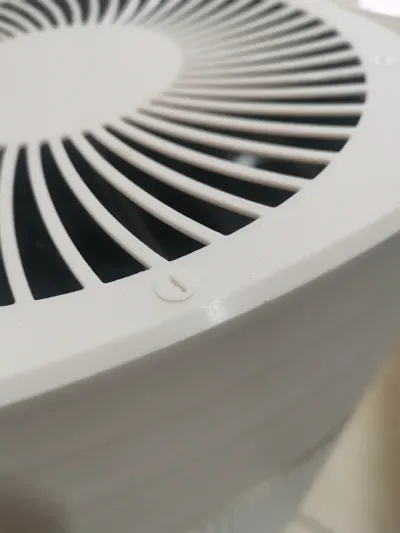
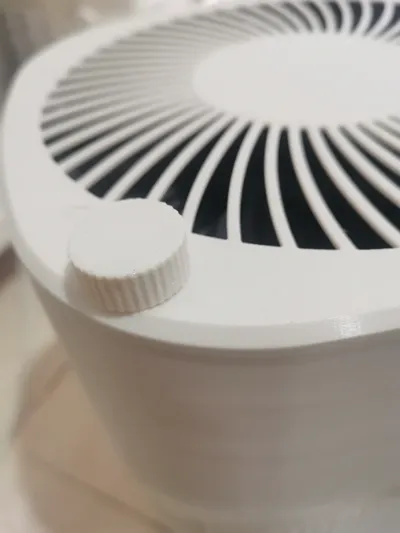
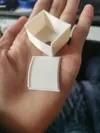
3 Attach the printed knob extension rod using one printed speed controller nut to the housing. This serves as a positioning aid and may require transparent tape for supplementary adhesion and securing.
4 Install the speed controller into the housing, securing it with one speed controller nut. After closing the rear cover, reinforce it with transparent tape.
5 Apply nano adhesive to the outer arc of the speed controller housing. Align the speed controller vertically with the knob extension rod. Ensure proper positioning before pressing and fixing it to the housing.
6 Feed the fan wire through the housing, angling it to fit into the speed controller. The fan should fit under the speed controller. This step requires patience due to interference from the speed controller and wires.
7 Rotate the fan until screw holes are visible, indicating proper installation. Use a flathead screwdriver to tighten the printed screws. Avoid excessive force to prevent breakage. Tighten halfway initially, tightening diagonally across all screws, then tightening diagonally again.
8 Carefully pull out the fan wire and organize the internal wiring.
9 After stripping the plug wire and fan wire, connect them and secure with electrical tape.
10 Install the sealing ring; follow step 7.
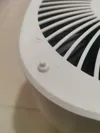
11 Install the speed control knob. Installation complete.
License
You shall not share, sub-license, sell, rent, host, transfer, or distribute in any way the digital or 3D printed versions of this object, nor any other derivative work of this object in its digital or physical format (including - but not limited to - remixes of this object, and hosting on other digital platforms). The objects may not be used without permission in any way whatsoever in which you charge money, or collect fees.
Comment & Rating (0)