
Realistic Octopus Articulated Kraken

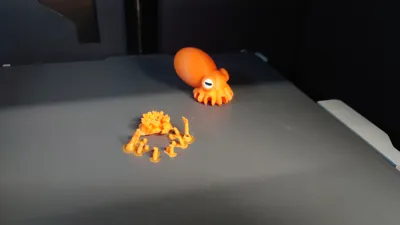
Print Profile(2)


Description
Hello everyone,
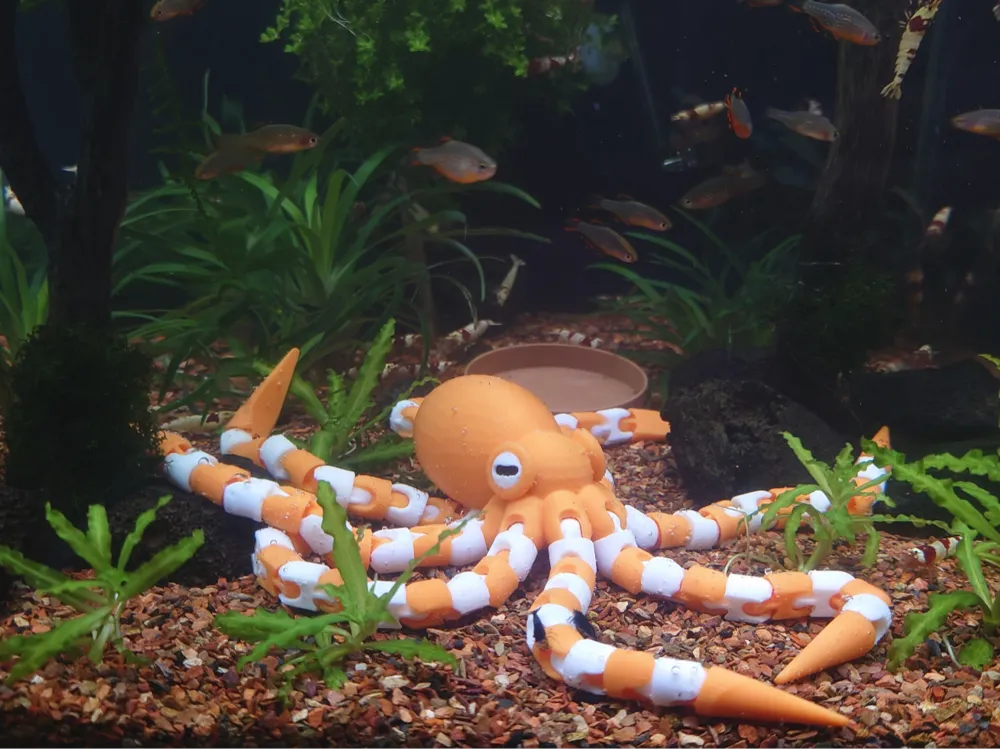
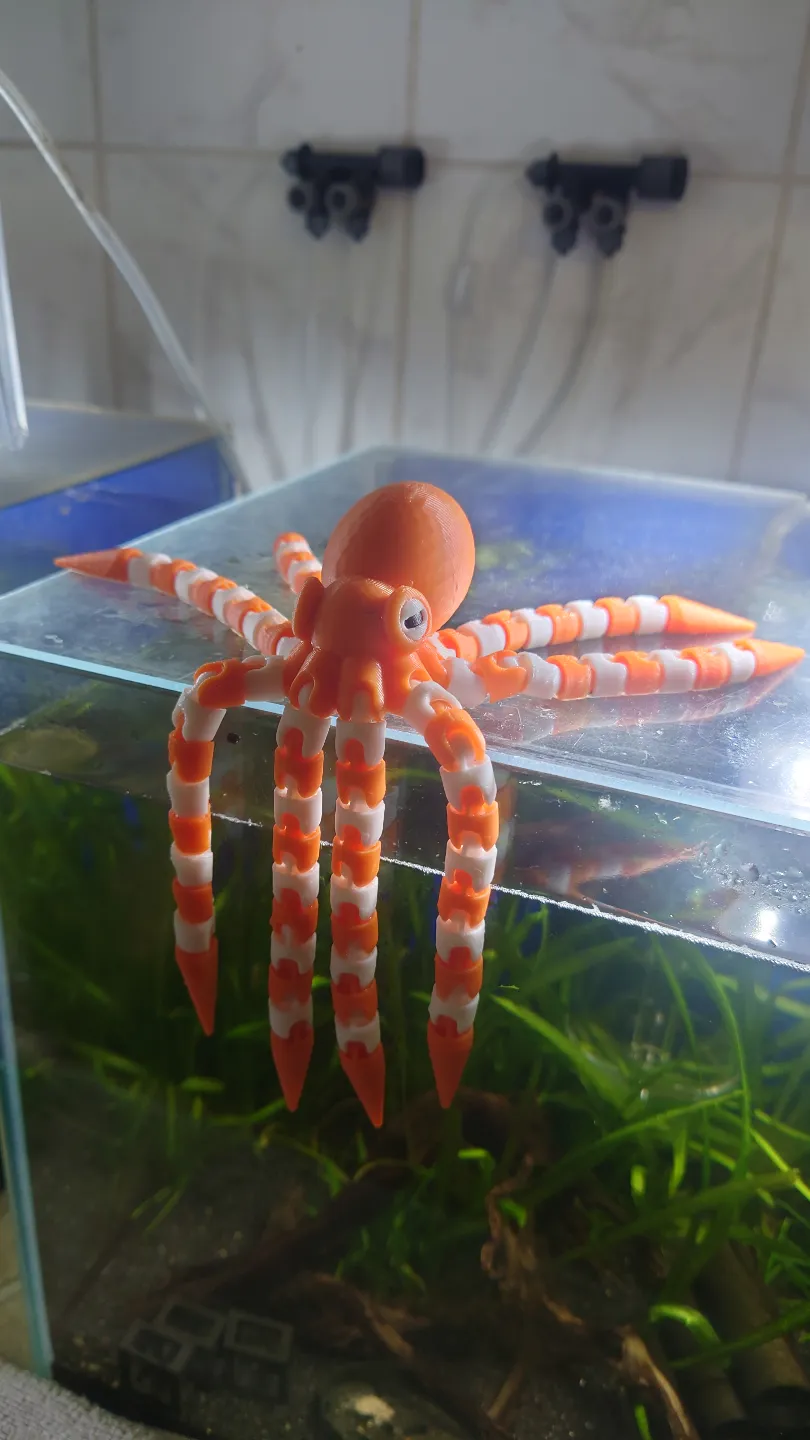
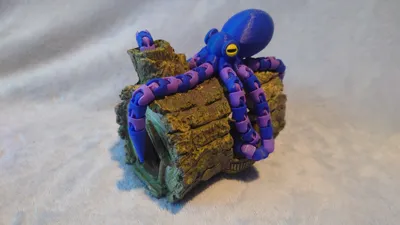
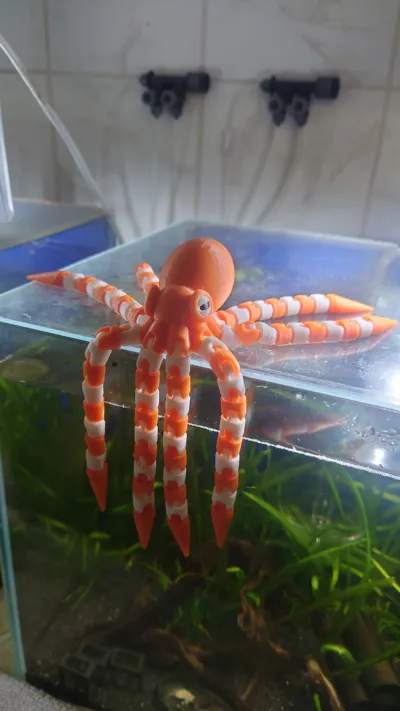
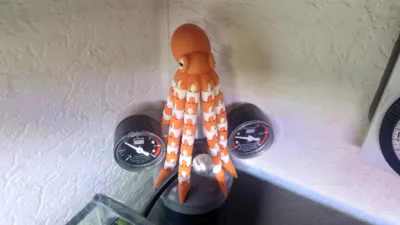
I was searching for a truly unique decoration for our children's aquarium—an articulated octopus. It needed to be both realistic and extraordinary.
Naturally, like my other designs, it had to be vibrantly colored for my AMS.
I found a suitable design on Thingiverse. I located a single-color base and simply printed it. The original is listed below as the remix base.
However, I quickly discovered that the tolerances were far too tight, making assembly nearly impossible. A real torment for the fingers. The segment holders constantly broke off, if assembly was even possible at all.
Consequently, I adjusted the dimensions in my remix, increased the infill, and added color.
Now the octopus is relatively easy to assemble; the segments simply slot together. However, attaching it to the body requires a little more force.
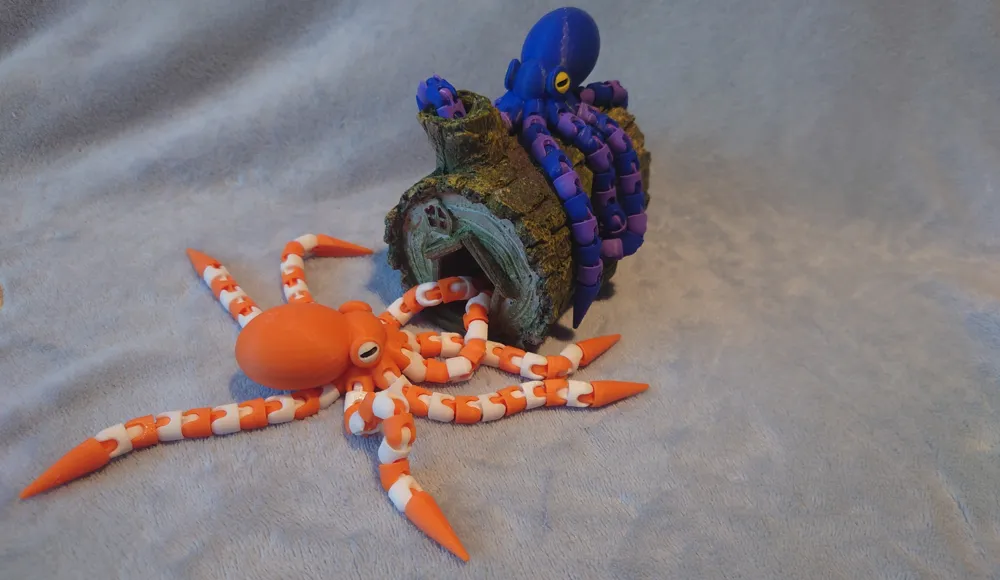
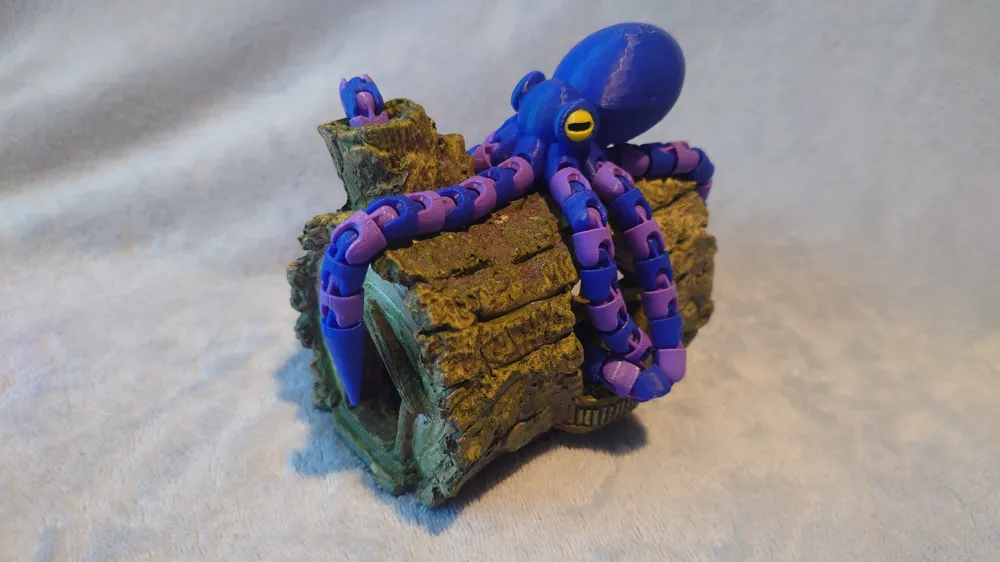
You can customize the octopus flexibly to your preferences. Color it to your liking.
You can also add or remove as many segments as you wish, which will affect the final tentacle length.
Simply duplicate the segments for this. (Select the desired object with a left-click, then right-click and select Duplicate)
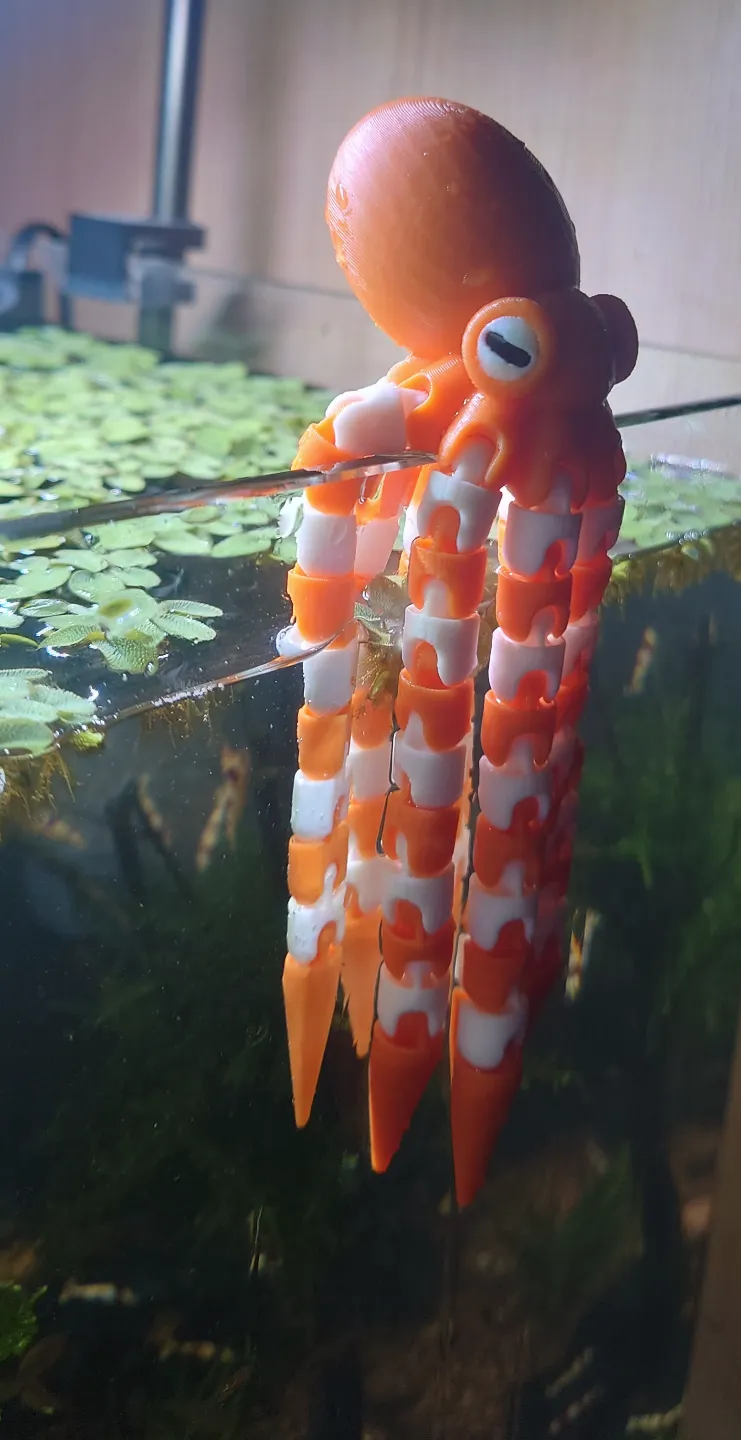
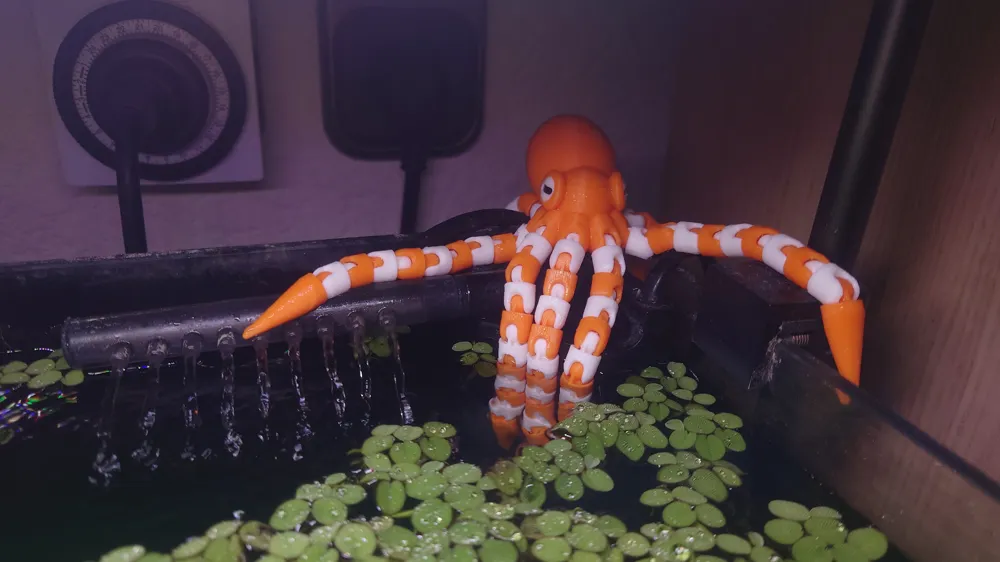
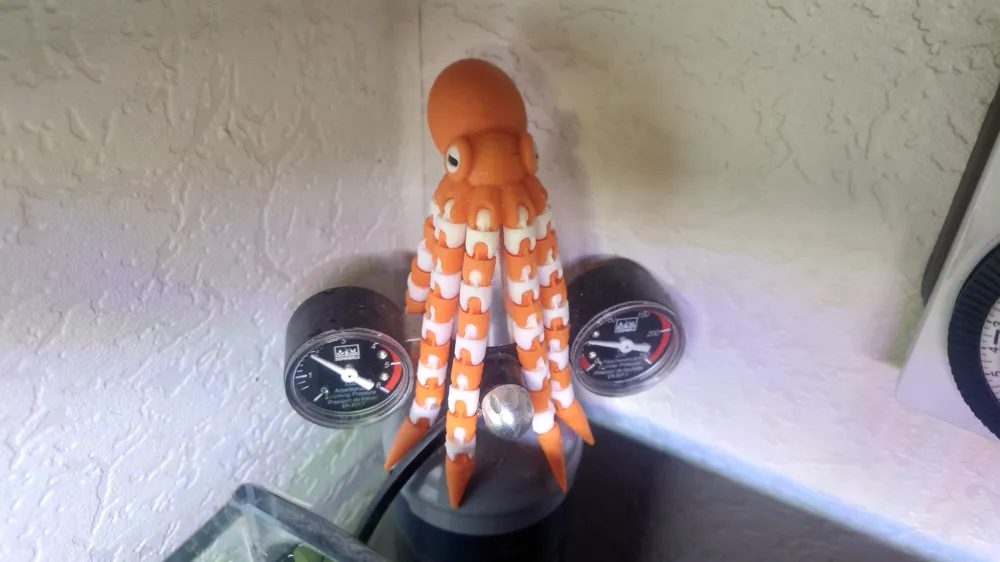
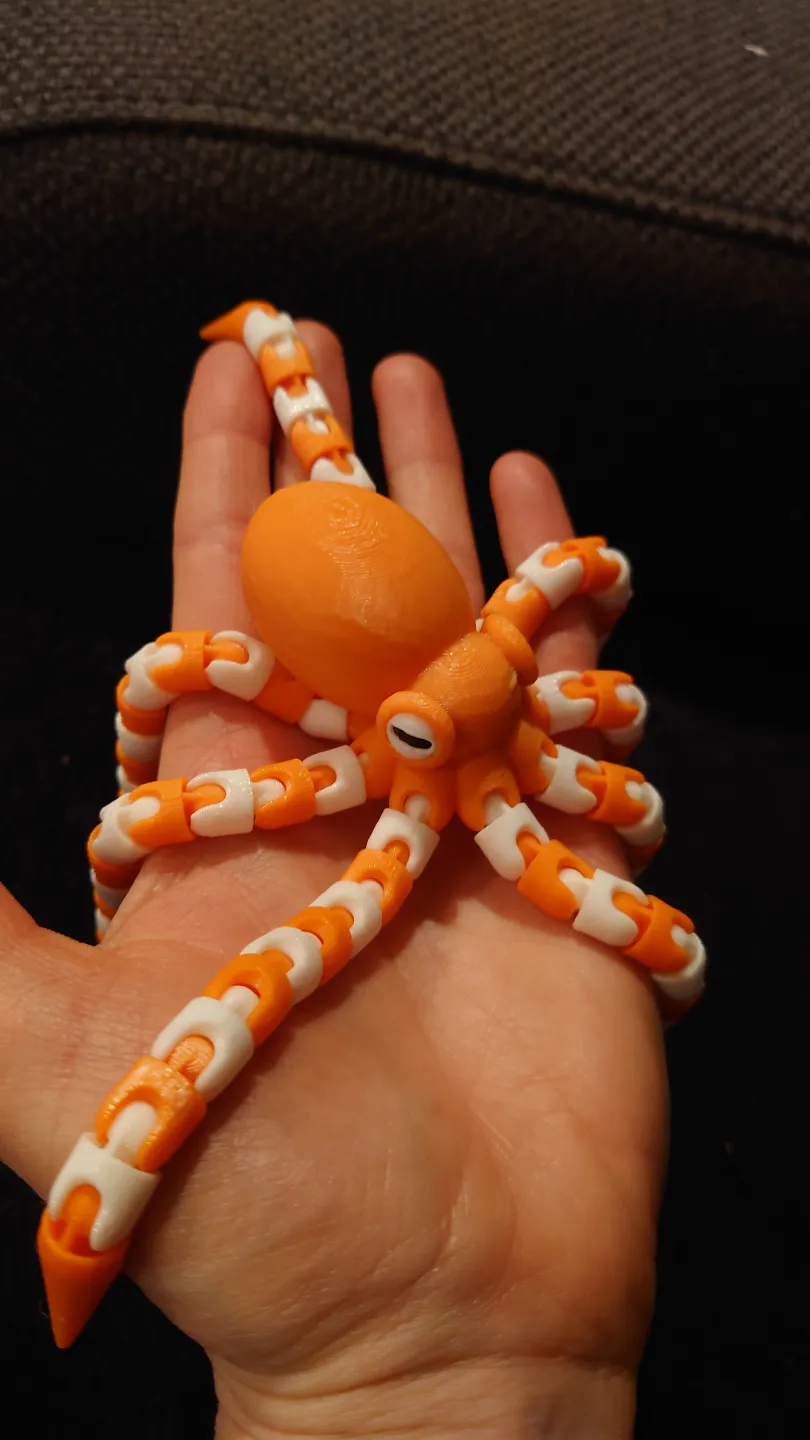
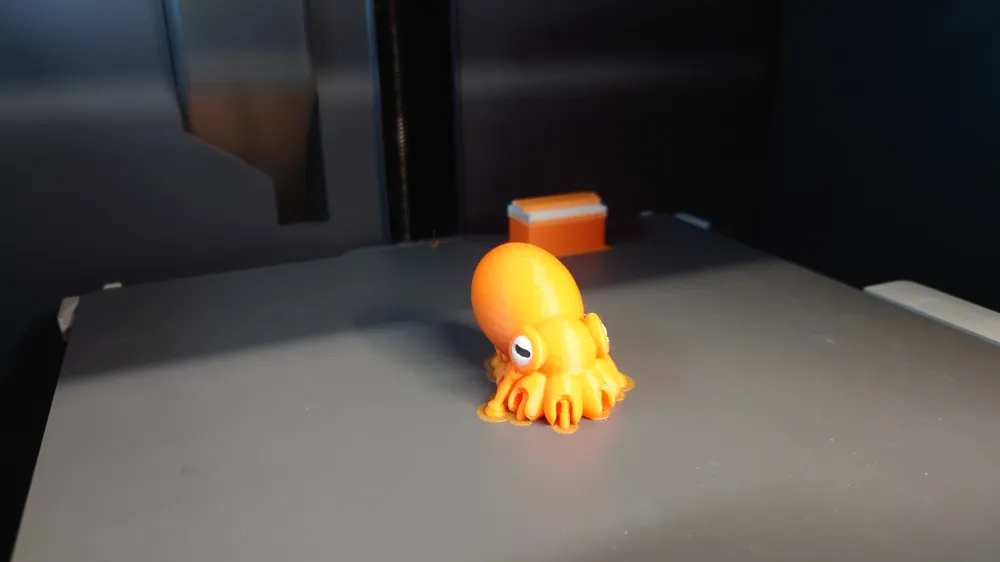
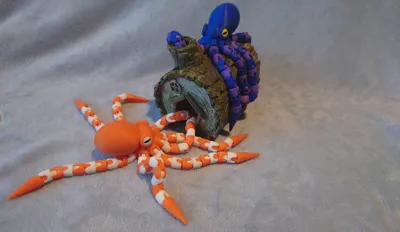
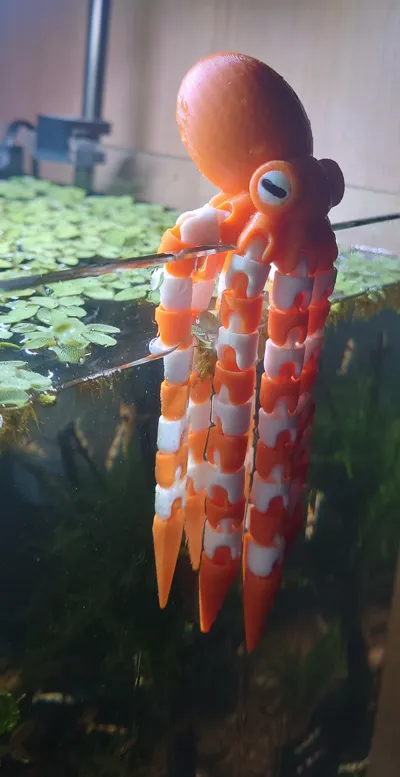
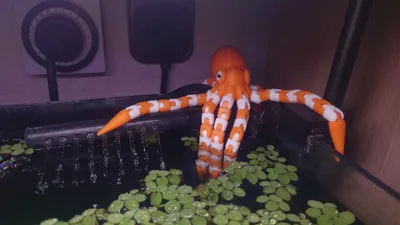
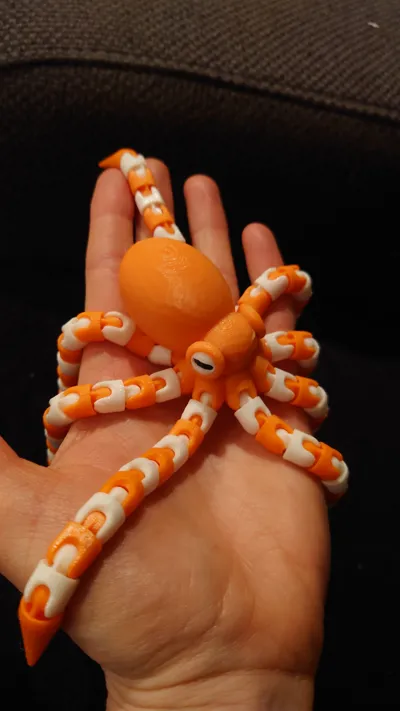
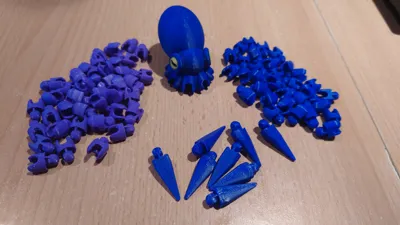
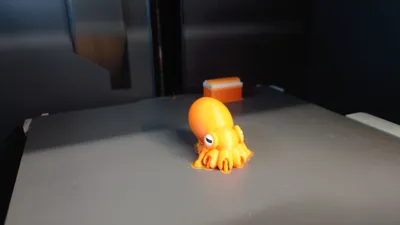
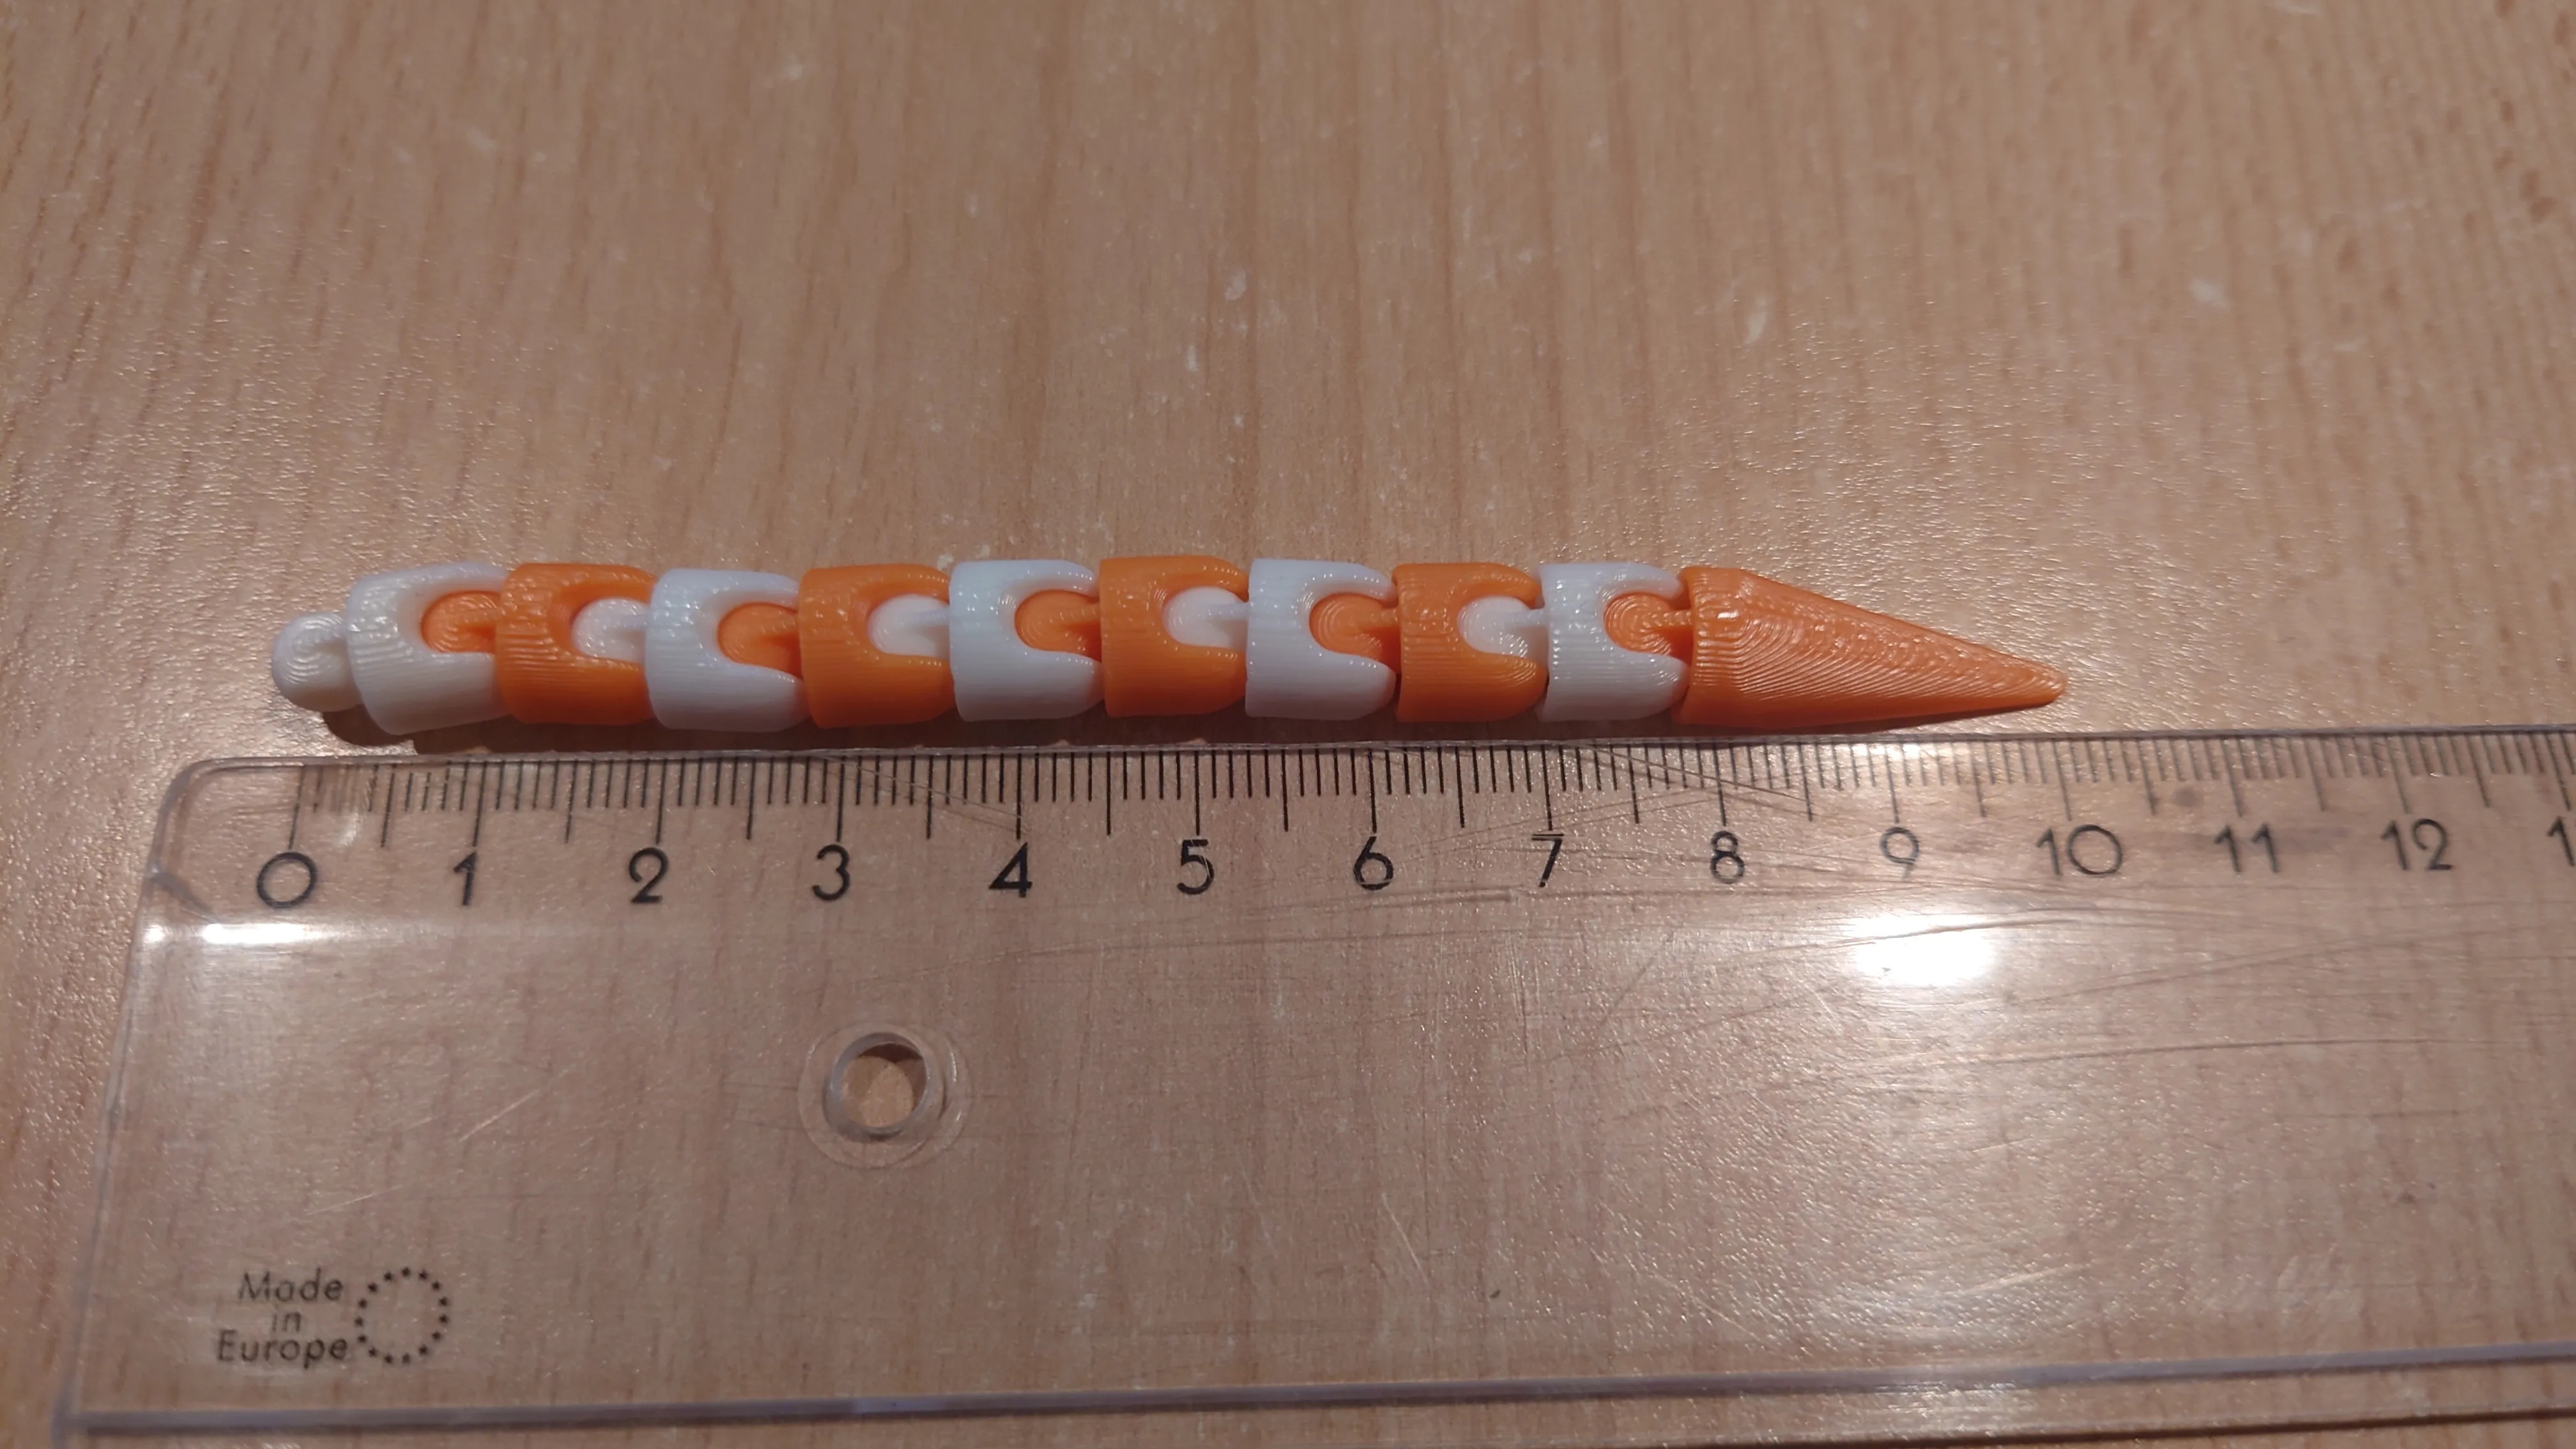
For my orange-and-white octopus, I used 9 segments per tentacle plus the end piece—a total of 10 parts per tentacle. With this configuration, I find the proportions quite pleasing.
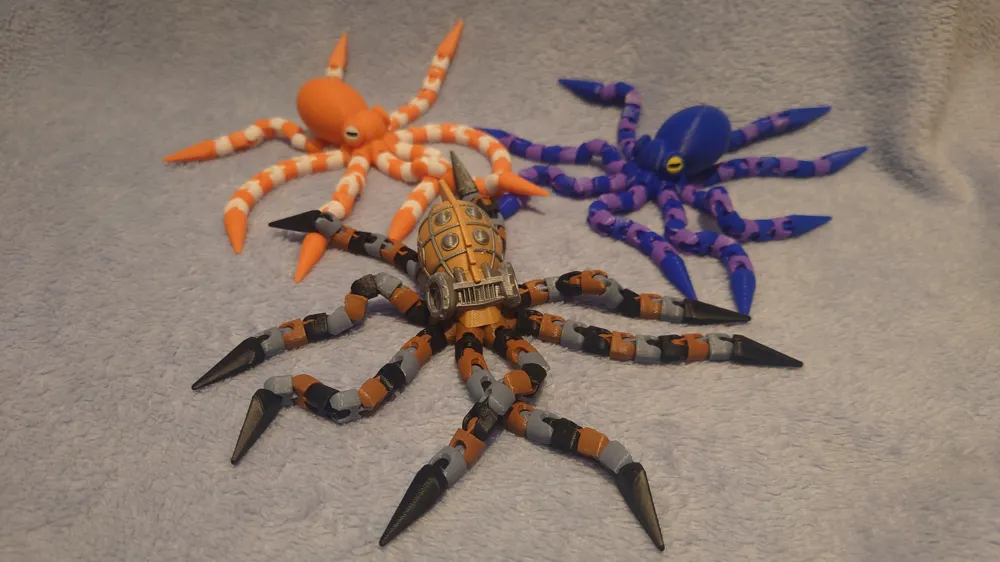
You can also choose the octopus's body.
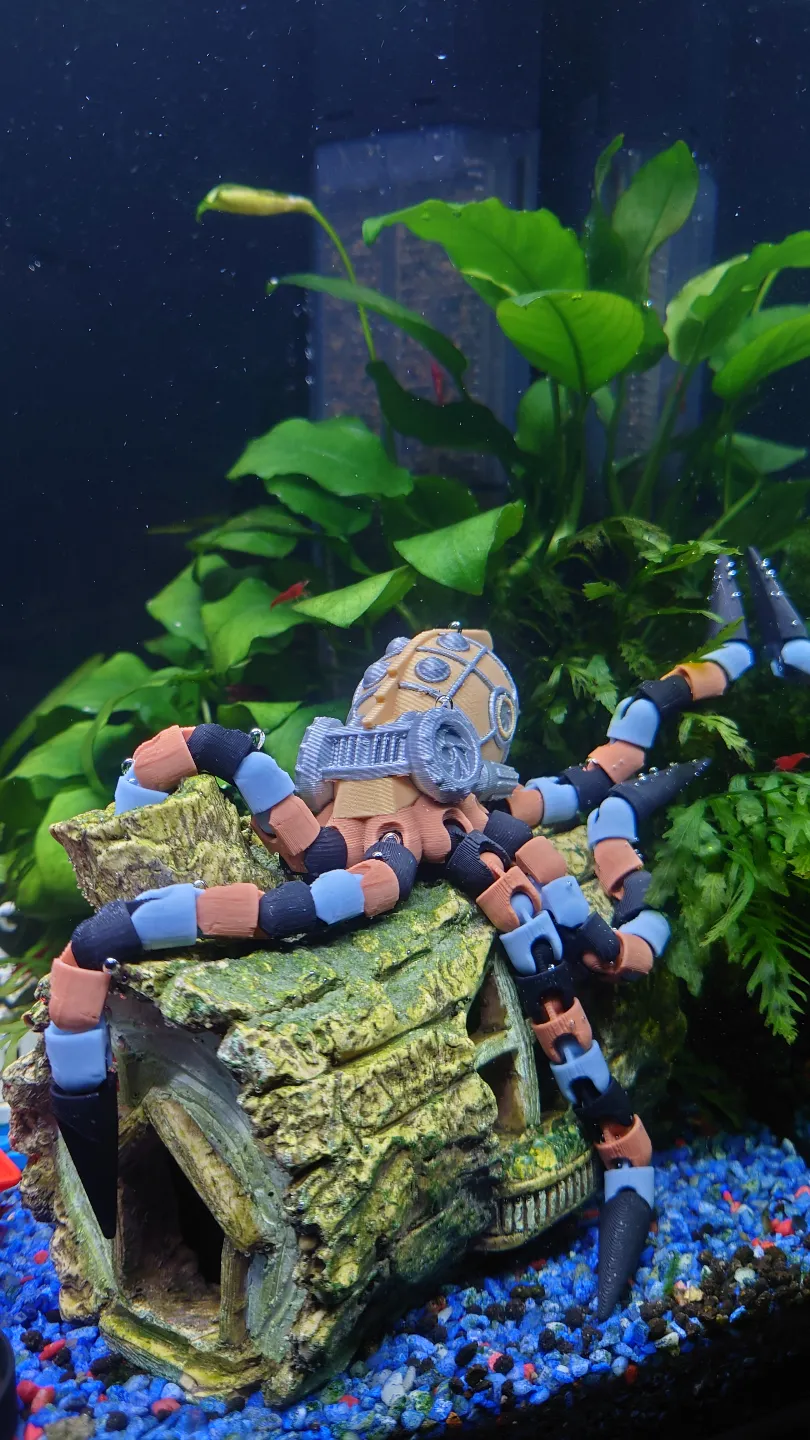

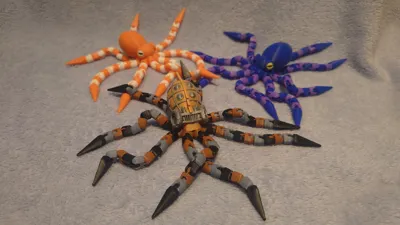
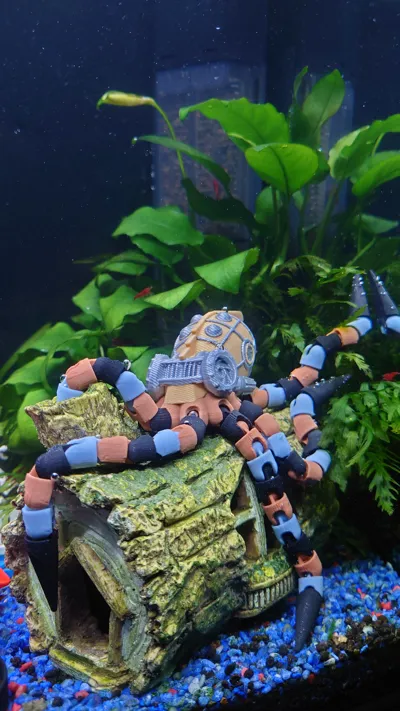
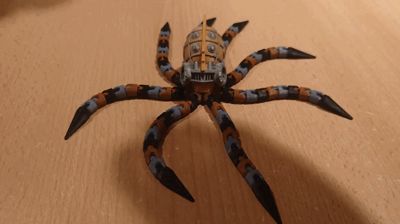
I've added a second print profile with a steampunk variant, which I partially colored with meticulous freehand work. It's fantastic—check out this print profile too!
It truly looks cool. My pictures don't exaggerate. Choose one or print both.
I believe this is arguably the most beautiful octopus variant on MakerWorld.
Since I'm using my variant for the aquarium, I set the infill to 100% so that it sinks to the bottom.
Full infill also offers the advantage that the segment holders are significantly more stable and can withstand more force during assembly.
My experience is thus exclusively based on 100% infill.
For stability reasons, I don't recommend deviating from this.
You can also scale the octopus up; I haven't tried it, but I think as long as you maintain scaling ratios of +5% from body to tentacle, it should work.
The body needs support. I used tree supports and pre-set them in the print profile. Remove the supports very carefully after printing, otherwise assembly will be more difficult.

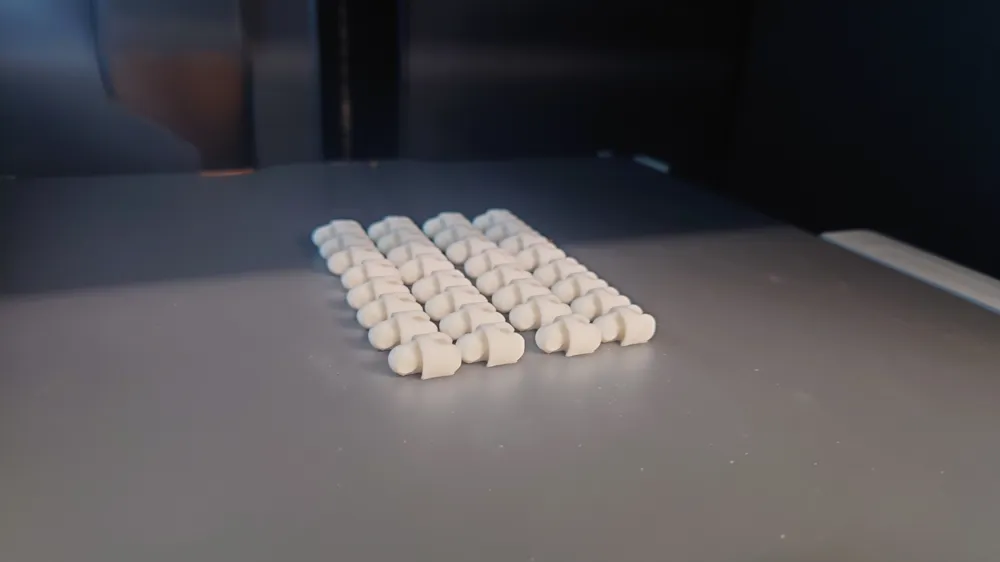
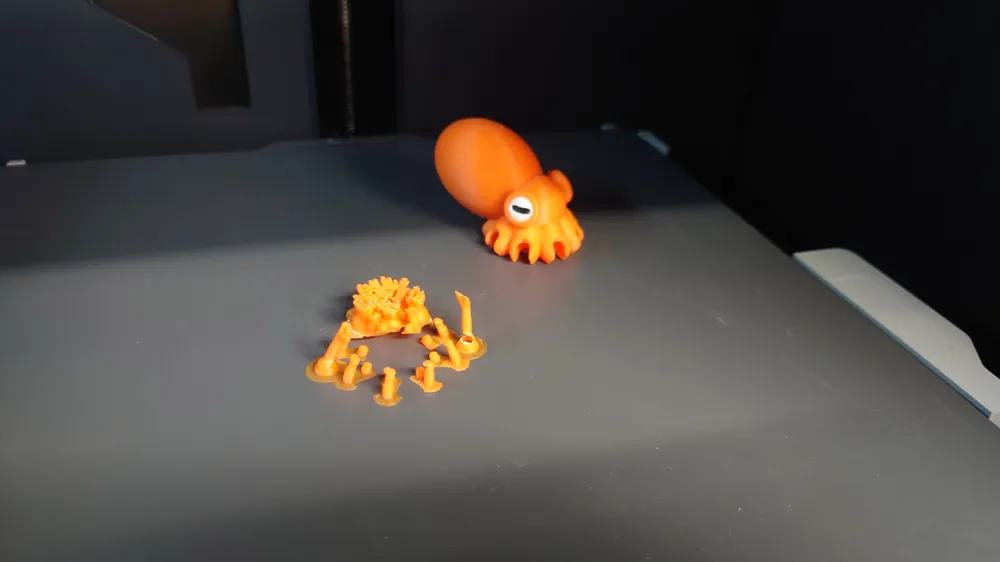
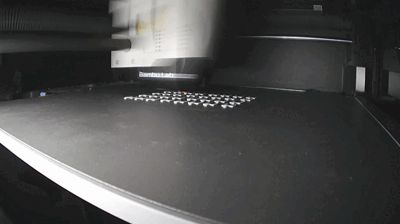
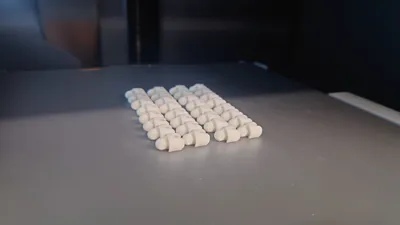
The segments don't really need support and can be printed easily without (at least for me, on the Cool Plate SuperTrack).
WARNING!!! WARNING!!!
If you experience problems with bed adhesion, you may encounter difficulties with the segments. Ensure a perfectly clean print bed, use glue, or set up a brim in your slicer, or use the preset support.
The segments are very small and have only a small contact area on the print bed.
I used the new Cool Plate SuperTrack for my print and had absolutely no problems printing.

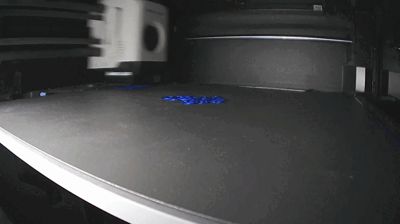
The photos and time-lapse GIFs from the printer show that it's possible to print all segments without supports and brims. So please don't blame me for poor adhesion in your reviews later.
Dimensions:
The body is approximately 3.3cm x 5.5cm x 3.6cm.
Each tentacle segment is approximately 1.5cm x 1cm x 0.8cm.
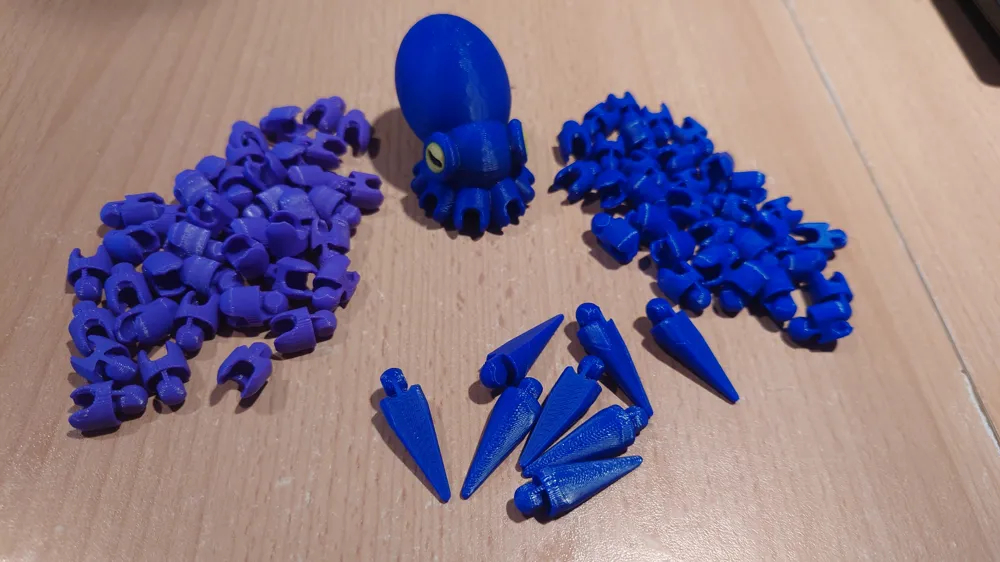
A tentacle arm with 9 segments and the end piece, as shown in the photo, is 10cm long after assembly.
Assembly:

Lay out the parts in your desired color sequence on the table. Note that the segments have a top and a bottom. The bottom is slightly flatter than the rounded top because it rested on the print bed.
Therefore, pay attention to the correct orientation.
Start with the end piece and attach the tentacle segments one by one.

Once your arm has reached the desired length, you can attach it to the body.
It's helpful to apply slight pressure and make small left and right movements to insert it. Look at the GIF.
Keep in mind that some force is required.
Printed on a Bambu Lab P1S on the Cool Plate SuperTrack with original Bambu PLA filaments: PLA Basic orange / Jade White, Black, Blue, yellow, Purple, (Steampunk: silver / gold, brown, black, blue-grey)
I put a lot of effort and time into creating this upload, with the pictures, GIFs, and instructions, to present everything as accurately and smoothly as possible for you—just as I would want it myself.
I would, of course, be delighted to receive appreciative comments, likes, and ratings. Feel free to add a photo of your dangerous creature.
Anyone who wishes to reward and support me is welcome to leave a boost.
Thank you, and in that sense—have fun printing and playing.
Boost Me (for free)
Do you like the octopus? Great, then do me a favor and give me a free boost.
This remix is based on

License



Comment & Rating (164)