
Mini Poop Shredder V1

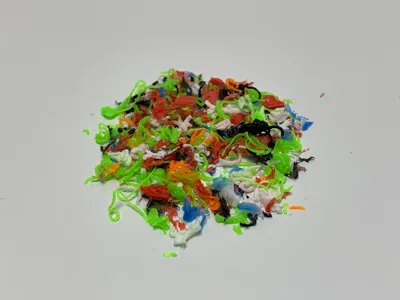
Print Profile(1)

Bill of Materials

Description
Download my newest model here! ;) https://makerworld.com/en/models/2964414
V3 IS AVAILABLE!!! https://makerworld.com/en/models/1444731-mini-poop-shredder-v3#profileId-1504274
V2 is also available. https://makerworld.com/en/models/1169227-mini-poop-shredder-v2#profileId-1177236
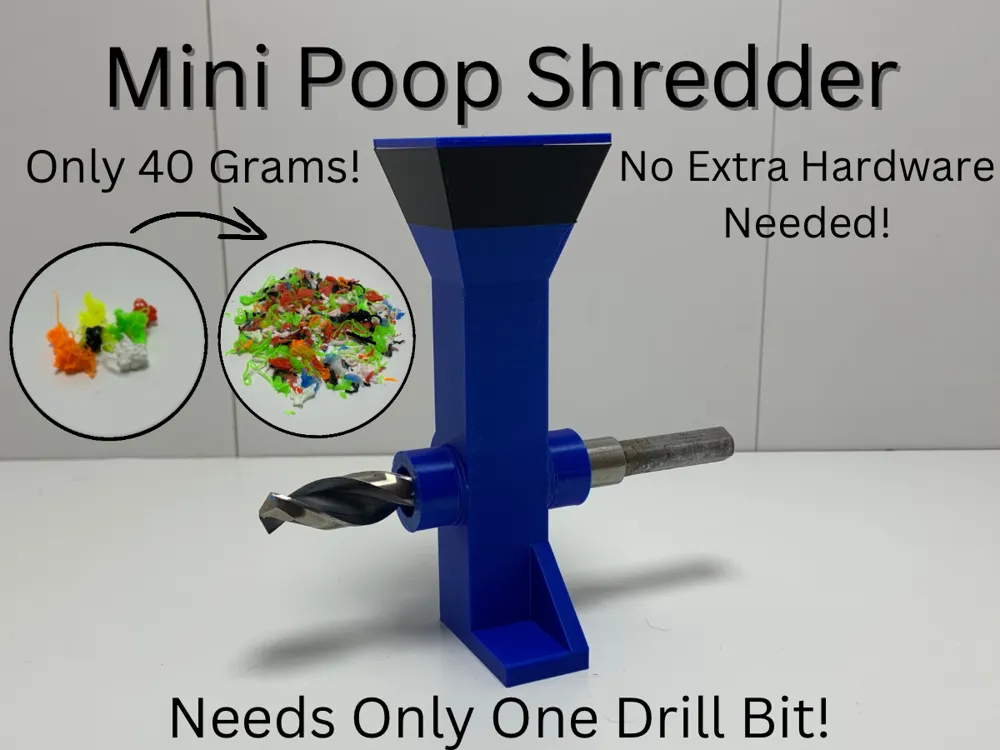
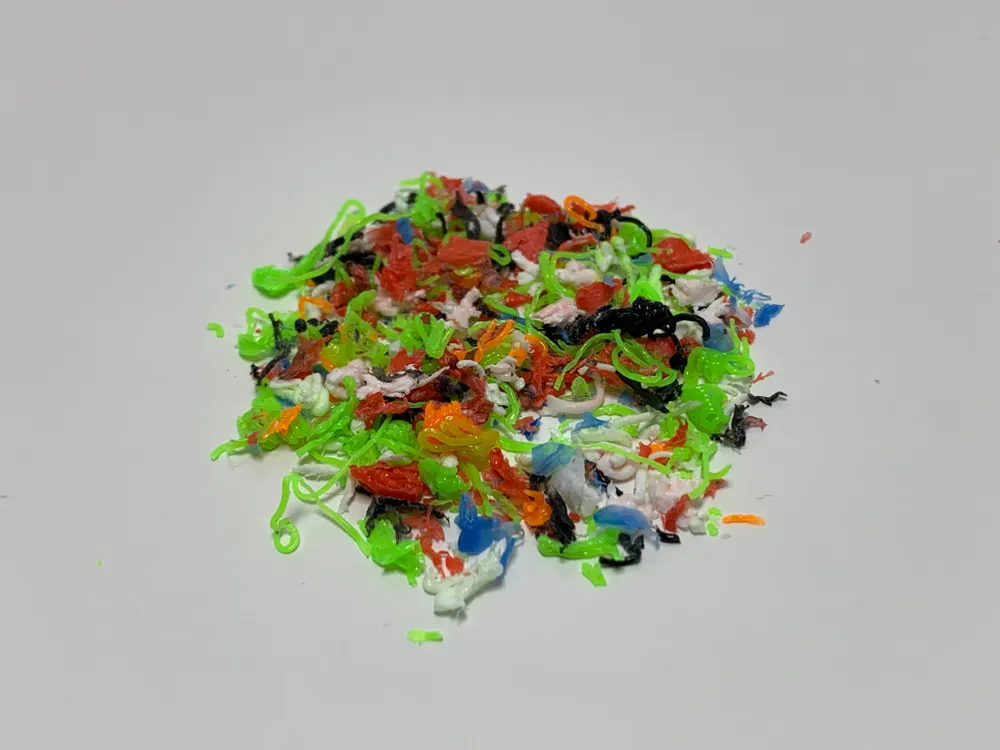
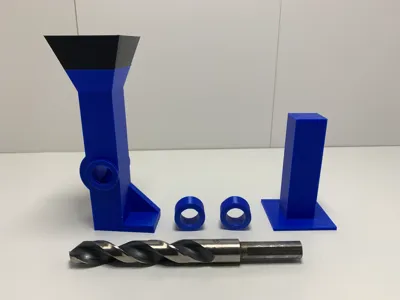
This is a 3d printed shredder that only requires one half-inch drill bit and a drill to use! PETG is recommended but I have had success with PLA and 100% infill. If it is having trouble, try one piece at a time so as to not overload it. Remember to check the assembly guide down below and print this model https://makerworld.com/en/models/1454668-assembly-tool-for-mini-poop-shredders#profileId-1515850 If there are any questions. If there are any problems, leave a comment and I would be happy to make a V2. -Enjoy!
Boost Me (for free)
1 boost equals 66 grams of filament. That’s more than enough to prototype this shredder! :)
Looking for a fun, quick model to print? Please feel free to check out my newest model! It uses less than a gram of filament! https://makerworld.com/en/models/1542478-mini-spinning-top-working#profileId-1619063
Membership
If you are interested in selling this model or just supporting me, please, join my membership! It only costs 3$ to support me and it helps like you would not believe! Thank you.
For assembly, please refer to the guide below:
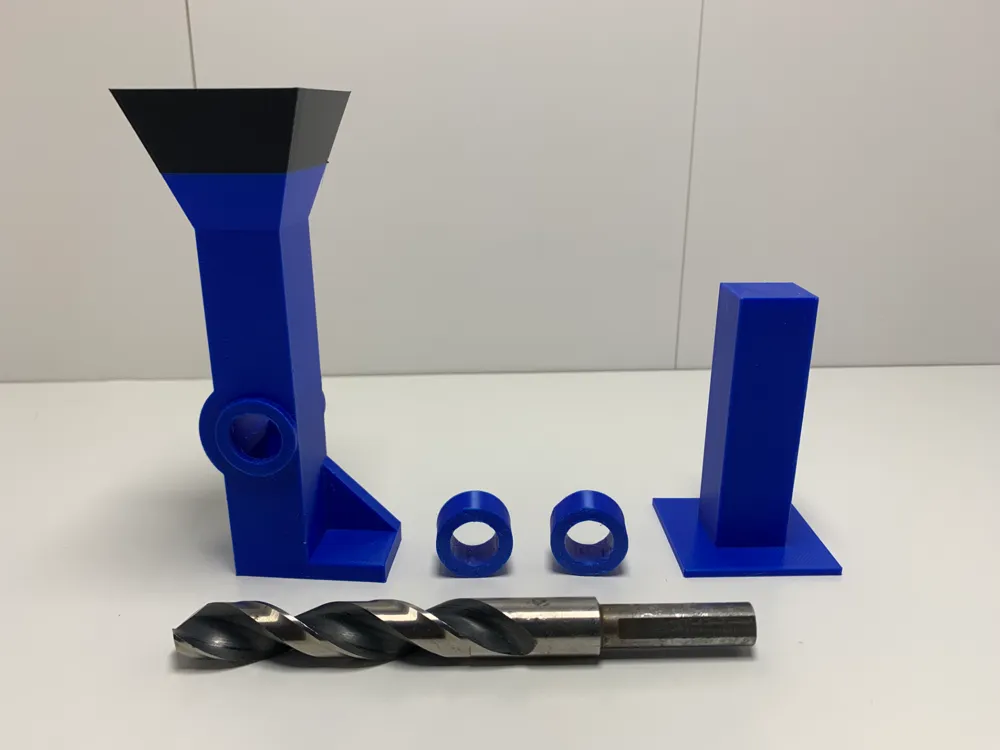
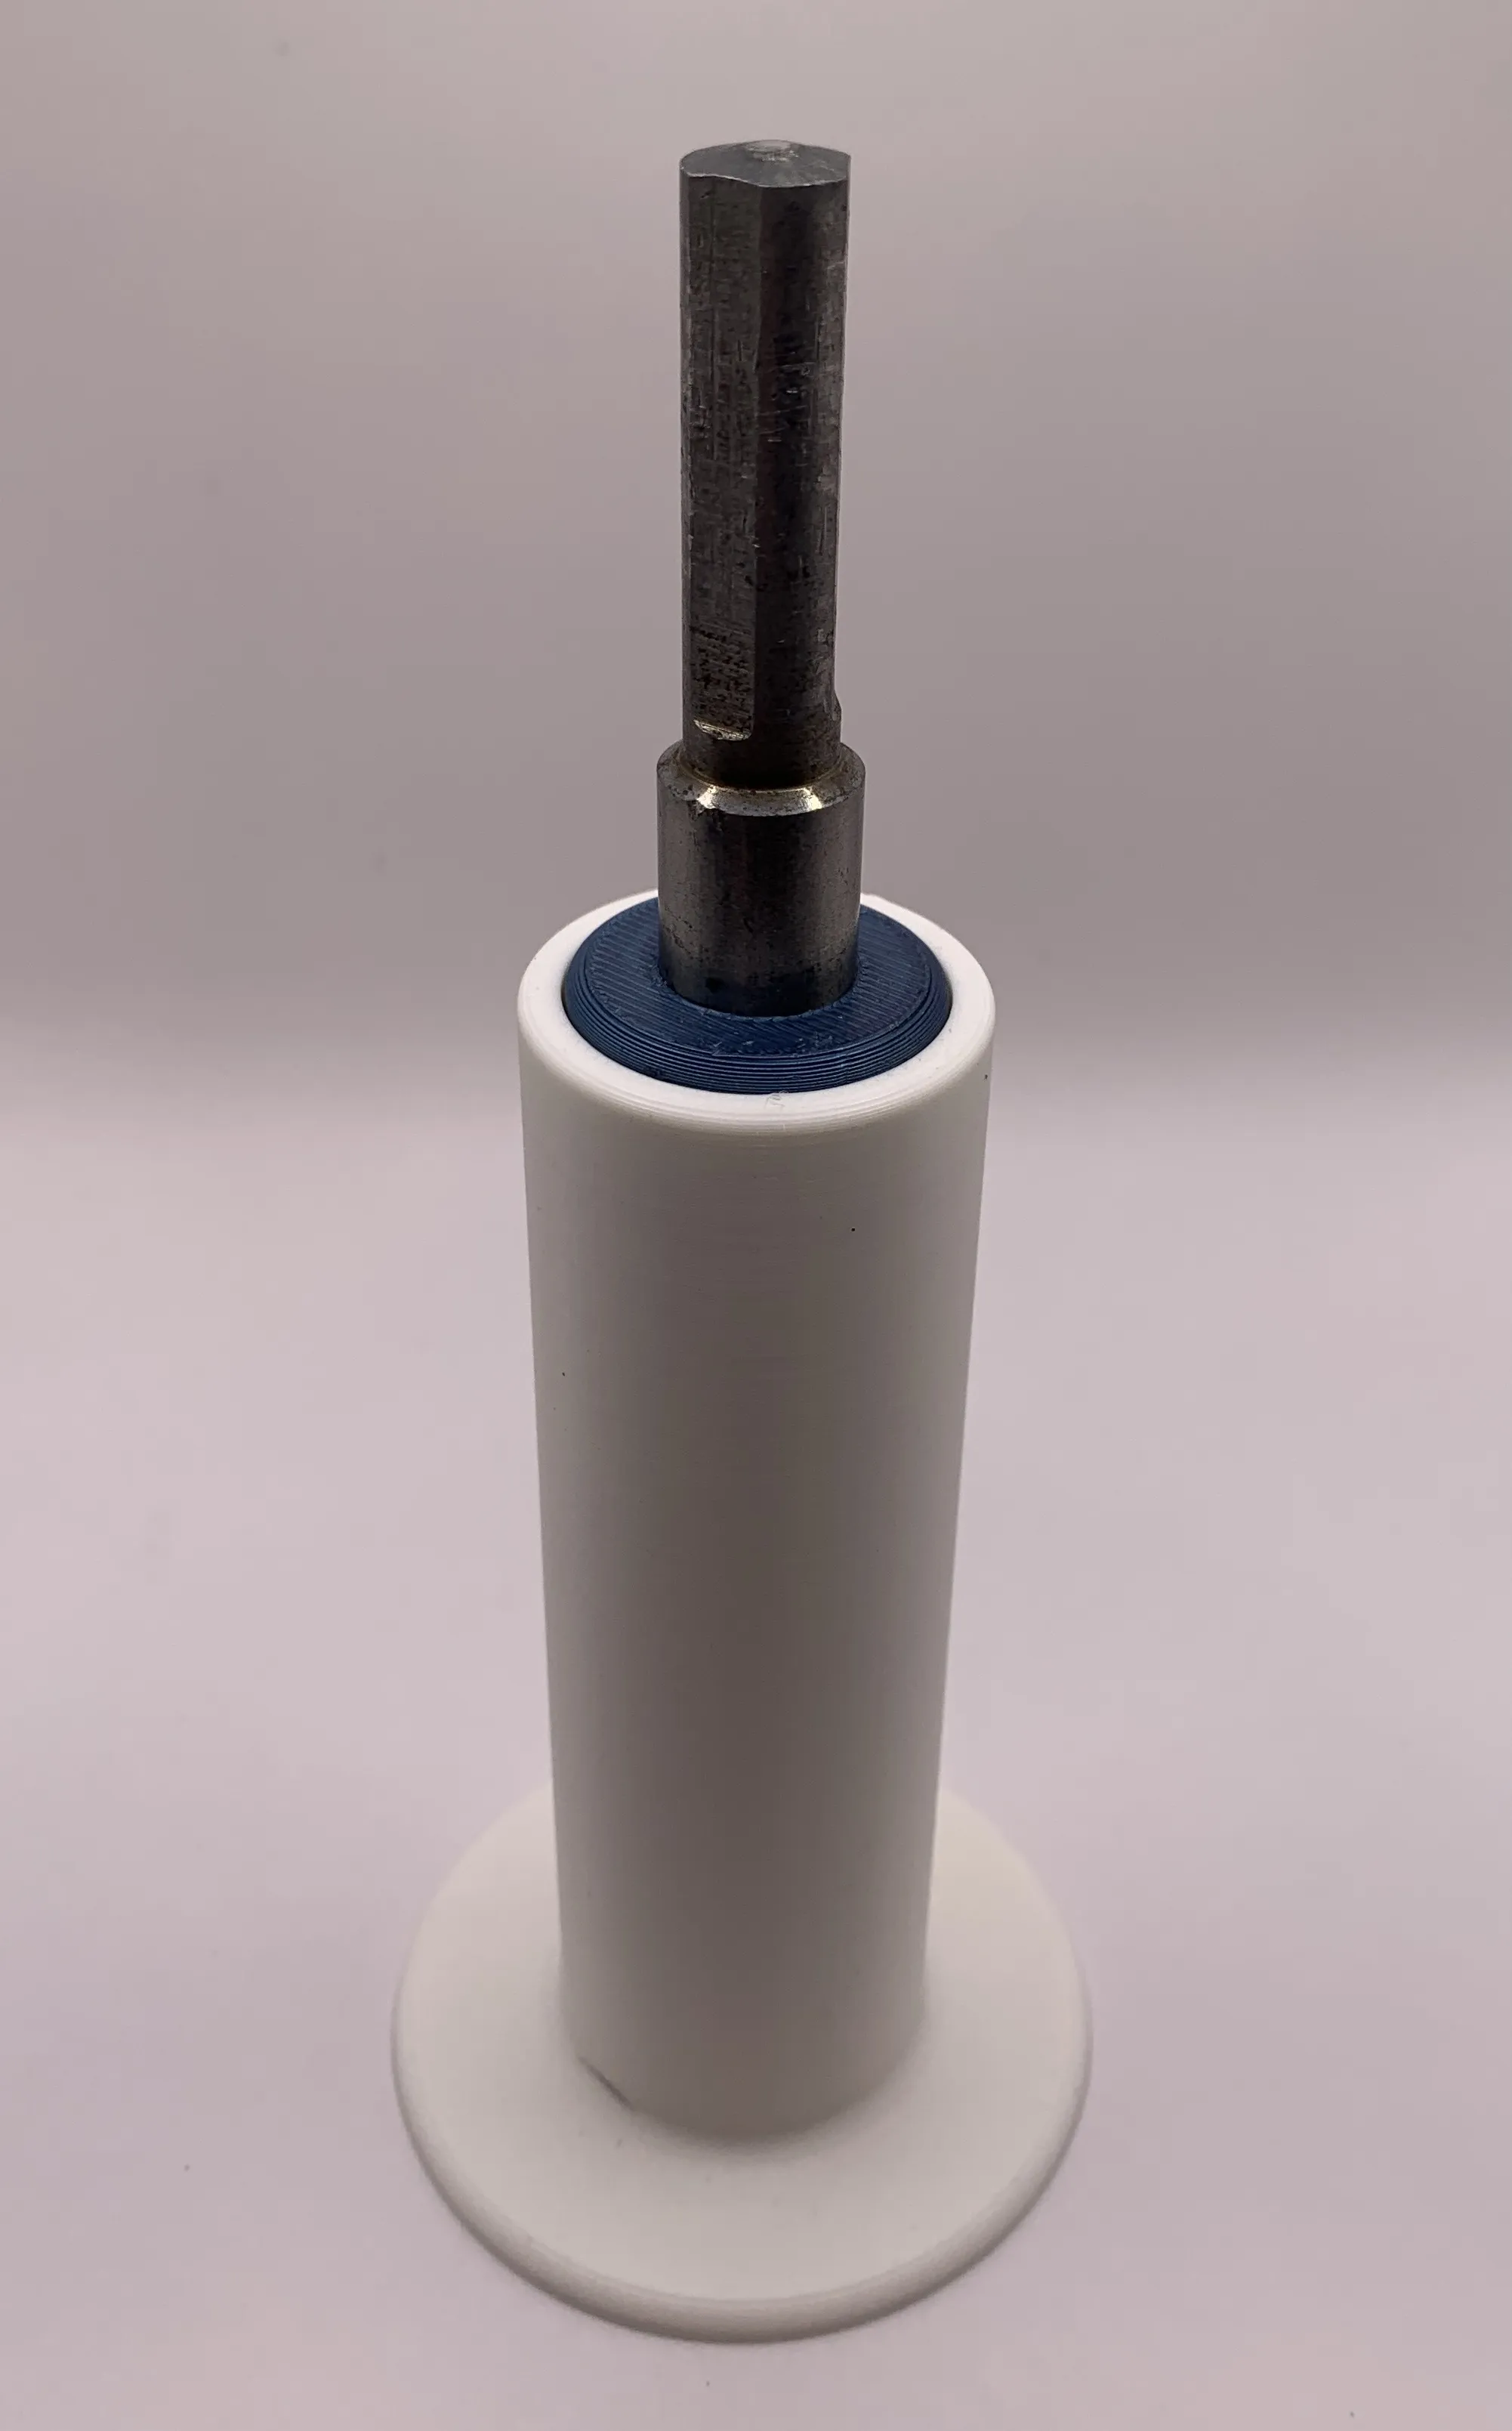
First, using the assembly tool, https://makerworld.com/en/models/1454668-assembly-tool-for-mini-poop-shredders#profileId-1515850 hammer the bushing onto the drill bit making sure there are no grooves for filament to escape.
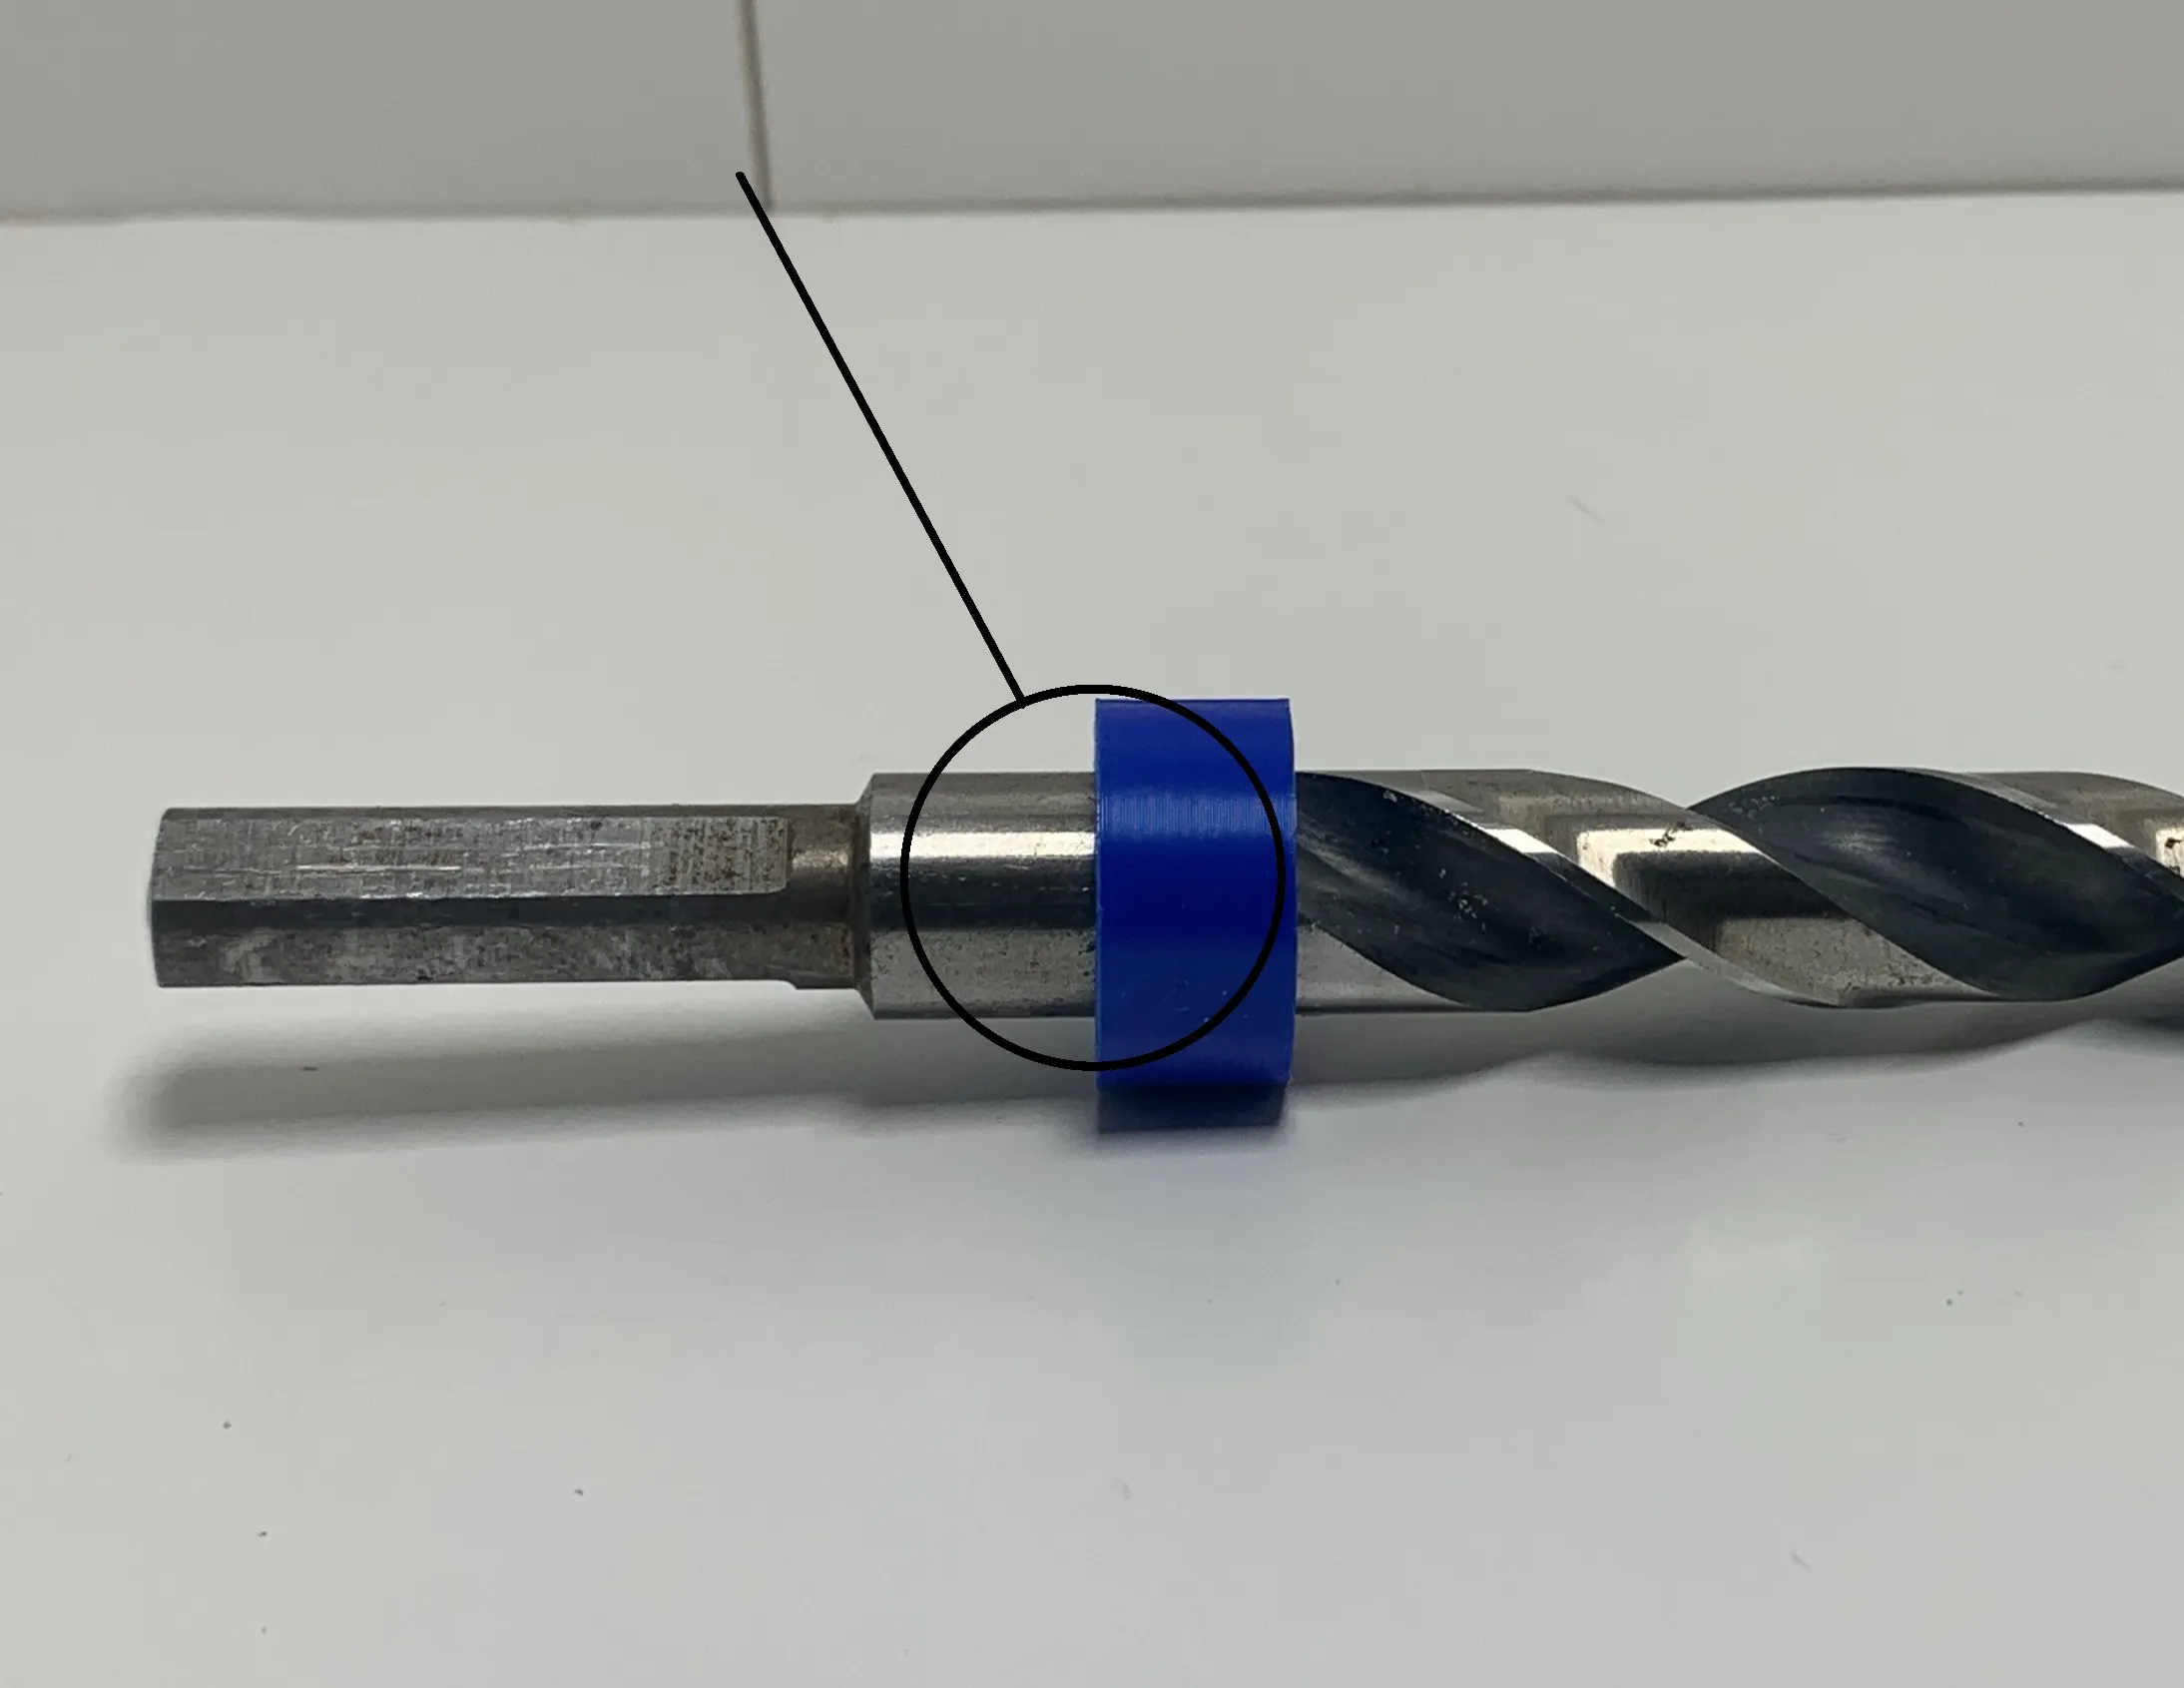
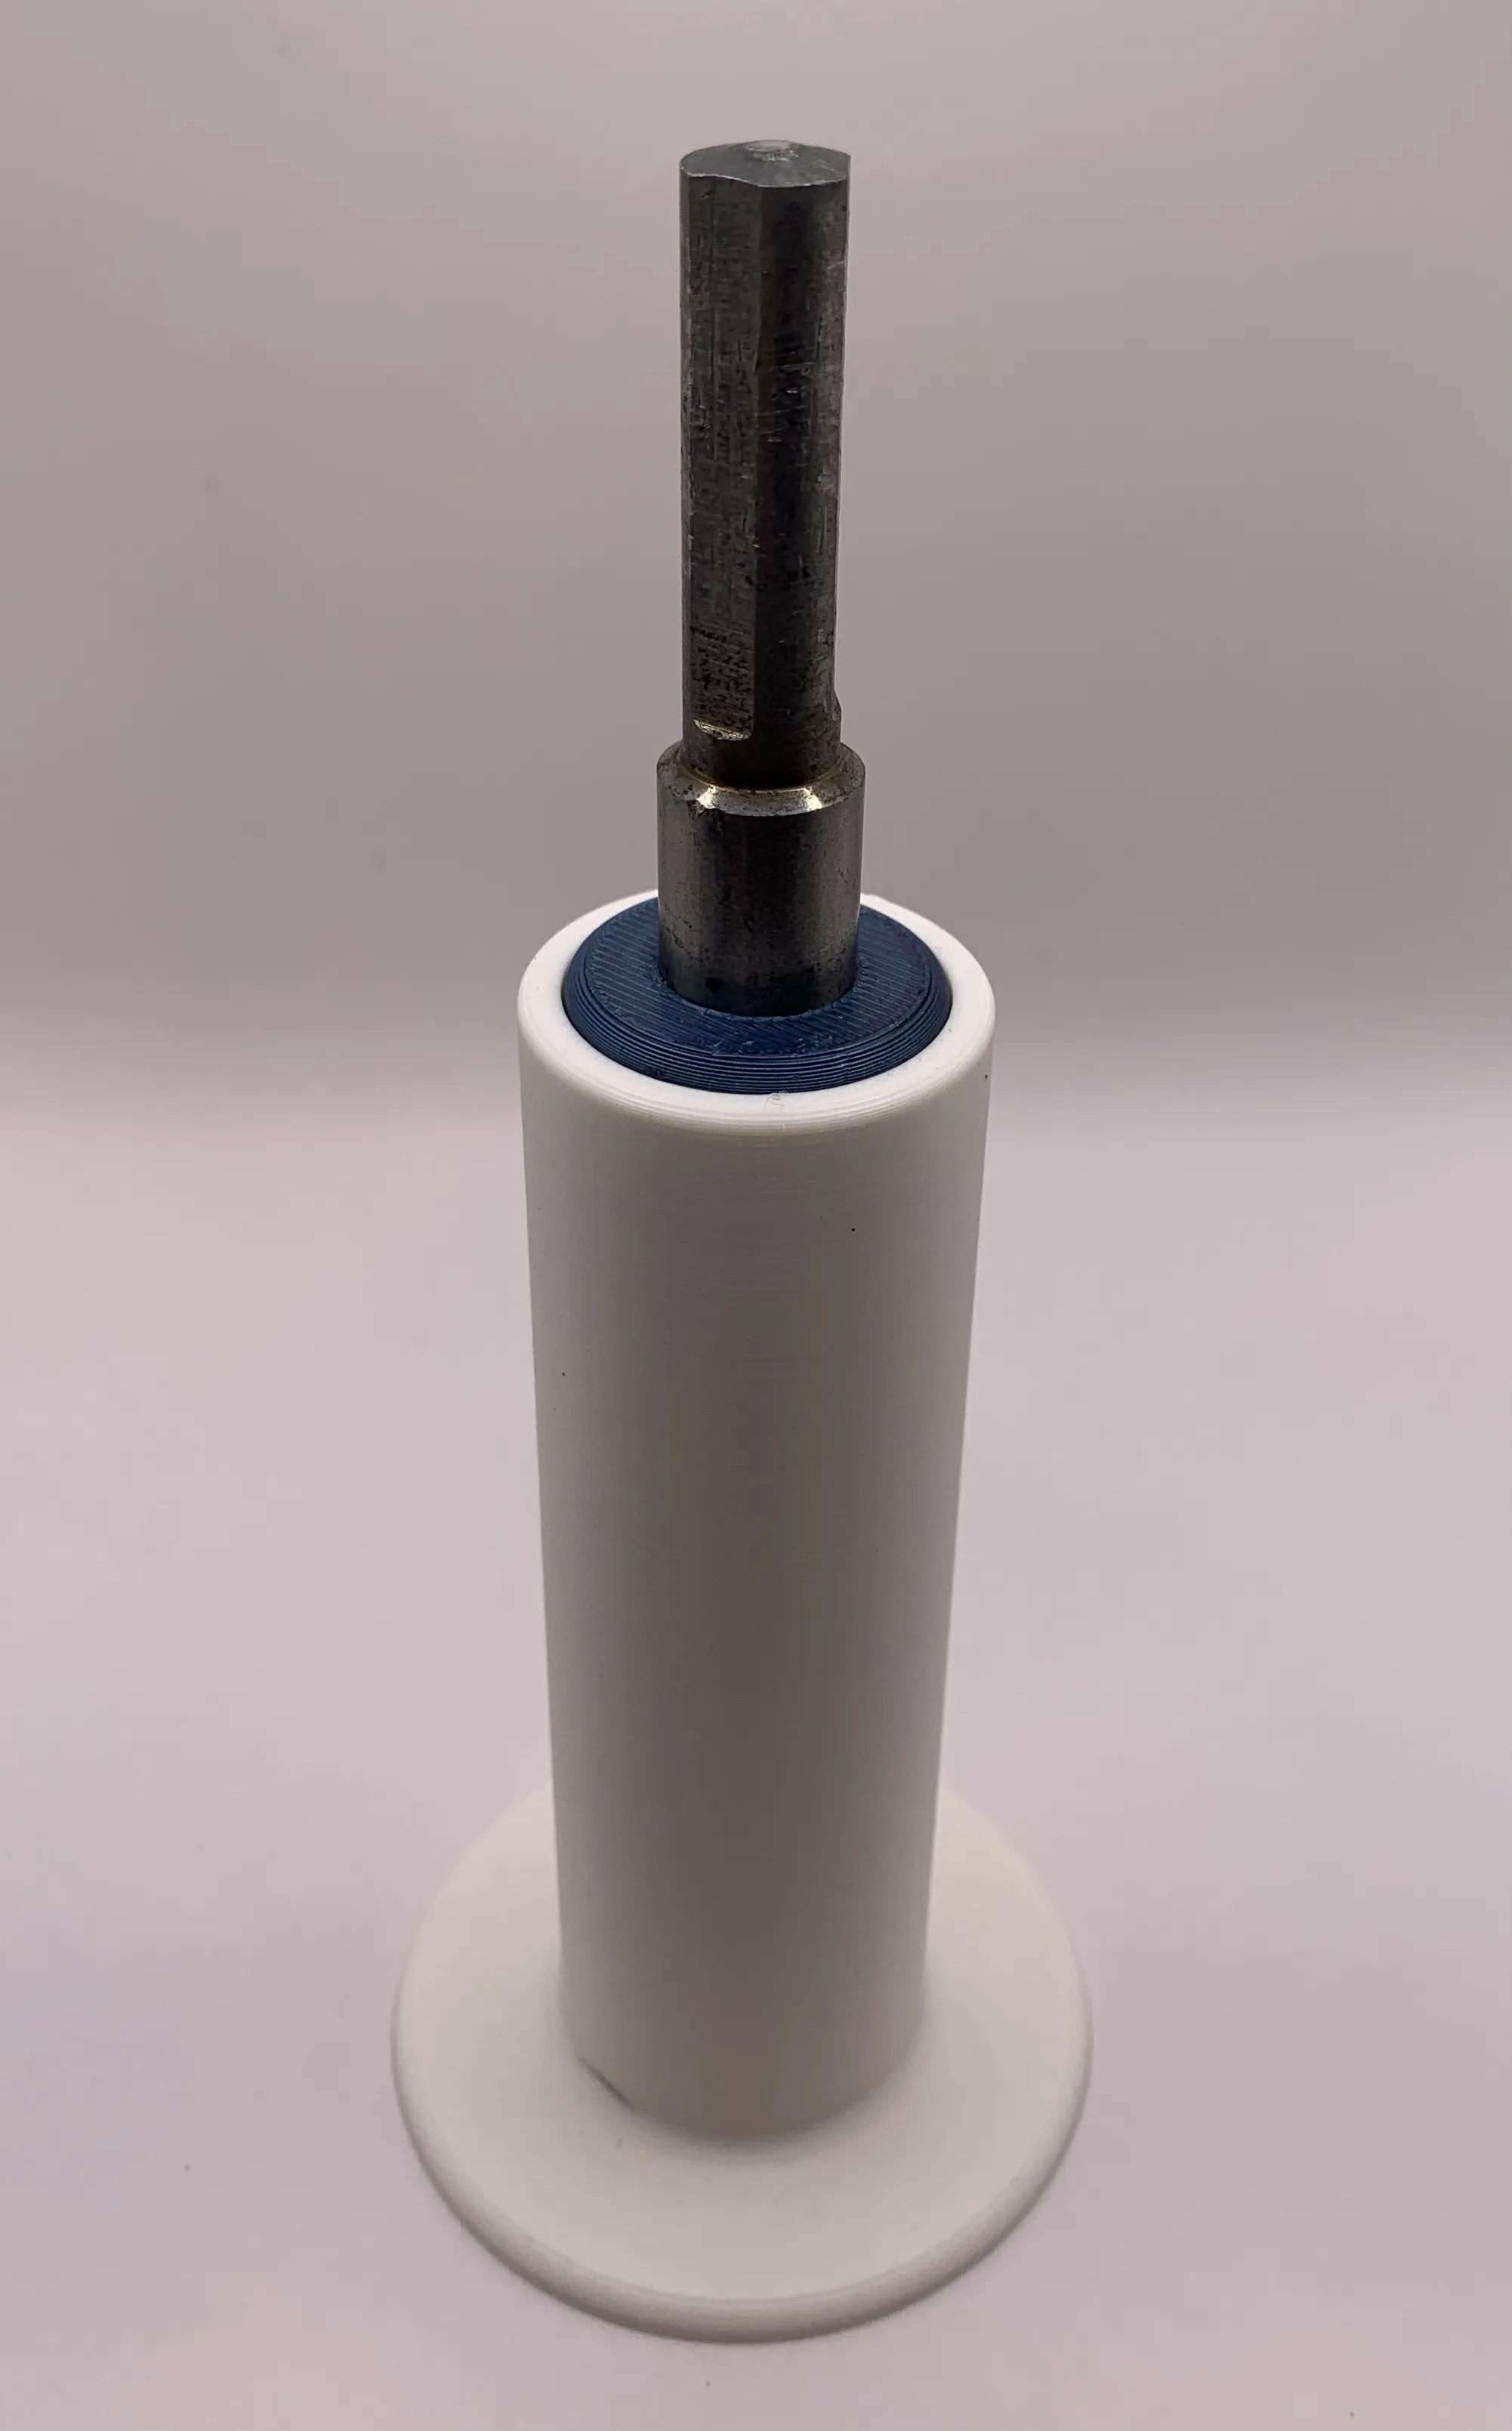
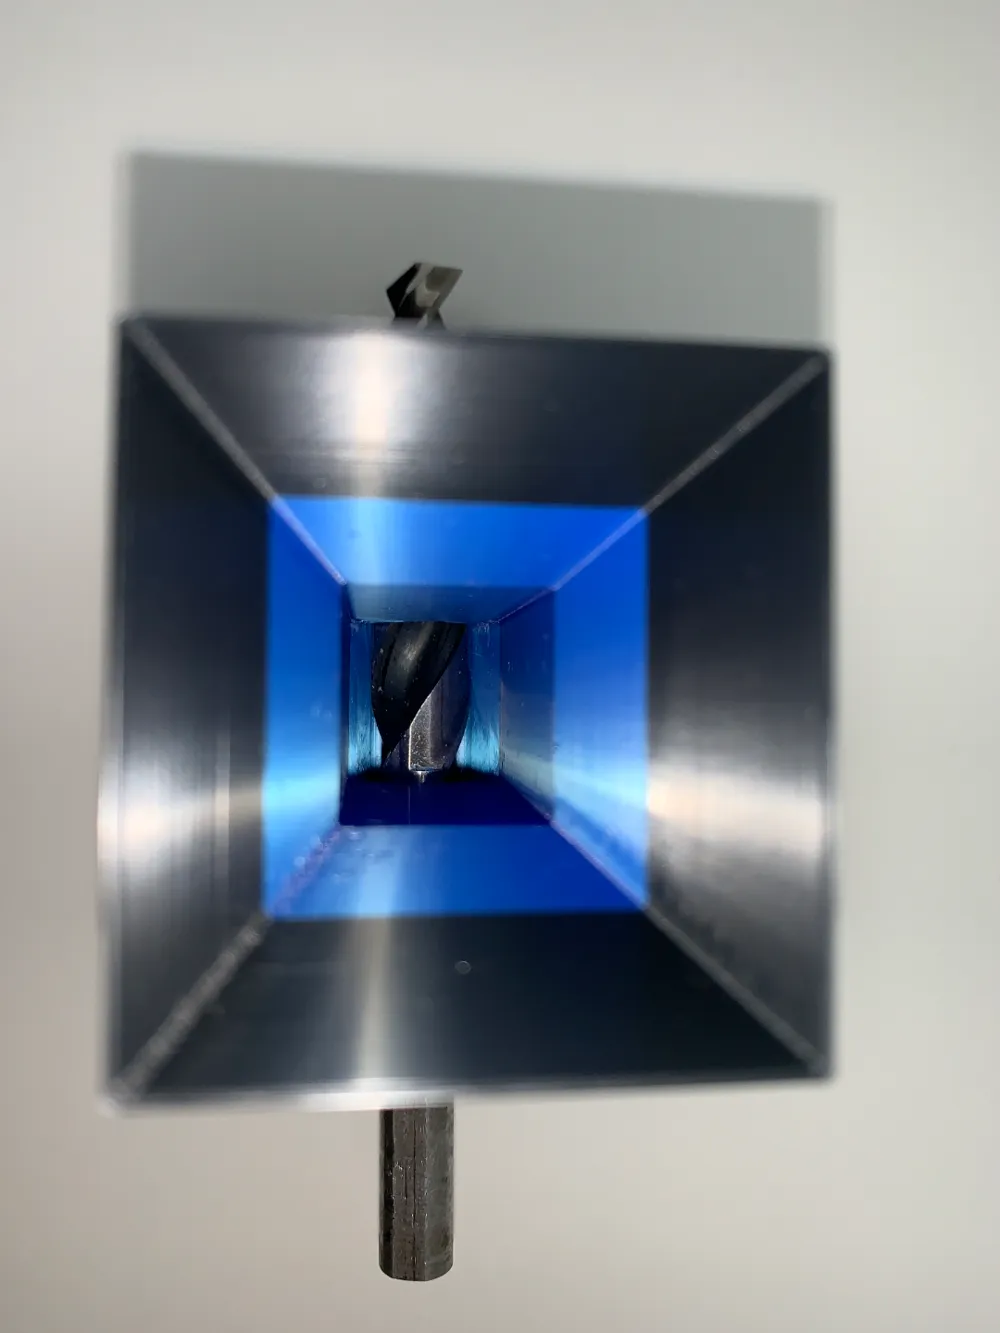
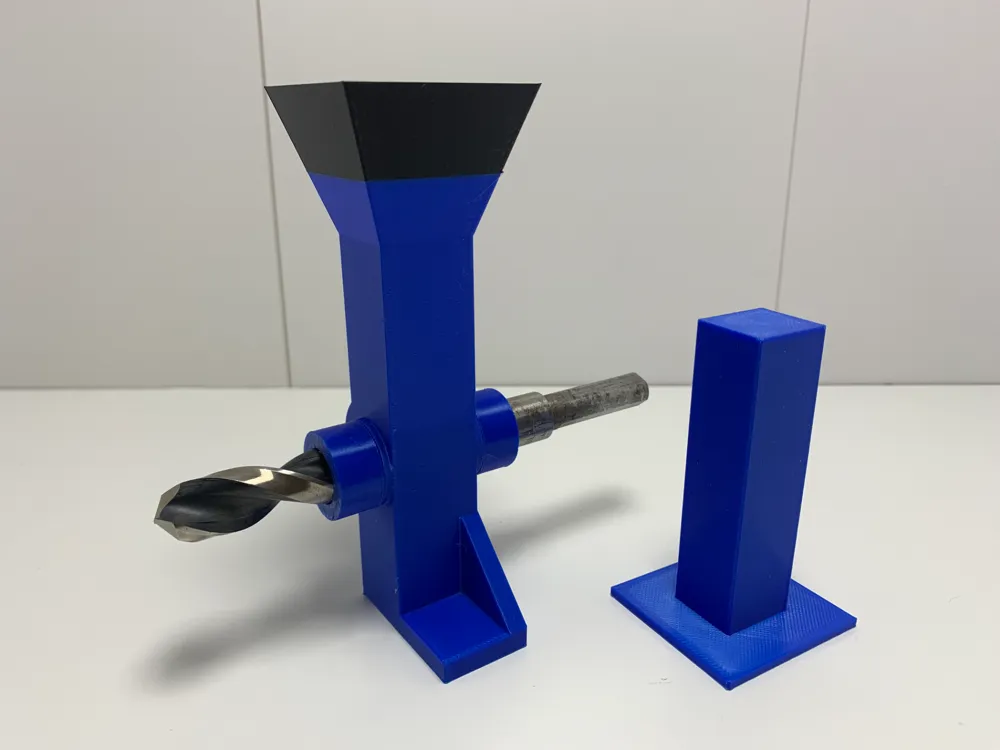
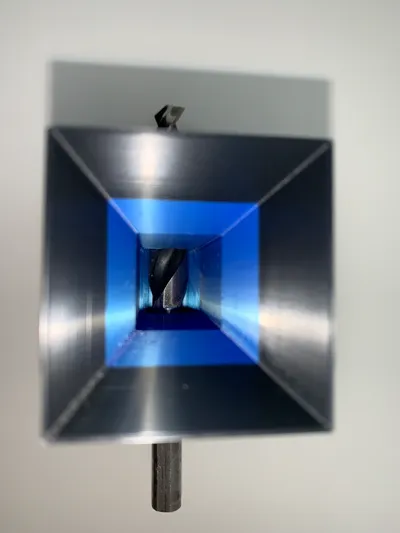
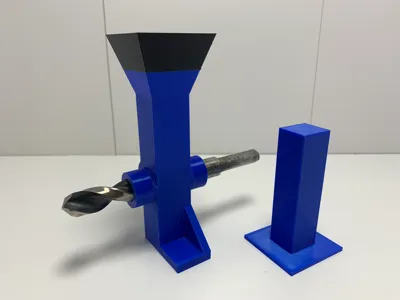
Next, slide the drill bit and bushing into the left side of the shredder. Make sure the cutting edge of the bit is facing the outer edge of the shredder as shown.
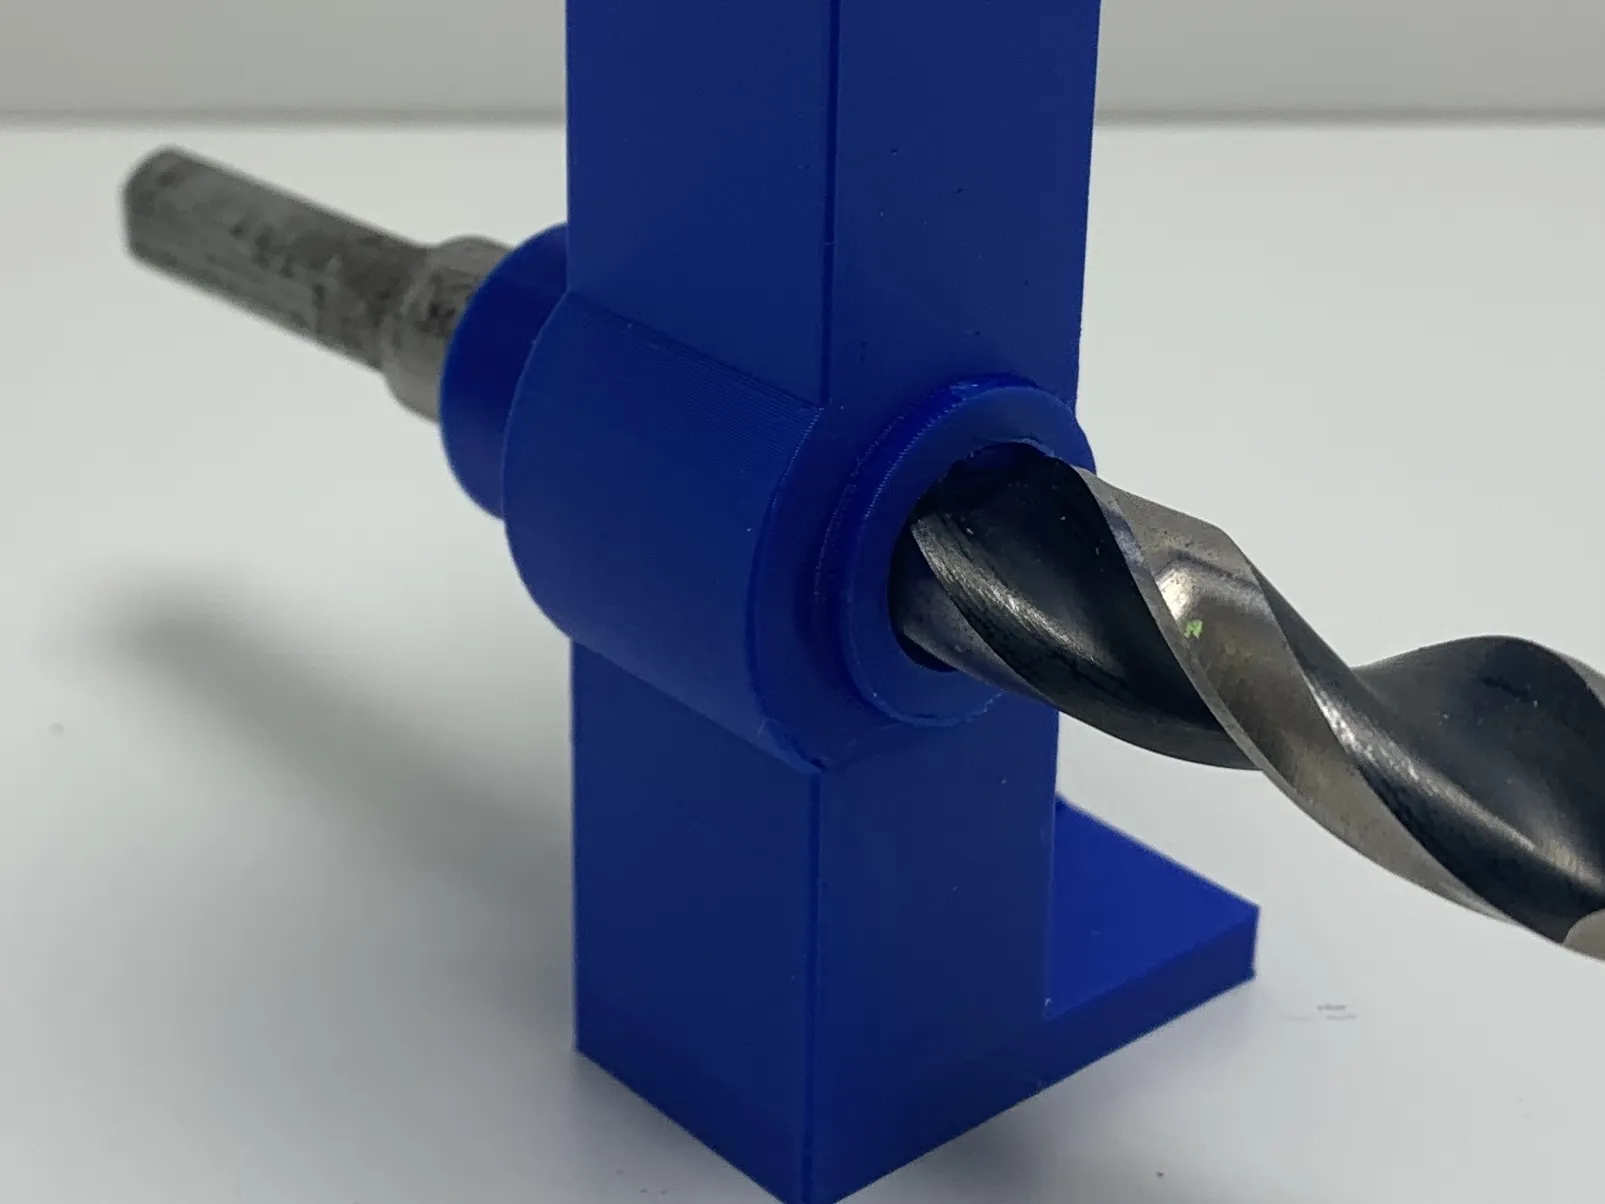
Finally, once again using the assembly tool, https://makerworld.com/en/models/1454668-assembly-tool-for-mini-poop-shredders#profileId-1515850 hammer the second bushing onto the drill bit with the shredder attached and slide in the plunger. (Don’t hammer the bushing too far in.)
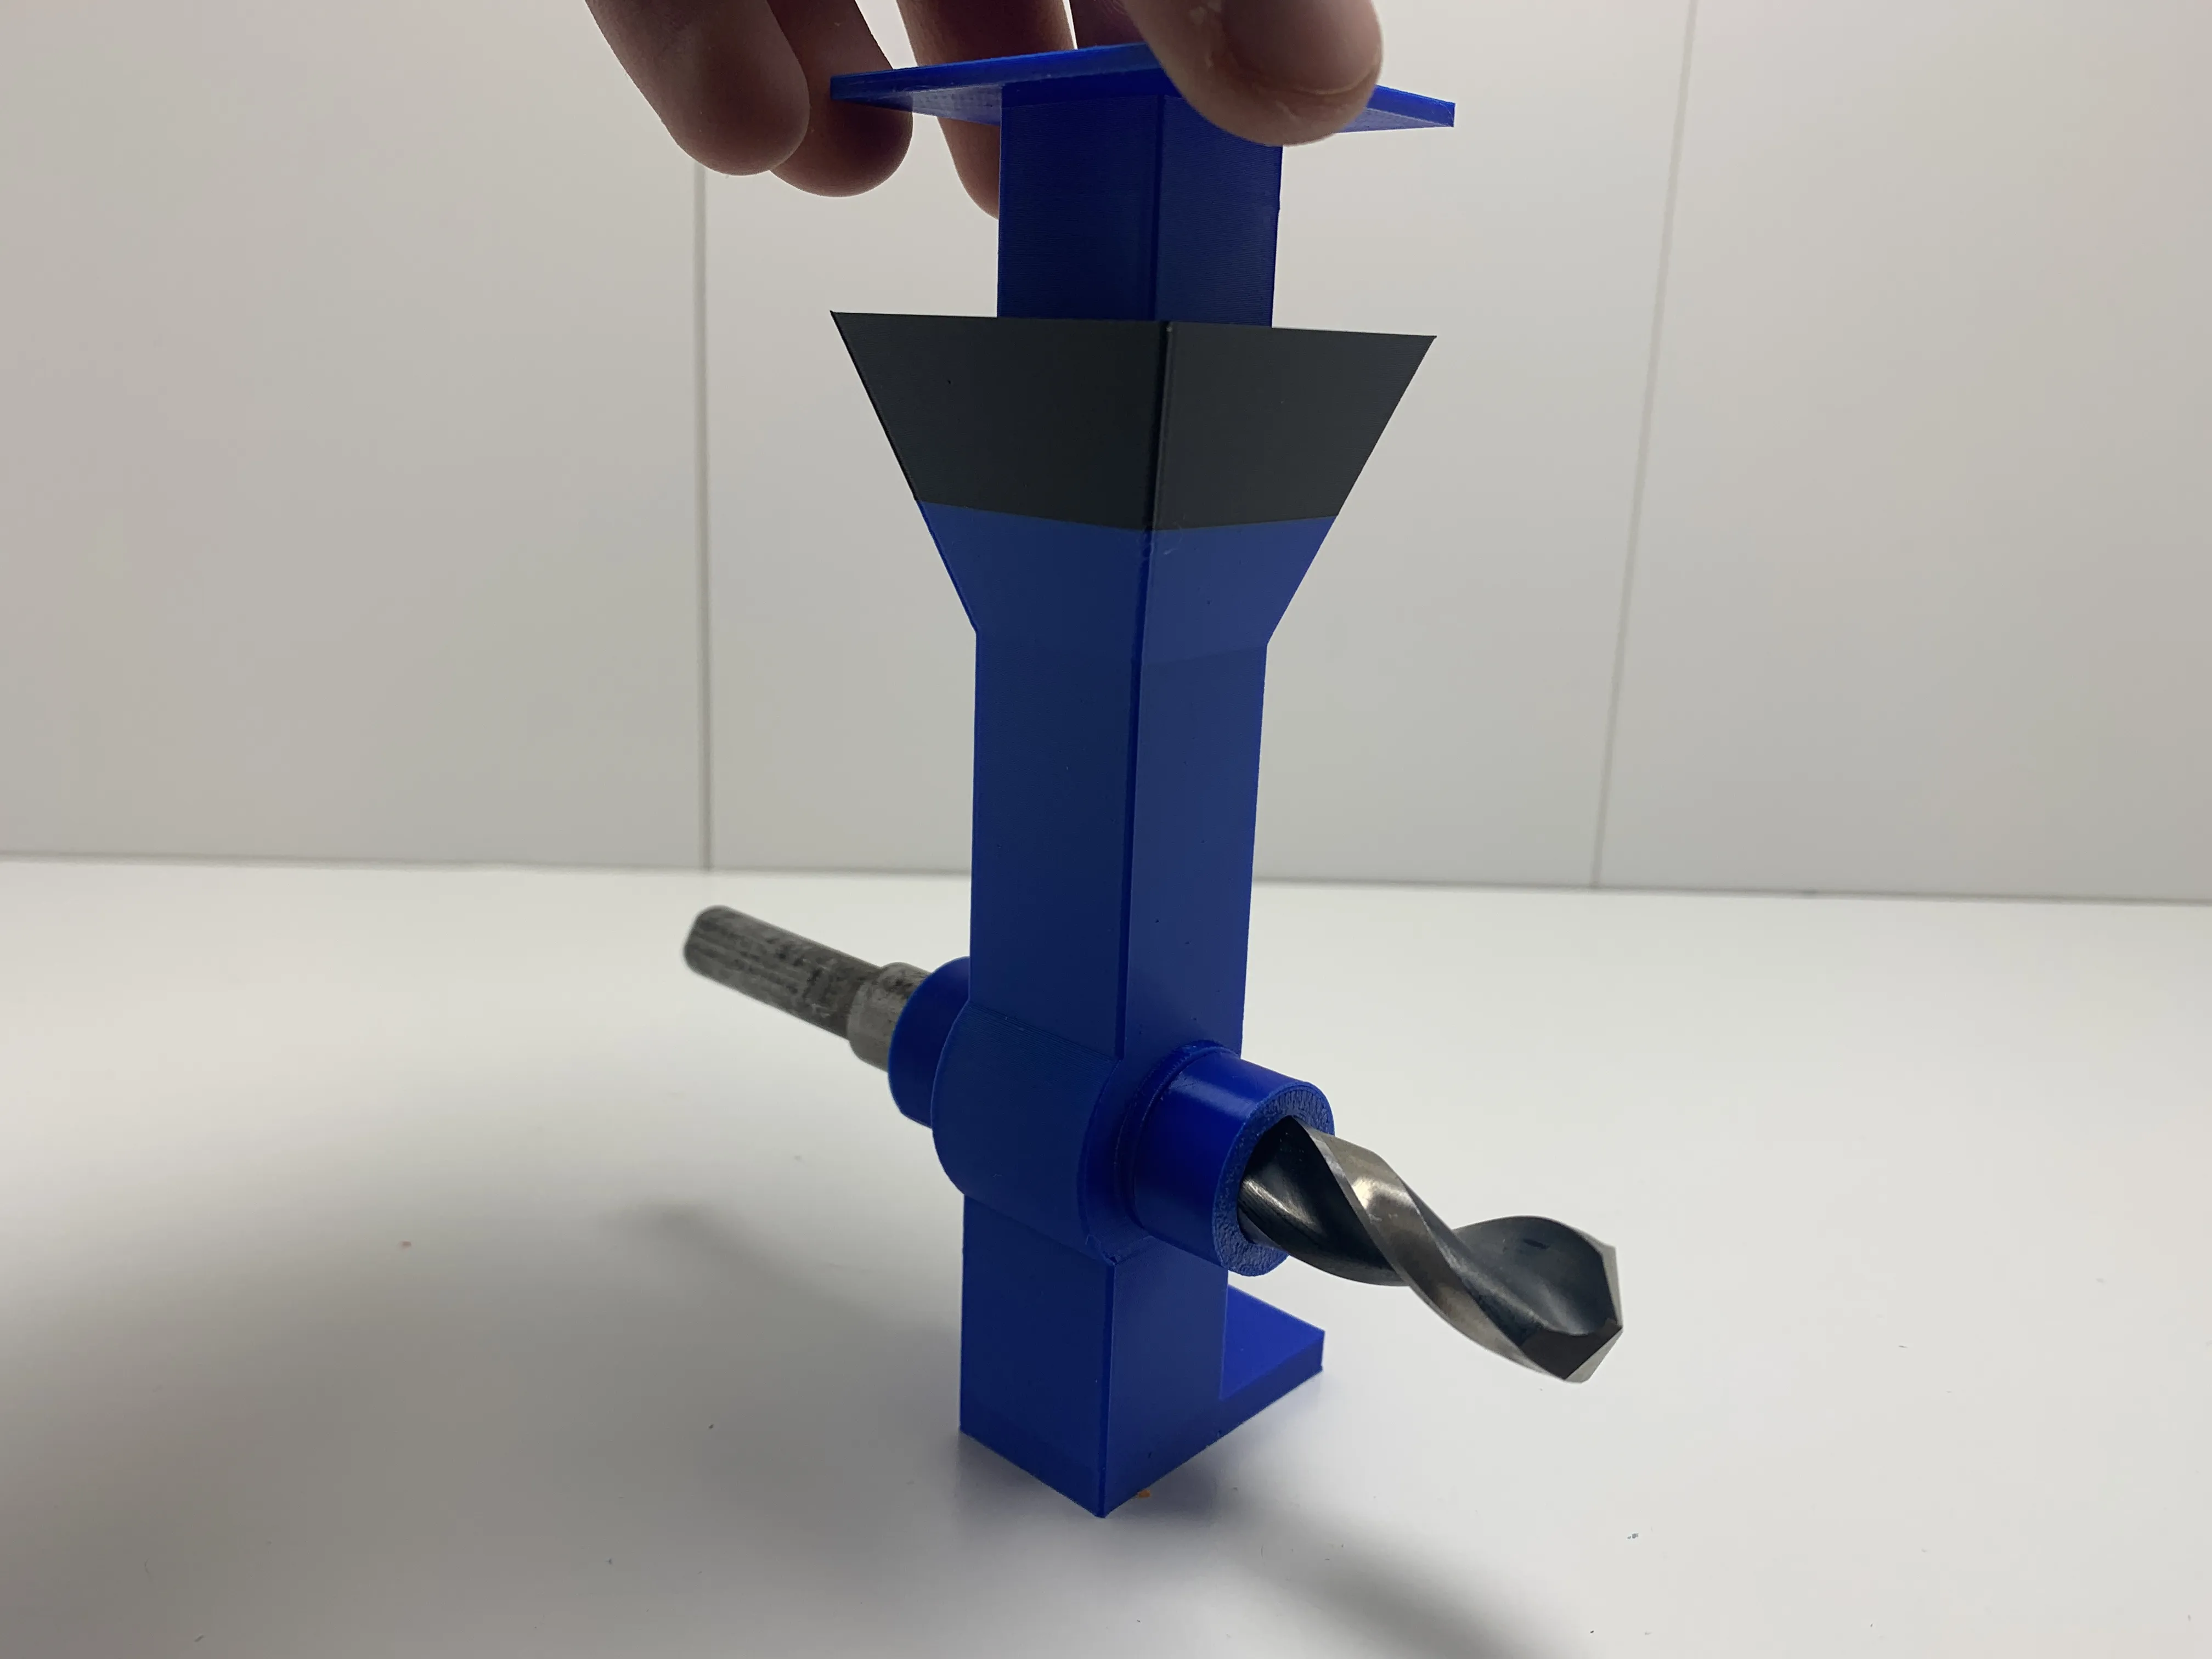
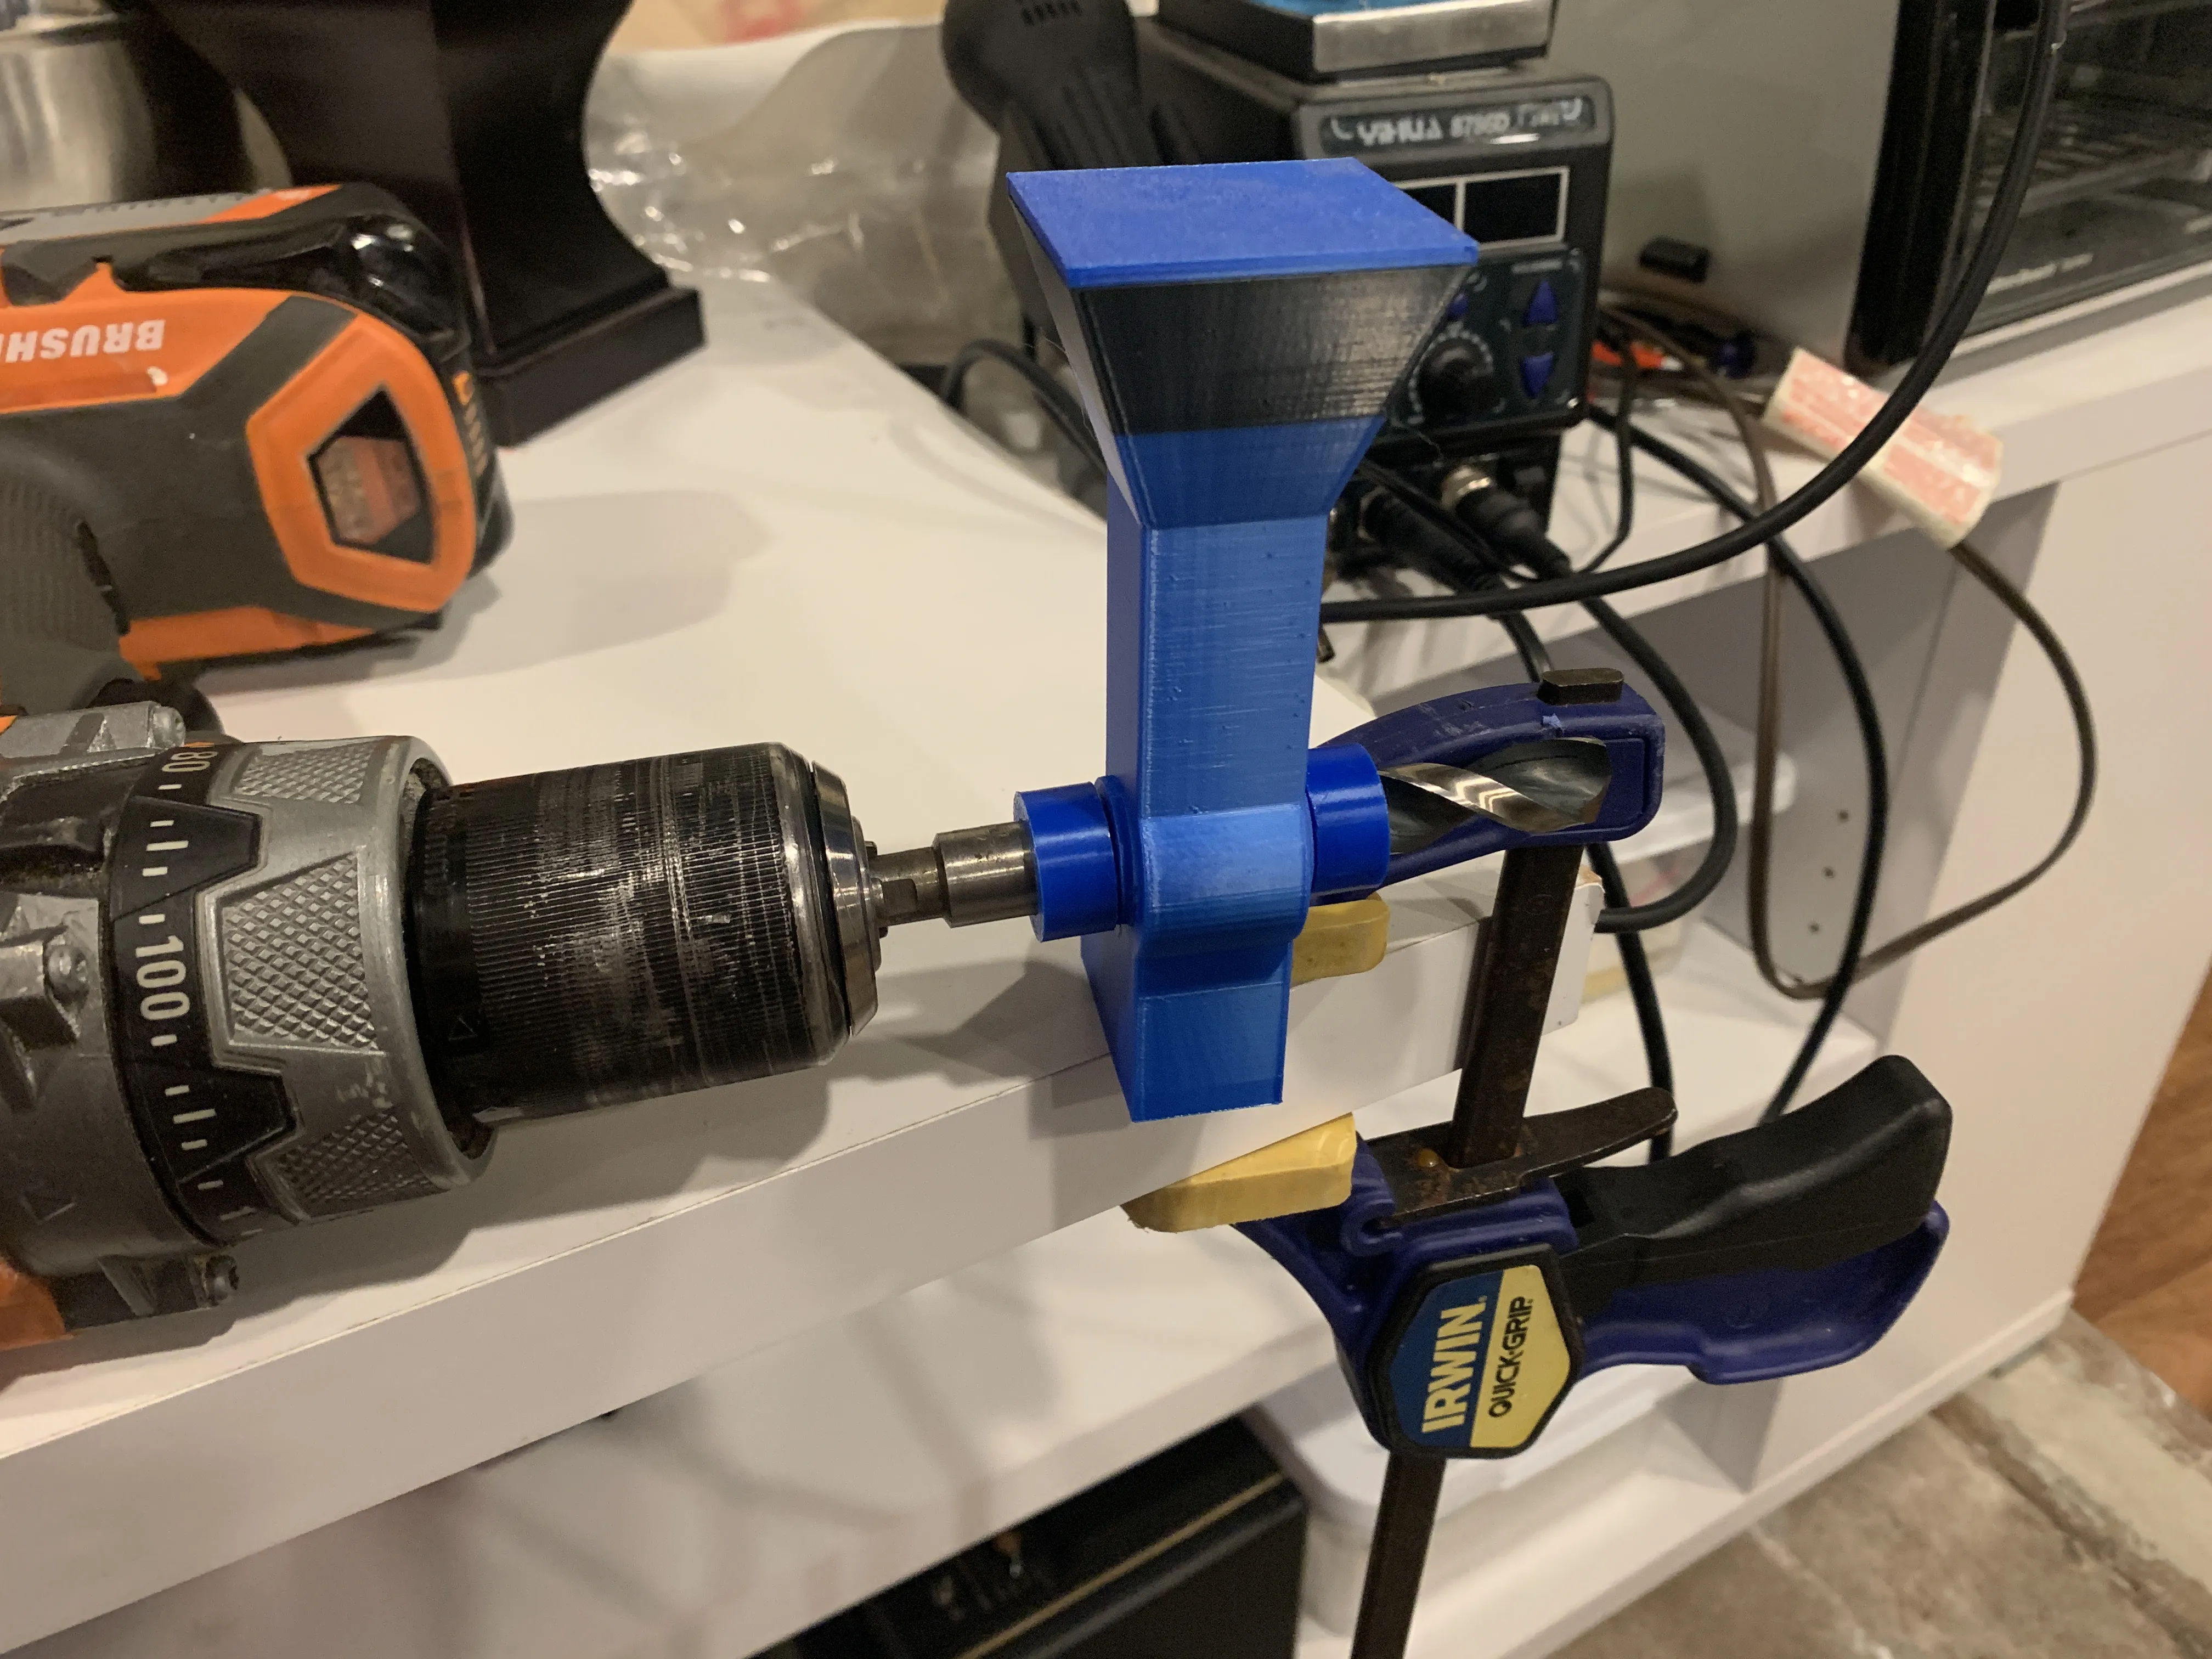
For use, use a clamp to fasten it to a ledge. Use the drill at the LOWEST speed it can go. Don't let the drill bit touch the clamp. Make sure the drill is on the left side so as to not break your wrist when it jerks. Leave a bucket or something under to catch all of the pieces. If anything is wrong, please leave a comment. I’d be happy to help!
Membership
If you’d like to support me, consider joining my Support Tier Membership! For just $3 a month, you’ll be making a huge impact on my work. Your contributions help me keep creating, improving, and innovating! 😁
No AI is used in this model. All of my models are made by me in Fusion 360.
License

You shall not share, sub-license, sell, rent, host, transfer, or distribute in any way the digital or 3D printed versions of this object, nor any other derivative work of this object in its digital or physical format (including - but not limited to - remixes of this object, and hosting on other digital platforms). The objects may not be used without permission in any way whatsoever in which you charge money, or collect fees.


Comment & Rating (427)