
Piston Clock

Print Profile(5)


Bill of Materials


- Silver Silk PLA x 1:
Description
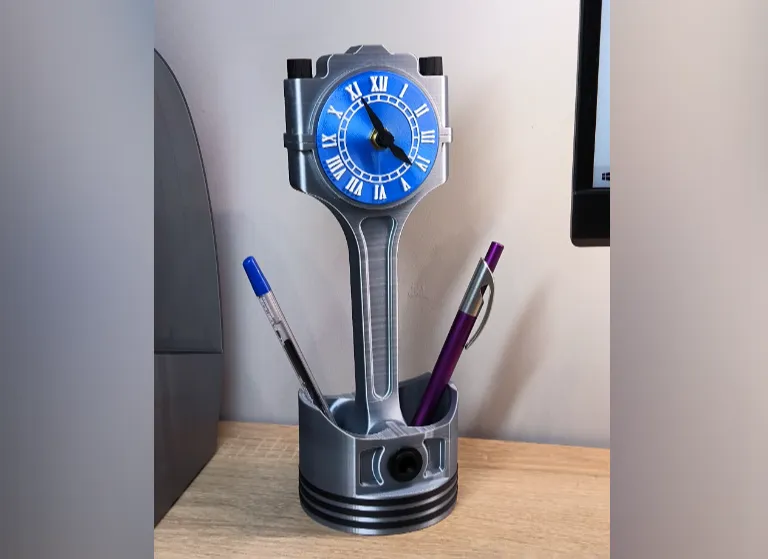
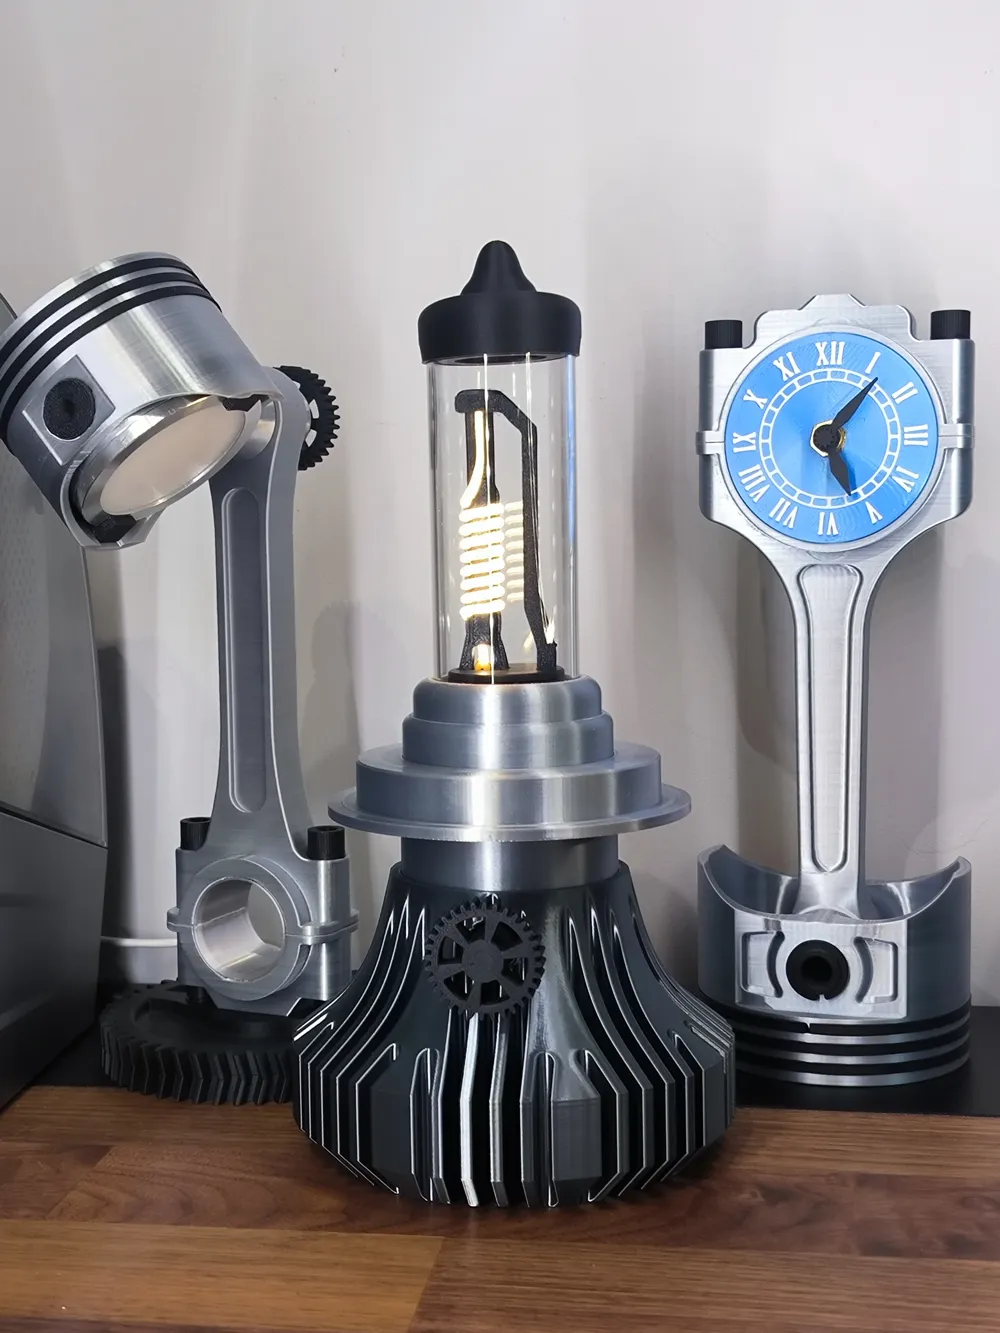
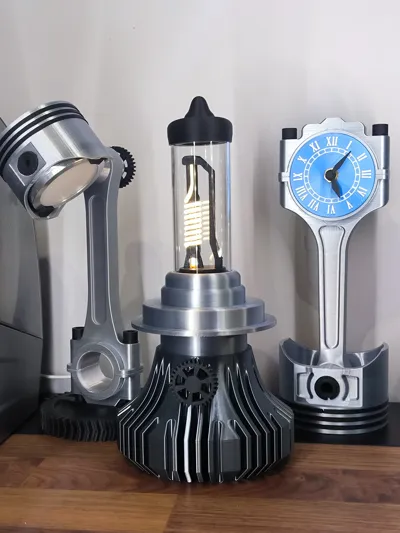
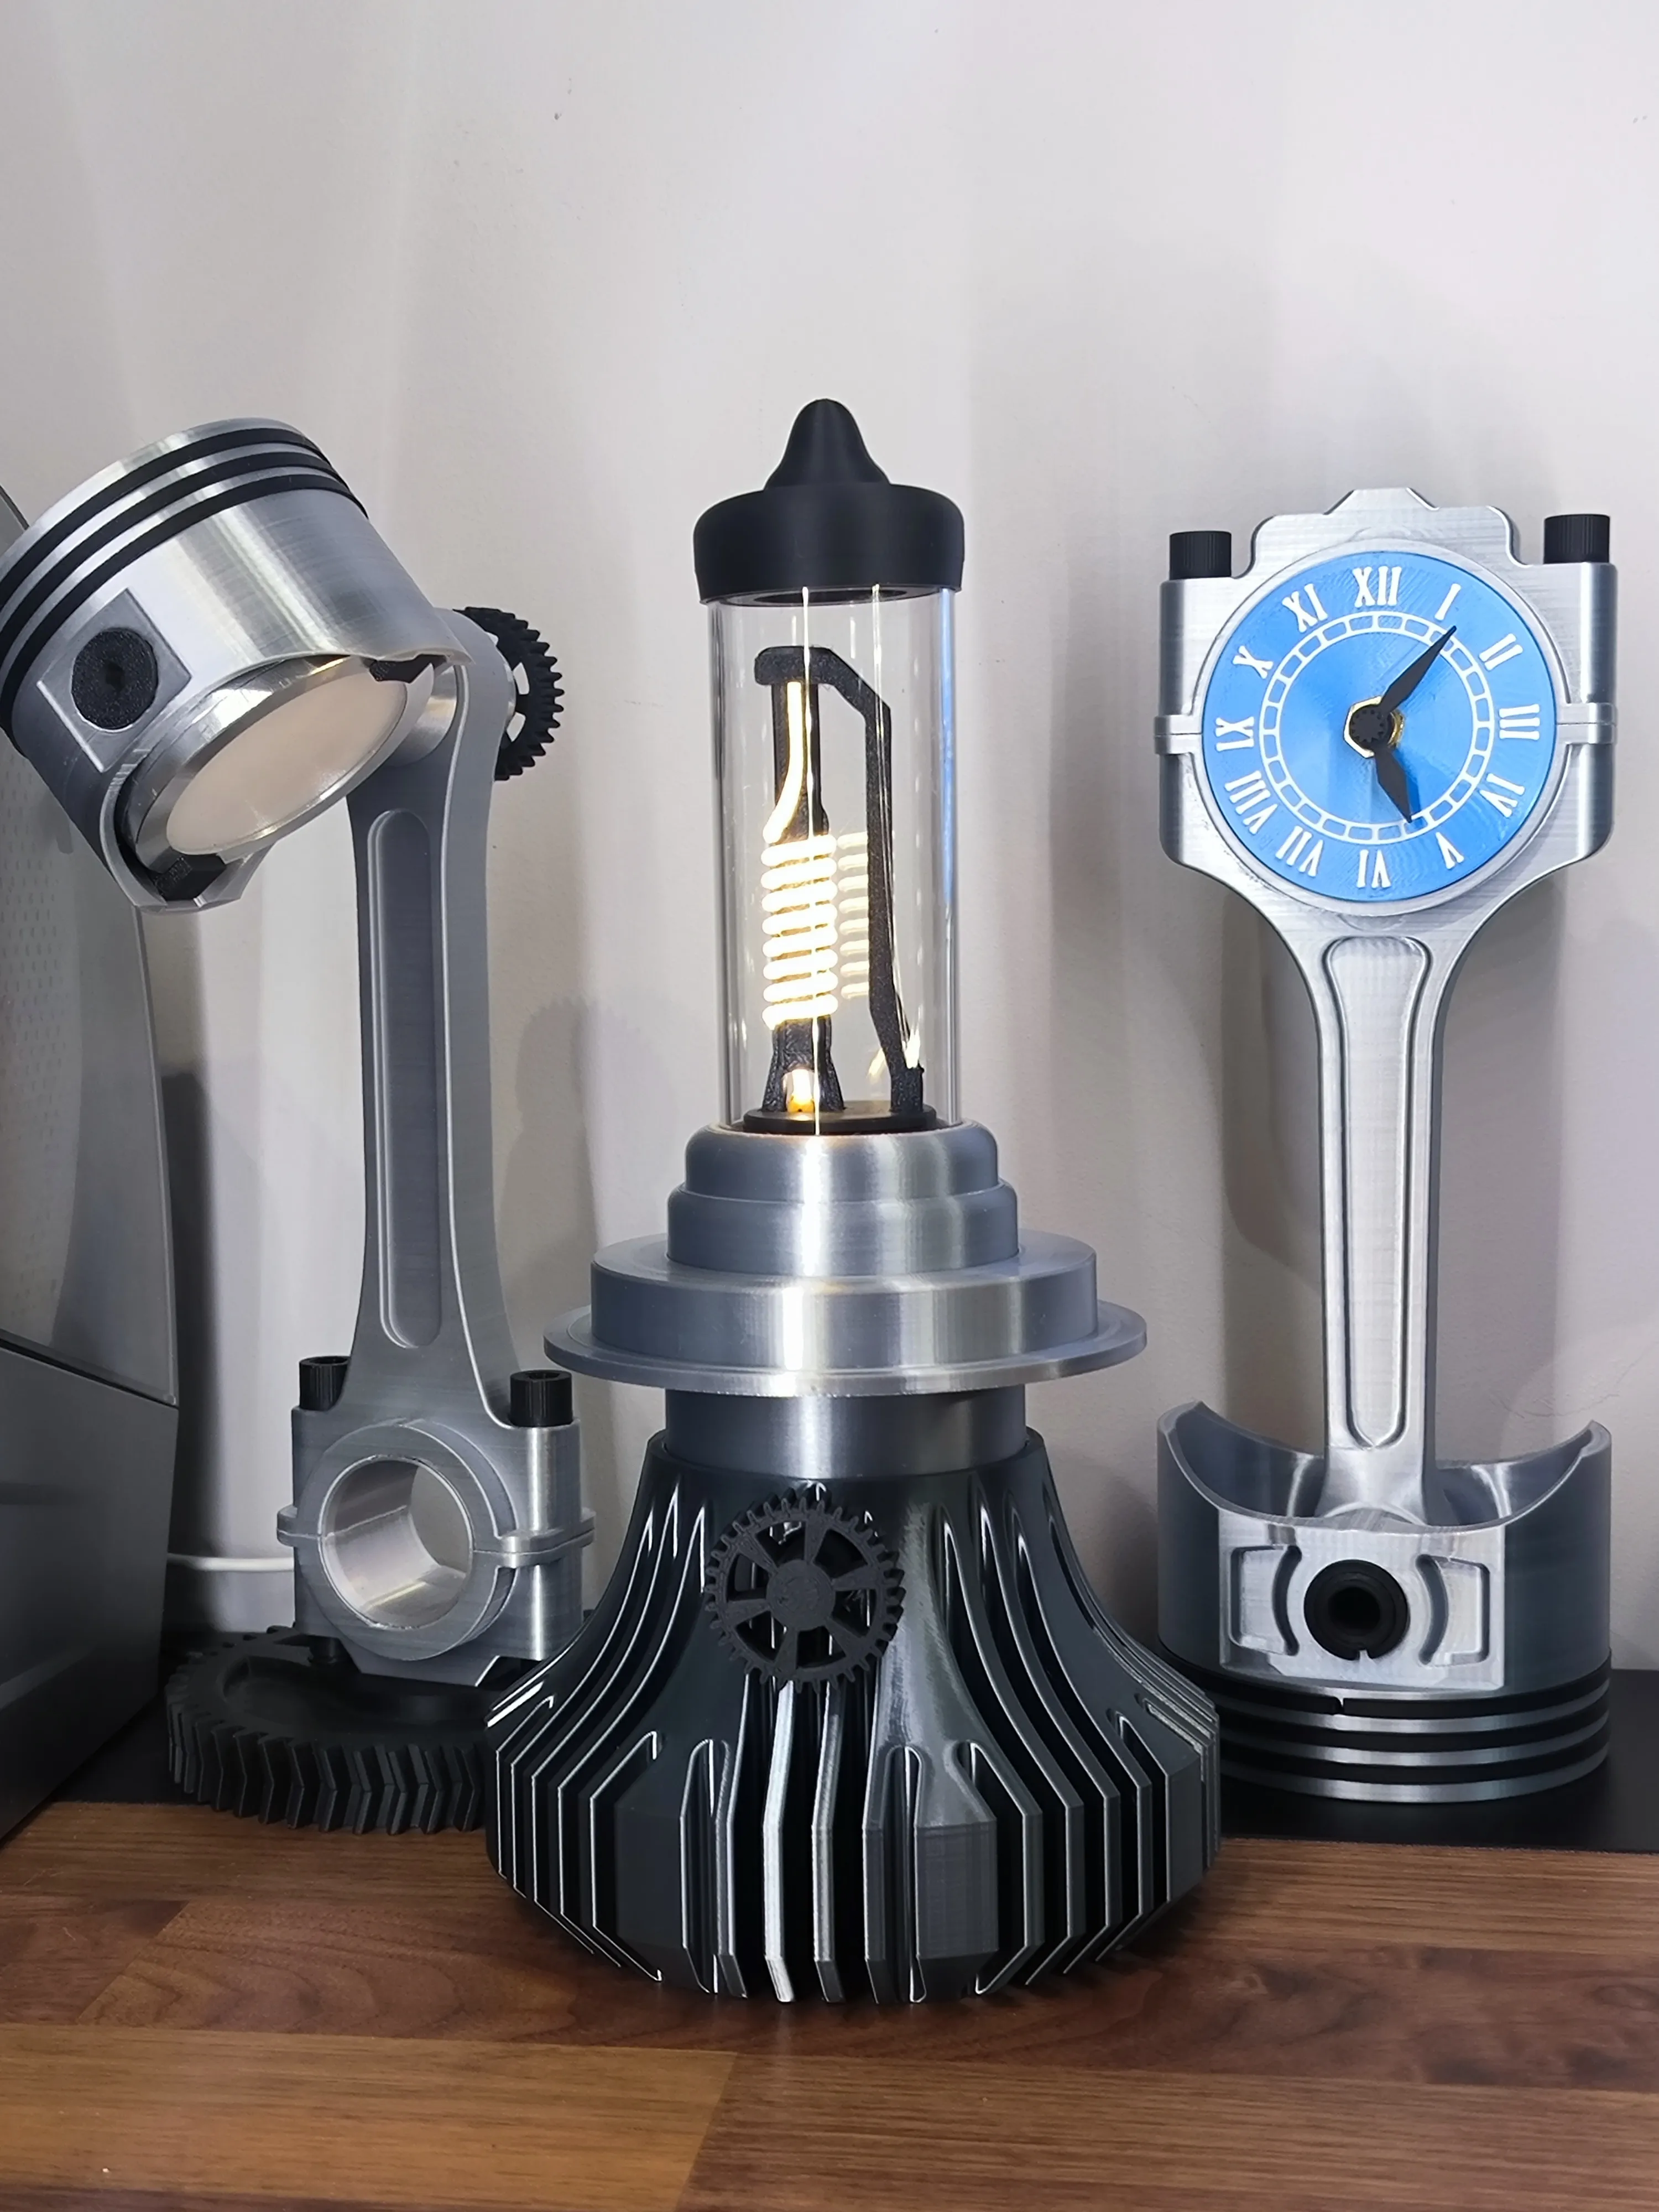
After the great success of the piston-shaped lamp, I started wondering what else I could create in a similar style. The idea came to me during a clock design competition, and inspiration struck instantly.
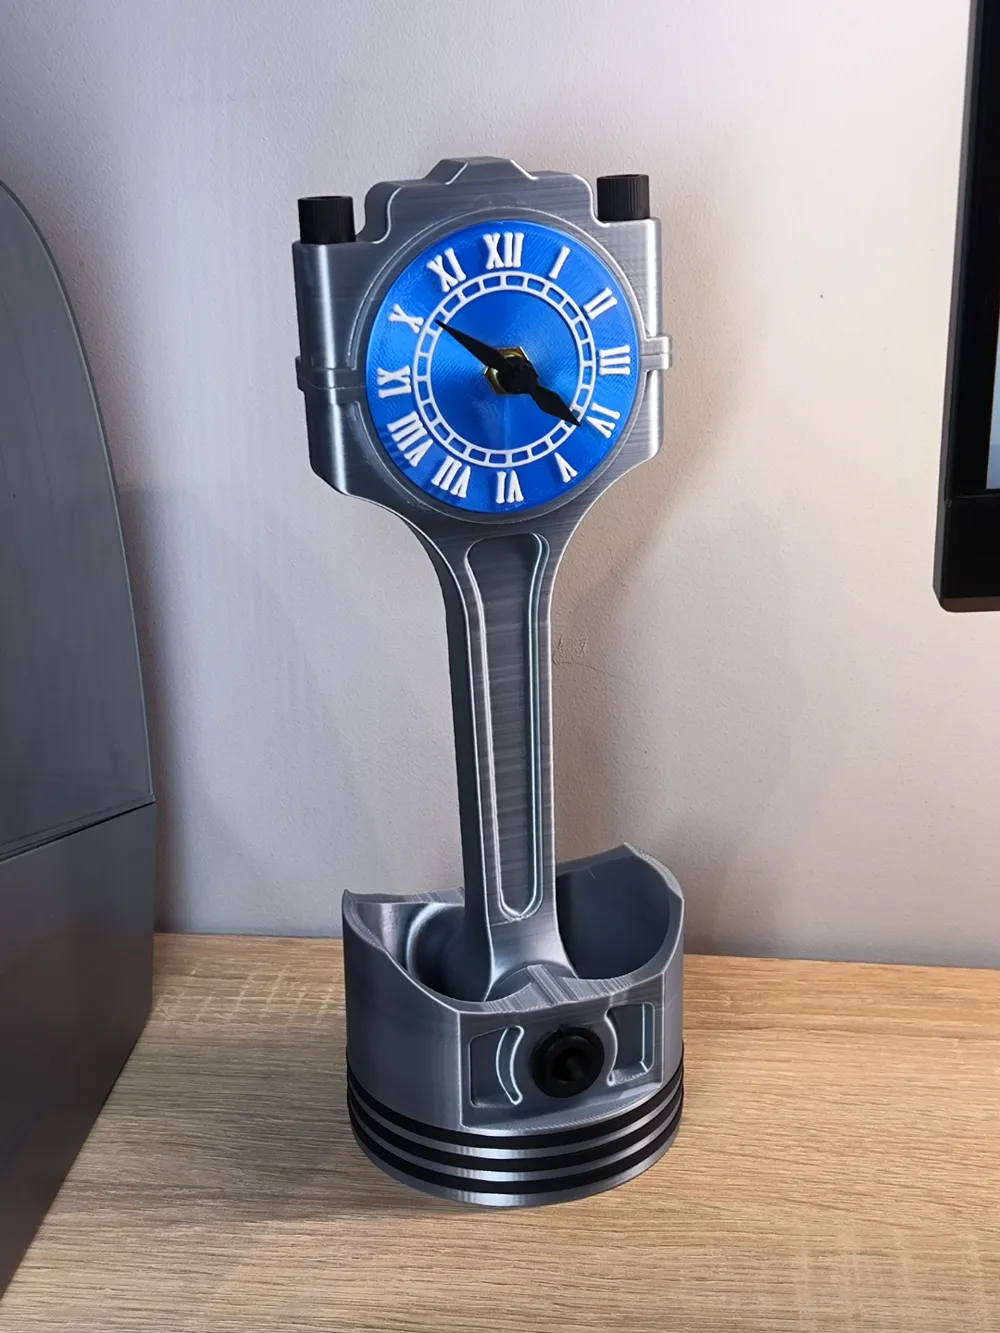
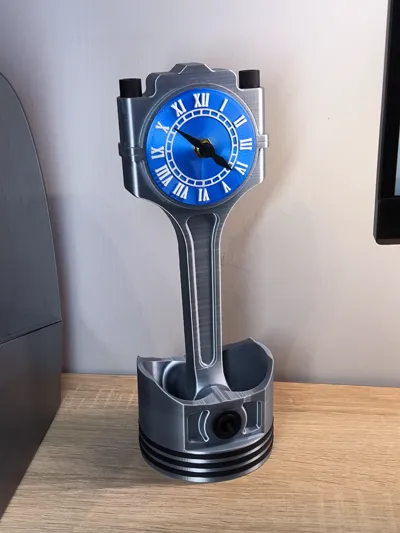
Many people craft clocks out of old pistons, so I decided to design my own version tailored for 3D printing. That’s how the piston-shaped desk clock was born – a perfect blend of functionality and automotive-inspired design.
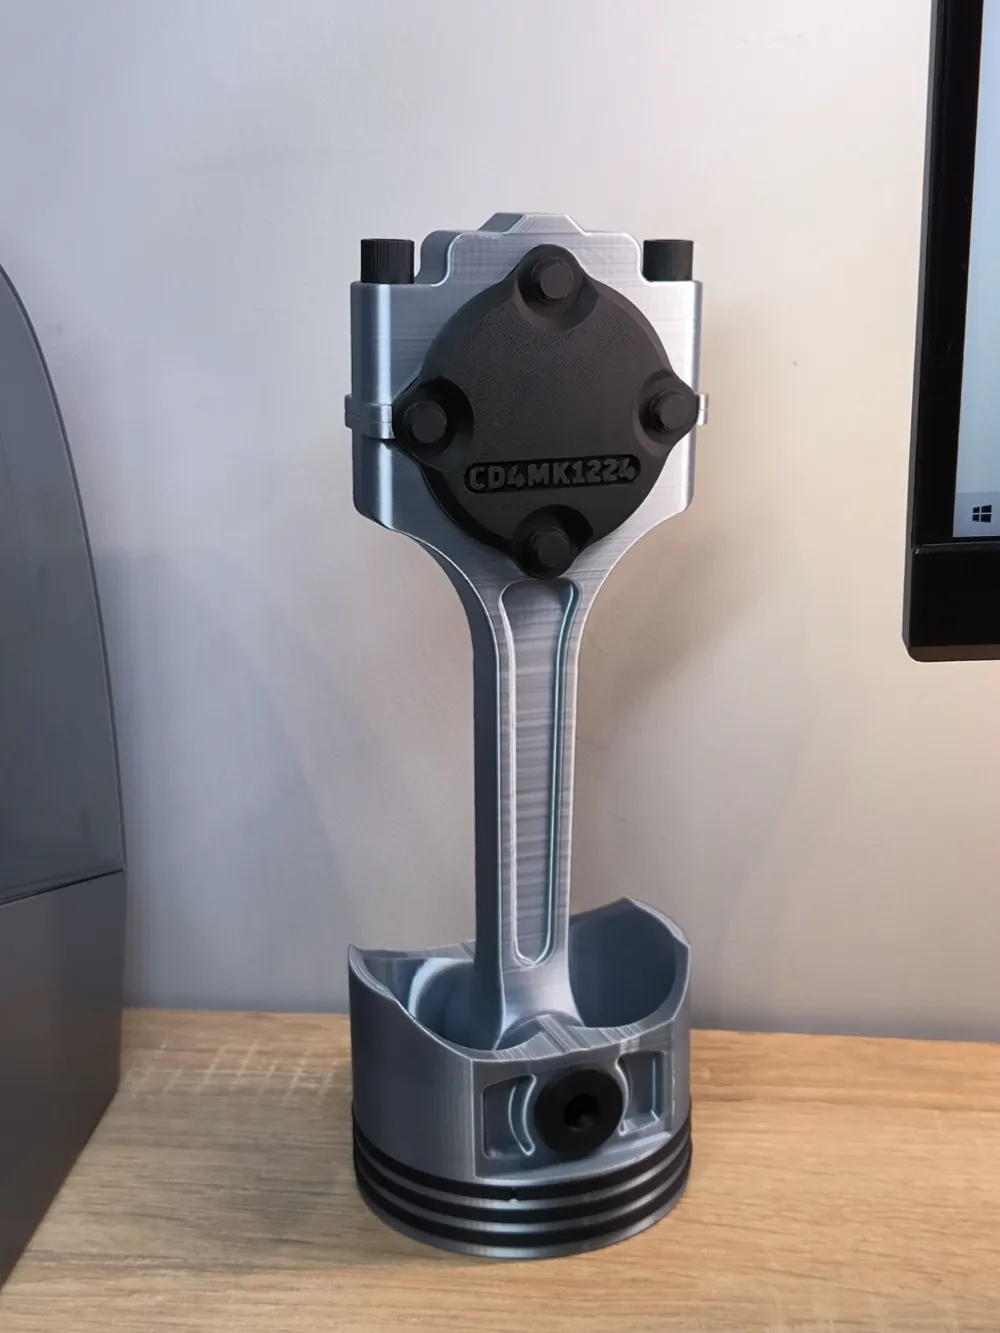
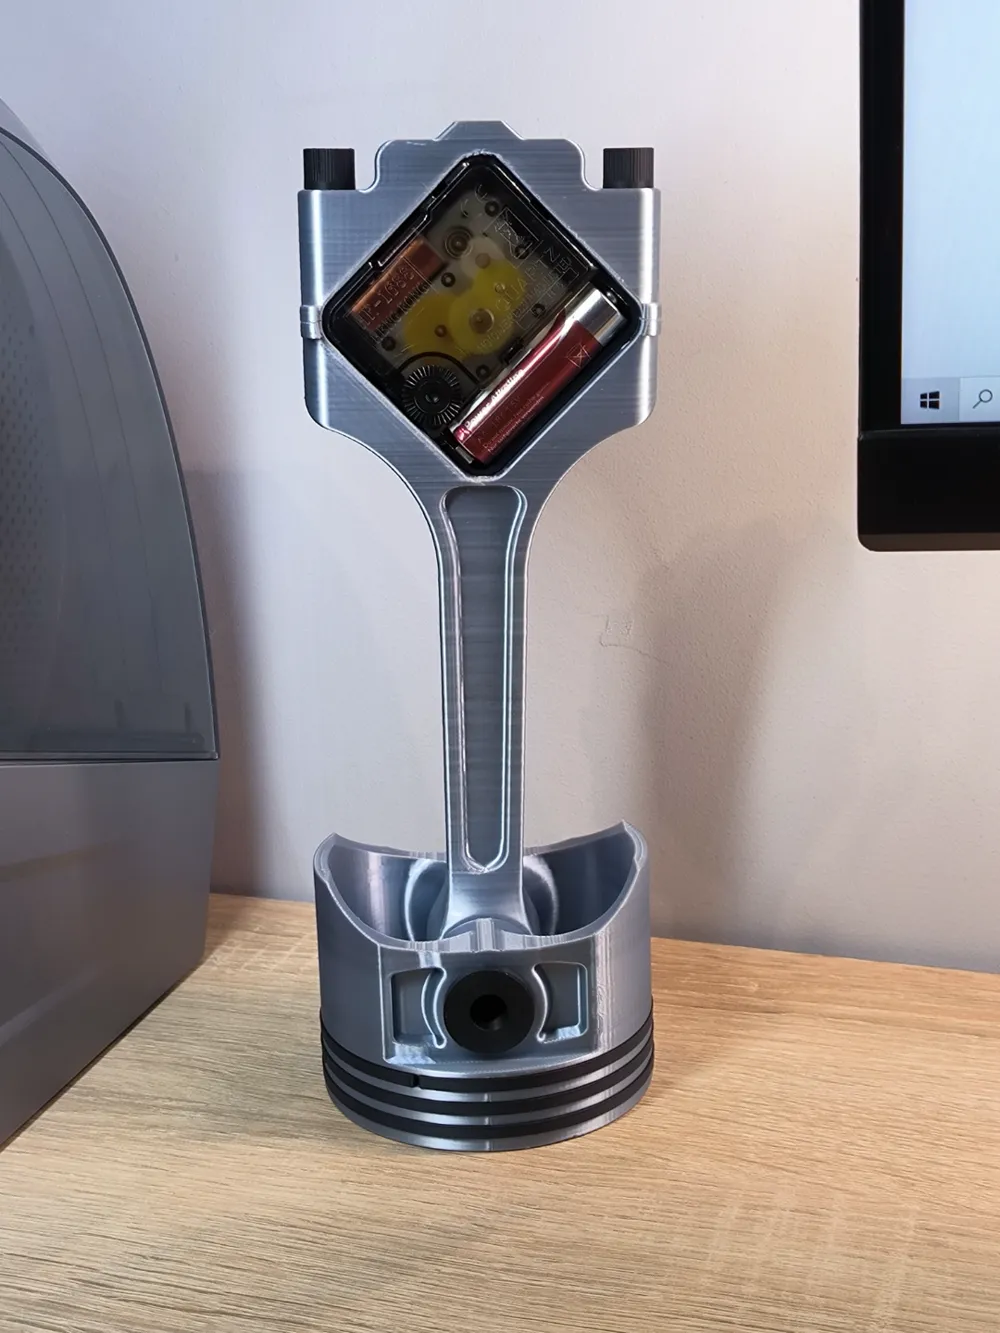
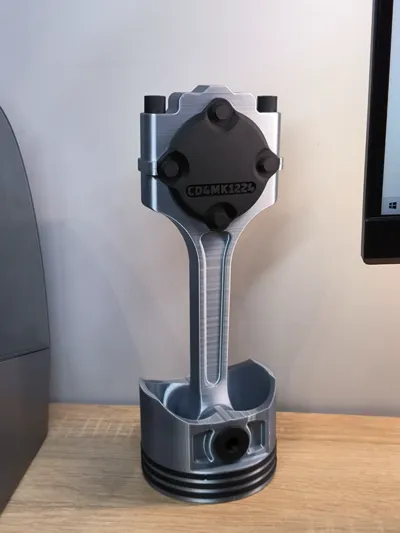
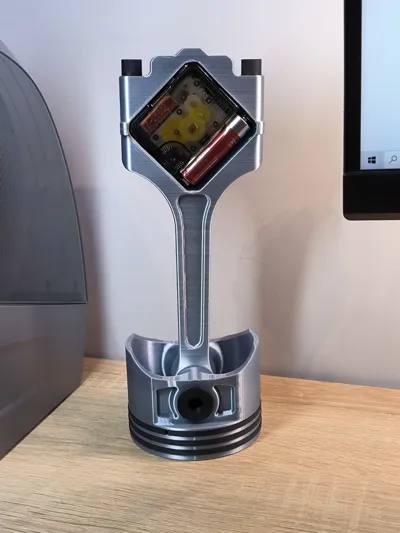
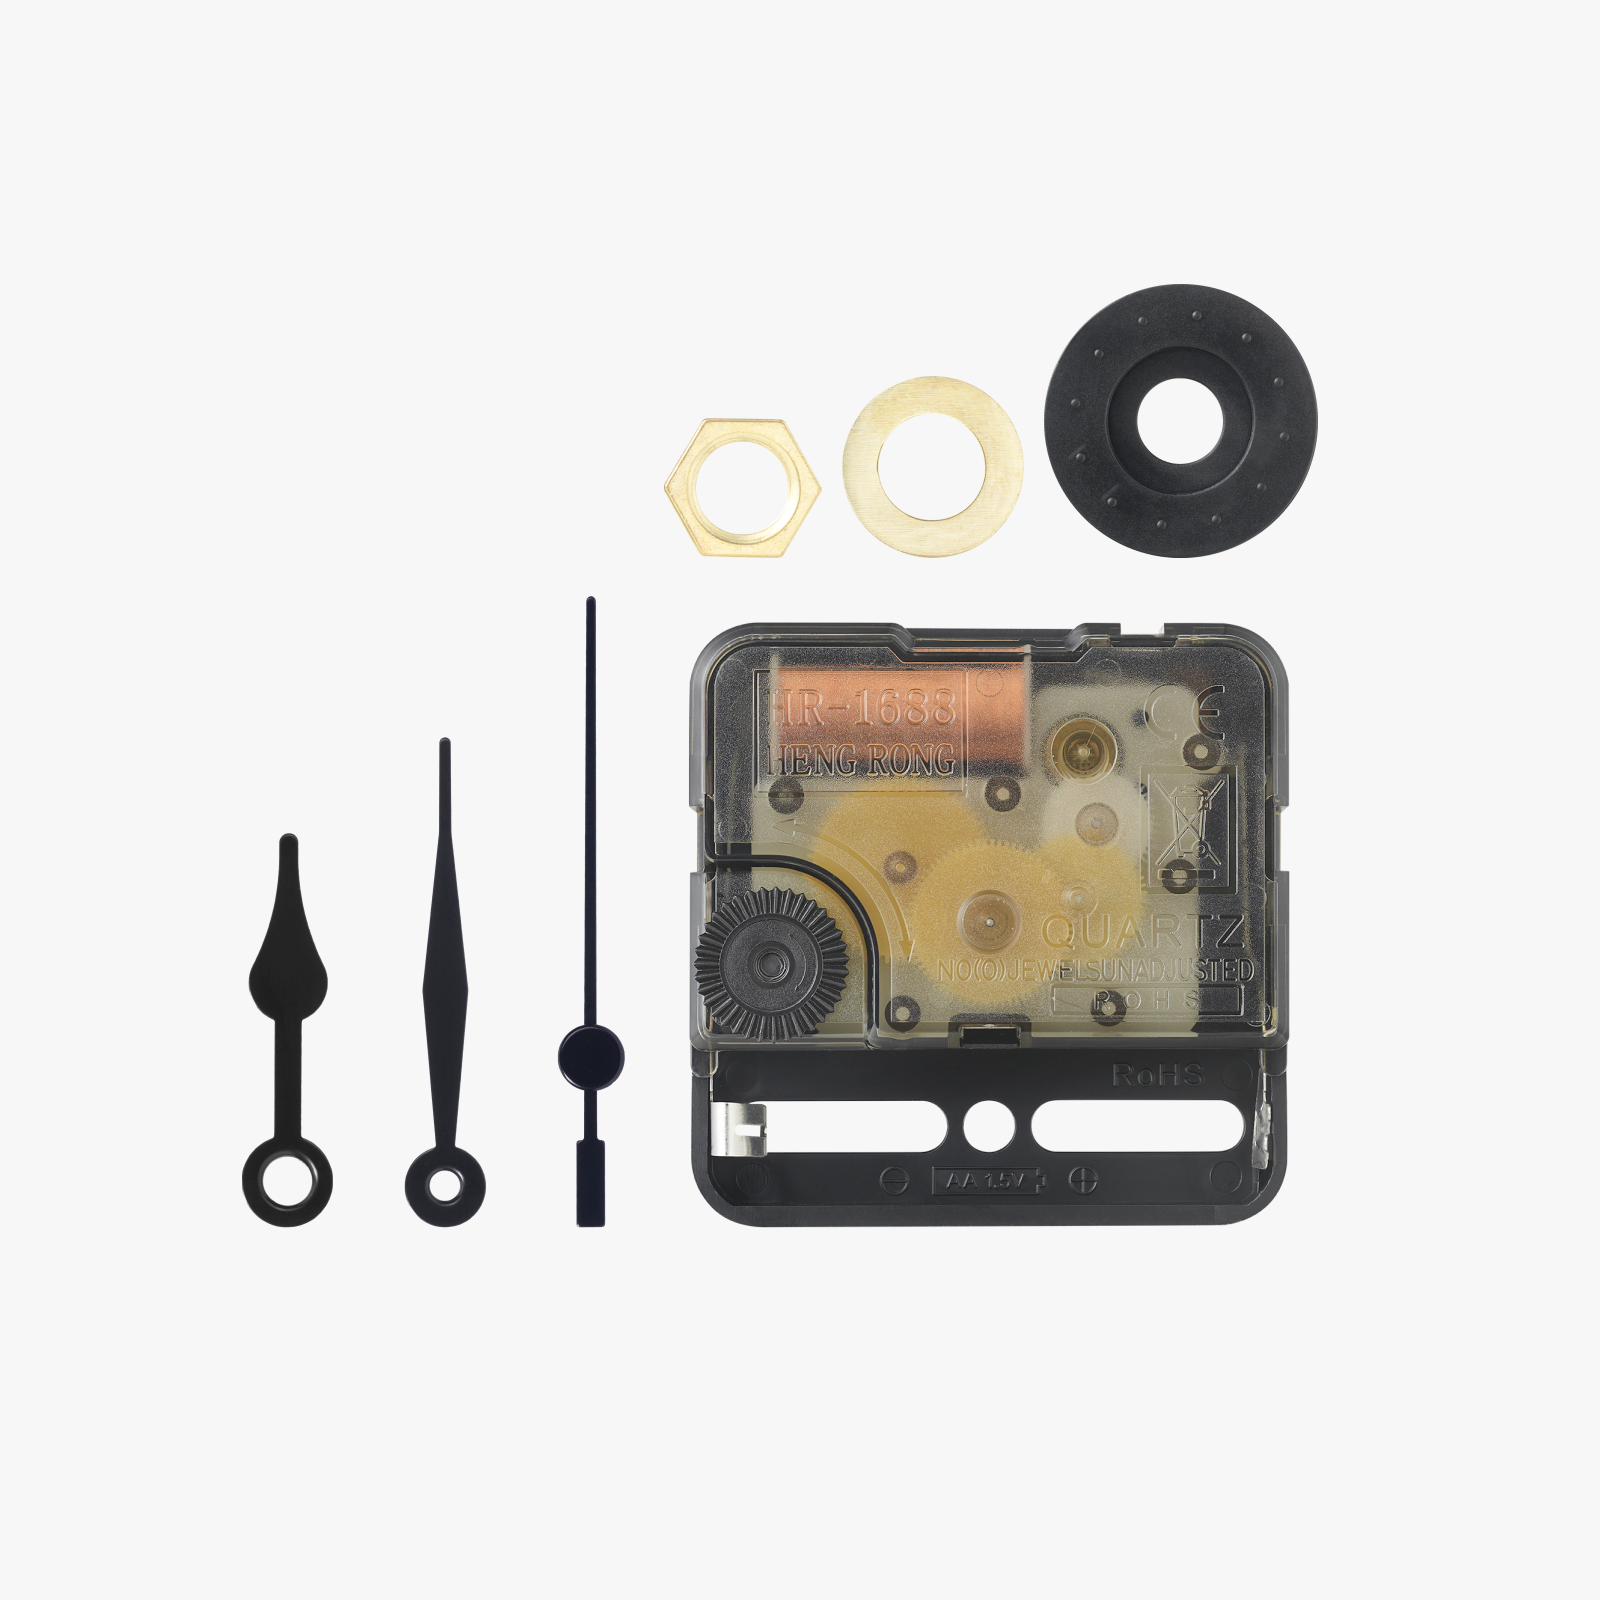
The clock is designed to be both visually appealing and easy to print. It fits seamlessly into the aesthetic of a workshop, office, or any car enthusiast's space. With just a few standard components (Clock Components Kit-MH011) and printed parts, you can create a unique, eye-catching gadget.
I hope this project will be as well-received as the "Engine Piston Lamp" and find its way onto your desks.
Check the collection:
https://makerworld.com/en/models/1581040-h7-desk-lamp#profileId-1663949 - H7 Desk Lamp https://makerworld.com/en/models/741420#profileId-673855 - Piston Lamp
Materials:
For the production of this clock, I used Silk PLA and matte PLA
Printing Tips:
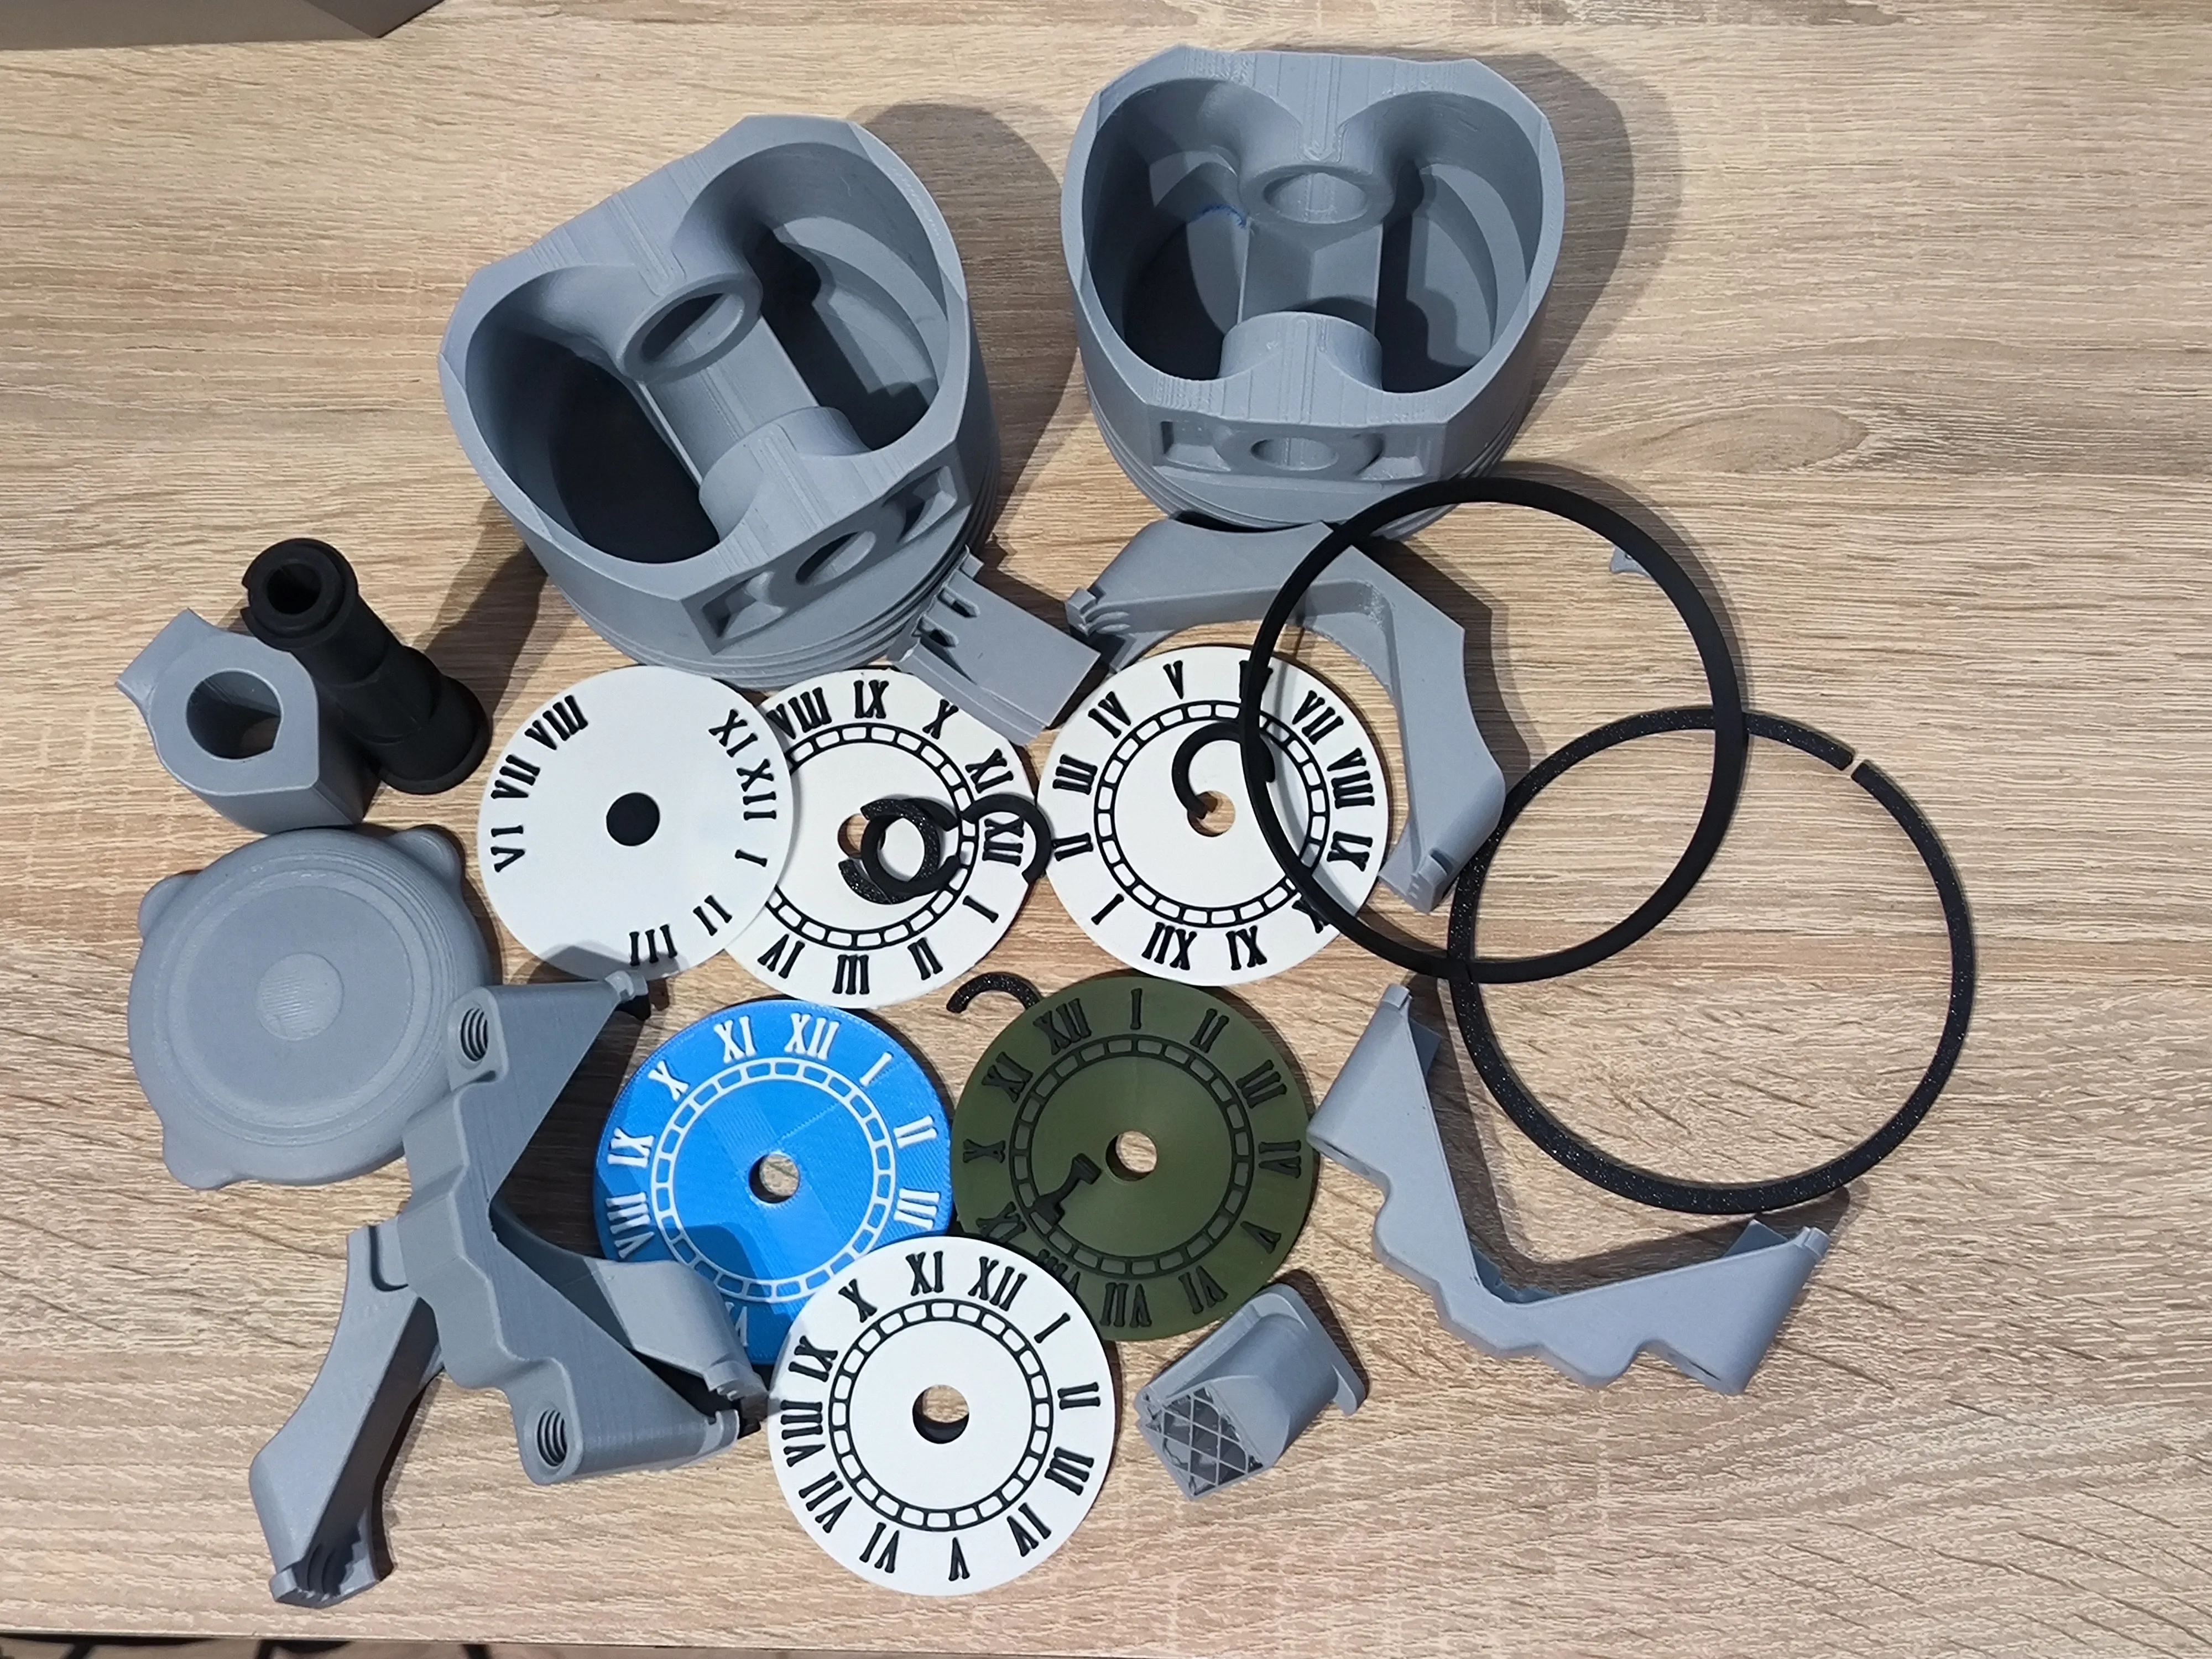
- Variable Layer Height: For the screws, it is recommended to use a layer height of 0.08 mm to ensure precise and smooth threading. For the piston itself, a variable layer height is used, averaging around 0.12 mm for optimal detail and speed.
- Supports: Support structures are required for the "Rod 1" and "Rod 2" parts. Make sure to thoroughly remove these supports and clean the contact areas for proper assembly.
- Brim: It is advised to use a brim for increased stability during printing, especially for taller components.
- Built-in Supports: The model includes built-in supports designed specifically for parts with small surface contact areas and greater height. These supports are strategically placed to avoid affecting the aesthetic quality of the finished model. Be sure to remove them carefully after printing.
Your boost makes a difference! Thank you for all the boosts – they allow me to invest more in materials for testing, which helps me deliver the most optimized models for you!
Boost Me (for free)
Do you like my projects? Leave a boost – it really helps me create!
Documentation (1)
License

You shall not share, sub-license, sell, rent, host, transfer, or distribute in any way the digital or 3D printed versions of this object, nor any other derivative work of this object in its digital or physical format (including - but not limited to - remixes of this object, and hosting on other digital platforms). The objects may not be used without permission in any way whatsoever in which you charge money, or collect fees.


Comment & Rating (587)