
Habitclock - Know your time
Print Profile(1)

Bill of Materials
Description
We all know what a clock does: It tells time.
But it doesn't help you to keep track of all the habits you know you should have.
Going to bed earlier, not working overhours, taking a lunch-break, start the day at a specific time….
I present you: The HabitClock
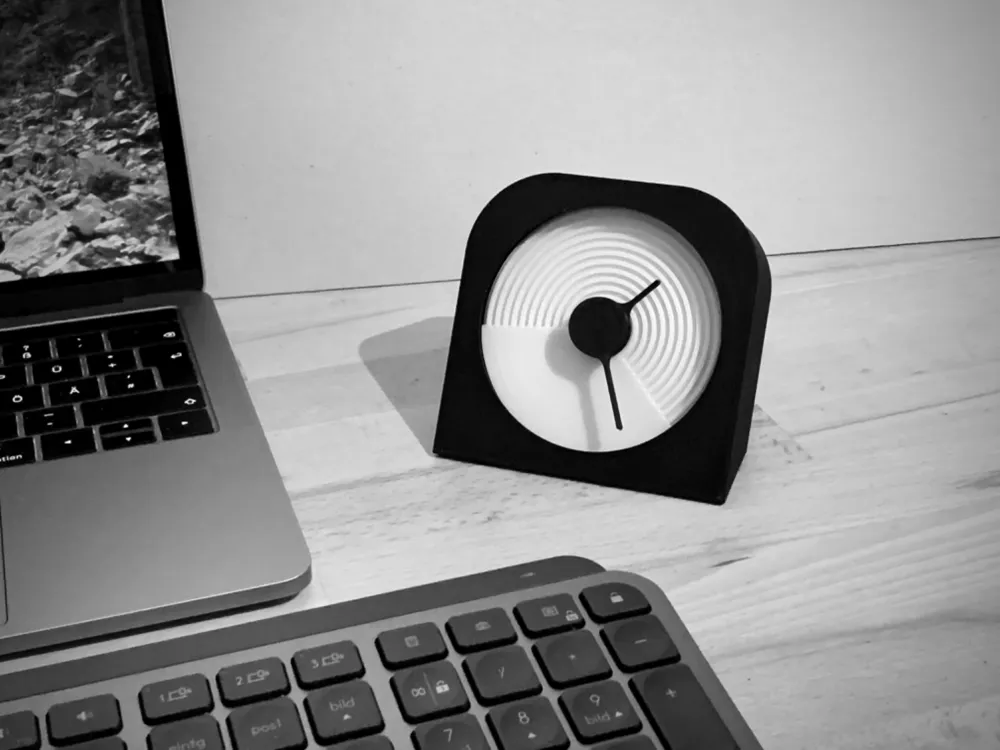
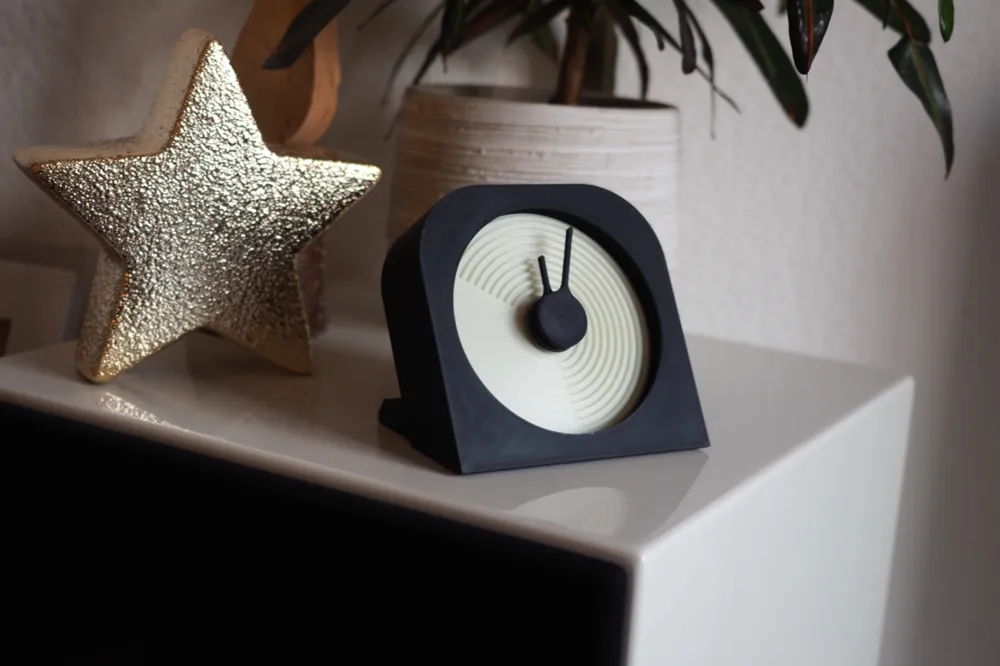
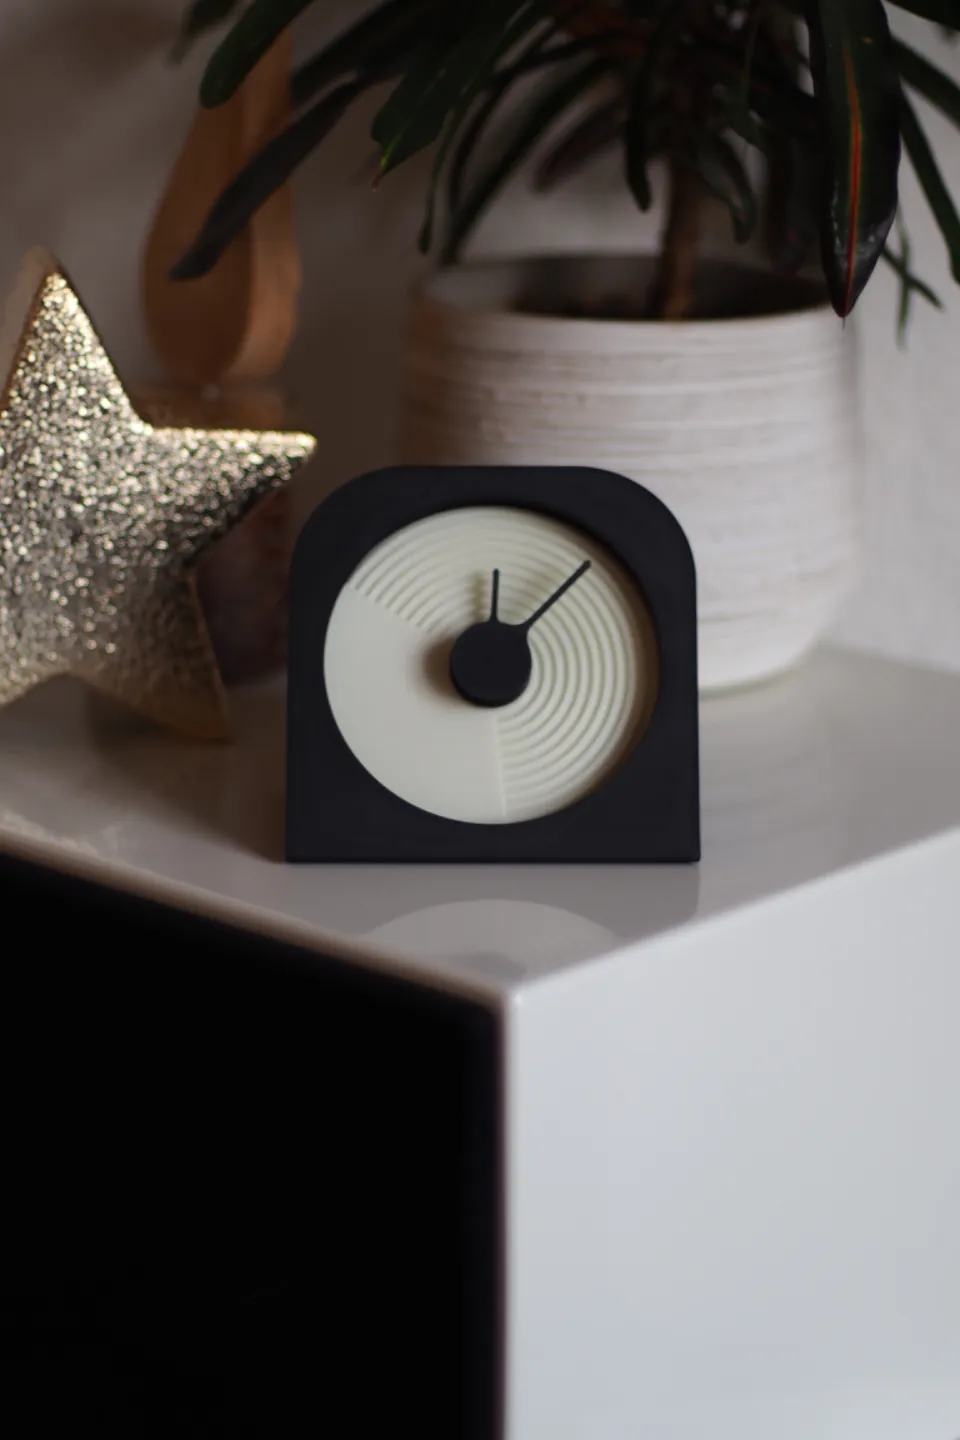
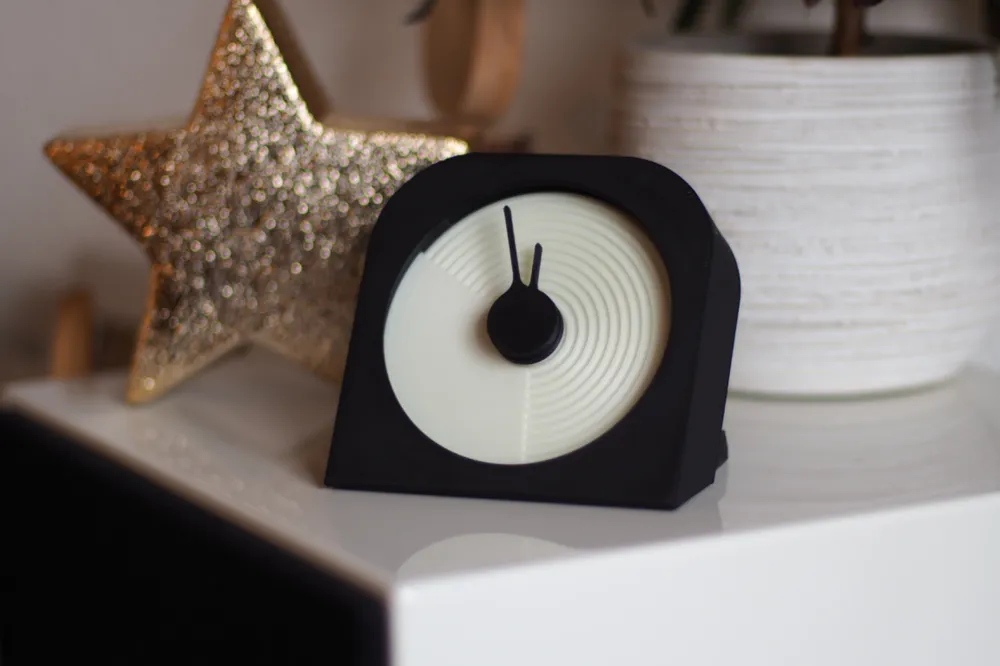
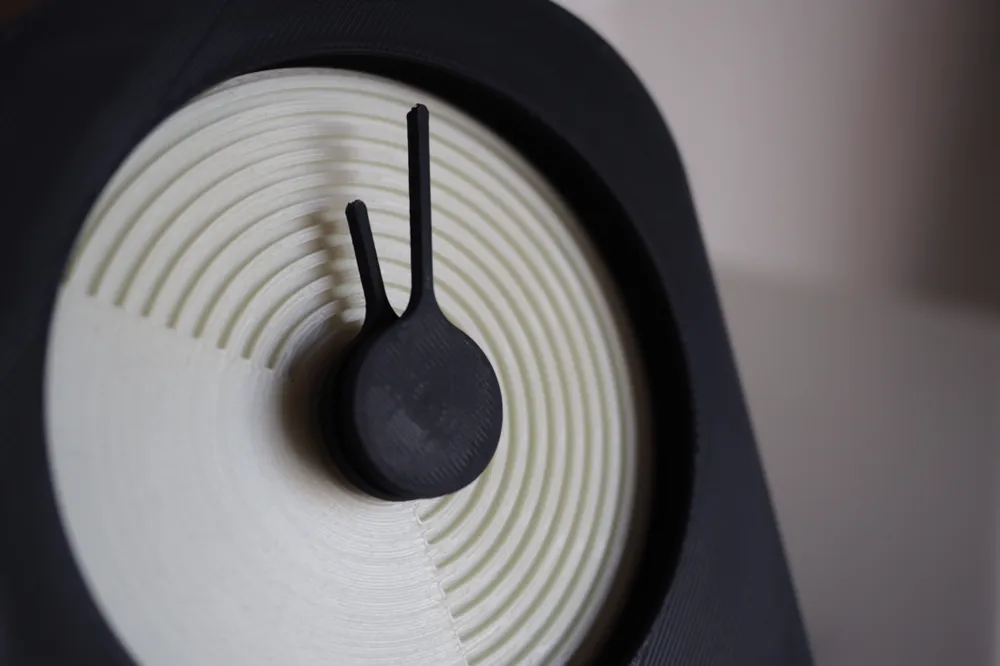
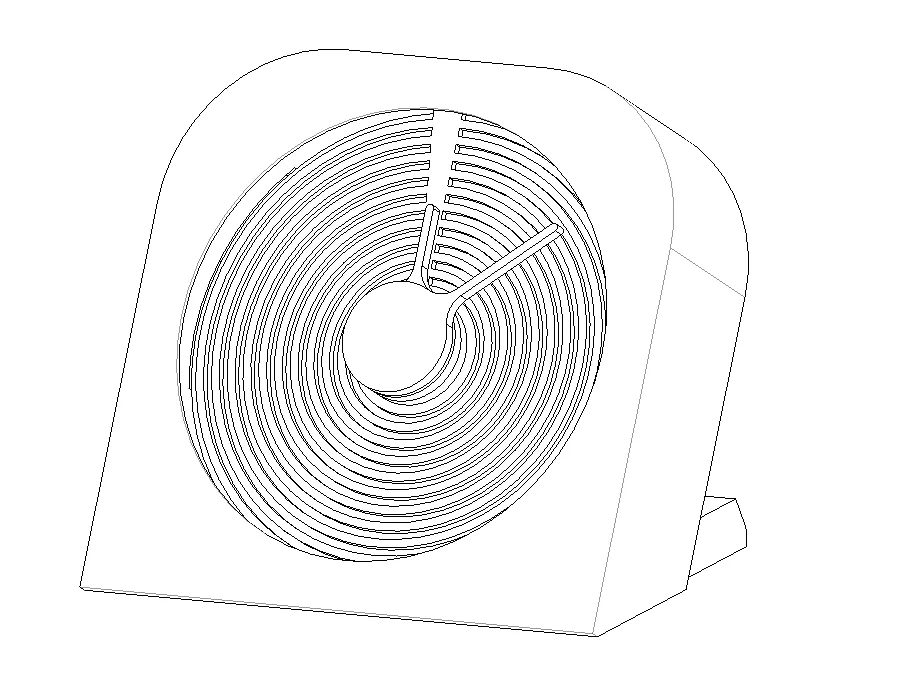
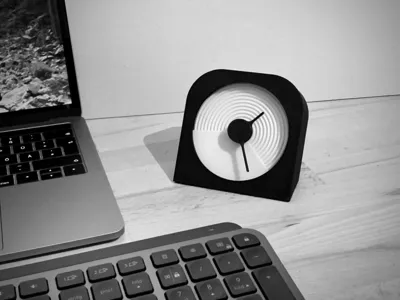
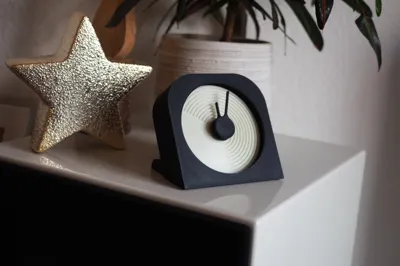
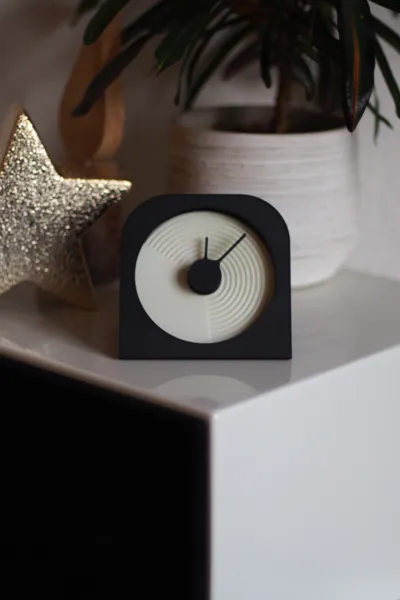
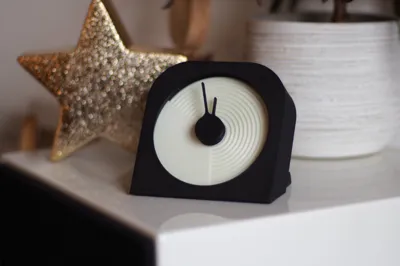
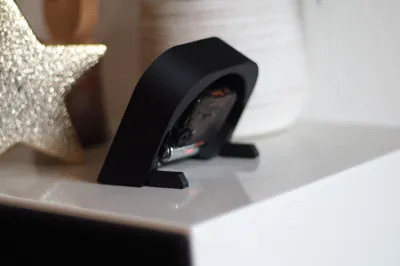
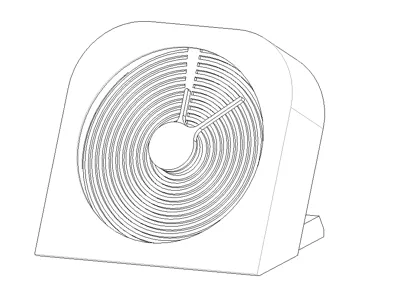
A modern looking, sleek clock for your desk at a perfect viewing angle. Choose from one of the many available dials, available in 15 minute increments.
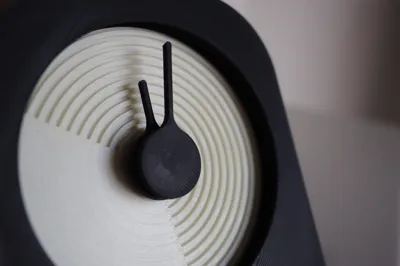
Let's say you want to take your 30 minute lunchbreak every day at 12 o'clock. Simply choose the 0-30 (0 hours, 30 Minutes) dial and rotate it in such a way that the pattern starts at 12 o'clock.
After assembly you can freely rotate (please clockwise only) the dial to adjust the start time of the selected habit-time.
Please select the dials you want to print when using my printer profile, as I sorted all dials on plates.
The displayed printing time for the profile is considering to print all the dials. It should take about 2h 30 min in total to print all needed parts and one dial.
Boost Me (for free)
Who knows - there is plenty of room for fancy dials and other possibilities!
More dial designs and a feature to set multiple habit sections in a single dial individually are already planned.
Assembly is simple and requires no tools. Yu can also download and print the PDF version of the assembly instructions.
Carefully remove the supports from the main body prior assembly.
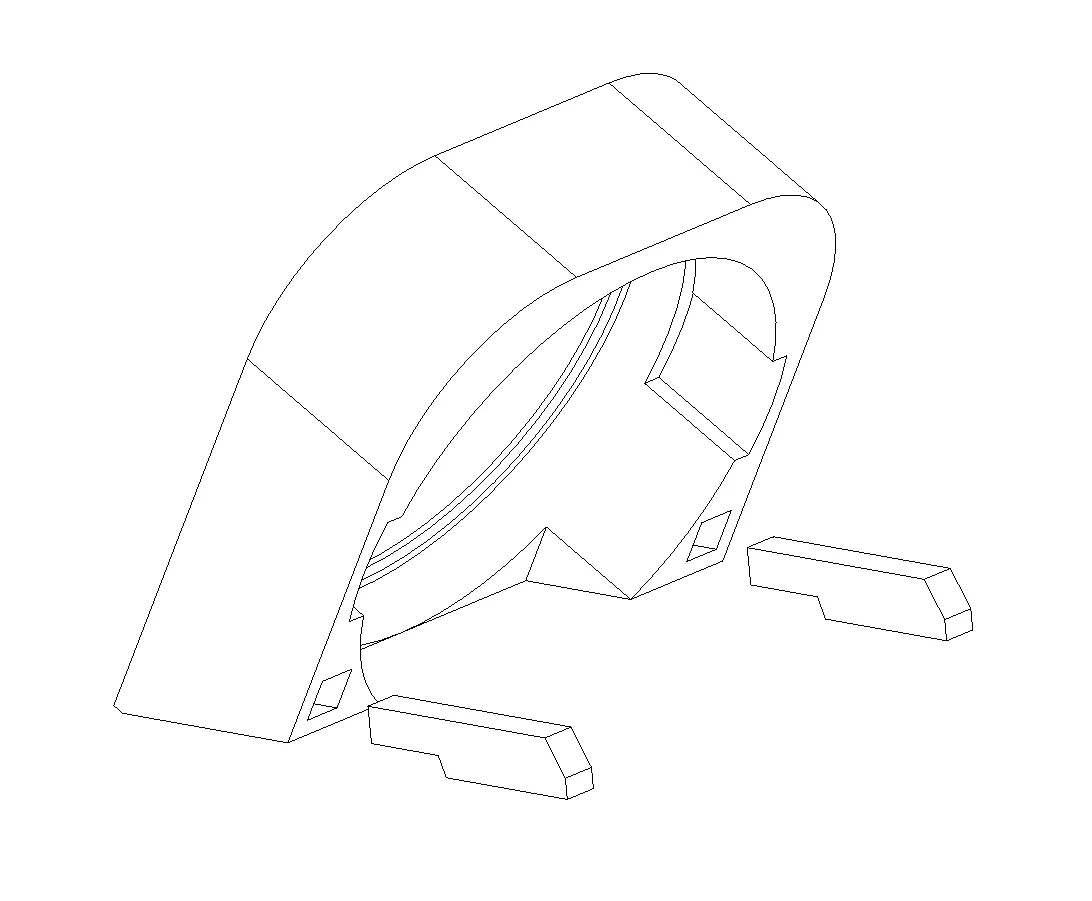
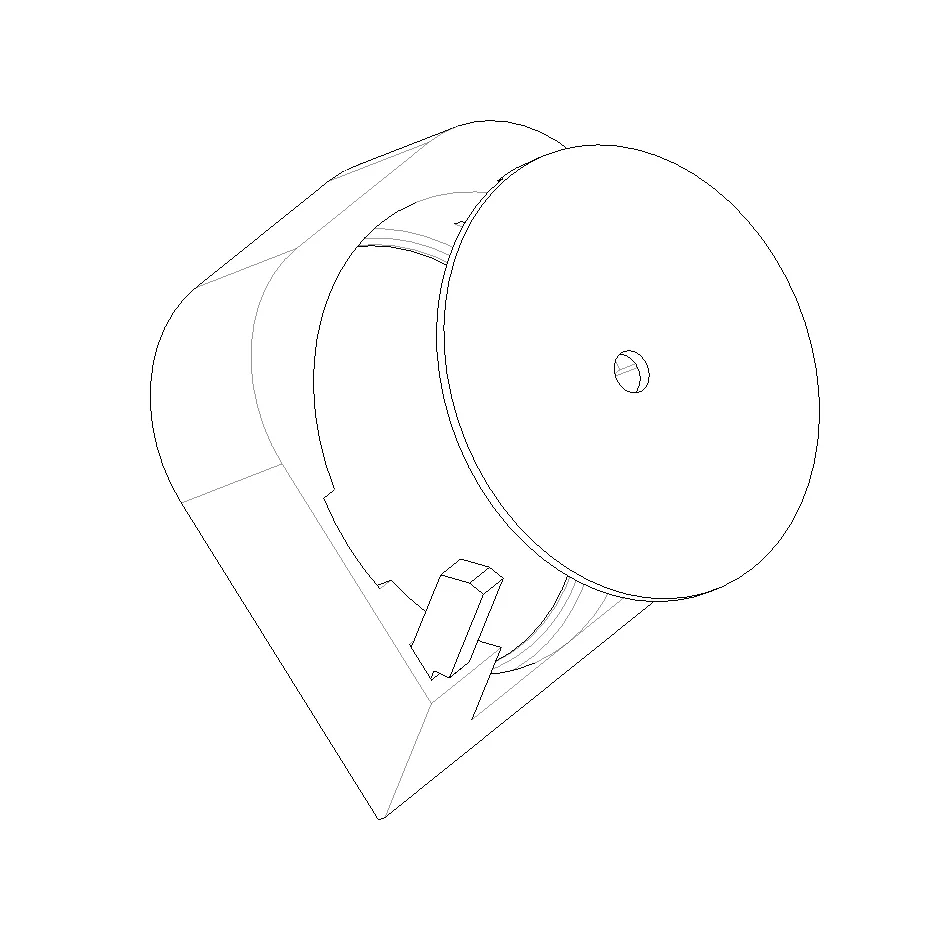
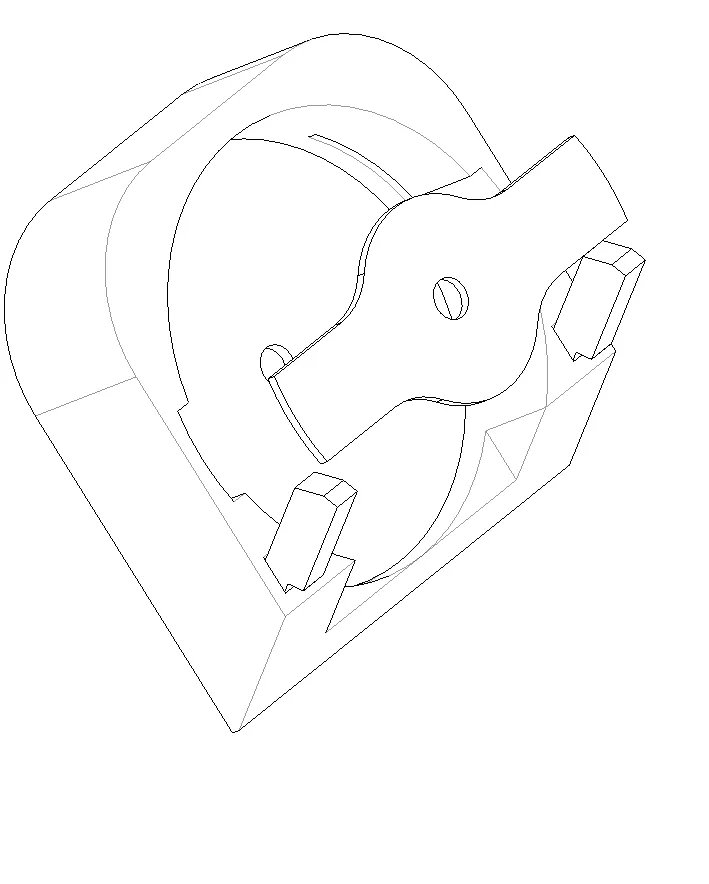
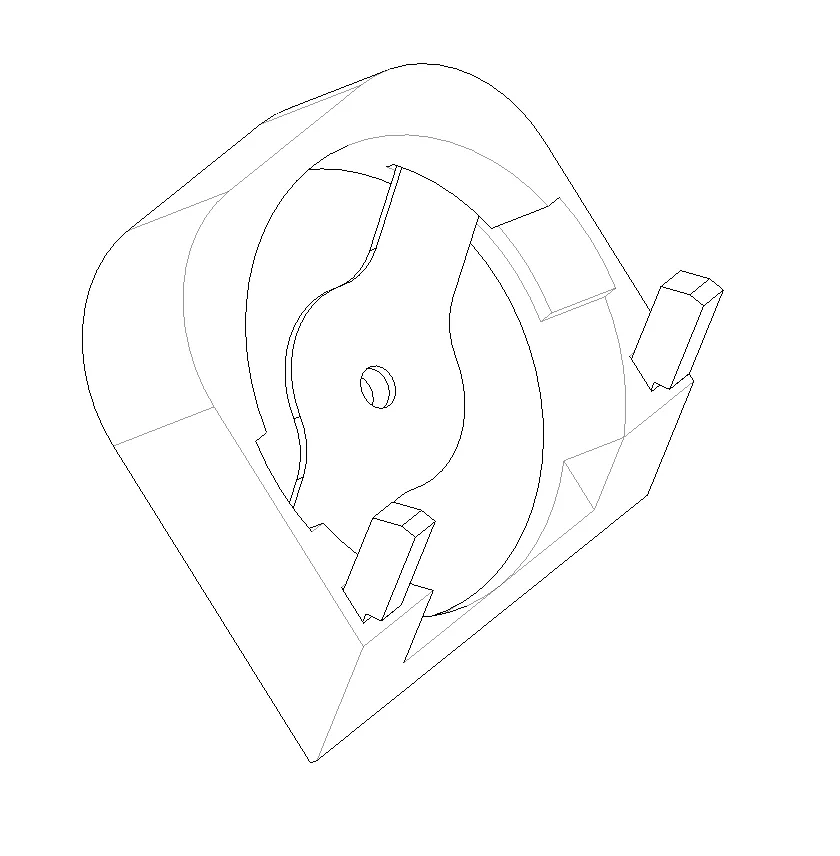
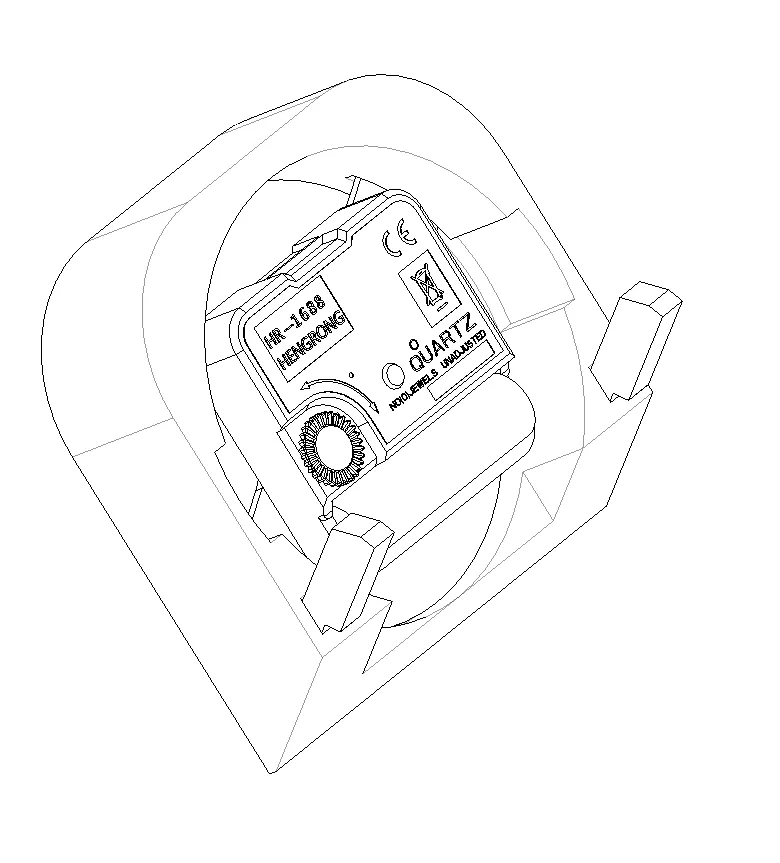
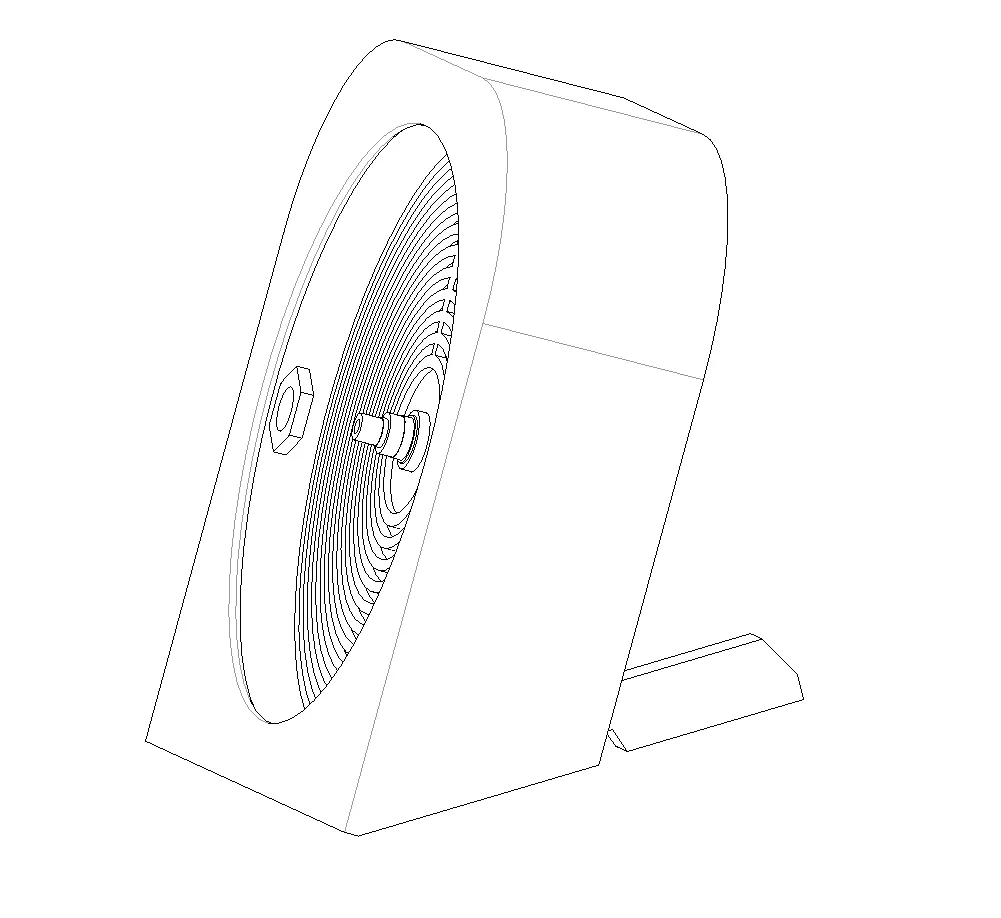
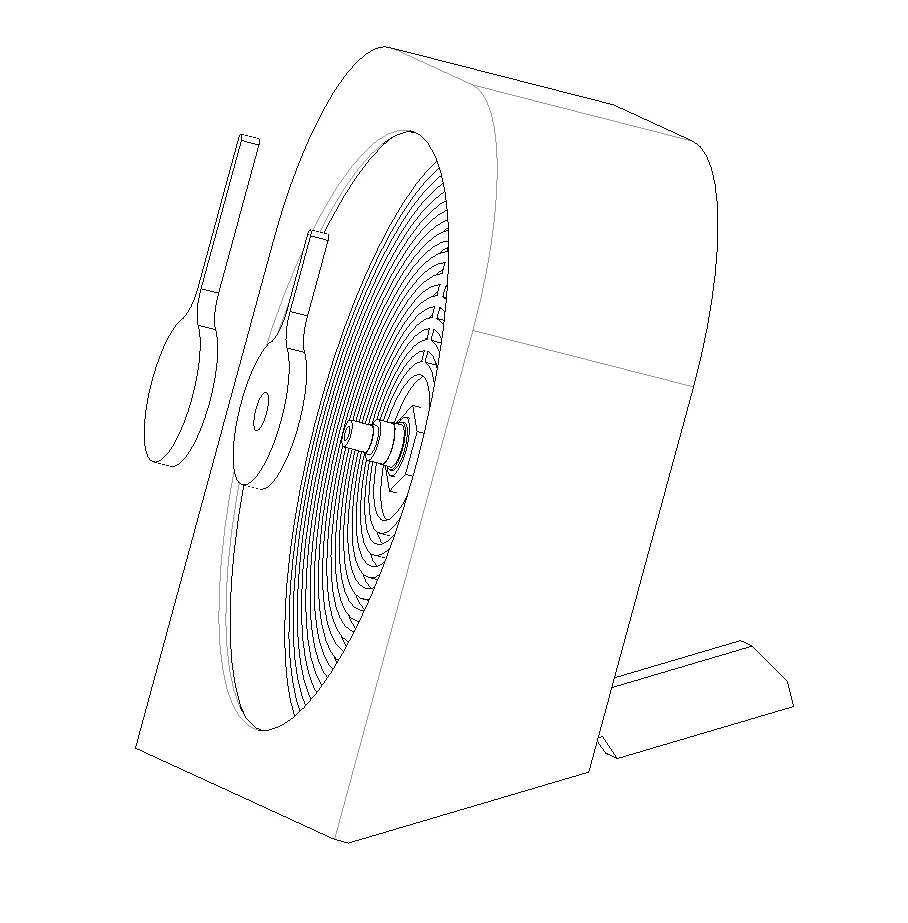
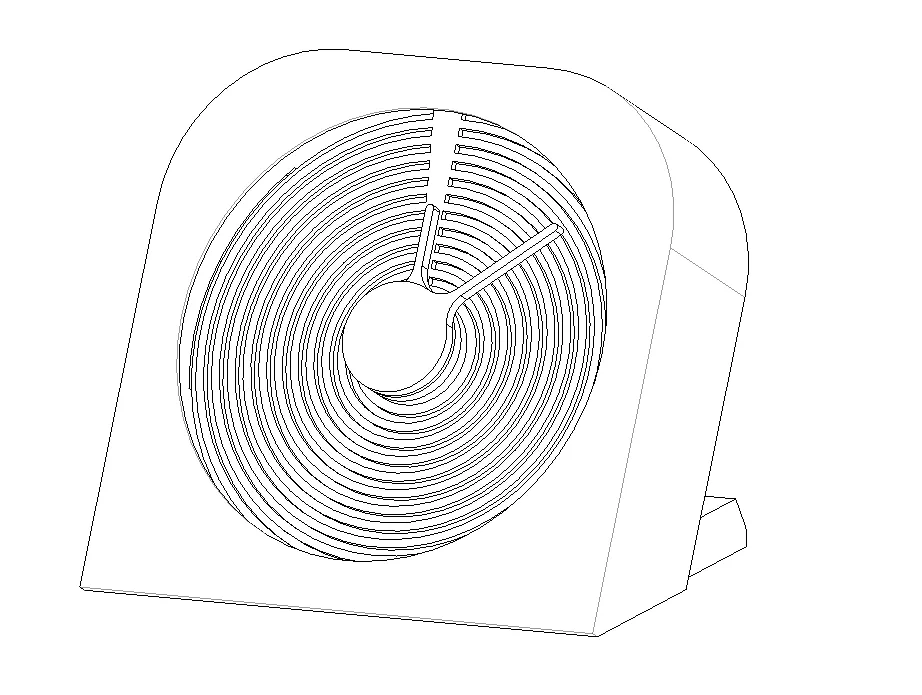
To adjust the starting time of the pattern simply rotate the dial clockwise gently holding the clockwork with your other hand from behind. Should it be hard to move slightly loosen the nut.
Version History
01-07-2025: V1.1
- Added a minute hand with a slightly smaller hole to the first build plate. I suggest you print both and choose the one that better fits.
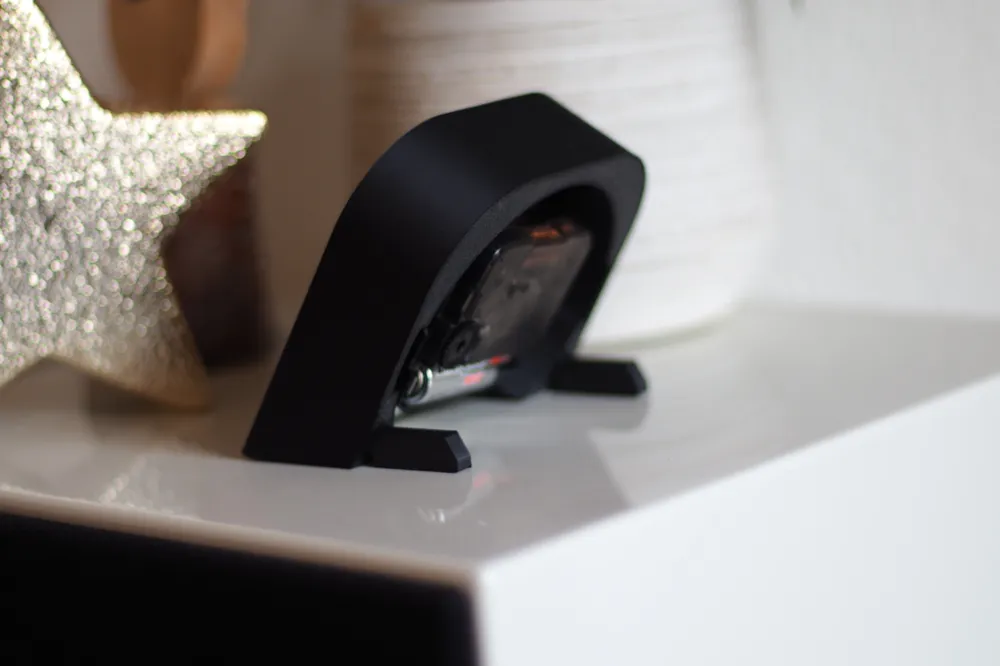
- Changed the stand design. Now it's a press-fit connection. No glue is needed.
Documentation (1)
License

You shall not share, sub-license, sell, rent, host, transfer, or distribute in any way the digital or 3D printed versions of this object, nor any other derivative work of this object in its digital or physical format (including - but not limited to - remixes of this object, and hosting on other digital platforms). The objects may not be used without permission in any way whatsoever in which you charge money, or collect fees.


Comment & Rating (1)