


Print Profile(1)

Description
How to Use and Assemble the Light Bulb Changer
Simplify light bulb changes with this easy-to-use tool, designed primarily for standard LED lamps with an E27 base. Follow these steps to assemble and use it:
Assembly Instructions
- Prepare the Pieces: Lay out the four parts of the light bulb changer.
- Click to Assemble: Connect the parts two by two, following the numbered guides in a counterclockwise direction.
- Secure the Assembly: Once the tool is fully assembled, tape the joints firmly—using duct tape or similar—around the base of the device to ensure stability during use.
Using the Light Bulb Changer
- Attach to a Handle: Twist the assembled tool securely onto a broom handle or extension pole.
- Select the Grip: The tool is designed for standard LED lamps with an E27 base, ensuring a snug fit. Snap the grip attachment into place.
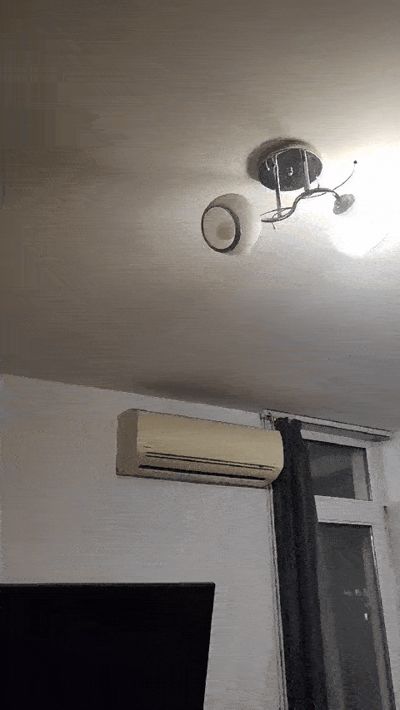
- Remove the Old Bulb: Position the tool on the bulb, twist gently counterclockwise, and pull it out.
- Install the New Bulb: Insert the new bulb into the grip, align it with the socket, and twist clockwise to secure.
- Wrap Up: Detach the tool from the handle and store it for next time.
With its design tailored for E27 LED bulbs, this tool provides a safe and hassle-free solution for all your standard lighting needs!
License
You shall not share, sub-license, sell, rent, host, transfer, or distribute in any way the digital or 3D printed versions of this object, nor any other derivative work of this object in its digital or physical format (including - but not limited to - remixes of this object, and hosting on other digital platforms). The objects may not be used without permission in any way whatsoever in which you charge money, or collect fees.
Comment & Rating (5)