
Graflex Skywalker - Modular Lightsaber
Print Profile(2)


Bill of Materials


Description
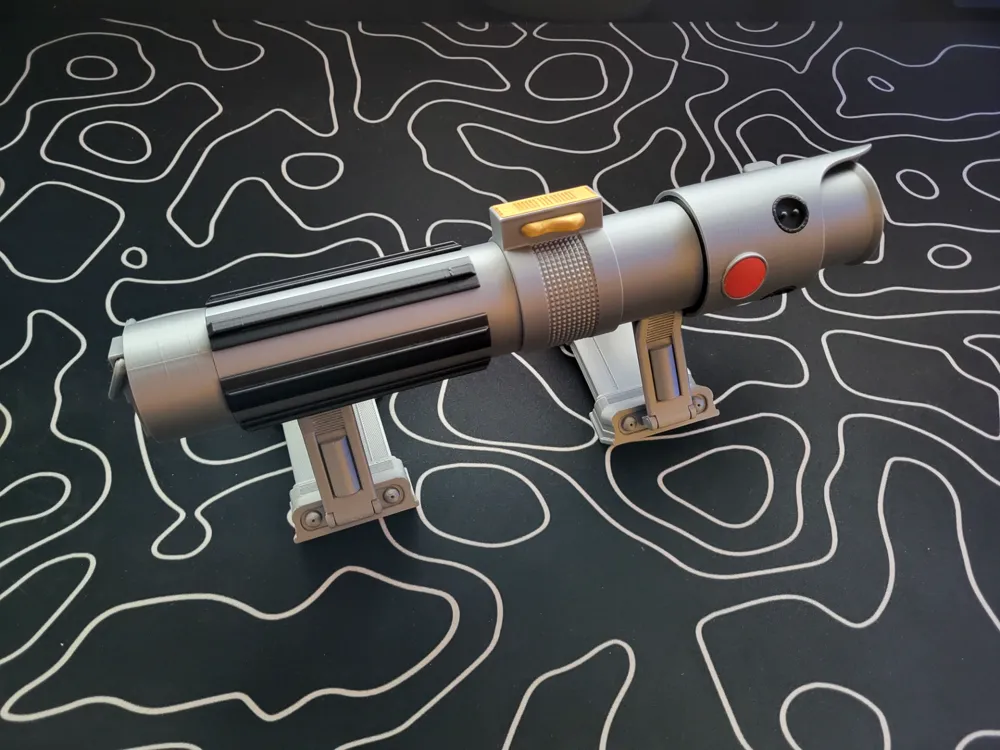
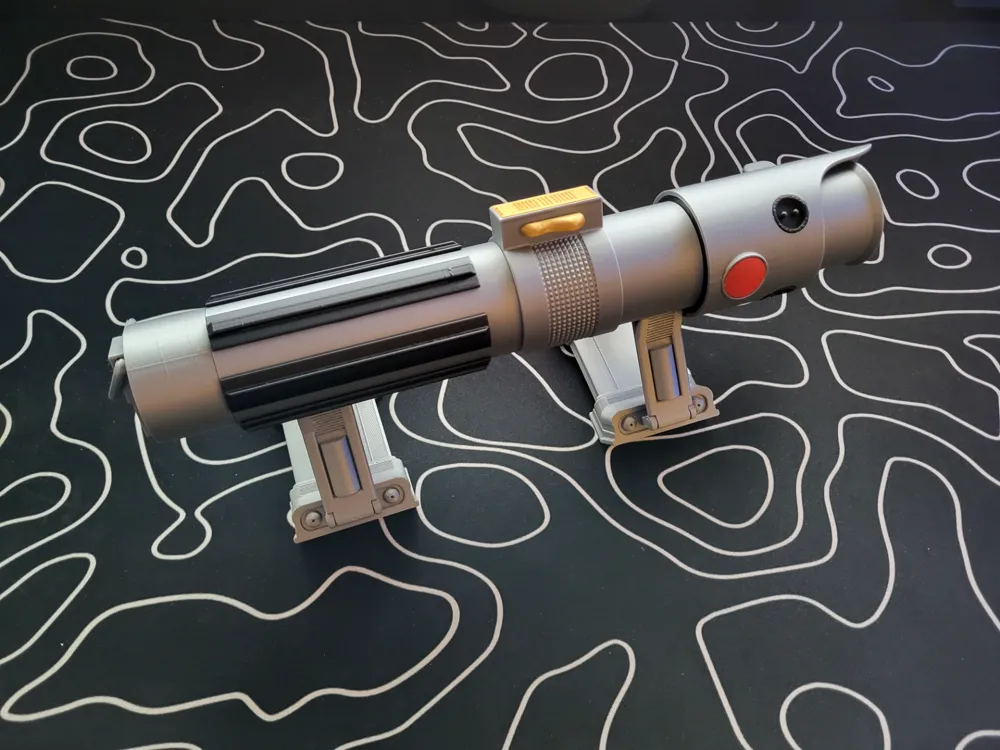
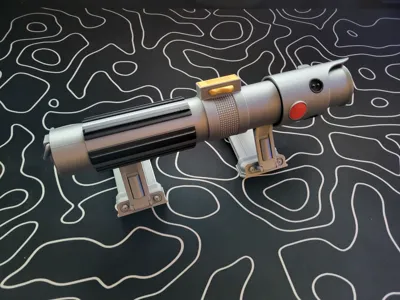
This lightsaber set is inspired by the Graflex used by Anakin Skywalker in Revenge of the Sith, Luke Skywalker in A New Hope and Empire Strikes Back, and Rey in the sequel trilogy. While the design changes from movie to movie, I drew the majority of the inspiration from Anakin's in Revenge of the Sith especially for the switch.
This set is part of a customizable lightsaber ecosystem where you can mix and match with other sets from my Build Your Modular Lightsaber collection. Originally made to work with the plastic lightsabers from the Disney parks, I'm taking it one step further so you can 3D print the entire lightsaber for play or display. I will be regularly adding new sets to create an expansive collection of lightsabers from both the movies and games.
See the bill of materials, support and assembly instructions down below!
Boost Me (for free)
Help me buy filament so I can make more lightsaber designs! 😊 If you want a specific hilt made next, boosts are a great motivator too 😉
BILL OF MATERIALS:
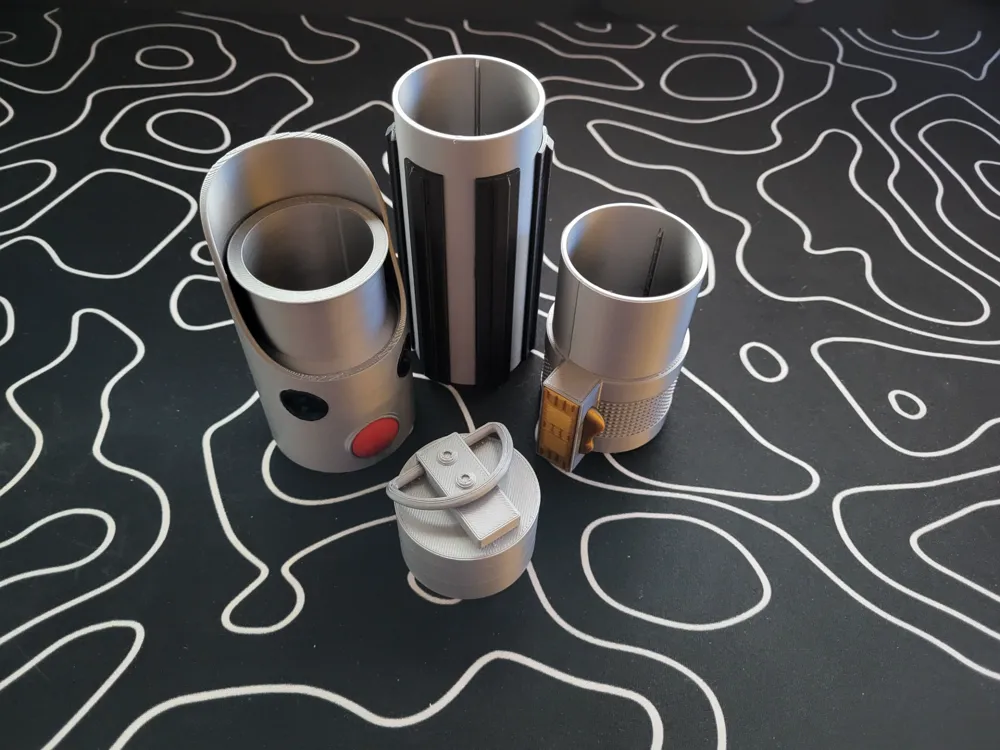
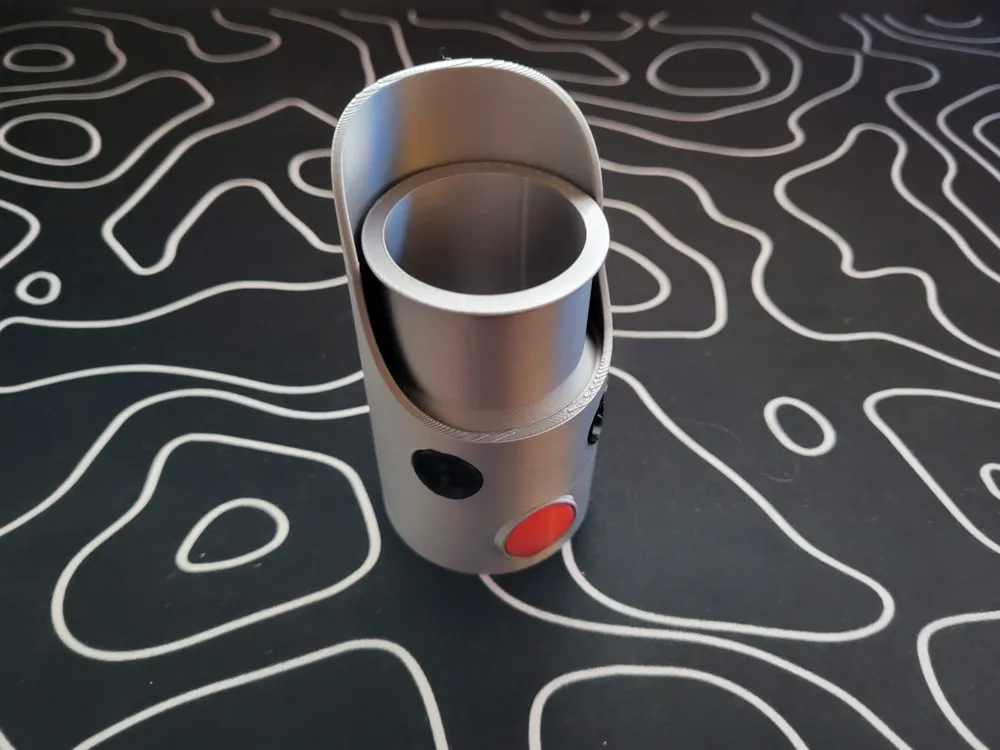
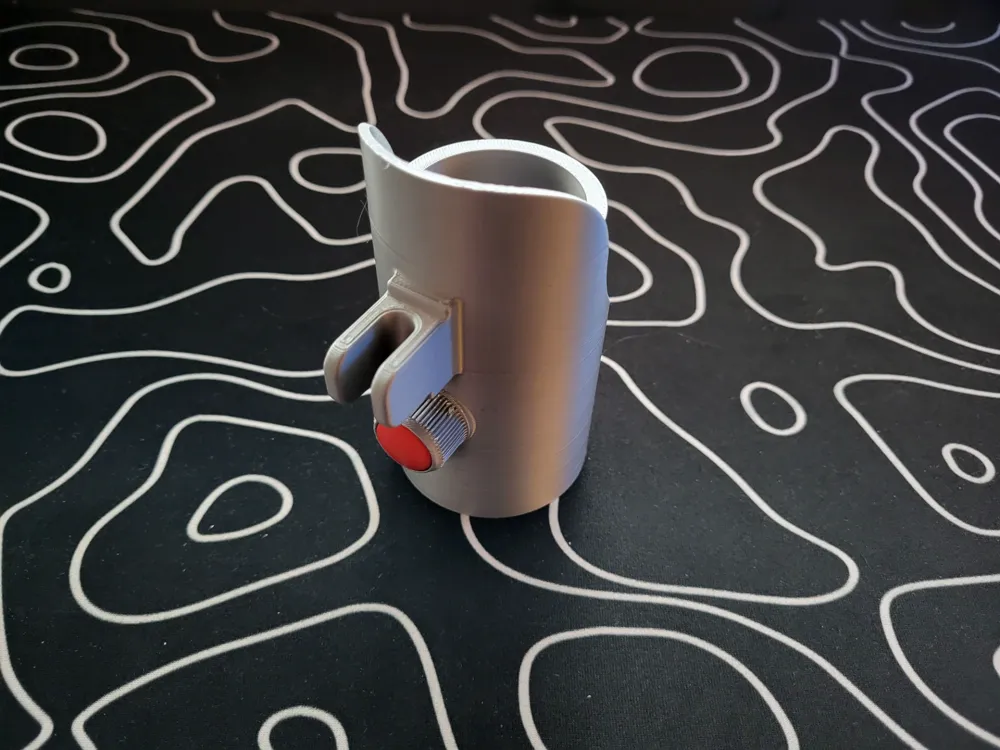
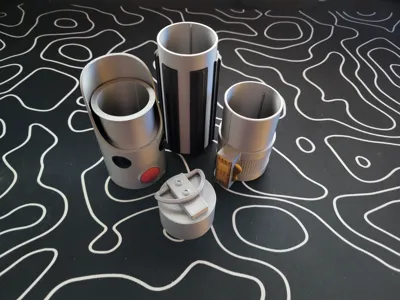
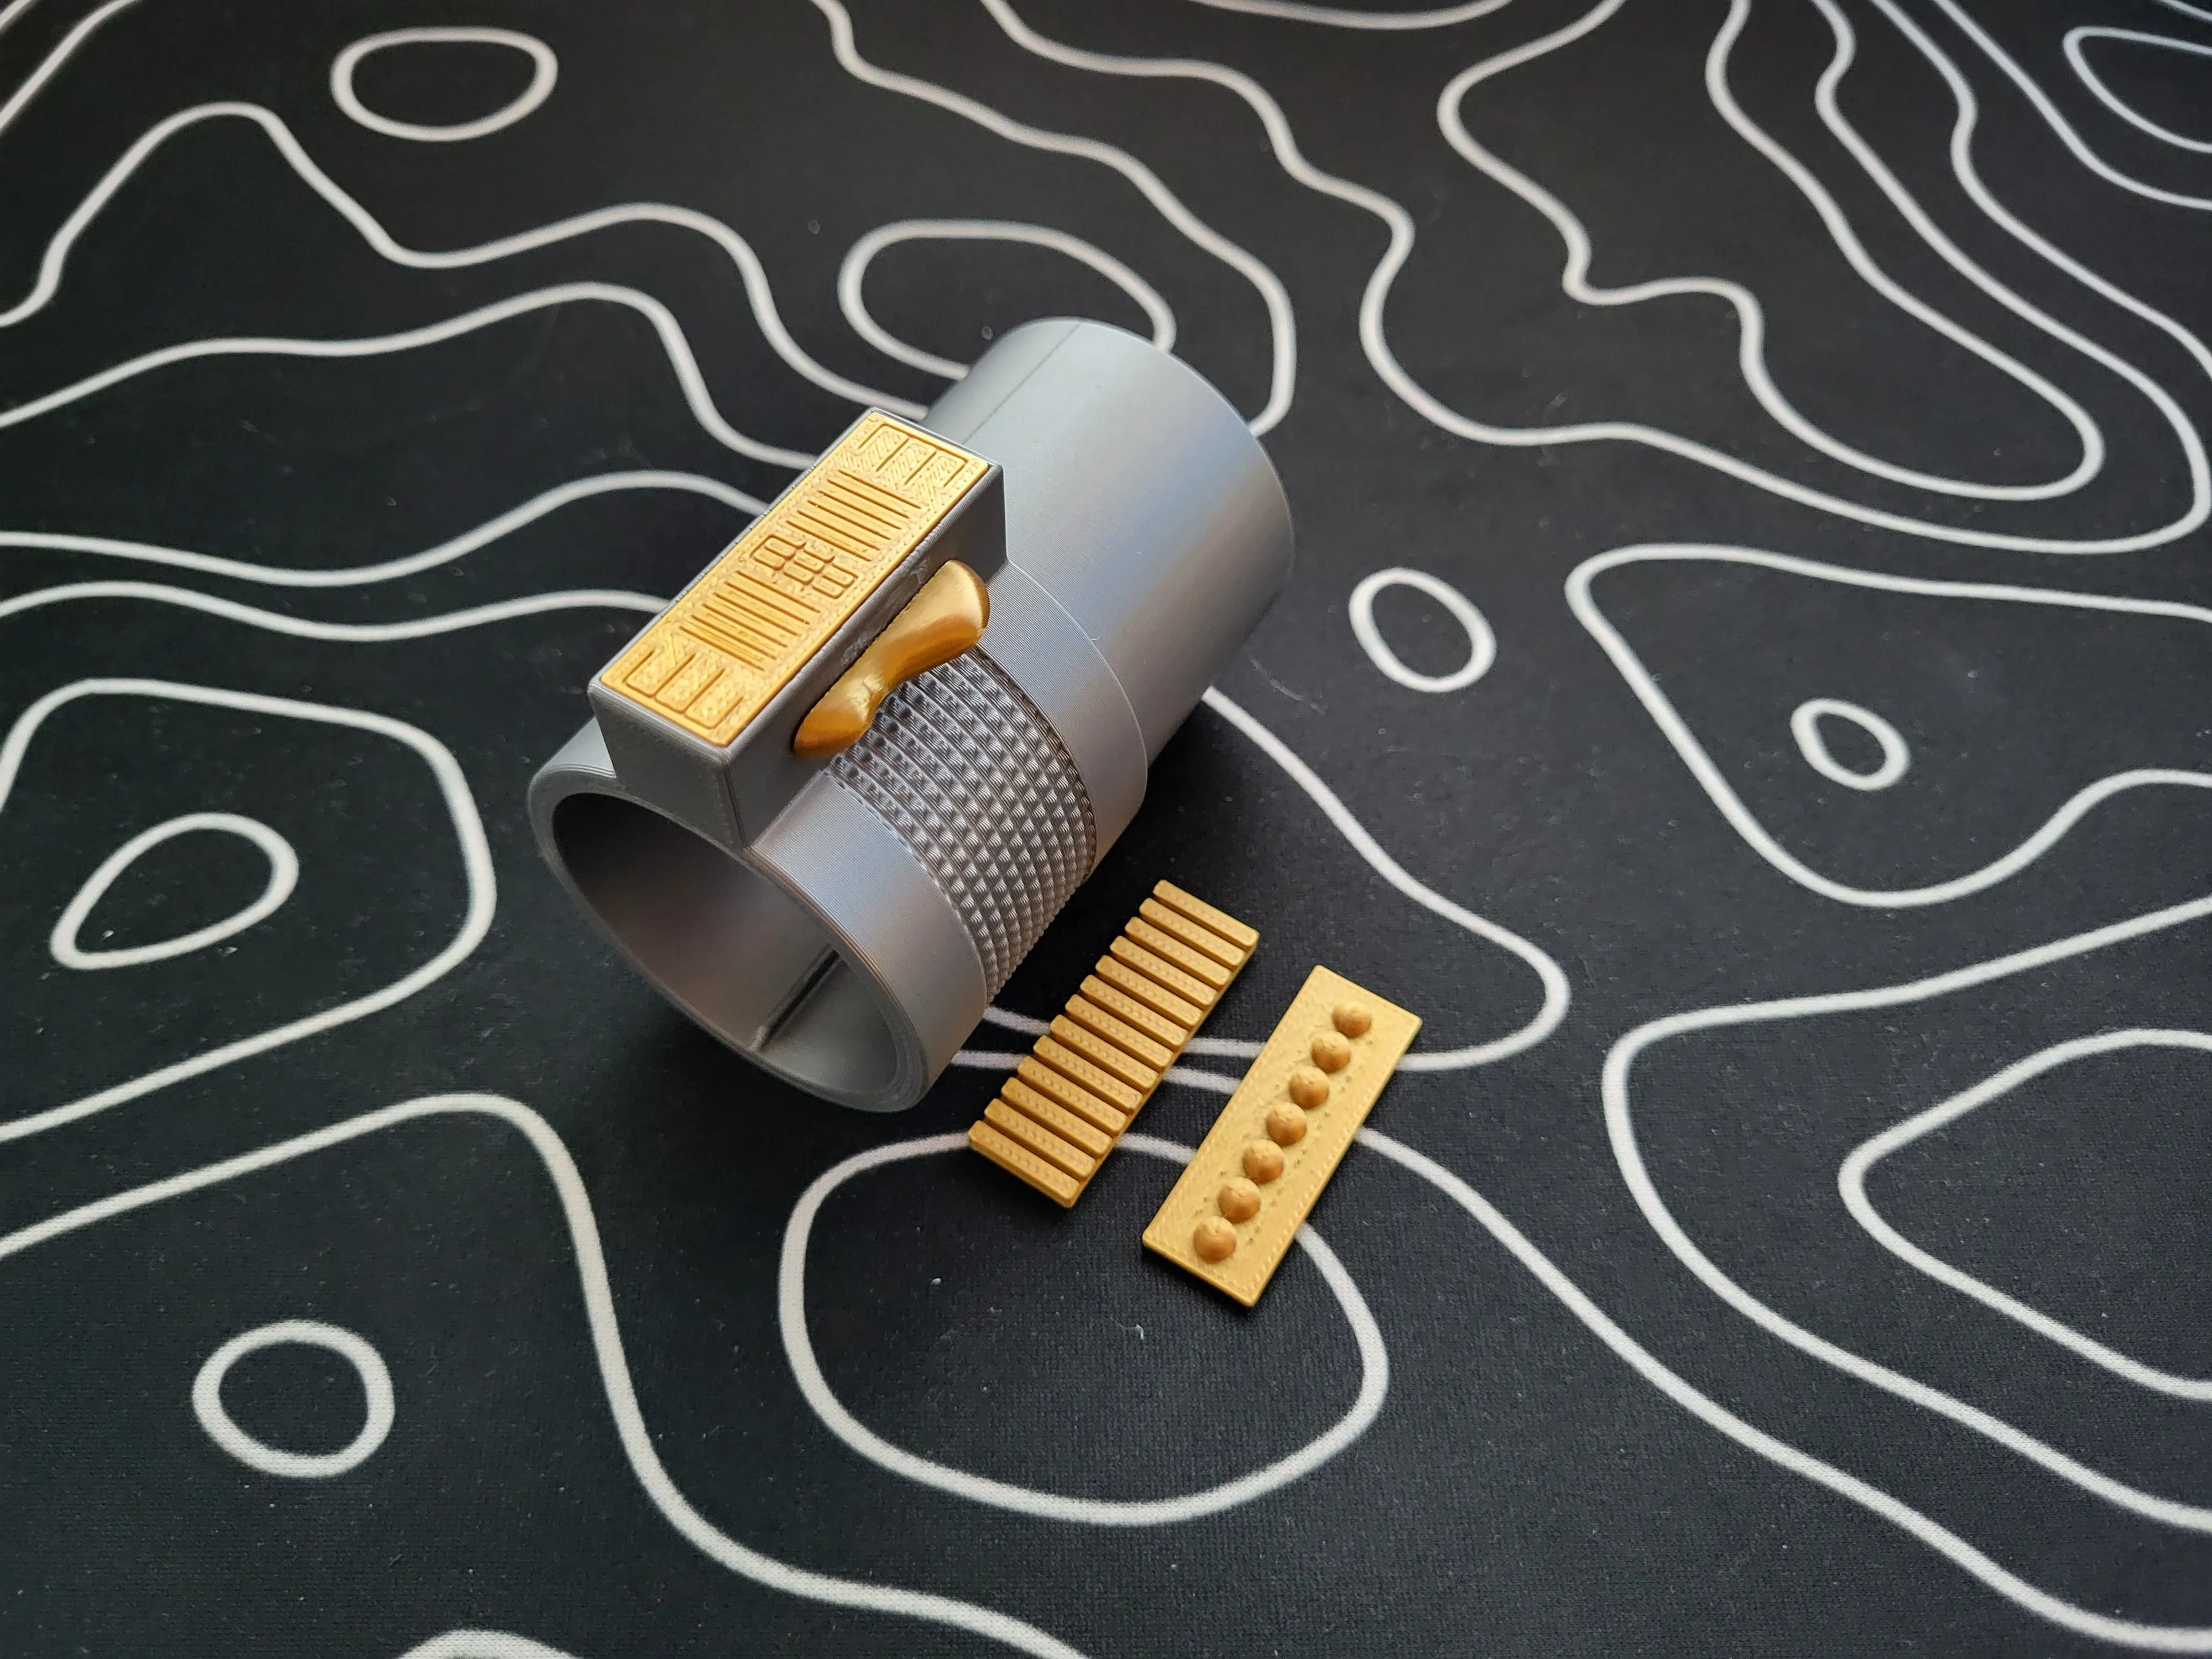
Emitter (Emitter, Front & Back Buttons, Insets x2)
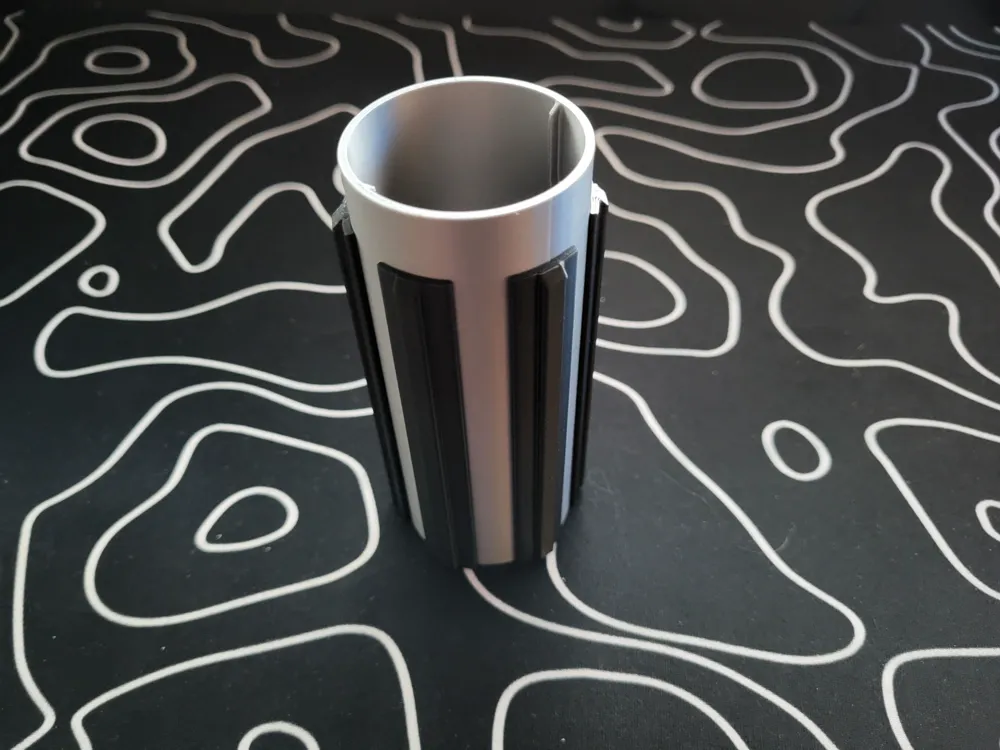
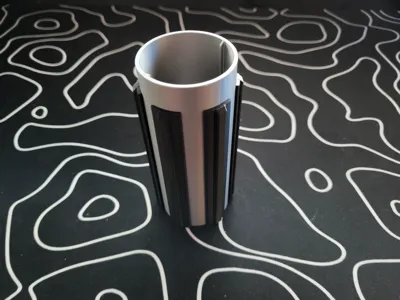
Grip (Sleeve, Grip Ribs x6)
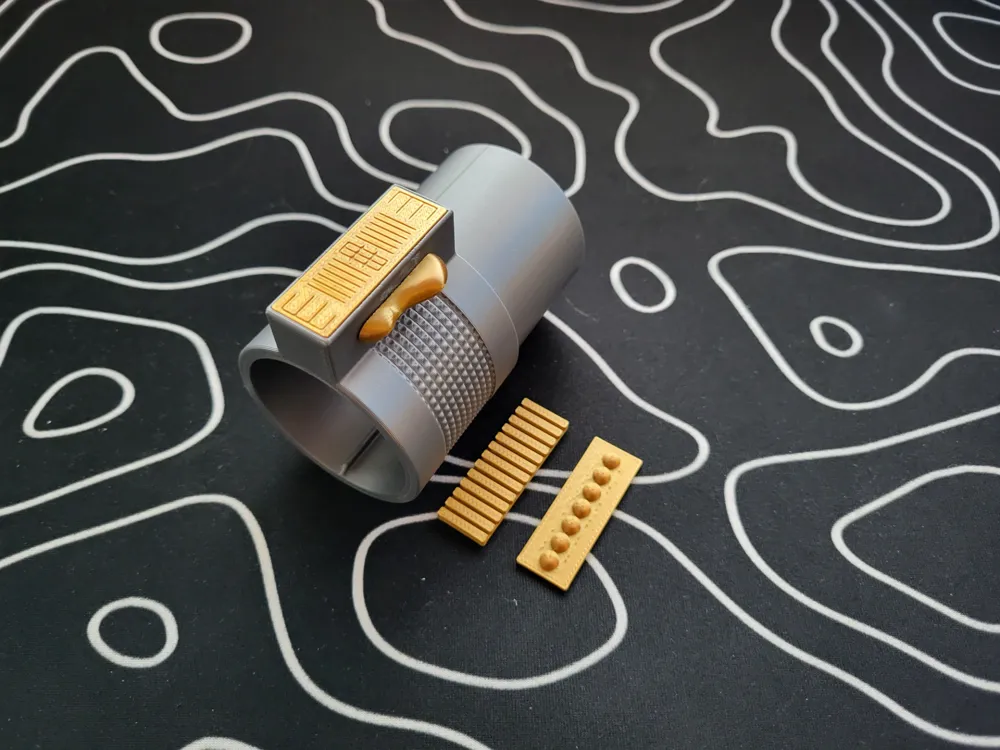
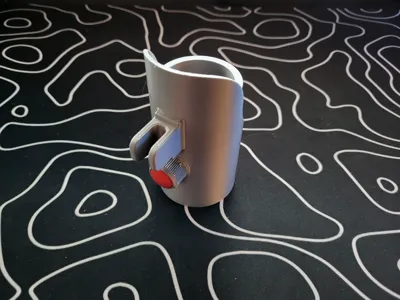
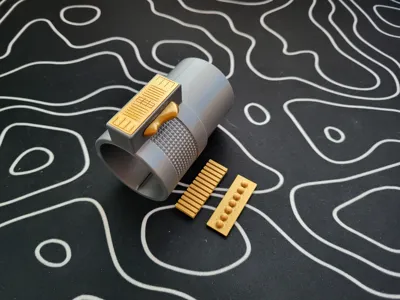
Switch (Sleeve, Switch Side, Switch Plate)
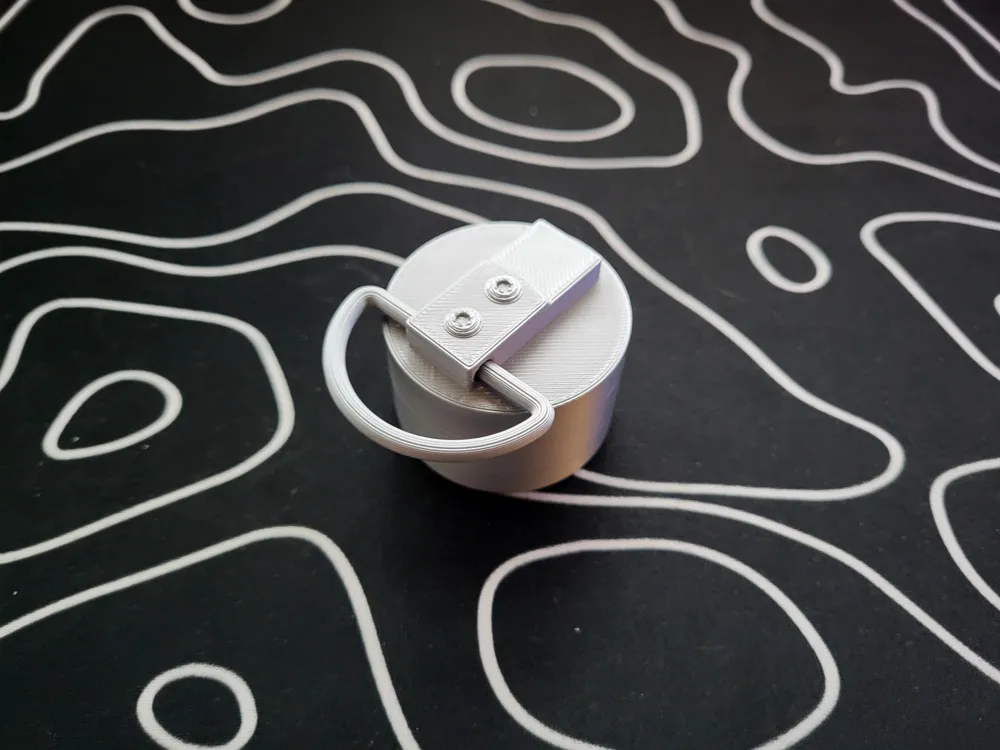
Pommel
Hilt Core (Not Included)
Blade or Blade Plug (Not Included)
Super Glue or your favorite adhesive
See the filaments I used down below
SUPPORTS:
I try to make designs with as little supports as possible, but some are necessary. Here are some tips to removing some of the tricky ones.
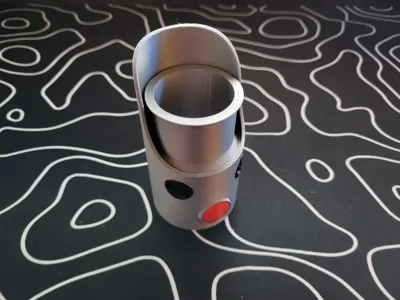
Emitter: There are some tricky supports around the back knob with its ridges. My best advice is to break the big parts off first and then use a pick or precision knife to get anything left behind. (I use a cheap $2 pick set from Harbor Freight.) As for the supports on the inside, be sure to clean up the flat surface they support as this will affect the alignment with the other parts when fully screwed onto the hilt core.
Emitter Buttons: I chose to print the buttons upright to eliminate drastic layer lines with how thin these parts are. Feel free to change up the orientation to print them flat, but you will want to lower the layer height to 0.08mm then.
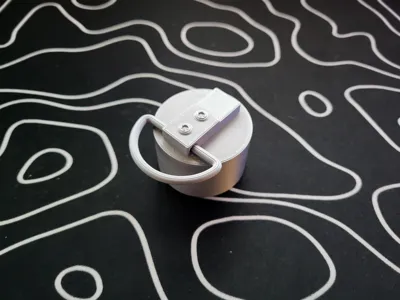
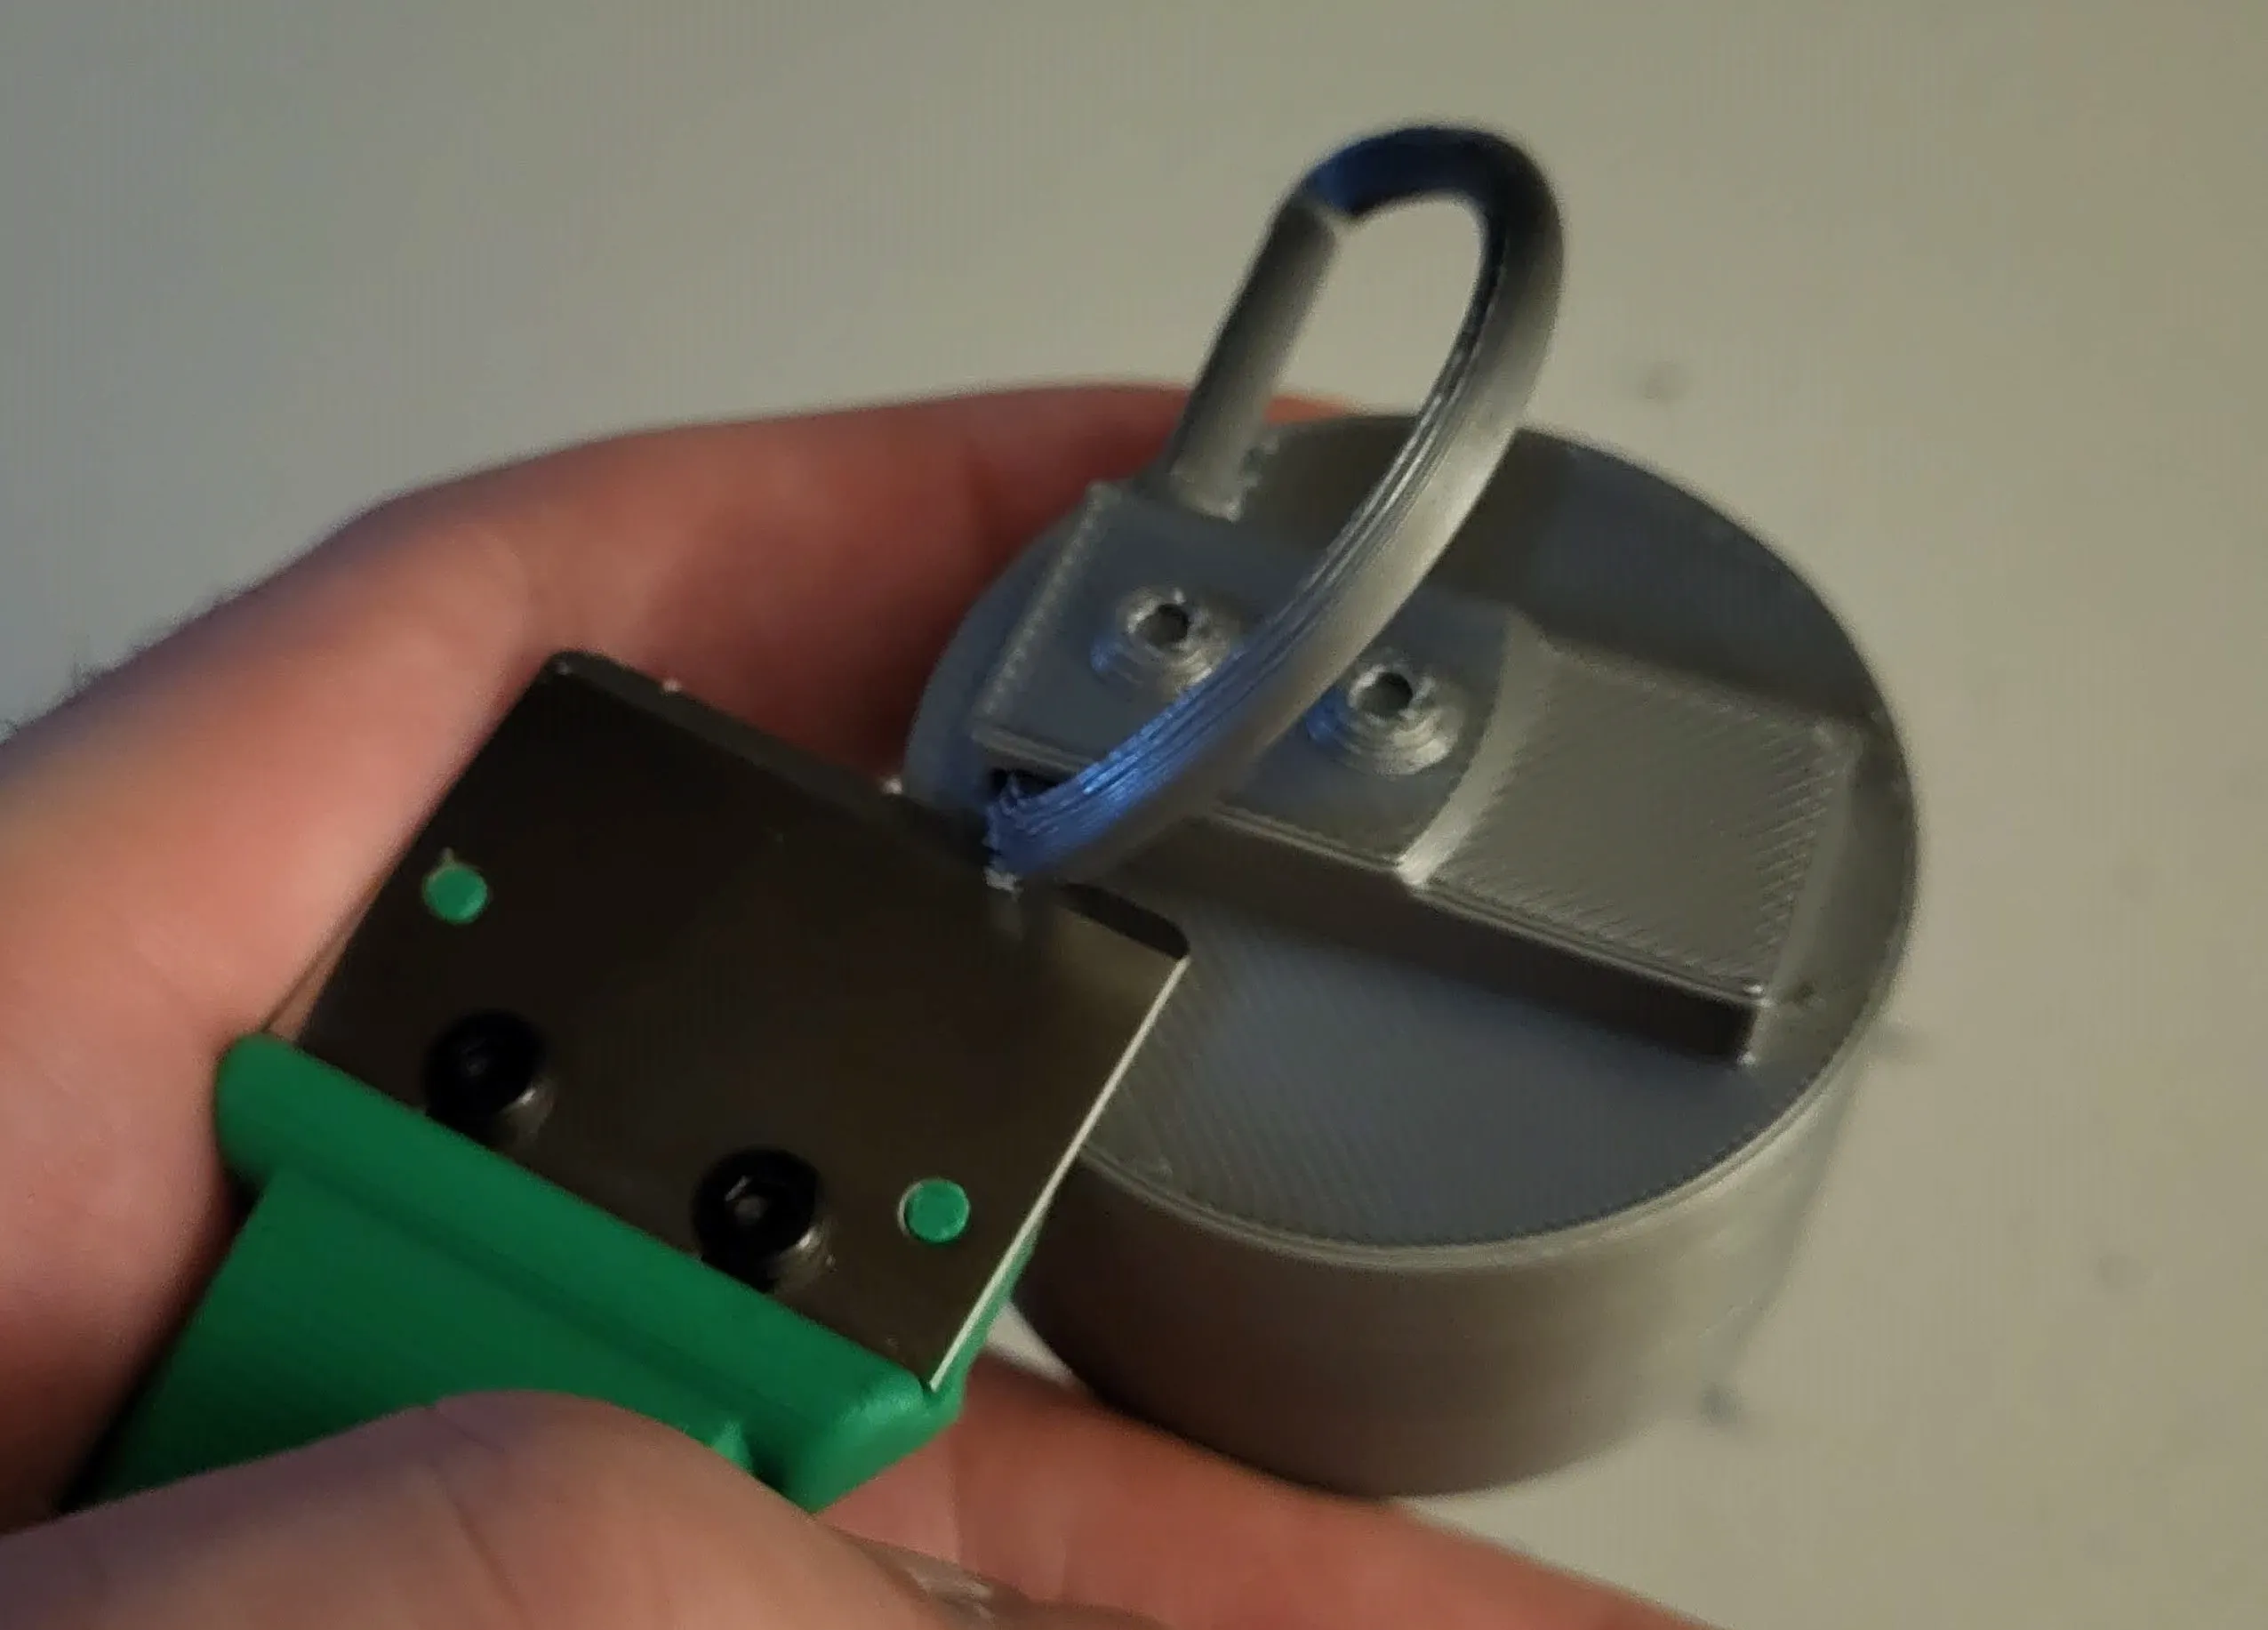
Pommel: The pommel has a print in place ring that required supports. Once you remove the supports that touch the build plate, you will need to gently snap the ring up so it will rotate within the hole. The ring is sturdy, but use even pressure as you push up until a slight snap occurs freeing its movement. For this design, it actually broke free when removing the supports so I don't think there should be any problems. You may want to use your bed scraper or a razor to clean the top surface of the pommel where supports were under the ring.
ASSEMBLY:
As mentioned in the bill of materials, you will need a hilt core to attach all of these parts to.
The switch and grip parts slide on using the slots in the hilt core and other parts. The emitter and pommel screw on to the top and bottom of the hilt core respectively.
Emitter: The front and back buttons may need some coercion to settle in place especially trimming around where the supports were. The insets have a rectangular guide to help them line up vertically. You may need super glue for them, however, on my prints they were a nice press fit and won't be coming out any time soon.
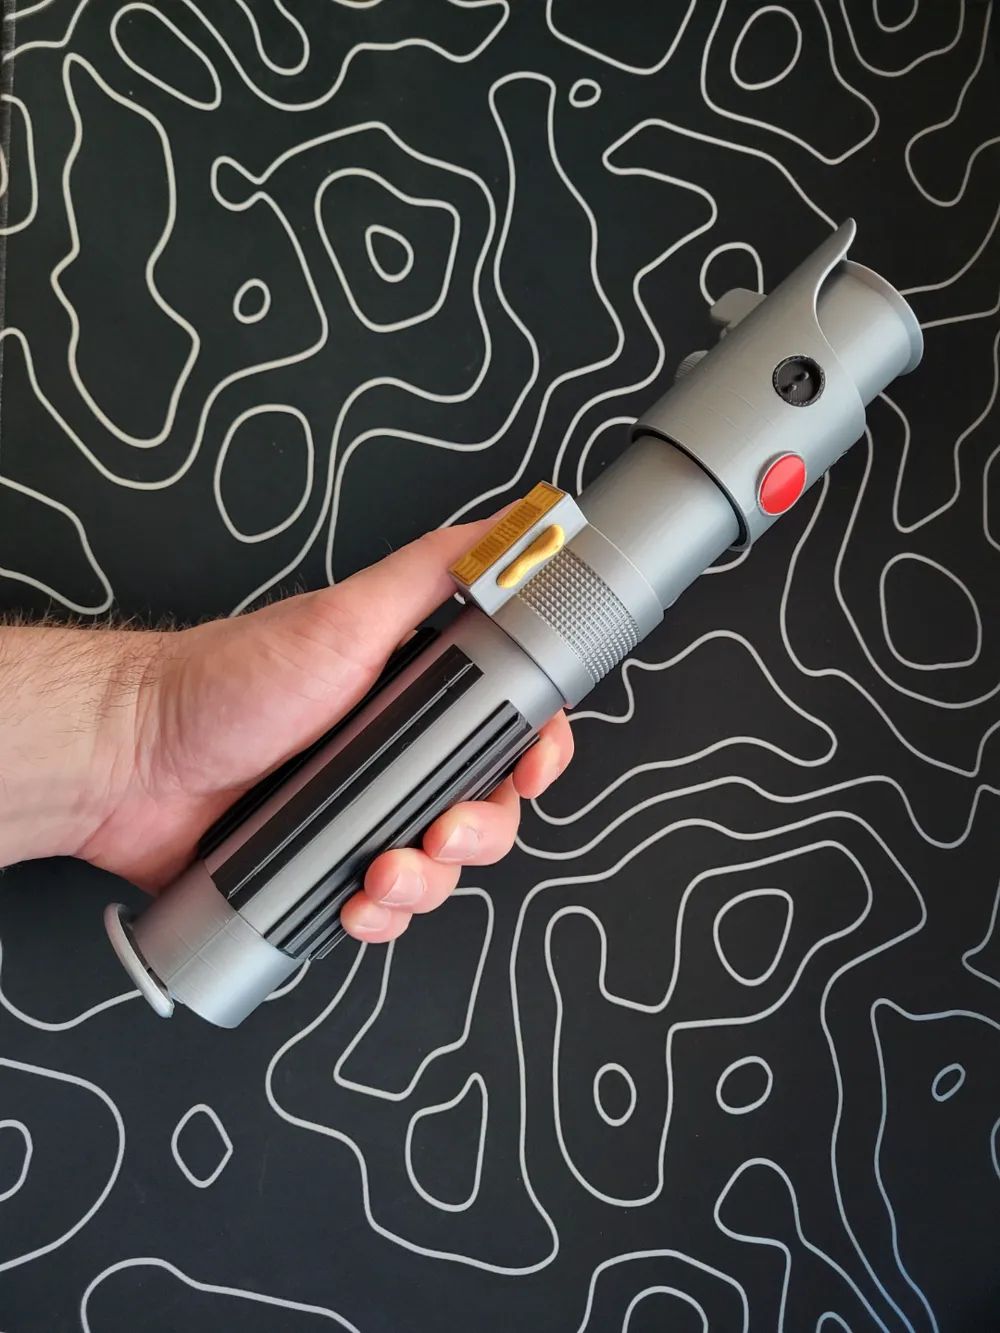
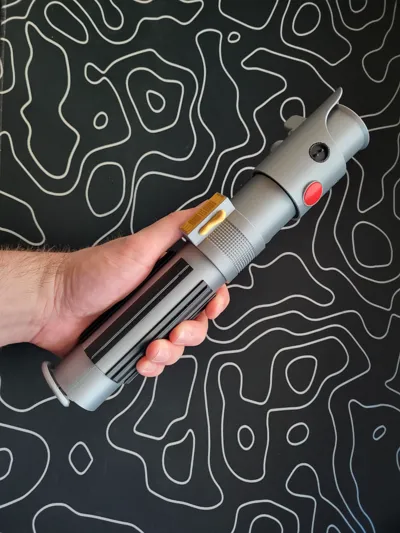
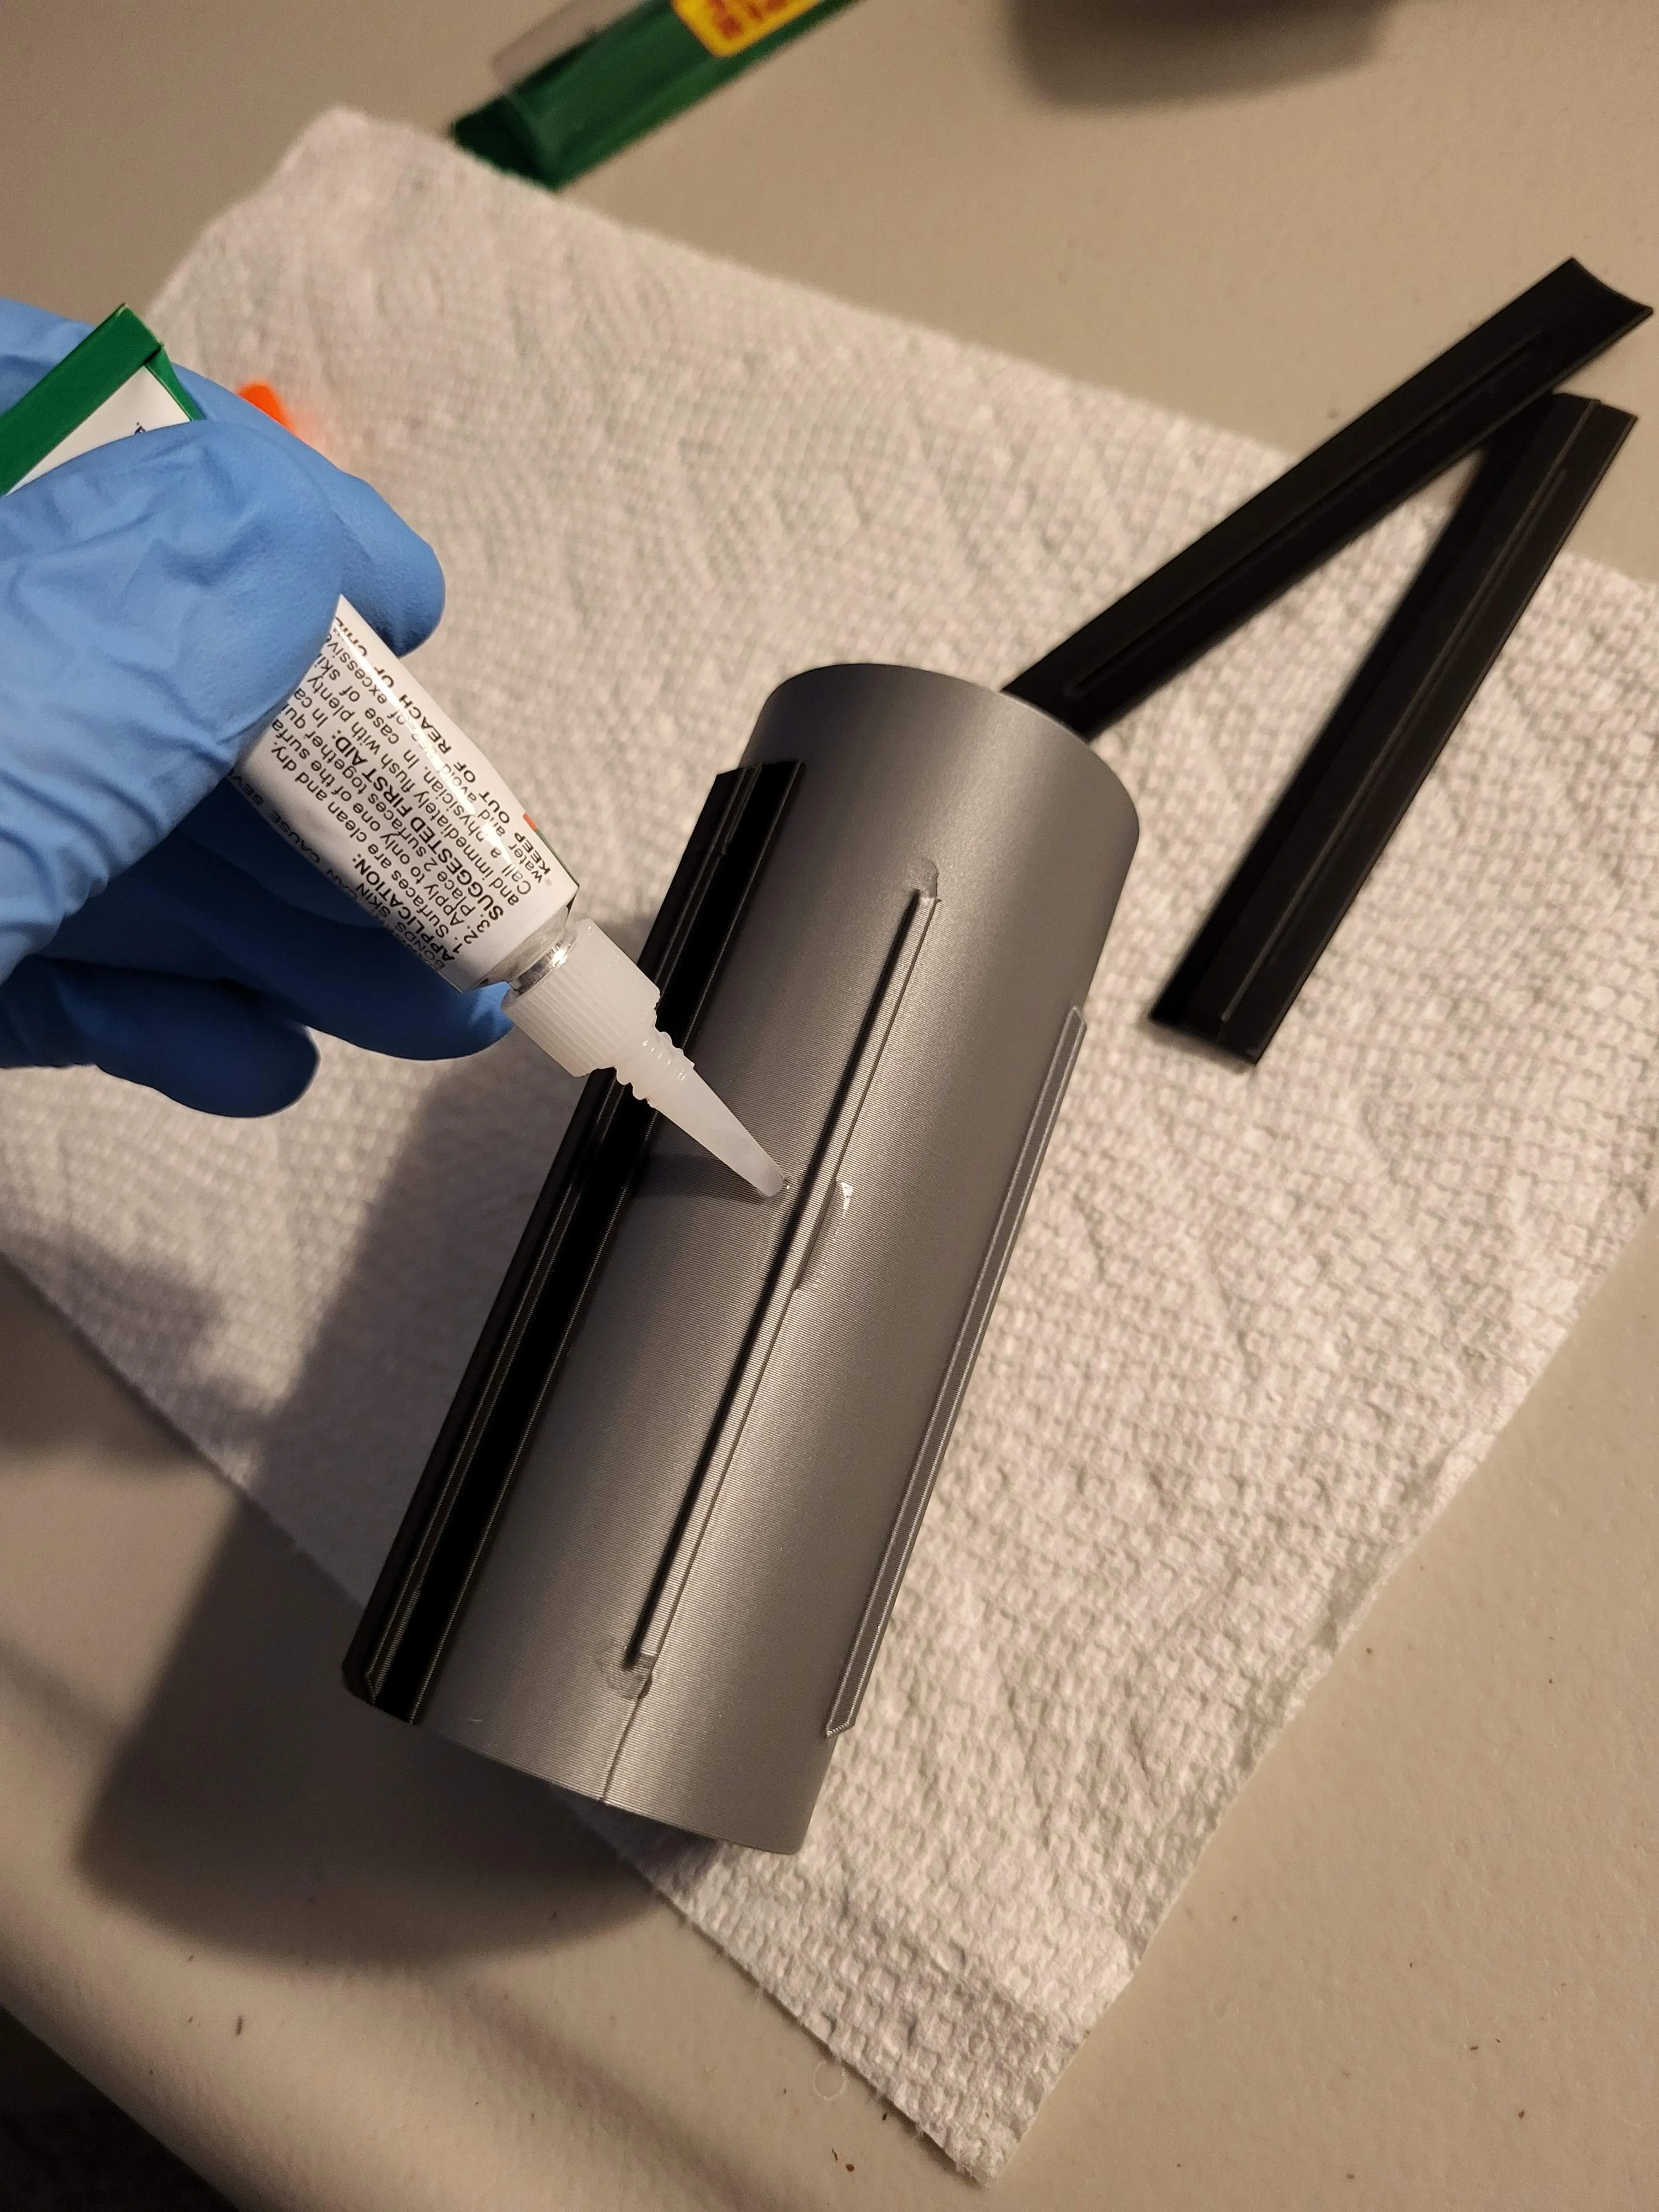
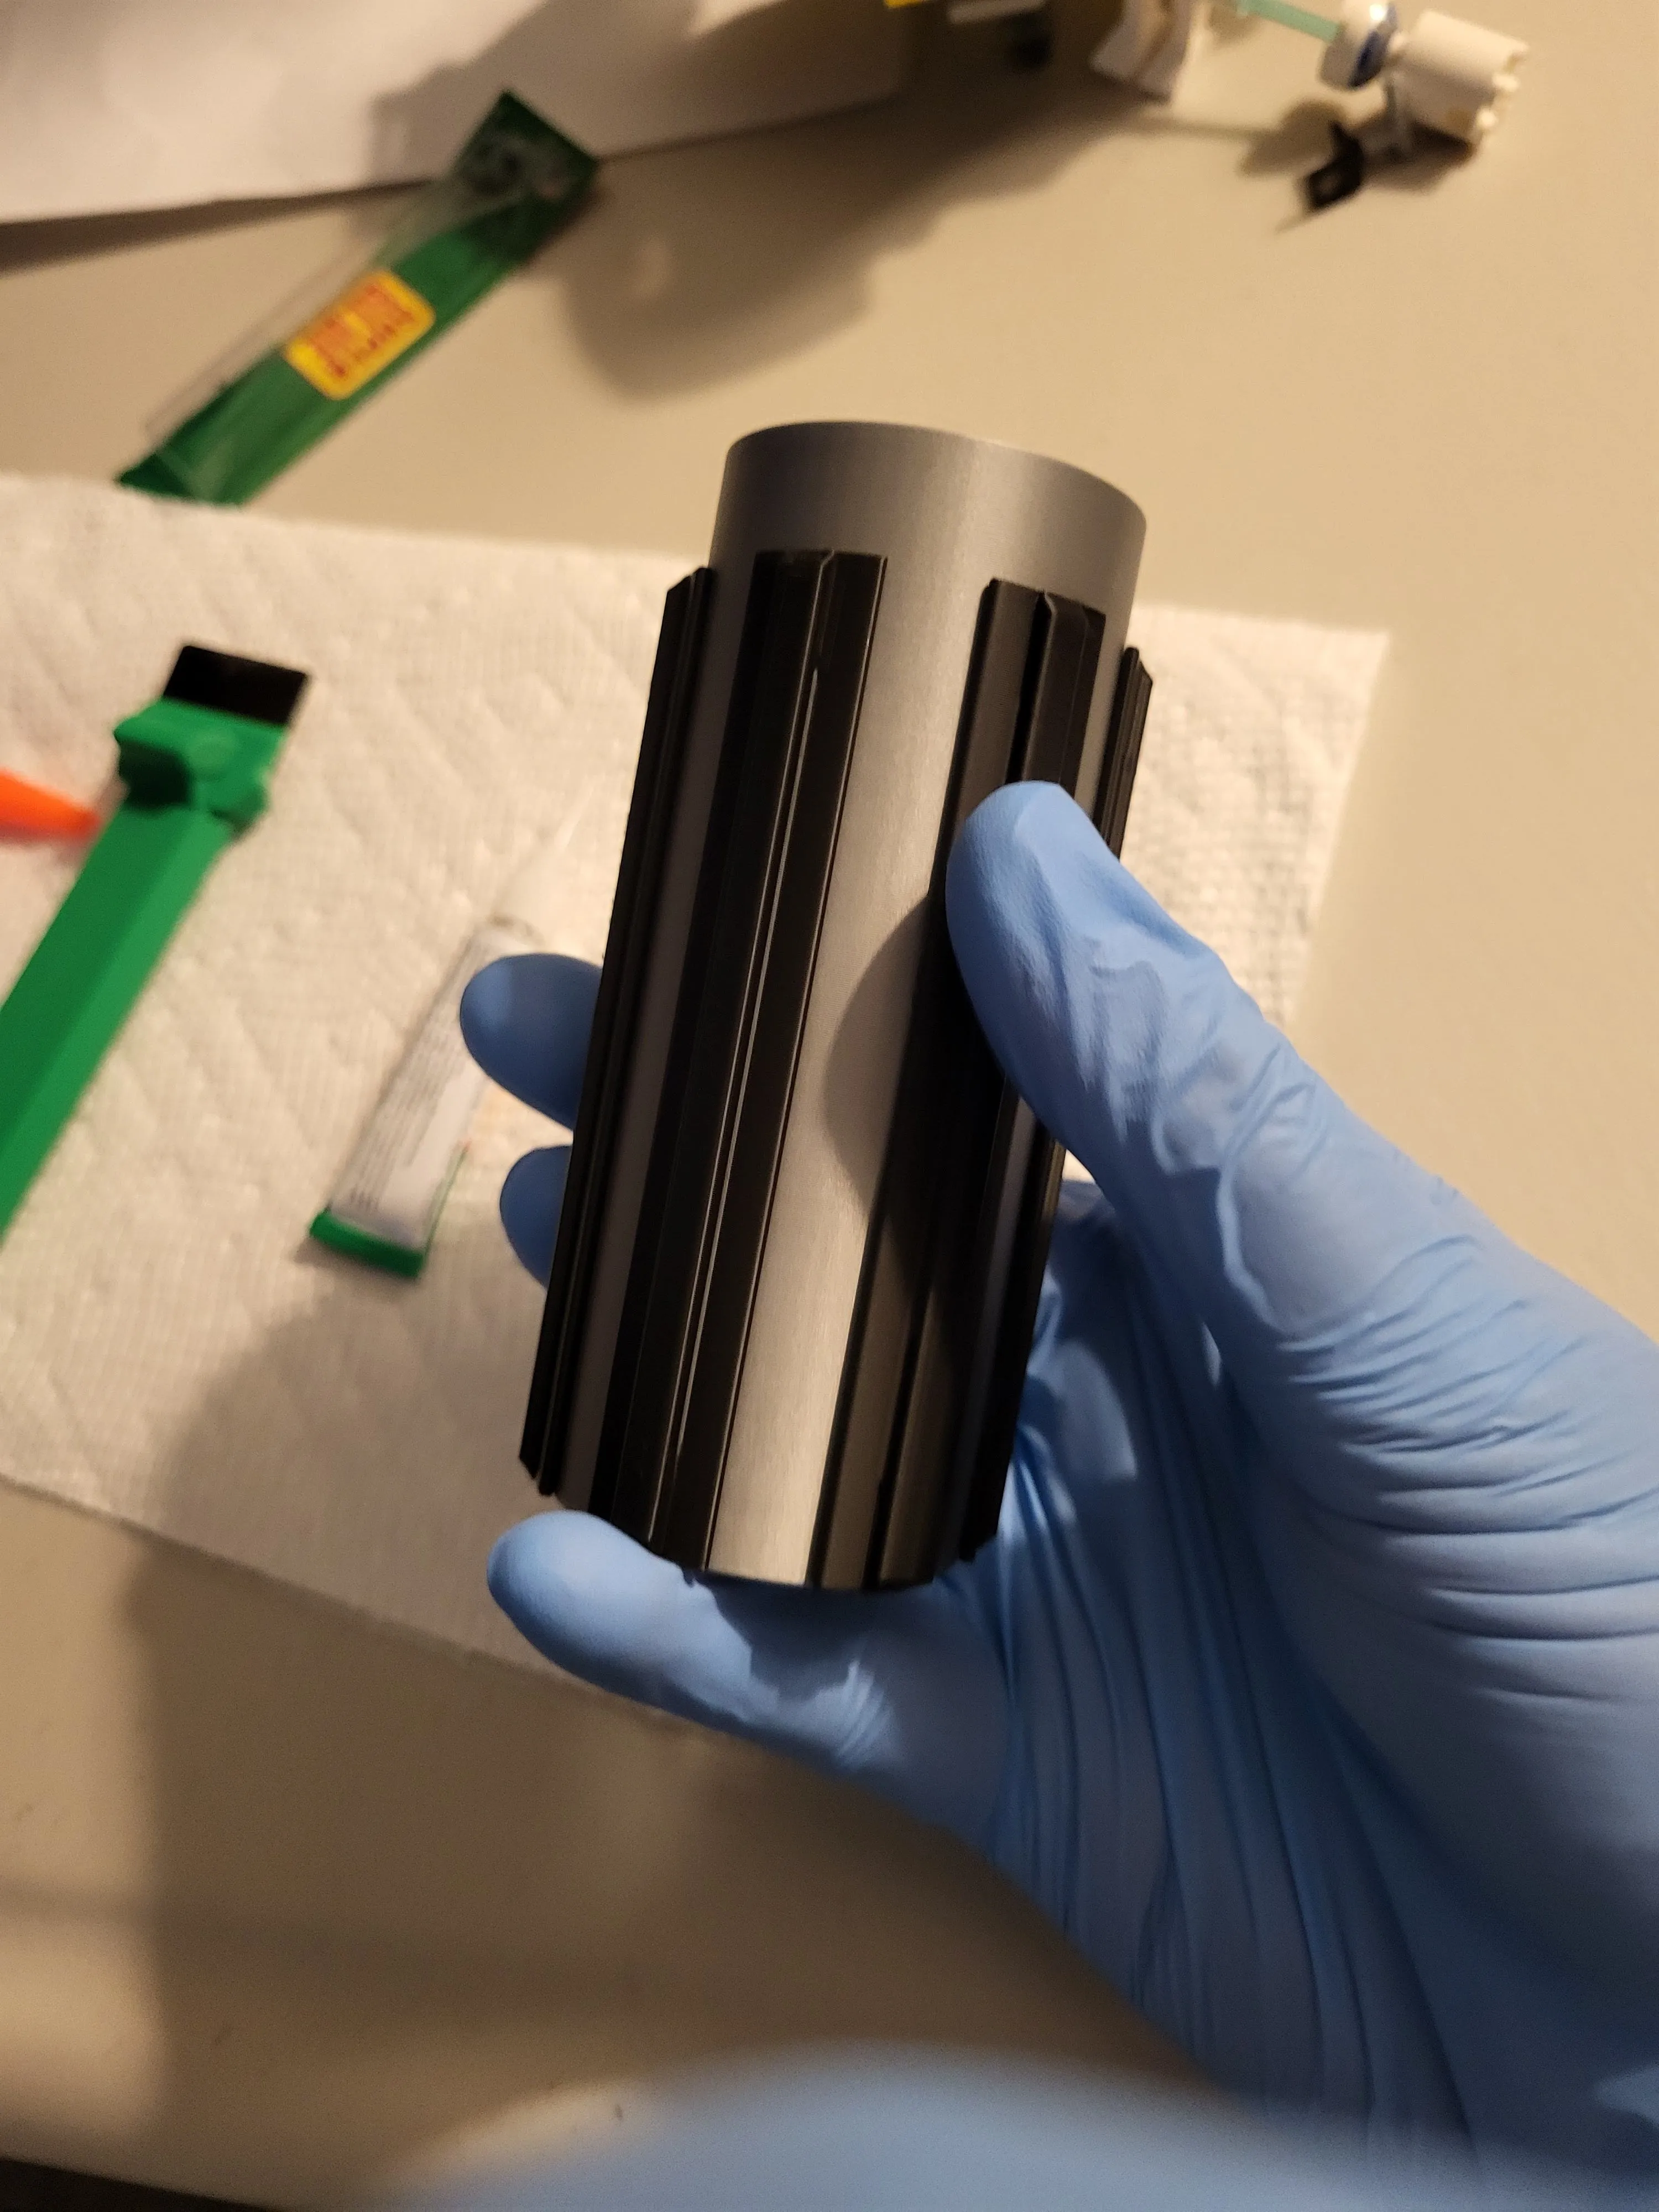
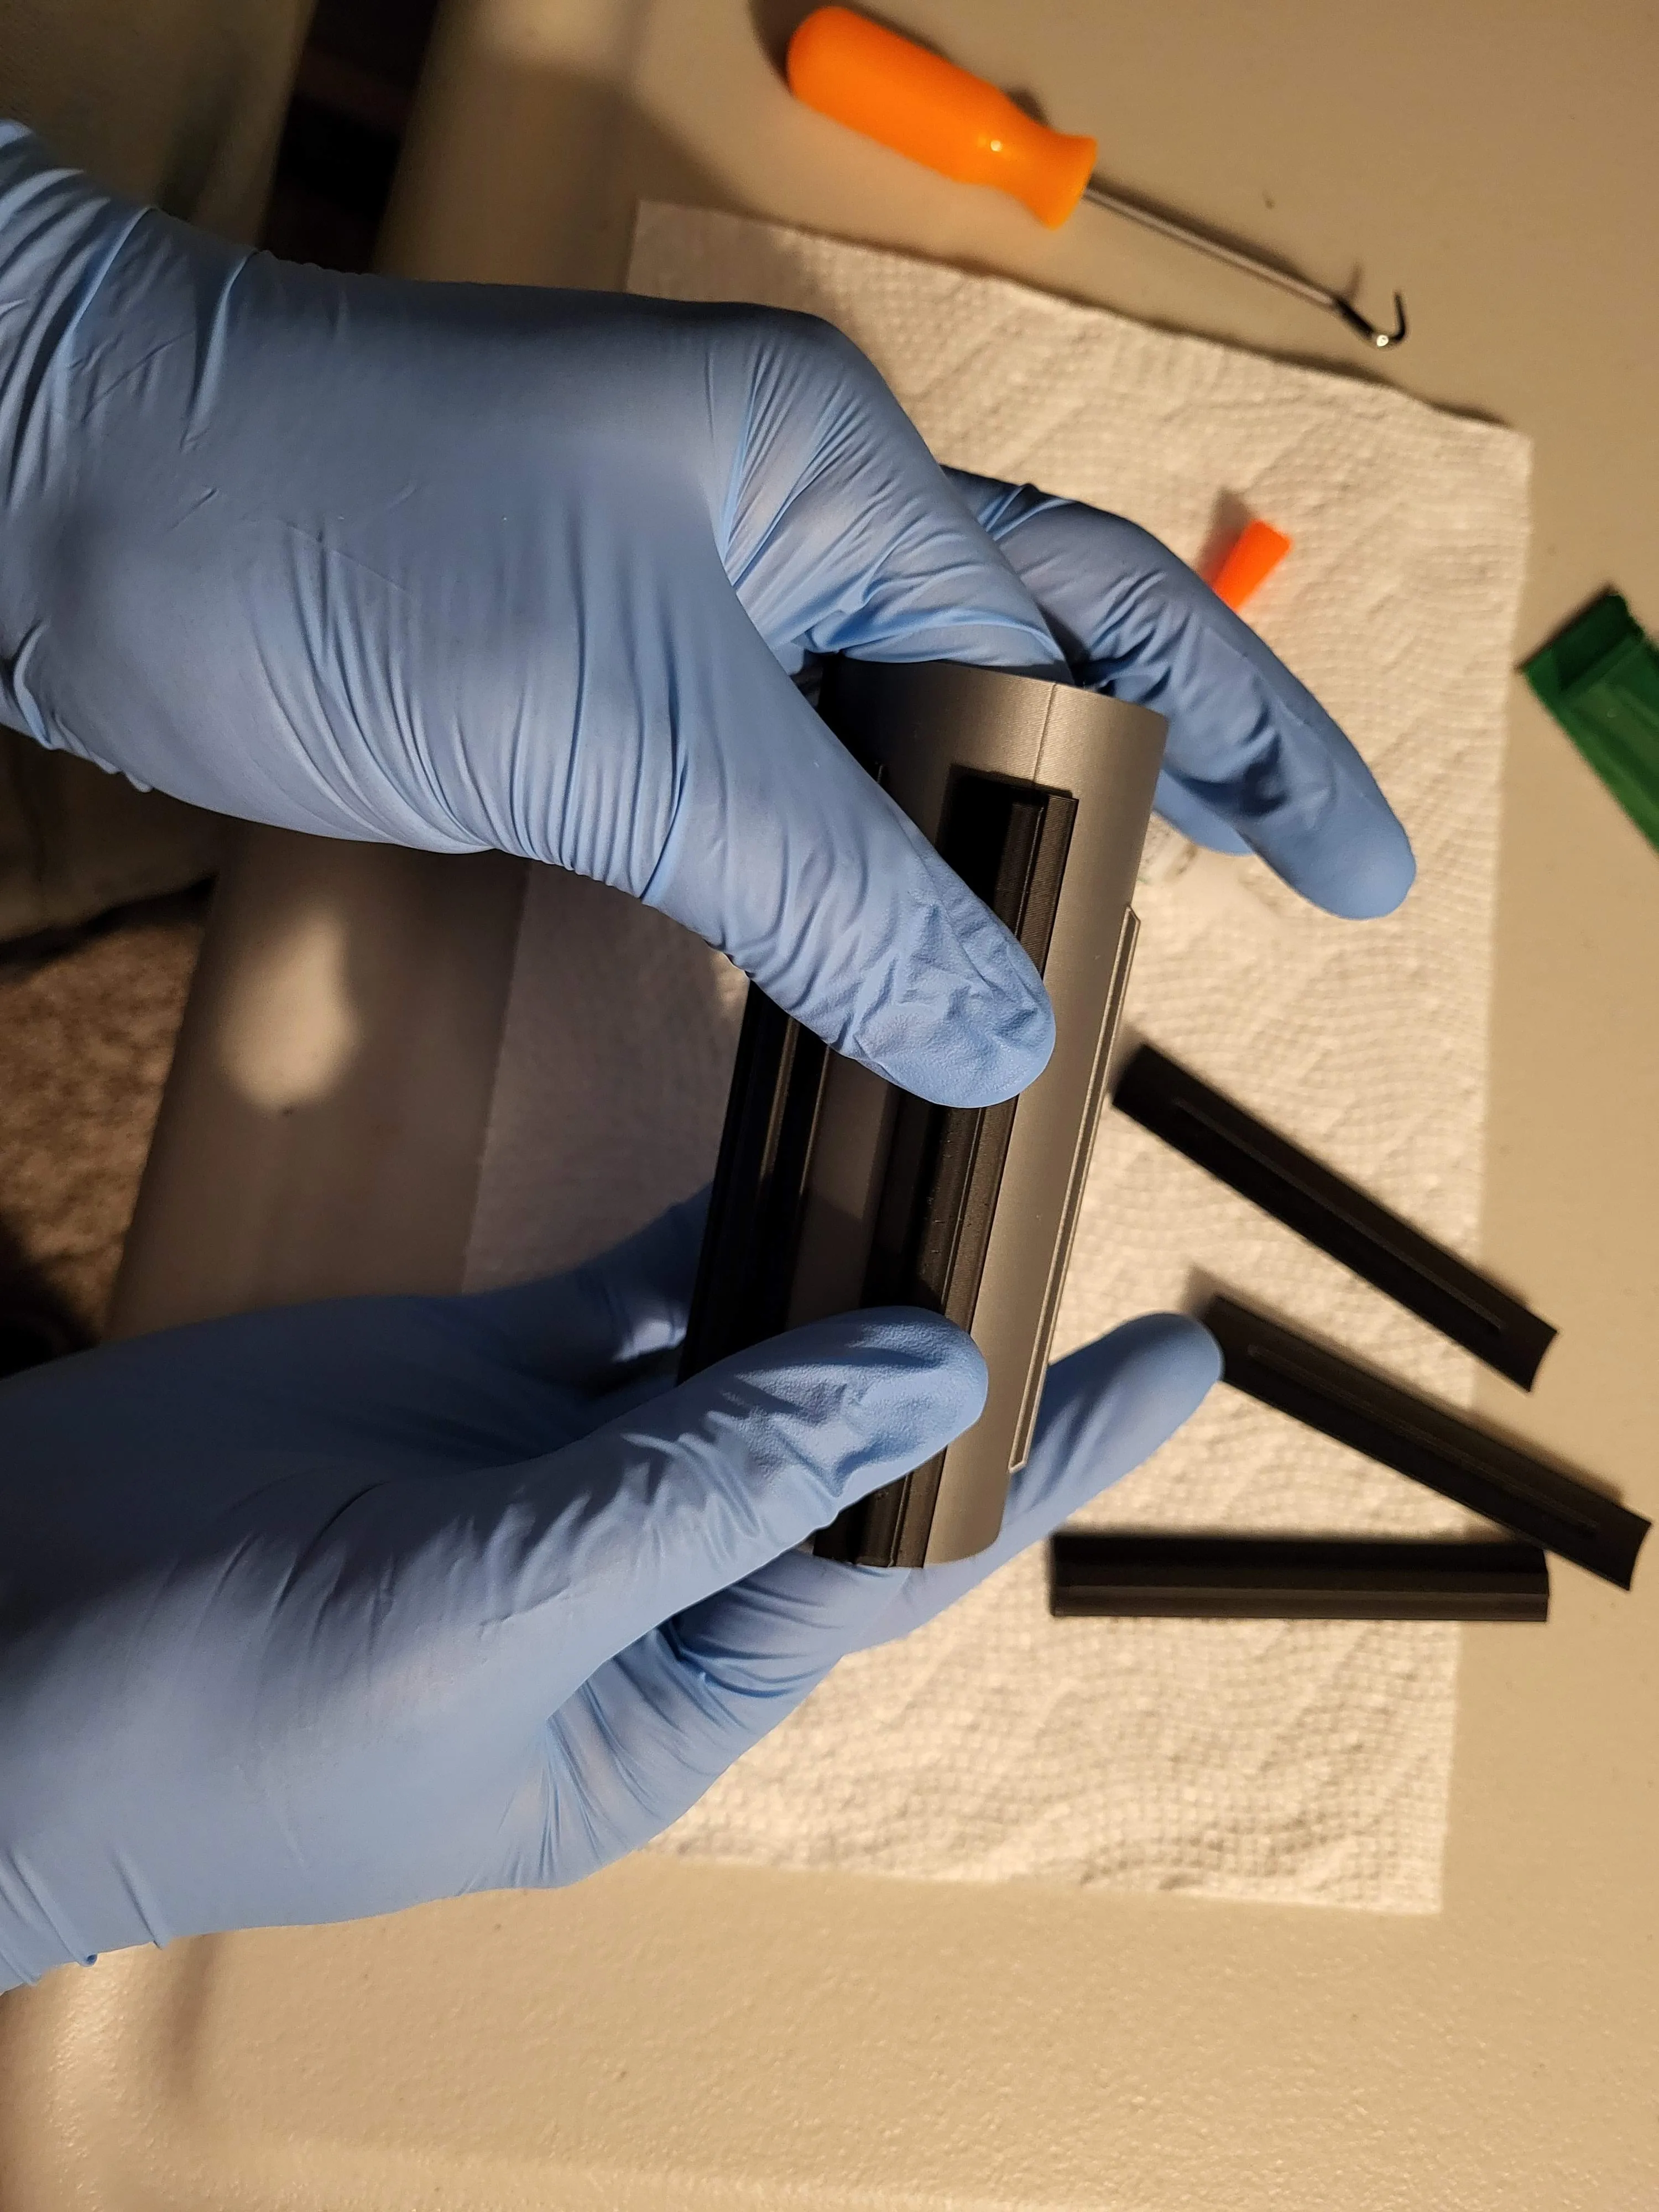
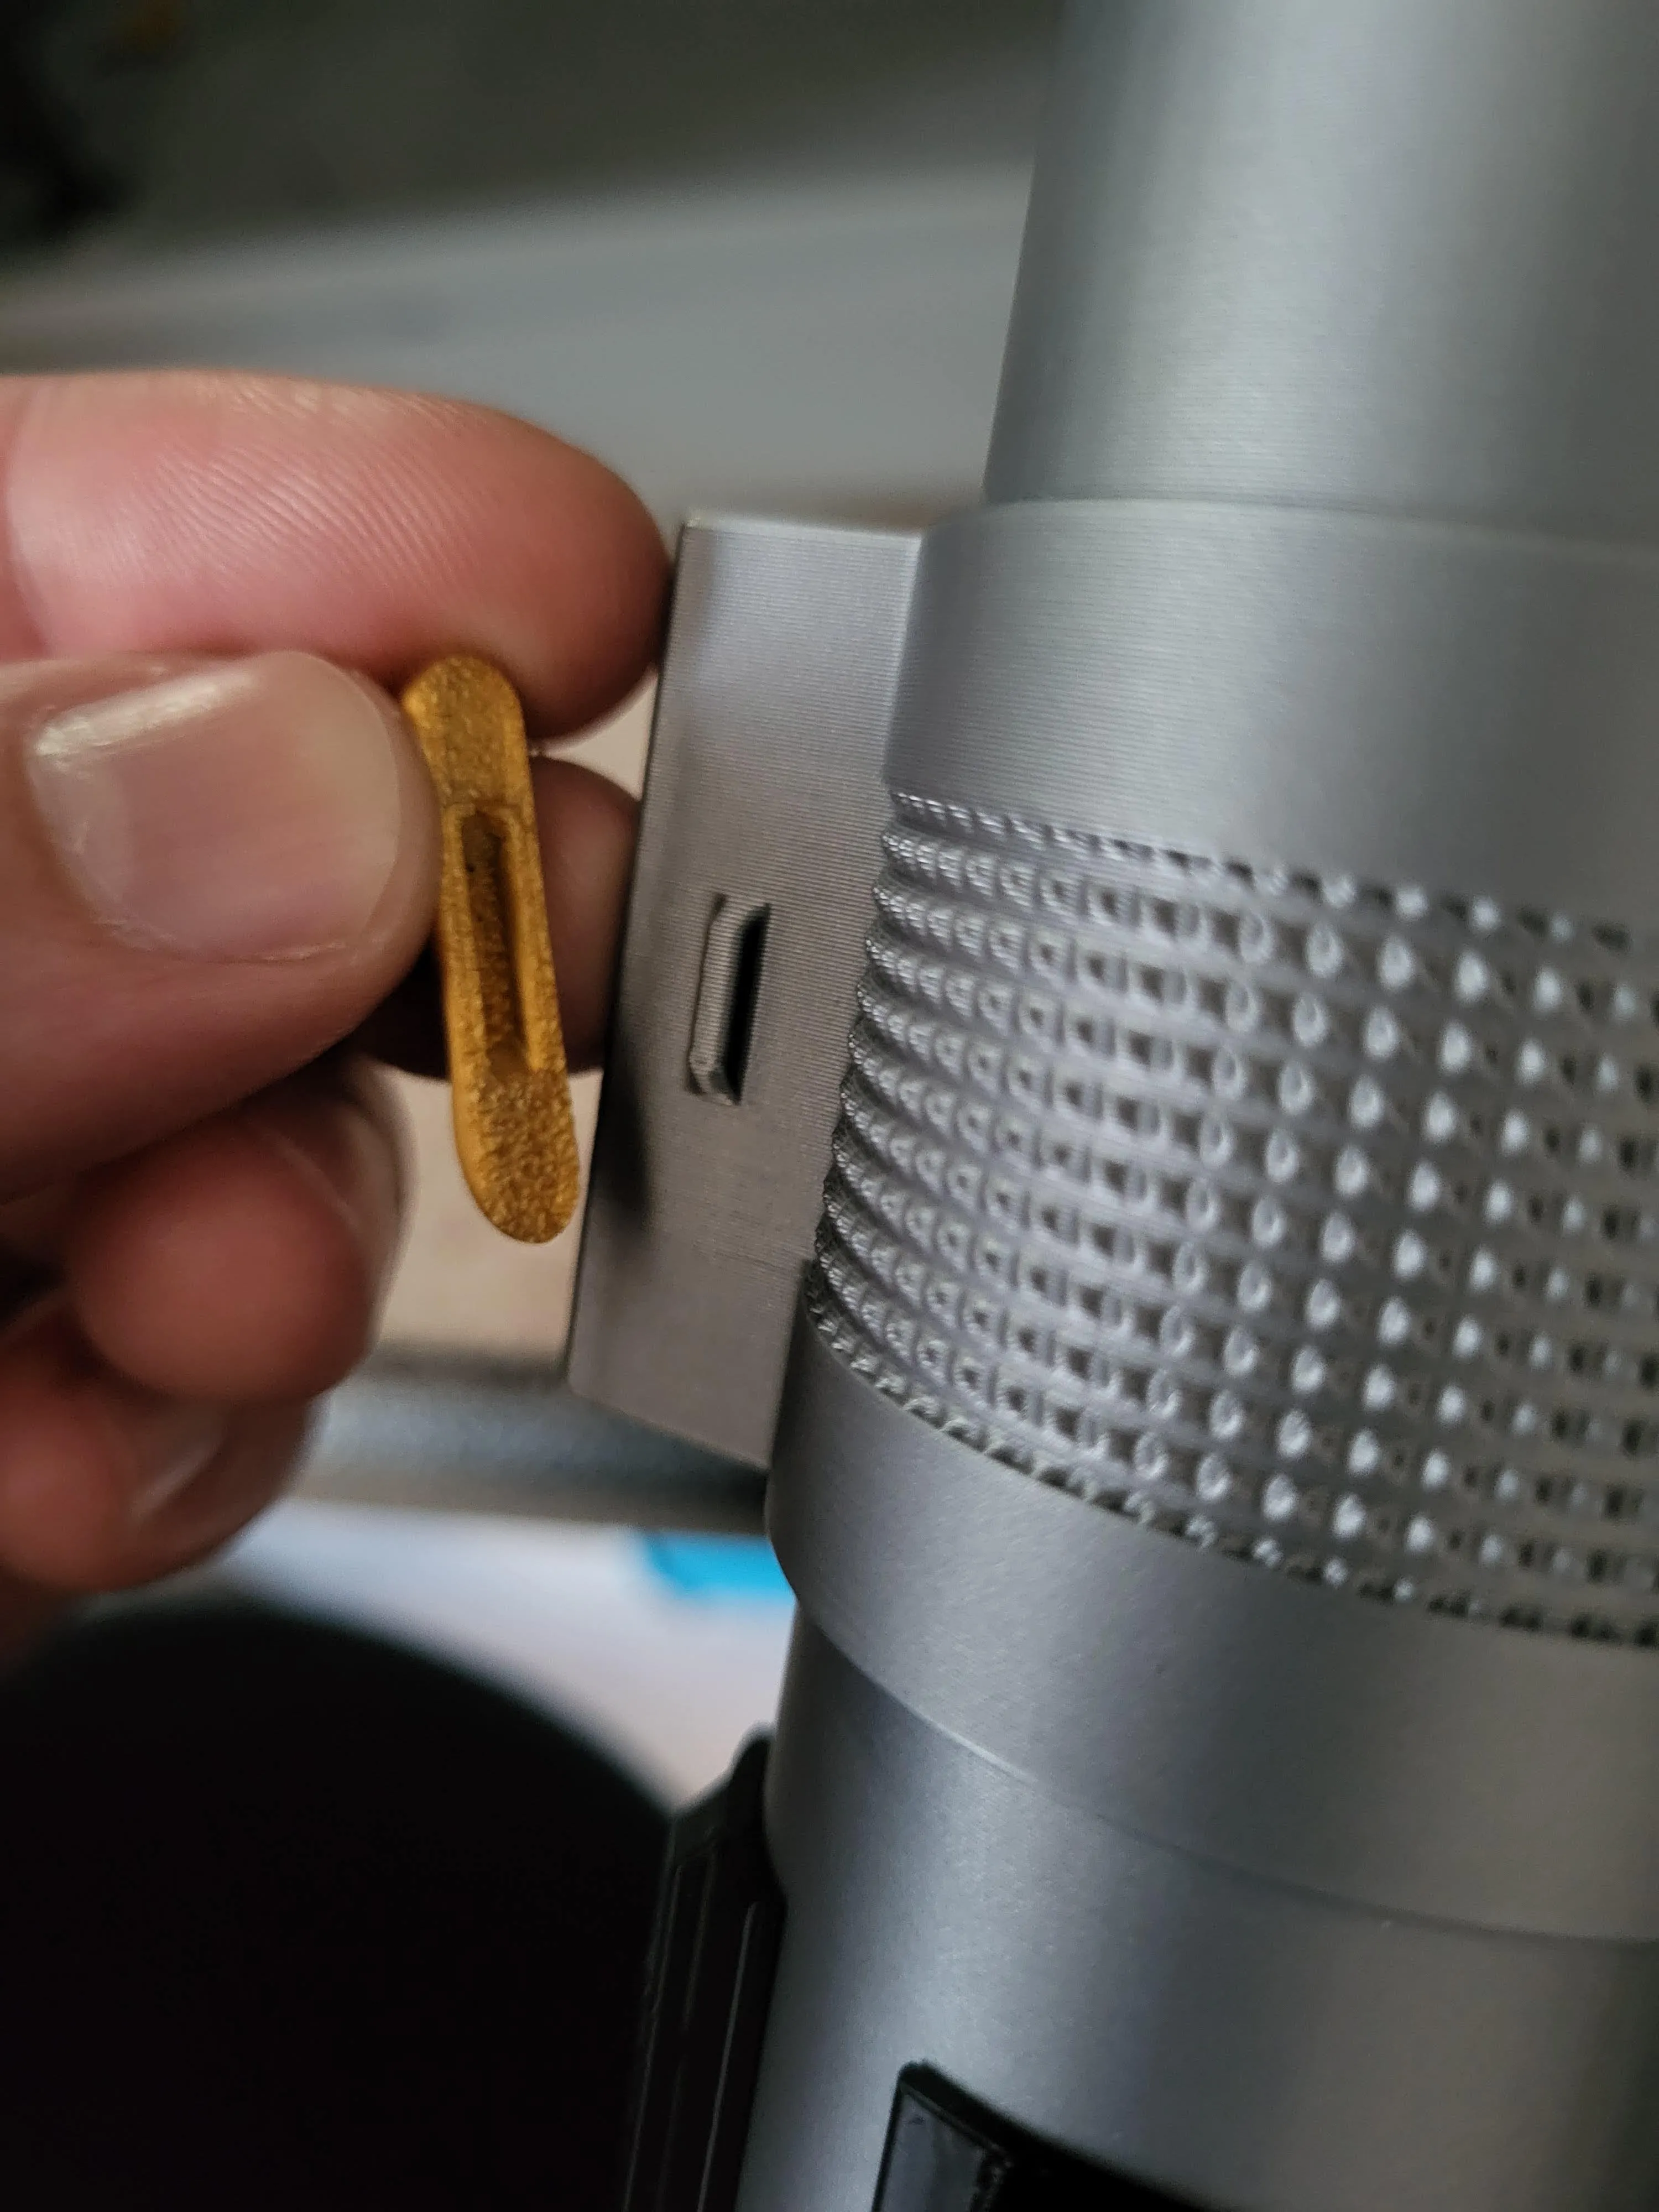
Grip: Before applying any super glue, do a test fit to see how the grip ribs line up at the bottom surface of the sleeve. After applying some super glue to the grip sleeve around the attachment ribs (top bottom and sides), line up the the bottom edges and then press the grip rib onto the super glue. (I used my pinky to line up the edges as shown in the images below.) Once in place, apply pressure around the entire grip rib to spread the super glue some and set the adhesion.
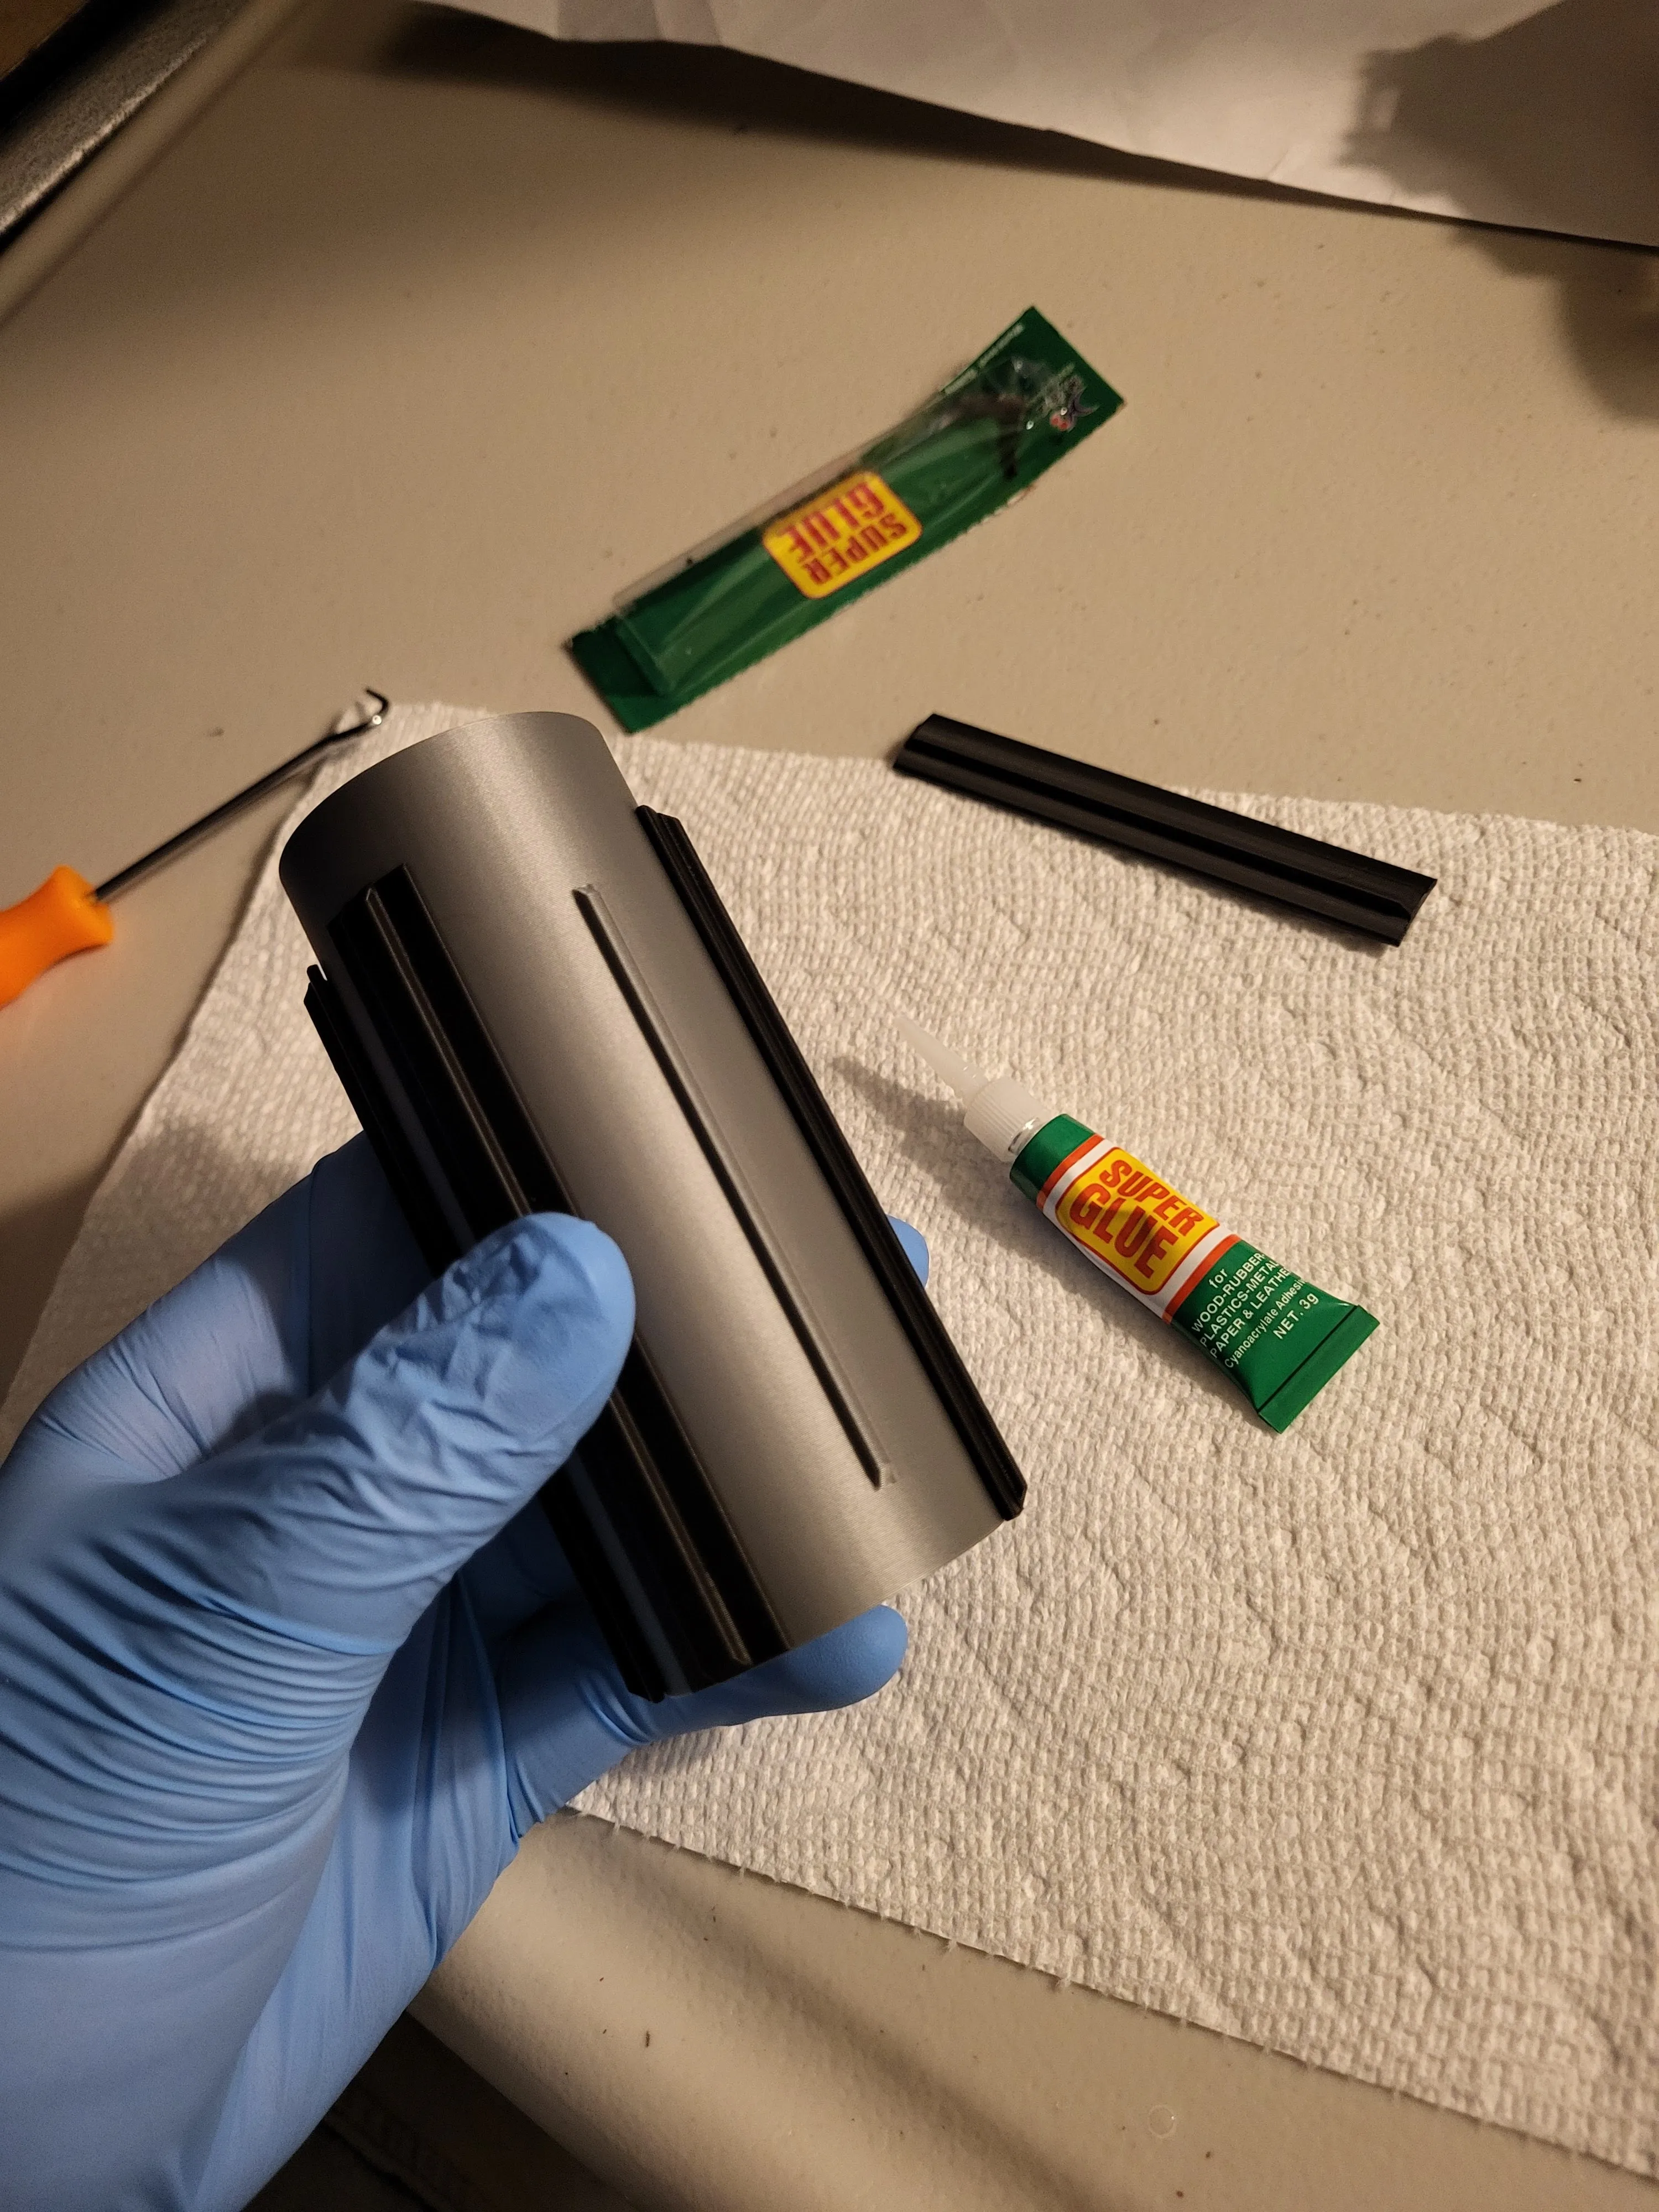
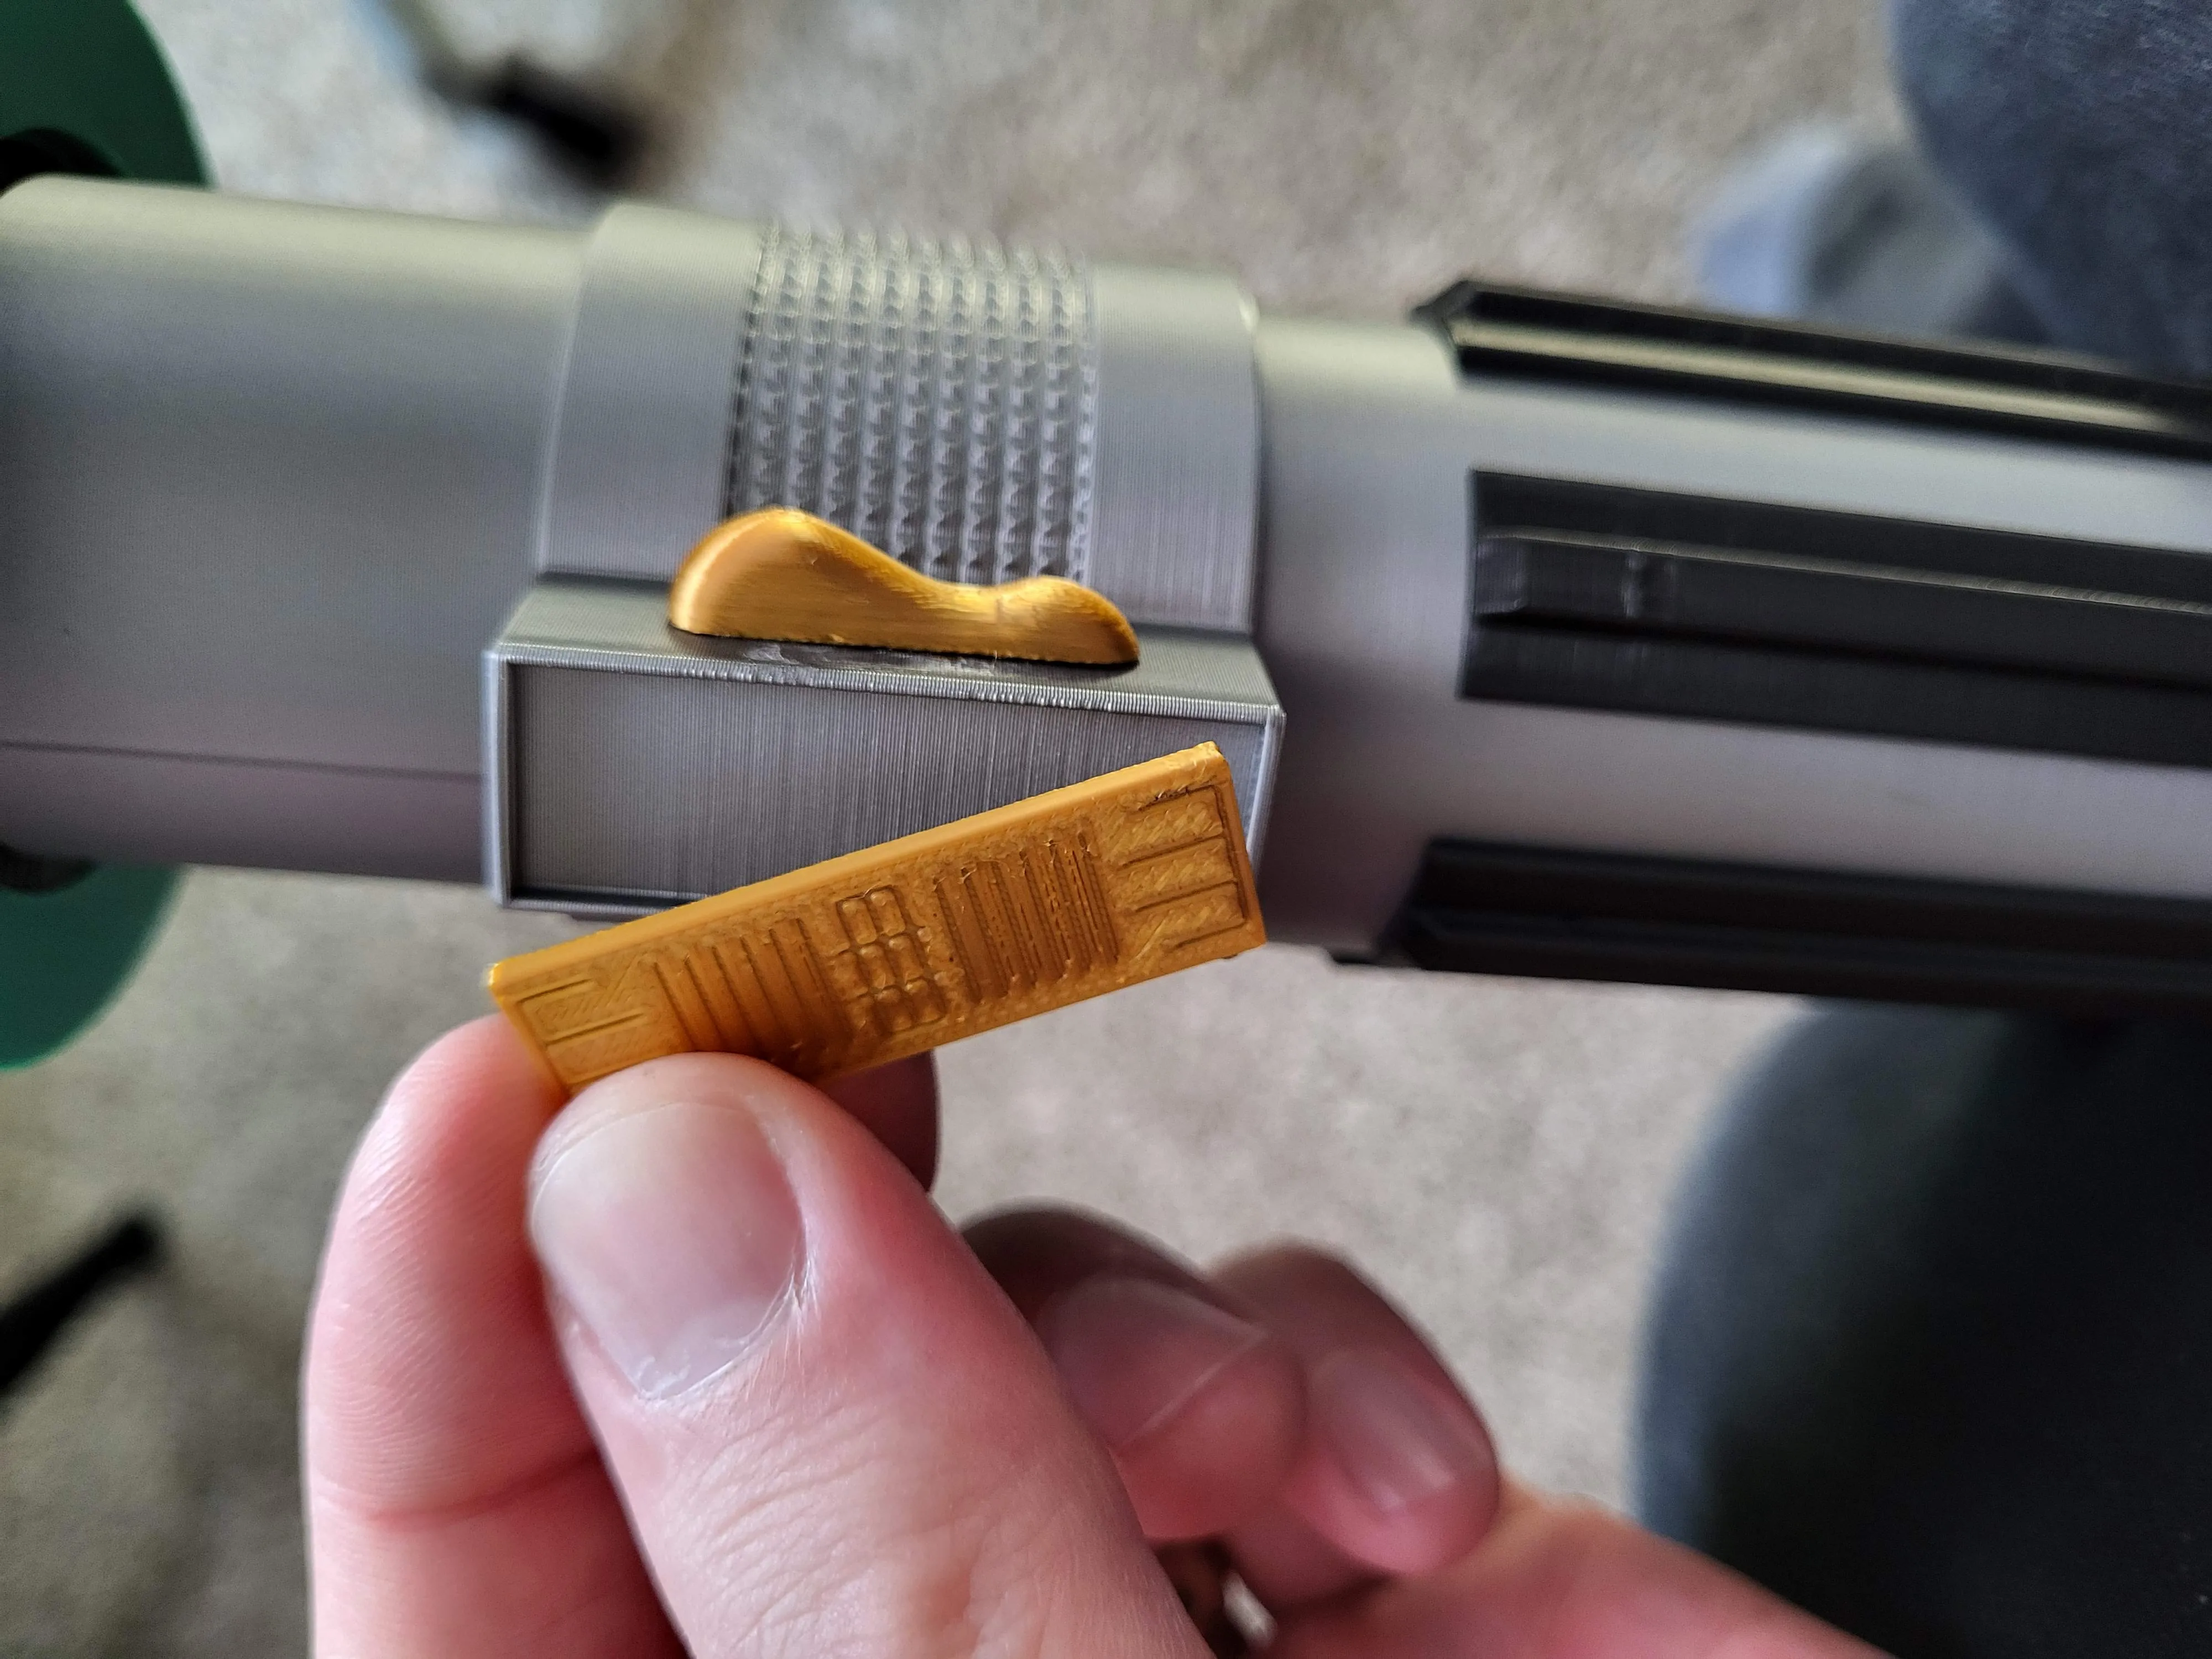
Switch: The switch has 3 options for the plate so you can choose between Revenge of the Sith, A New Hope, and Empire Strikes Back. The plate will need some super glue and then just be sure to line up your edges as you set it in place. Additionally, the side switch will need super glue, but I would test fit this first so you can feel where it likes to sit flush.
If you have any questions or issues, please leave a comment or send me a message so I can help you and make future improvements.
License

You shall not share, sub-license, sell, rent, host, transfer, or distribute in any way the digital or 3D printed versions of this object, nor any other derivative work of this object in its digital or physical format (including - but not limited to - remixes of this object, and hosting on other digital platforms). The objects may not be used without permission in any way whatsoever in which you charge money, or collect fees.


Comment & Rating (9)