
A1 Camera - Adjustable Camera Holder

Print Profile(1)

Description



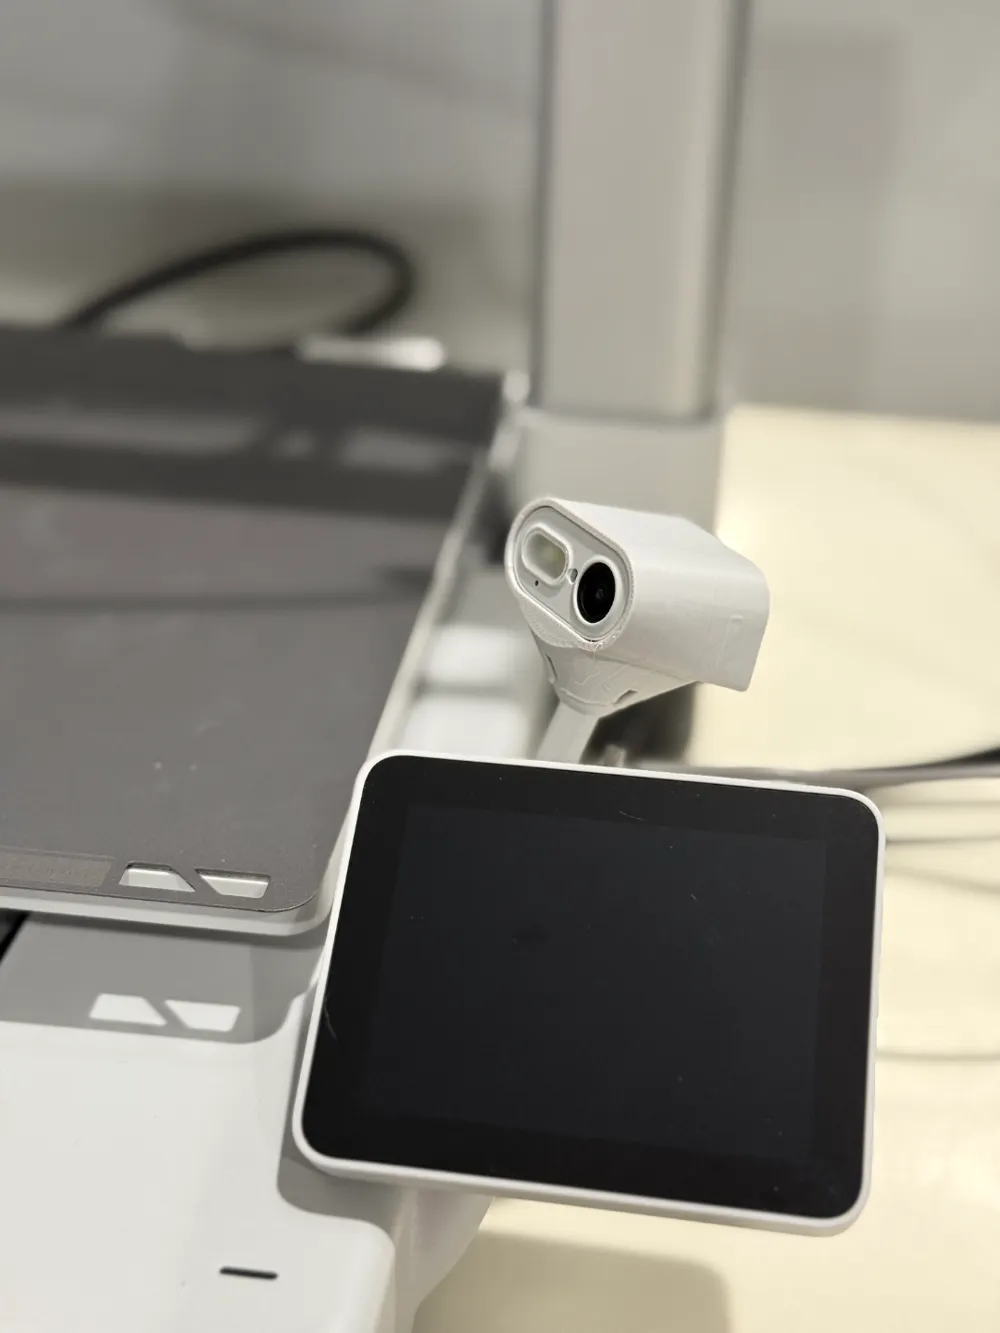
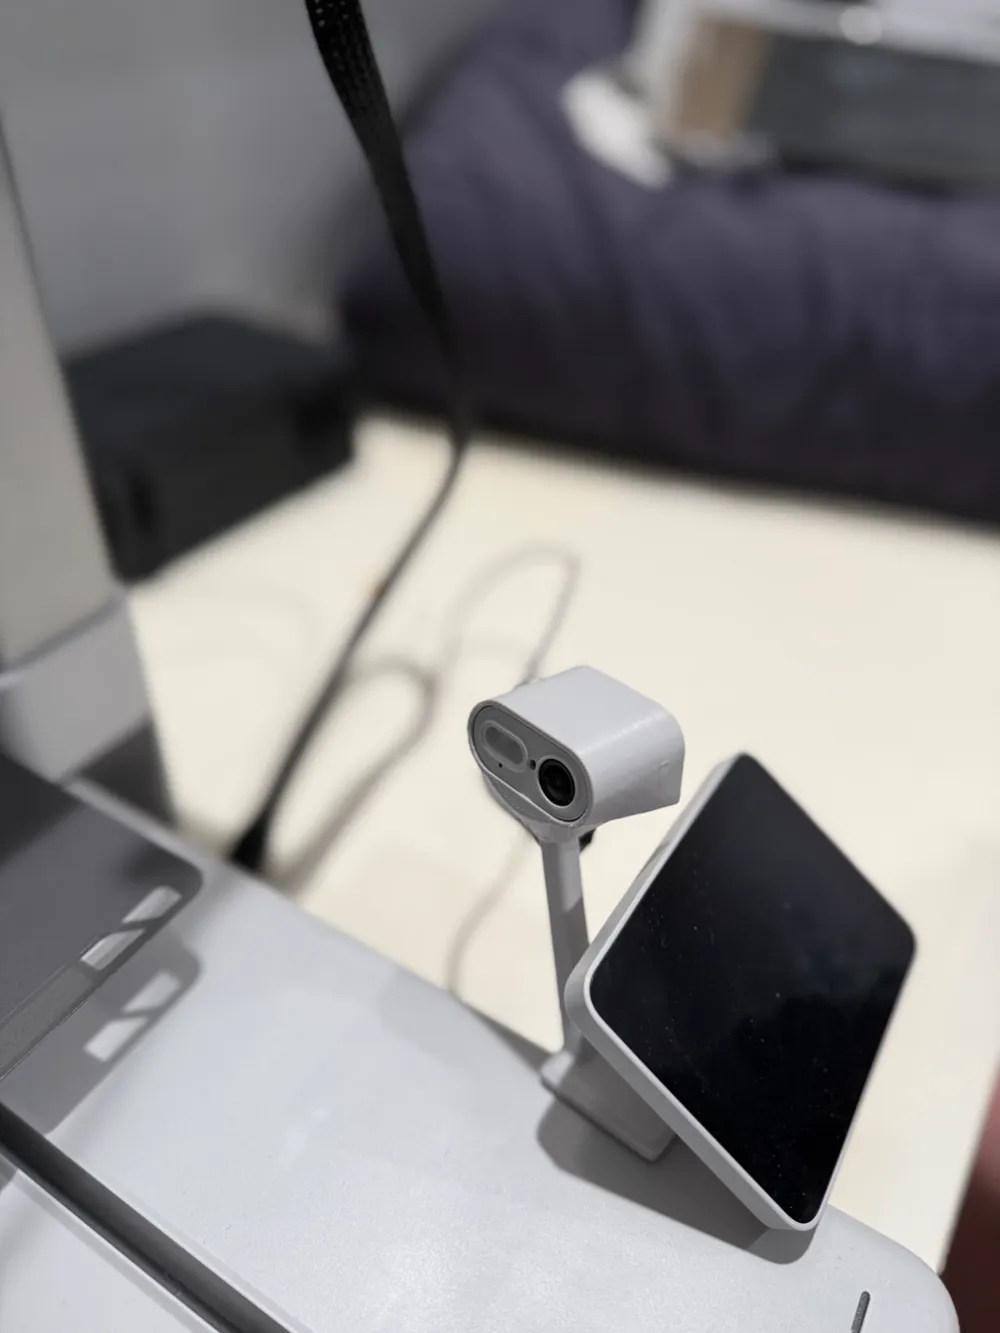
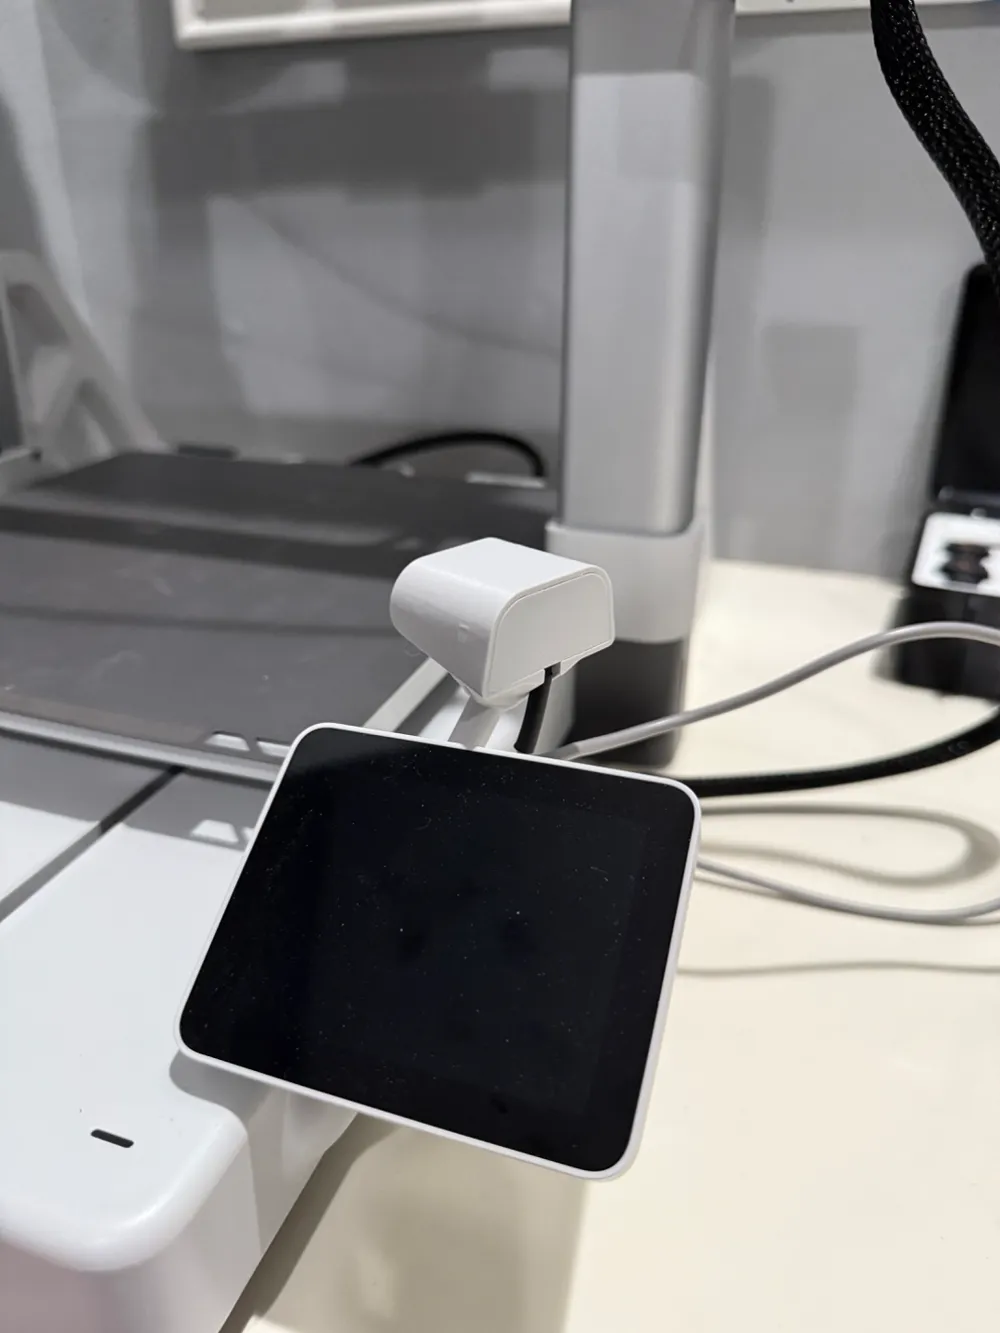
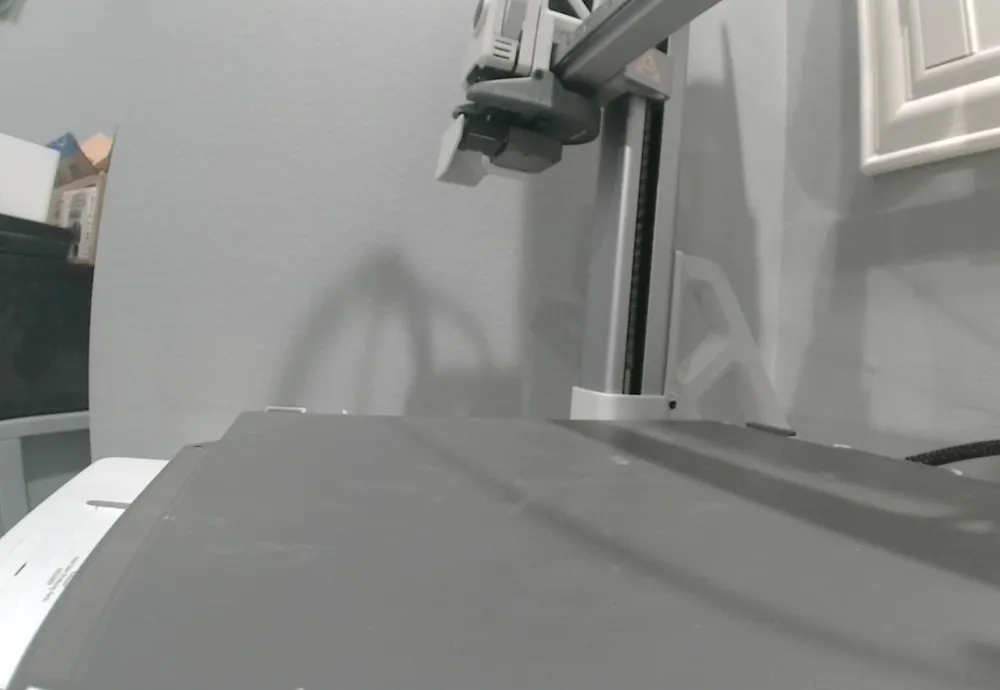
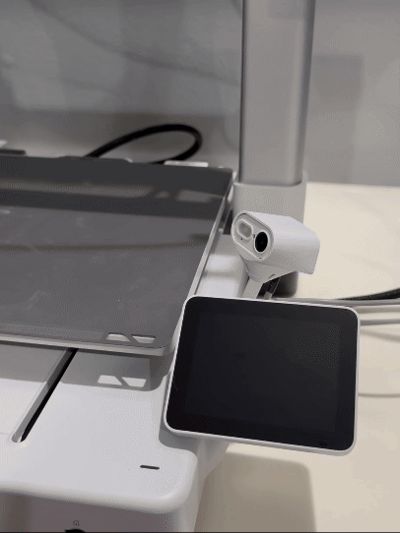
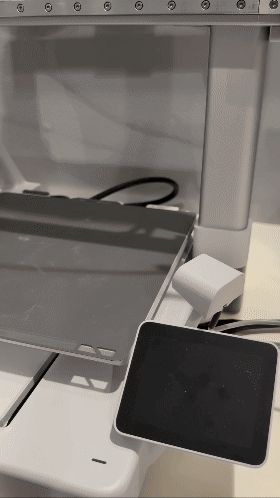
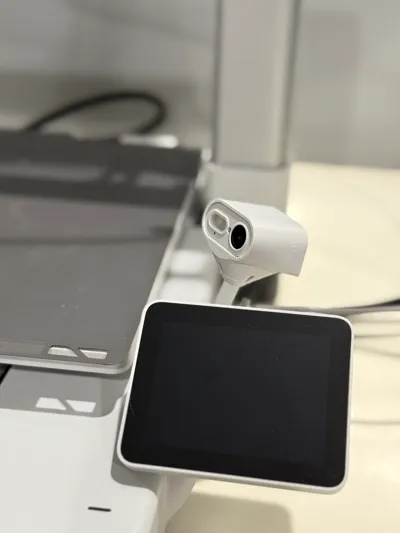
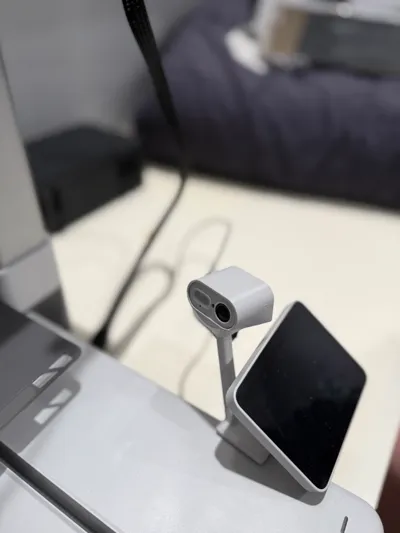
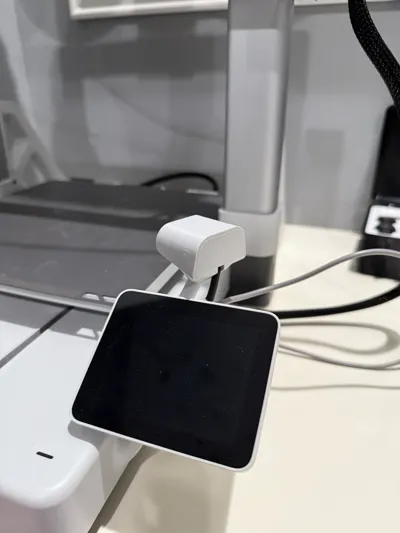
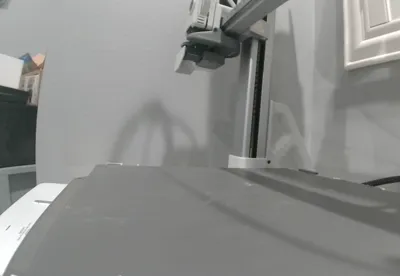
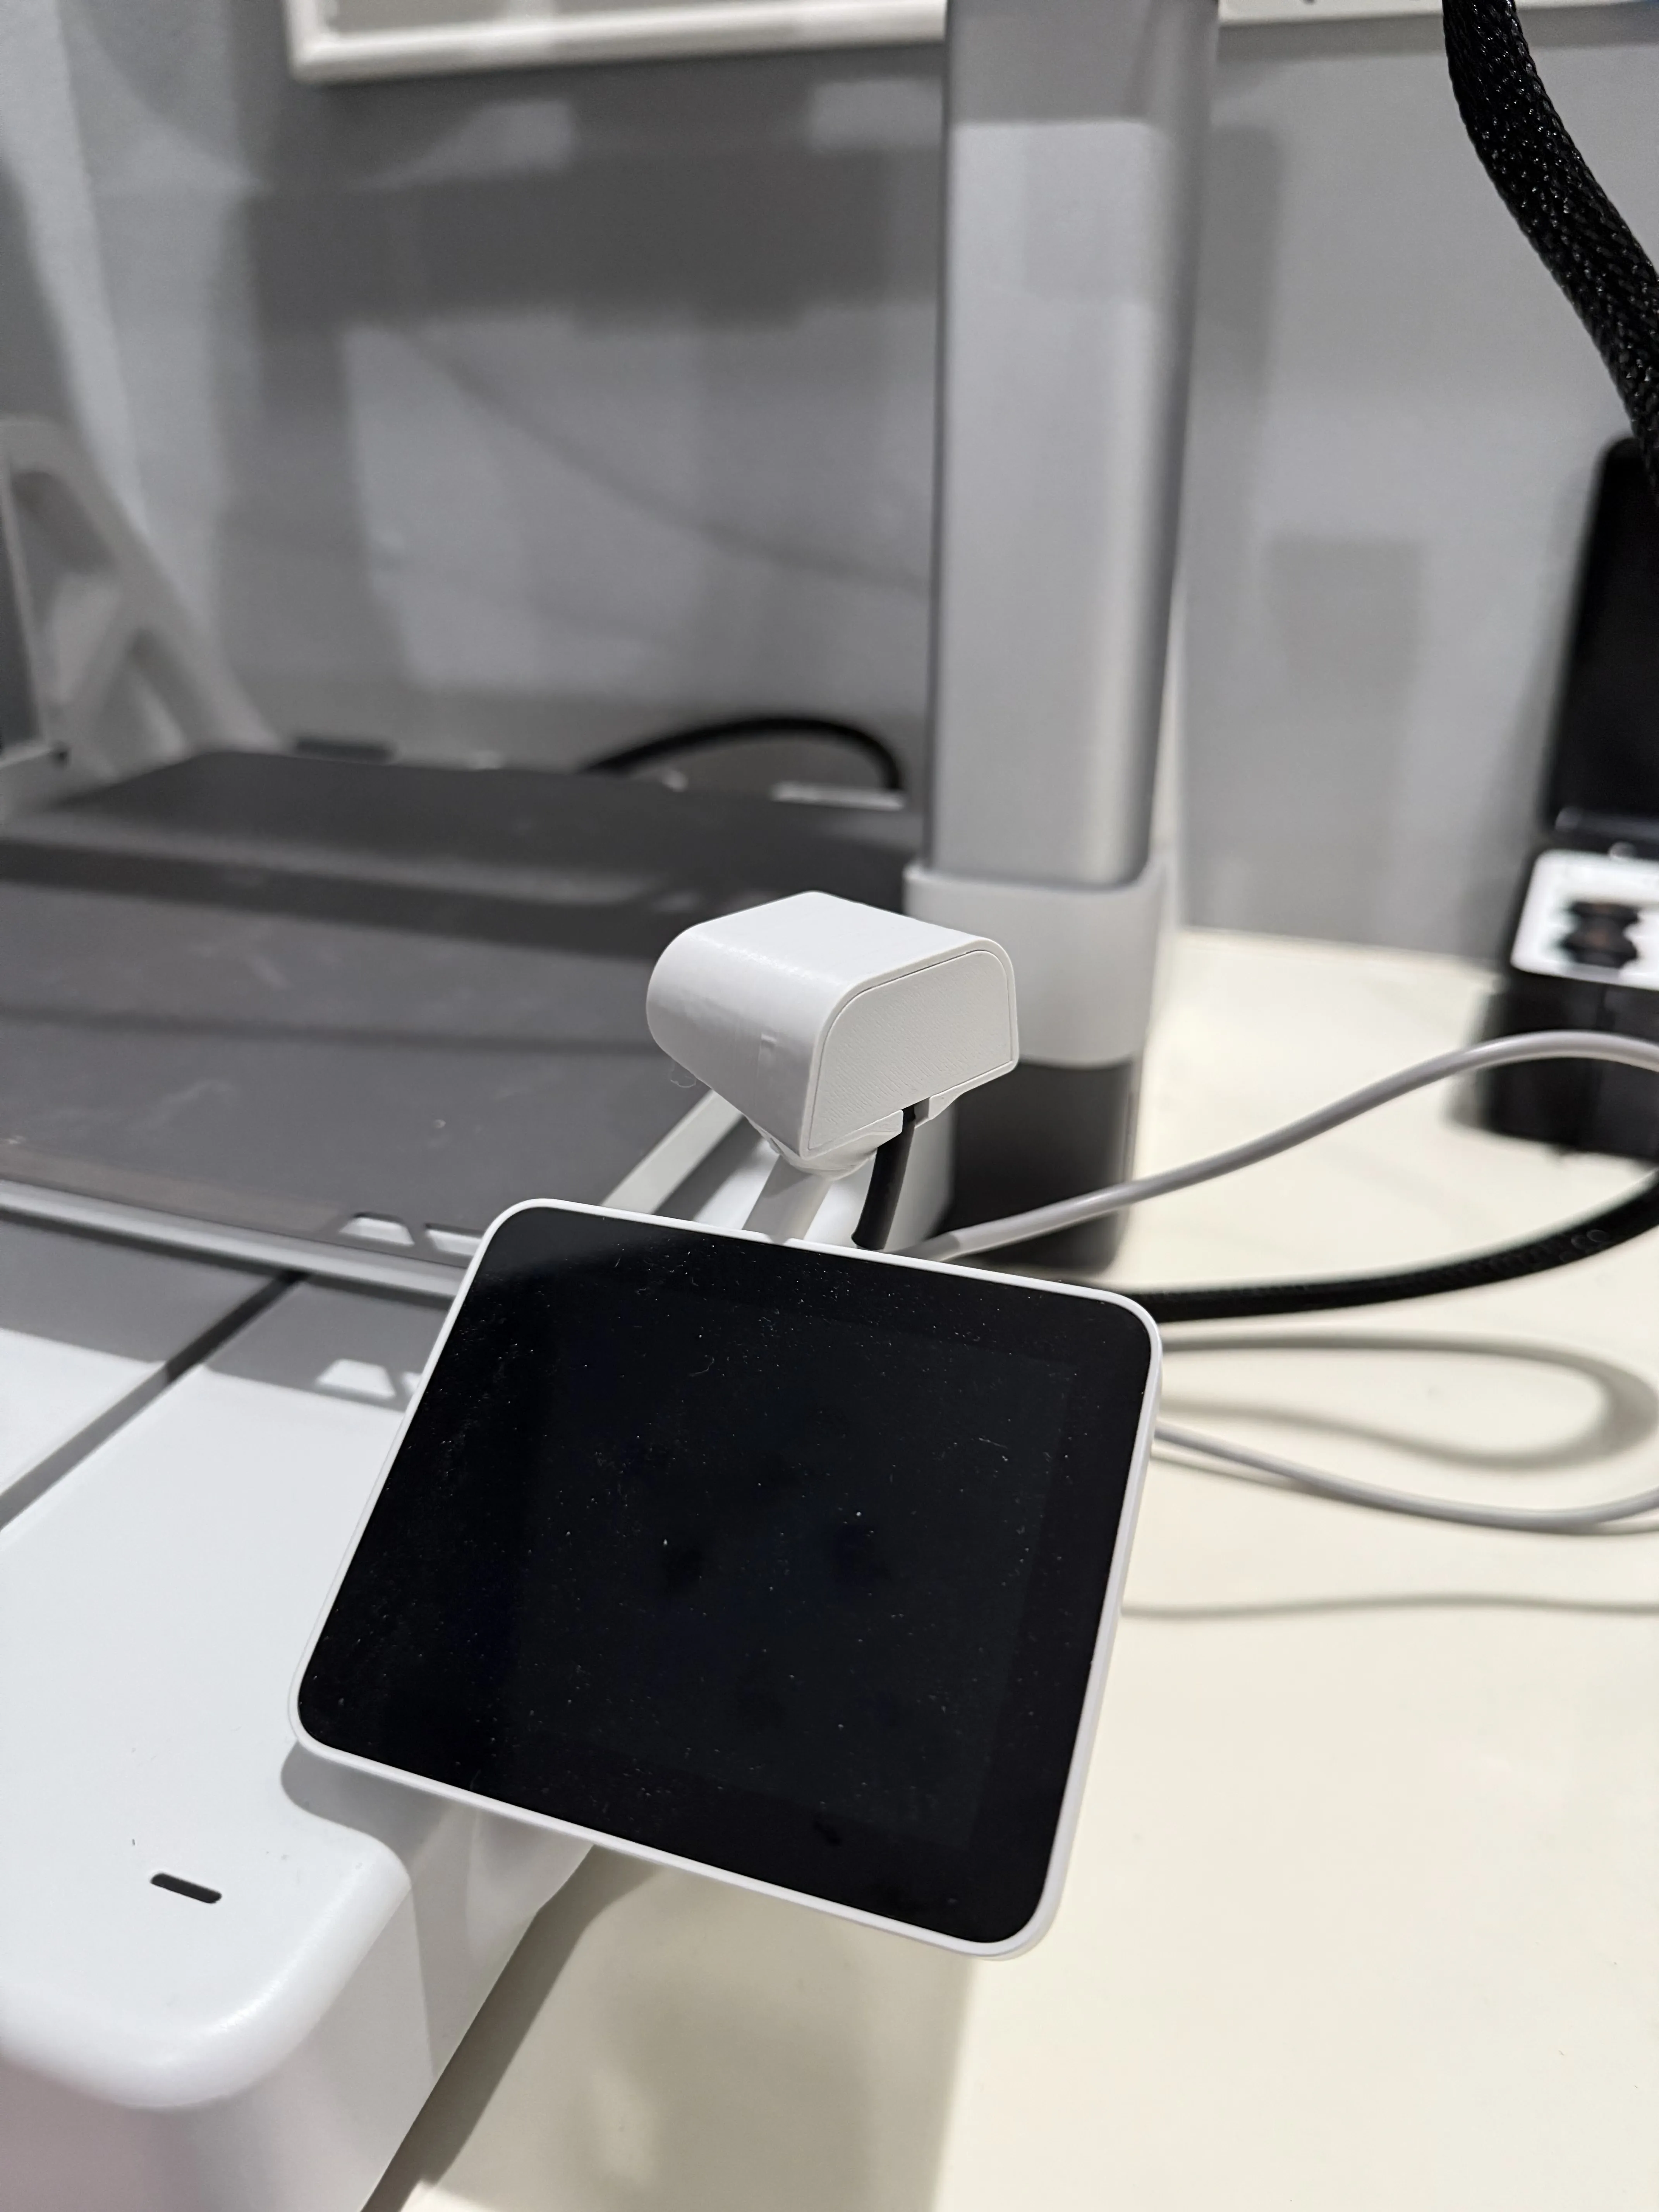
Have you ever wanted a new camera angle for your A1 printer? This model relocates the camera to just behind the control screen for a much better view. This mount requires no hardware to be purchased and only uses a few grams of filament. The installation is simple, and can be done is under 5 minutes following this guide.
All the videos and GIF's were made using Photobox for GIF's - motorized turntable found at https://makerworld.com/en/models/895916#profileId-853847
Installation
First thing you need to do is turn off your printer and remove the camera which can be done following the official bambulab wiki guide on camera removal found here. https://wiki.bambulab.com/en/a1/maintenance/camera-replacement-guide
After that, we will be removing the cable from the black wire sleeve so we can relocate the camera to the new mount. Our steps will be similar to the A1 USB-c cable replacement guide but easier, which can be found here for reference https://wiki.bambulab.com/en/a1/maintenance/usb-c-cable-replacement-guide
After freeing the cable sleeve, same as in the official guide, we will put the connector inside the sleeve so we can putt it out later once we free the lower part of the cable which can be done under the printer as shown in the following photo steps.
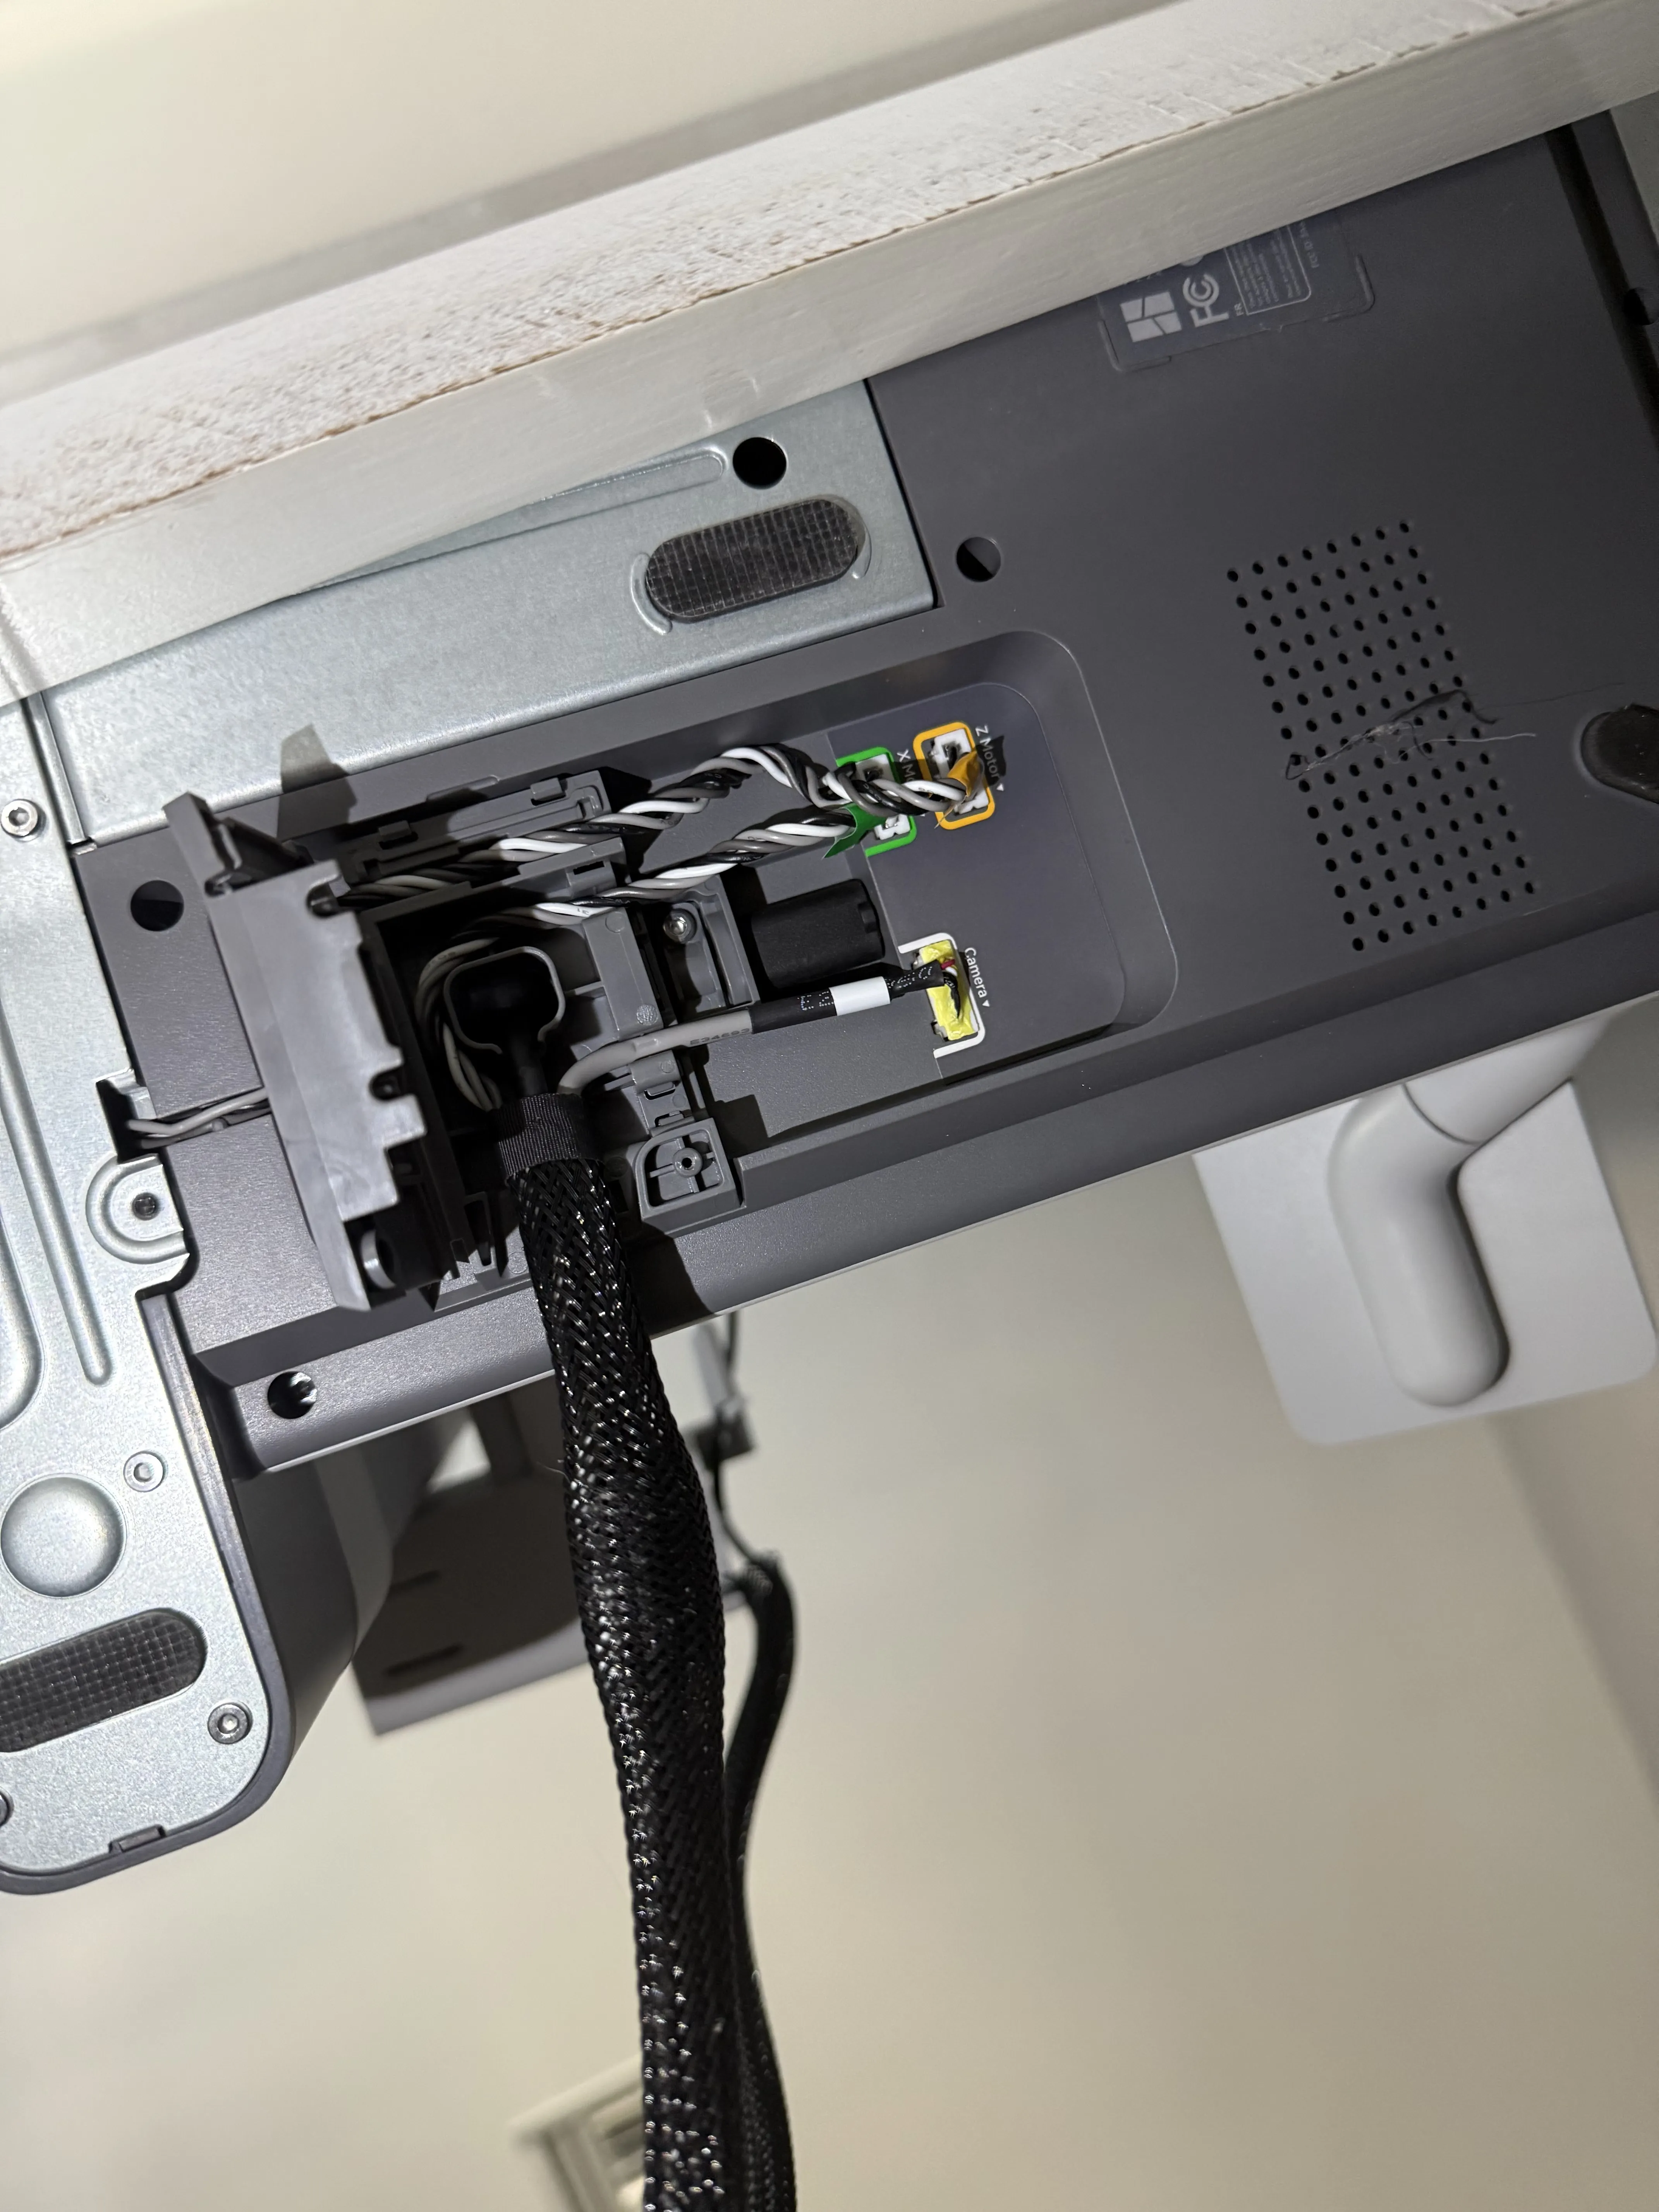
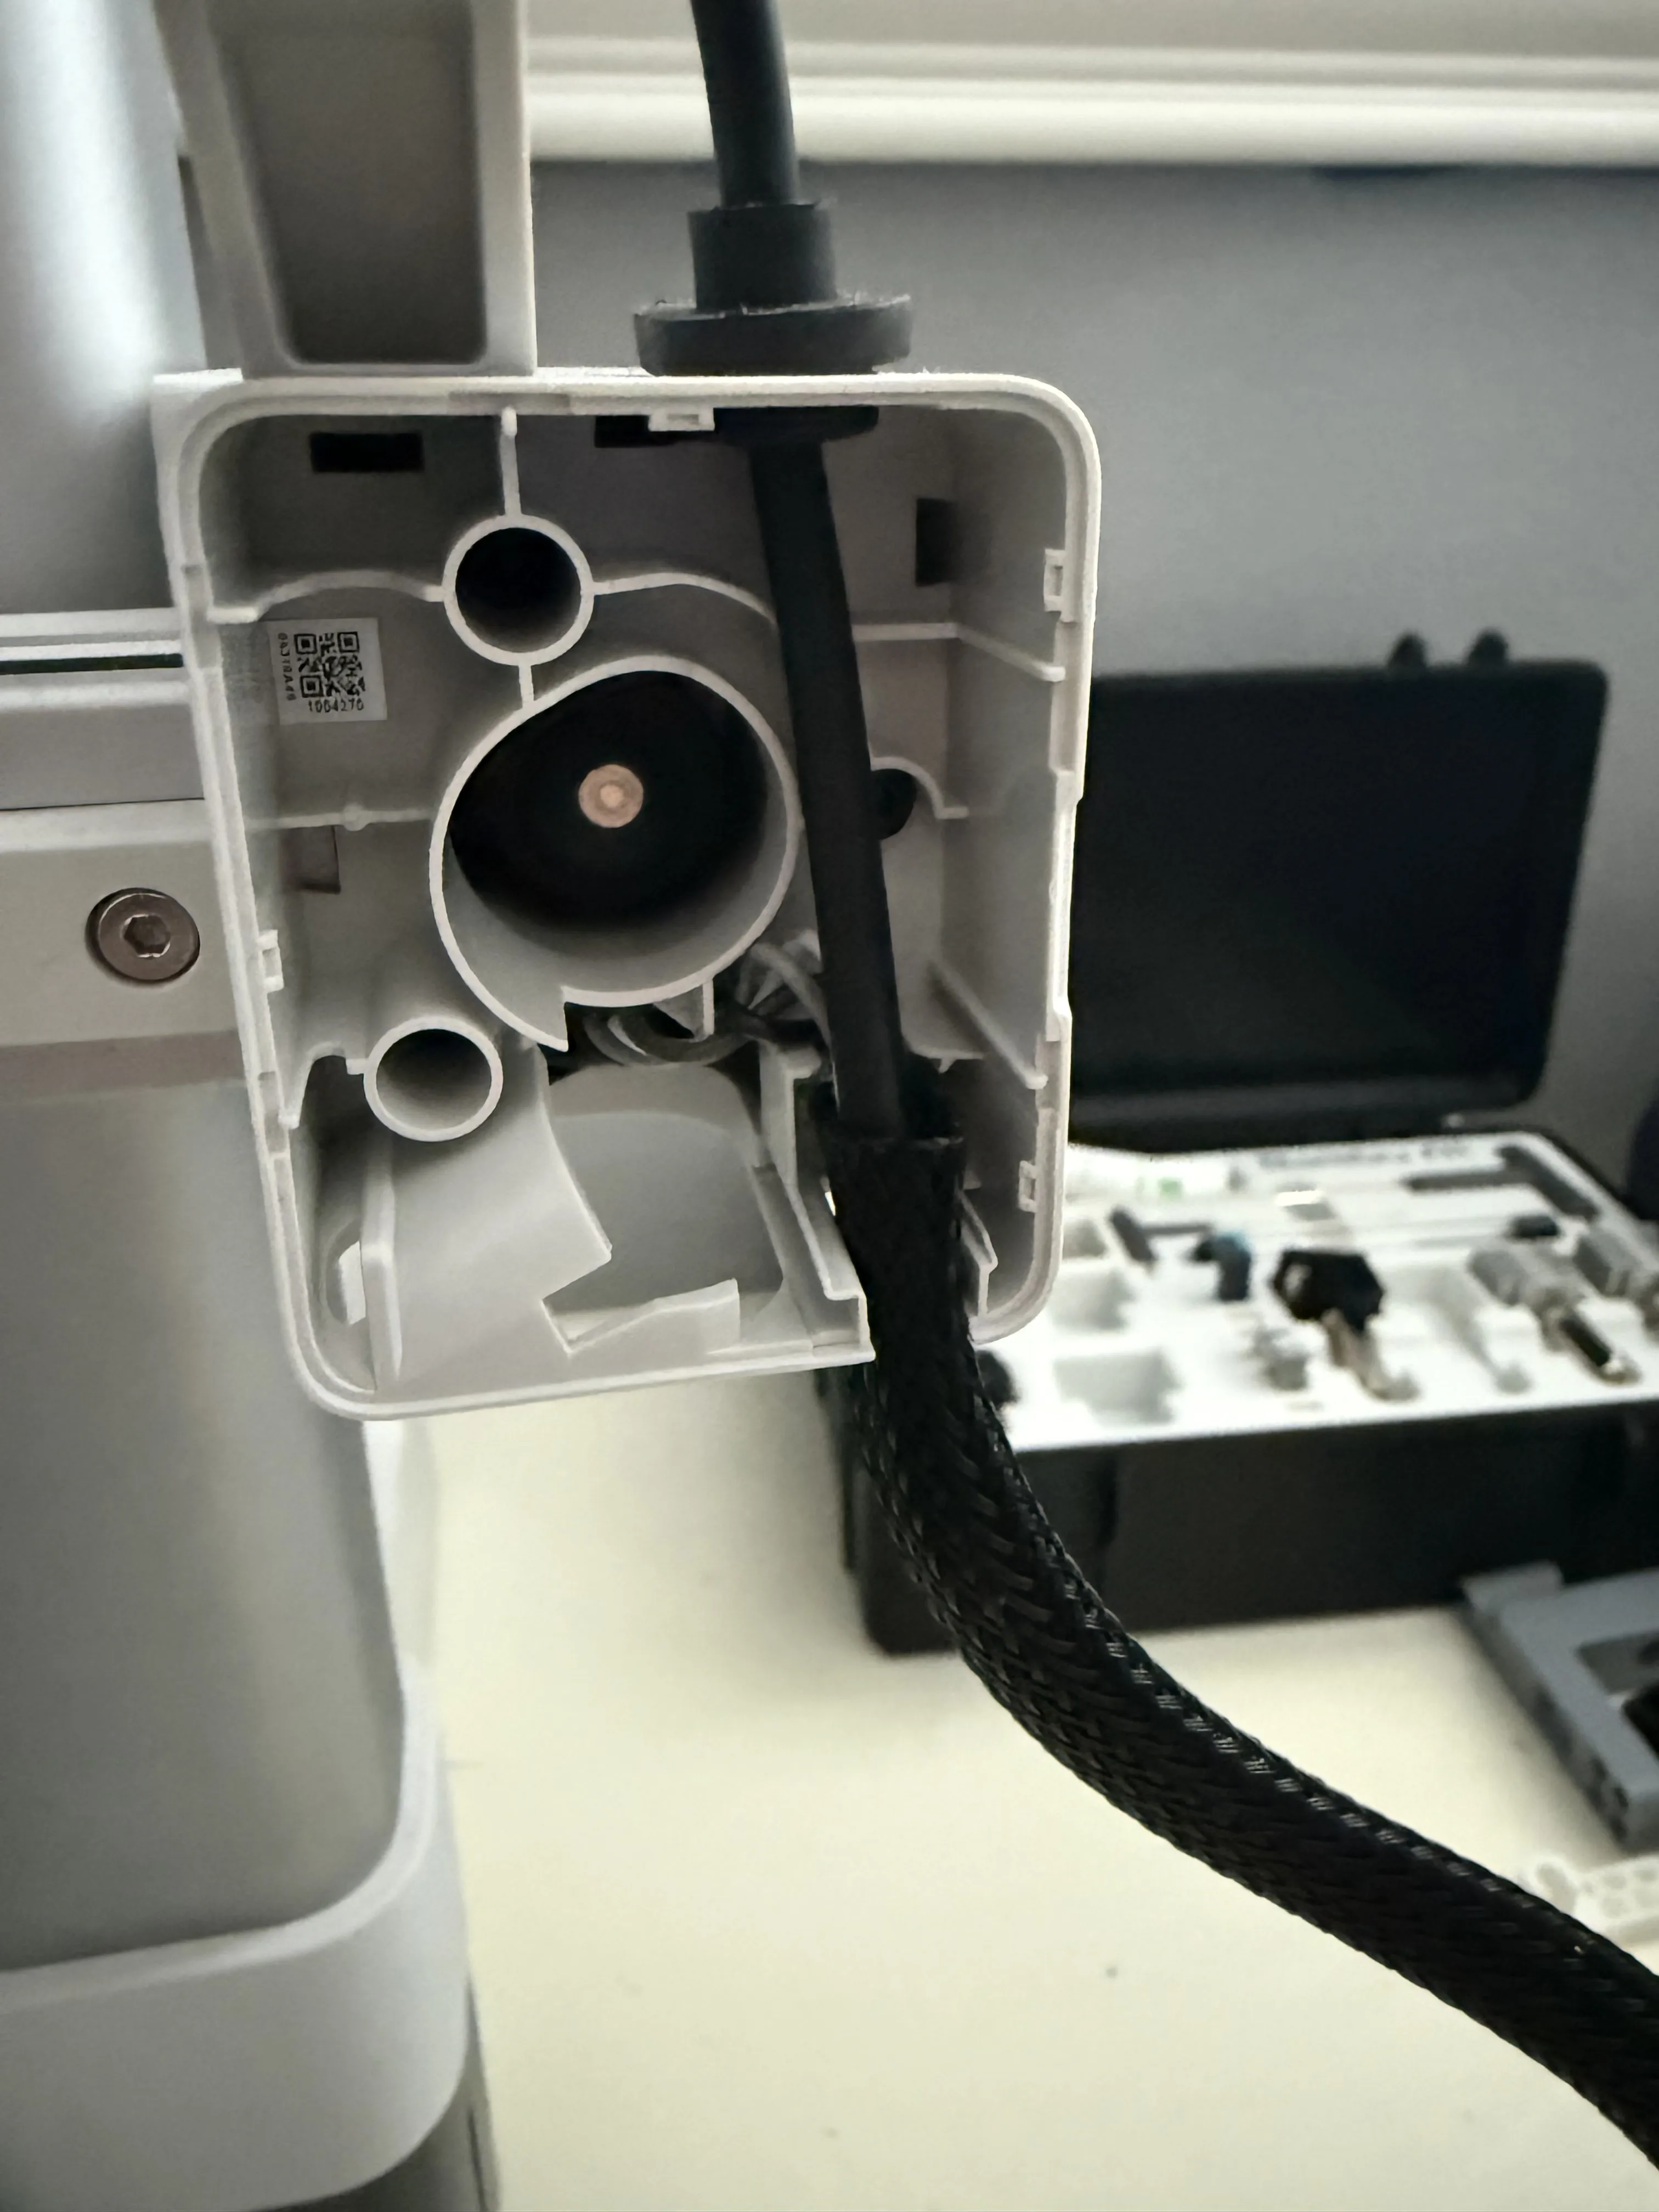
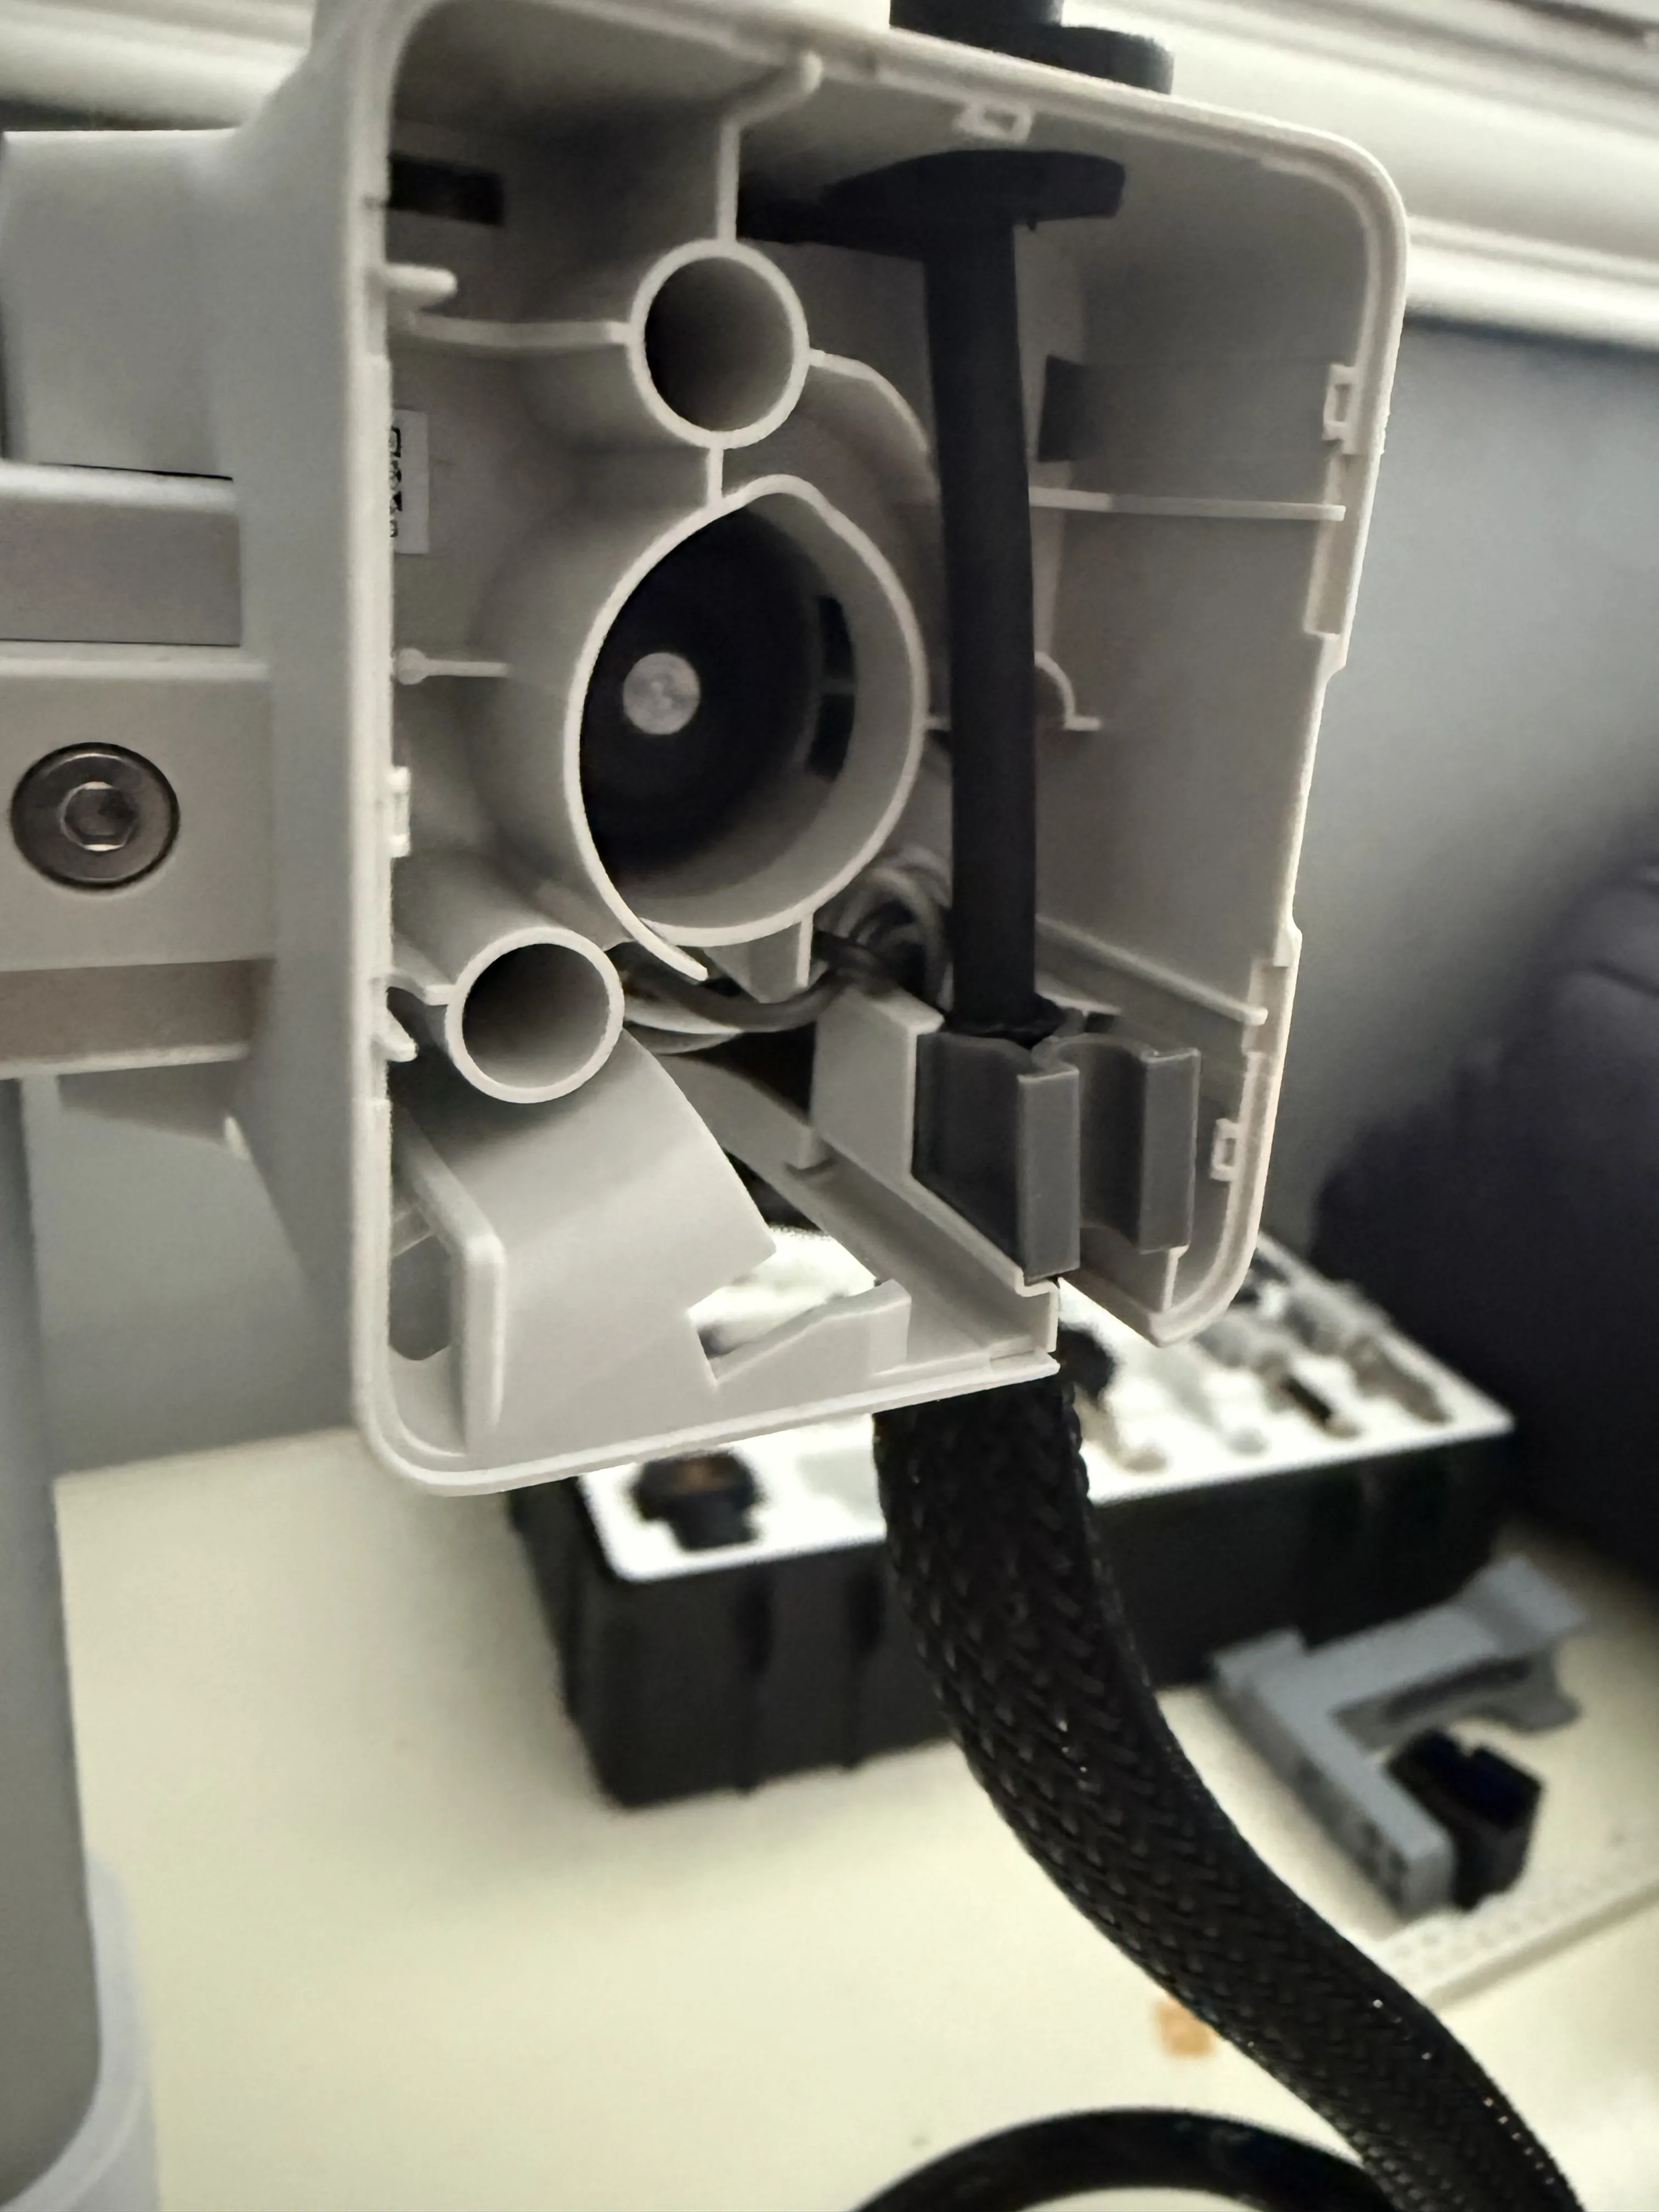
After opening the panel, remove the tape from the black cable sleeve (save for reuse after) and we will push the sleeve off of the large round cylinder so we have room to pull the gray camera wire though the sleeve.
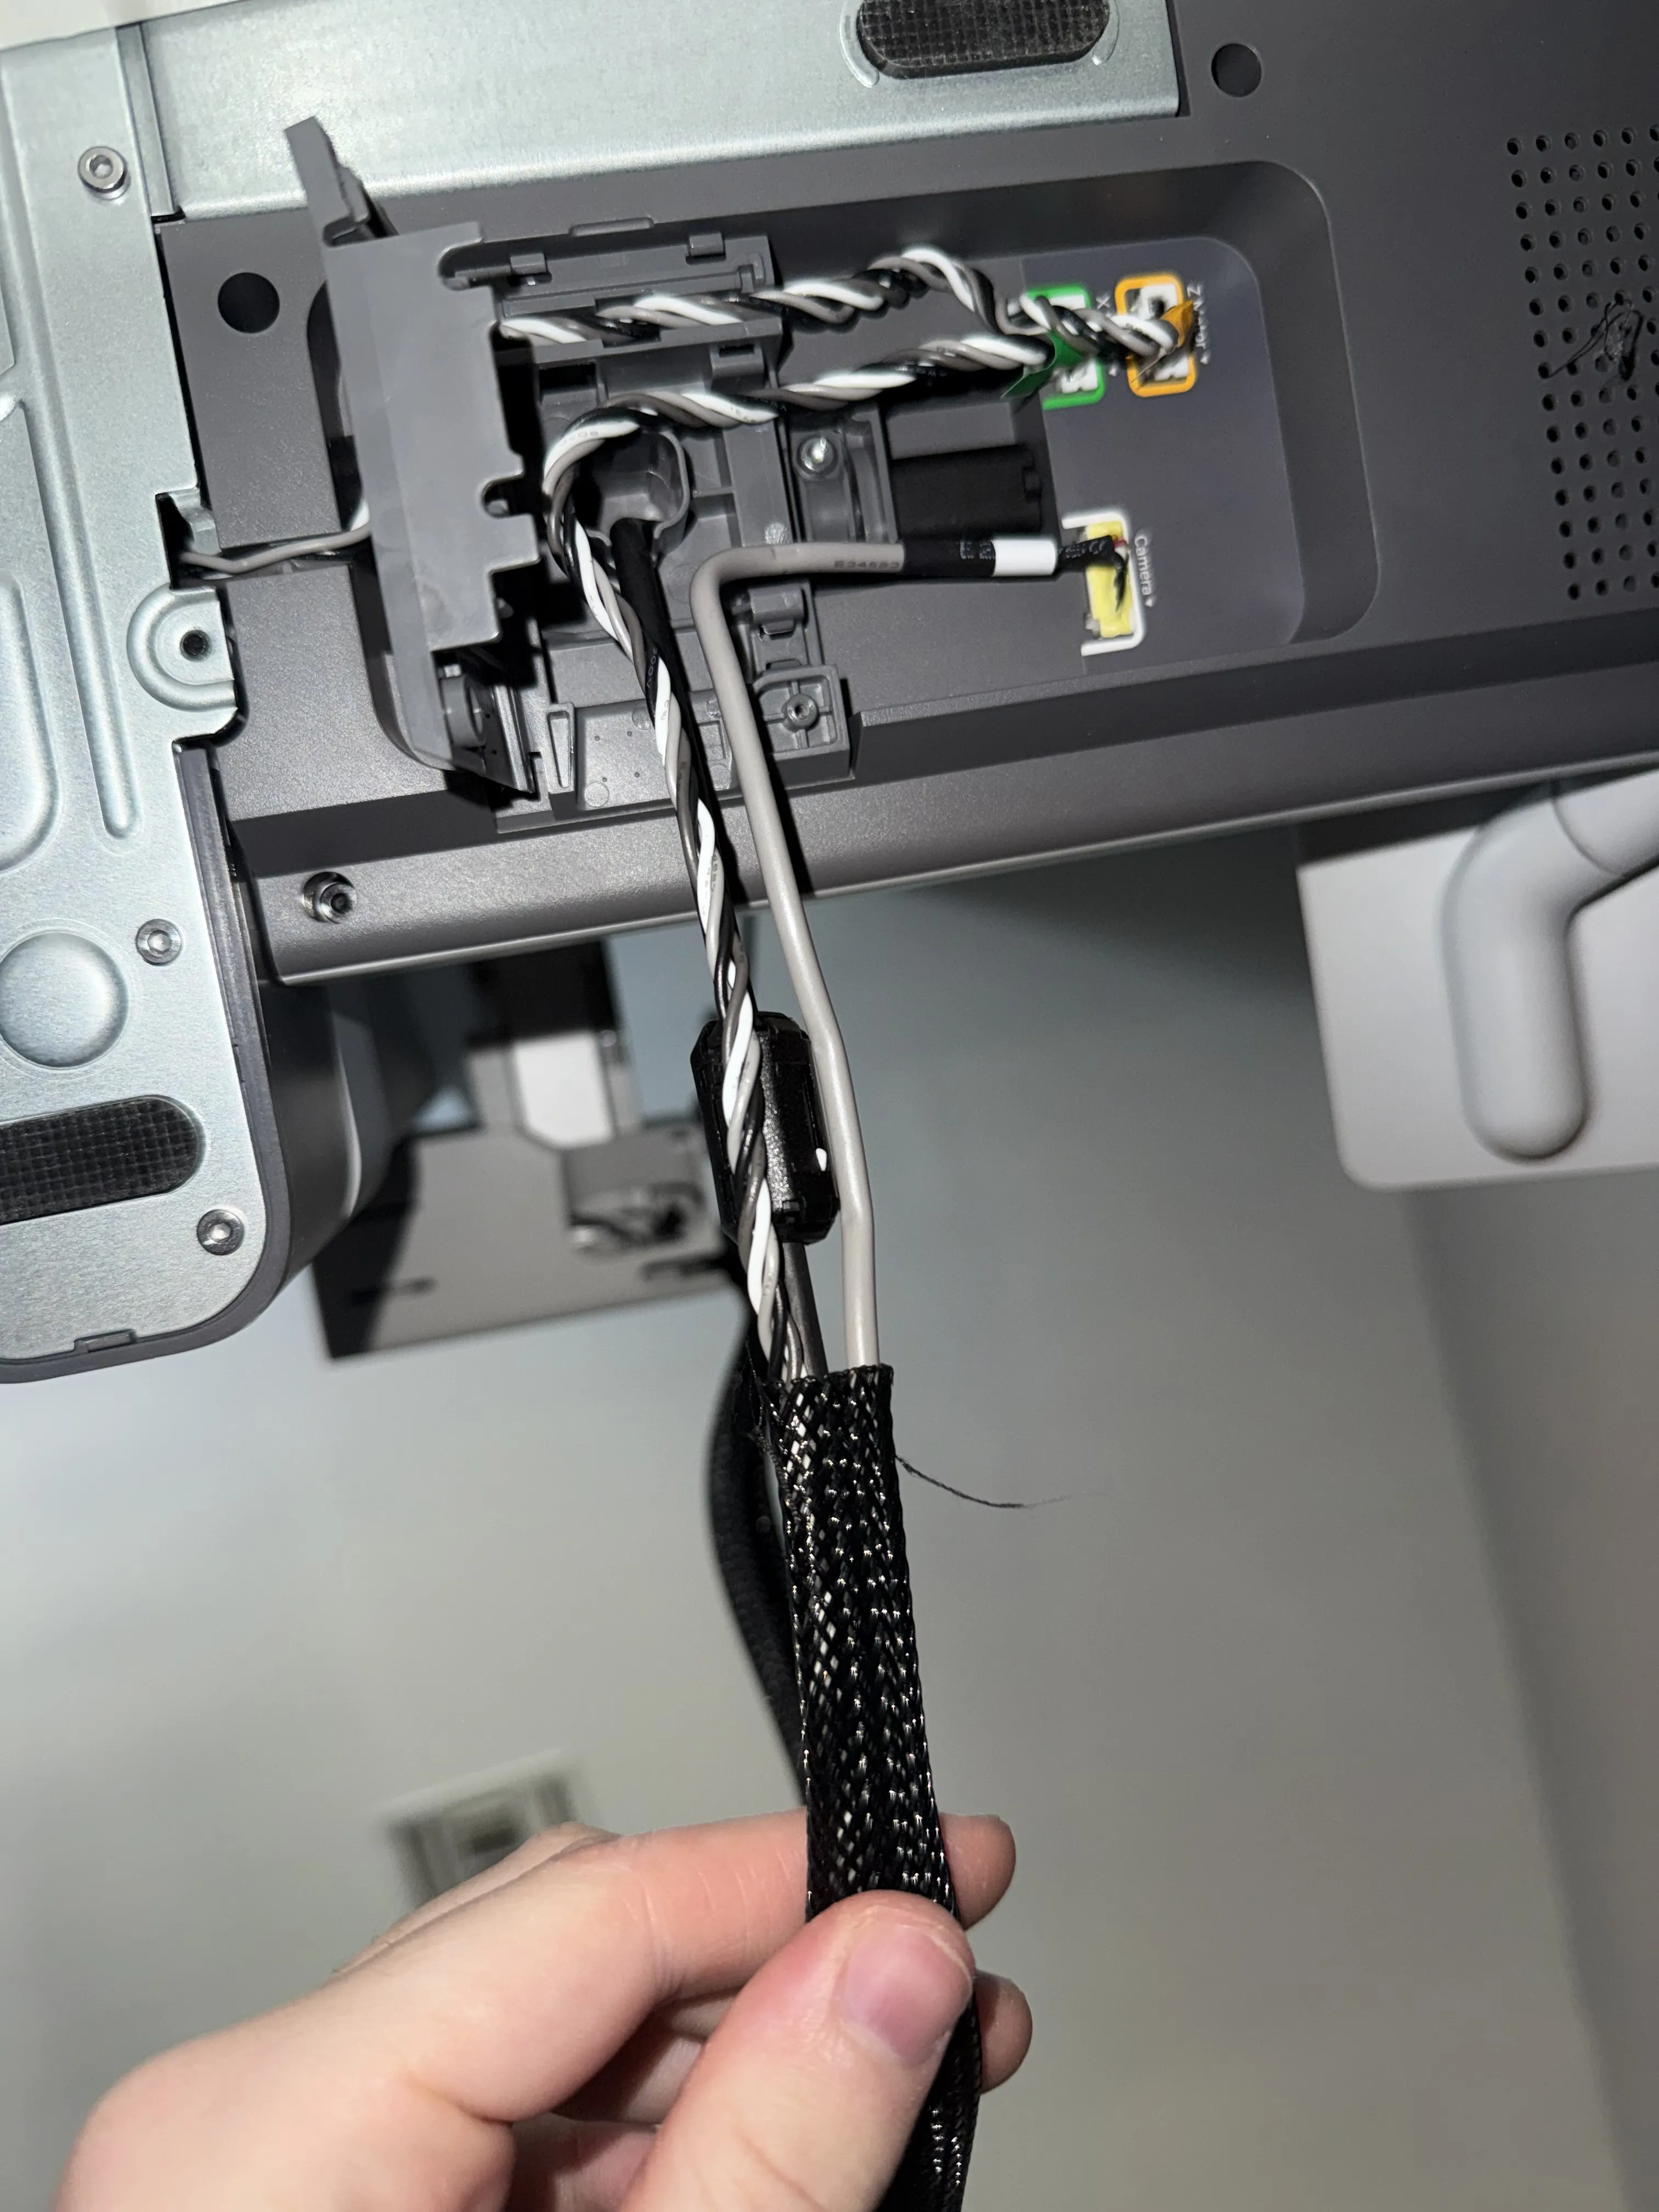
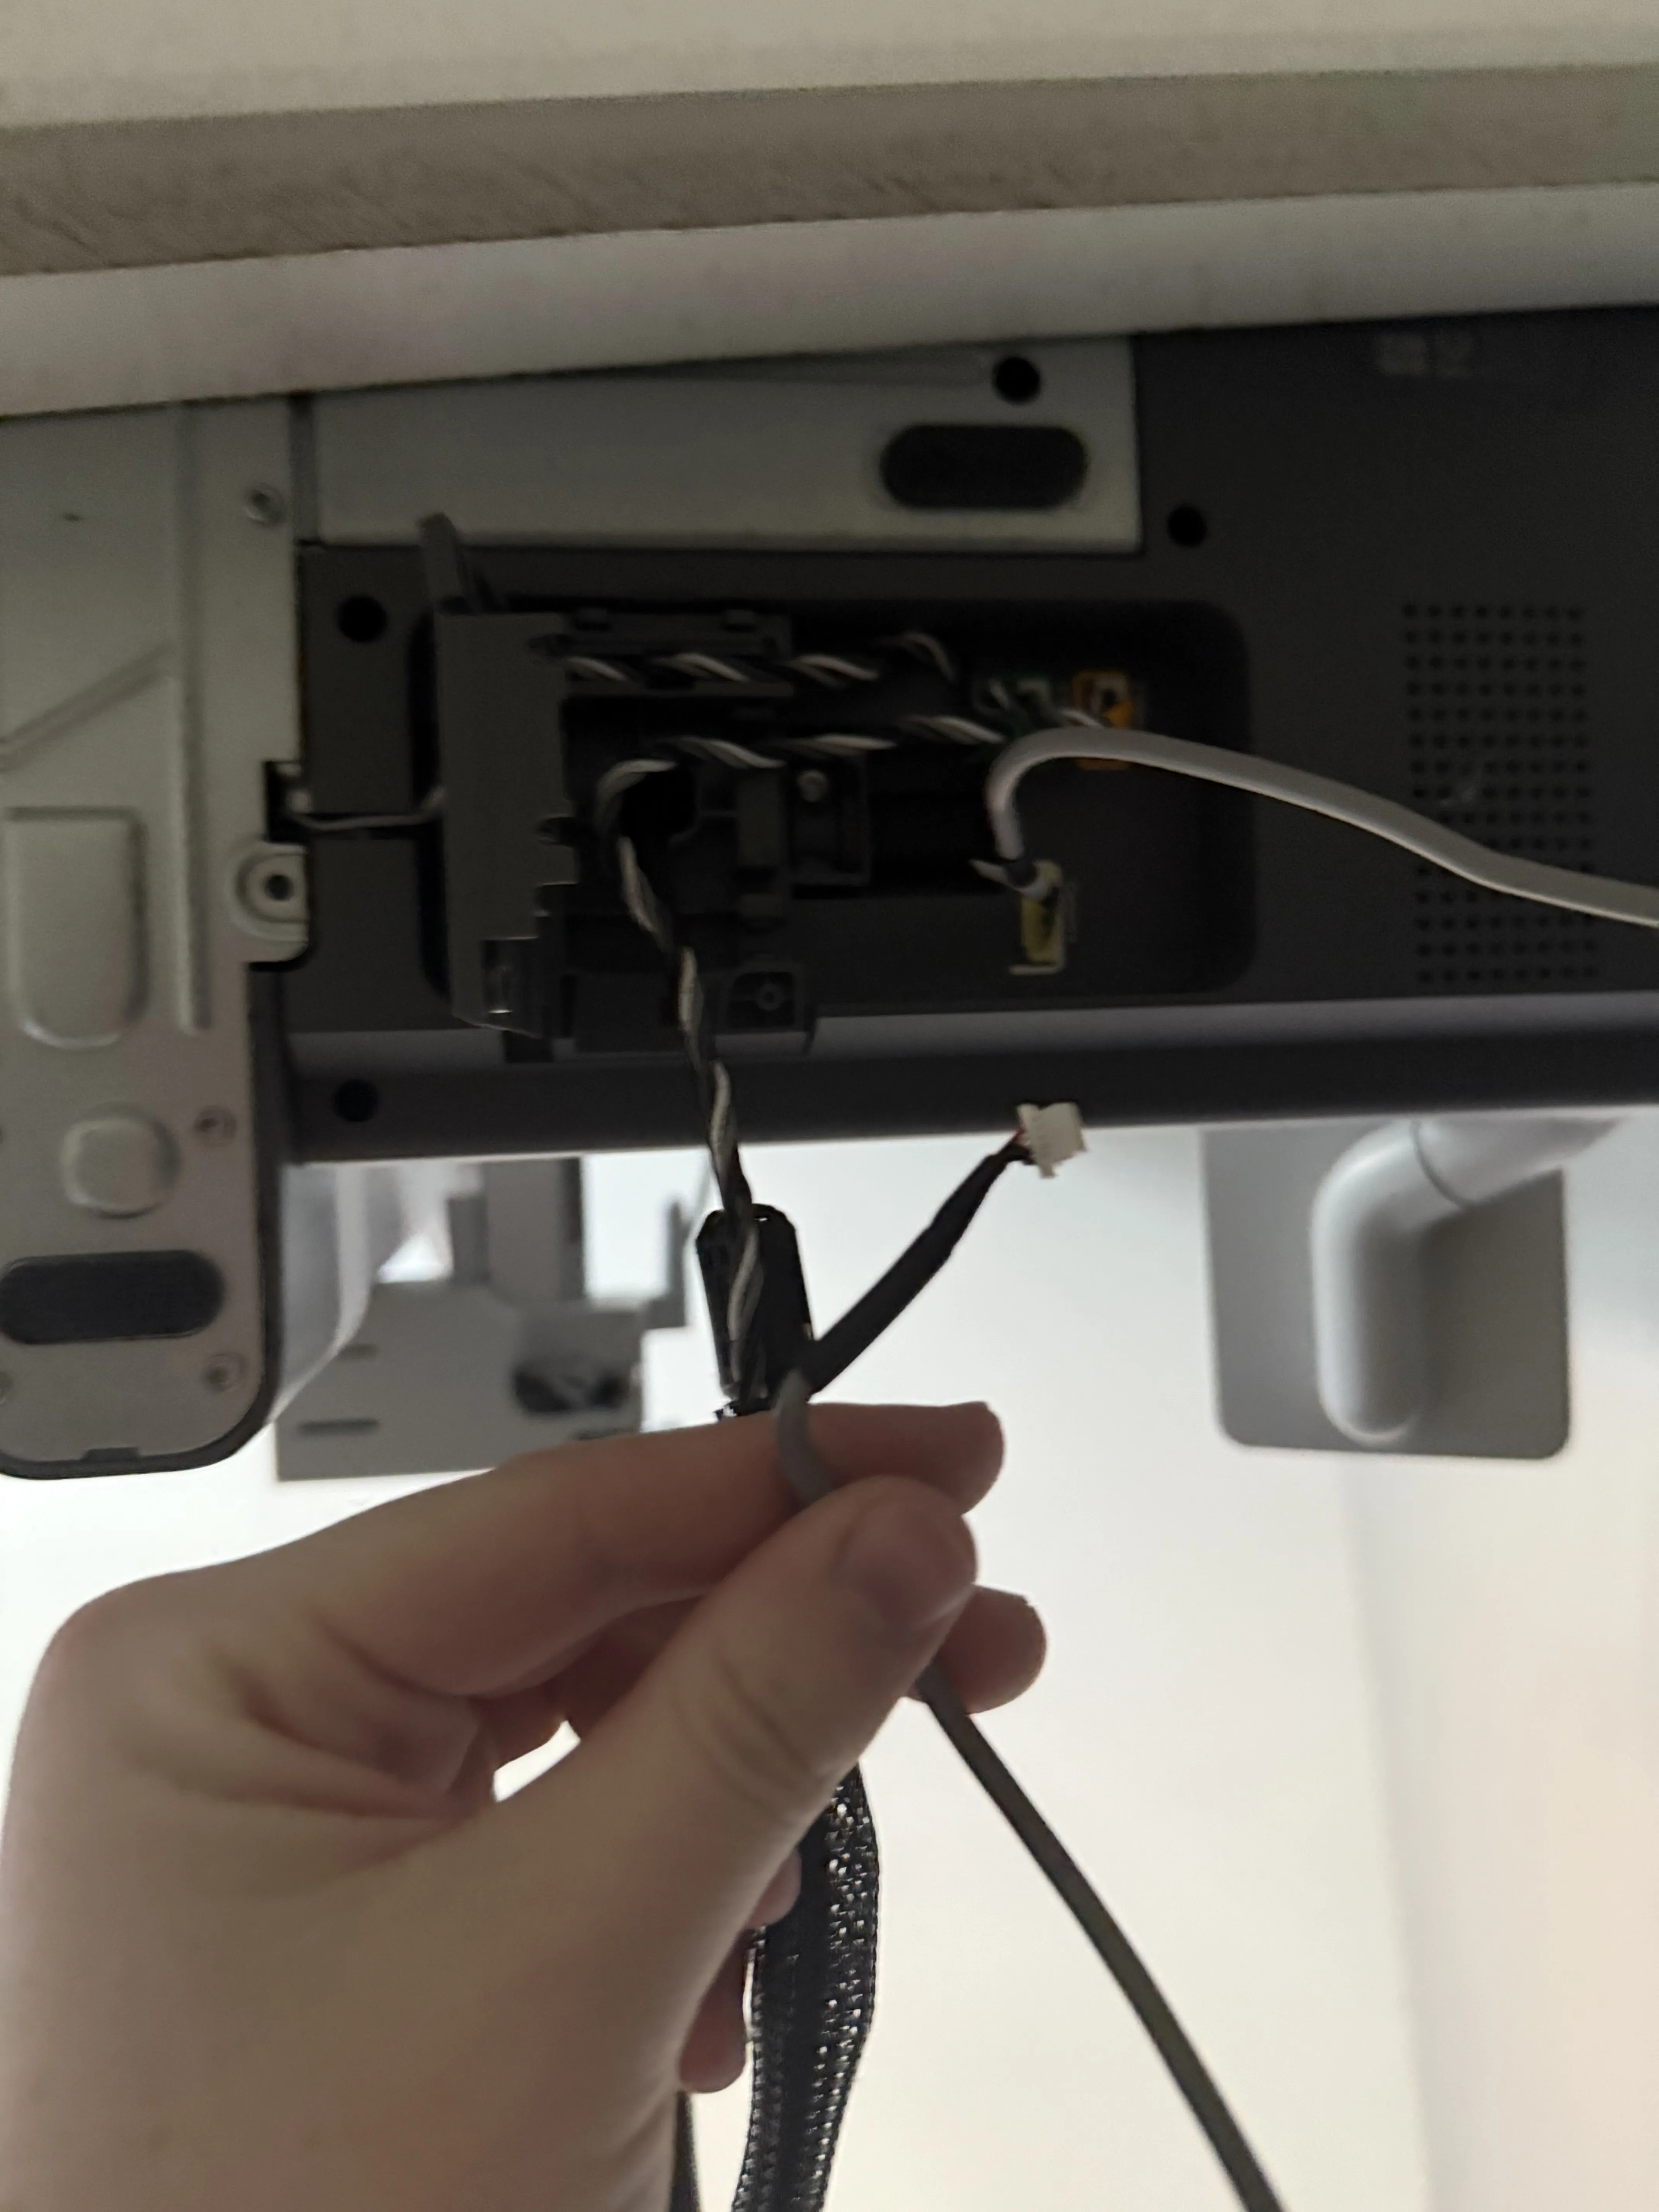
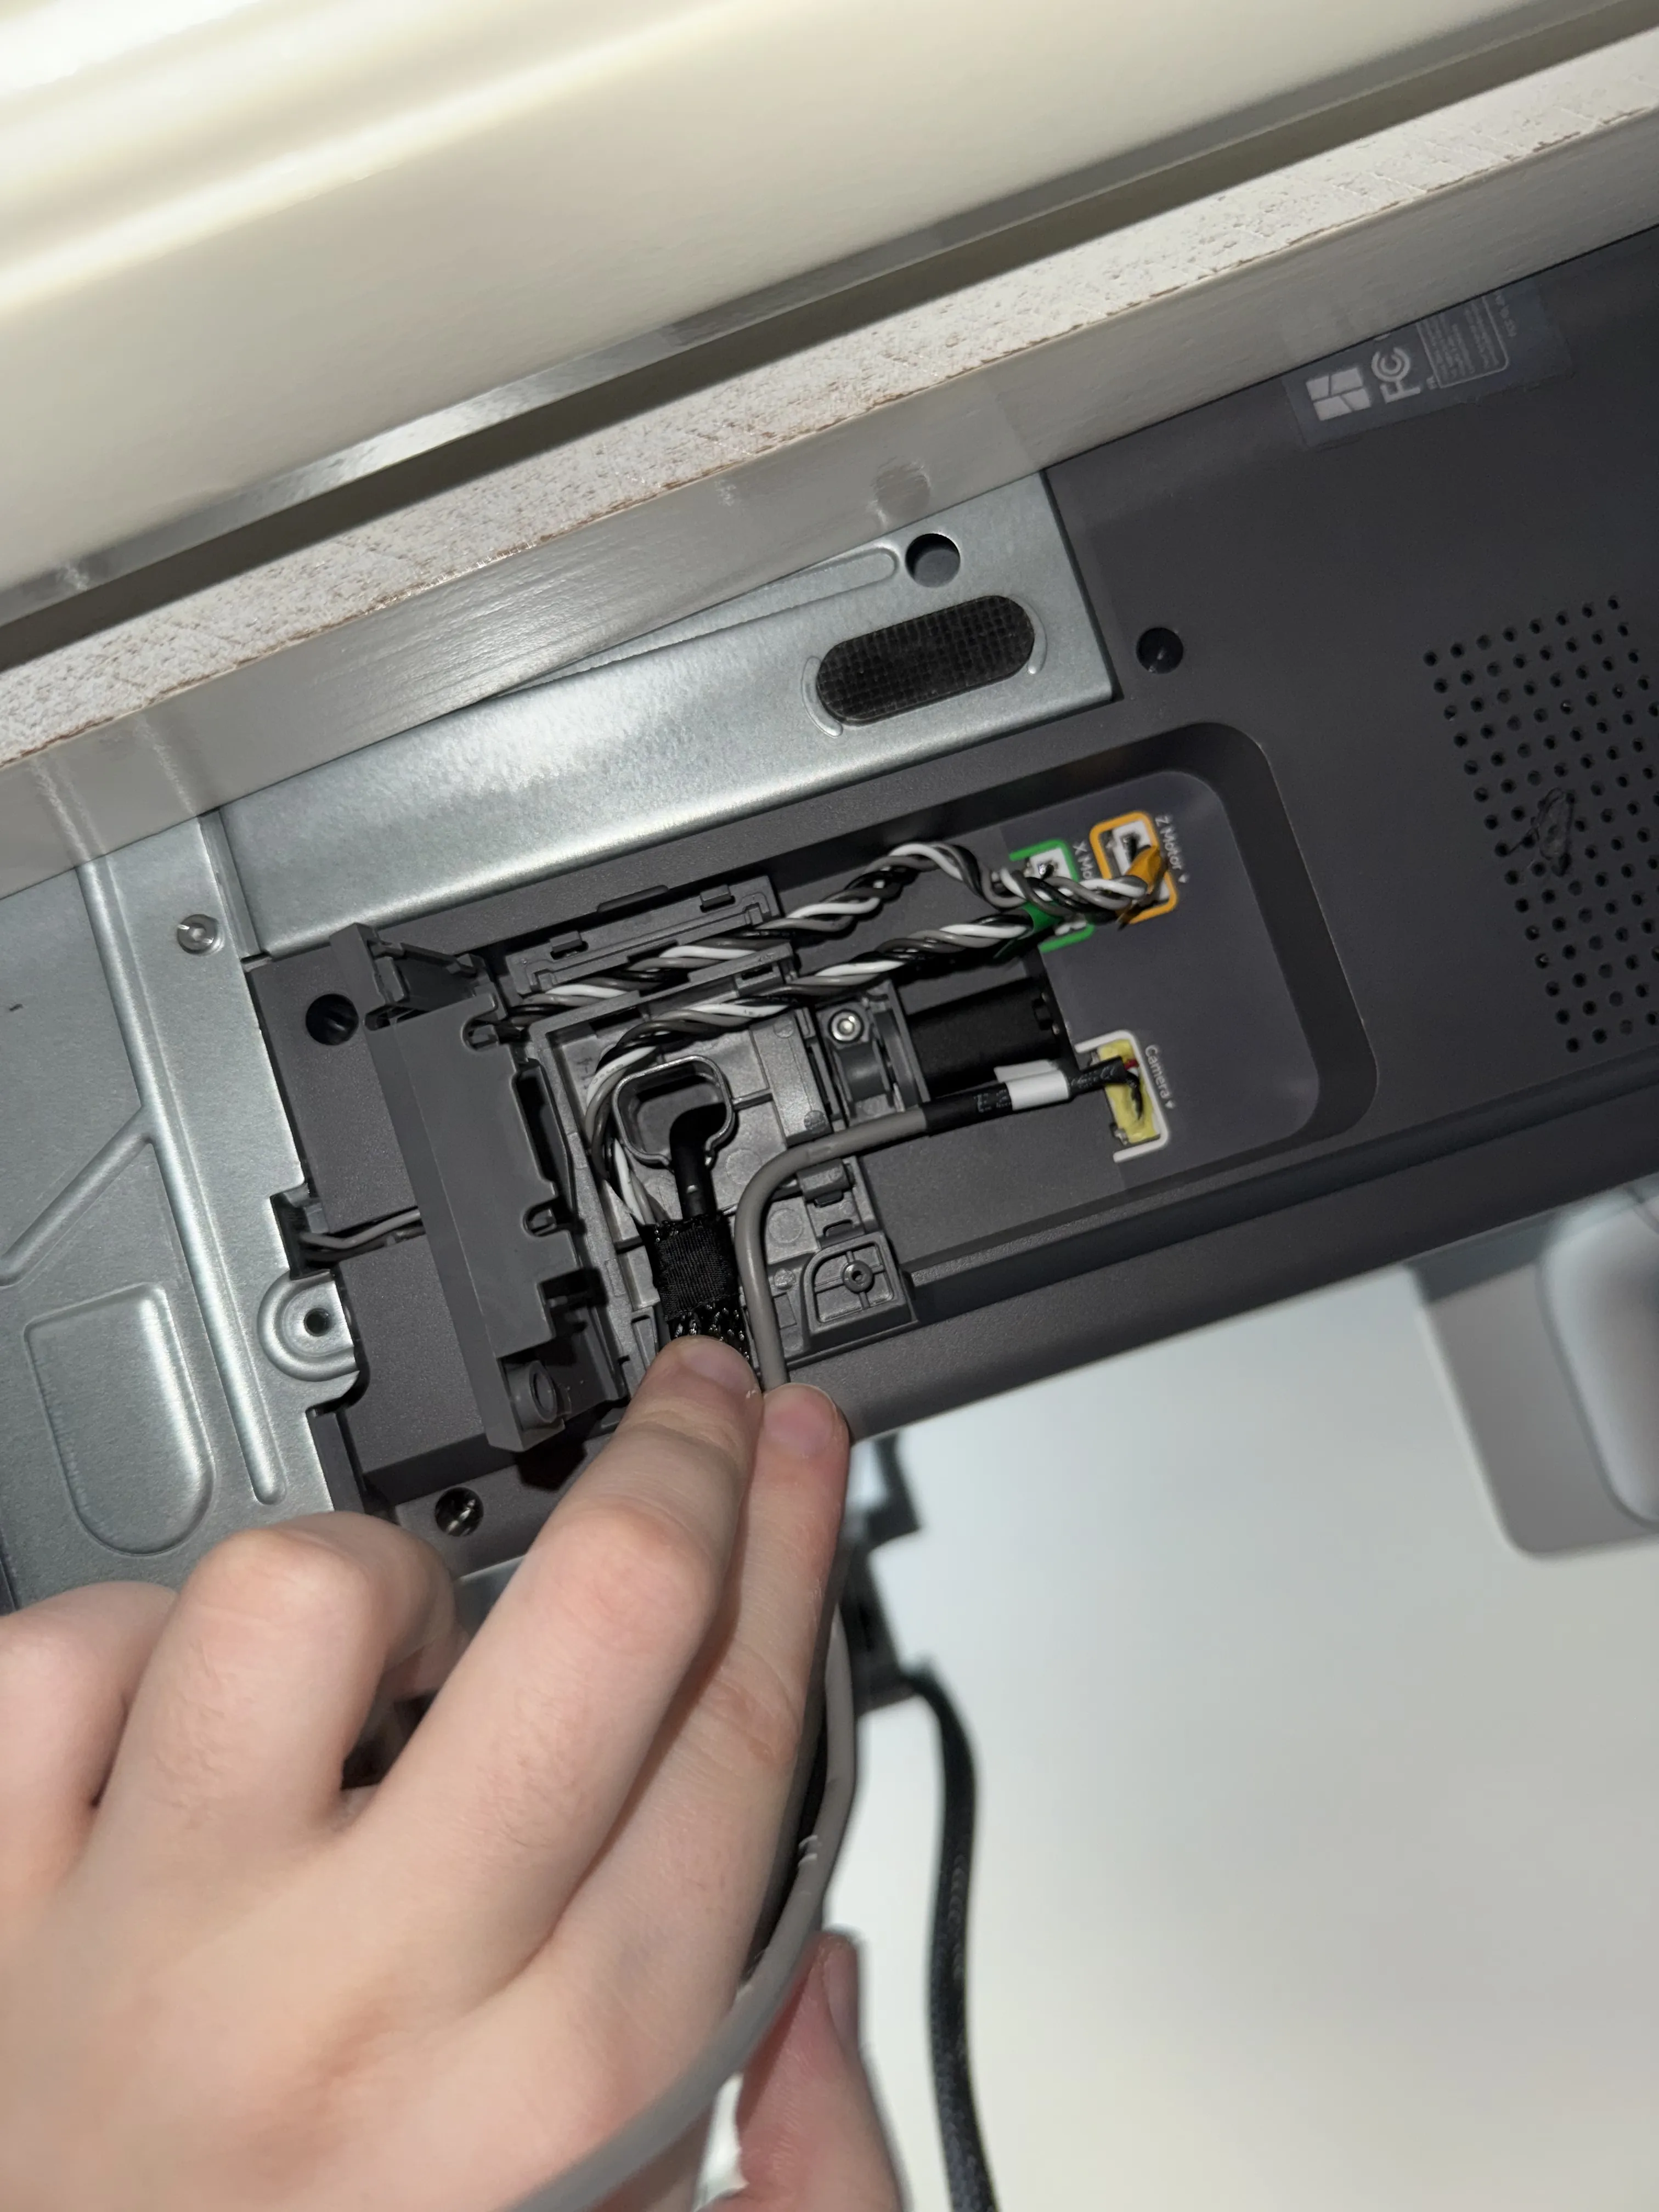
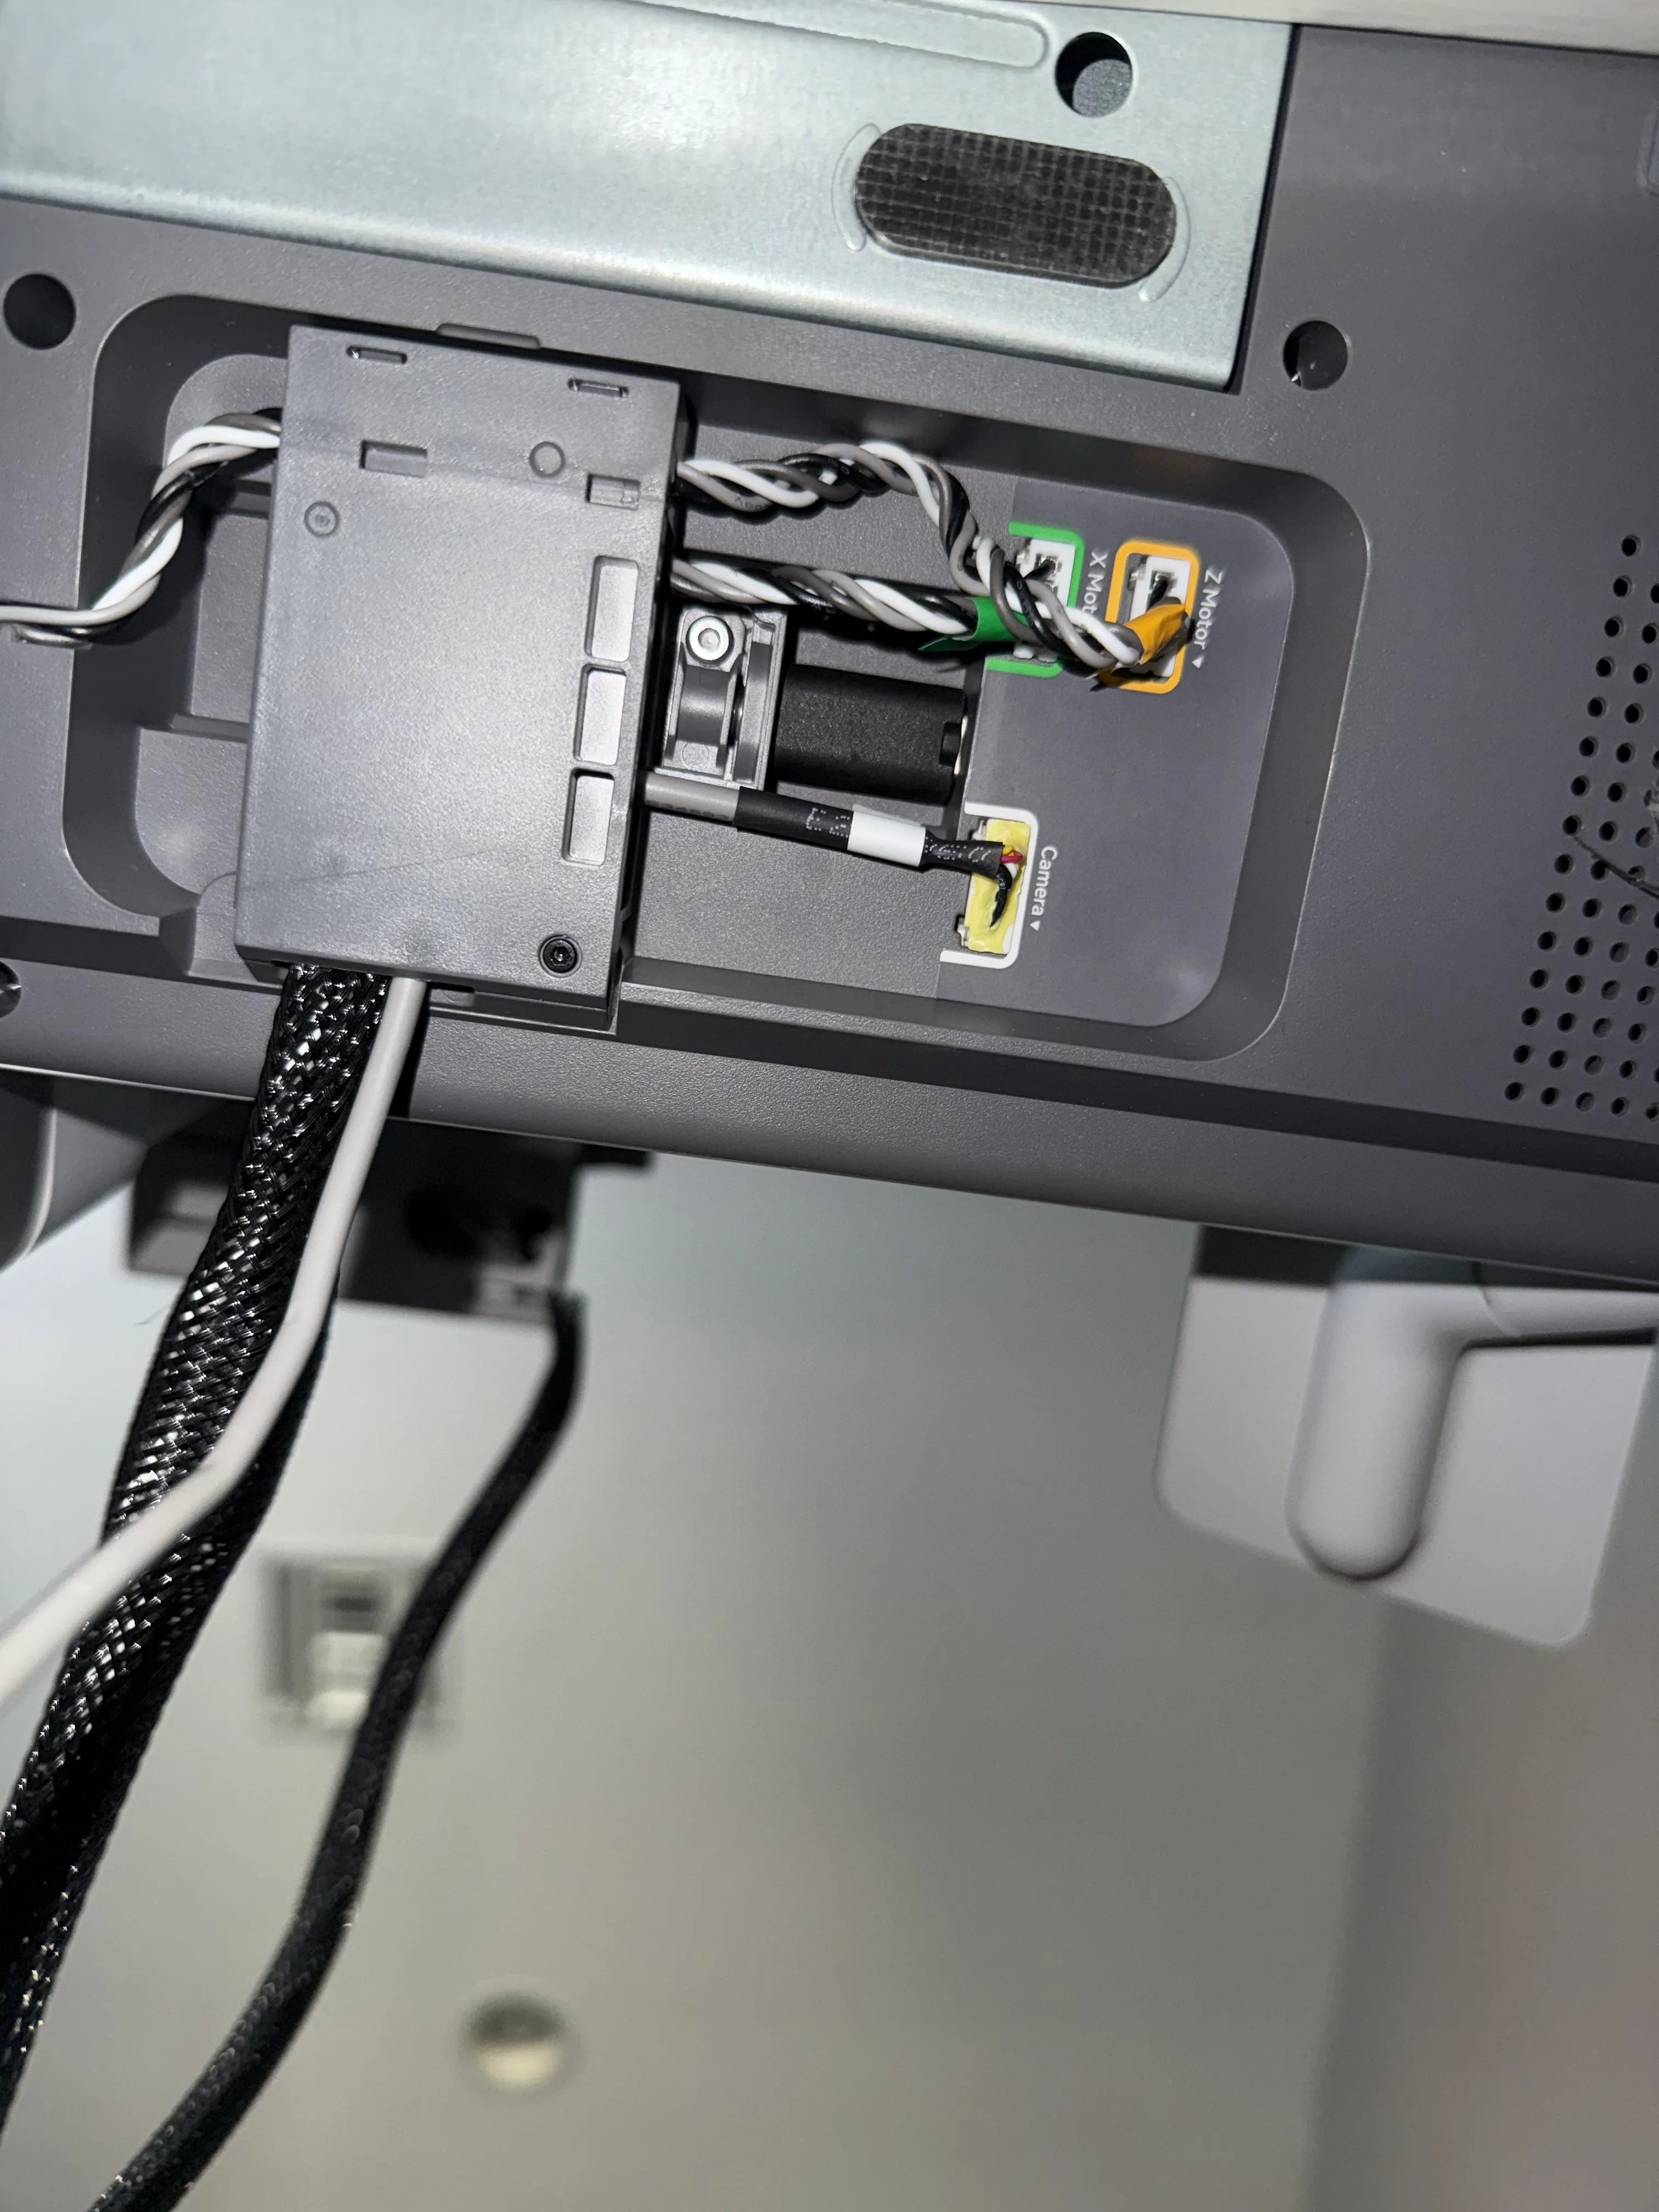
Once the camera wire is free, put the sleeve back over the cylinder and reapply the tape to secure the sleeve. We will then route the camera wire alongside the black camera sleeve to get it out from under the printer for our external mount.

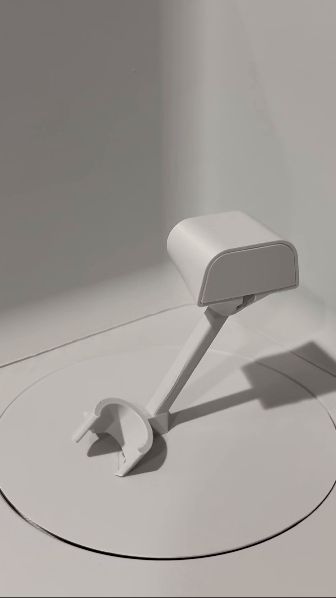
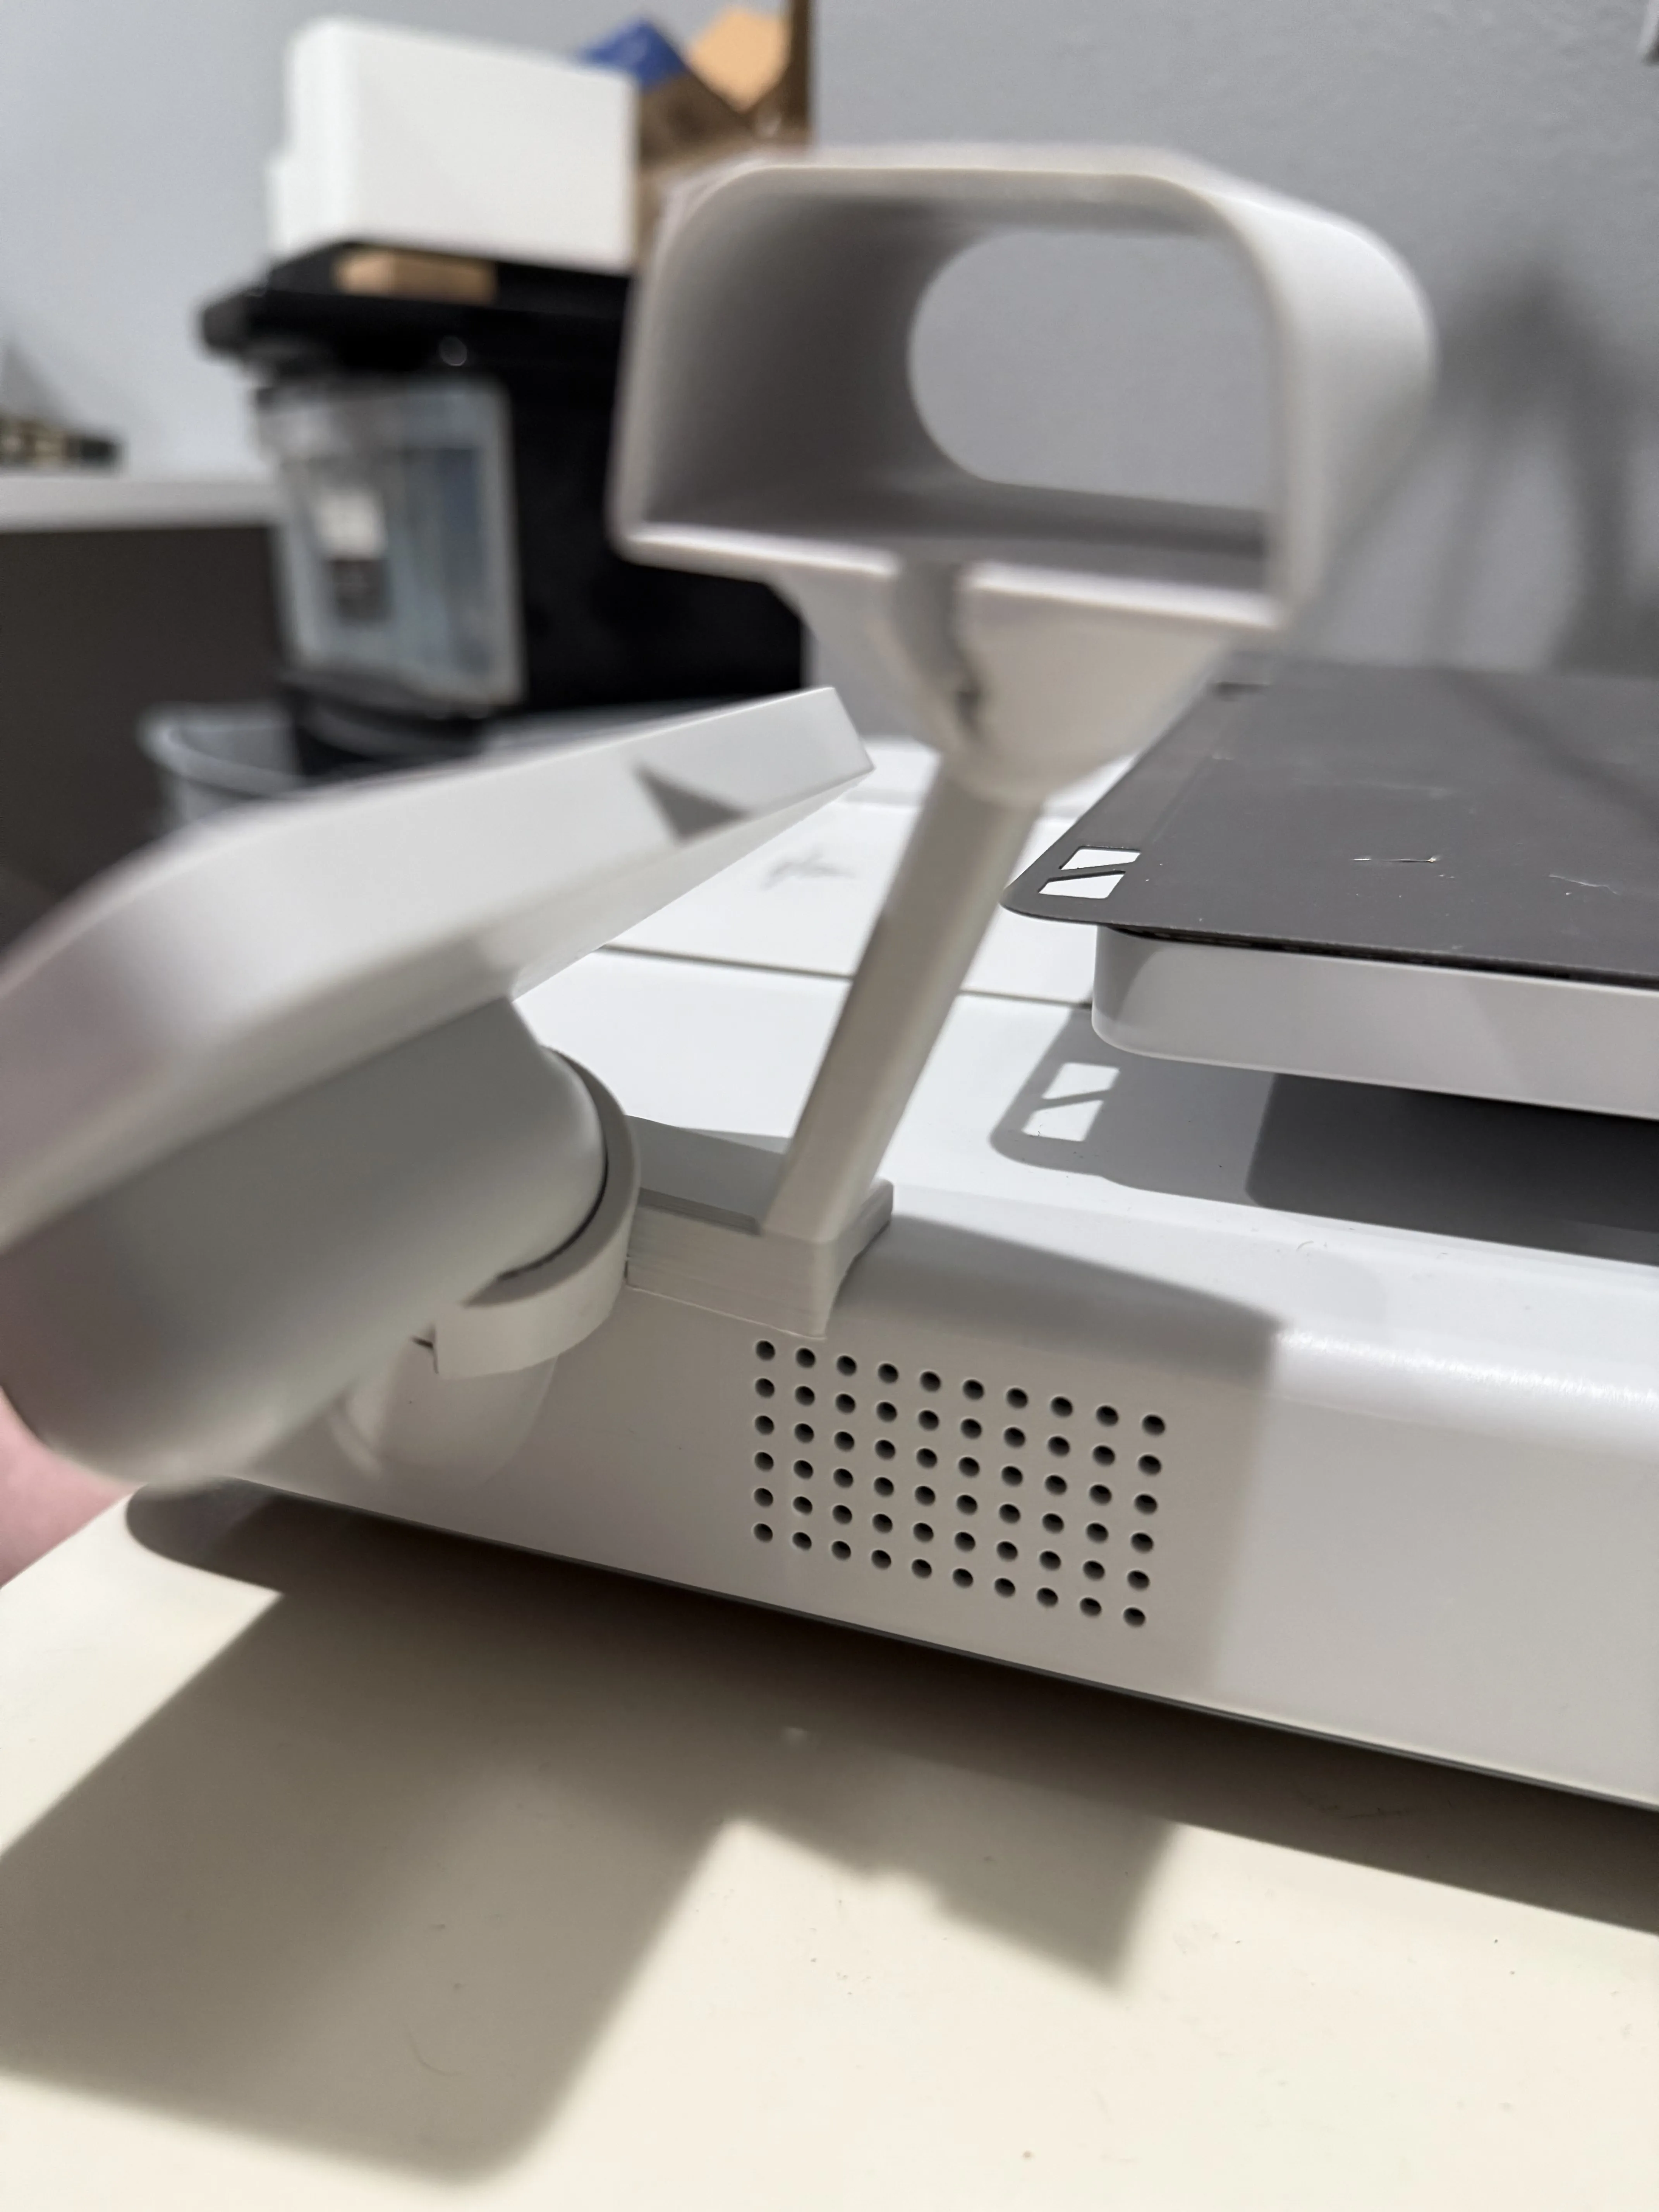
The final step is to assemble the camera mount. Start by firmly pressing the camera holder into the pole mount ball joint, this can be very tough but it ensures a stable camera while the printer is in use. After they are together, place the entire mounting system onto the edge of the printer behind the screen and firmly push it into the screen mounting arm until it is secure.
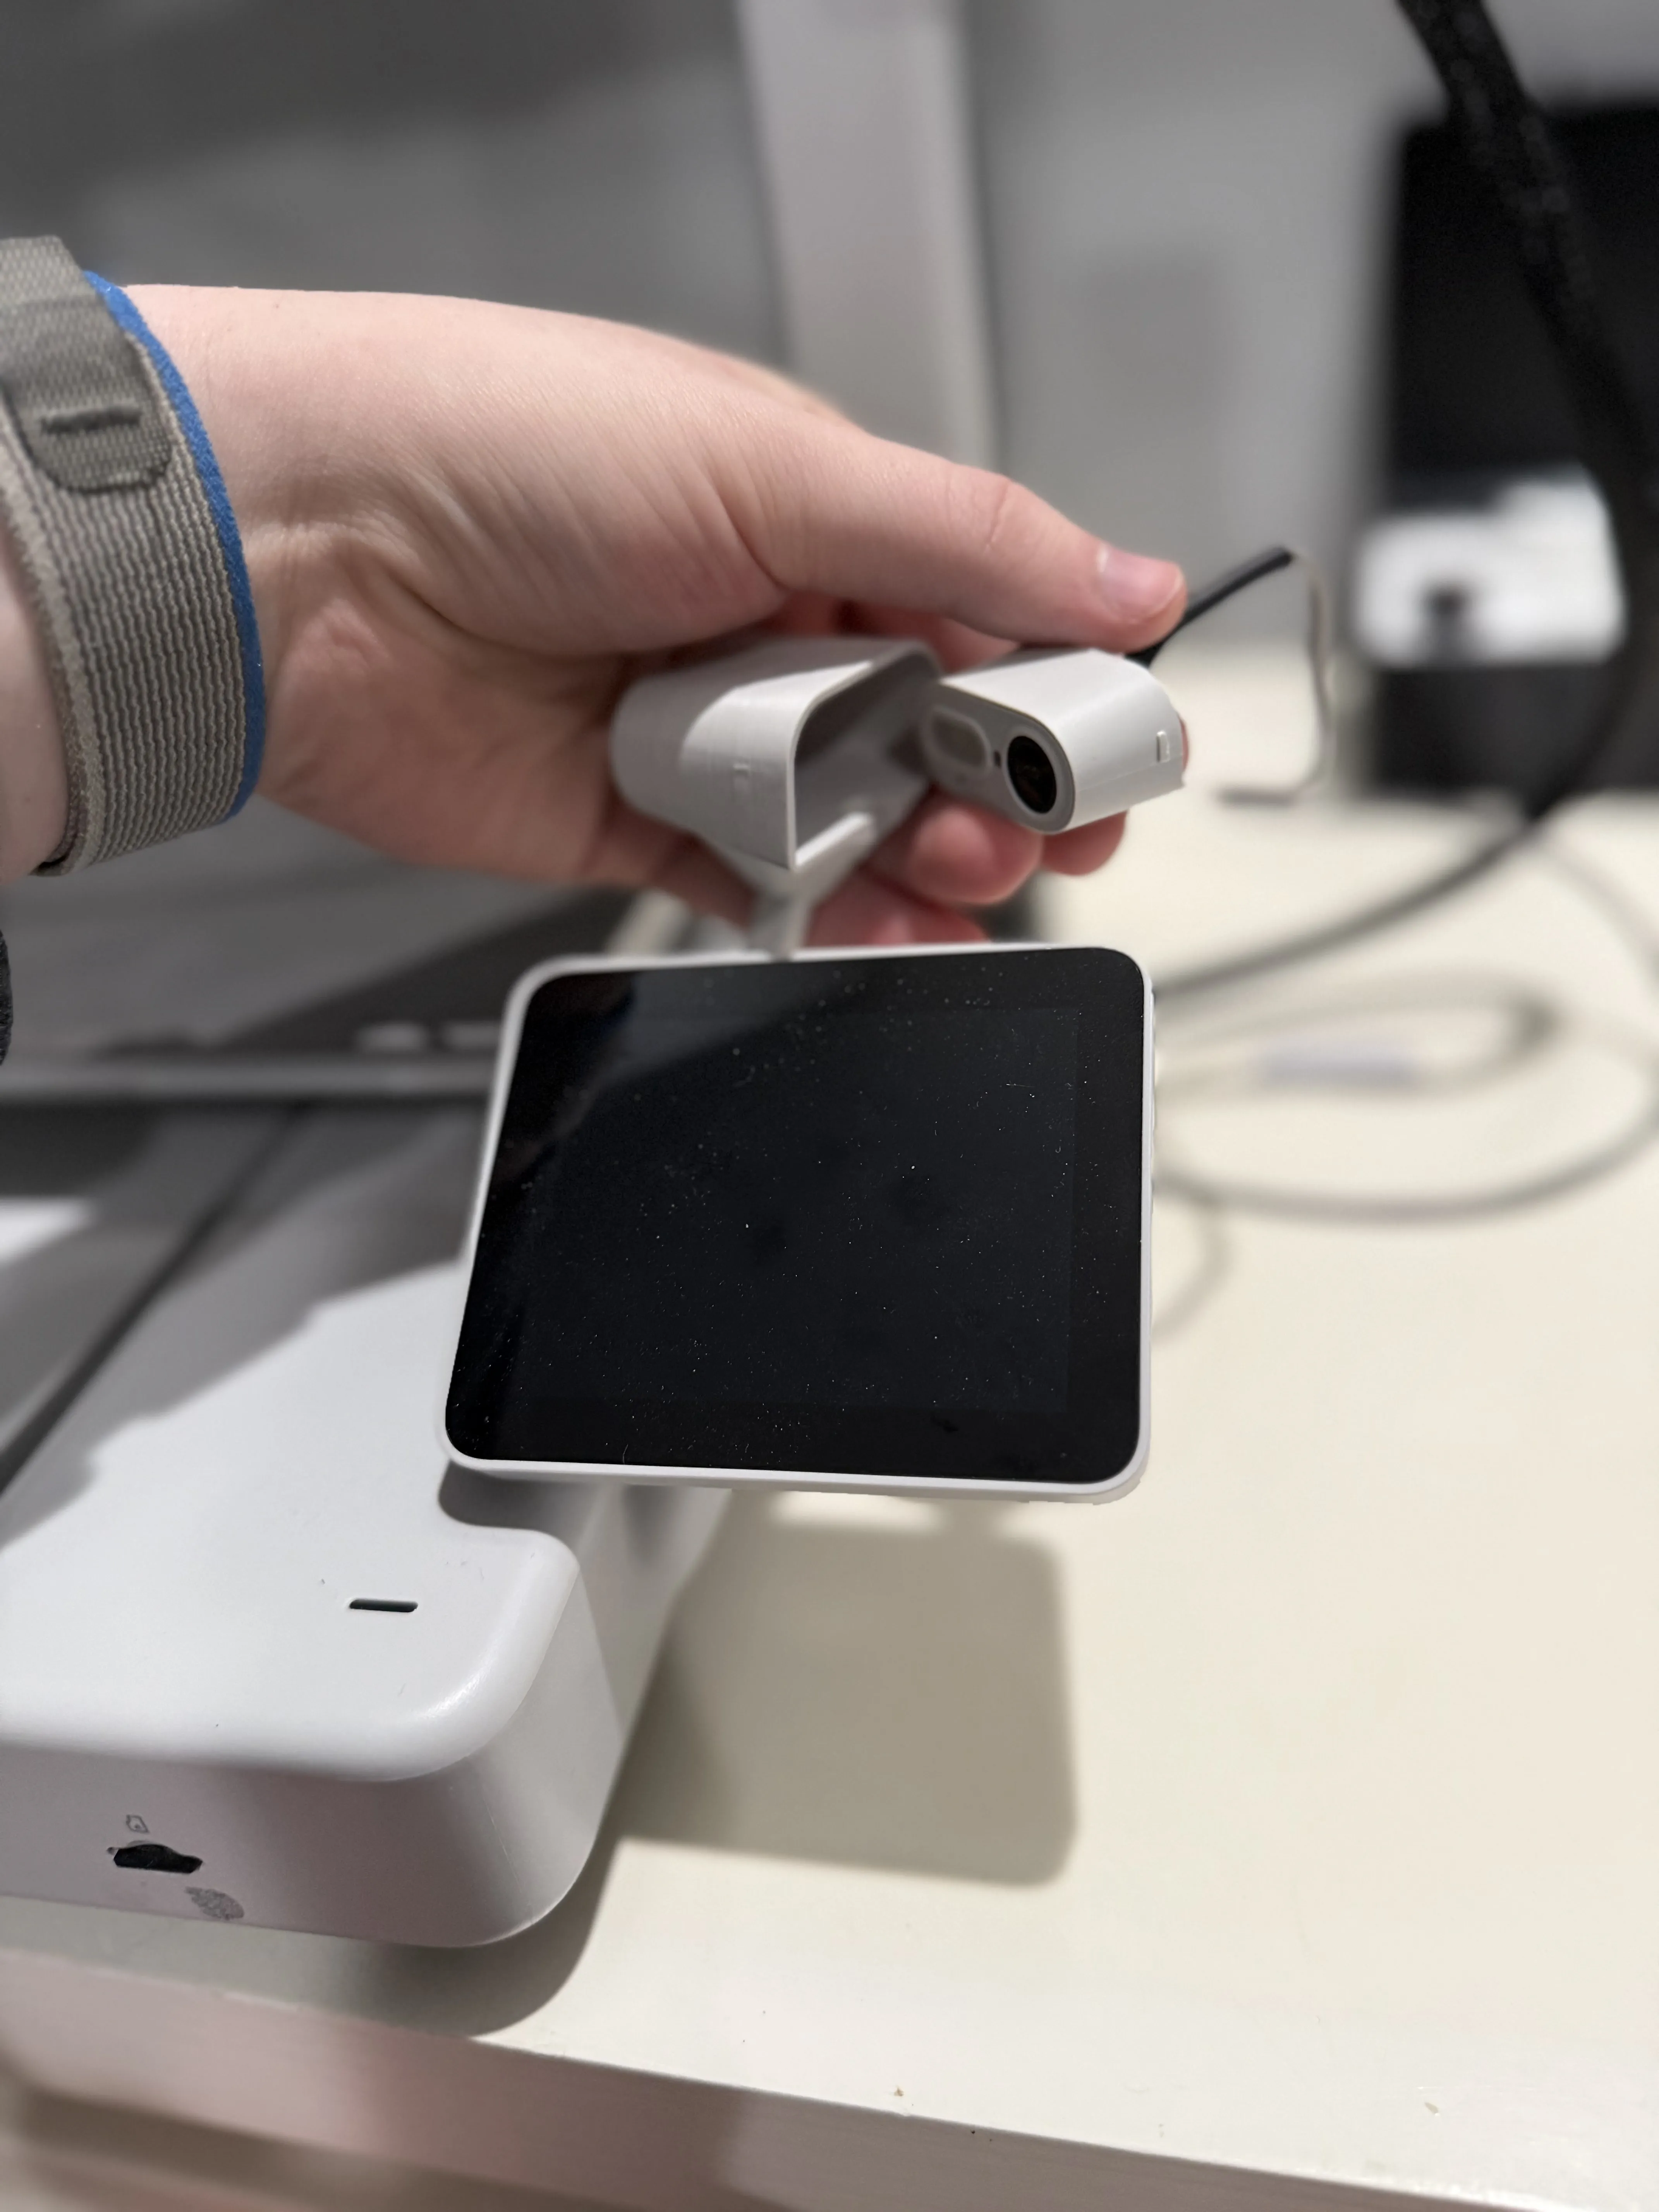
Now we must install the camera to its new mount by plugging it into its camera wire, and sliding it into its friction fit holder.
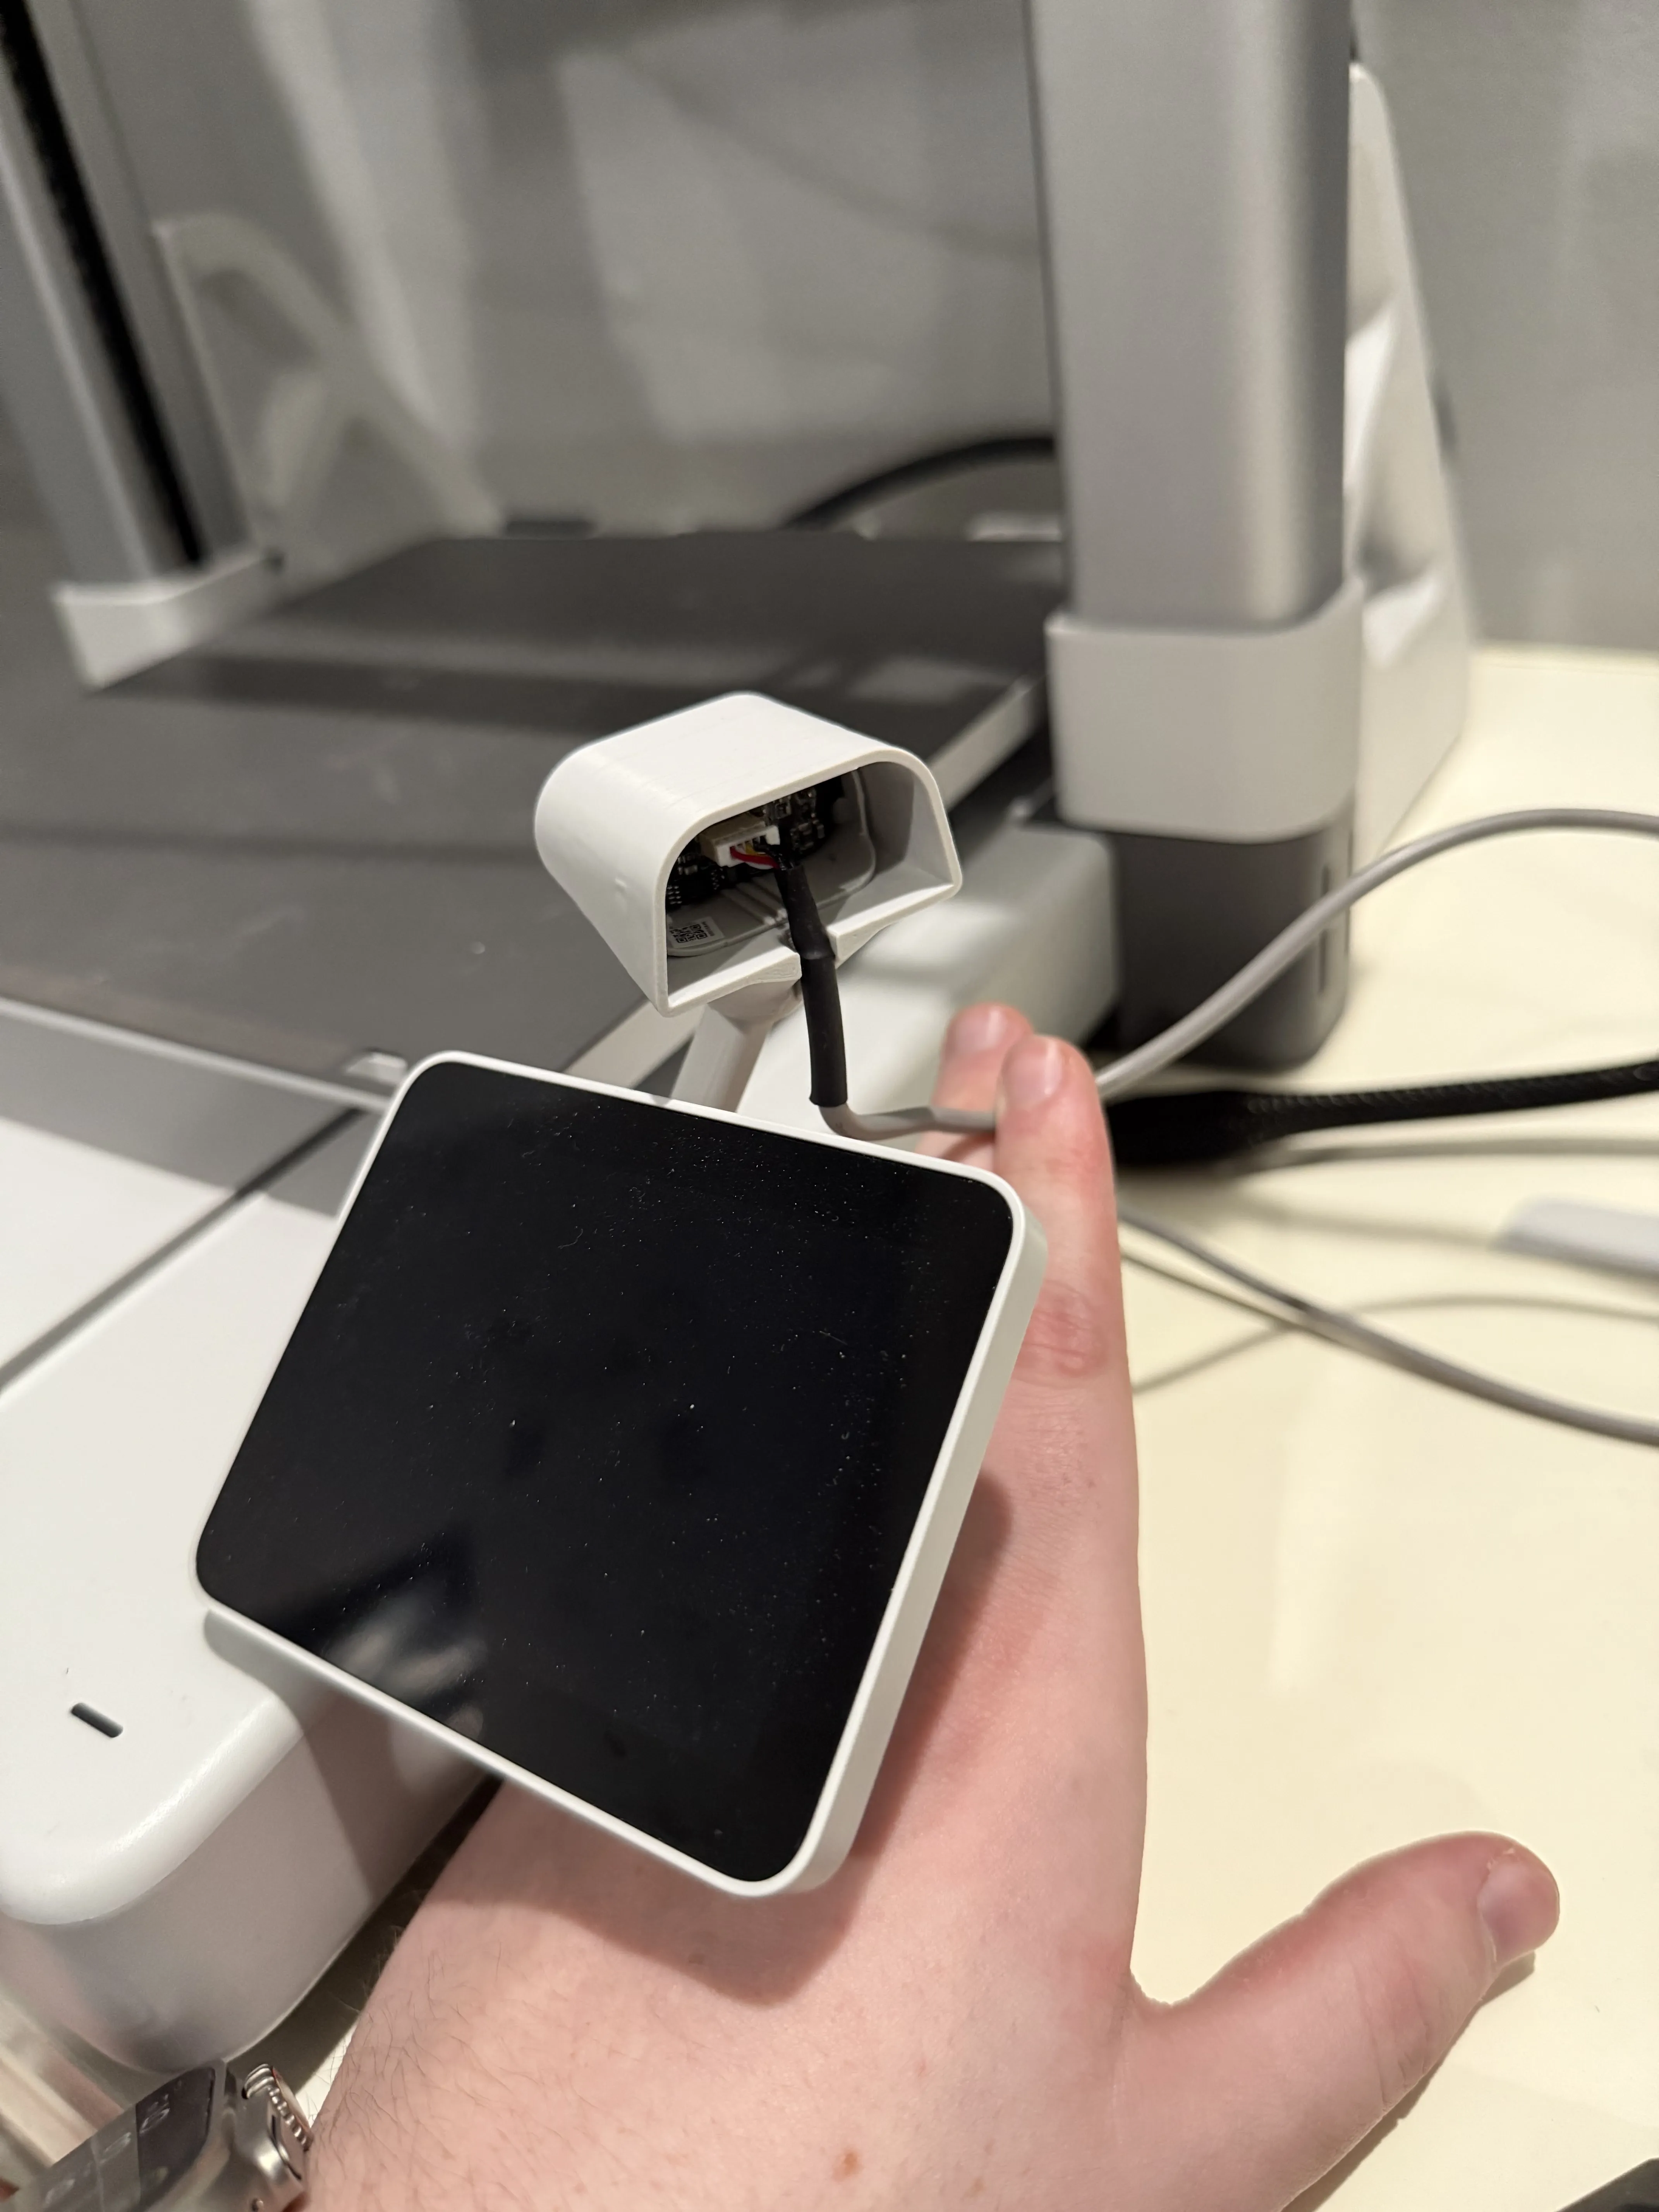
The last step is to move the cable down to its channel and to place on the back plate to secure everything together
Boost Me (for free)
These projects take quite a bit of time and I really appreciate you taking the time to print and use my model. If you have any spare boosts you are willing to give me it would help a lot so I can continue to buy filament to upload new projects and models for the community, thanks!
License

You shall not share, sub-license, sell, rent, host, transfer, or distribute in any way the digital or 3D printed versions of this object, nor any other derivative work of this object in its digital or physical format (including - but not limited to - remixes of this object, and hosting on other digital platforms). The objects may not be used without permission in any way whatsoever in which you charge money, or collect fees.


Comment & Rating (109)