
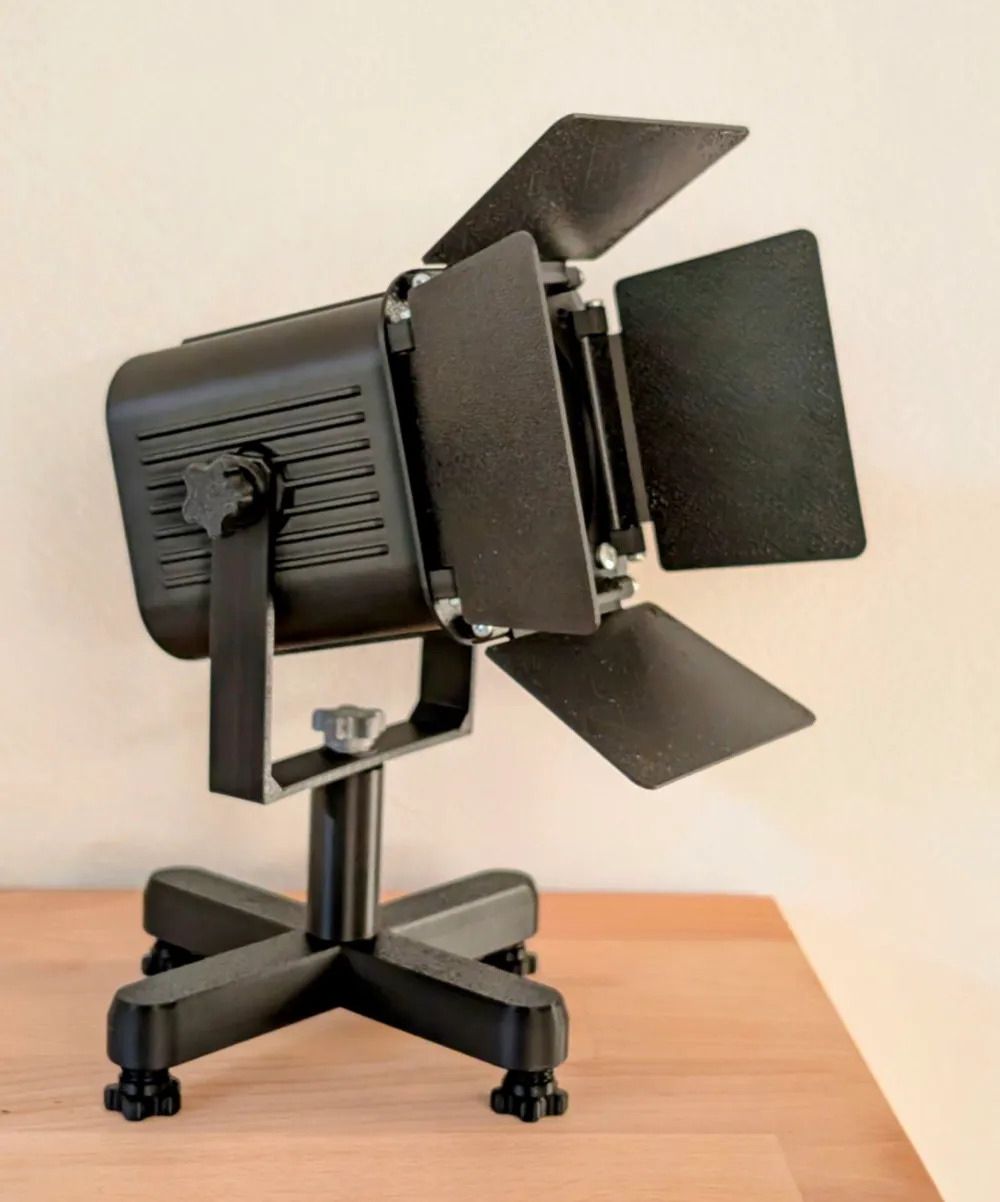
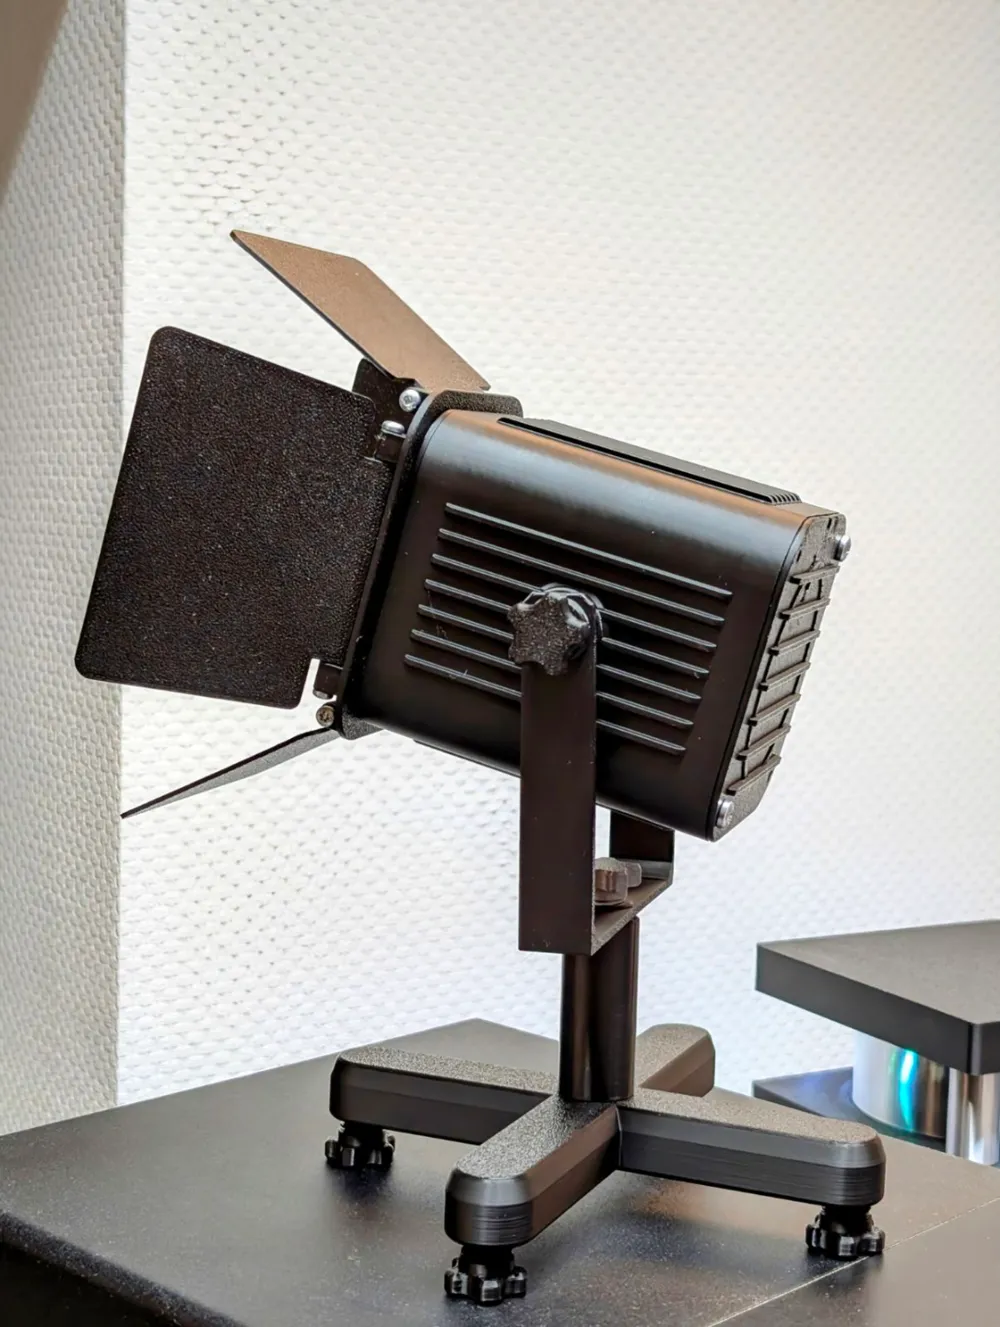
Film Spotlight, Theater Spotlight with Barn Doors

Print Profile(4)


Bill of Materials



Description
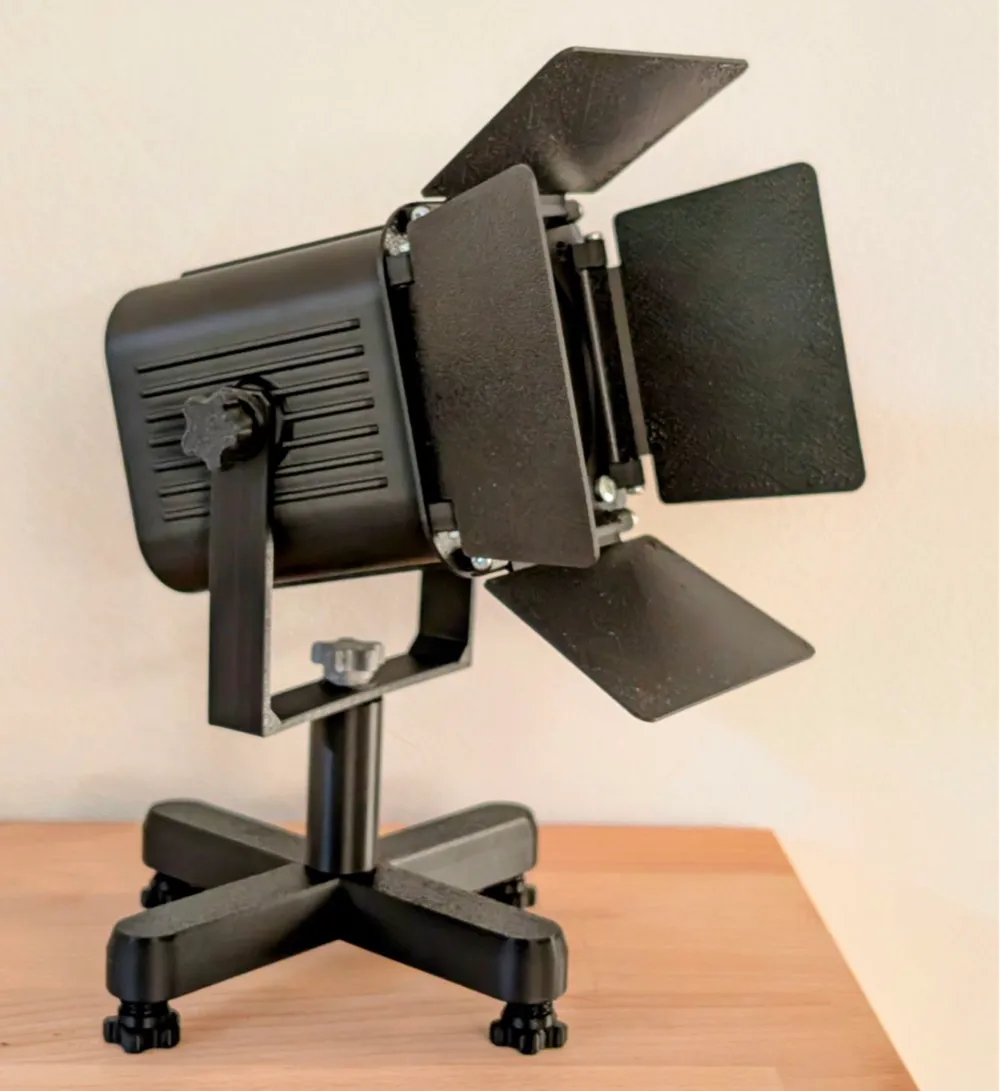
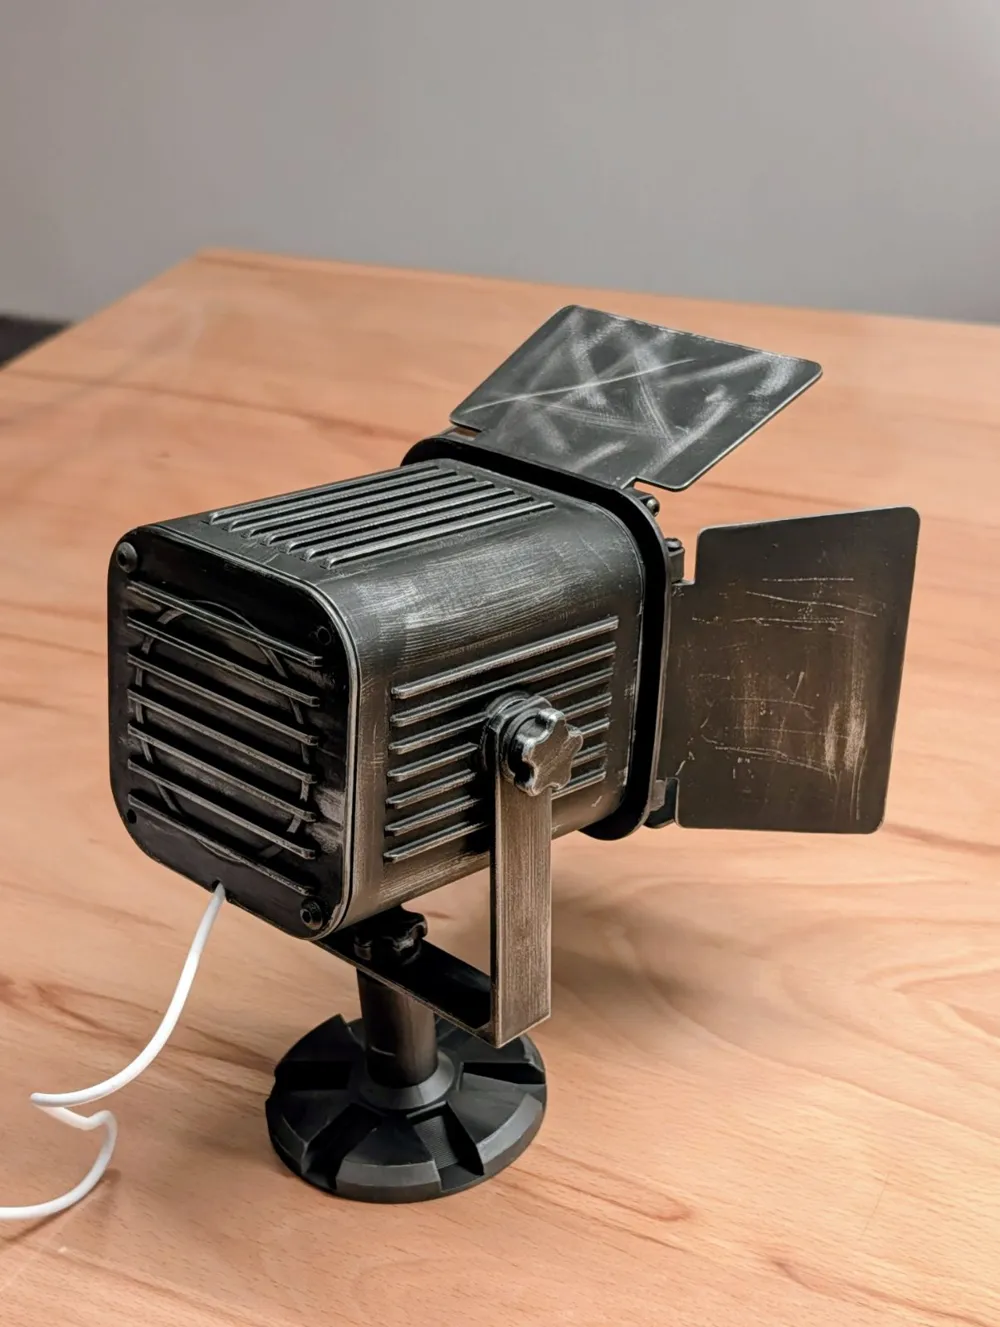
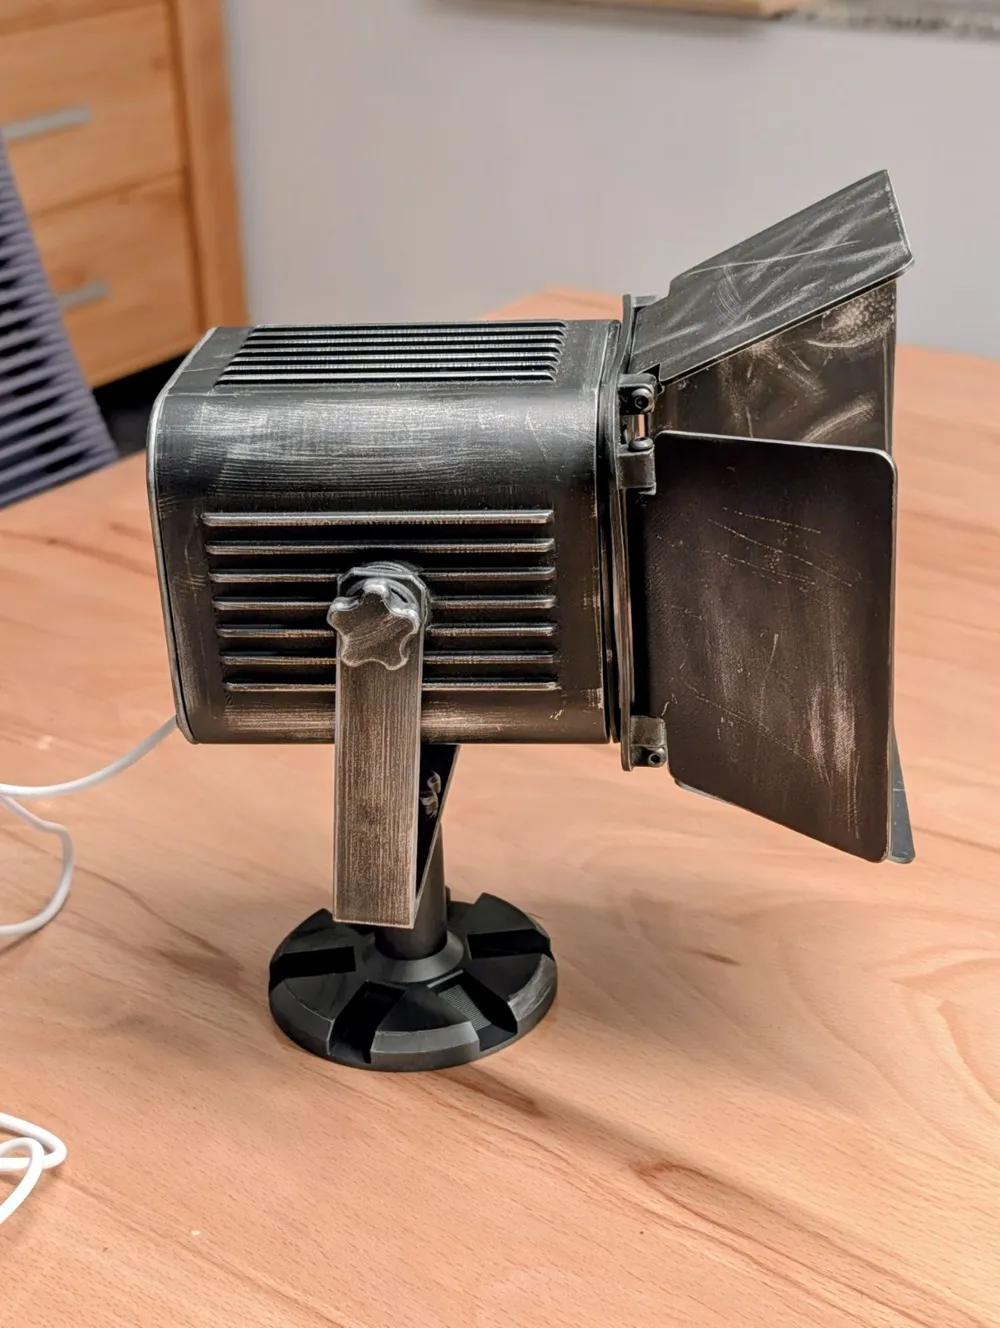
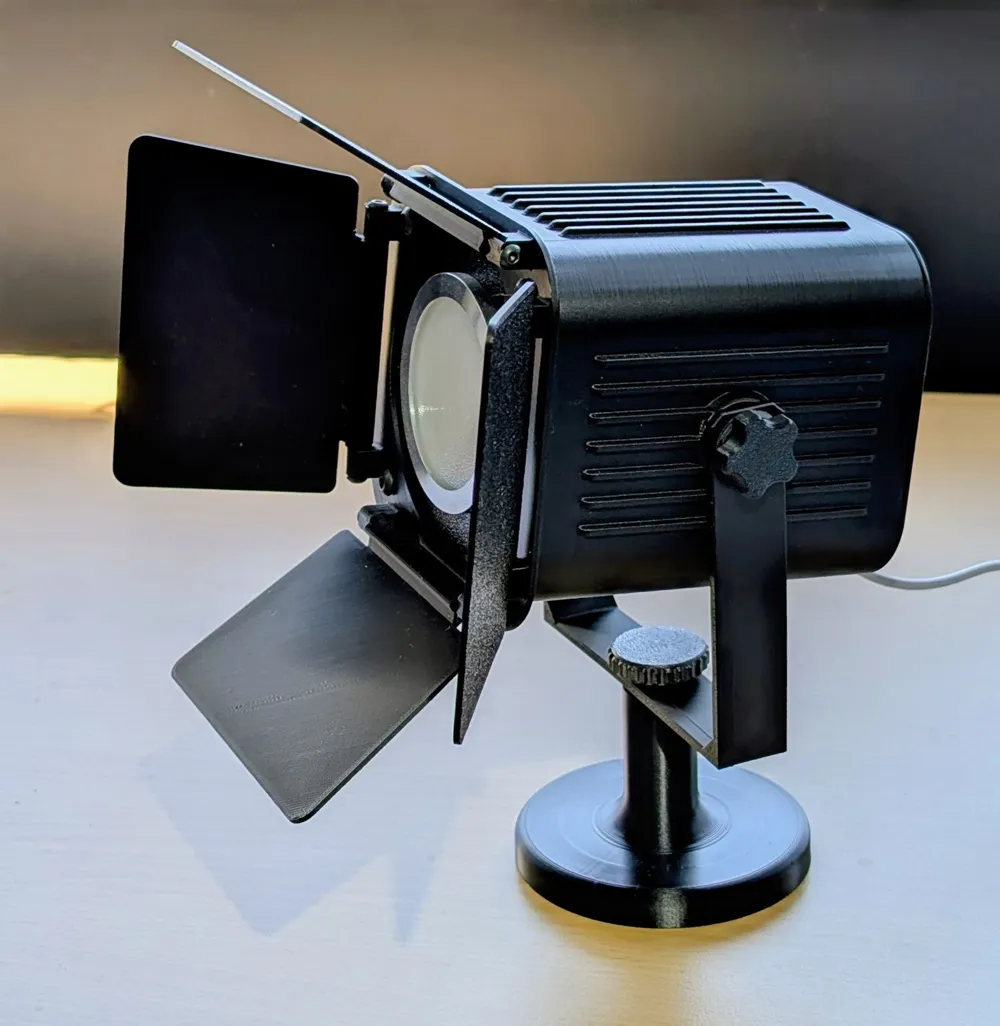
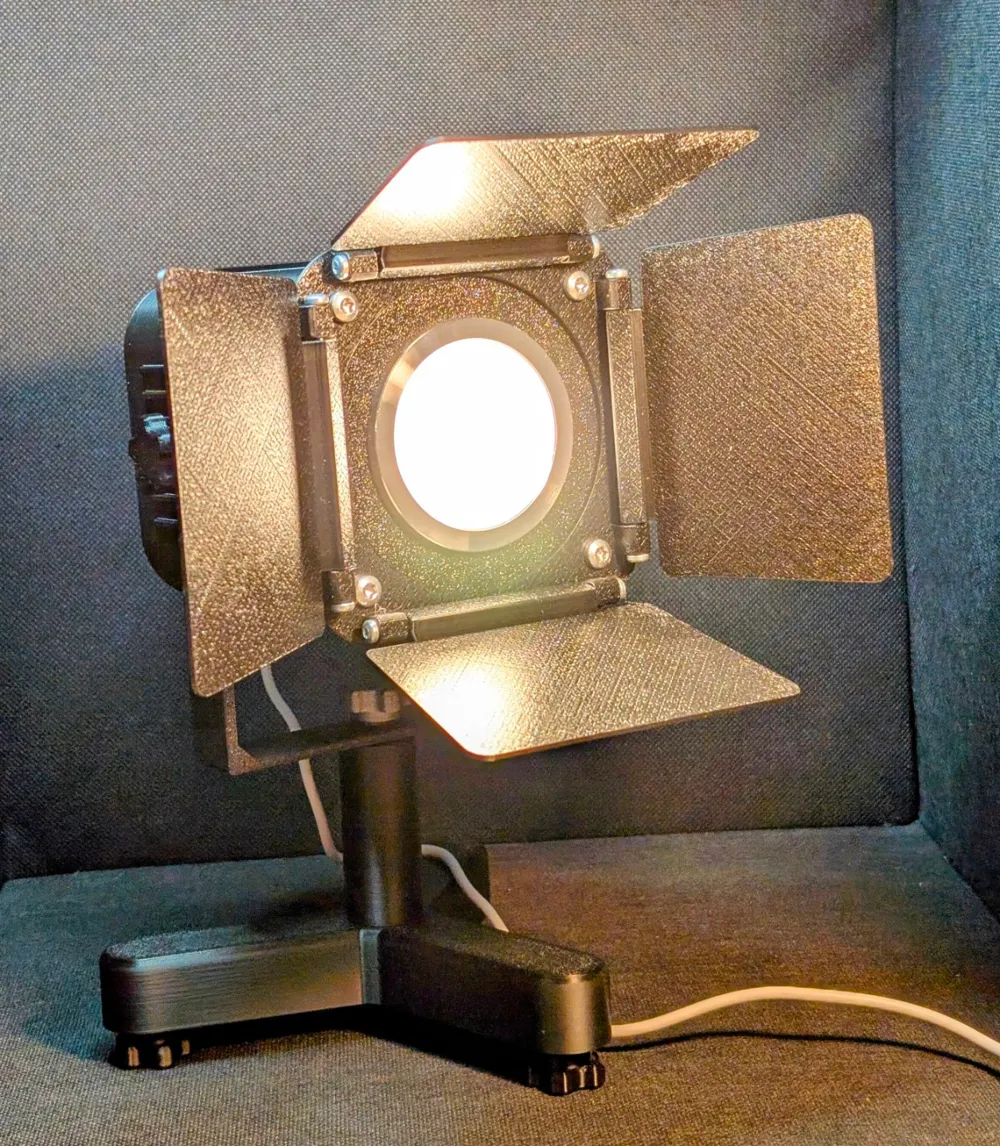
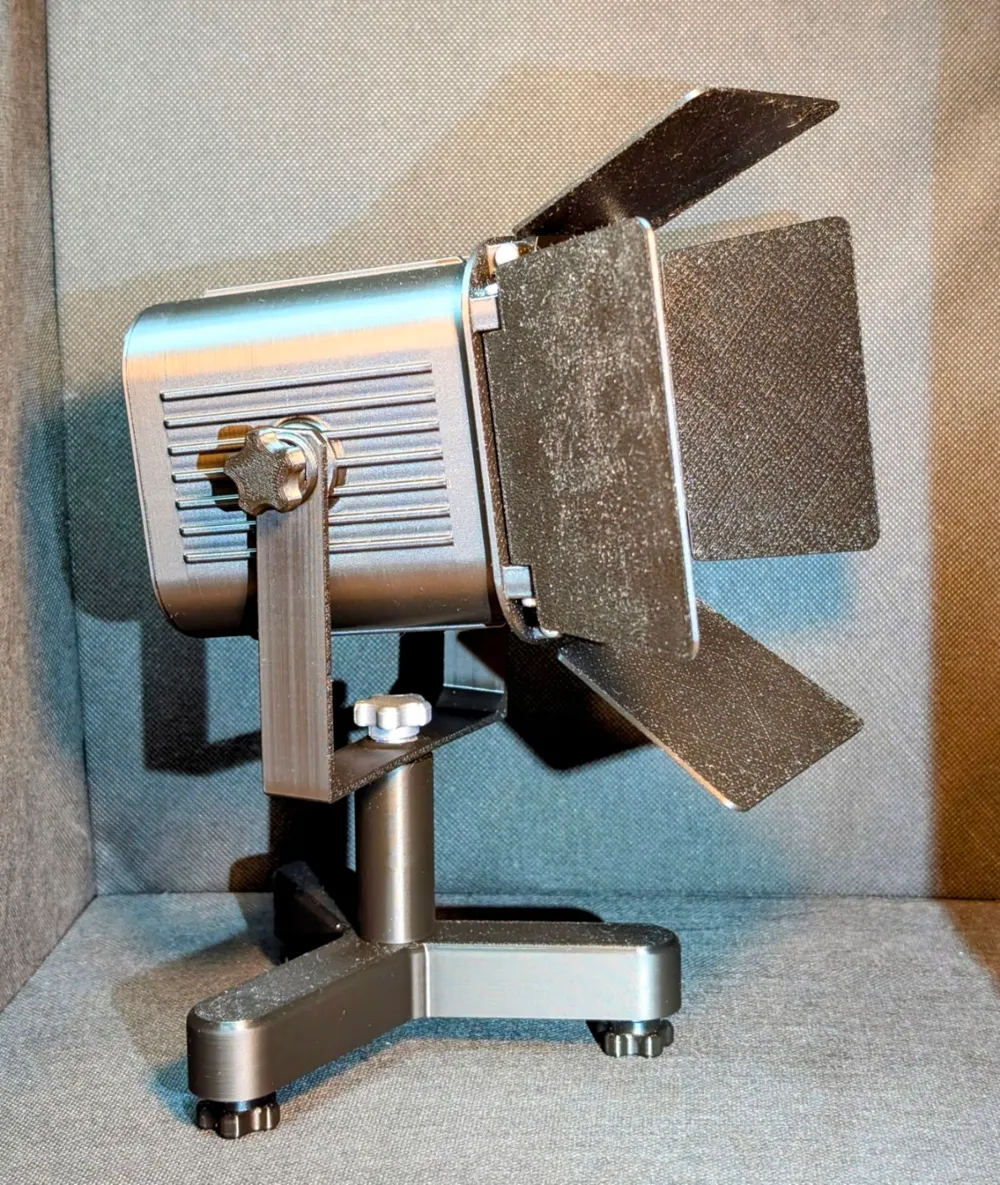
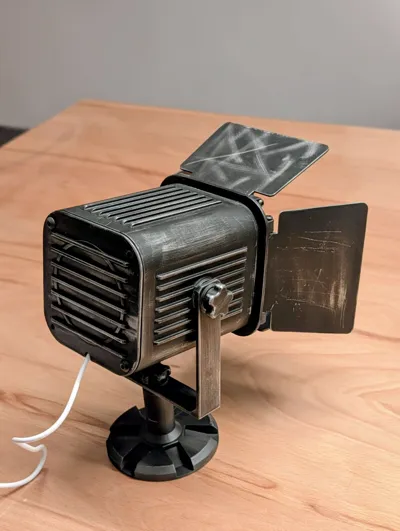
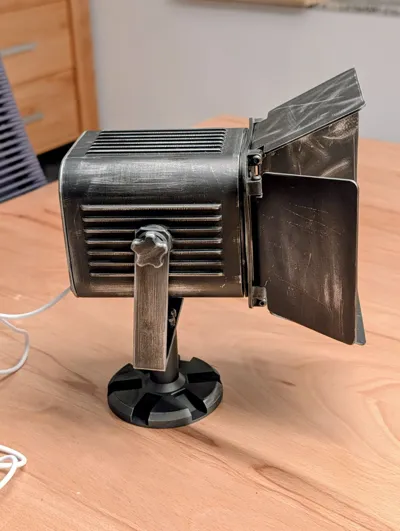
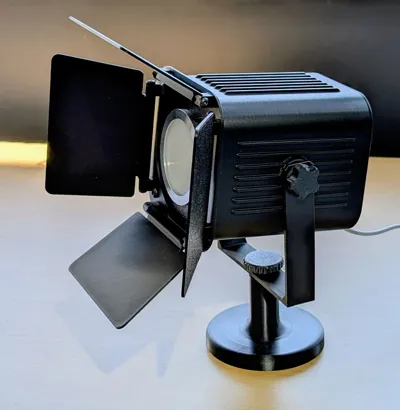
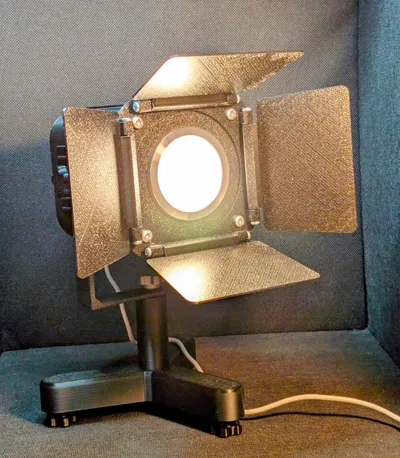
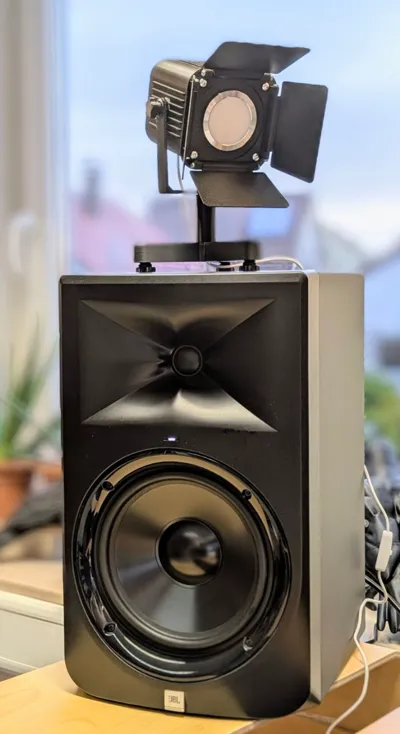
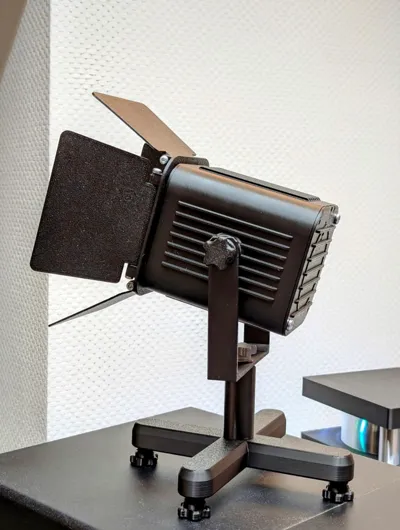
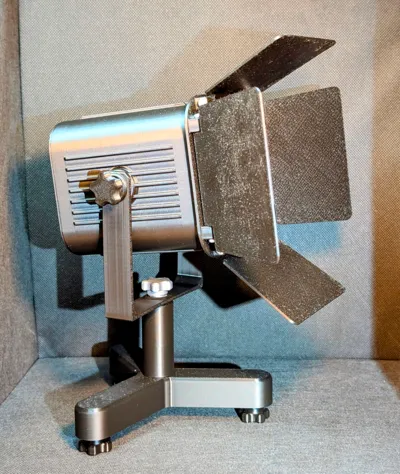
Here is the alternative version of my theater spotlight with barn doors!
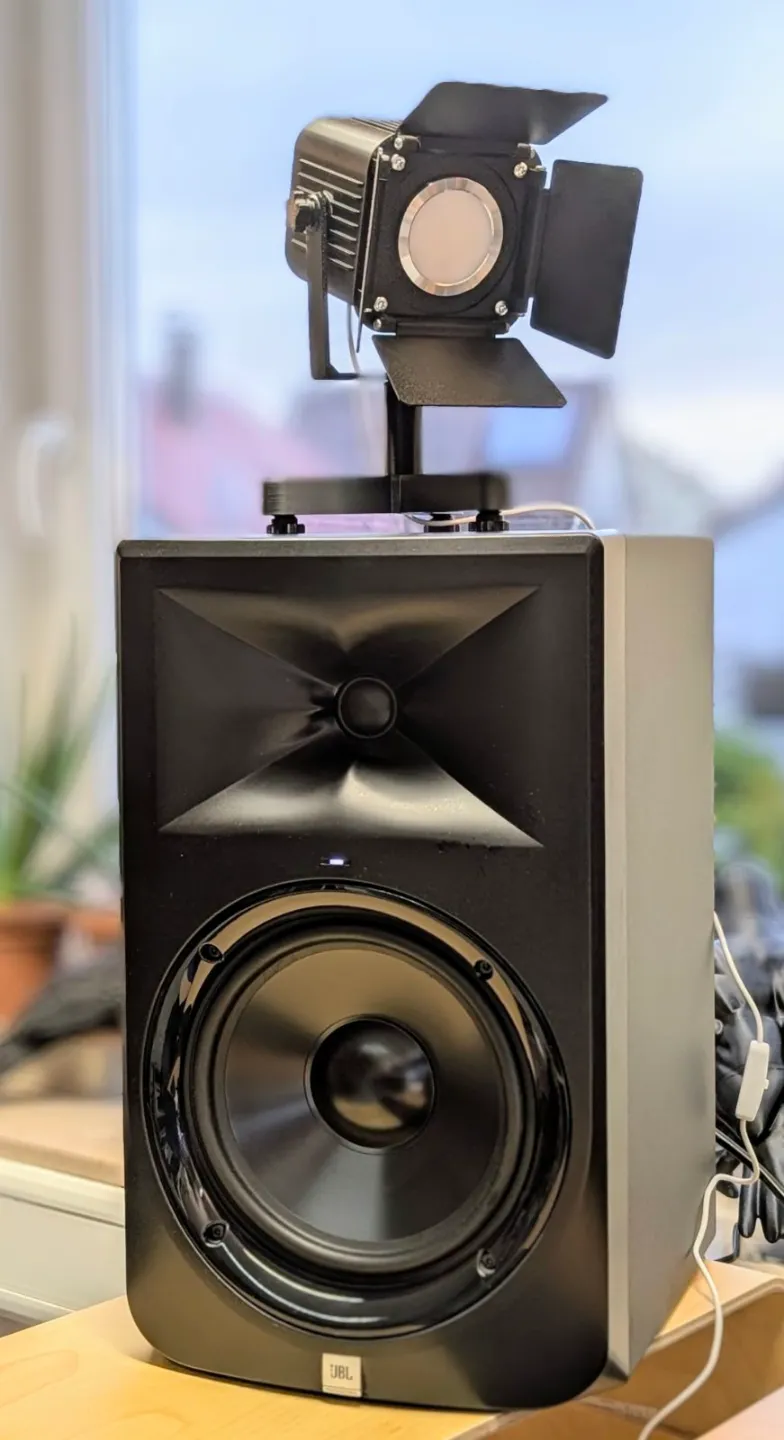
Fully functional model of a stage spotlight for theater, home cinema, disco, and more.
Ideal for the Bambulab LED kit.
What is needed:
Bambulab LED Lamp Kit - MH001
Filament (PLA is OK)
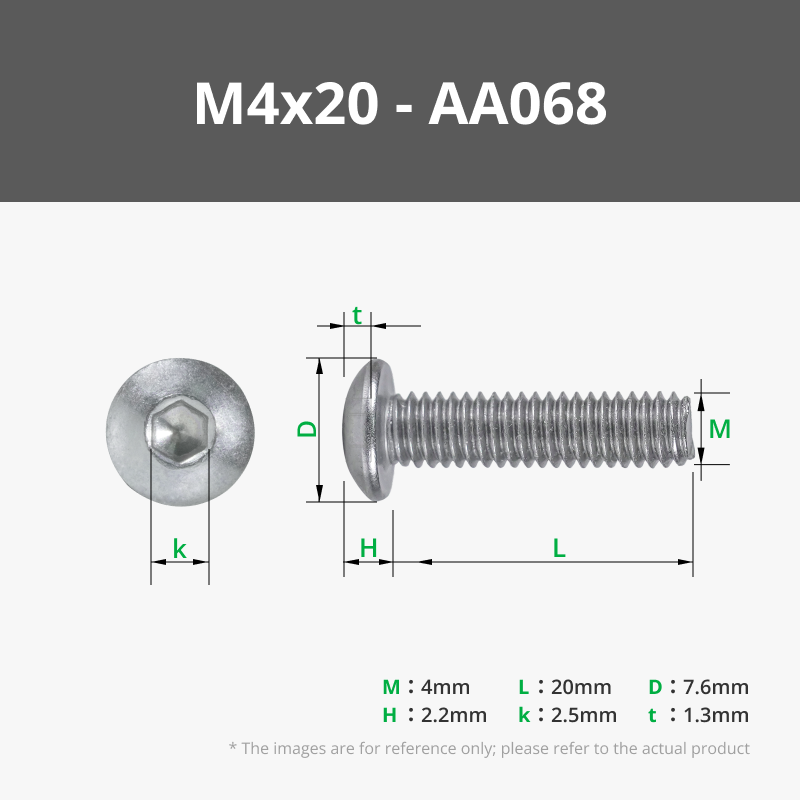
8x M4 with 20mm or more for screwing the front and back covers.
8x M3 with 16mm or more for screwing the barn door wings.
You don't have to print everything, only what is needed.
Standard Lamp:
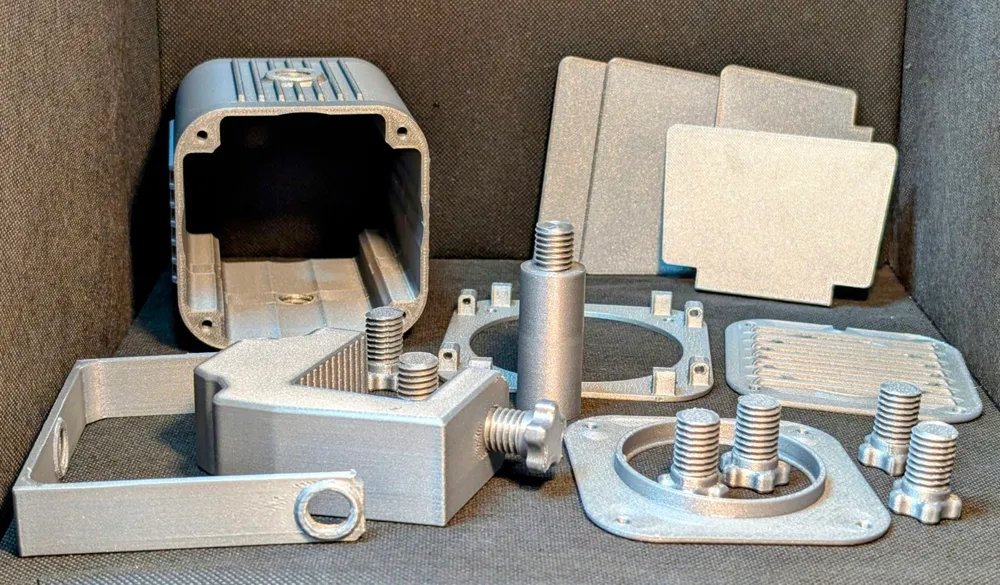
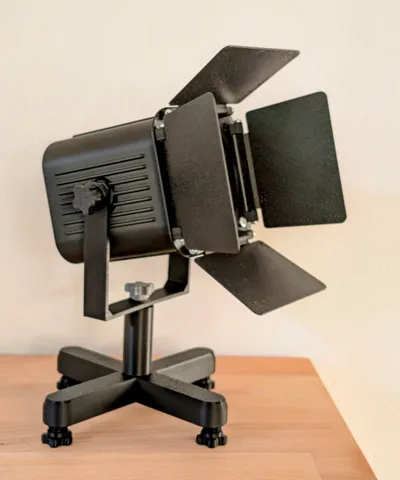
Body, clamp, back cover, front cover, 2 printed screws.
This completes the lamp body!
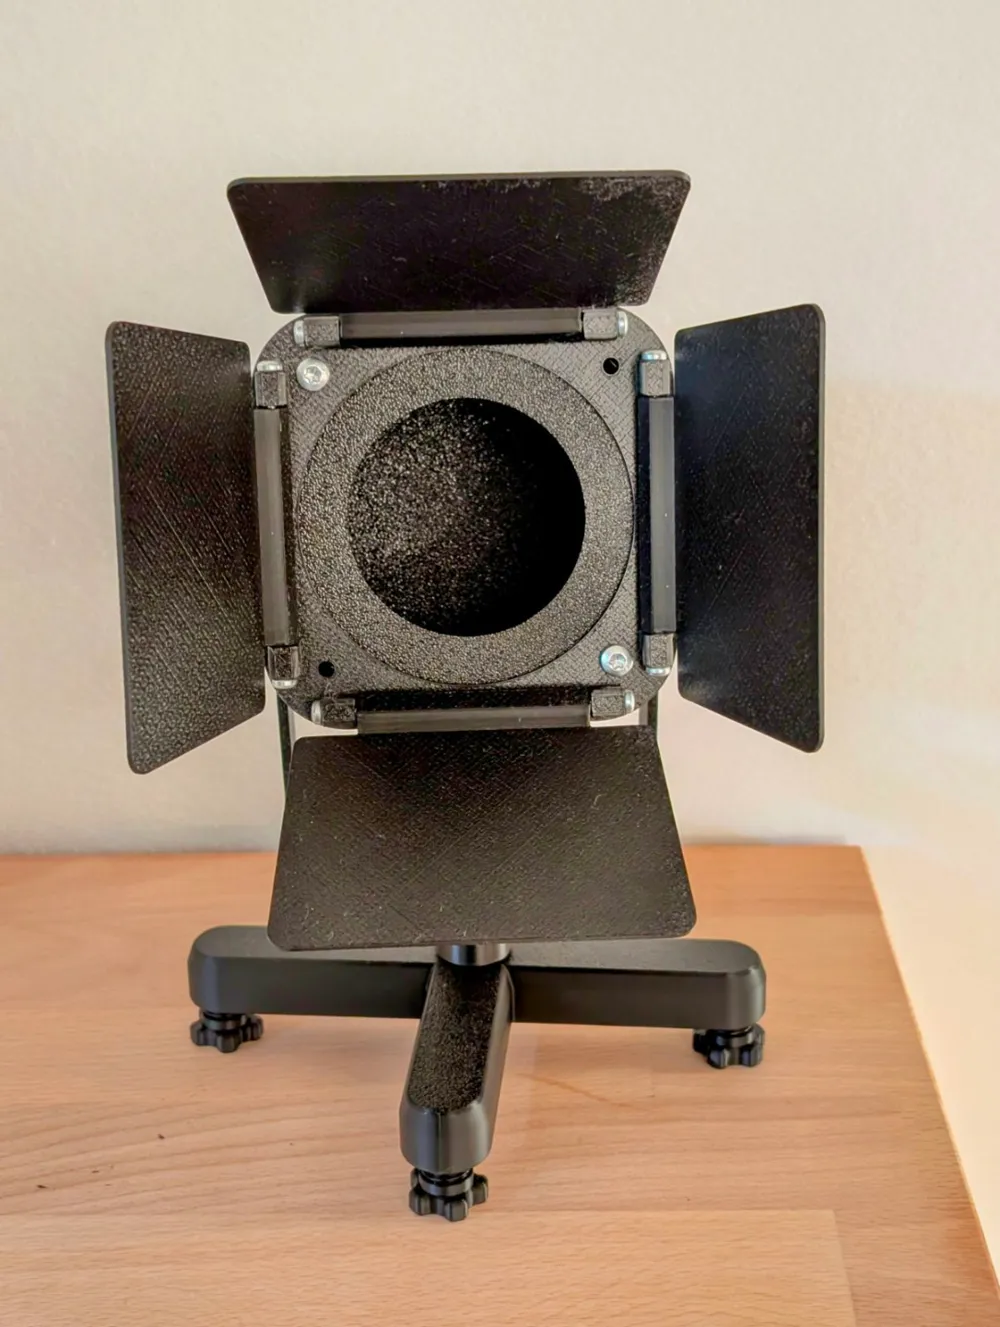
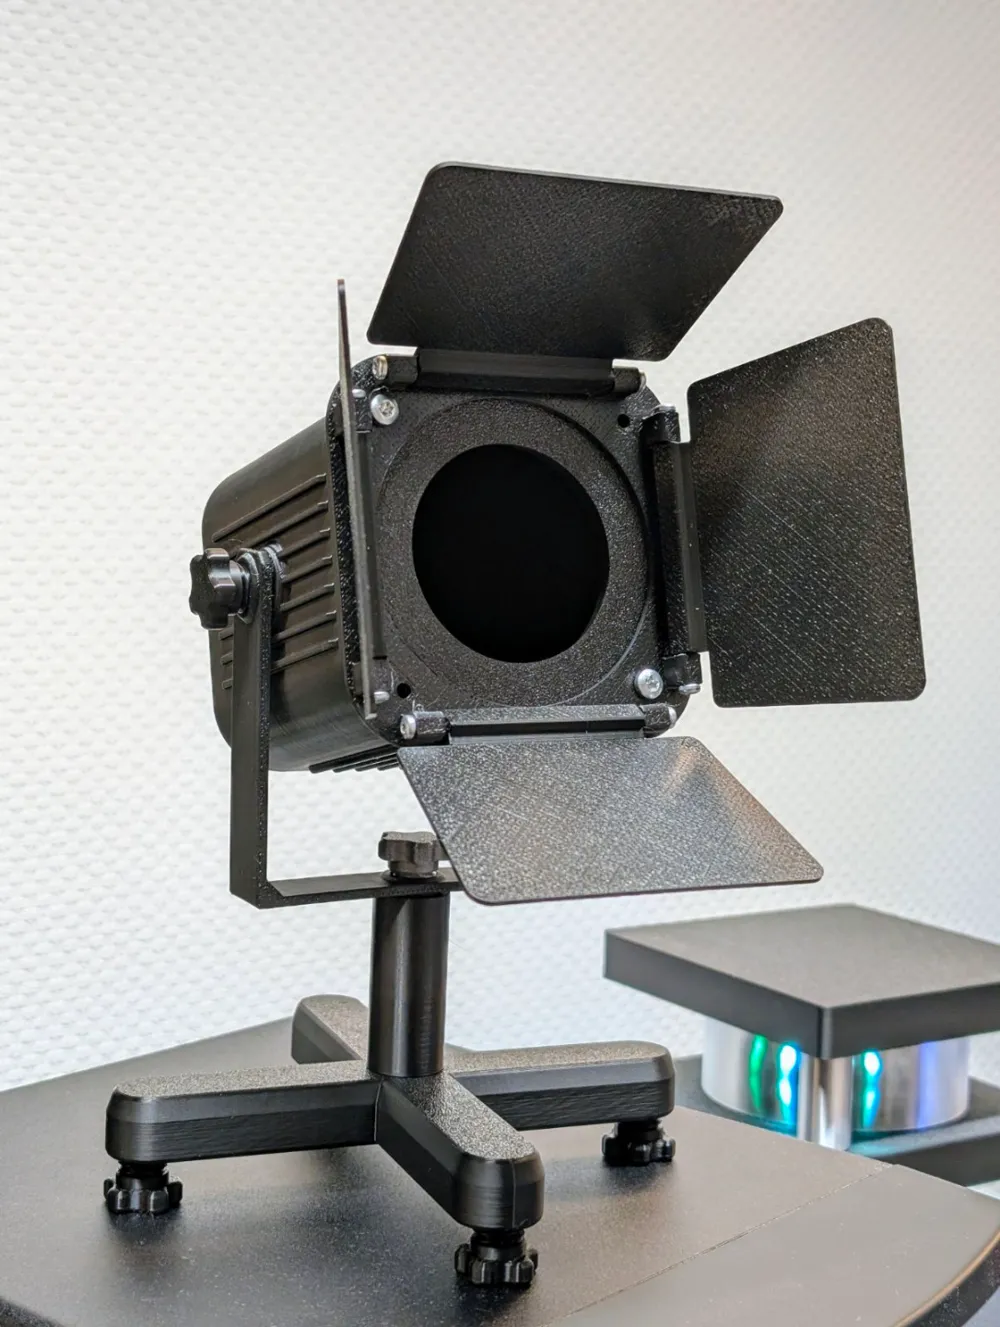
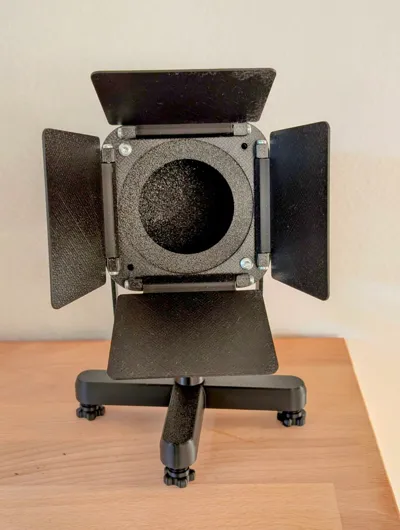
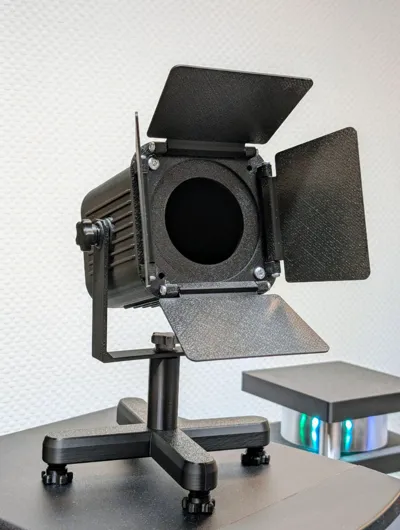
The barn door consists of a barn door holder and 4 wings.
The barn door holder is screwed into the housing with the M4 screw through the front cover.
You just need to aim a little, but it's very simple.
Before screwing on the covers, install the LED kit:
Install the LED kit into the front cover and guide the cable through the small opening of the back cover..
The LED kit consists of 2 aluminum parts and can be unscrewed.
Insert the back/bottom part from the inside into the front cover, it should fit perfectly (hopefully).
Then screw the LED kit cover from the front - done.
For all screws: CAREFUL - do not overtighten, snug is enough!
First test the printed screws - print 1 piece and check if it works. I have 2 versions:
100% works very well in my X1 Carbon.
On the A1 with glitter filament, take the 99% version, it's easier to turn.
If it still sticks - reduce X and Y in 1% increments, leave Z the same, otherwise the thread won't be correct!
Don't reduce too much. It needs to make good contact. Too tight breaks when turning, too loose destroys the thread when tightening.
This needs to be experimented with depending on the printer and material.
Always adjust only the screws, not the screw holes.
Lamp Base:
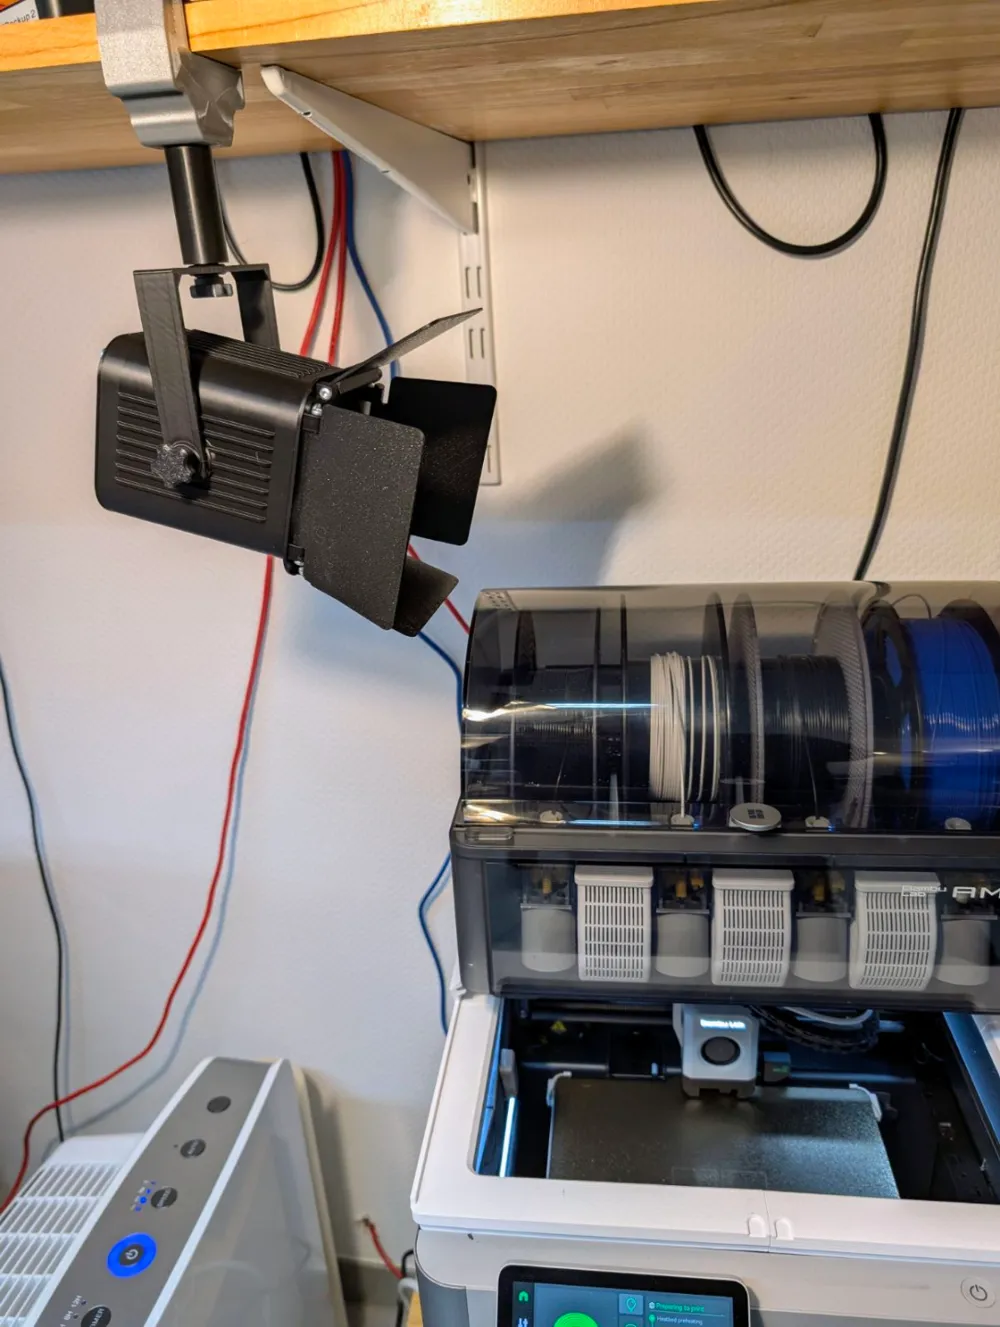
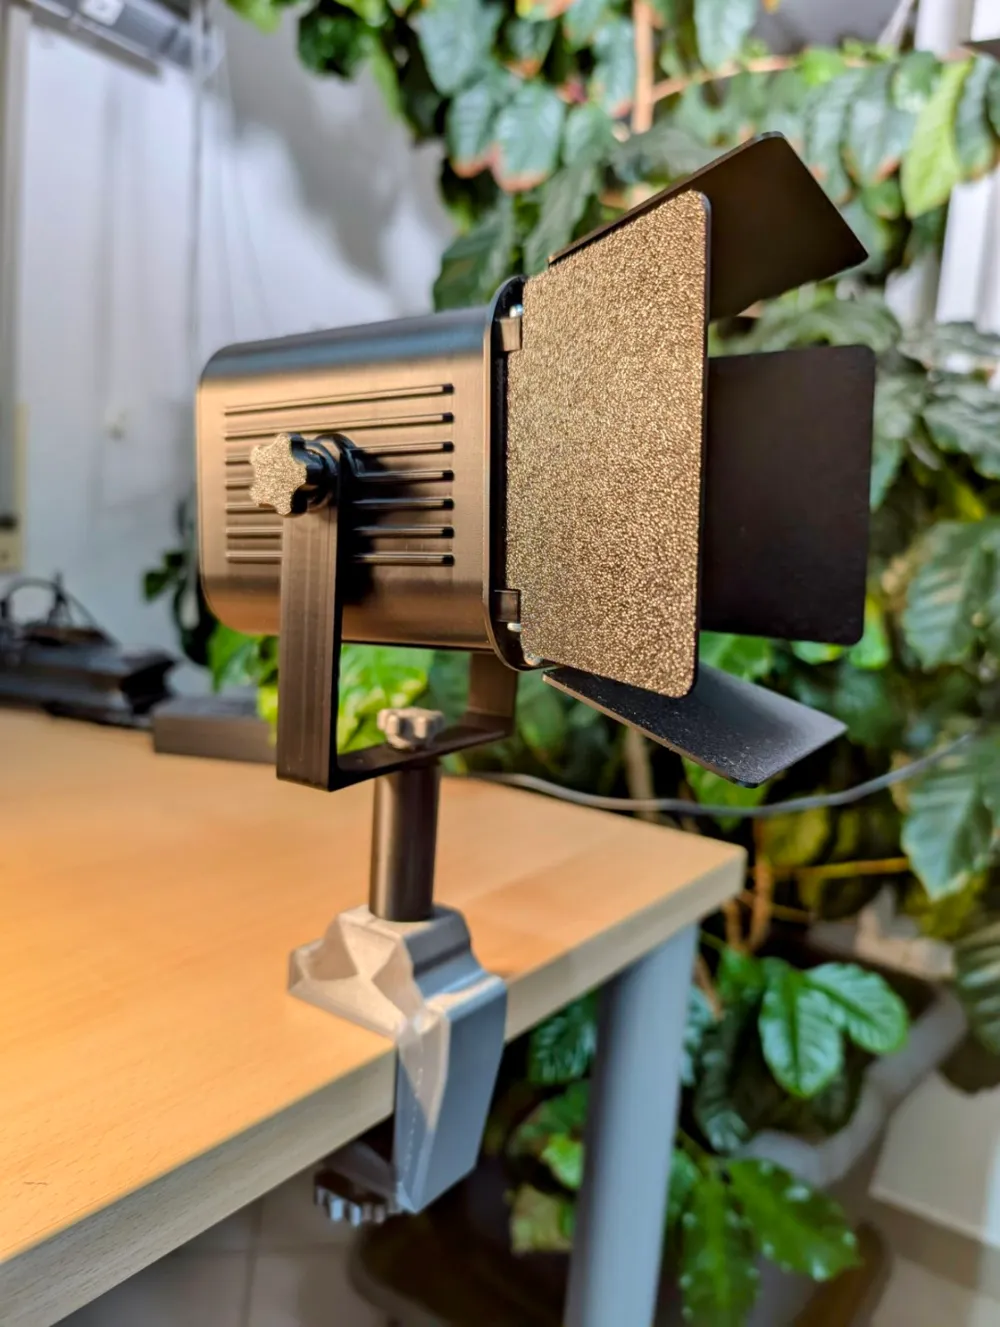
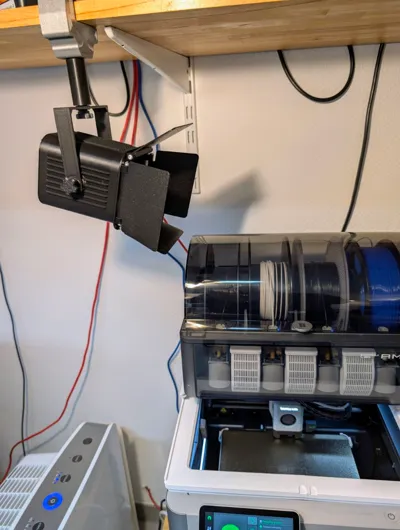
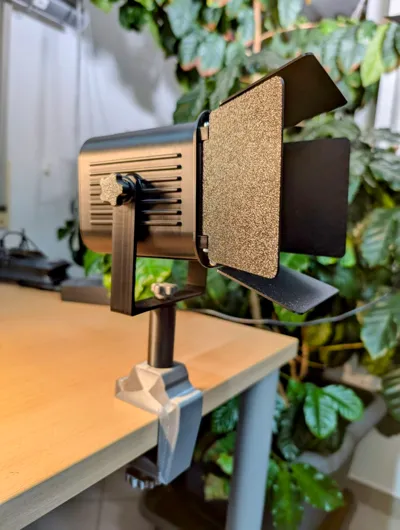
The lamp can be clamped OR stood.
The 5cm stand pipe is needed, which is screwed to the clamp with ONE printed screw.
Then, depending on the desired mounting, the clamp holder OR the cross base.
The clamp holder is suitable for plate thicknesses up to 3cm. Again: do not overtighten!
For the cross base, you can print 4 more screws and screw them in as small feet. Screw the stand pipe in from the top.
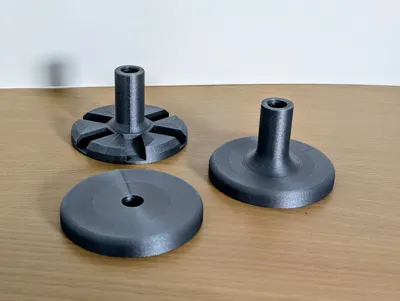
I recommend the pressure plate for the clamp holder, which leads to better pressure when screwing it on.
The part is a Print in Place from 2 elements; the inner part should be freely movable later, which is better for mounting.
Also check out my 2nd spotlight - different design, but just as good as decoration for theater, home cinema, bar, or whatever.
Hope you like it :-)
Boost Me (for free)
If you like the lamp, I would appreciate a boost.
Thank you!
If anything doesn't work, just a quick message.
I printed all parts in PLA and PLA Galaxy (this glitter stuff) on X1Carbon and A1.
I do NOT recommend the glitter filament - the threads won't be as clean and the parts don't stick as well to the print bed (print bracket with BRIM!)
Simple black PLA is best.
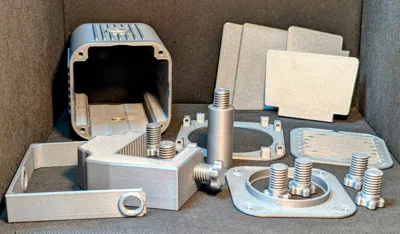
In the last photo, you can see all printed parts needed for 1 spotlight.
Here in silver and with the clamp as attachment (alternatively there is the cross base)
Update 20.12: Cover for active fan!
A back cover for an active fan was requested.
Note: it is still a DECO object, but of course there is a suitable cover:
scheinwerfer_deckel_hinten_fuer_luefter.step: The fan opening is no longer just indicated, but fully implemented.
Suitable for a 6cm fan. Hole spacing 5cm.
Due to a lack of a 6cm fan, I could not check if it also fits into the housing - feedback desired.
But it should fit, the housing holes are 7cm apart.
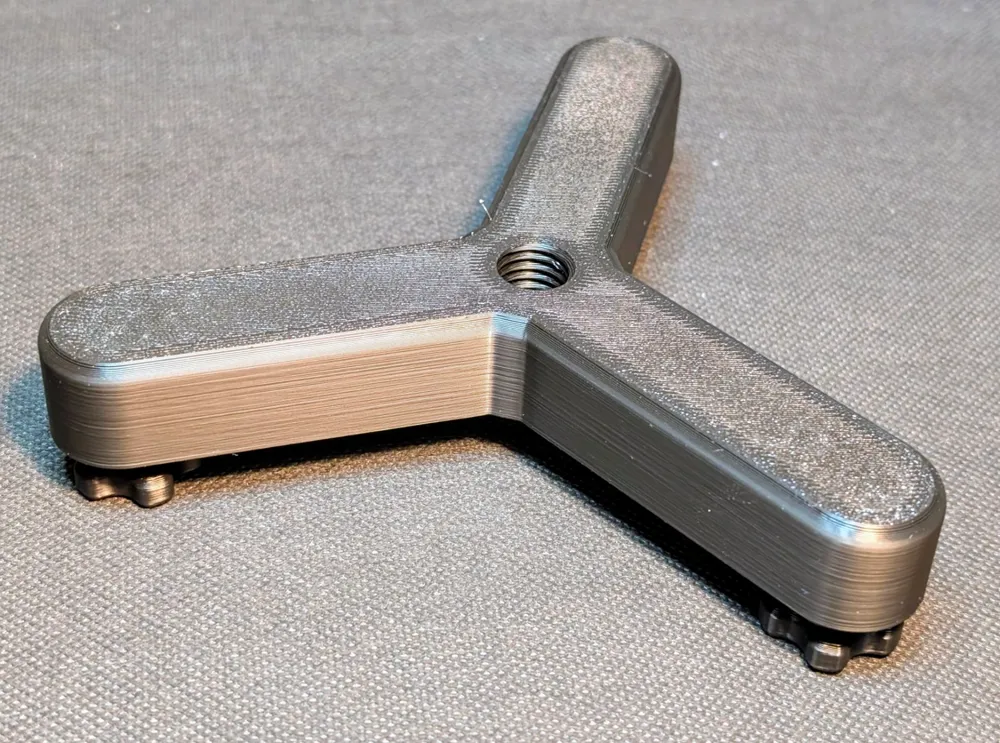
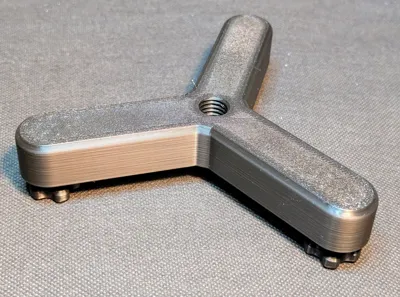
Update 23.12: Tripod / Three-leg added (file dreibein.step):
In the professional sector, most stands are designed as tripods so that they do not wobble.
Therefore, I have added a tripod.
Thus, the following feet are available:
Standard 4-leg foot
Clamp
Tripod / Three-leg.
Only ONE of these is needed!
Update 30.4.2025: 202505_scheinwerfer_buegel.step attached.
A new bracket WITHOUT thread, only with a bore. For easier lamp fixation.
Update 25.5.2025:
All changes incorporated into the 3mf file.
New print profile for PETG-HF added - 0.16mm layer.
Update 8.8.2025:
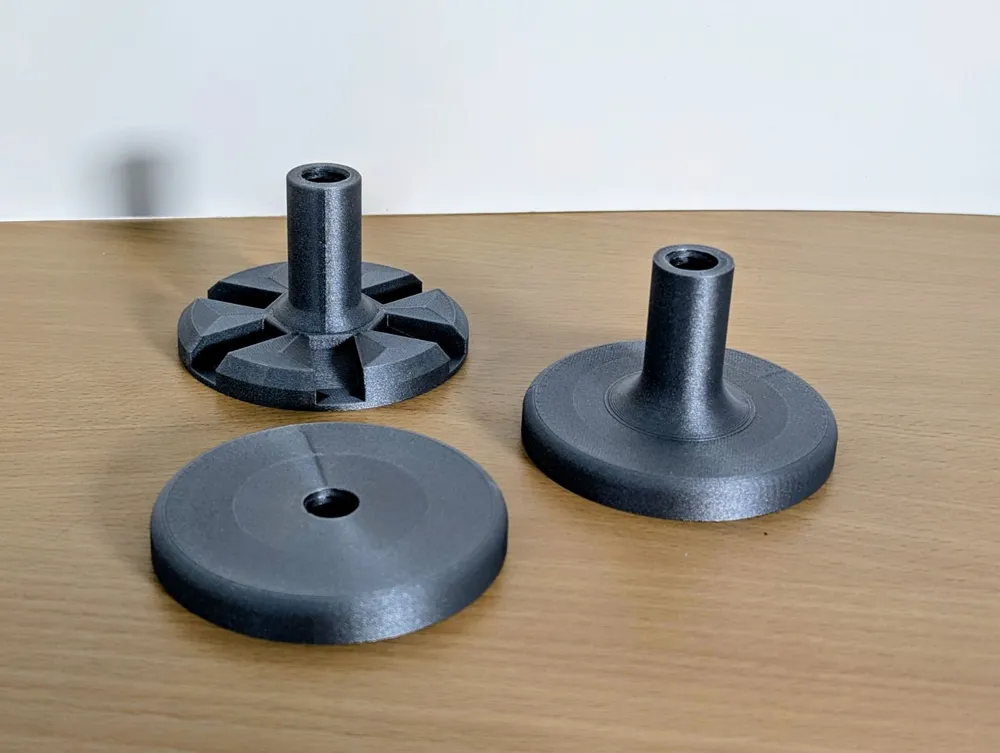
New feet added as an alternative (extra print profile: 3 feet to choose from + an overhead clamp mount)
License

You shall not share, sub-license, sell, rent, host, transfer, or distribute in any way the digital or 3D printed versions of this object, nor any other derivative work of this object in its digital or physical format (including - but not limited to - remixes of this object, and hosting on other digital platforms). The objects may not be used without permission in any way whatsoever in which you charge money, or collect fees.


Comment & Rating (62)