
Satisfying Opening Gift Box (no AMS needed)

Print Profile(4)




Description
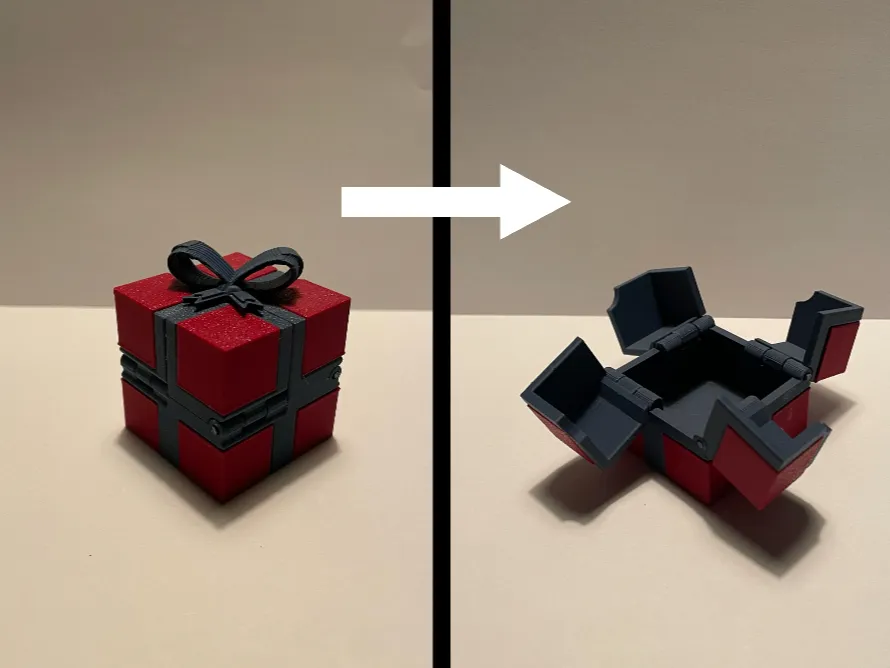
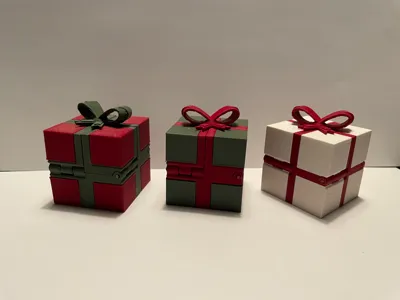
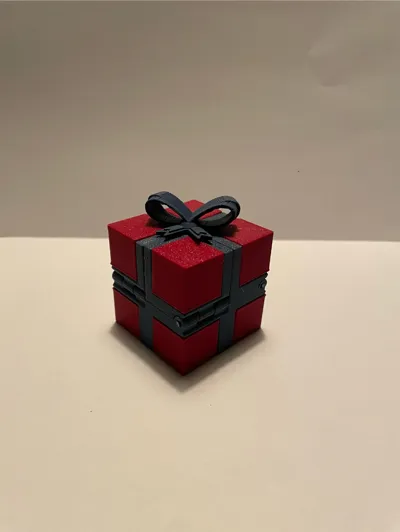
Satisfying Opening Present
The ultimate way to add a special touch to your gifts. 🎁

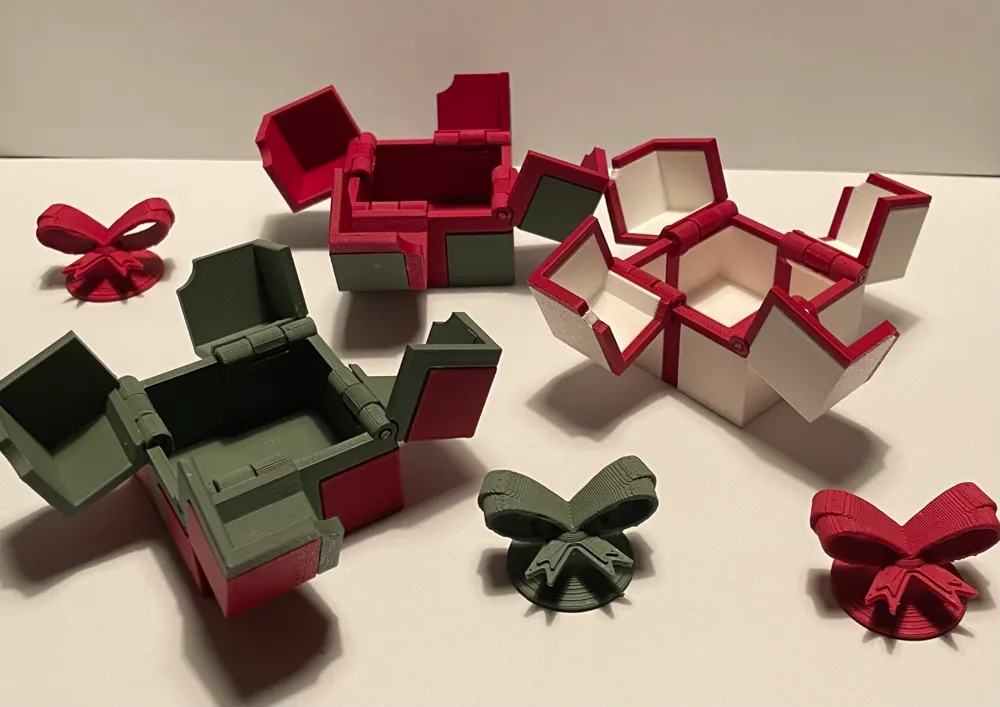
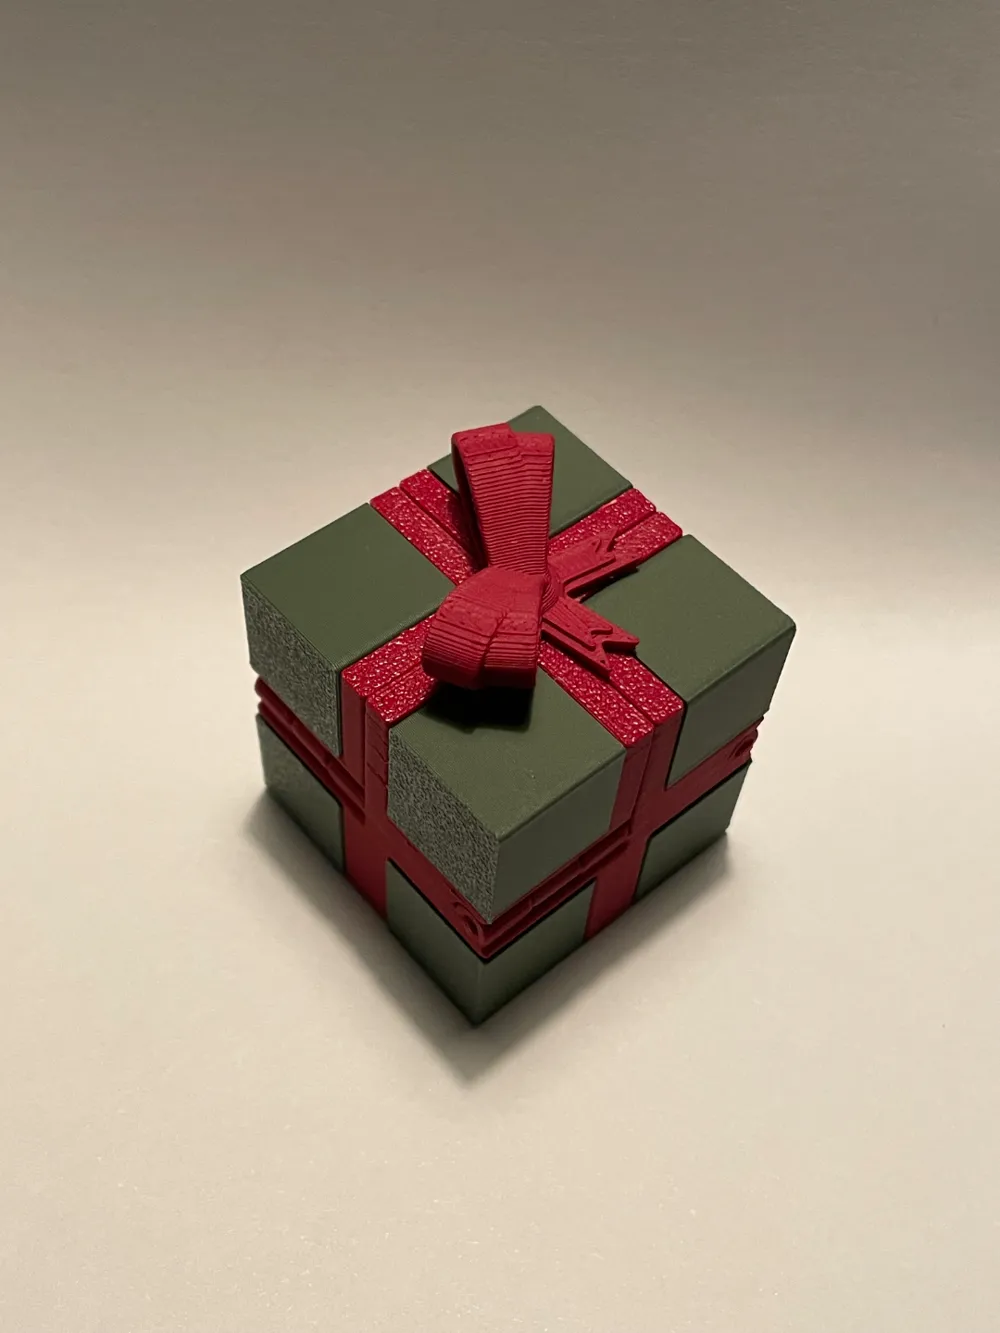
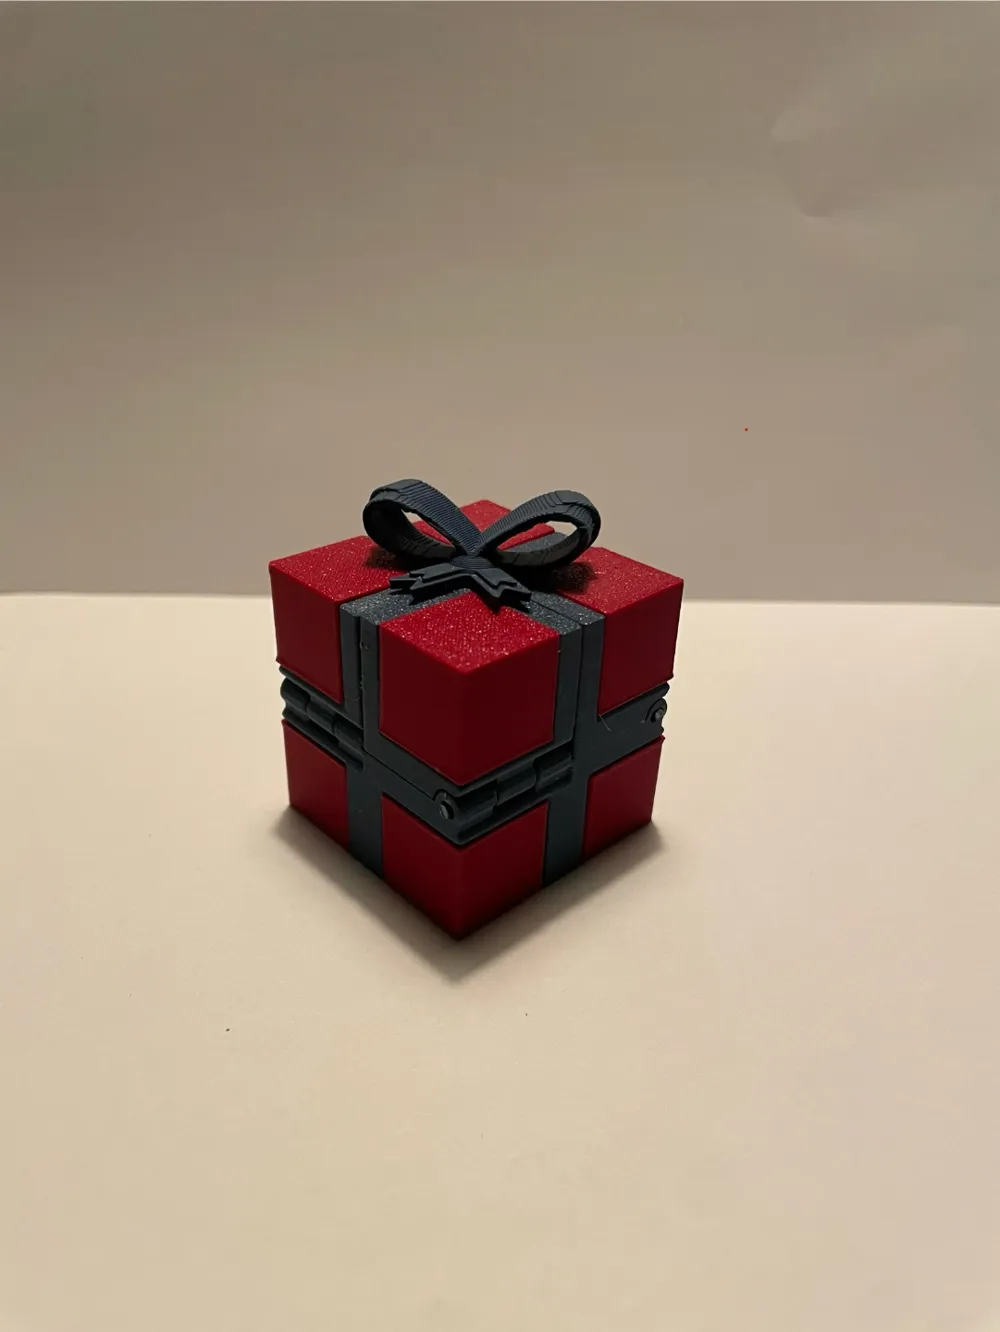
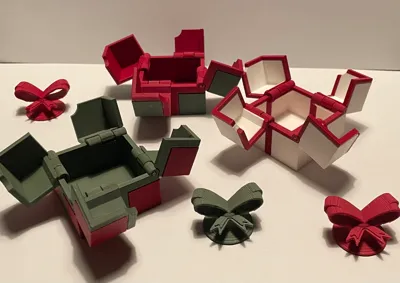
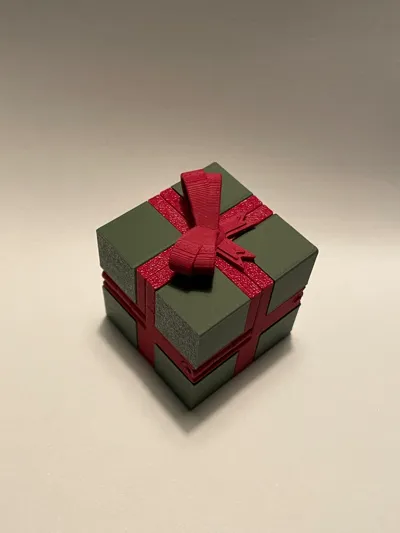
This beautifully designed box measures 40mm x 40mm x 40mm and features a satisfying opening mechanism—simply pull the bow on top to reveal the contents inside. Assembled with filament hinge pins, it combines elegance and functionality in a compact package.
Perfect for gifting jewellery, rings, or other small treasures, this present box not only holds your gift but enhances the experience of receiving it. Its unique design makes it a keepsake long after the gift has been unwrapped. ✨
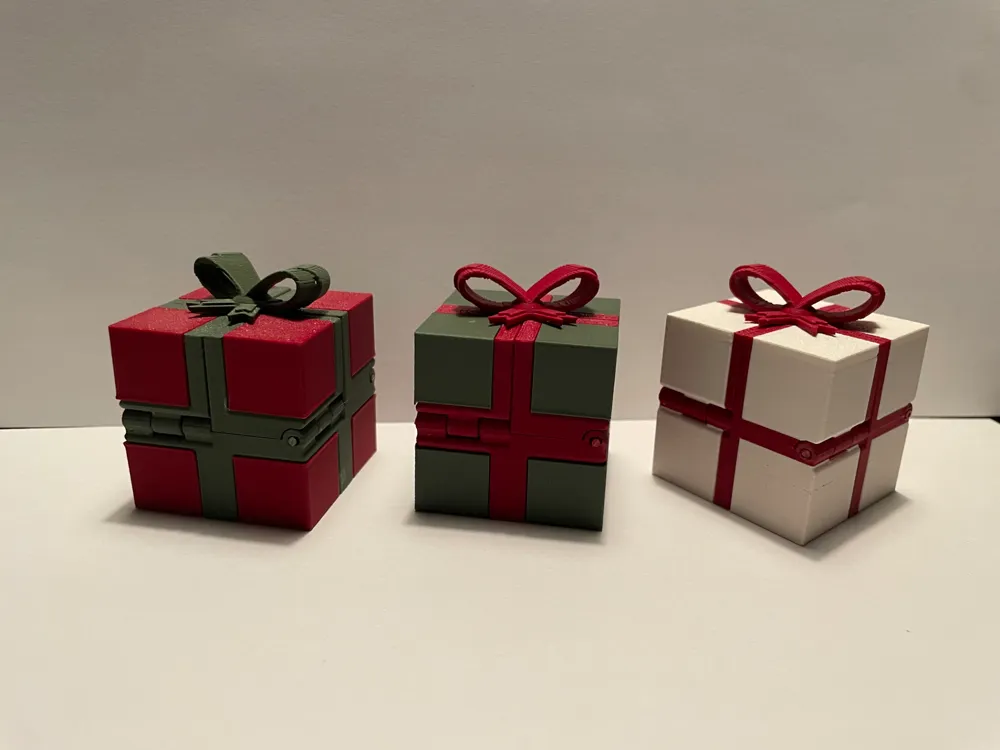
no AMS or multicoloured printer needed
quick to print
perfect for Christmas
Boost Me (for free)
instructions
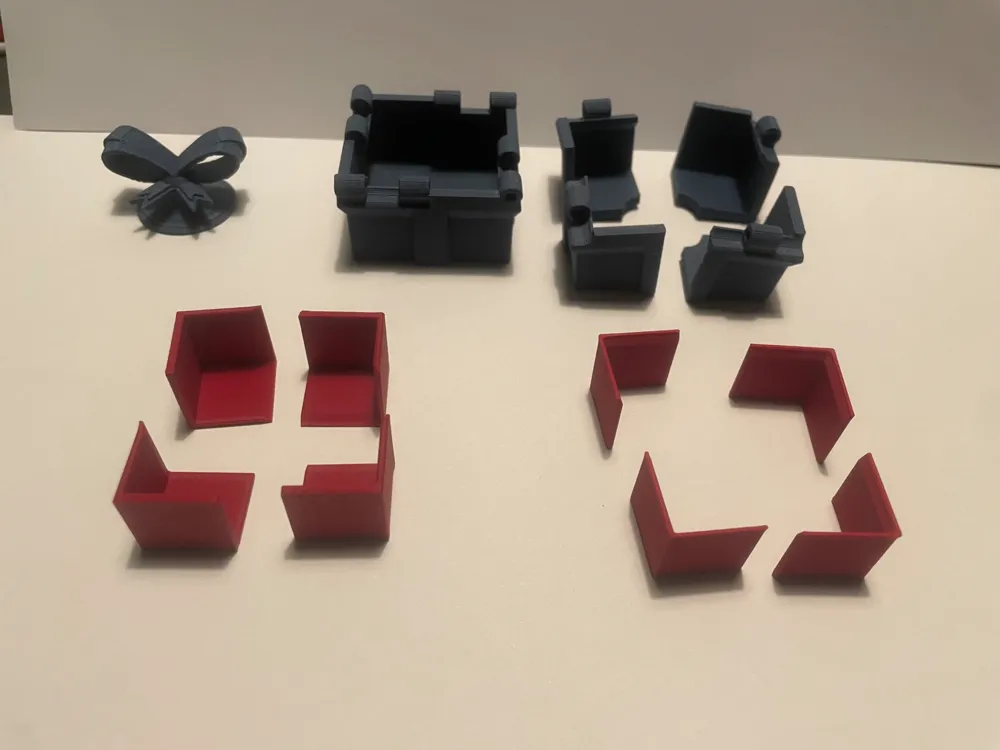
- printing: Download files and print side panels and main body in different colours (main body will be the colour of the ribbon and bow)
- Remove Supports from Hinges: Carefully remove all support material, especially from inside the hinges, to ensure smooth movement.
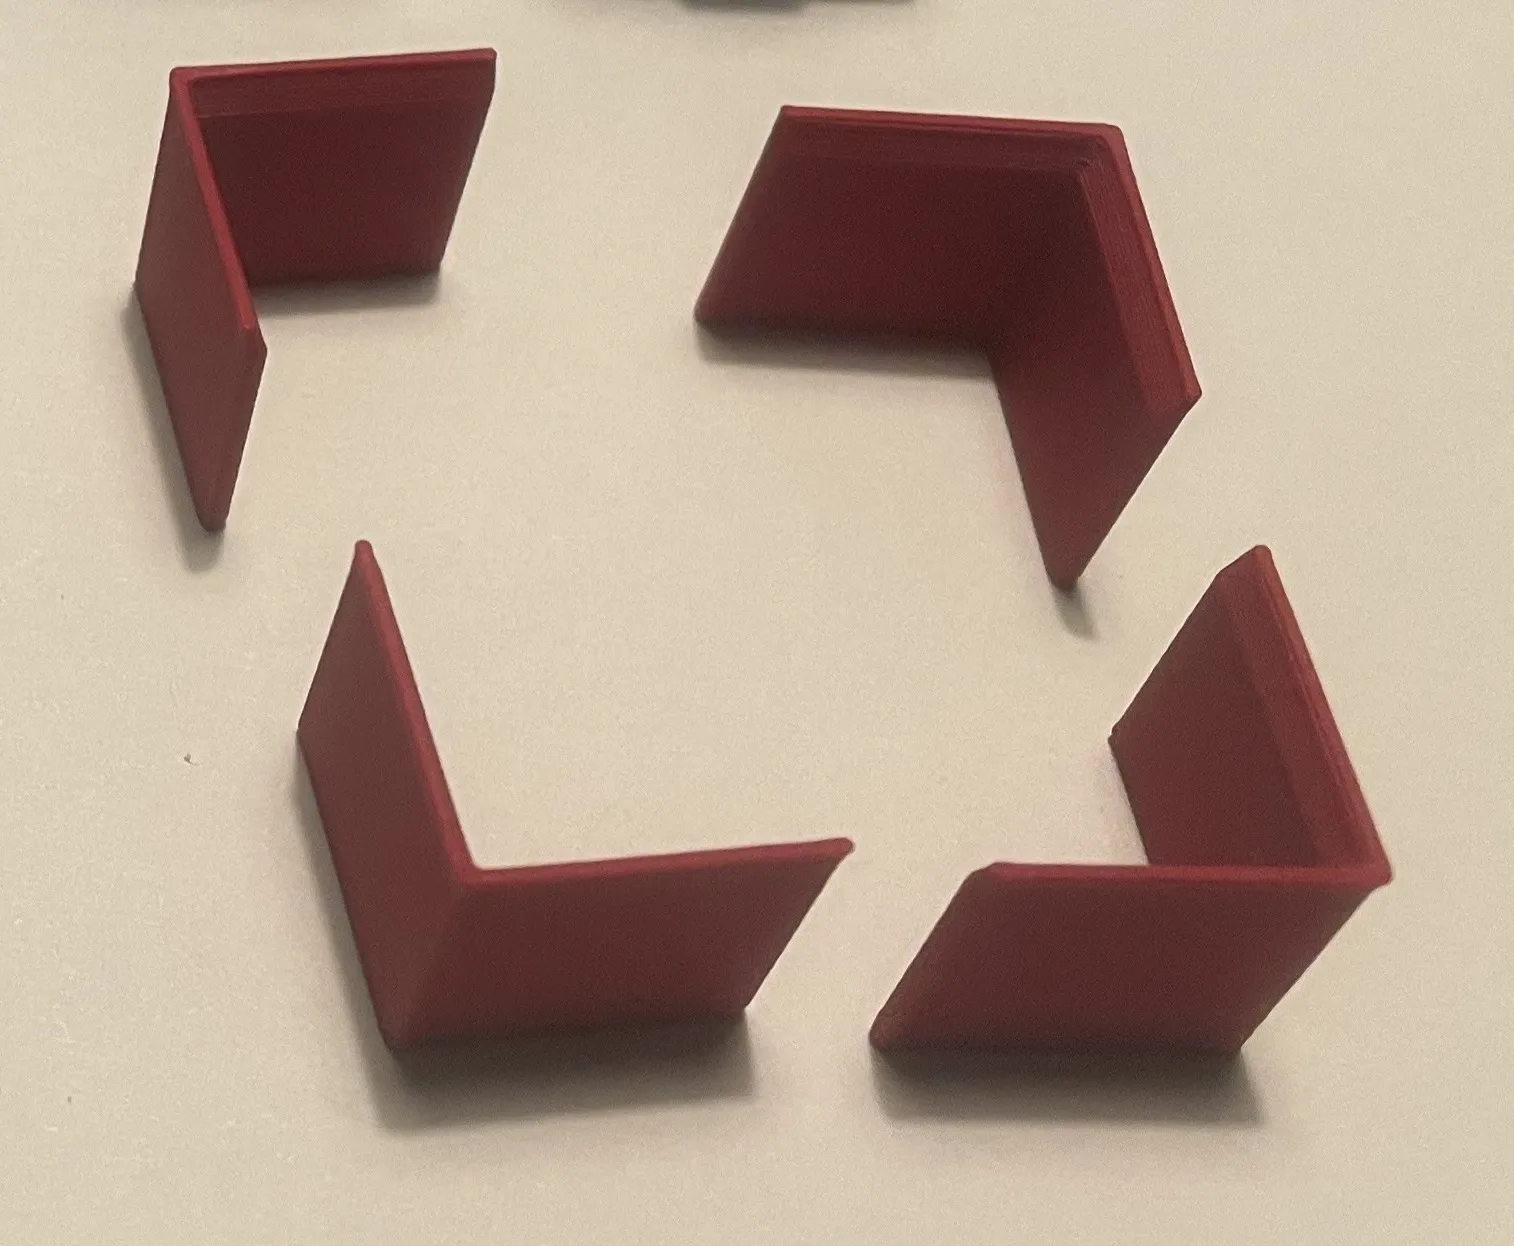
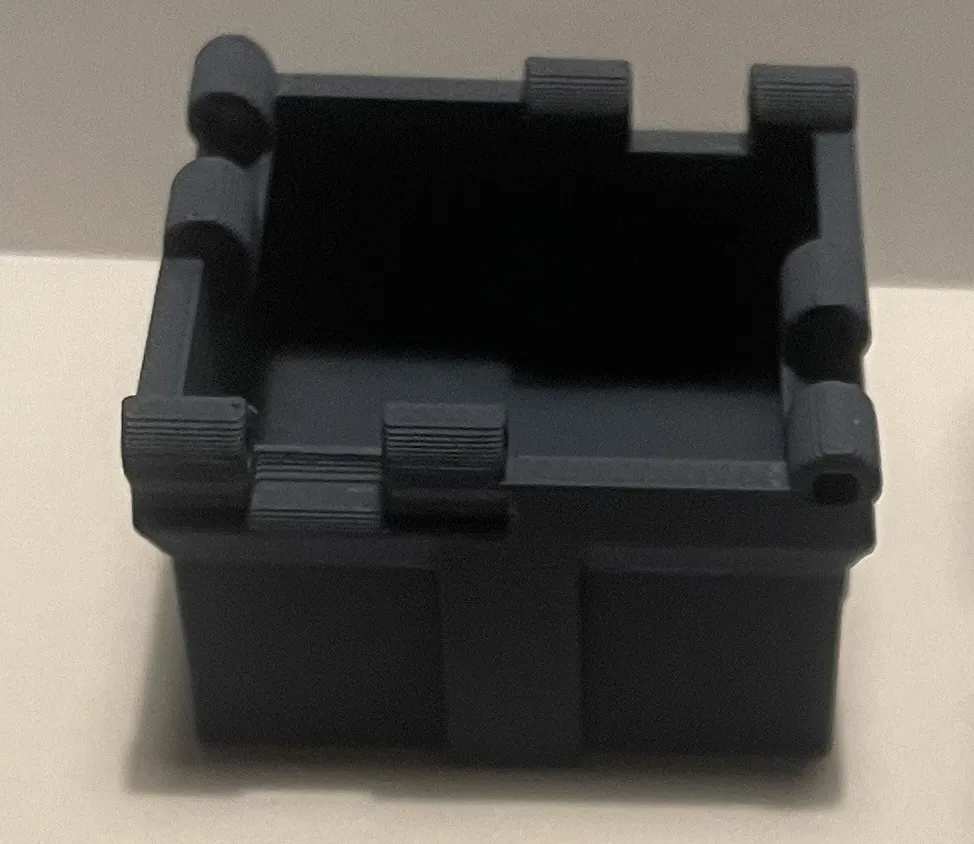
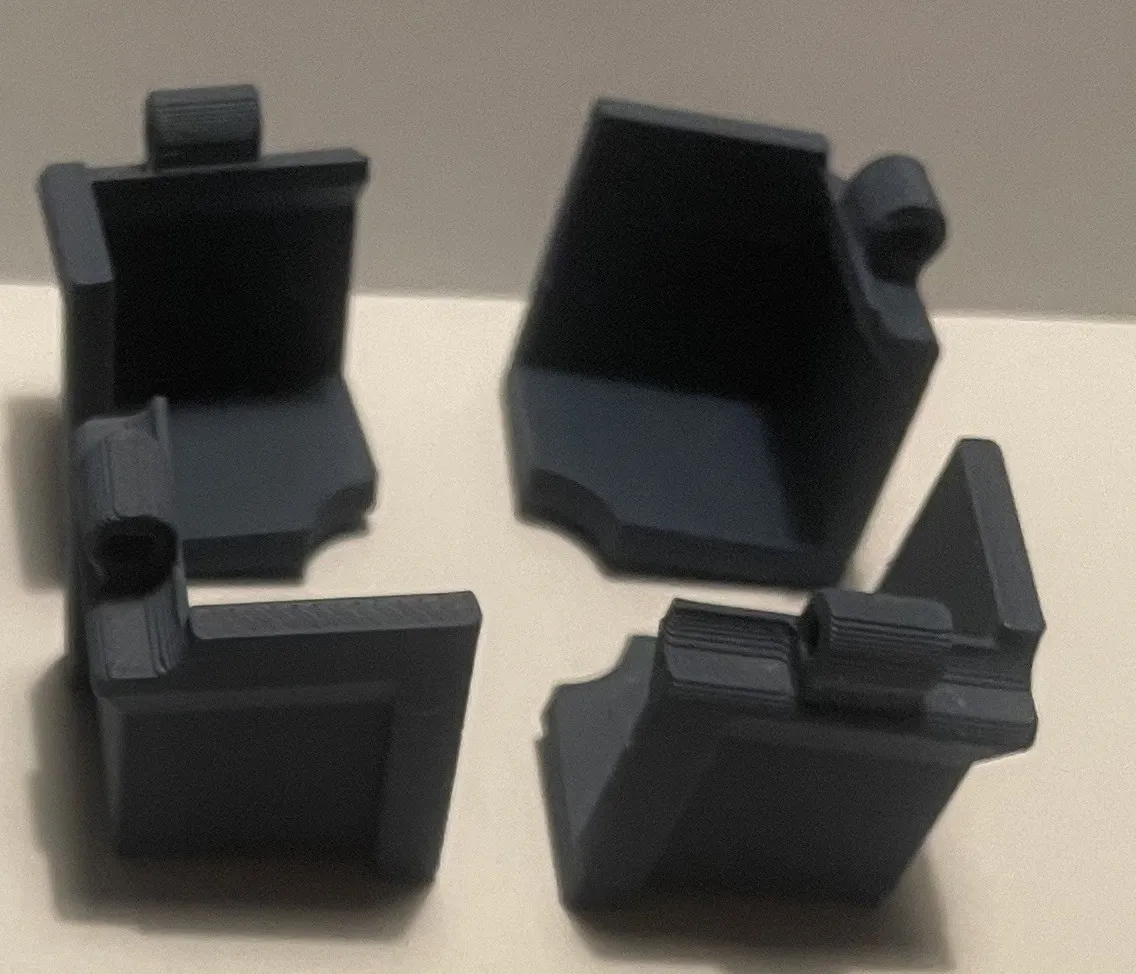
- gluing the side panels: make sure the side panels are lined up with the will the correct part of the pain body (see pictures below) also ensure that the chamfered edge aligns with the chamfered edge of the main body (pictures below)
- Align Hinge Components: Position the middle hinge (on the corner piece) piece between the two outer hinge parts(on the main box), aligning them accurately.
- Prepare Filament Pin: Cut a piece of filament from your spool, matching the hinge colour, to serve as the hinge pin.
- Insert Filament into Hinge: Carefully insert the filament piece through the aligned hinge parts, ensuring it passes through all components smoothly.
- Trim Excess Filament: Using craft wire cutters, trim the filament flush with the hinge edges for a clean finish.
- Repeat for All Hinges: Repeat steps 3 through 6 for each hinge on the box.
- Test Box Operation: Open and close the box to check for smooth movement.
- If the box doesn't operate smoothly, remove the filament hinge pin, straighten it, and reinsert.
- to remove filament pin there is a small hole at the other end of the hinge to poke it out. see image below
- Secure Filament (Optional): To prevent the filament from slipping out, apply a small amount of superglue to the ends of the filament after insertion.
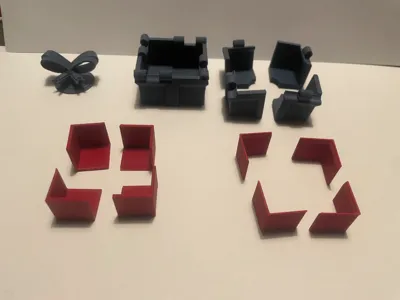
All parts
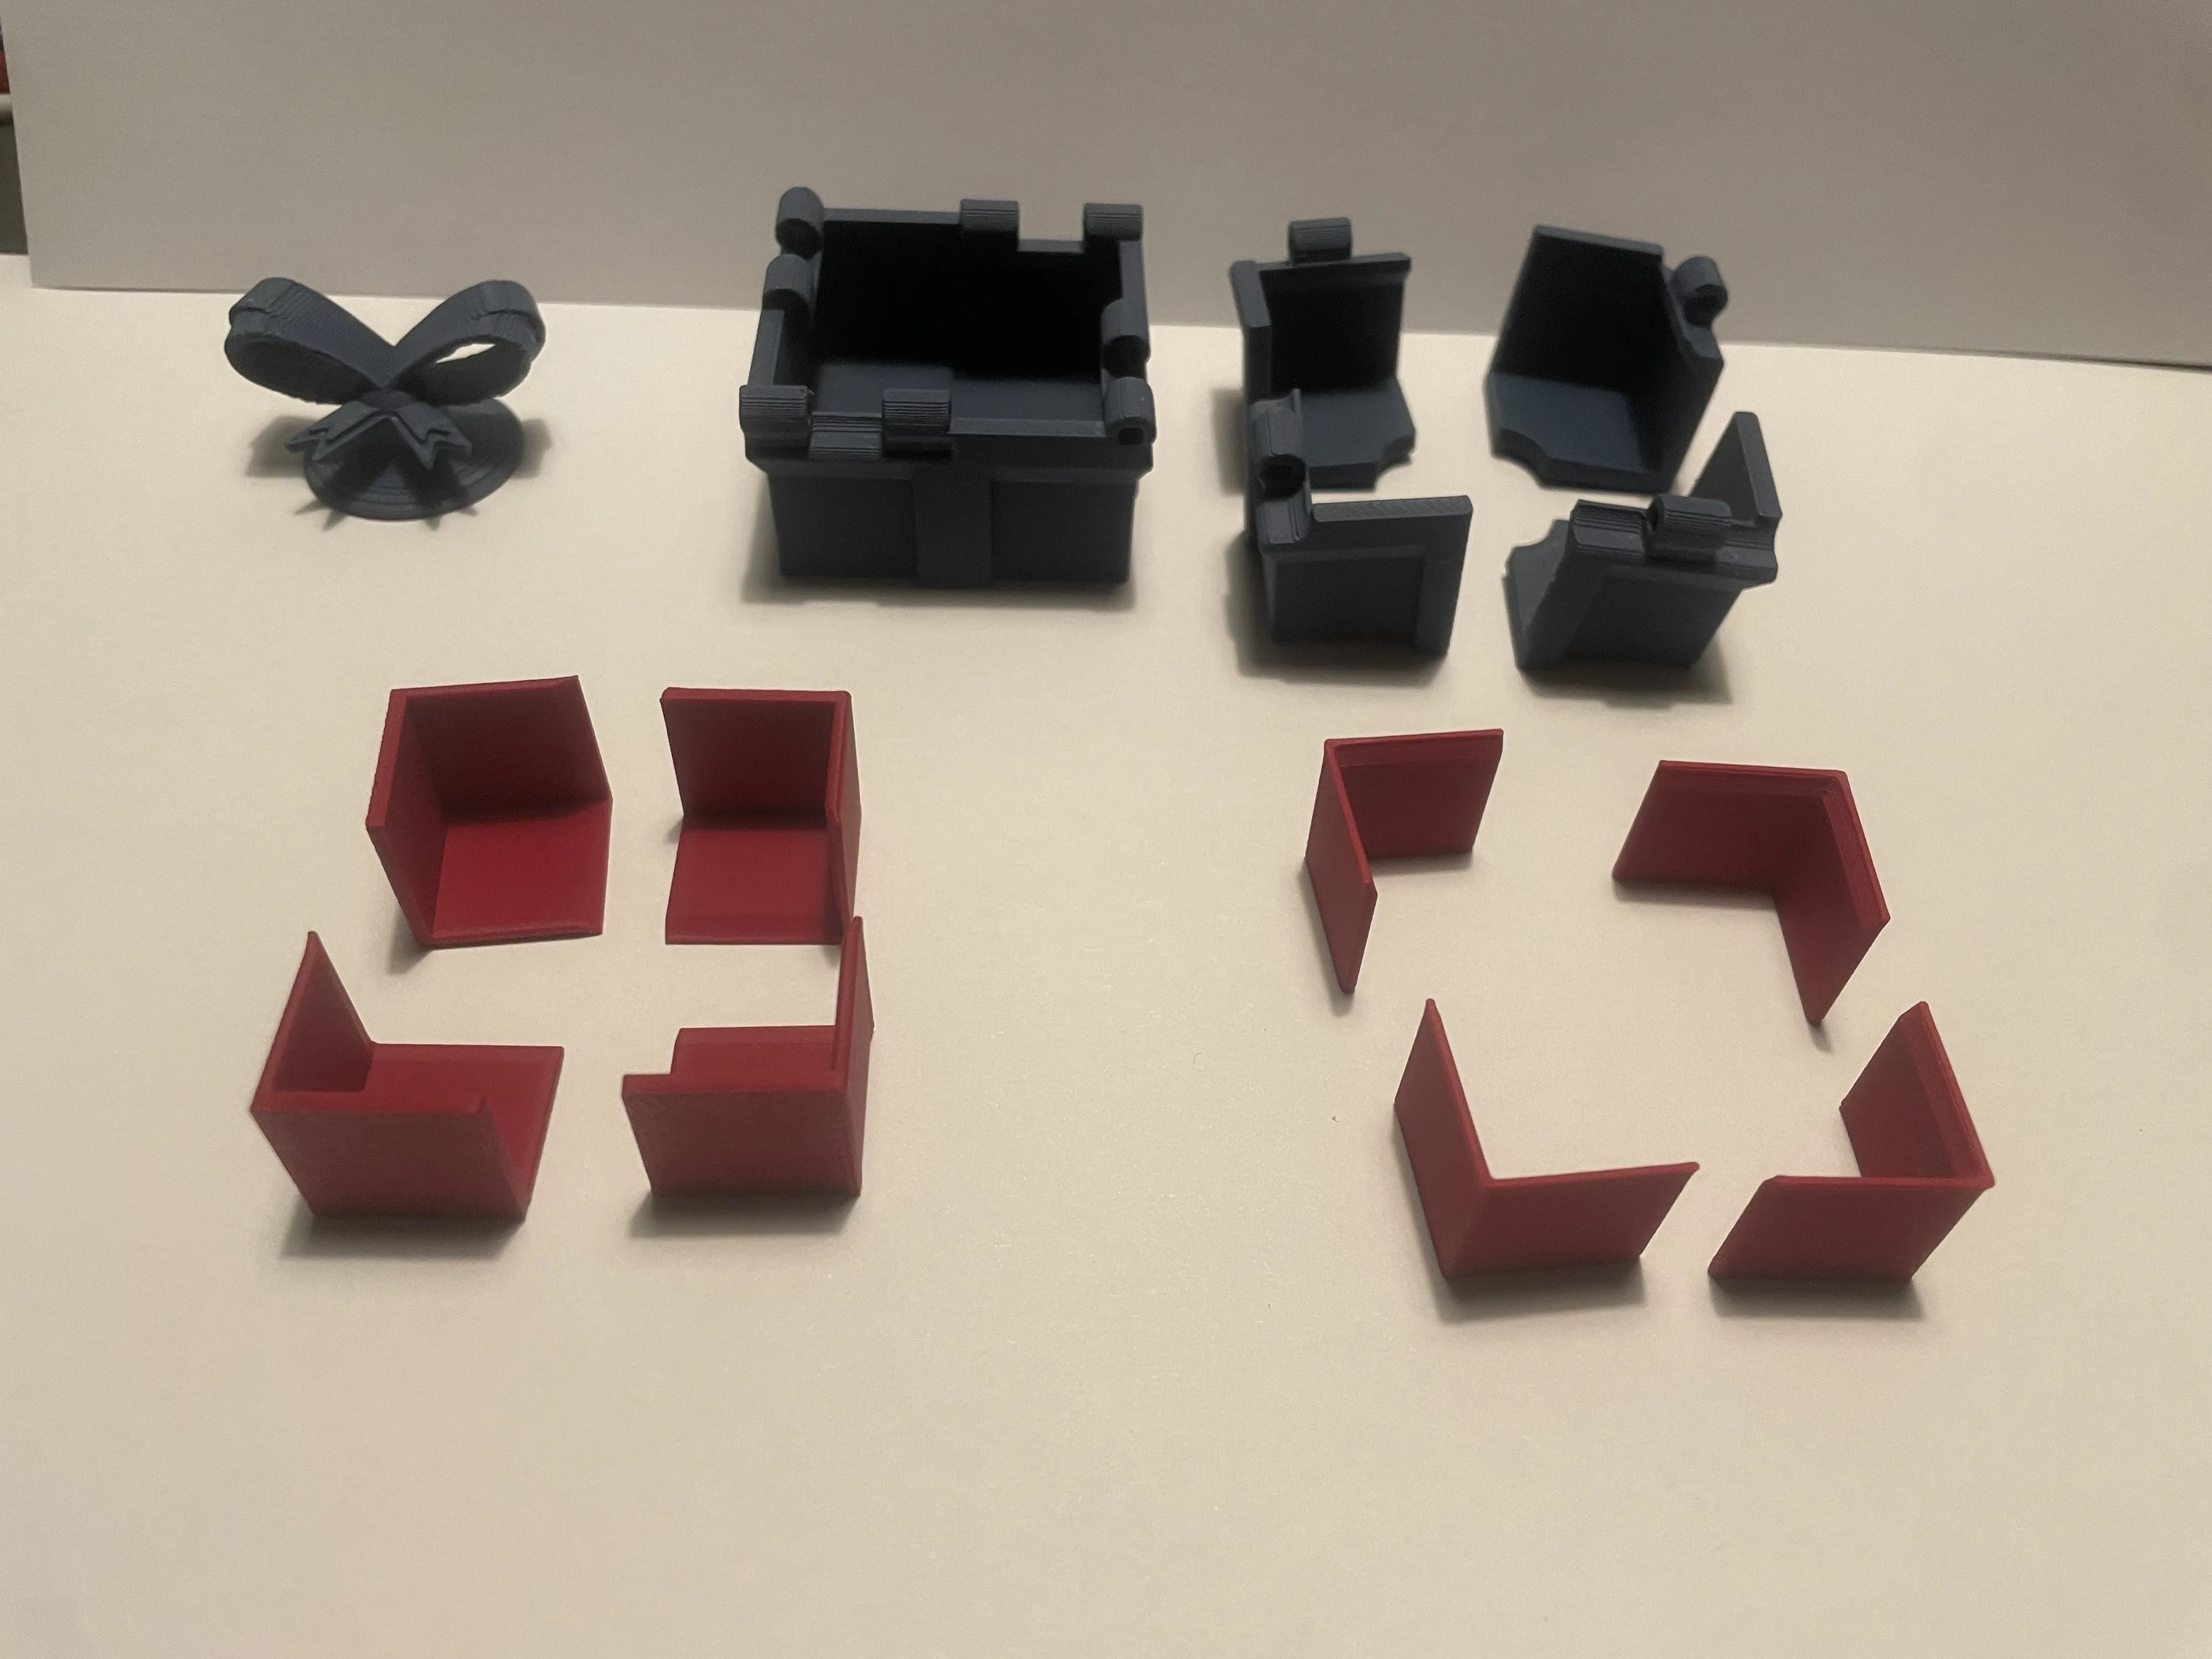
corner side panels
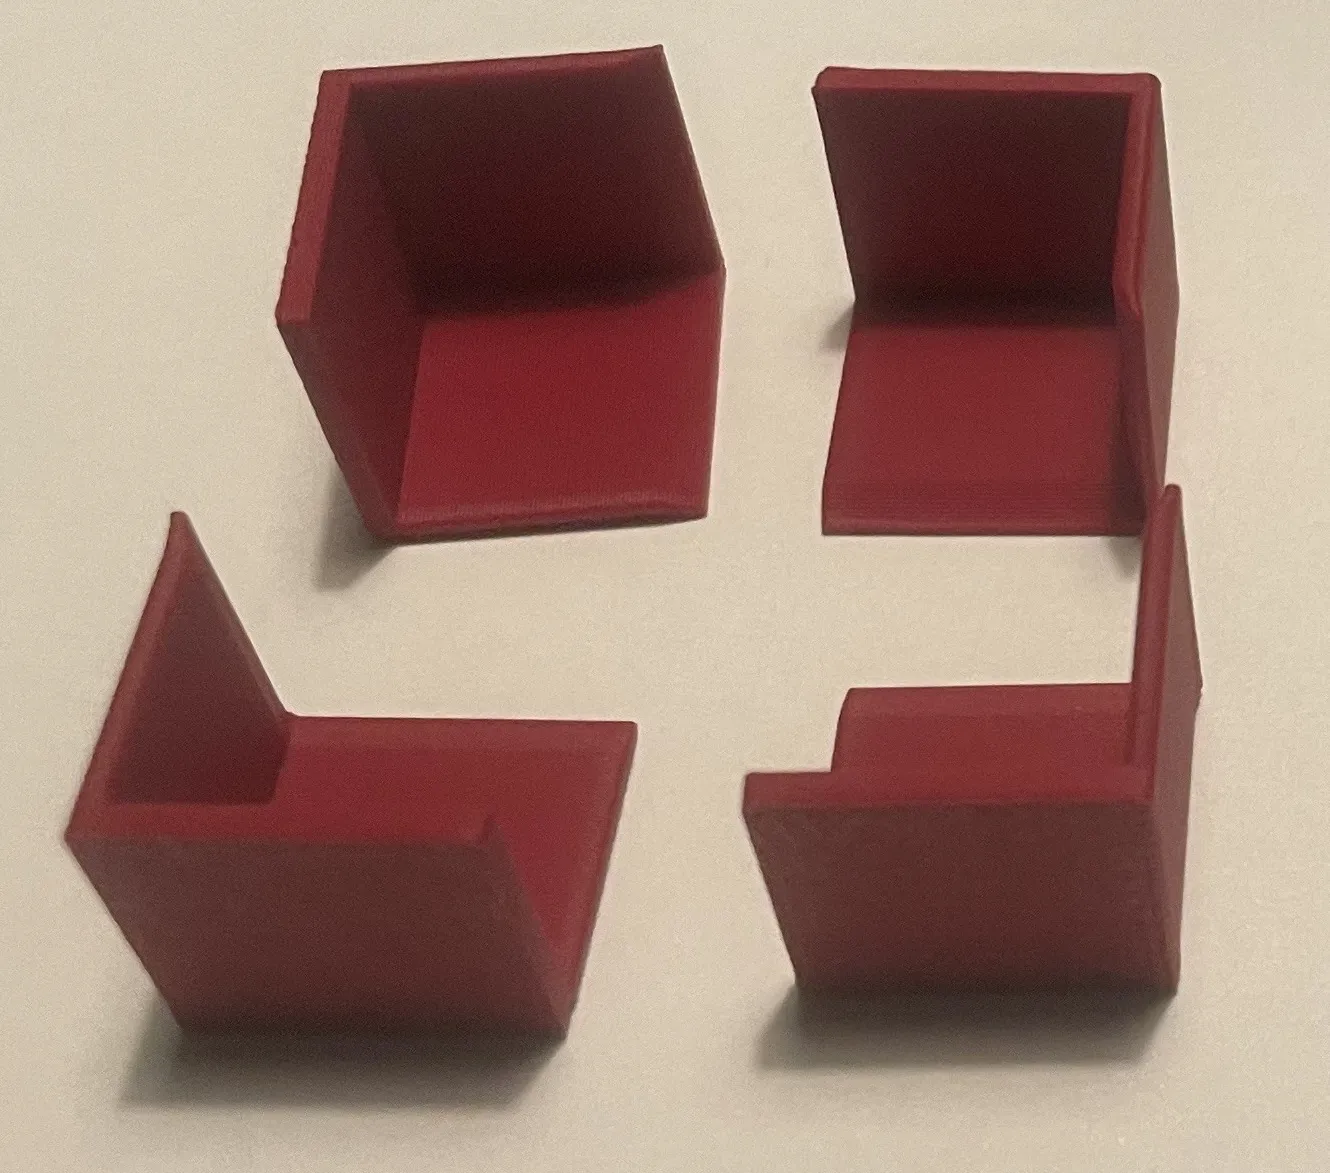
main body corners
main body
all 4 corners
corner
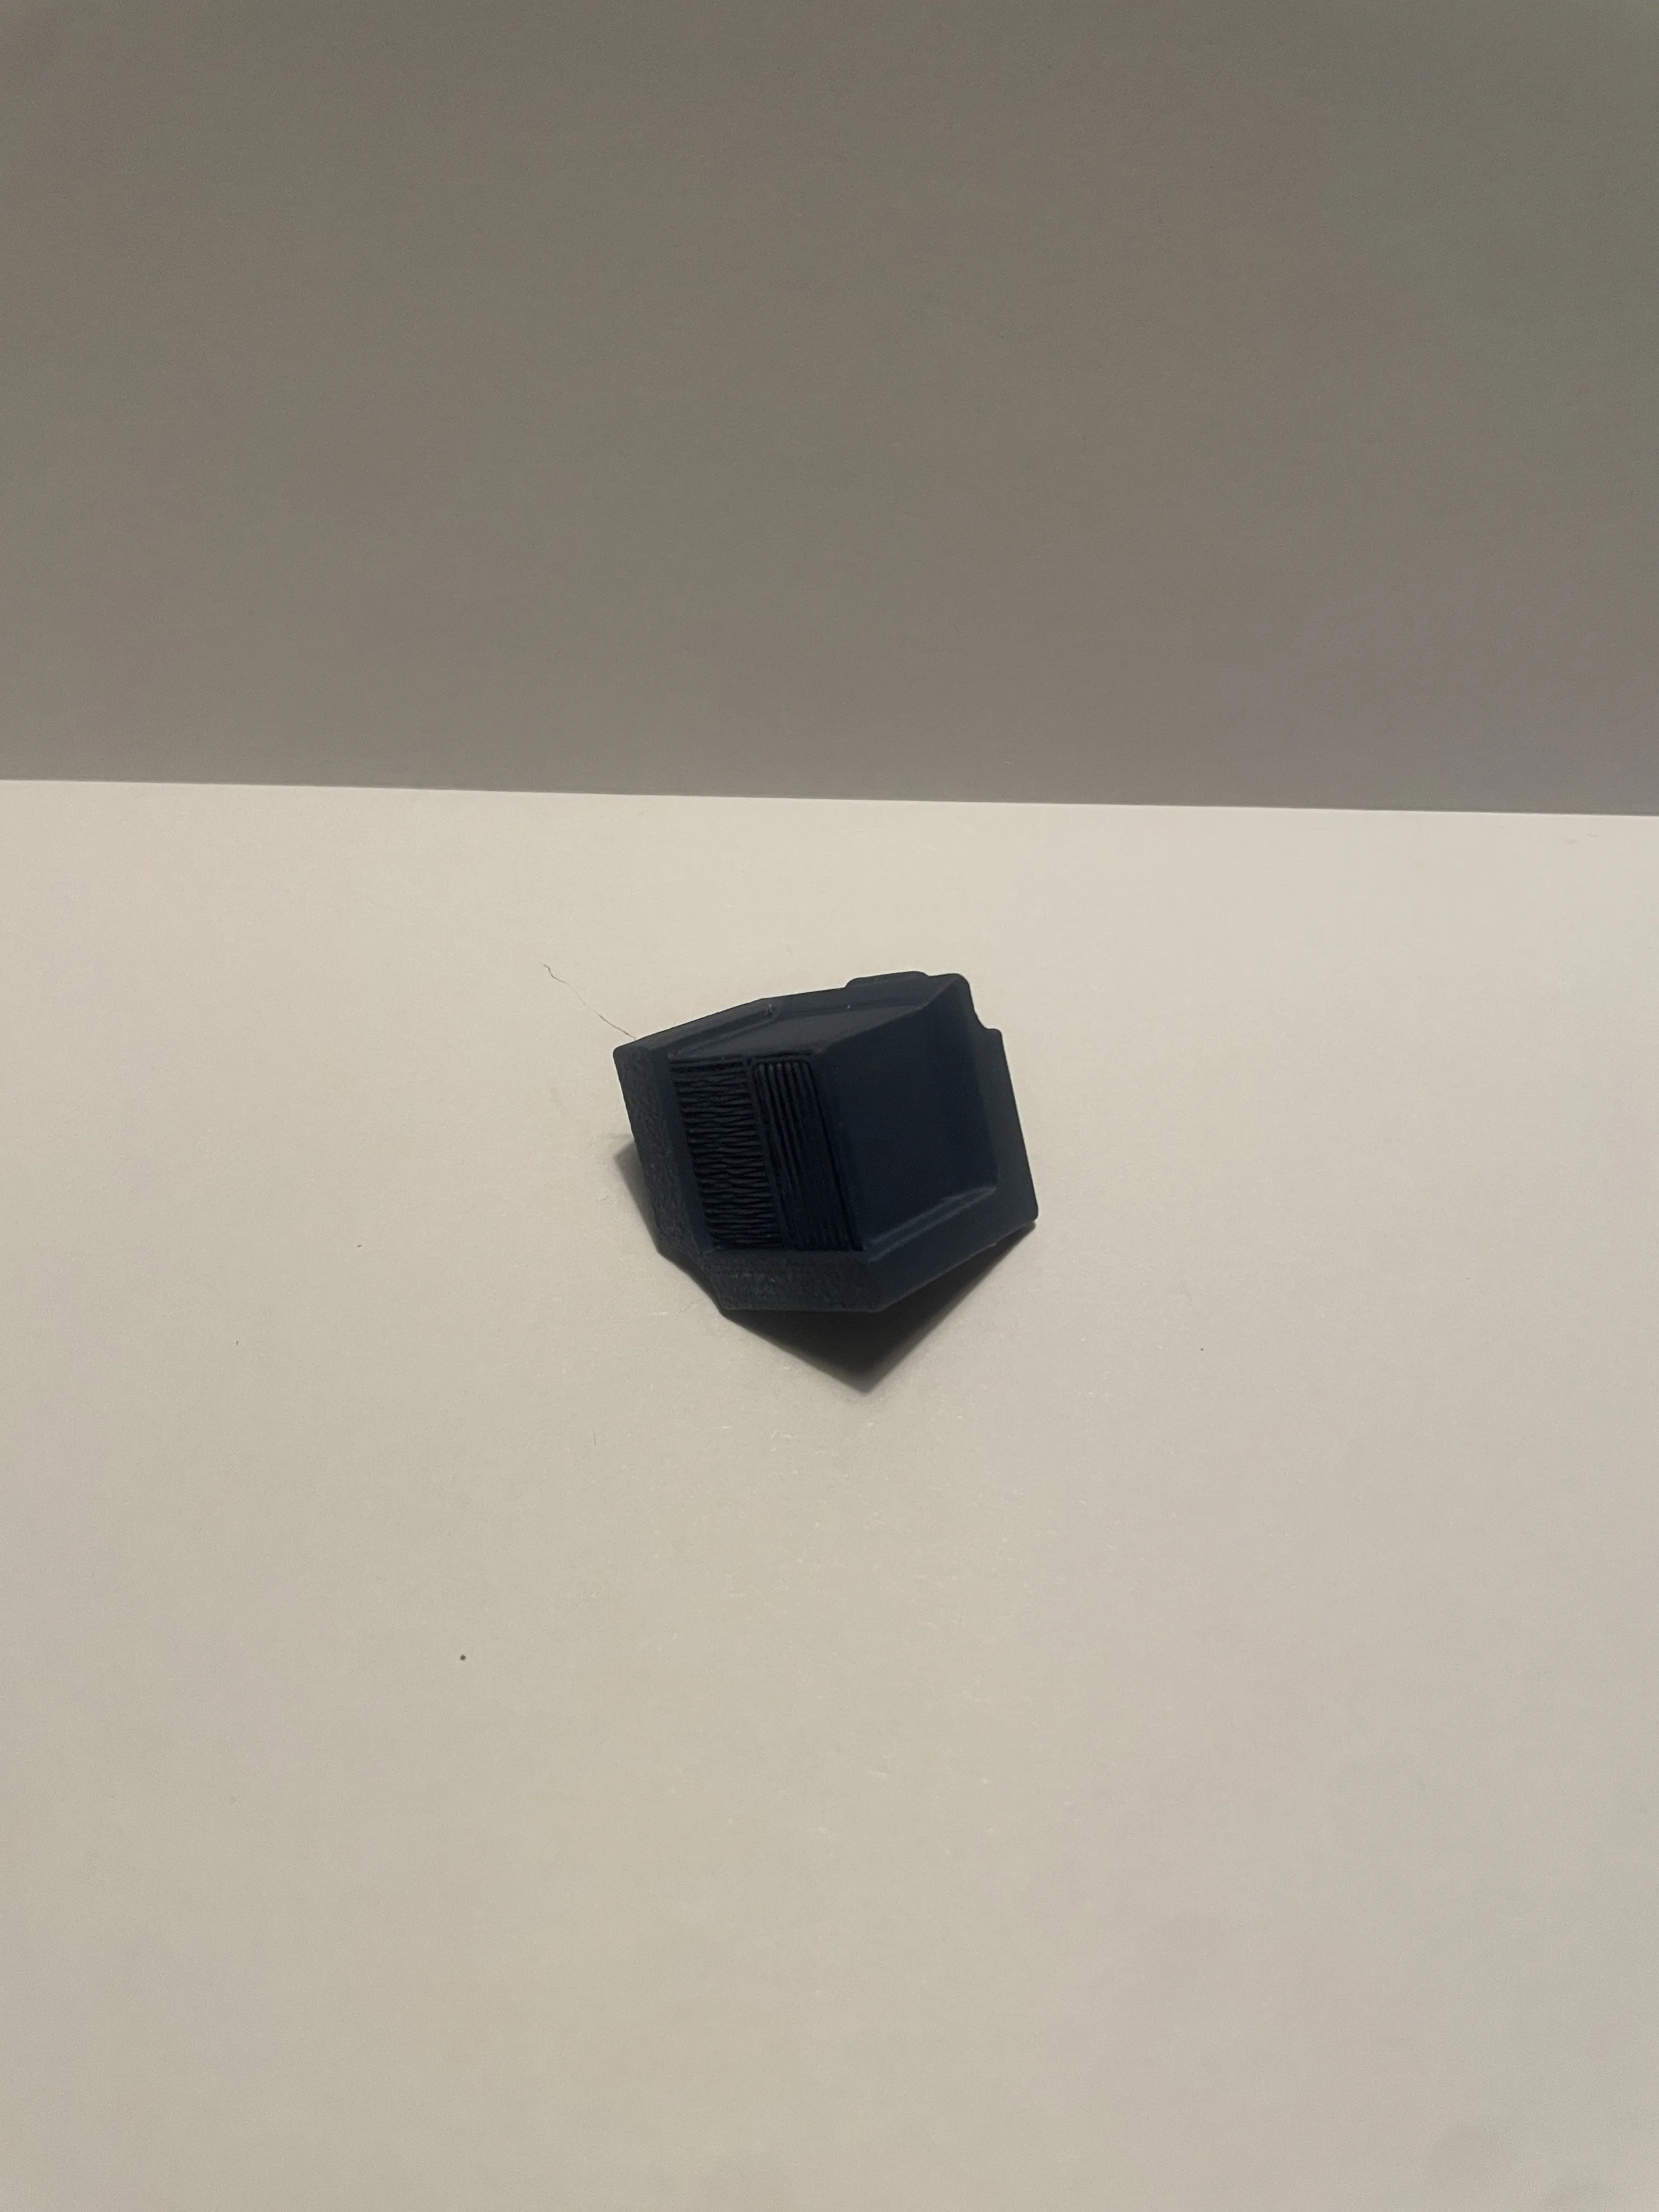
chamfered edge of side panel
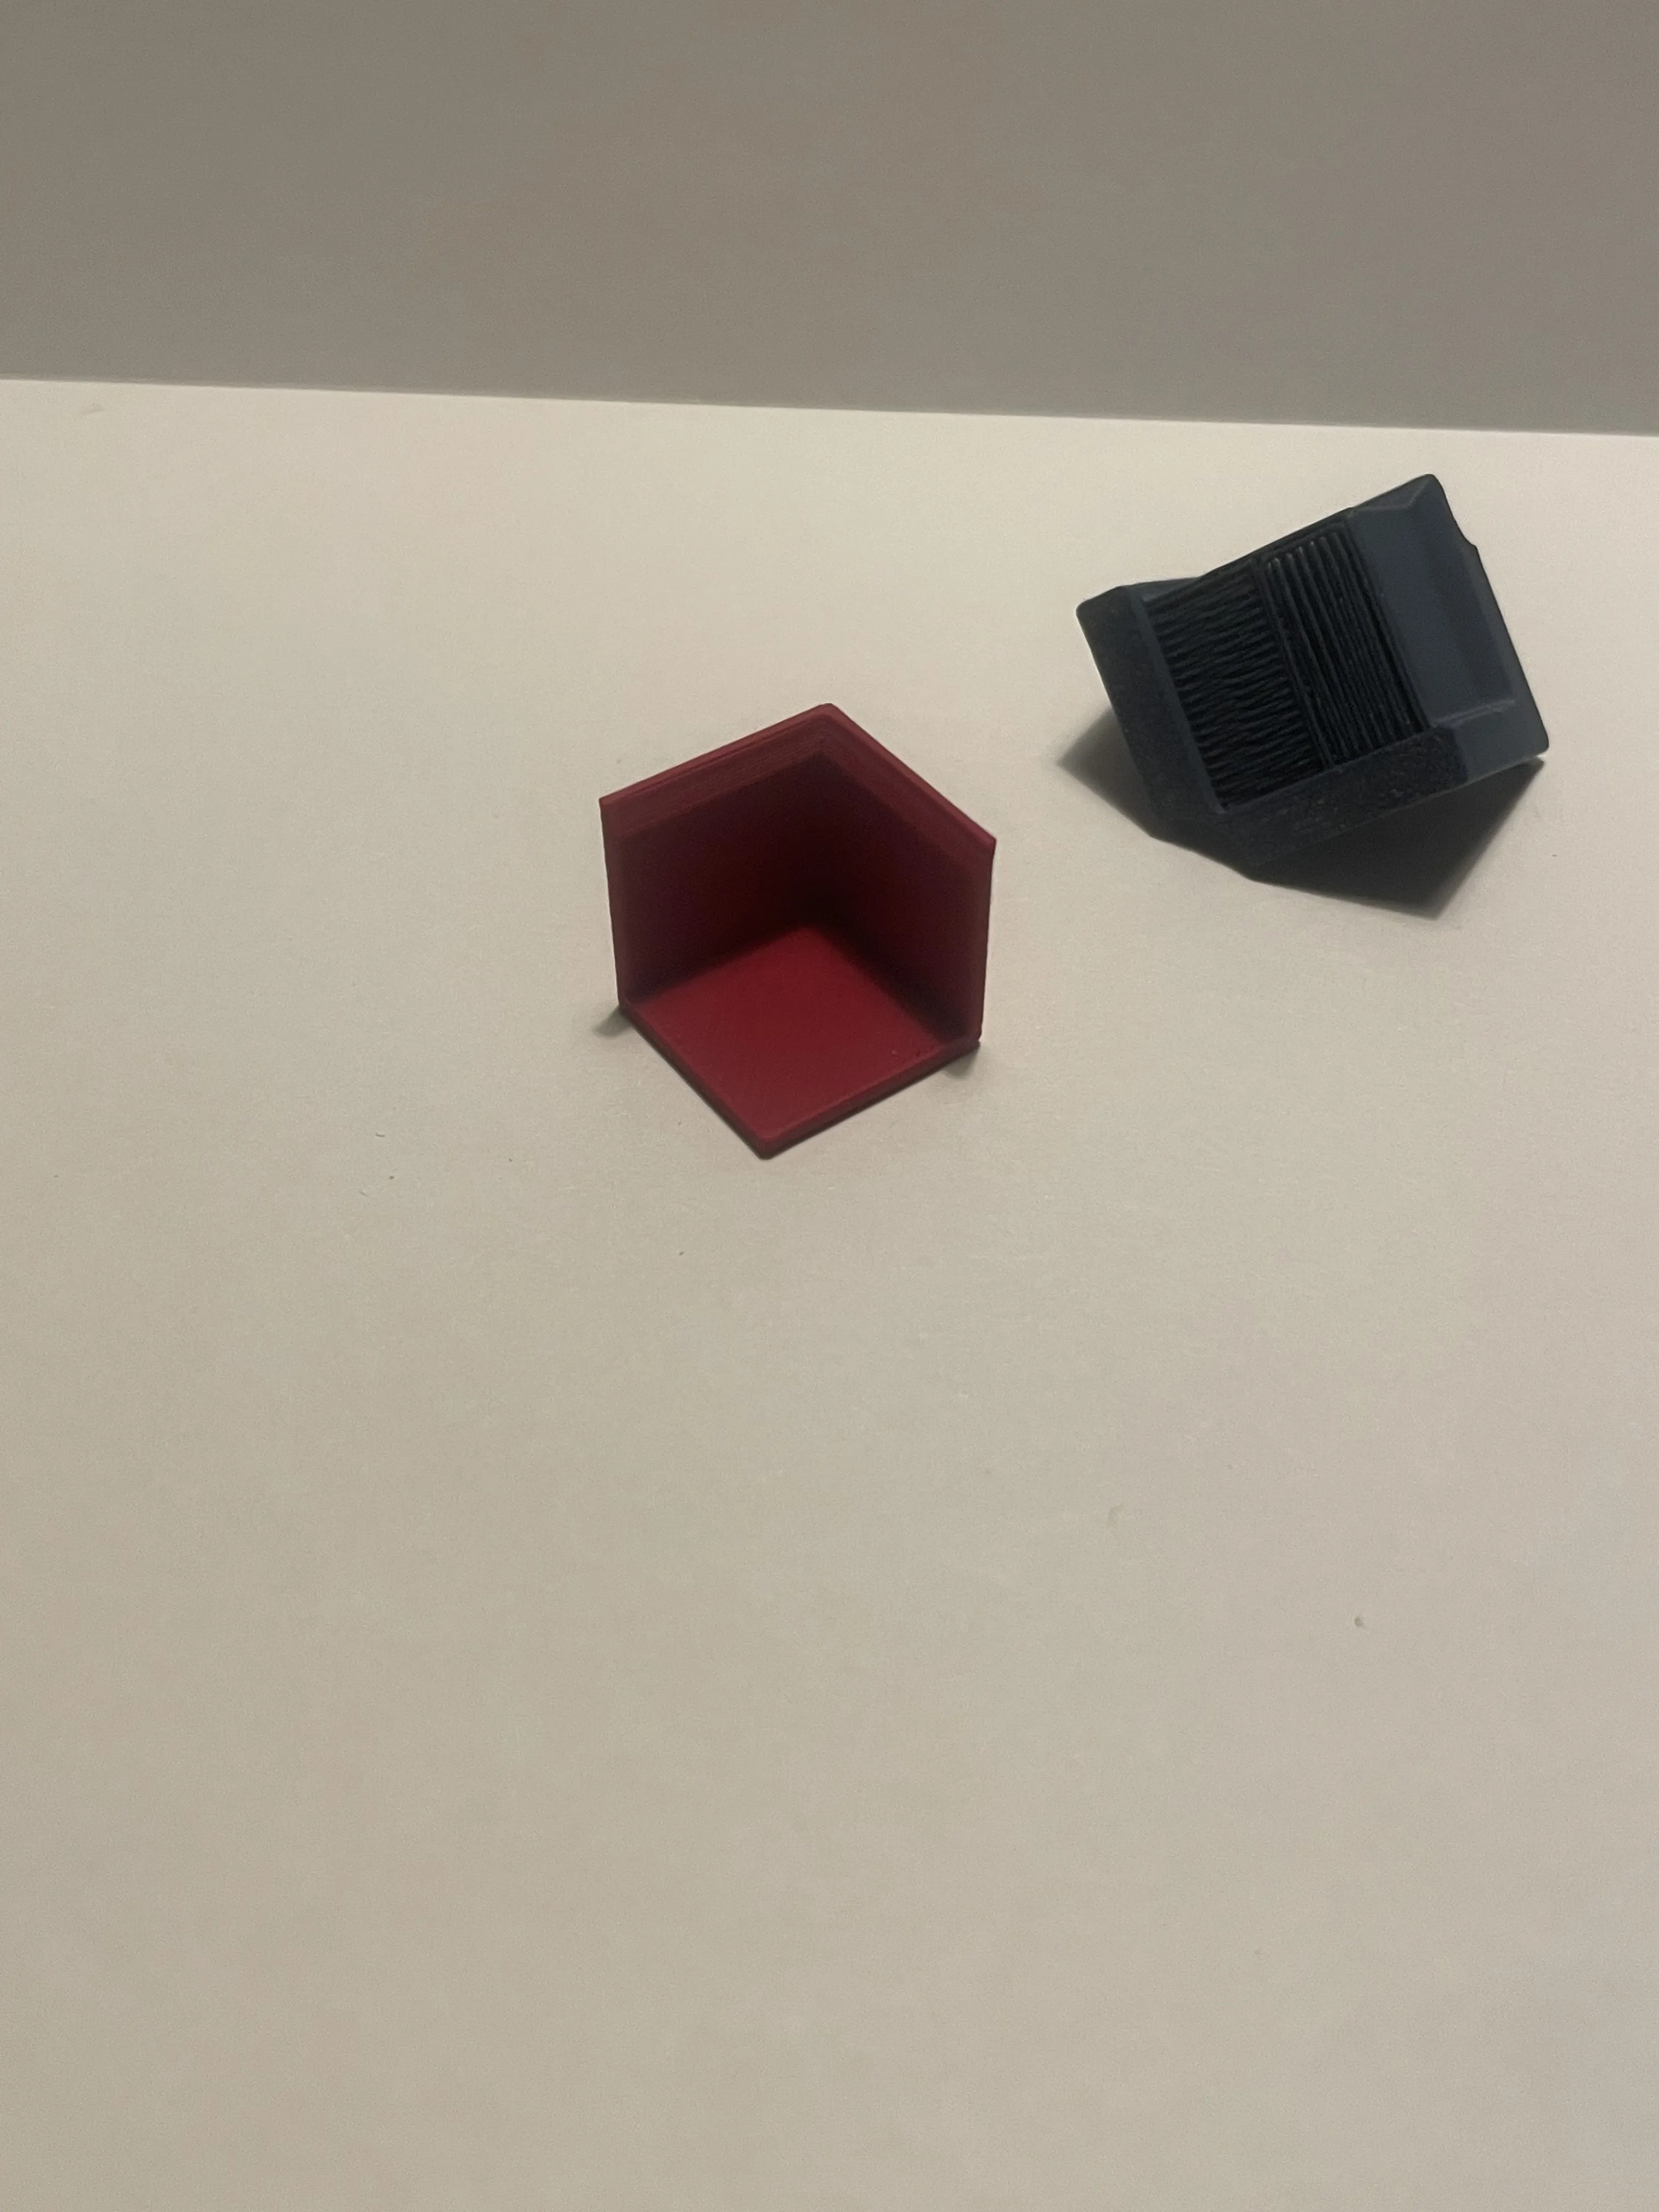
chamfered edge of corner
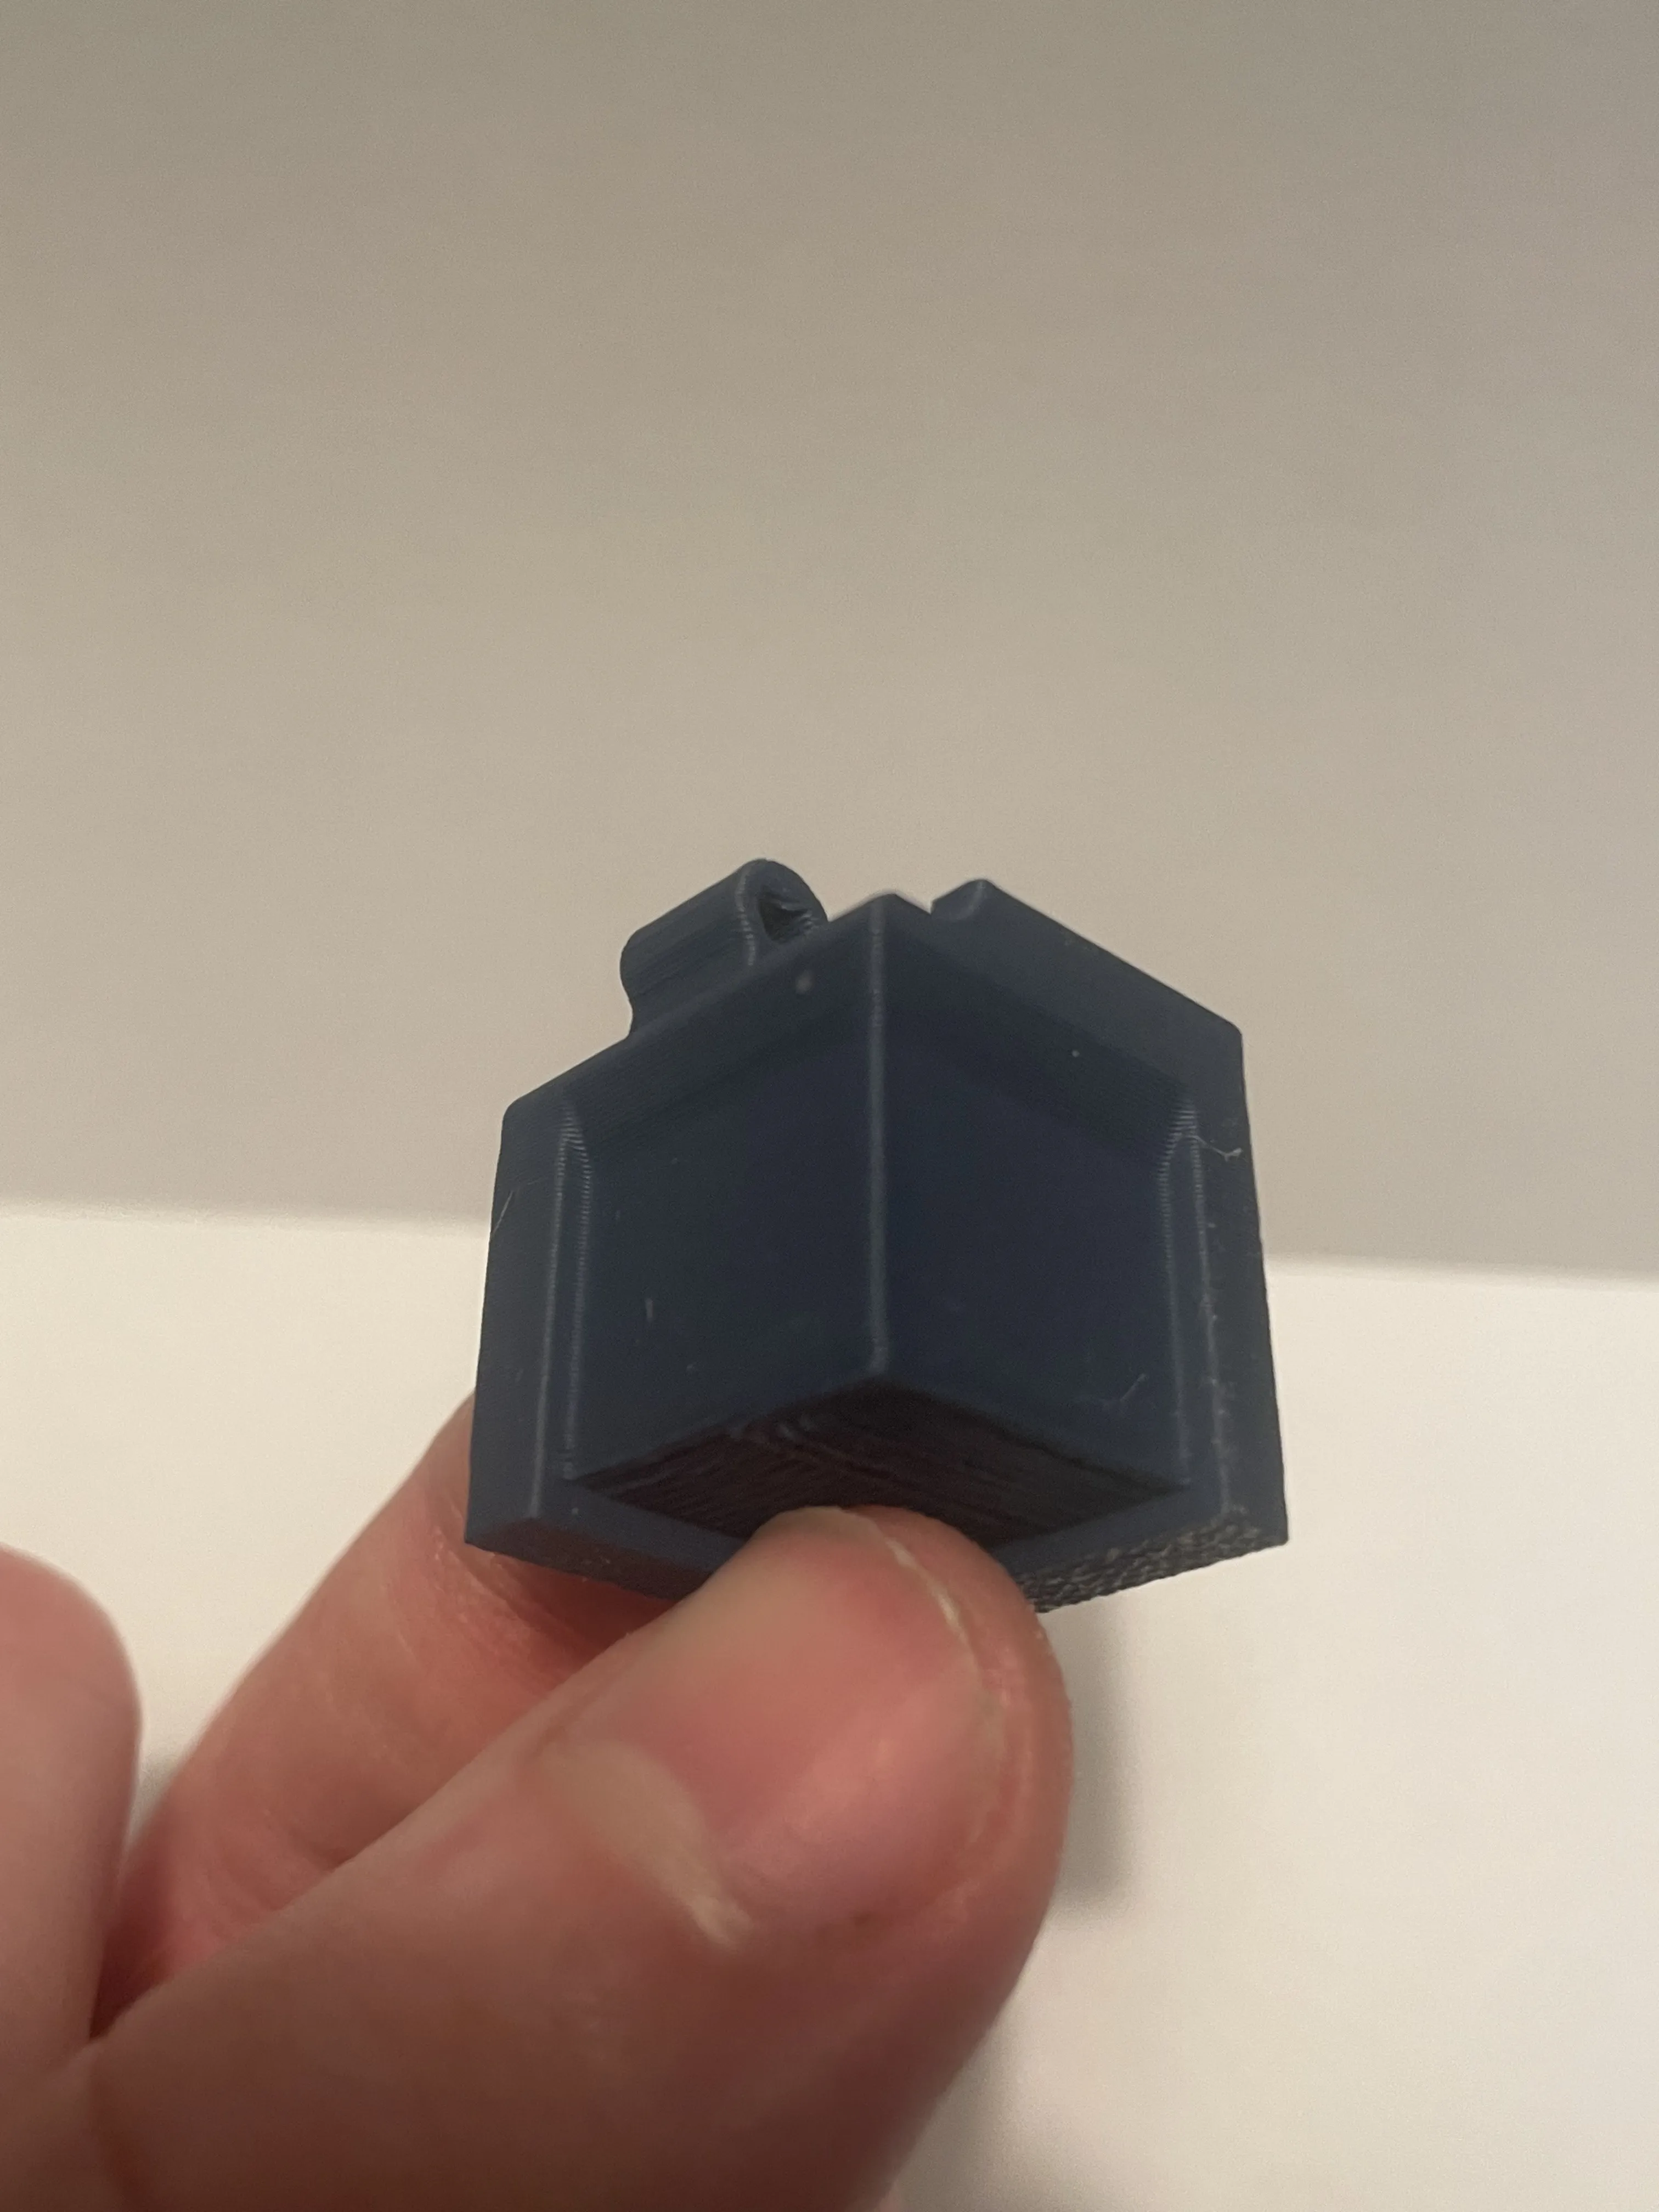
License

You shall not share, sub-license, sell, rent, host, transfer, or distribute in any way the digital or 3D printed versions of this object, nor any other derivative work of this object in its digital or physical format (including - but not limited to - remixes of this object, and hosting on other digital platforms). The objects may not be used without permission in any way whatsoever in which you charge money, or collect fees.


Comment & Rating (699)