
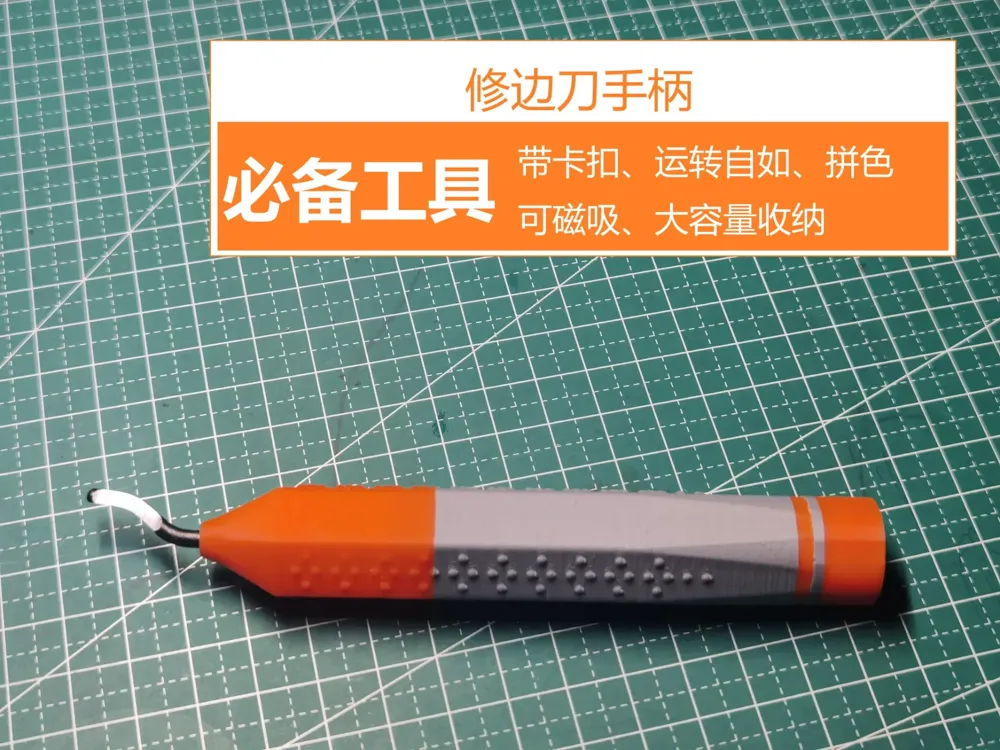
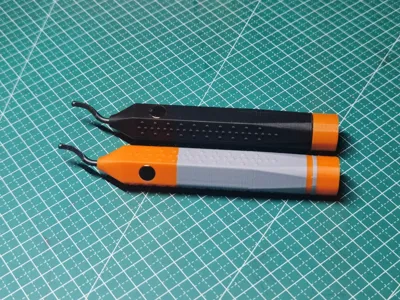
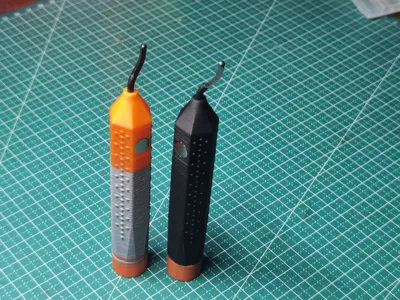
Essential 3D Printing Tool – Trimming Knife Handle
Print Profile(2)
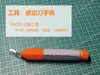
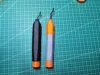
Description
Boost Me (for free)
Bubble fish goodies, meticulously crafted and continuously updated
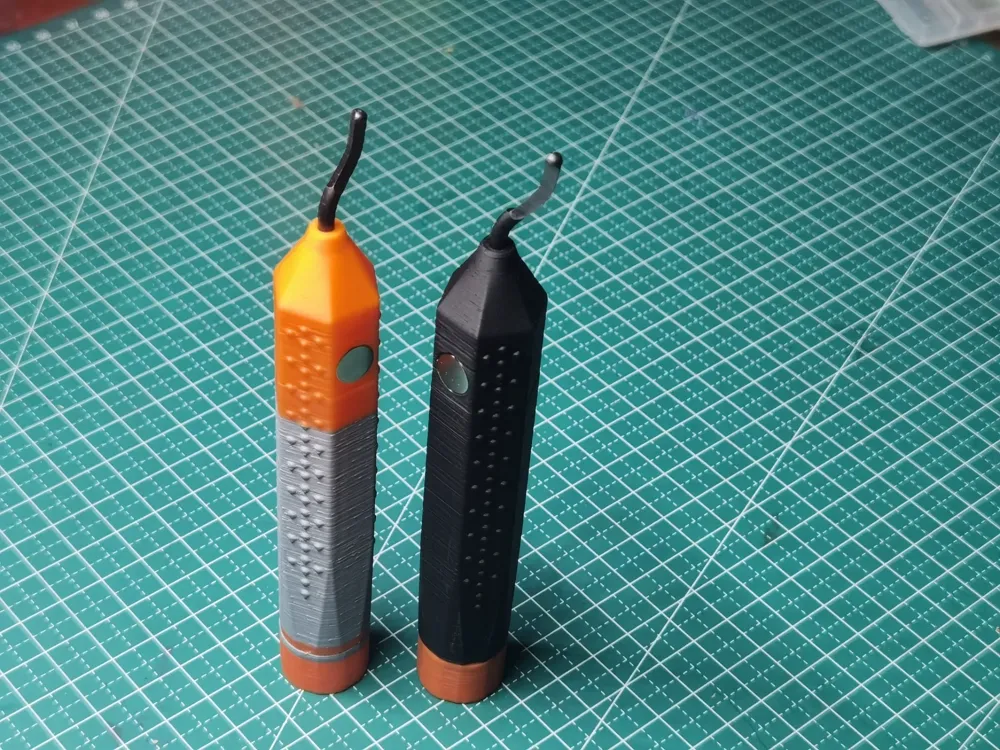
Detailing is paramount in 3D printed creations, and a trimming tool is indispensable
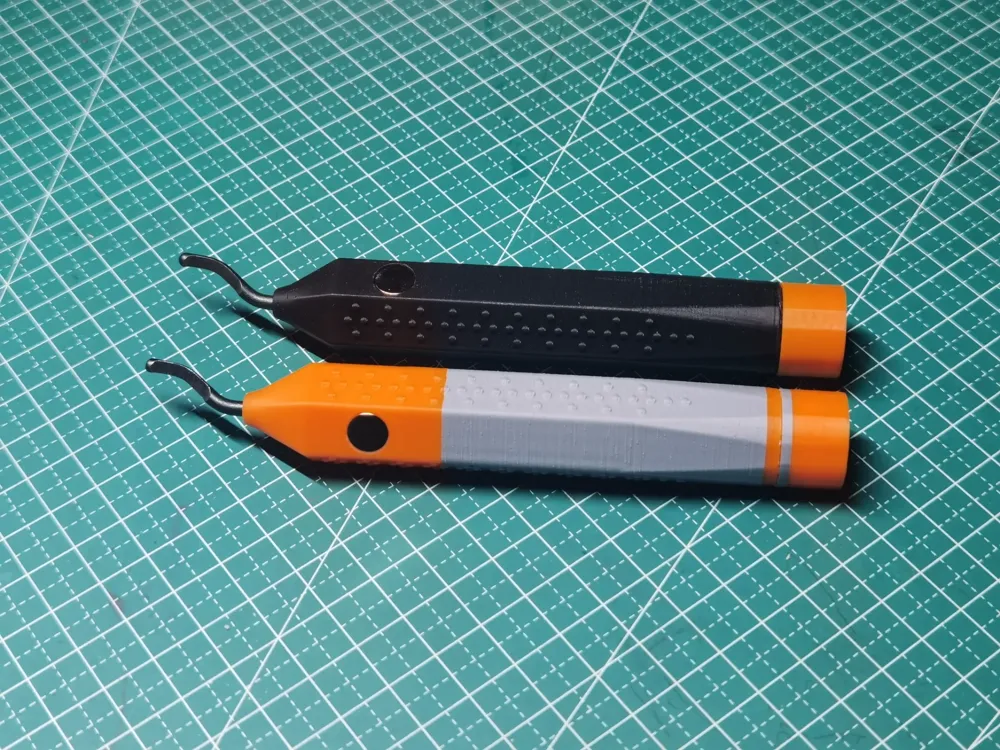
No stray filaments allowed Only two filament changes are needed to achieve the pictured results
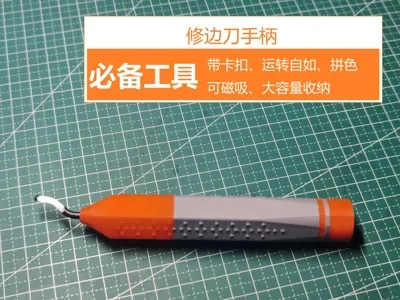
Handle Highlights
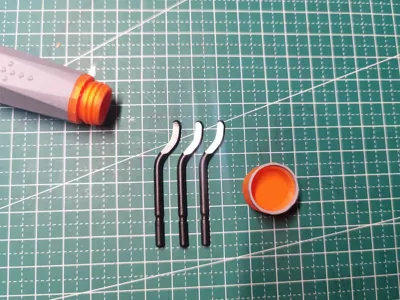
- Top-mounted clasp, detachable blade: A secure clasp mechanism ensures swift blade installation and removal
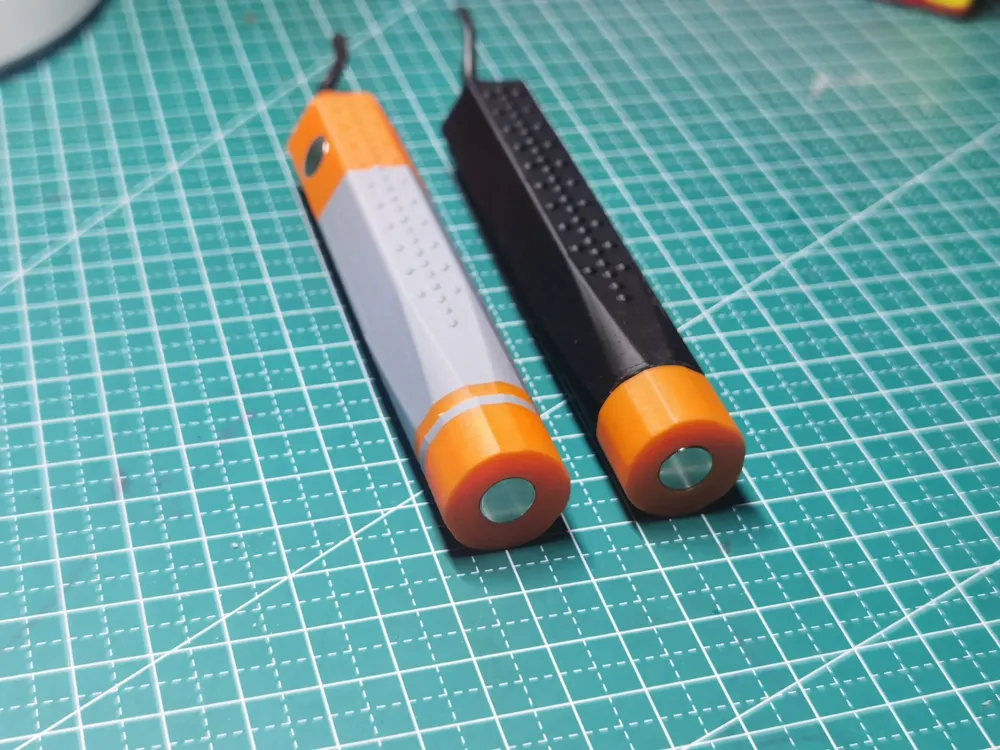
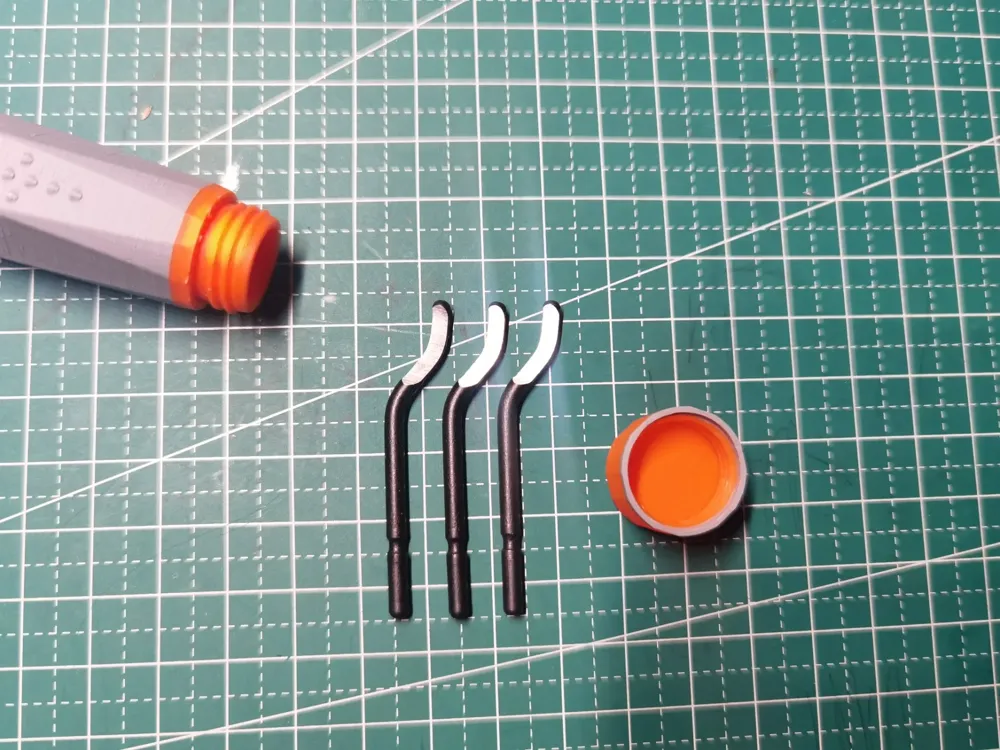
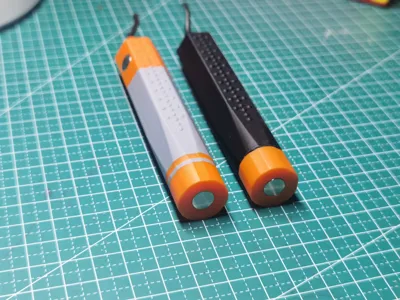
- High-capacity bottom storage: Effortlessly accommodates up to ten blades, solving the issue of disorganized blade storage
- Magnetic design, worry-free storage: Considering usage in diverse environments, powerful magnets are embedded in the bottom and sides of the handle. The handle will firmly adhere to metallic surfaces when needed

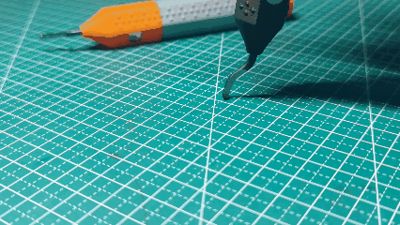
- Smooth operation, precise trimming: Ensures the blade remains secure, operates smoothly without jamming, truly achieving effortless trimming in every instance
Applications
- Post-processing of 3D prints, such as removing support structures and smoothing rough edges
- Model making, figurine polishing, and other meticulous craftwork
- Woodworking, jewelry design, and other applications requiring precise carving and trimming
External Accessory Compatibility
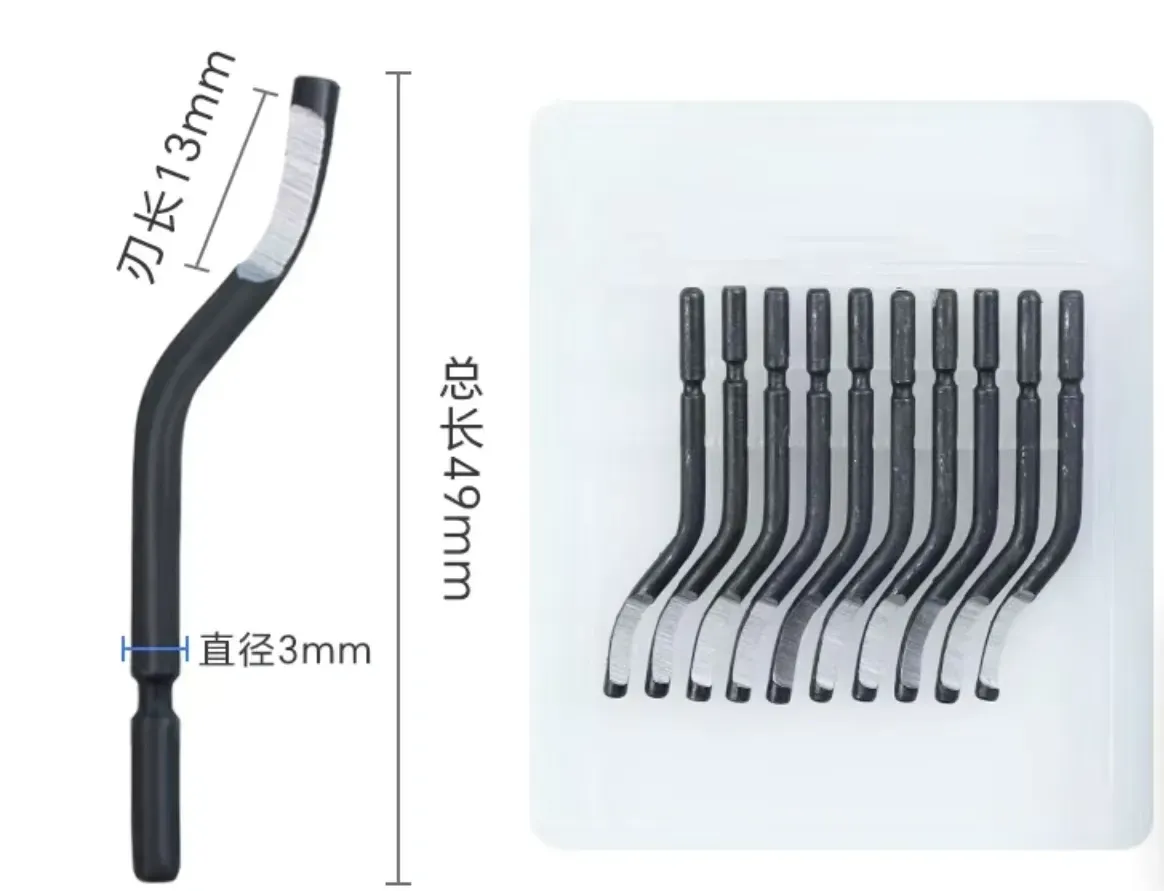
- Blades: As shown in the image (applicable specifications: 49mm length, 3mm diameter)
- Magnets: 8mm diameter * 1.5mm thickness, two pieces, consistent with those in previously released exhaust connection pieces/end window exhaust pieces
Installation Instructions
Installation: Exercise caution to avoid cuts during blade installation or removal. Use a cloth to cover the blade before handling
Rotation: There's a locking mechanism at the top. Press the blade firmly to the bottom until you hear a "click," indicating that it is in place. The blade rests against a cushion; rotate it a few times in both directions
Updates

Configuration Two: Fine-tuned blade aperture, suitable for PETG material
Boost Me (for free)
If you like it, please support me, stay tuned
License

You shall not share, sub-license, sell, rent, host, transfer, or distribute in any way the digital or 3D printed versions of this object, nor any other derivative work of this object in its digital or physical format (including - but not limited to - remixes of this object, and hosting on other digital platforms). The objects may not be used without permission in any way whatsoever in which you charge money, or collect fees.


Comment & Rating (3)