Search models, users, collections, and posts

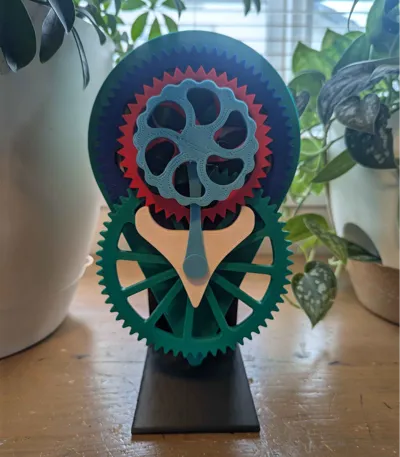
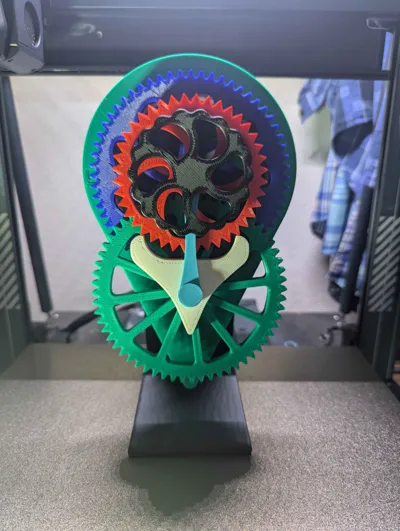
Wind up Runaway Escapement Mechanism

GIF

Print Profile(2)

All
P1P
P1S
X1
X1 Carbon
X1E
A1
H2D
H2D Pro
H2S
P2S
H2C
X2D
A2L

0.2mm layer, 2 walls, 15% infill
Designer
10.7 h
7 plates
5.0(5)

Optimized Settings
Optimized Settings
8.6 h
4 plates

Open in Bambu Studio
Boost
53
133
8
5
63
23
Released 

Description

.This is an example of a Runaway Escapement Mechanism with are found most windup toys


.No glue or non 3d printer parts are needed.


.When printing the spring make sure you print it at 100% infill.


.Petg is recommended for the spring to make it last longer but isn't necessary; every else can be made from pla


.will work without the stand.


.I haven't tested scaling but if you do, i wouldn't go under 50%.  


Assembly guide


Press tail of spring in the small hole on the body and pull the middle of the spring

(the shaft) through the big hole of the body


Press the back plate on to the body.


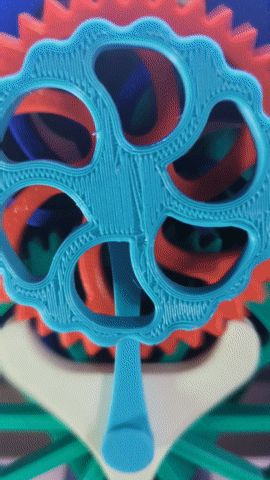
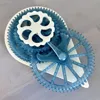
Press the slip gear on square part of the shaft.

Make sure it is in the same direction as the picture. 


Press Stand on back plate. The point should be on the bottom


Place main gear on the spring shaft and over the slip gear.

should click when rotating one way and turn the spring when turning the other way


Place 2nd gear on the shaft on the body


Place timing gear on the spring shaft over the main gear.


Place fork on the body shaft over the 2nd gear and line it up with the teeth of the timing gear.


Press brace on the body shaft and the spring shaft. the open half should be on the spring side.


Press winder on the spring shaft.


Comment & Rating (8)

(0/1000)

Print Profile
0.2mm layer, 2 walls, 15% infill
Works well. Makes a loud, but not excessive, noise. Winder takes some force to rotate about a half turn to activate.
0
Reply
Boosted
Awesome model !!! Everything fit togethet perfectly with a satifying snap. Didn't realize how big it was lol Impressive how much energy is in the spring. Thx for sharing your model !
0
Reply
tining fork fails every time because it starts the exterior shape on layer 2 after doing a small circle for layer 1
0
Reply
Print Profile
0.2mm layer, 2 walls, 15% infill
Print came out great!
0
Reply
Boosted
Initial thoughts were great, however, I am trying stronger springs as the original failed quite quickly. Second build with better material on the spring worked OK for a short while until the small end of the square drive sheared off, I am thinking of pinning and gluing it back, perhaps edit the design to increase the section of the square and add radius at the base of the square to reduce stress raising effect.
(Edited)
0
Reply
Print Profile
0.2mm layer, 2 walls, 15% infill
0
Reply
Print Profile
0.2mm layer, 2 walls, 15% infill
0
Reply
Print Profile
0.2mm layer, 2 walls, 15% infill
0
Reply
No more