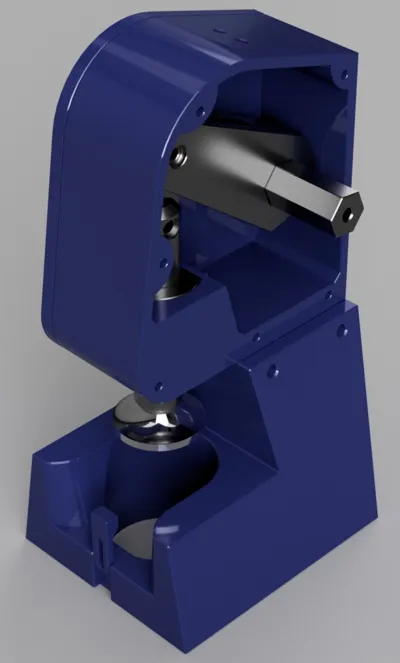
Coffee/Espresso Tamperstation 58mm


Print Profile(7)


Bill of Materials
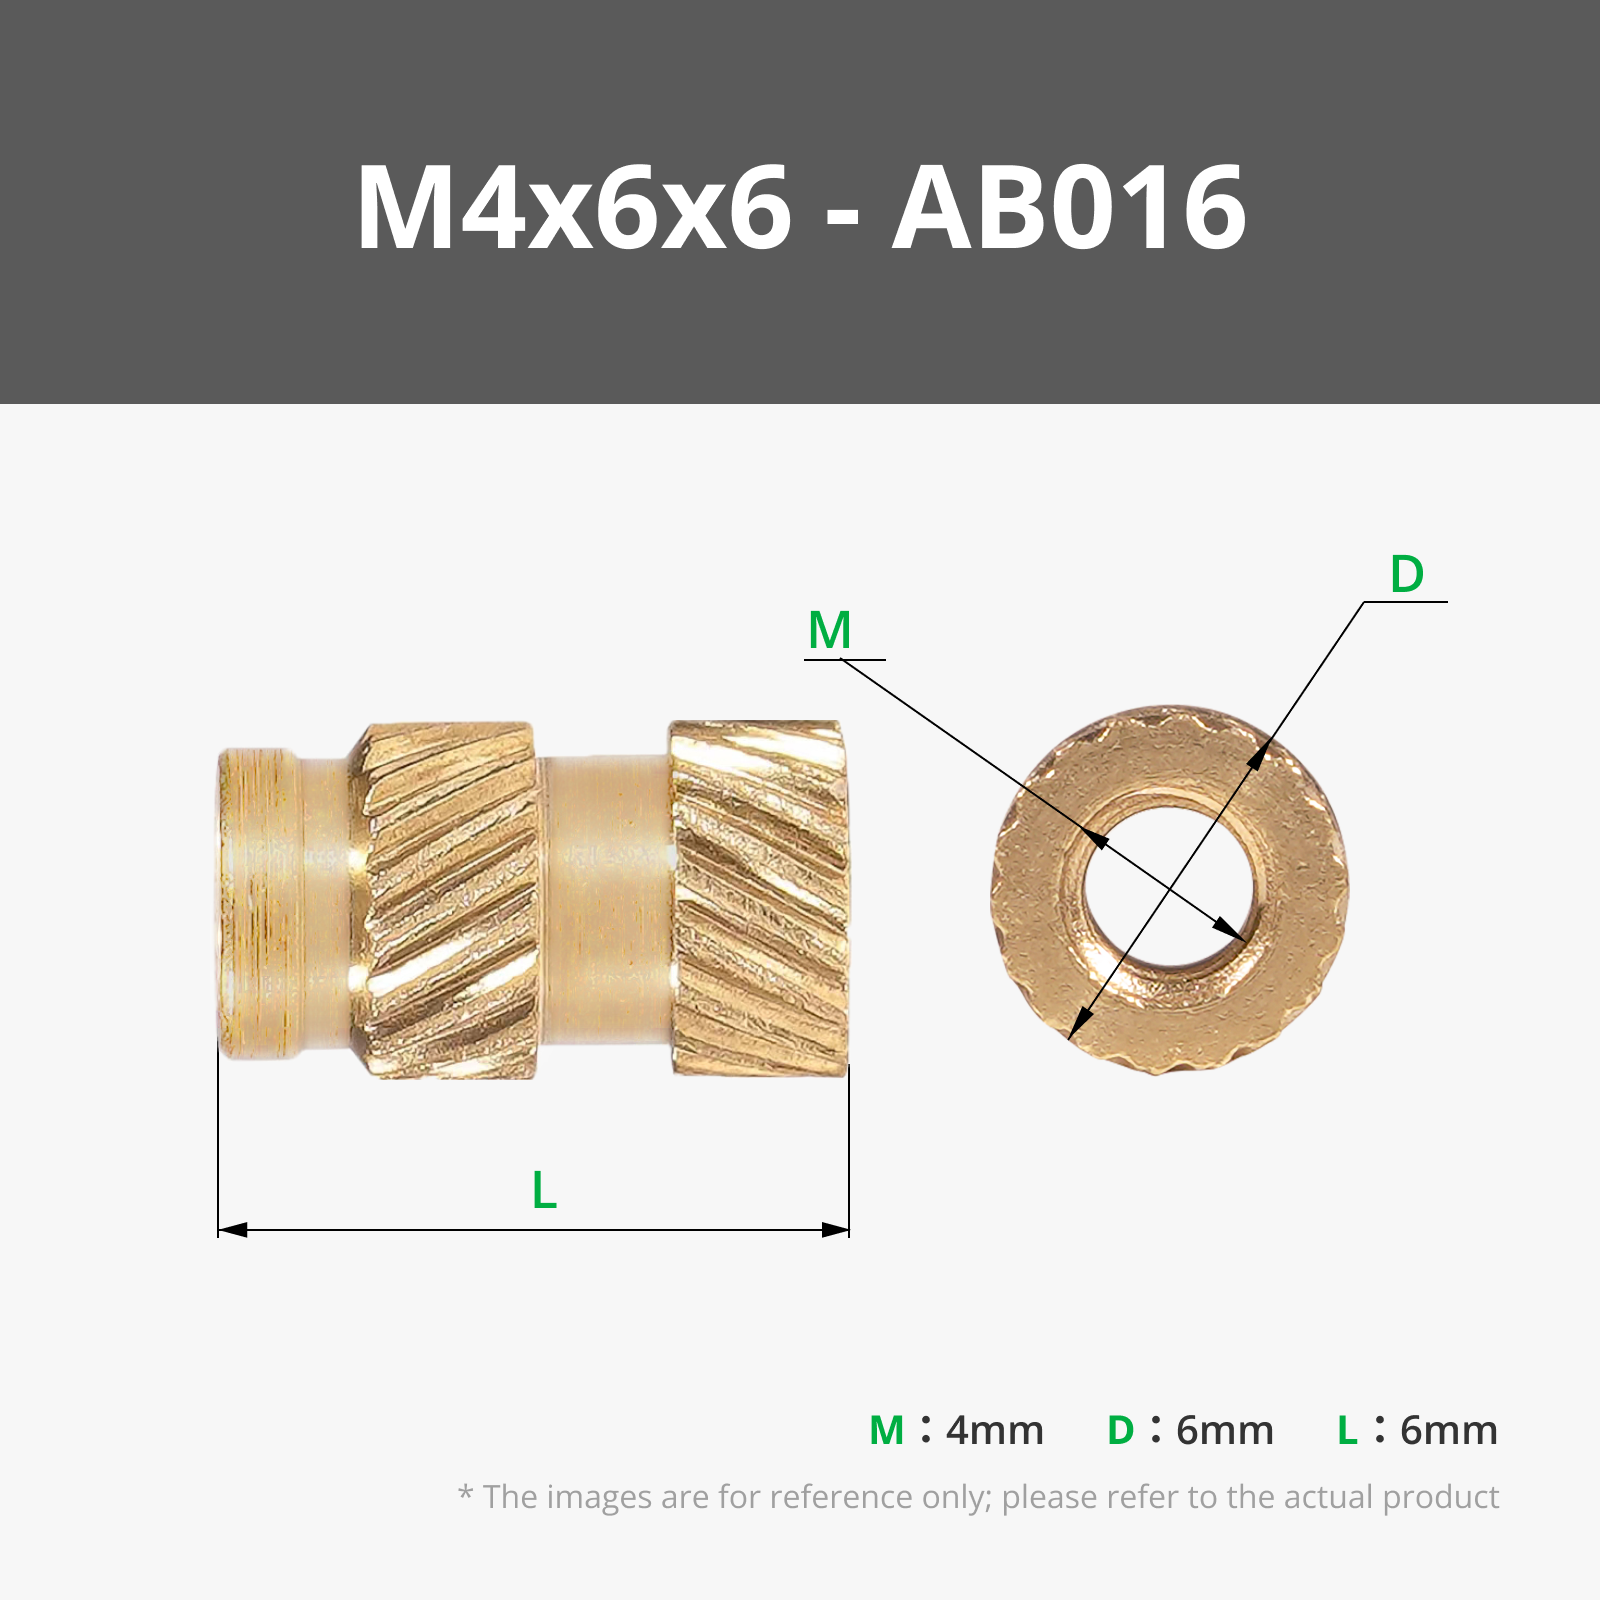


- M4 threaded inserts x 1: 14 pieces, plus 2 more for the V1 housing
- M4x12 cylinder head screws x 1: 14 (16)
- M8 threaded insert x 1: 1
- M6x16 screws x 1: https://www.amazon.de/gp/product/B08LKC2GMW/ref=ppx_yo_dt_b_search_asin_title?ie=UTF8&th=1
- Hot glue x 1:
- 2 magnets D15x4mm x 1: https://www.amazon.de/gp/product/B07KS633V5/ref=ppx_yo_dt_b_search_asin_title?ie=UTF8&th=1
Description
Before we start =D
- This is my hobby project.
- If you have any problems, I will do my best to help you.
Project Description
This model was developed after a suggestion from a work colleague who uses a 58mm tamper. It’s designed for a 58mm tamper, but I can make adjustments if needed, as I’ve already received requests for different sizes.
As a metalworker, I aimed to keep the design simple, sturdy, and easy to assemble. My own tamper uses an M8 threaded rod, so I could simply screw it into the main part (the “Rod.3mf” file, which includes an M8 threaded insert). The housing component is provided in two versions:
- Housing V1: If you print this version with the magnetic base, you can use your own magnets by modifying the base to fit your specific needs.
- Housing V2: This version has a fixed base for the magnet, so no screws are visible from the outside, providing a cleaner look.
The magnets are used to hold the tamper in place at the top. If you use a different tamper that is heavier than mine, it may be necessary to use stronger magnets to ensure the tamper stays securely in position.
Note: The Amazon links are not affiliate links and are provided only to help you find the correct parts.
In the part "Welle V2", the M4 threaded insert prevents the rod from being pulled out sideways.
Assembly Instructions
- Insert M4 threaded inserts:
Melt the appropriate M4 threaded inserts into all holes for the following parts:- Housing (M4)
- Welle V2 (M4)
- Welle V2 (M6)
- Rod (M8)
- Base (M4 for Magnetic Base)
- Glue the magnets into place:
Secure the magnets into the designated slots in the Housing and the Umlenkhebel using hot glue. - Secure the Welle V2 in Side Panel A:
Insert the Welle V2 into Side Panel A and secure it using an M4 screw. - Attach the Lever to Welle V2:
Mount the Lever onto the Welle V2 and fasten it with an M6 screw. - Install the Housing Part:
Take the Housing Part from the file “Smallparts,” insert it into the Housing, and screw it in place. - Insert the Rod:
Insert the Rod into the designated guide within the Housing. - Attach the Verbindungsgelenk to the Rod:
Secure the Verbindungsgelenk to the Rod with screws. - Attach the Umlenkhebel to the Verbindungsgelenk:
Screw the Umlenkhebel onto the Verbindungsgelenk. - Install Side Panels A and B:
Insert Side Panel A (with the secured Welle V2) and guide the Welle V2 through the Umlenkhebel. Then attach Side Panel B on the opposite side. Secure both panels in place with screws. - Attach the housing to the base:
Place the housing onto the base and screw it in place. - Mount the tamper stamp:
Install your tamper stamp into the assembly. - Attach the support adapter:
Finally, mount the support adapter and align it with your portafilter.
Update: The weight of my tamper is 308g.
Update: The model has been successfully tested and is fully functional.
Comment & Rating (51)