
Portable Equatorial Sundial (Clock)
Print Profile(2)


Bill of Materials


- Compass x 1:
- Spirit Level x 1:
- M4x18 Bolt x 2:
- M4 Nut x 4:
- Cord x 1:
Description
Inspired by the Makerworld Clock Design Contest, I was drawn to the fascinating subject of sundials. To better understand their mechanics, I conducted extensive research—which turned out to be a really fun learning experience! There are many types of sundials, but I chose to design an equatorial sundial because it can be easily set up in different parts of the world without requiring major modifications.
If you’d like to learn more about how equatorial sundials work and how to set one up, I highly recommend watching this video:
How Equatorial Sundials Work
While sundials are not practical for telling the time in daily life (thanks to modern alternatives), they remain fun, educational tools. I wanted to create a sundial that is portable, making it perfect for outdoor adventures like camping trips or use on a school playground. It’s a great way to teach kids and adults alike about the history of timekeeping, the Earth's movement, and the relationship between the sun and the seasons.
Design Overview
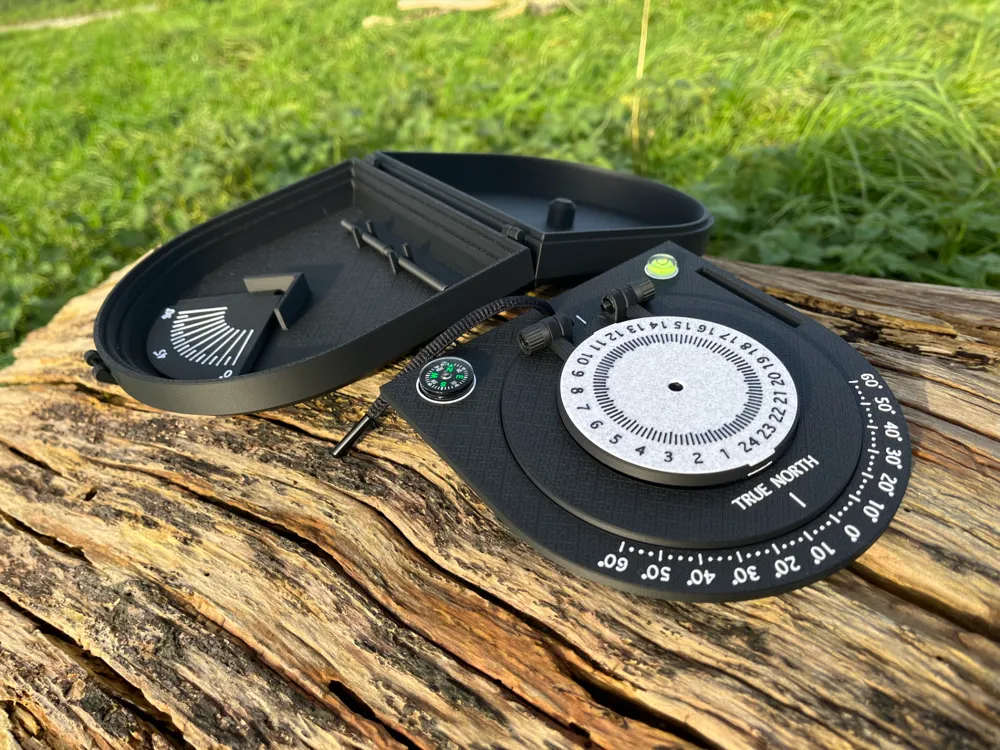
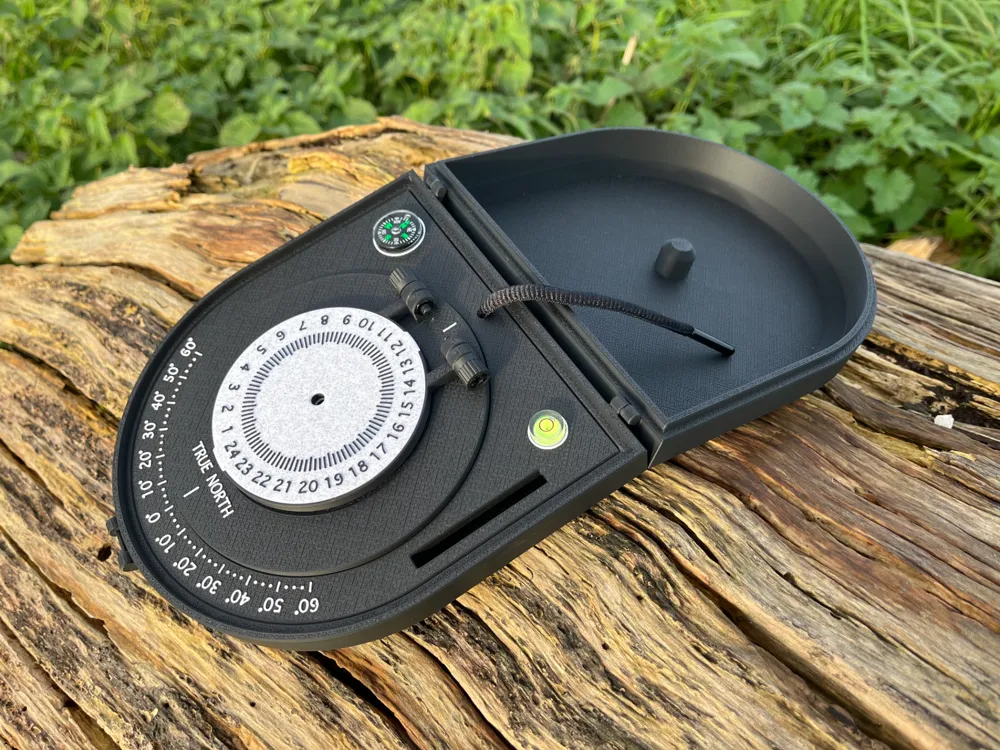
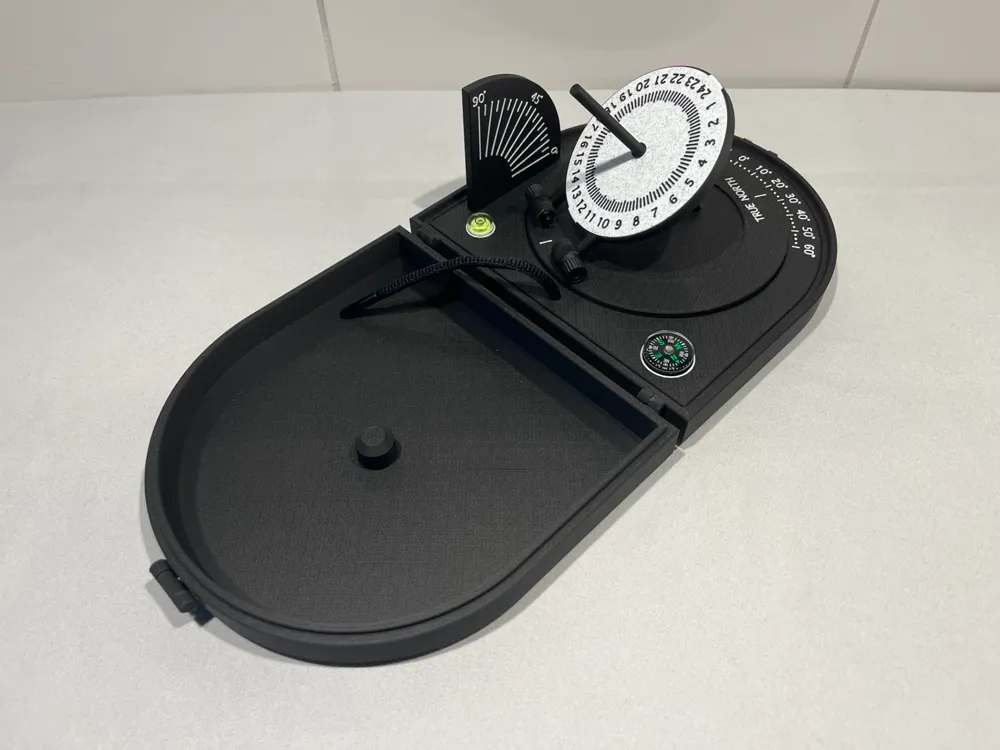
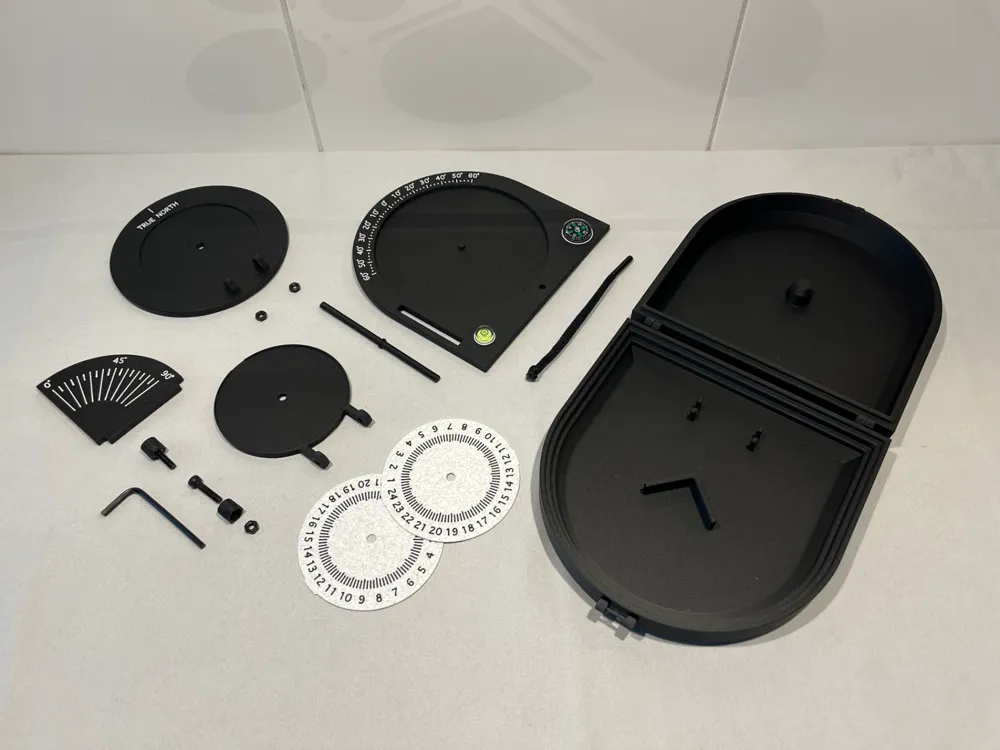
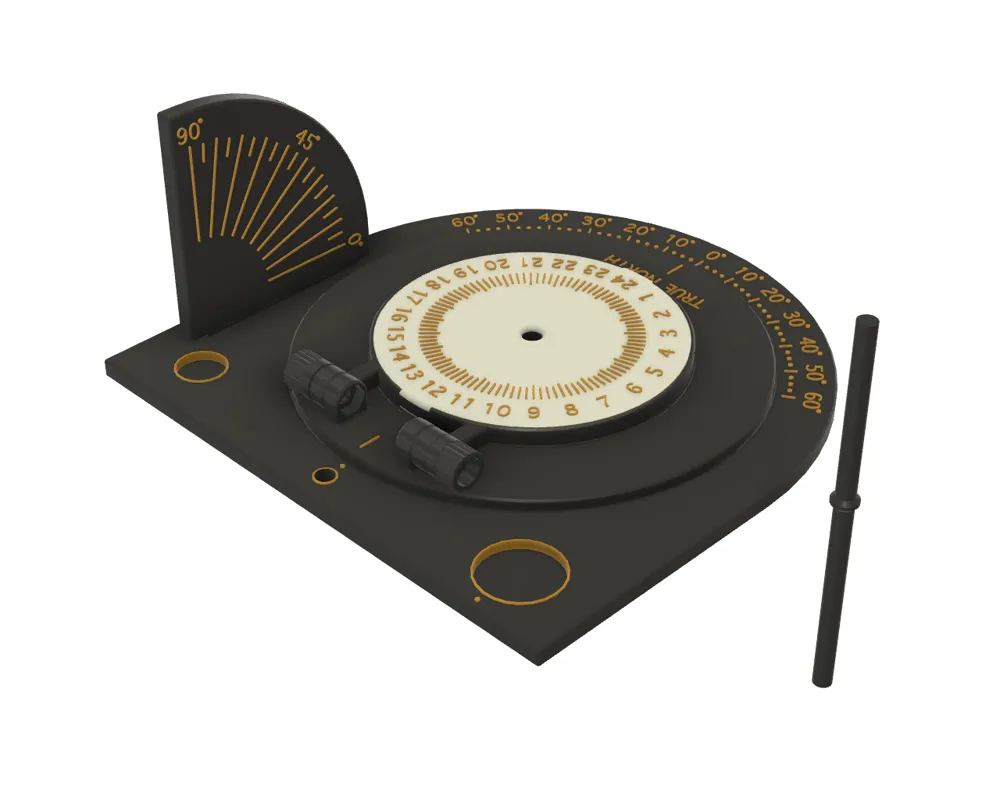
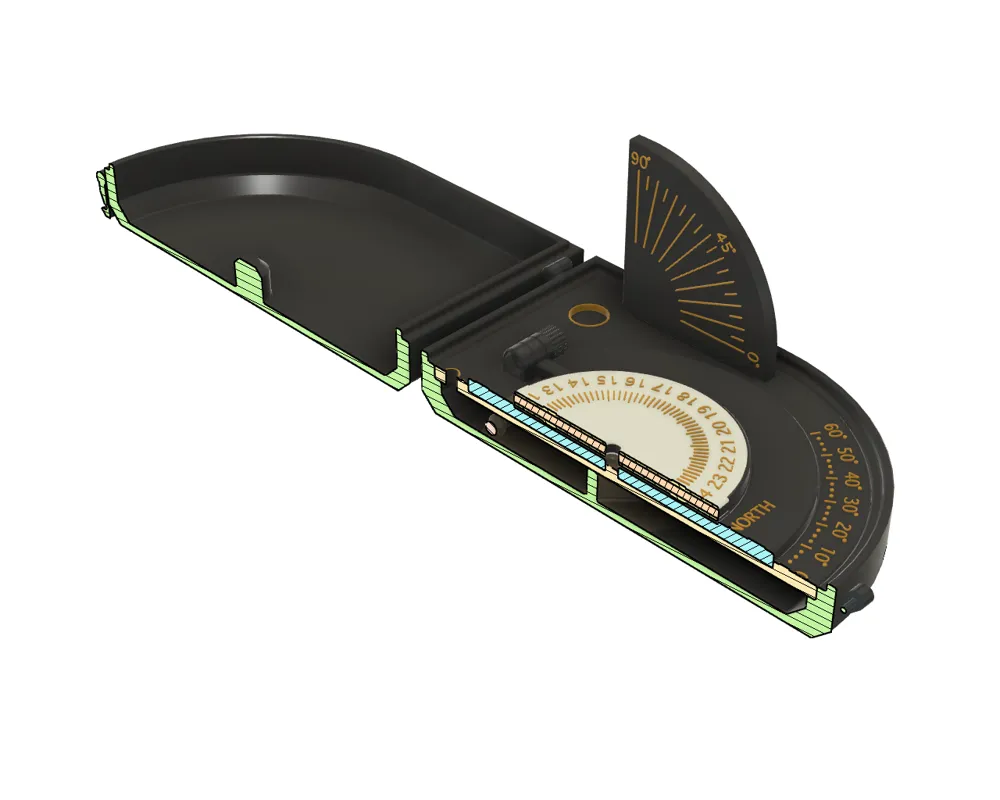
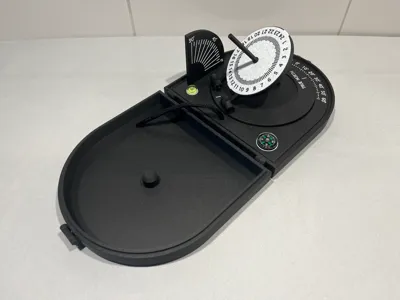
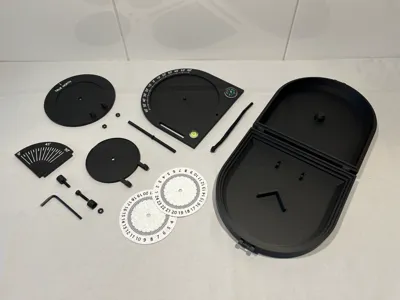
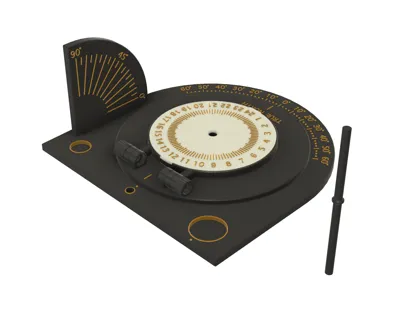
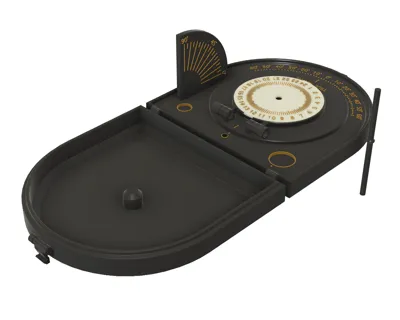
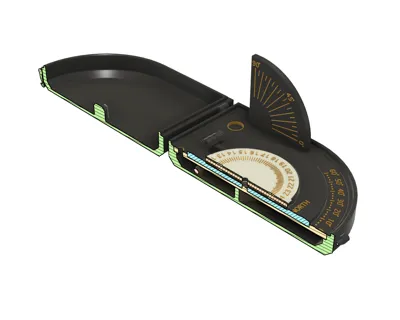
The sundial consists of the following components:
- Base: Holds all the other parts during use. It includes degree markings for adjusting the sundial from magnetic north to true north.
- Compass: Used to align the sundial to magnetic north.
- Spirit Level: Ensures the sundial is level with the ground.
- Angle Plate: Allows adjustment to the correct latitude for your location.
- Thumbscrews: Tighten the sundial to hold it securely at the correct latitude.
- Turning Plate: Rotates to adjust the sundial's direction from magnetic north to true north, using a pointer for precise alignment.
- Dial Plate Holder: Holds the two dial plates in position.
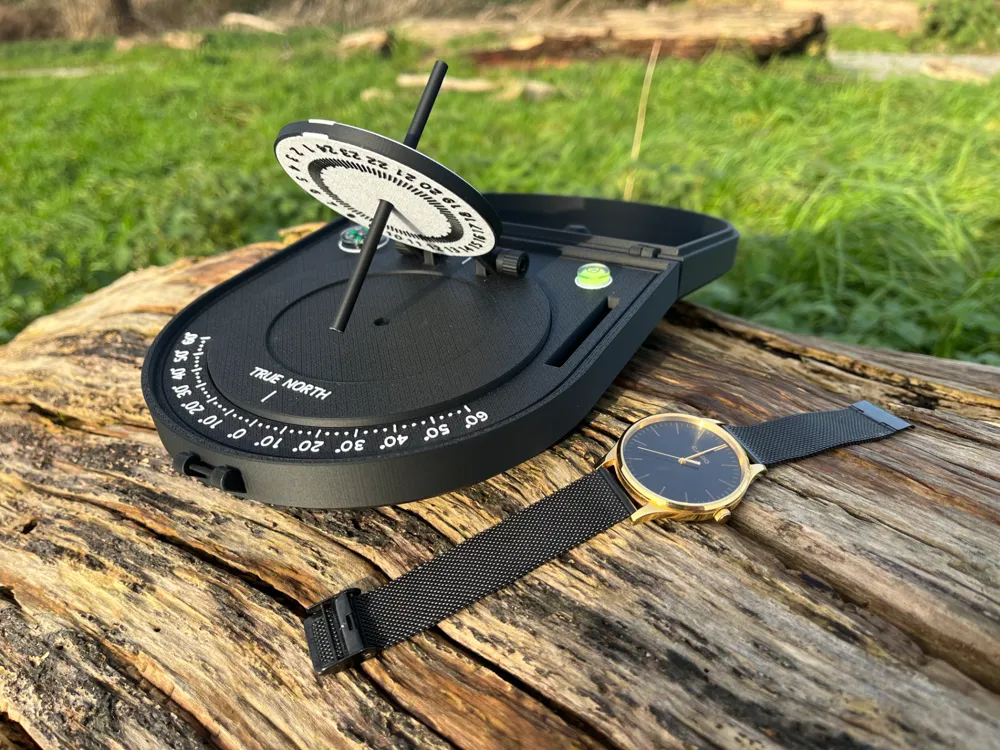
- Gnomon: The part that casts a shadow on the dial plate to indicate the time.
- Dial Plate: Displays the hours of the day. The gnomon's shadow points to the time if the sundial is correctly set up and there’s sufficient sunlight.
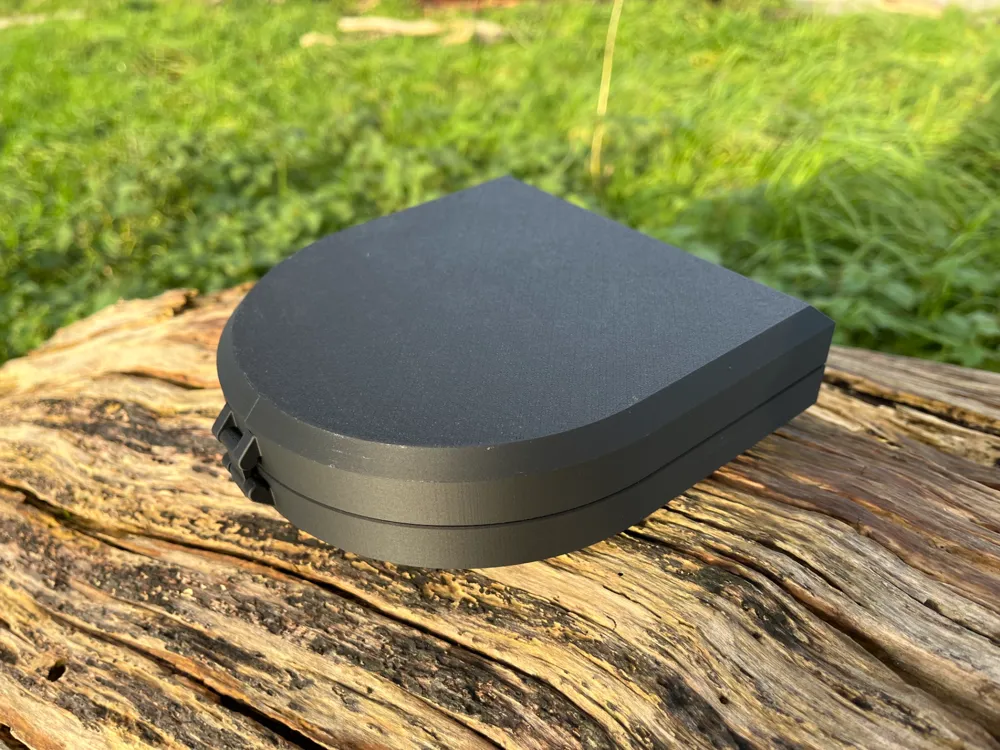
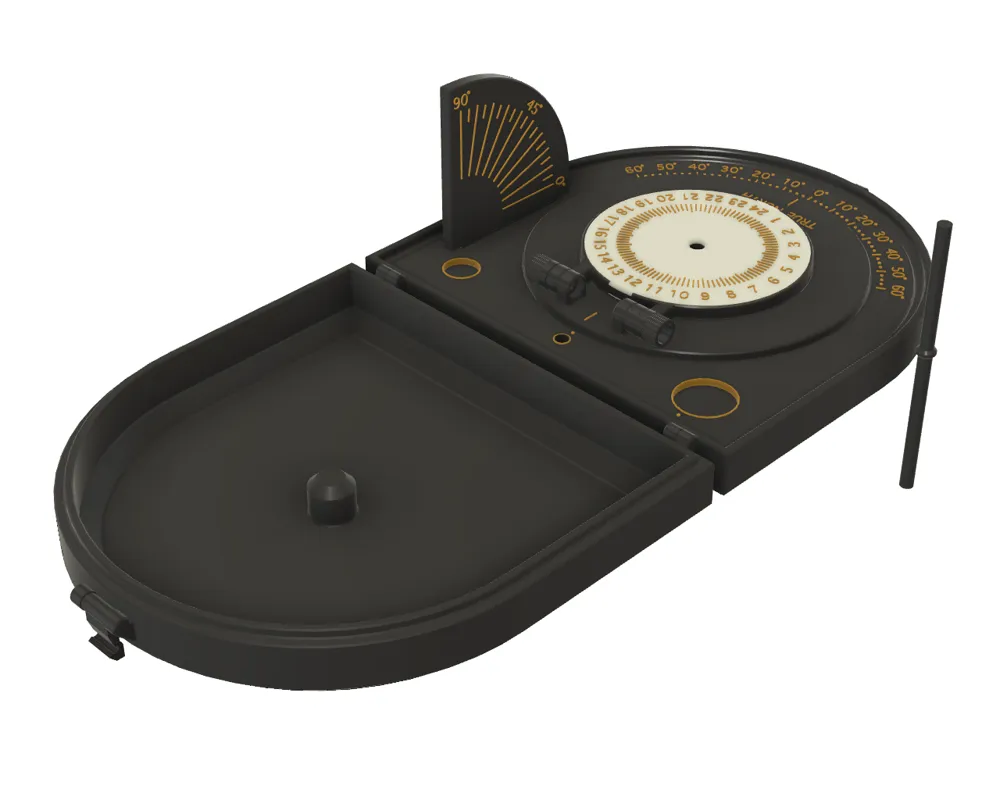
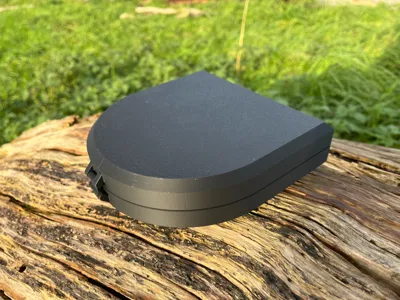
- Container: (Optional) A storage case for all the components, making the sundial portable.
- Cord: (Optional) A pull cord to make it easier to retrieve parts from the container.
How to Use the Sundial
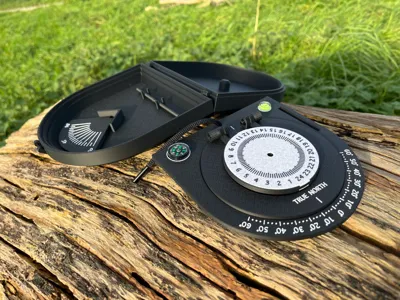
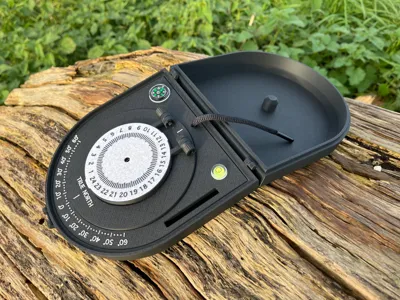
- Open the container and retrieve the gnomon and angle plate from underneath the base by pulling the cord.
- Assemble all the parts in their correct positions.
- Set the latitude using the angle plate and thumbscrews. The latitude depends on your location on Earth. It’s easiest to do this by looking over the dial plate from eye level, and ensuring true north is set to 0 degrees.
- Align the sundial with magnetic north using the compass, and level it with the spirit level.
- Correct for magnetic declination by rotating the turning plate to align the sundial with true north. Magnetic declination varies depending on your location.
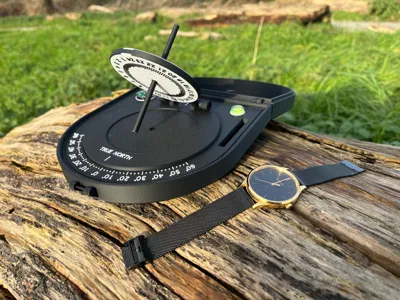
If everything is set up correctly, the gnomon’s shadow will point to the correct time on the dial plate when there’s sufficient sunlight.
NOTE: The gnomon should always point toward TRUE NORTH.
I created a video of me setting up the Sundial on my instagram feed. Feel free to watch it!
Tips for Reading the Time (watch the earlier linked video for details)
Keep the following factors in mind when reading the sundial:
- The season can affect how you interpret the time.
- Daylight saving time adjustments may apply.
- Time zones differ depending on your location.
- Solar time vs. standard time.
- The equation of time.
Materials and Printing
The sundial was designed in Fusion 360 and printed using the Bambulab P1S. I used PLA Matte Charcoal and PLA White Marble filaments for a modern and stylish appearance.
Additional Components
- Compass: Buy here
- Spirit Level: Buy here
- M4x18 Bolts: Buy here
- M4 Nuts: Buy here
- Cord: I used an old black shoelace, but any thick cord (approximately 5mm in thickness) will work.
Final Notes
After 10 cloudy days, it was finally a sunny morning in the Netherlands! This gave me the chance to test the sundial, and it seems to work well (see pictures)! Since it’s currently winter in the Netherlands, the time is read from the bottom of the sundial plate. In the pictures, you can see that it’s 12 o’clock.
If you like my design, please leave a like or comment—it would mean a lot to me! And if you have any feedback, I’d love to hear it.
License



Comment & Rating (23)