


Print Profile(3)

Bill of Materials


Description
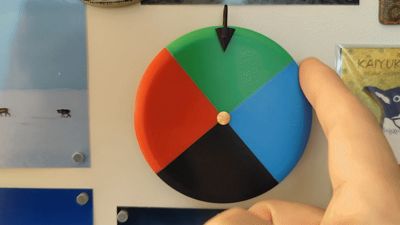
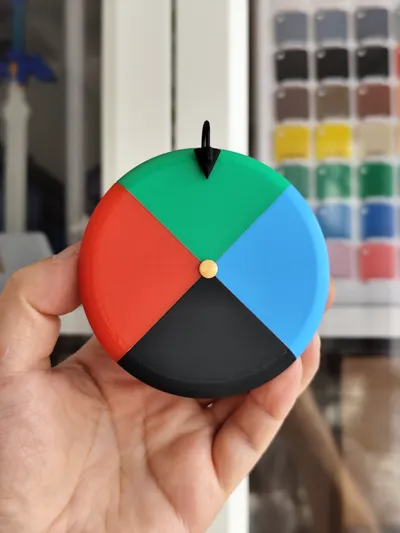
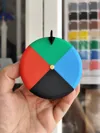
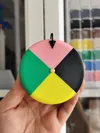
Howl's Moving Castle Magic Door Portal
A magical color wheel inspired by Howl's Moving Castle, offering two color schemes—before and after the move.
Magic Door Portal from Howl's Moving Castle, providing two color schemes: before and after moving.
Bill of Materials
- D6x3 cylindrical magnets 10pcs (CA007)
- MR128 bearing 1pc (EA004)
Printing
Print plate 1, embedding 8 magnets during the layer 29 pause.
Print plate 1, insert 8 magnets when pausing at layer 29.
Print plates 2 and 3, embedding 1 magnet each during the layer 61 pause.
Print plate 2 and plate 3, insert 1 magnet each when pausing at layer 61.
For the pre-move color scheme, print plate 4; for the post-move scheme, print plate 5.
If you are making a color match before moving, please print plate 4; if you are making a color match after moving, please print plate 5.
Print plates 6 and 7. Smaller components may print successfully with a 0.4mm nozzle, though the print bed may require adhesive. A 0.2mm nozzle is recommended for optimal results.
Print plate 6 and plate 7. Small parts may be successfully printed with a 0.4mm nozzle, and the printing plate may need to be coated with glue. If you use a 0.2mm nozzle, it will be better.
*Maintain consistent magnet polarity throughout. Secure magnets with a small amount of adhesive to prevent the hot end from dislodging them.
*All magnets are kept in the same direction. The magnets need to be secured with some CA glue, otherwise the hot end may take away the magnet.
*If employing N52 magnets, their strength may be excessive; consider using smaller magnets for plates 2 and 3.
*If you use N52 magnets, the magnetism may be too strong. You can use smaller magnets for plate 2 and 3.
Assembly
Embed the bearing within the base.
Insert the bearing into the base.

Utilize filament as dowels to assemble the turntable. A small amount of adhesive is required; test-fit before adhering.
Assemble the turntable using filament as a tenon. CA glue is required. Please try to assemble it before gluing it.


Adhere the rivet to the turntable's center.
Glue the rivet in the center of the turntable.

Insert the turntable into the bearing. Apply a small amount of adhesive if loose.
Insert the turntable into the bearing. If it is loose, please apply some glue.

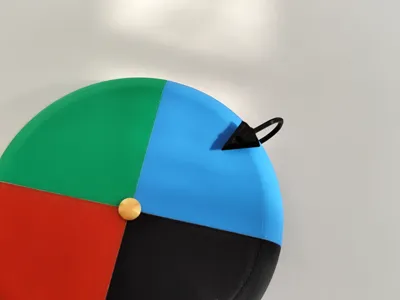
Insert the pointer.
Insert the pointer.
Comment & Rating (14)