

Zen Marble Pattern Generator

Print Profile(2)


Bill of Materials


- SteelBall x 1: 10mm(noStainlessSteel)
- Sand x 1: (SugarShouldWorktoo)
Description
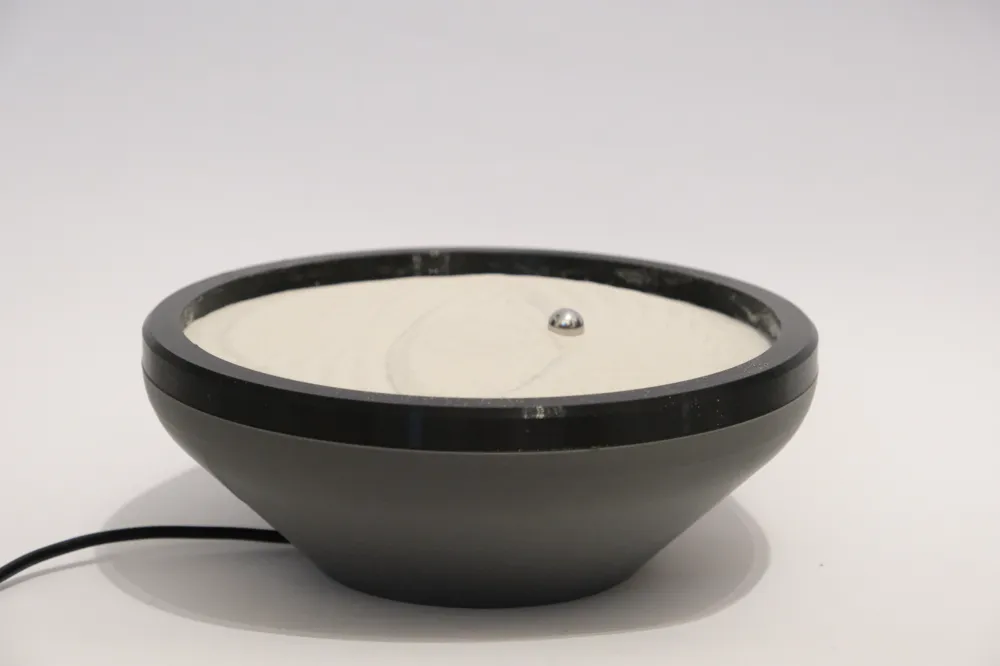
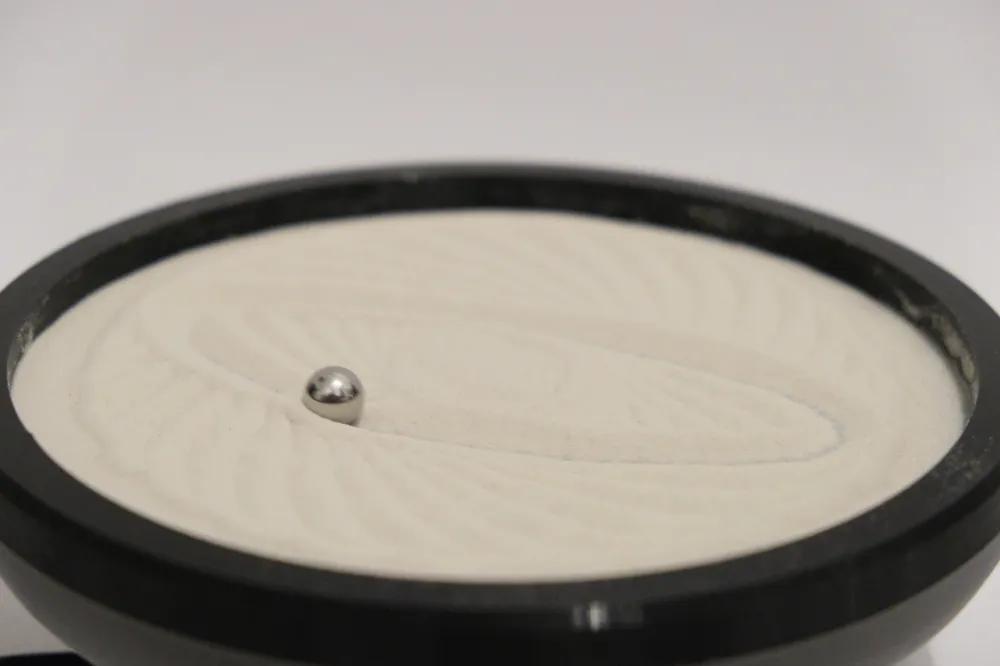
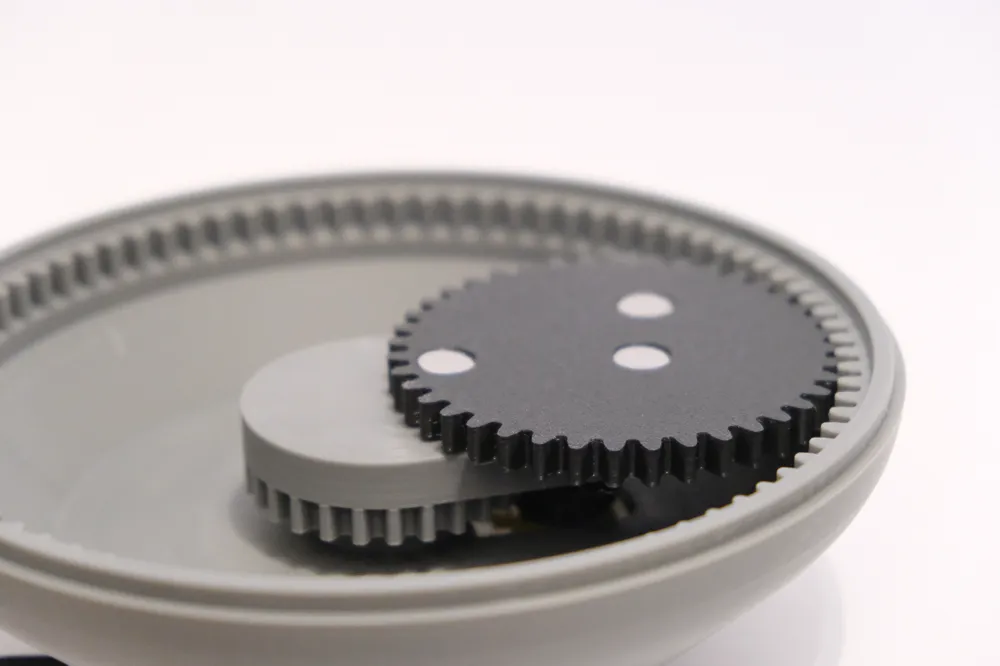
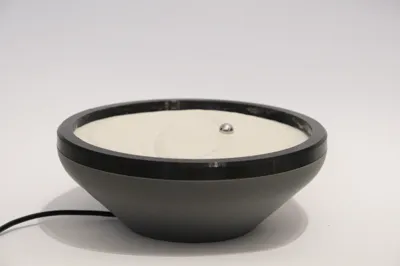
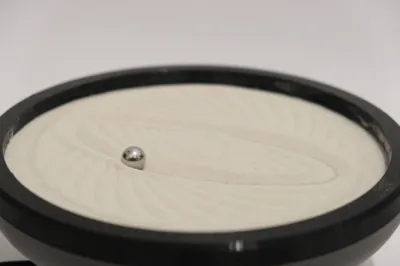

Discover tranquility with this easy-to-build Zen Sand Plotter! Designed for relaxation and creative expression, this model combines Maker Supplies with an elegant, functional design. A precision gear mechanism guides a metal ball over fine sand, creating intricate, ever-changing patterns.
Features
- Elegant Design: Combines functionality with aesthetics, offering a soothing visual experience.
- Easy Assembly: Straightforward to build, with no prior experience required.
- Customizable Patterns: Experiment with different ball sizes or or gears to craft unique designs.
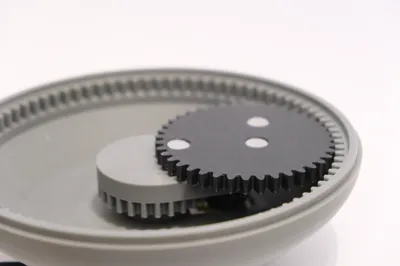
- 3 Interchangeable Gears: Comes with three distinct main gears, each producing a unique and captivating pattern. Swap gears effortlessly to explore different designs.
Perfect for desks, shelves, or meditative spaces, the plotter offers a calming visual experience as it draws organic designs.
Whether you're a maker, an art lover, or someone seeking a touch of mindfulness, this sand plotter is a satisfying project with mesmerizing results.
Boost Me (for free)
Assembly Guide for Zen Sand Pattern Generator
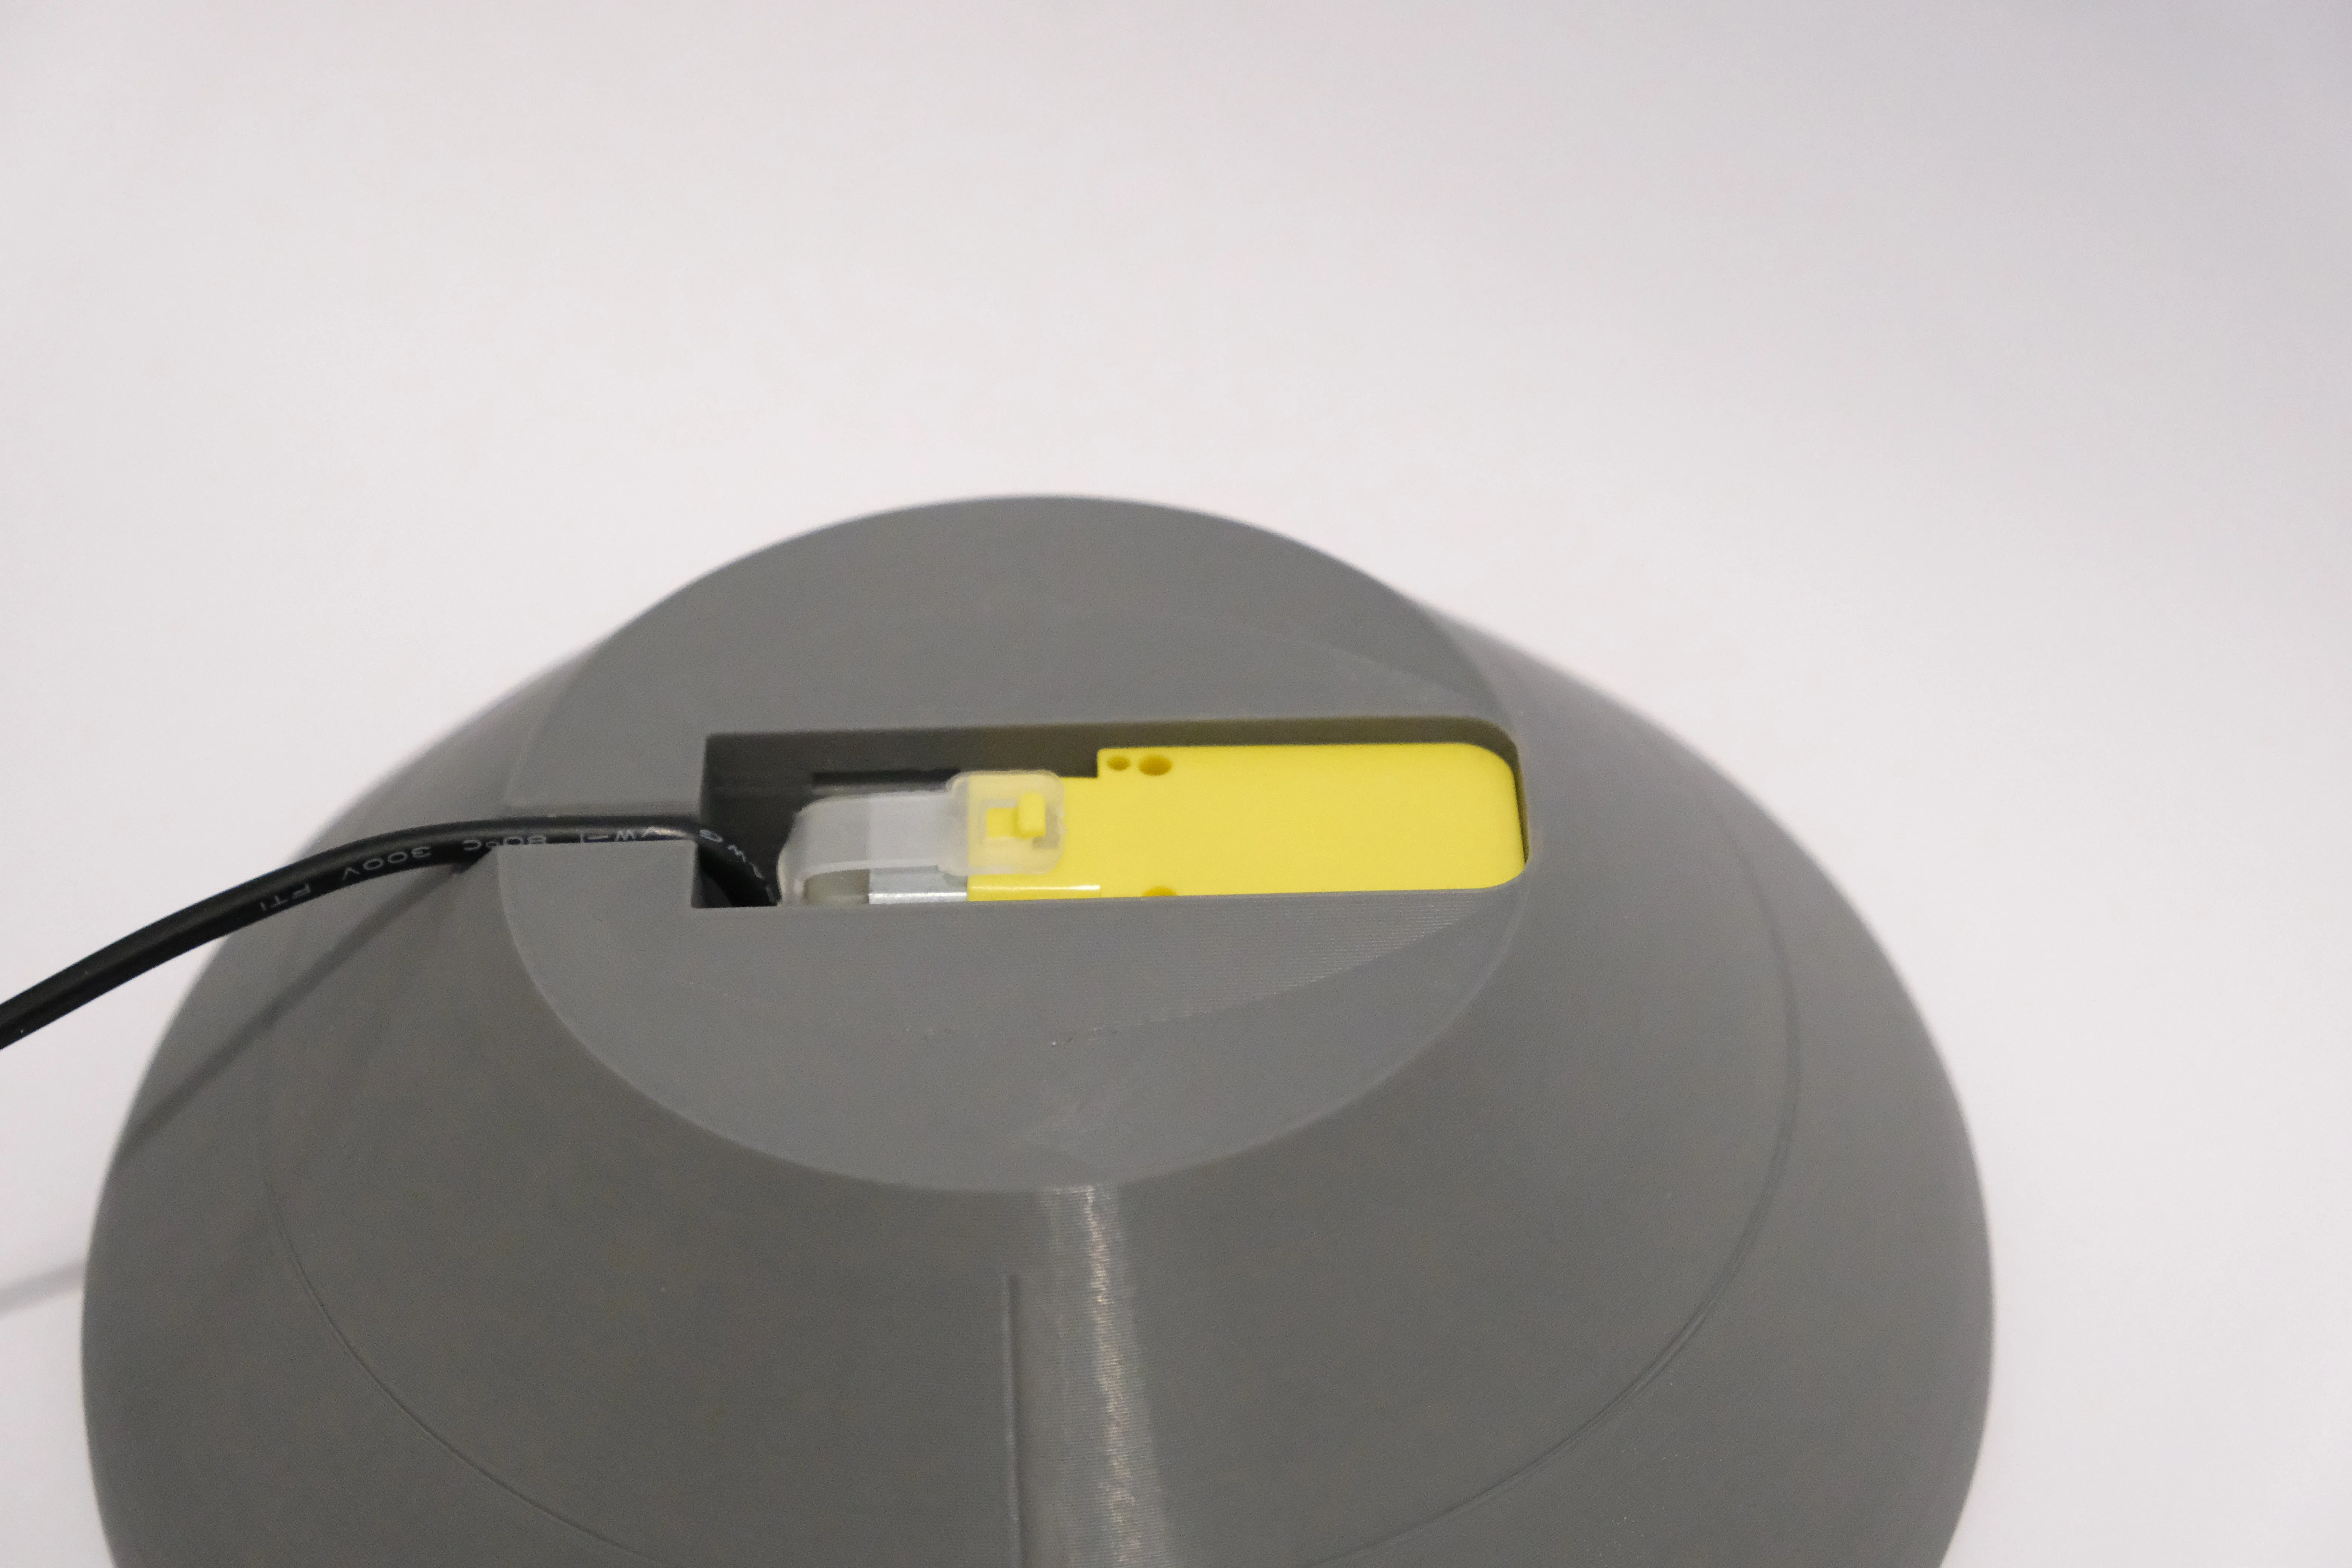
Step 1: Install the Motor
- Insert the motor from the bottom of the base as shown in the image.
Ensure the motor’s shaft aligns properly with the designated gear mechanism slot.
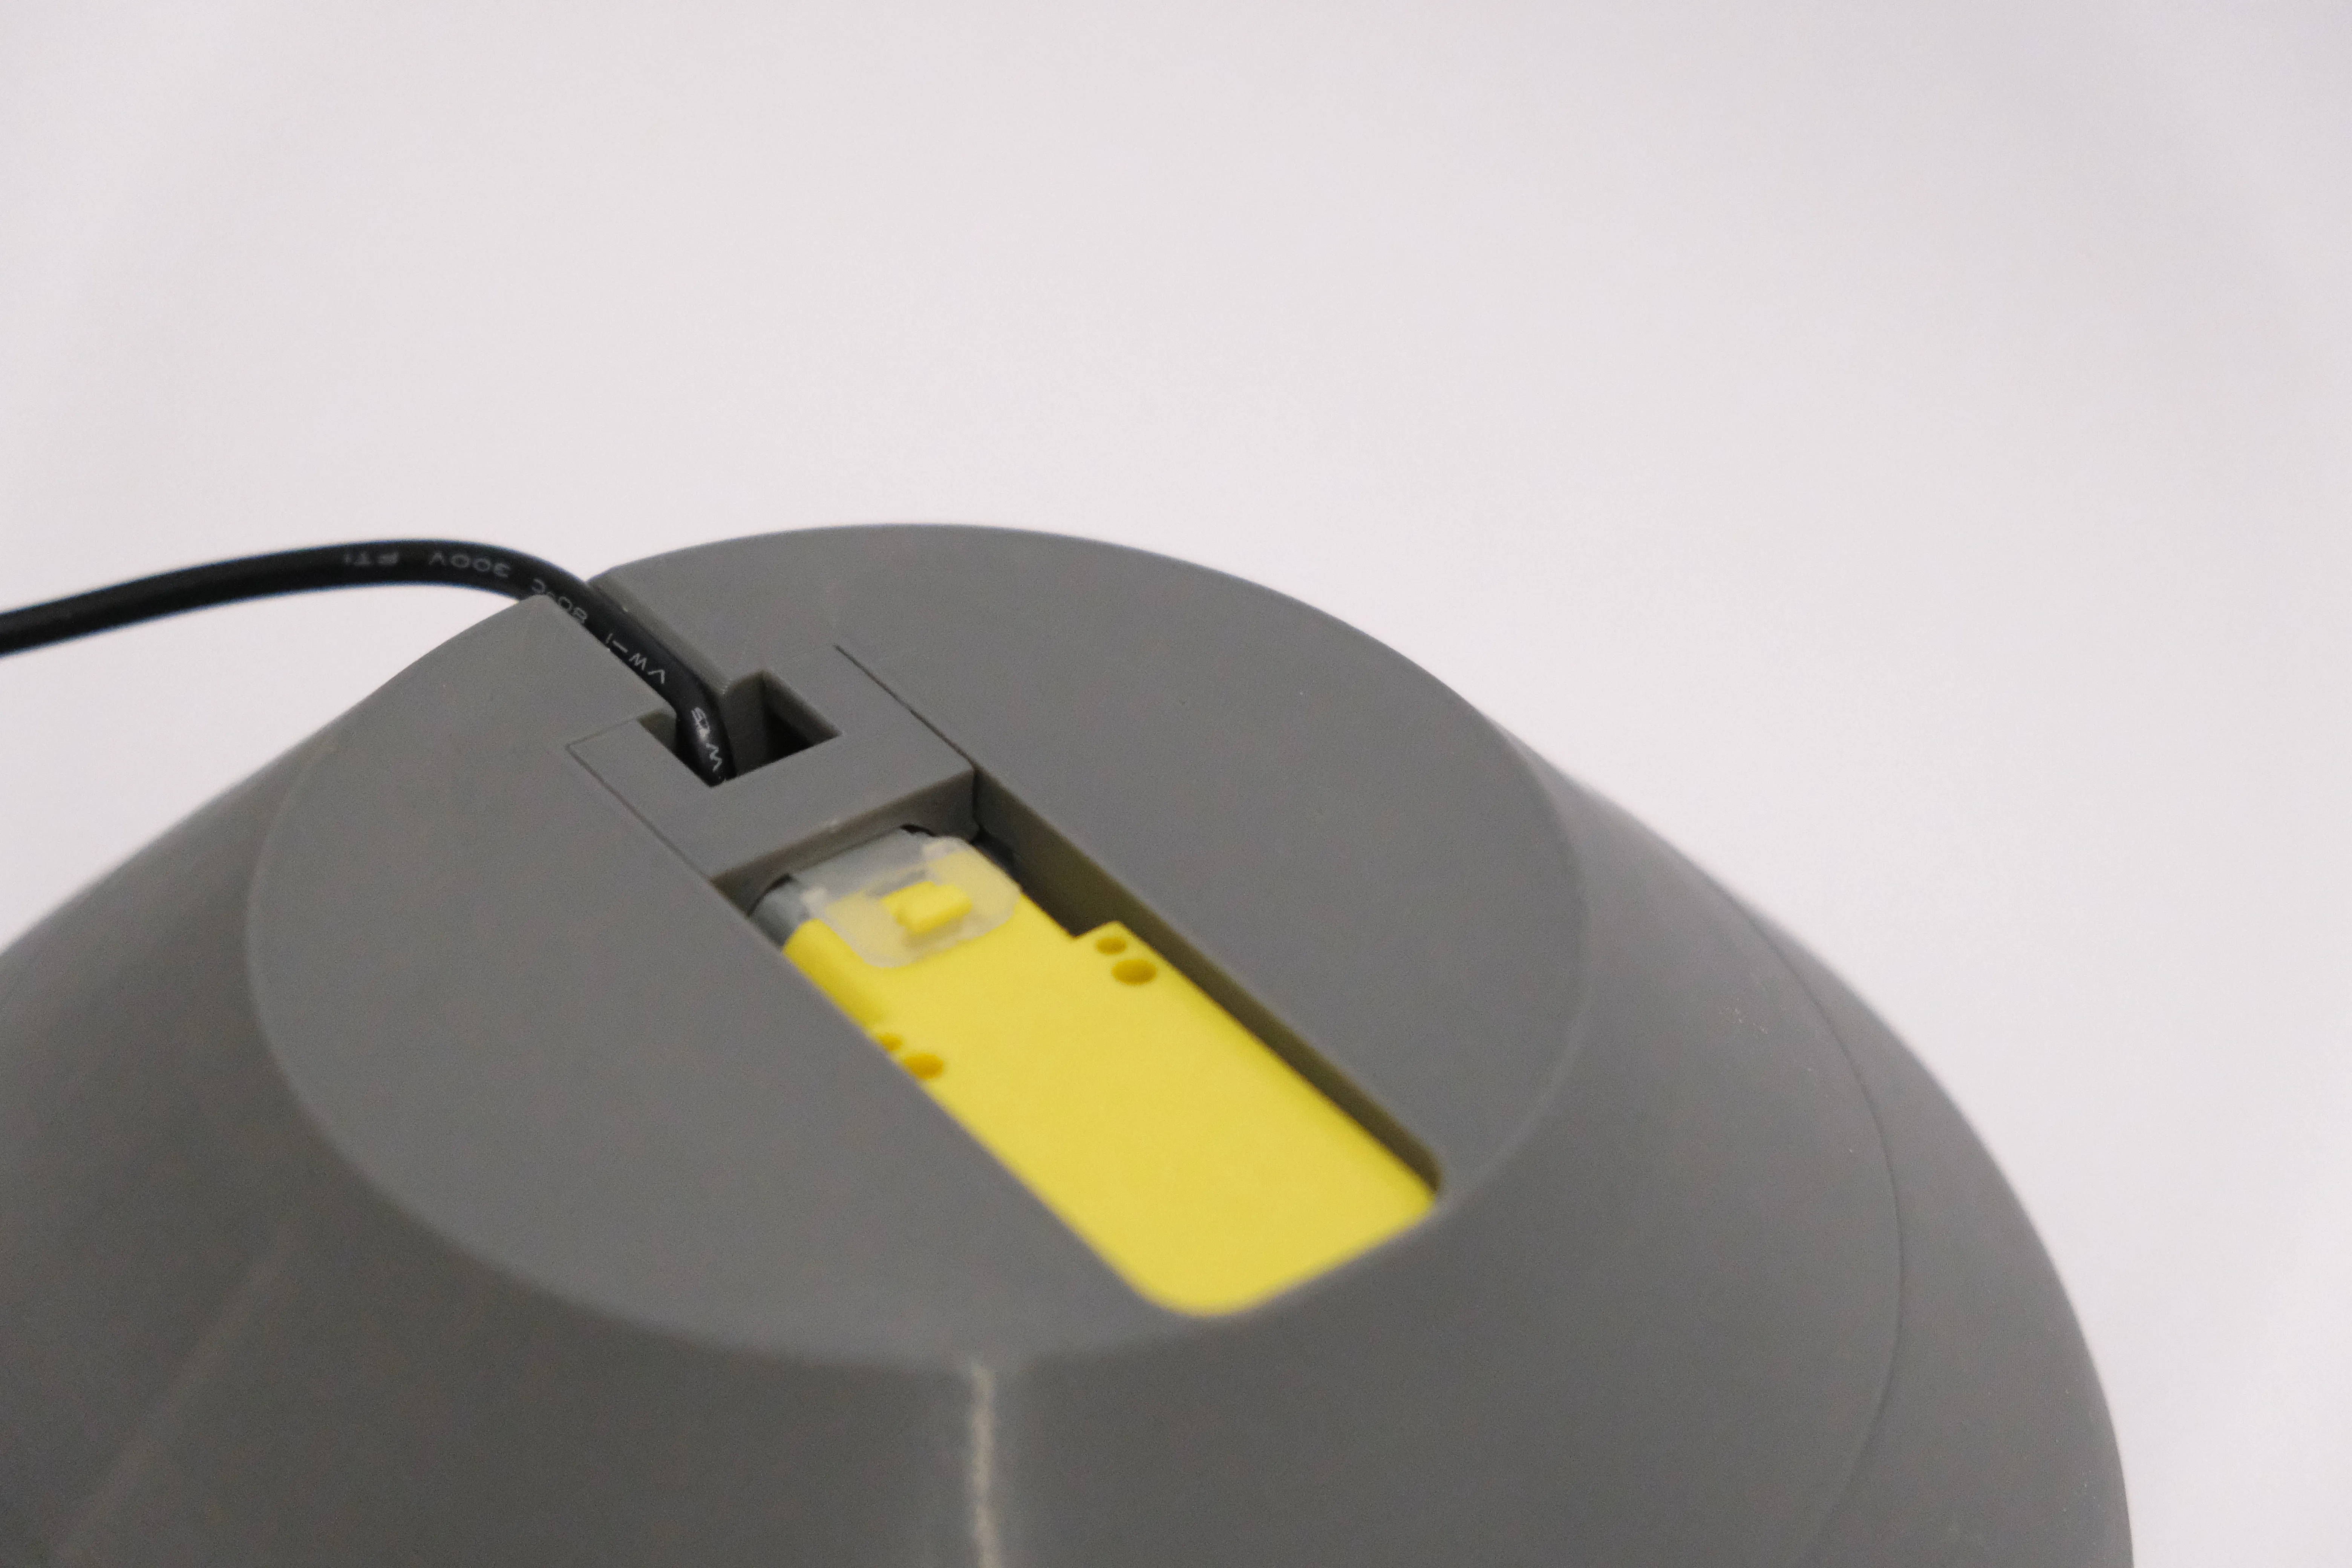
Step 2: Secure the Motor with the Clamp
- Insert the motor securing clamp as shown in the image.
- Ensure the clamp’s opening aligns with the cable to avoid pinching or damaging the wire.
Route the cable through the designated channel towards the back of the base.
Step 3: Attach the Motor Gear and Insert the Bearing
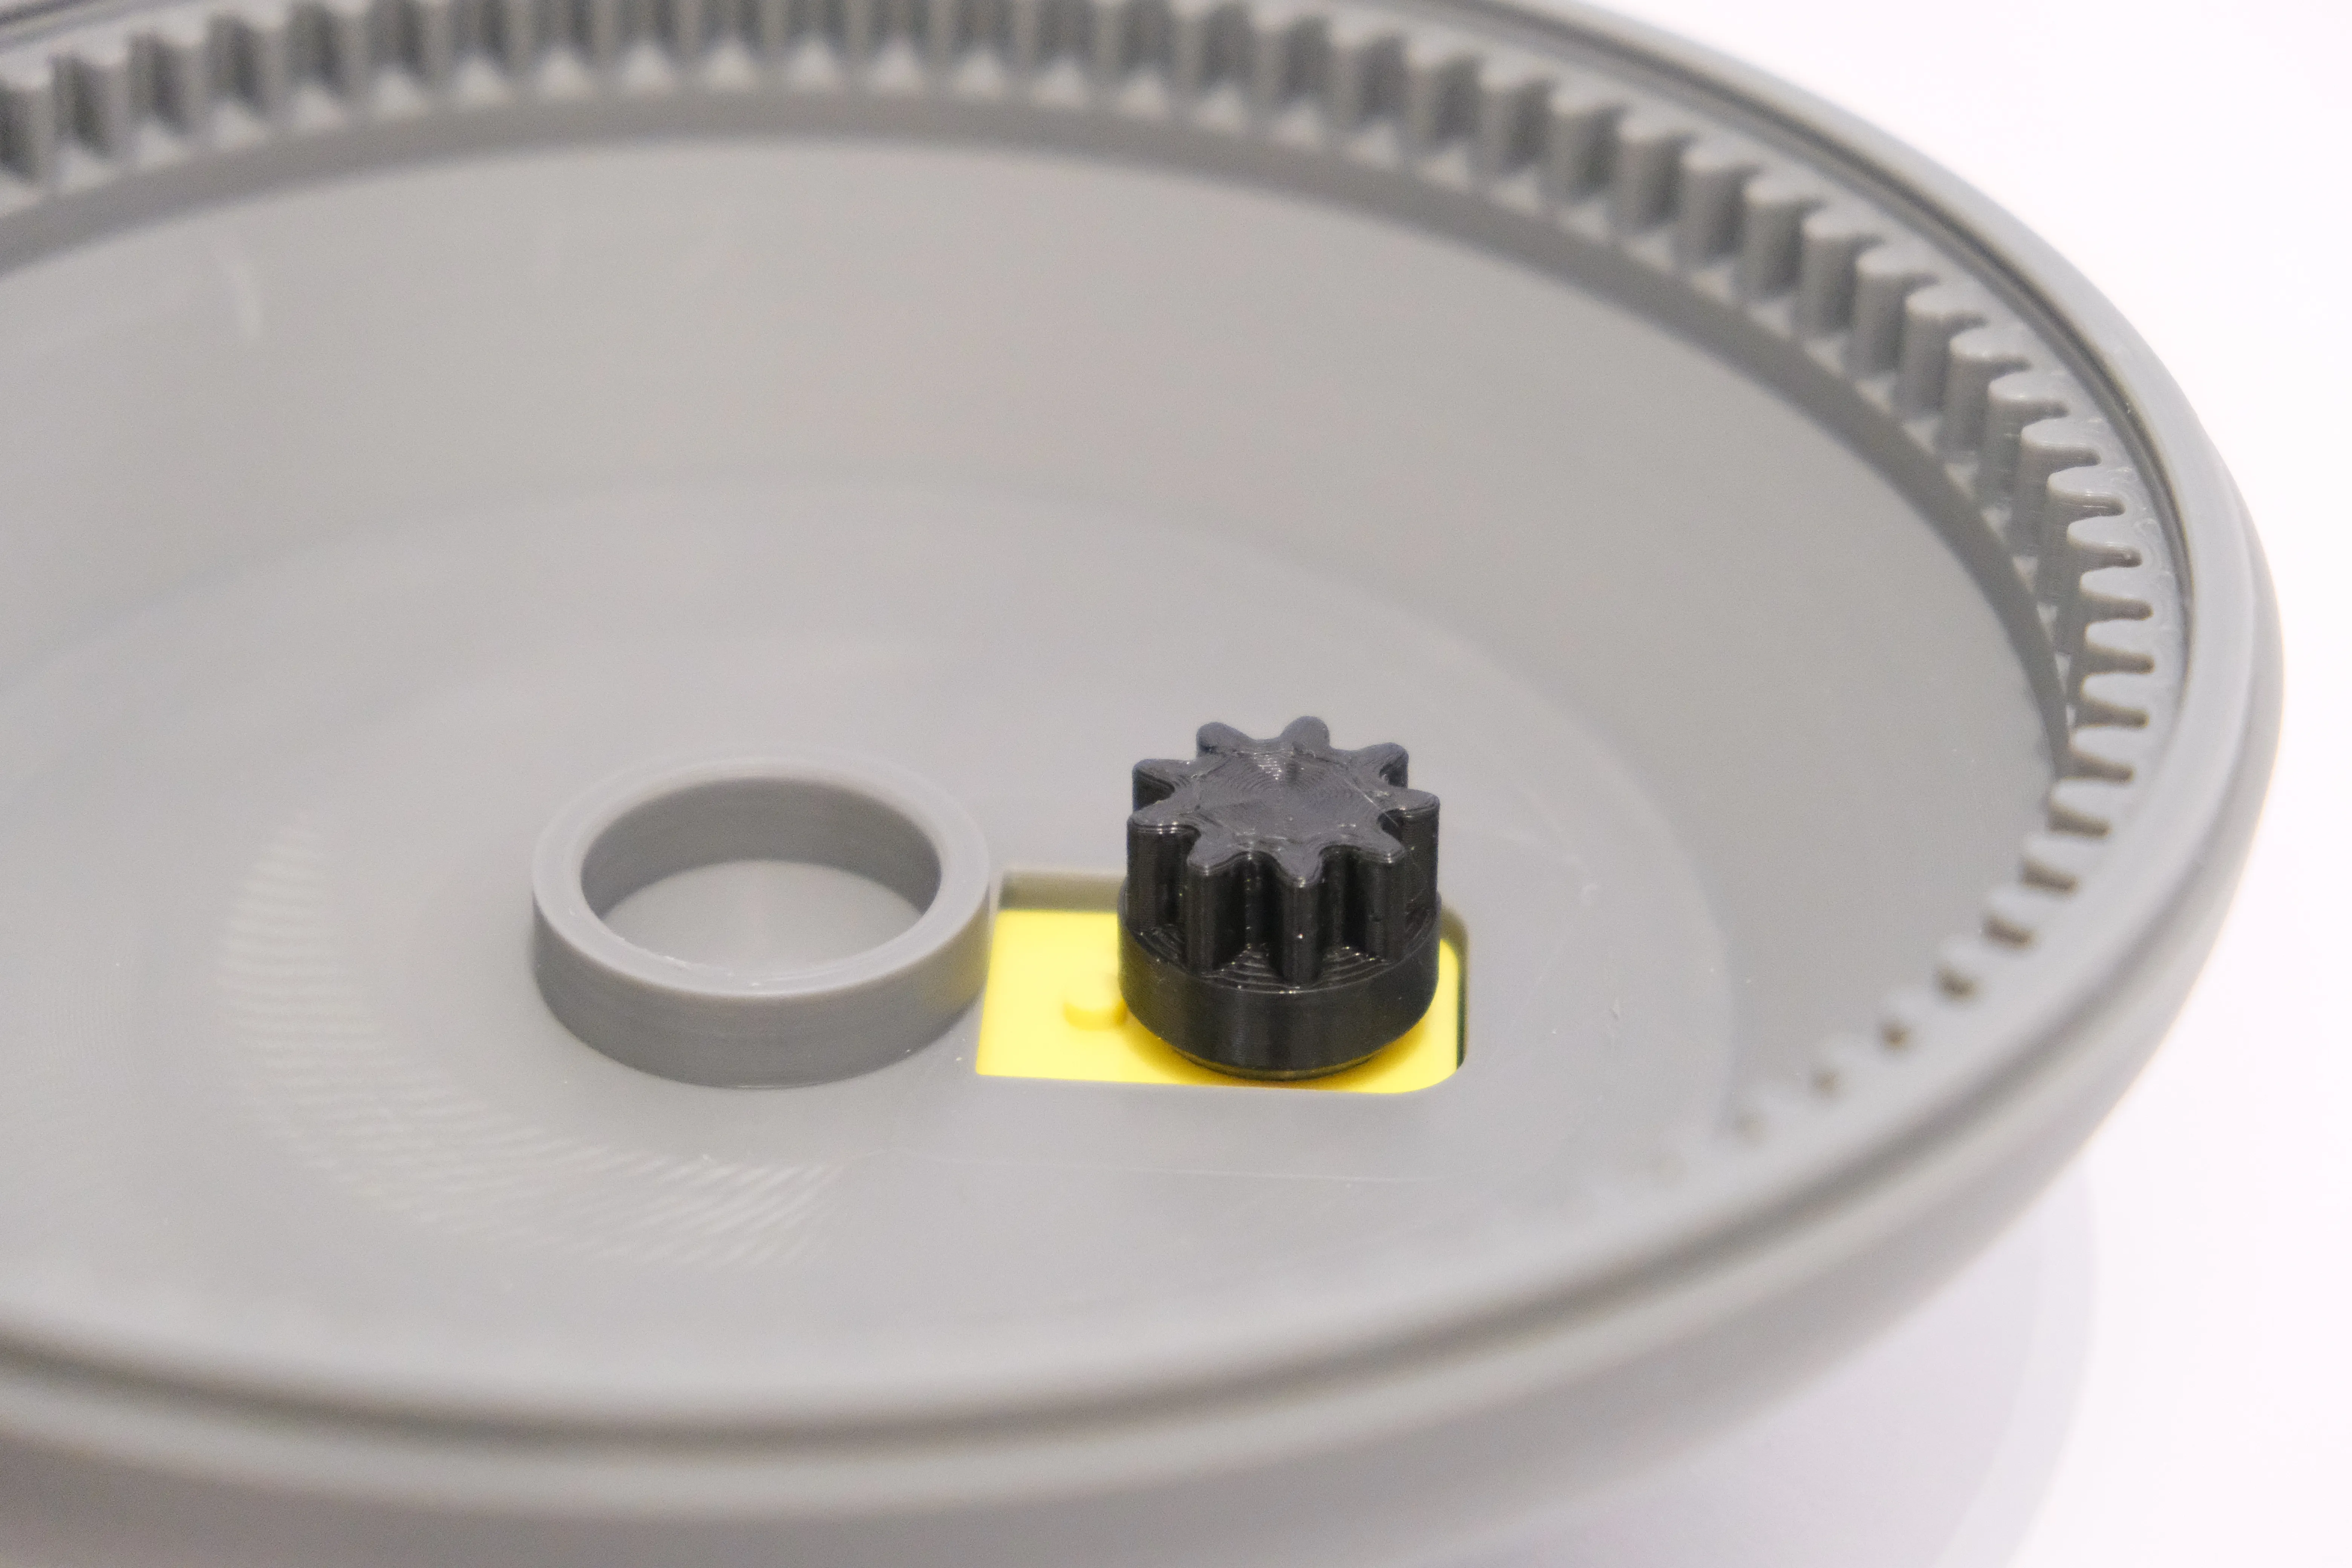
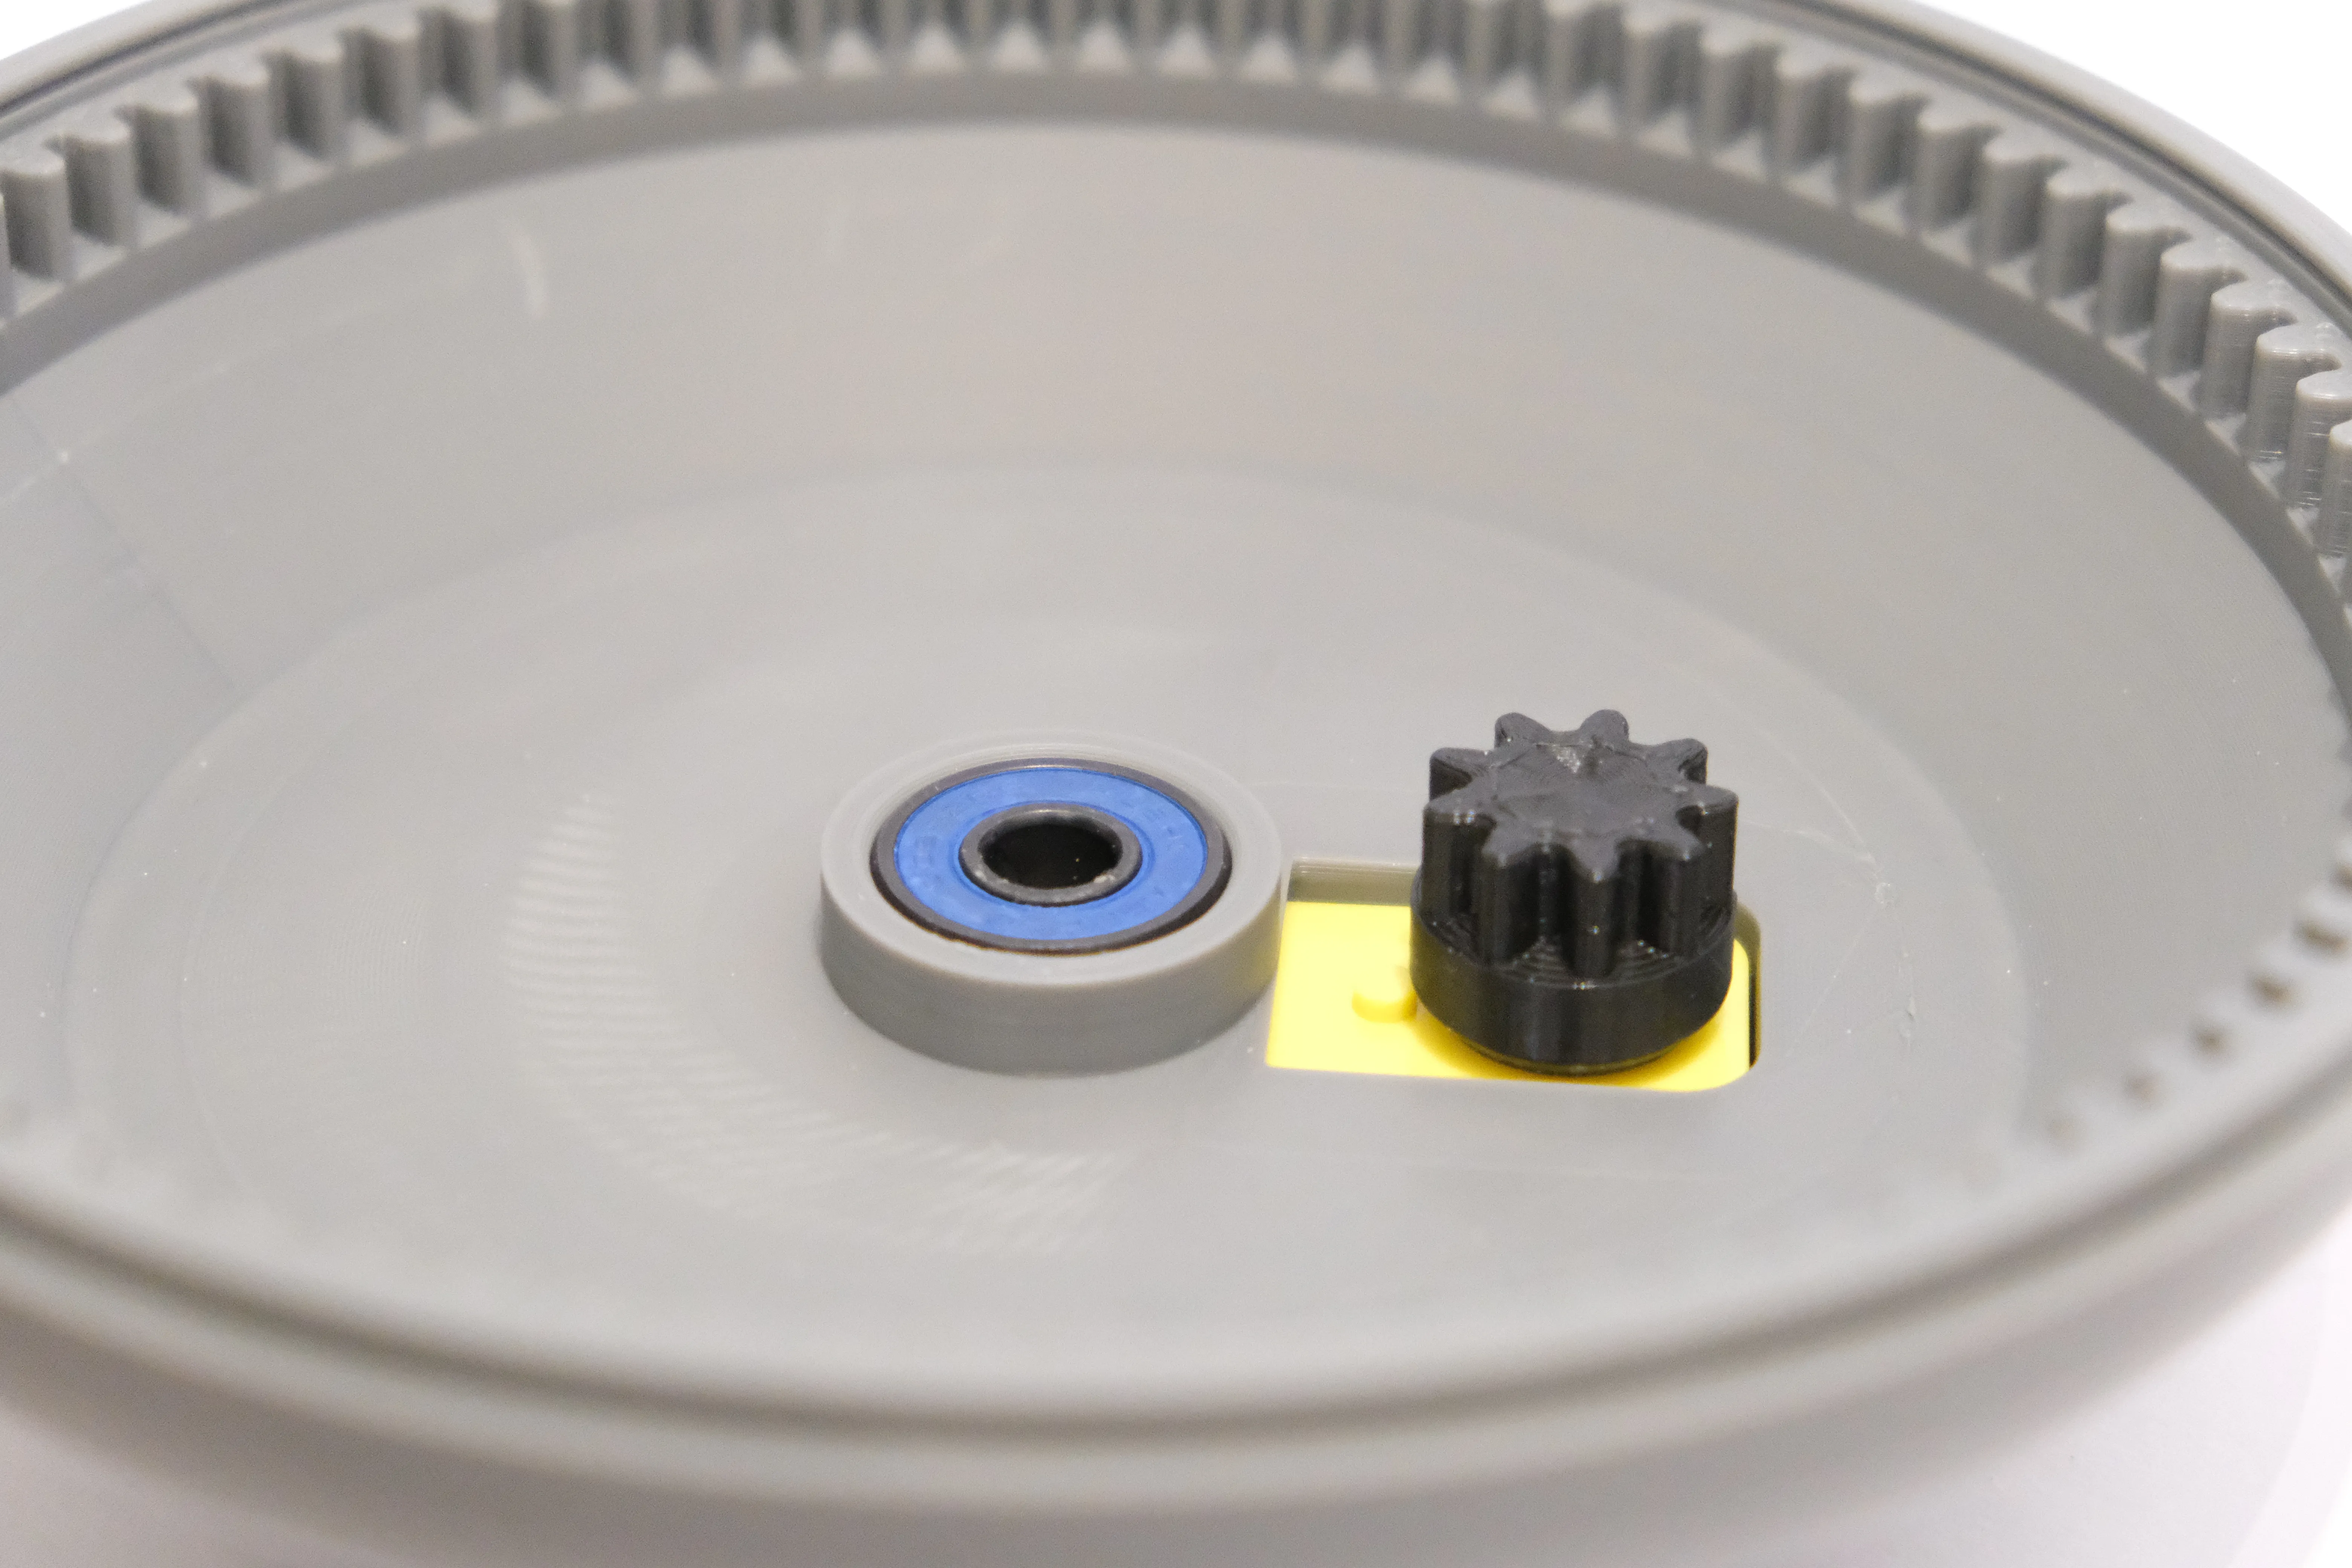
- Turn the assembly right-side up.
- Push the motor gear onto the motor shaft as shown in the image. Ensure it fits snugly and is fully seated.
Insert the first bearing into the designated circular slot. The bearing should sit flush within the recess to ensure smooth rotation.
Step 4: Attach the Arm and Insert the Second Bearing
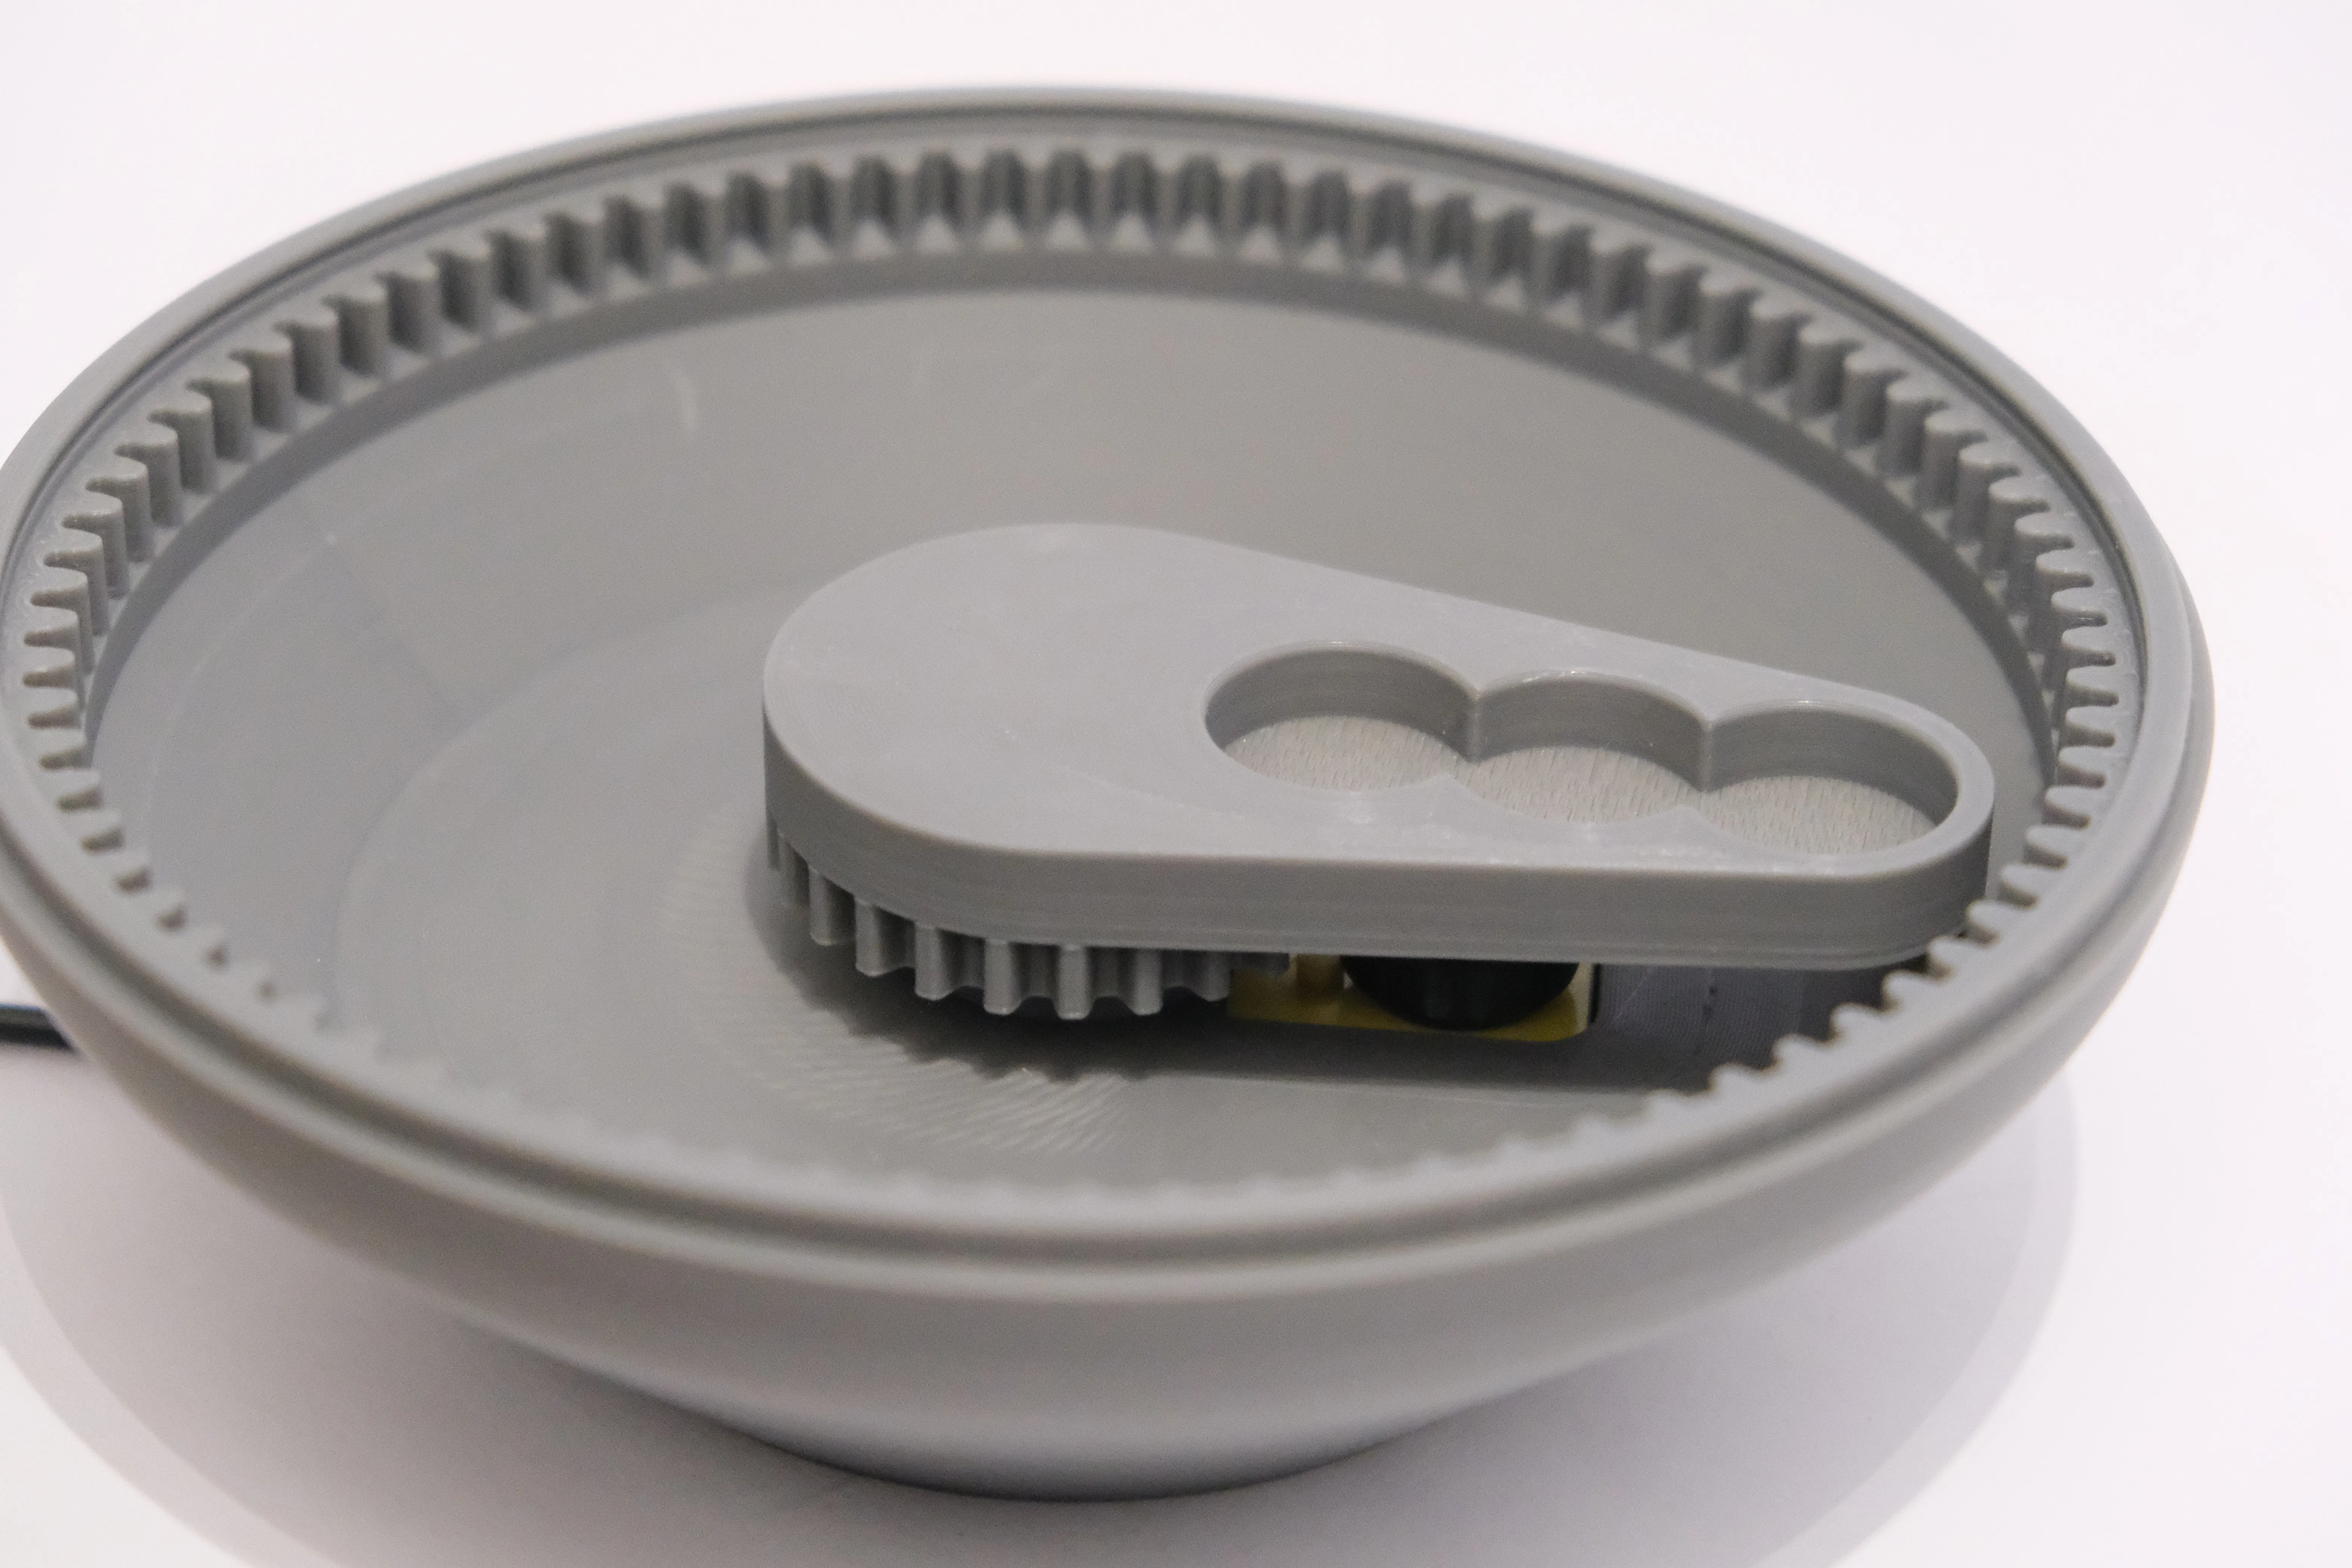
- Push the arm onto the bearing that you installed in the previous step. Ensure it fits snugly and rotates smoothly.
Insert the second bearing into one of the designated slots in the arm:
- For the large gear, use the slot closest to the middle.
- For the medium and small gears, use the slots further from the center accordingly.
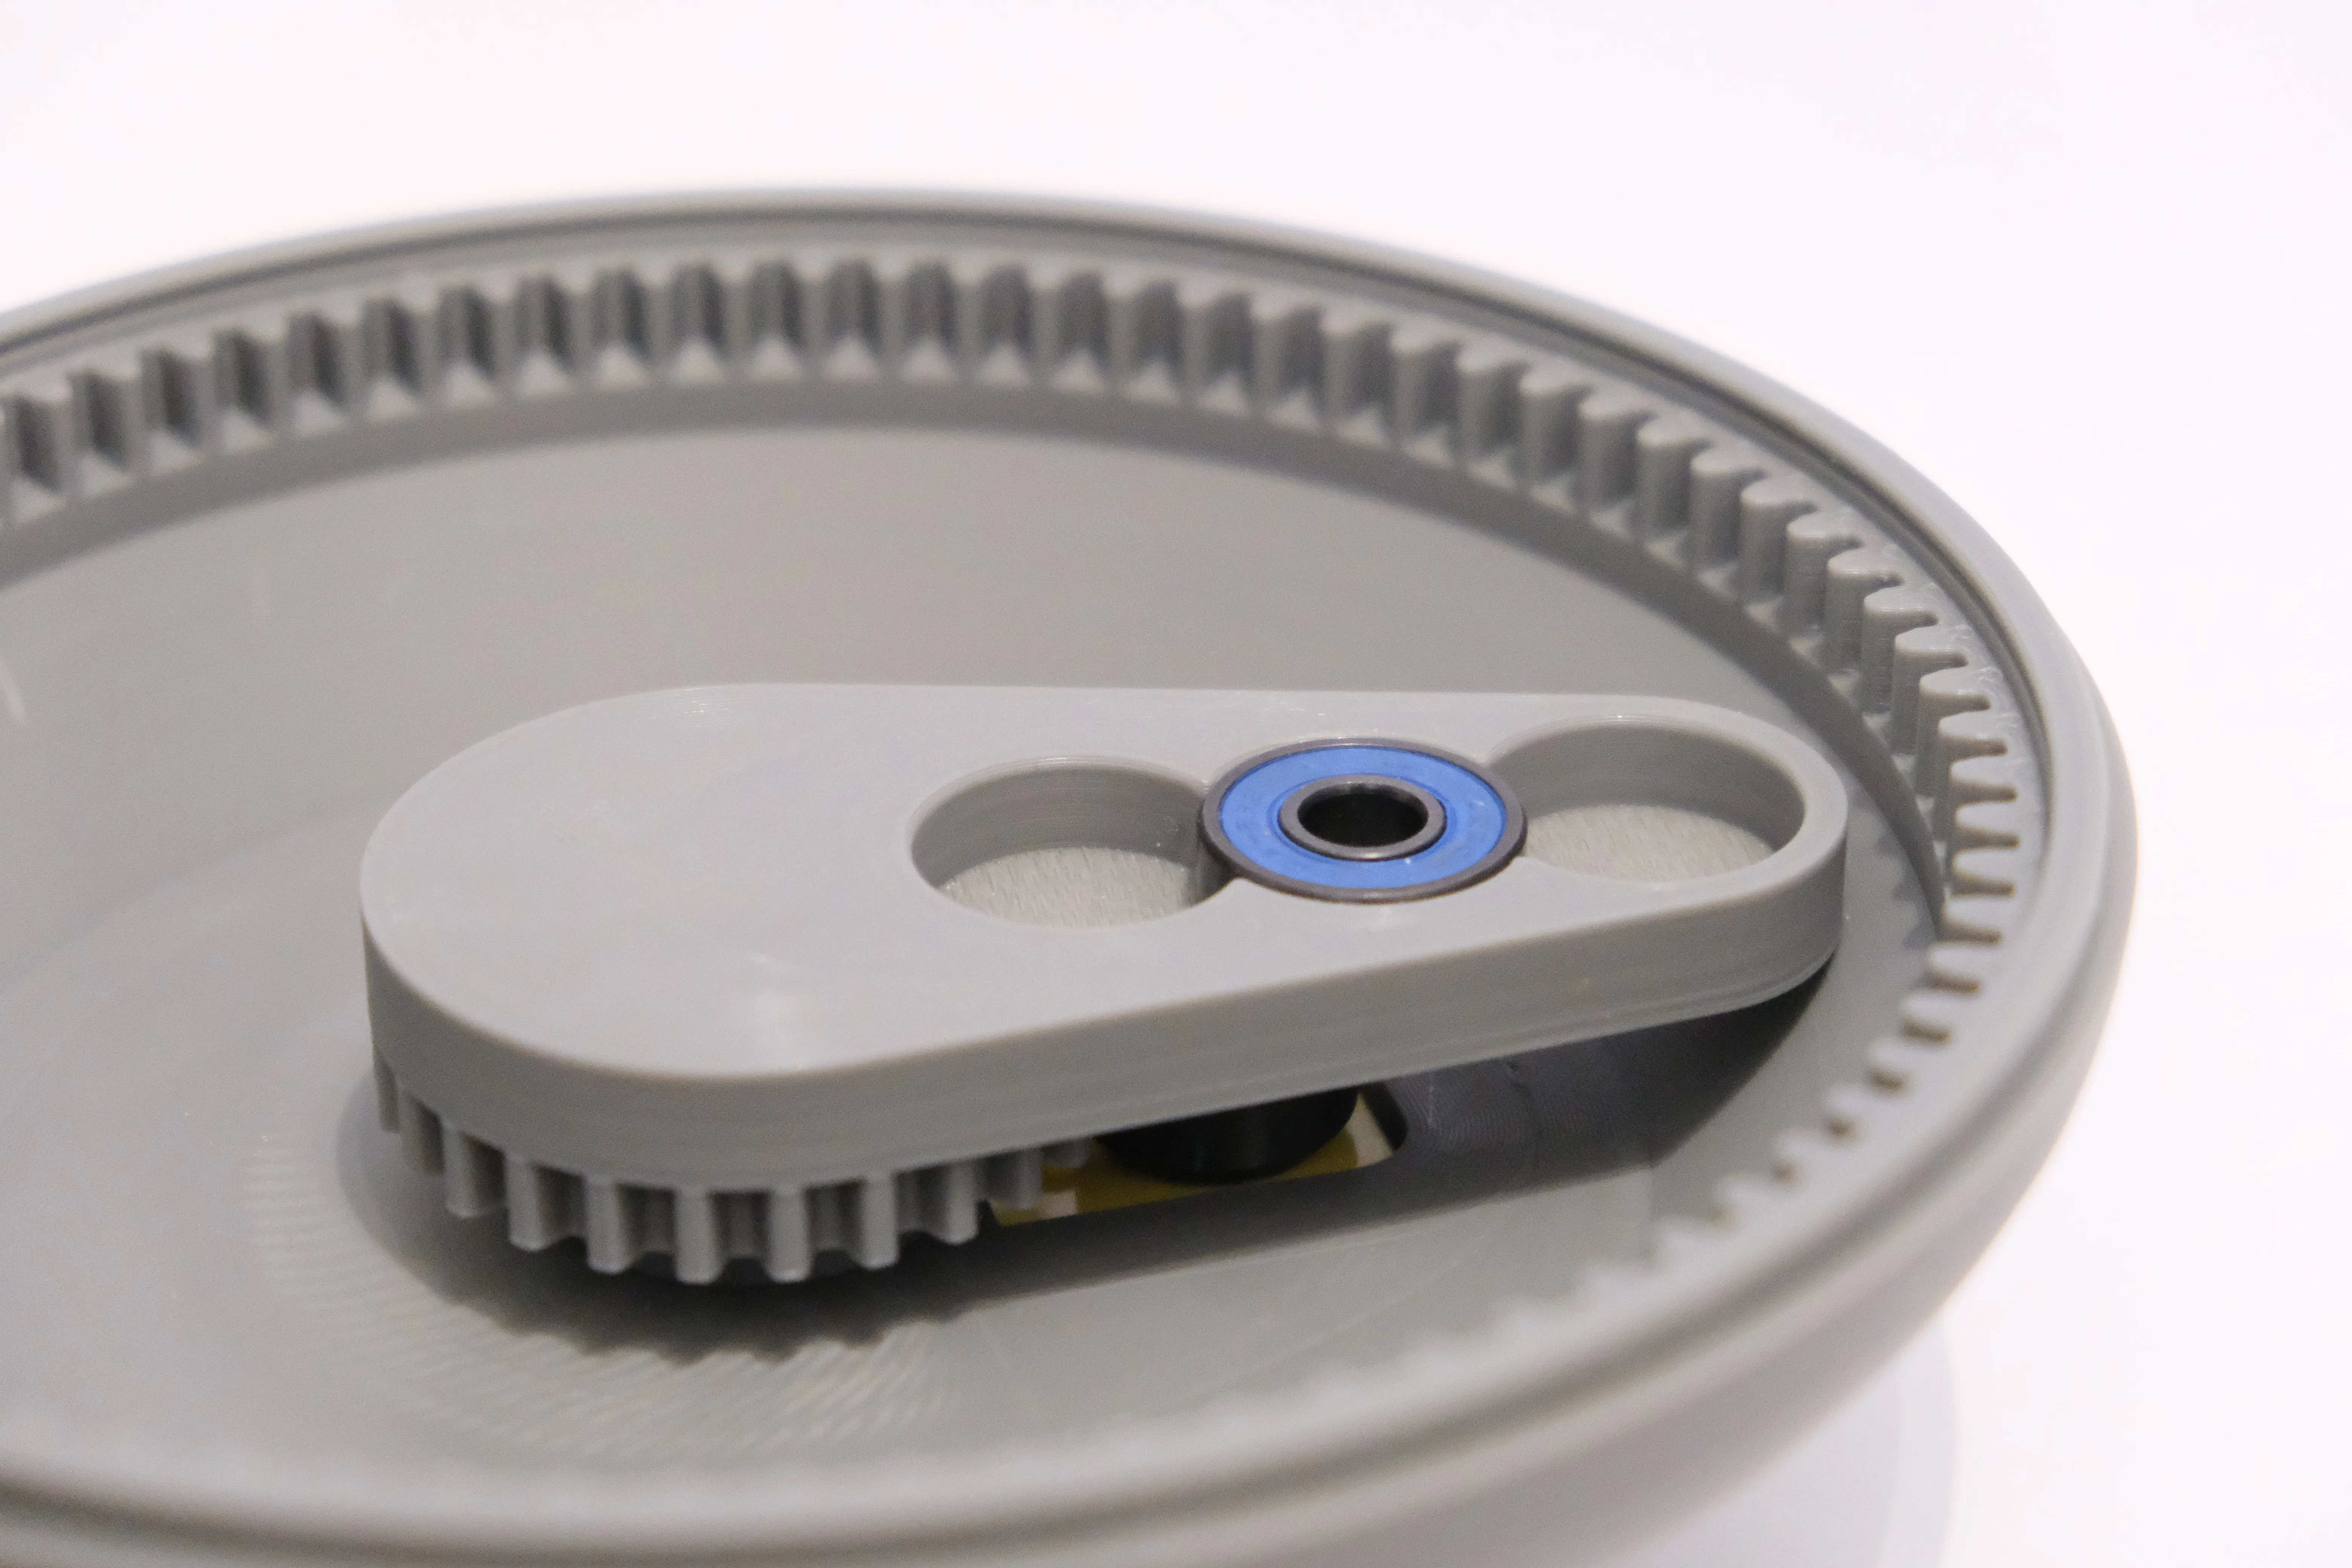
Step 5: Install the Turning Gear with Magnets
- Insert two 10x3mm magnets into the holes of the turning gear, as shown in the image. Ensure they are flush with the surface.
Place the turning gear onto the arm by aligning it with the bearing you inserted in the previous step.
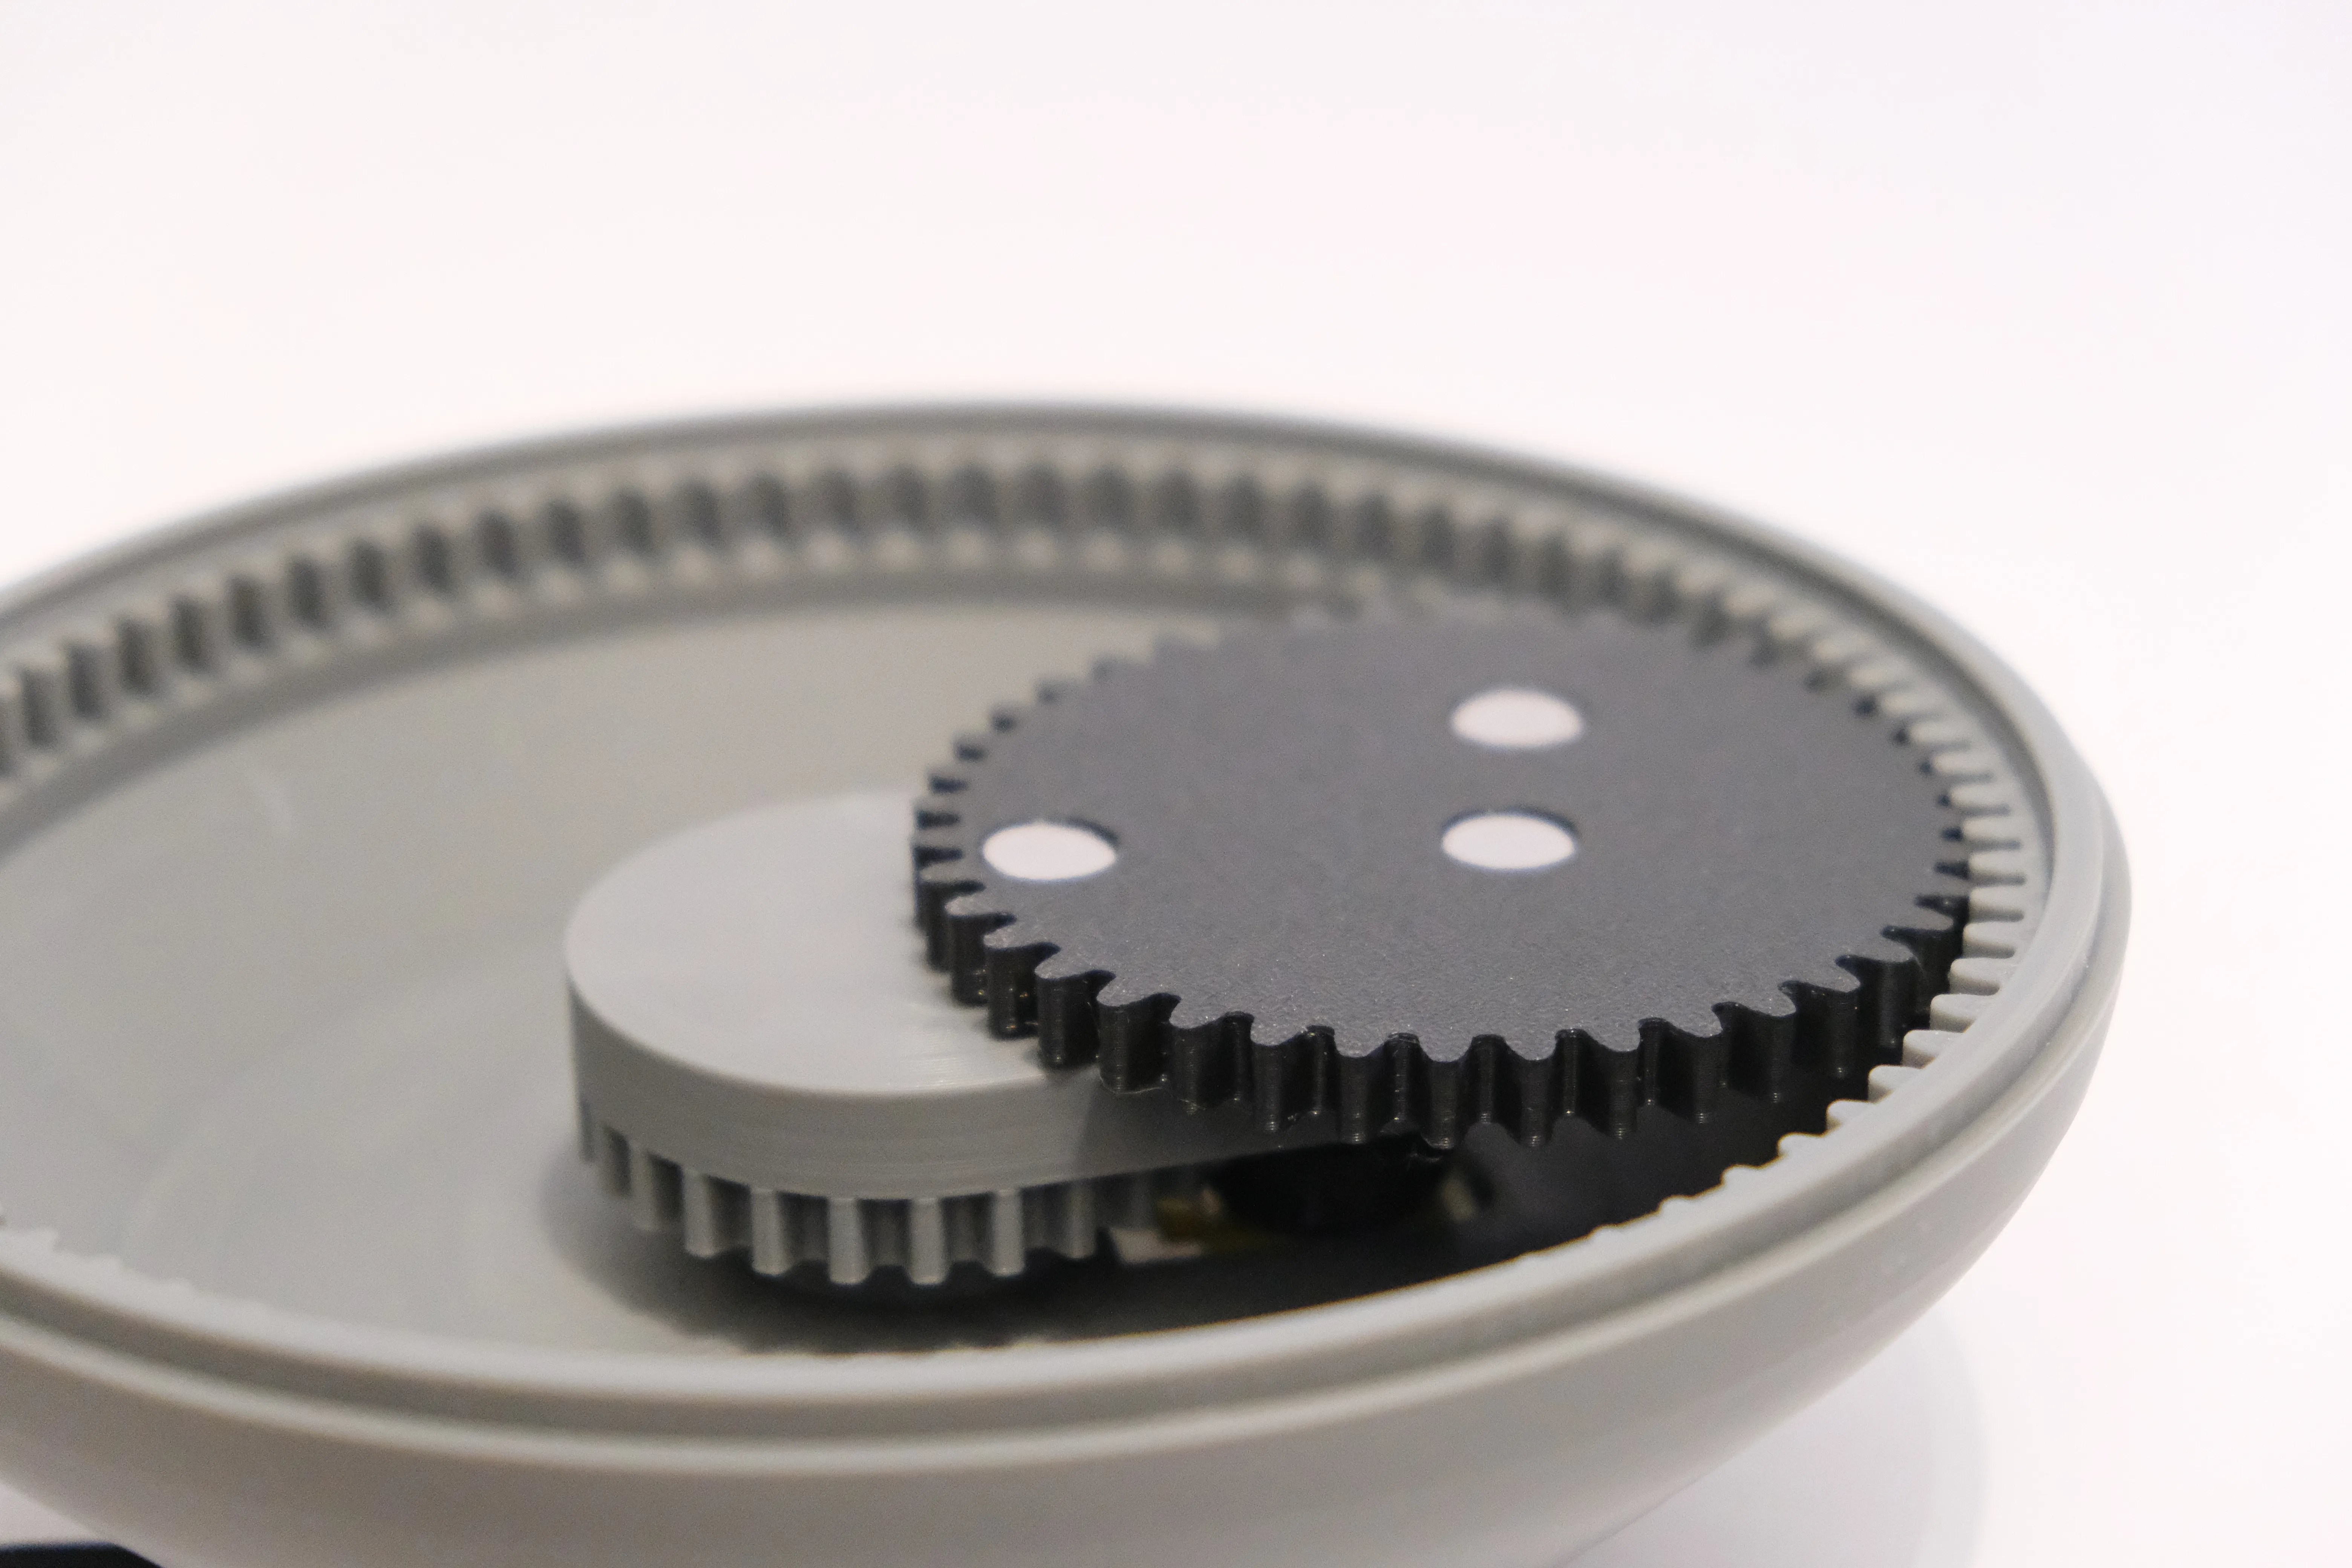
Step 6: Final Assembly and Operation
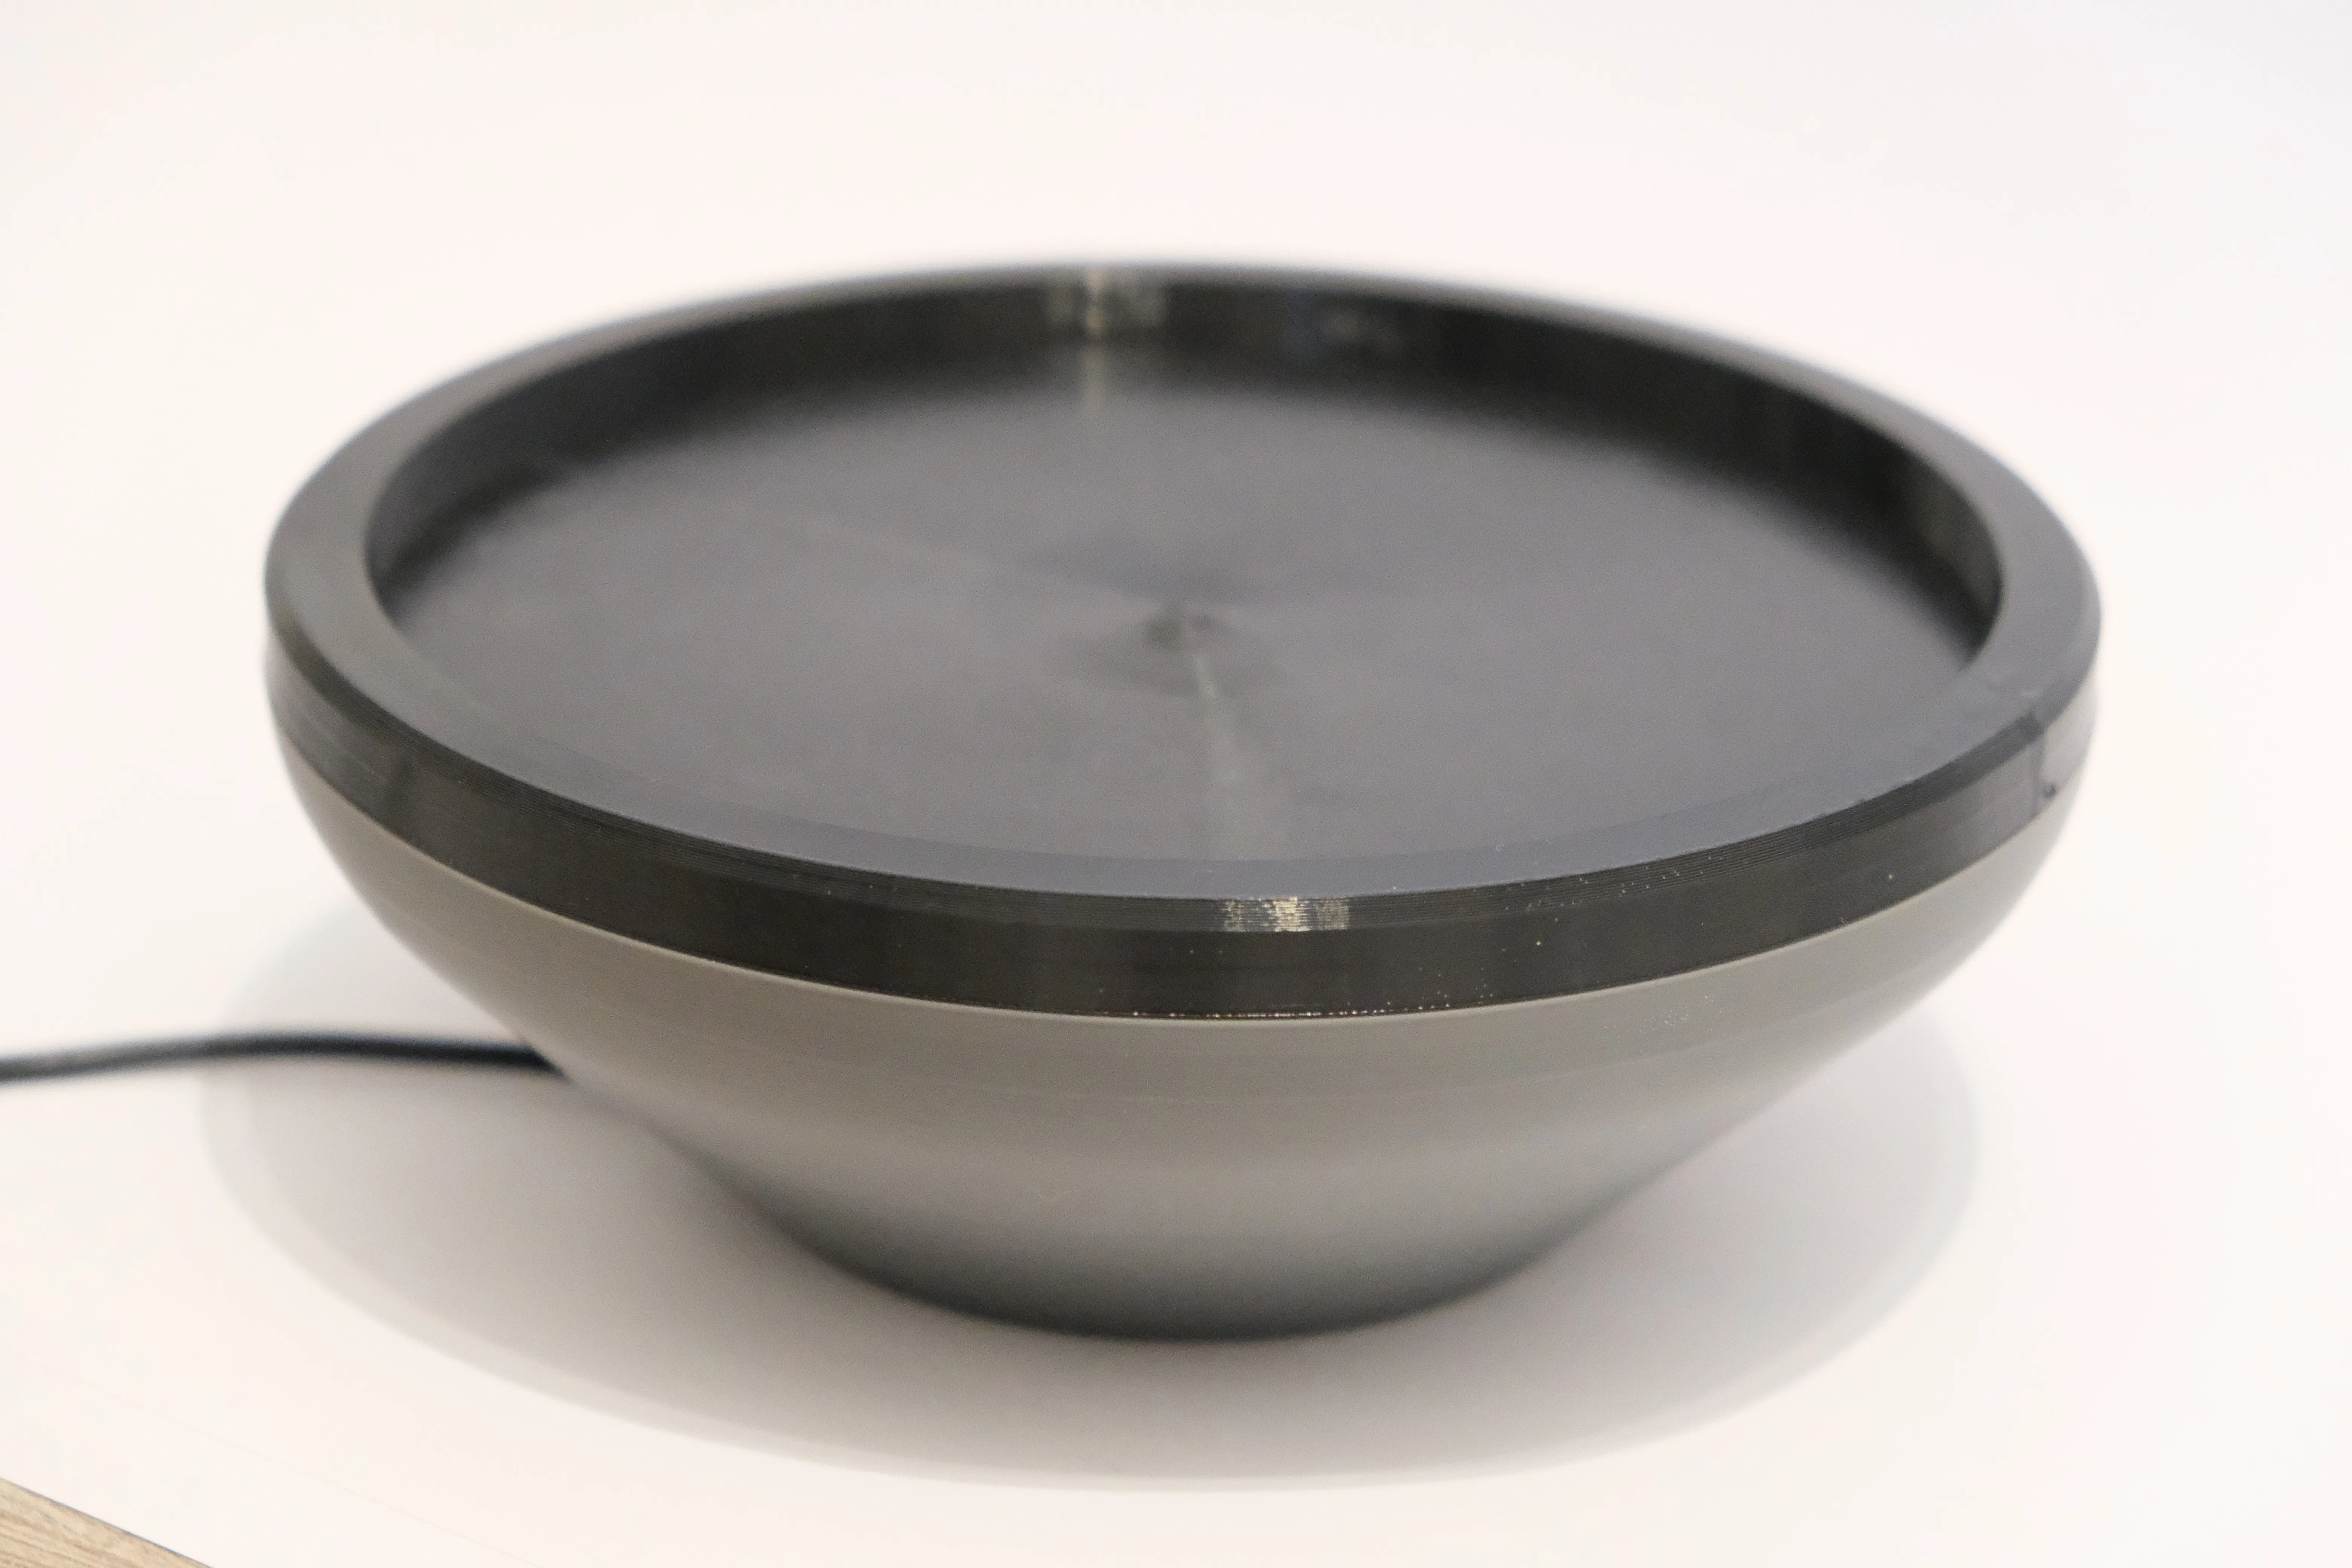
- Add the top lid to cover the mechanism and secure it in place.
- Pour in fine sand or sugar, evenly spreading it across the surface for a smooth finish.
- Place the steel ball onto one of the magnets on the turning gear.
Connect the USB cable to a power supply to activate the motor.
License

You shall not share, sub-license, sell, rent, host, transfer, or distribute in any way the digital or 3D printed versions of this object, nor any other derivative work of this object in its digital or physical format (including - but not limited to - remixes of this object, and hosting on other digital platforms). The objects may not be used without permission in any way whatsoever in which you charge money, or collect fees.


Comment & Rating (140)