


Print Profile(4)


Bill of Materials
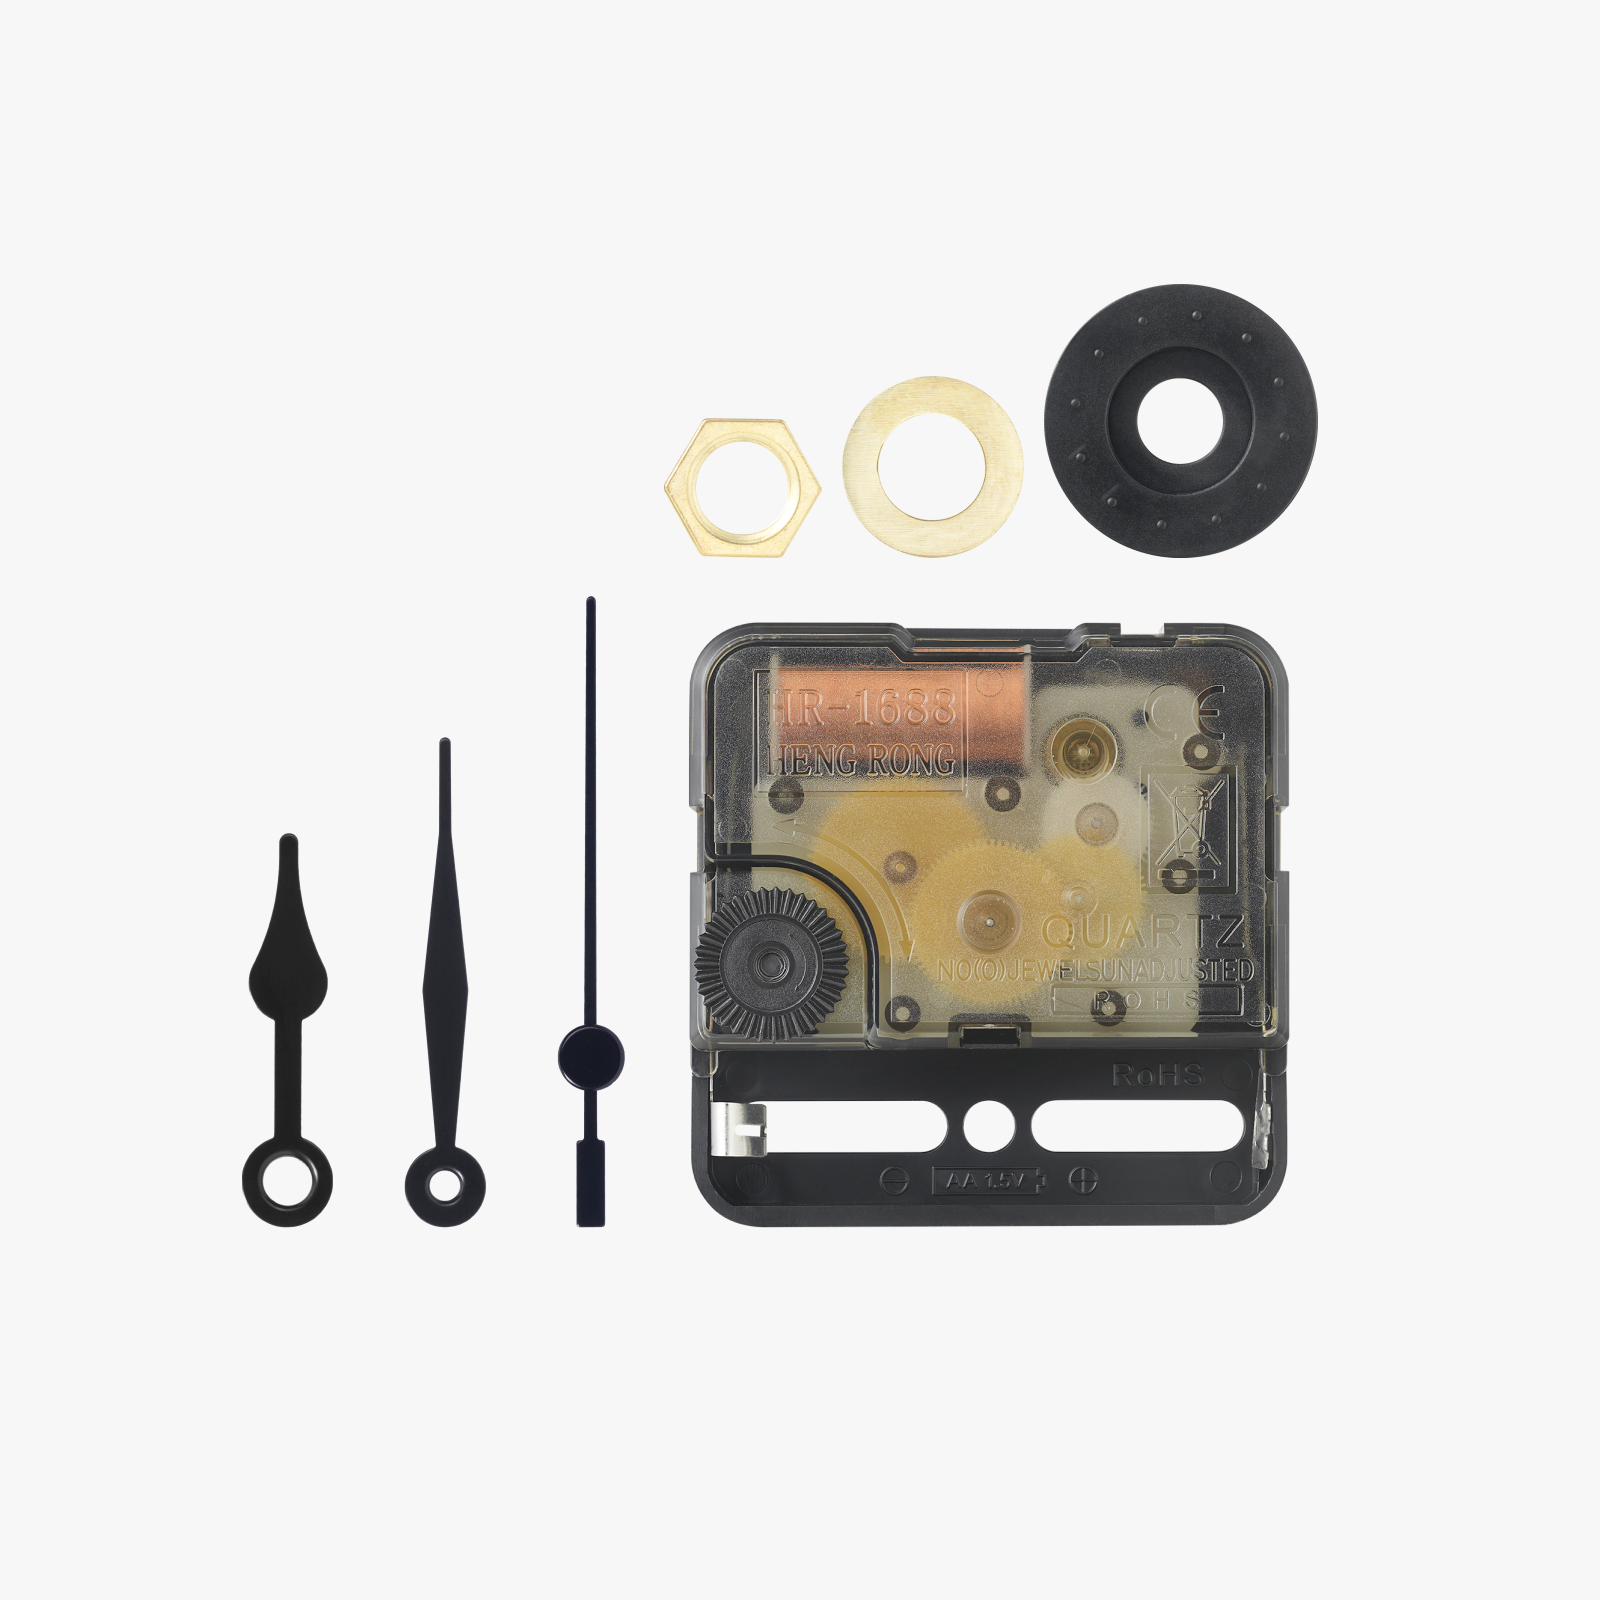





Description
Nalrod Digital Clock

A replica tribute to the “Peter digital alarm clock”.
I model the exterior as close as possible to the original design and dimension of the clock according to pictures and known dimensions. One major difference from the original is the orientation of the opening due to the integration of the Clock Components Kit 01.
The internal component and the way they interact together is my original creation.
To assemble
After printing the parts:
- Install the “Clock Components Kit 011” into its support and the battery
- Install the dial for the hours first, then the one for the minutes.
- Snap that assembly inside the box
- Snap the clock face into the clock top frame
- Close every thing by snapping the frame onto the box
To change the battery or adjust the hands: Remove the frame. Adjust the time by reaching to the clock wheel, or remove the clock support from the box
Dimensions in mm are 120x190x55
- Plate 1 contains the clock dials and face plate.
- Plate 2 contains the clock the frame
- Plate 3 contains the back box and the clock mechanism support
Filaments I used for this print are:
- Bottom: Black (10101) or Jade White (10100)
- Face: Black (10101) and Jade White (10100)
- Top: Matte Ice Blue (11601) or Yellow (10400)
- Dials: Black (10101) and Jade White (10100)
- Support: Black (10101)
04/01/2025 - Third print profile update.
- Frame:
- Change the support from Tree to Normal. It make the support removable by hand, they have a larger print area and are better adapted too tight space, using a tool is still recommanded if they stuck to the parts.
- Seams position is set to random for the frame, scarf joint is applied to entire wall perimeter and the speed for outer wall is reduce to 100mm/s from 200mm/s. The seam should be barely visible, using lighter color and matte filament help reduce visibility.
- Face plate: New optional face plate with no text.
21/12/2024 - Second print profile update.
- Frame: Brim activation with exterior and interior brim settings. To mitigate the risk of the outer wall to detach from the plate.
19/12/2024 - First print profile update.
- Hours wheel: Reduced support under hours wheel. it is now easier to see and then too remove.
Frame: Change variable layer height setting from .5 quality to .25 quality. That change alone made redundant the support from the outer rim. Used tree support (manual). Defaut tree support are only active for inner rim, where I painted them.
Take a look at the pictures in the print profile to see how remove them. You will need to slide the scrapper in between the part and the supports on both long side, and use it as a lever. It should peel in one piece.
 |  |  |  |
Boost Me (for free)
Did you like it? Rate my model and send me a boost. Trouble with the print, Leave a comment. Boost and feedback are greatly appreciated
Notes
Notes
- Includes bambu studio 3mf file.
- All photos uploaded are of the actual printed model, and are copyright protected
- If you enjoy this model please consider to buy me a coffee
- If you prefer you can send me sats instead.
License

You shall not share, sub-license, sell, rent, host, transfer, or distribute in any way the digital or 3D printed versions of this object, nor any other derivative work of this object in its digital or physical format (including - but not limited to - remixes of this object, and hosting on other digital platforms). The objects may not be used without permission in any way whatsoever in which you charge money, or collect fees.


Comment & Rating (231)