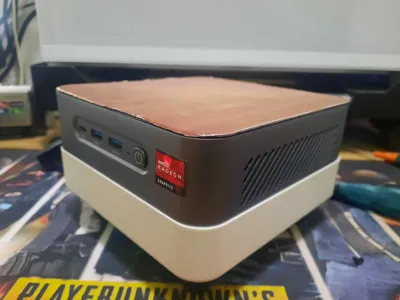
Morefine S500+ Mini Host Enhanced Cooling Bottom Shell, Case, Chassis


Print Profile(1)

Description
PETG is recommended, offering superior durability to PLA; maintain a print speed below 300 mm/s. Adjust settings according to your filament specifications; I employed a high-speed PETG variant.
Exclusively compatible with Morefine S500+ models. Consult online retailers for detailed specifications.
This is my inaugural 3D modeling and printing endeavor. I found it quite satisfactory and am pleased to share it.
Requires the four original small screws from the baseplate (not included);
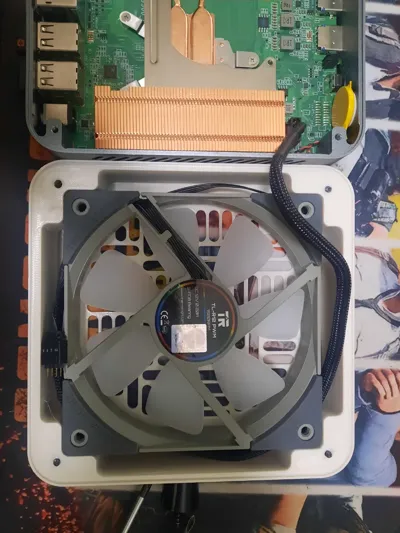
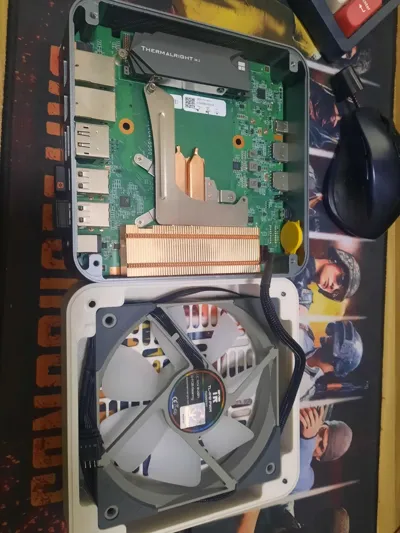
A 12025 fan—a standard chassis cooling fan—is recommended, preferably with a small 4-pin connector for convenient motherboard speed control.
Note: The enclosure is not square. An arrow is incorporated into the base; orient it towards the front of the enclosure (the side with the power button).

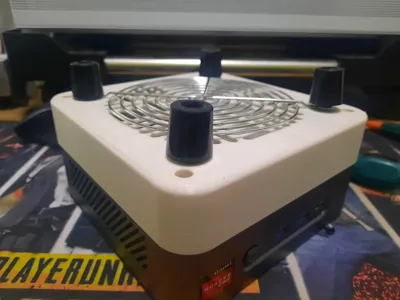
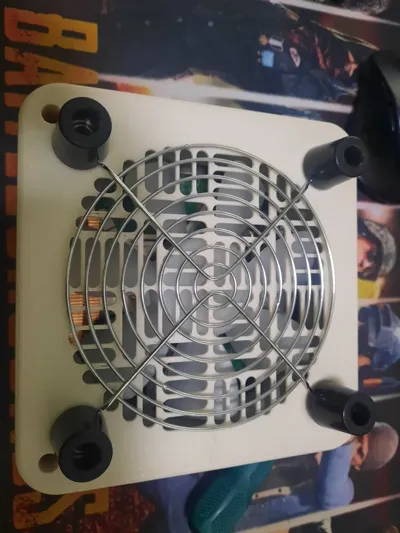
Secure the fan to the base enclosure using standard fan screws (self-tapping). Excess cabling can be accommodated within the lateral apertures. Consider using screws with feet for improved airflow. A metal fan shroud can enhance base stability; screws with integrated supports are also readily available online.

Excess fan wiring can be neatly housed within the lateral recesses.

Installation Steps:
1. Initially connect the 4-pin fan cable;
2. Insert the fan into the base, ensuring the cabling does not obstruct the fan blades. Recesses are incorporated into the fan's periphery for convenient cable management.
3. Secure the fan using standard fan screws (self-tapping). Individuals with prior PC assembly experience should find this straightforward; screws with integrated feet are available online at minimal cost. If you prefer a side-mounted configuration, rubber screws offer a convenient alternative.
4. Attach the plastic base to the machine using the original screws. The screw holes may require slight clearing; utilize a thinner screwdriver (3mm) if necessary. Verify that all screws are properly tightened.
My other creations:
R3D Stacking Cylinders:R3D Filament Spool Stacking Columns, 32g, Material-Saving, v3.1 by instantlx - MakerWorld
Comment & Rating (0)