Fox/Predator call, crying rabbit


Print Profile(1)

Description
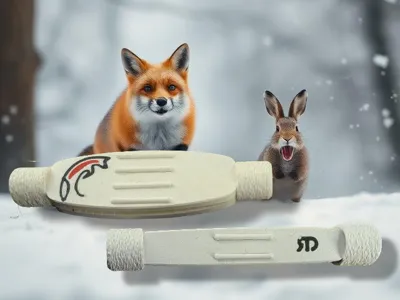
Fox/Predator call, crying rabbit
Another classic predator call, the “clam variant”. Two halves and a reed/membrane between them. Bite down careful on the side and blow to sound like an animal in distress. You can choose where and how hard to bite to change the sound. You can also change the sound a lot by choosing different material and sizes of reeds, the provided ones are only templates, you will most likely not be in luck if you try to use them. You need to cut them out of some different plastics, as example the transparent thin hard plastic lids you get when buying ready meals at some places may be a good source. (Those will differ in different places, so please experiment and give tips in the comments)

I provide two variants, one thin that is quite straight forward and one wider that gives more options for different reeds and different way of biting in it.
My other predator calls:
https://makerworld.com/en/collections/15321382-fox-predator-calls
Look at my other game calls:
https://makerworld.com/en/collections/3444293
Printing
Use PLA or another stiff material (avoid CF/GF since you are going to breath in around it, you do not want small CF particles in your lungs). All parts are designed for 3d-printing and no supports needed. I suggest using 0.4 mm or finer nozzle and as fine layer height as possible (0.12 in the uploaded print profile).
For the two nuts I suggest using fuzzy skin on the outside for better grip.
Logos/multicolor parts are just recessed 0.001mm into the model so you choose yourself if you want to paint them or not.
Assembling
Place the membrane on the lower tone board with pins and place the upper tone board above, then lock them into place with the nuts on both sides. A lane yard can be added by pushing it throw the hole in one of the nuts and making a knot on the inside.

Optional: The bite pins can be glued in place on the outside of the two tone board halves if you want to for better grip with the teeth or lips. (For printability it was hard to get another solution). The pictures below shows the pins as round but they are not and they actually have a “correct” way to place them if you look careful on the printed items.

Comment & Rating (101)