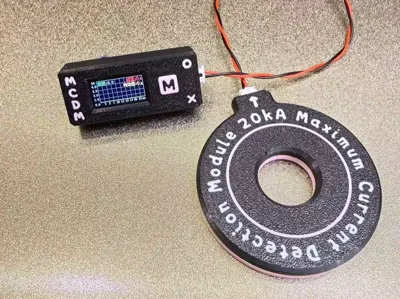
Spot Welder Current Meter MCDM


Print Profile(2)

Description
Having used a spot welder for quite some time, I've always wondered about its true capabilities
Previously encountered current meters exceeding $200 lacked cost-effectiveness; this one found on a certain online marketplace presents a worthwhile acquisition.
…………………………………………………………………………………………………………………….
Beyond the module, you will need to prepare
M2*4 screws - x4 M1.4*4 screws - x2 (M1.6 also works)
6*6*4.3mm tactile switch button - x1
5V lithium battery with integrated charging and discharging module (as shown in Figure 1)
SS12D00 toggle switch, 3mm height, 2 positions, 3 pins
26/28AWG silicone wire - several
XH 2.54 2-pin female header with bent pins - x2
502030/402030 polymer lithium battery
https://detail.tmall.com/item.htm?_u=91jbb15ca5c1&id=745217759270&spm=a1z09.2.0.0.32c22e8dsDO4sb
Additionally, some quick-drying adhesive, double-sided tape, and high-temperature tape
Due to the compact design, meticulous assembly is required.
Recommended tools: heating plate/hot air gun, soldering iron, flush cutters, utility knife, appropriate screwdrivers.

Secure the toggle switch using quick-drying adhesive
Only two pins of the toggle switch are necessary, to avoid interference with the module PCB; trim and bend the excess pins.
The large aperture at the base of the casing serves as a light guide for the charging/discharging module's indicator light
A transparent PETG filament insert, trimmed with flush cutters, can be utilized.
PS: The Type-C connector integrated into the charging/discharging module should be removed; a heating plate, hot air gun, or direct severance can achieve this.

The original functional button was an 8*8 waterproof button, which proved too large and tall; a 6*6*4.3mm button has been substituted.
PS: Even within the same model number, toggle switches may exhibit dimensional variations; select a component ≤6mm*6mm from the bulk order.
If a tight fit occurs, use a utility knife for slight adjustment or apply WD-40 lubricant.


Adhere the battery to the bottom of the casing using double-sided tape.

Secure the wires and apply high-temperature tape over the battery.

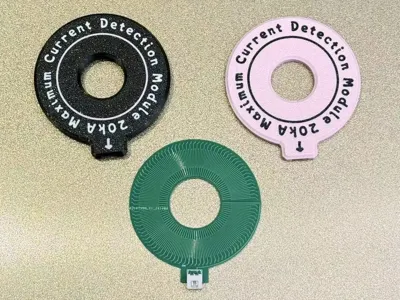
Given that the spot welder utilizes 50-square millimeter wire, smaller Roselle coils are incompatible; larger coils with a 26mm inner diameter have been employed.
The coil is directly inserted and secured within the coil housing; if loose, use double-sided tape.
(The bent pins of the XH female headers should be trimmed; ideally, they should be flush with the PCB bottom after soldering)

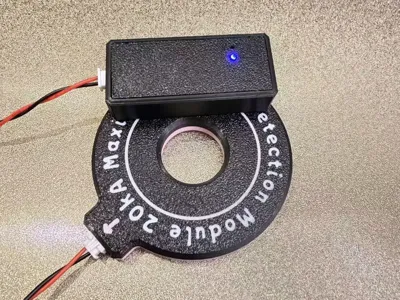
The aperture above the rear light guide is the reset button hole; a SIM card ejector tool can be used during firmware updates.
Power on - blue indicator light
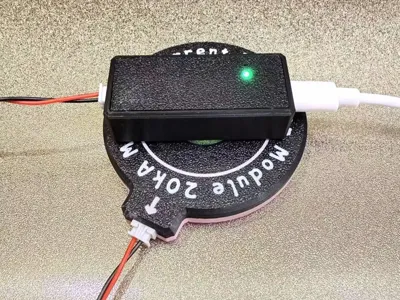
Charging - green indicator light
(Special note: Charging still occurs through the original module's Type-C port, as the current measurement module is originally powered via Type-C; the switch is connected upstream from the charging/discharging module; therefore, switching it on is necessary for charging.)


Boost Me (for free)
Suggestions welcome, novice seeking guidance
License
You shall not share, sub-license, sell, rent, host, transfer, or distribute in any way the digital or 3D printed versions of this object, nor any other derivative work of this object in its digital or physical format (including - but not limited to - remixes of this object, and hosting on other digital platforms). The objects may not be used without permission in any way whatsoever in which you charge money, or collect fees.
Comment & Rating (0)