Motorized Escalator - Beginner Kit Version


Print Profile(4)
![[For Maker's Beginner Kit] 0.2mm layer, 2 walls, 15% infill](https://makerworld.bblmw.com/makerworld/model/US5d9a6b1a596e36/173657884/instance/2024-12-09_fa679b1a253d6.png?x-oss-process=image%2Fresize%2Cw_100%2Fformat%2Cwebp)


Bill of Materials

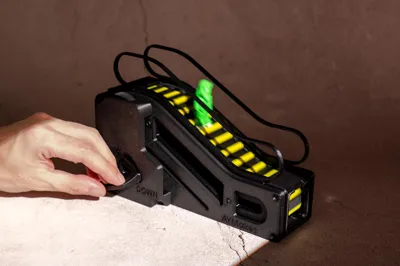
Description
This model was created as part of a collaboration with the MakerWorld team. It's an adaptation of my motorized escalator designed to be assembled with the Maker Supply Beginner's Kit.
Please watch this video for assembly instructions:
Disclaimer: This model is compatible with the Maker's Beginner Kit B-ZC002. The kit includes various non-printed parts to accommodate multiple popular models. As a result, some parts may not be necessary for this specific model. If you only need to purchase the non-printed parts required for this model, please uncheck the Kit option when making your purchase.

License
You shall not share, sub-license, sell, rent, host, transfer, or distribute in any way the digital or 3D printed versions of this object, nor any other derivative work of this object in its digital or physical format (including - but not limited to - remixes of this object, and hosting on other digital platforms). The objects may not be used without permission in any way whatsoever in which you charge money, or collect fees.
Comment & Rating (180)