X1/P1 Temp Hygro Sensor Replacement Filter Door


Print Profile(1)

Bill of Materials

Description
The activated charcoal filter in the back of the printer is not really all that effective. So a wile ago I removed it for better airflow to the outside.
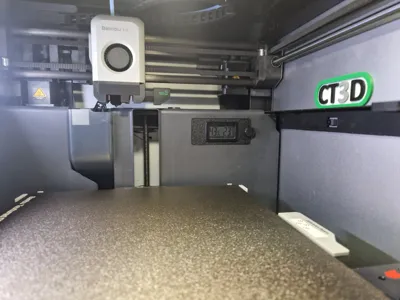
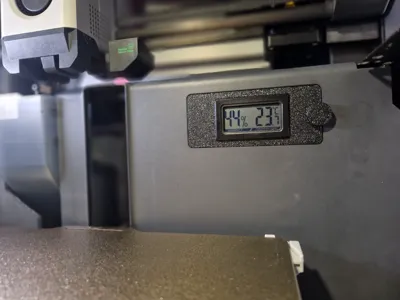
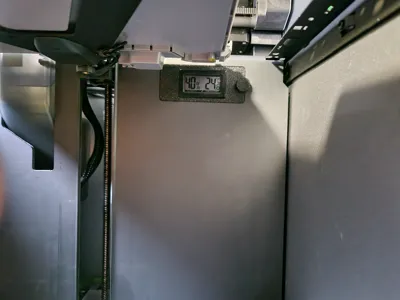
But later I thought, why not make a replacement door that can fit a temperature / hygrometer so I can better monitor what is going on inside the printer and that is exactly what this is!
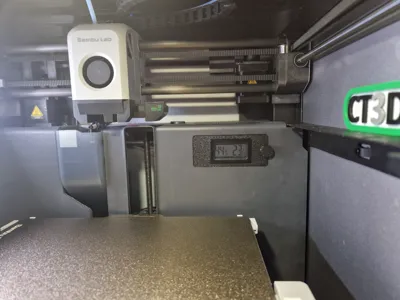
Add an M3x4mm screw or find something that fits in the pile of screws that is left after setting up your printer to attach the release clip. Insert the Hygro / Temp Meter and click the door in place and you are done!
NOTE:
Print in PETG or ASA/ABS for heat resistance!!!
For the sensor to fit you must remove the charcoal filter!!!
Use the temp / humidity sensor in the parts list.
And if you wonder how I was able to make such great photos inside the printer with this much light… check out my easy plug and play buildplate light here: https://makerworld.com/en/models/765505
If you like what I am doing here please comment, like, boost or consider a membership…
Membership
Boost Me (for free)

Comment & Rating (8)