
Flexi ReinD Snek
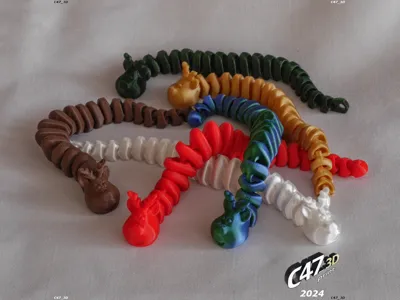
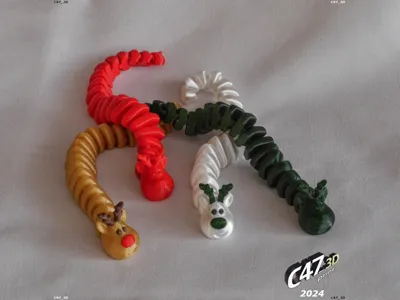
Print Profile(2)


Description
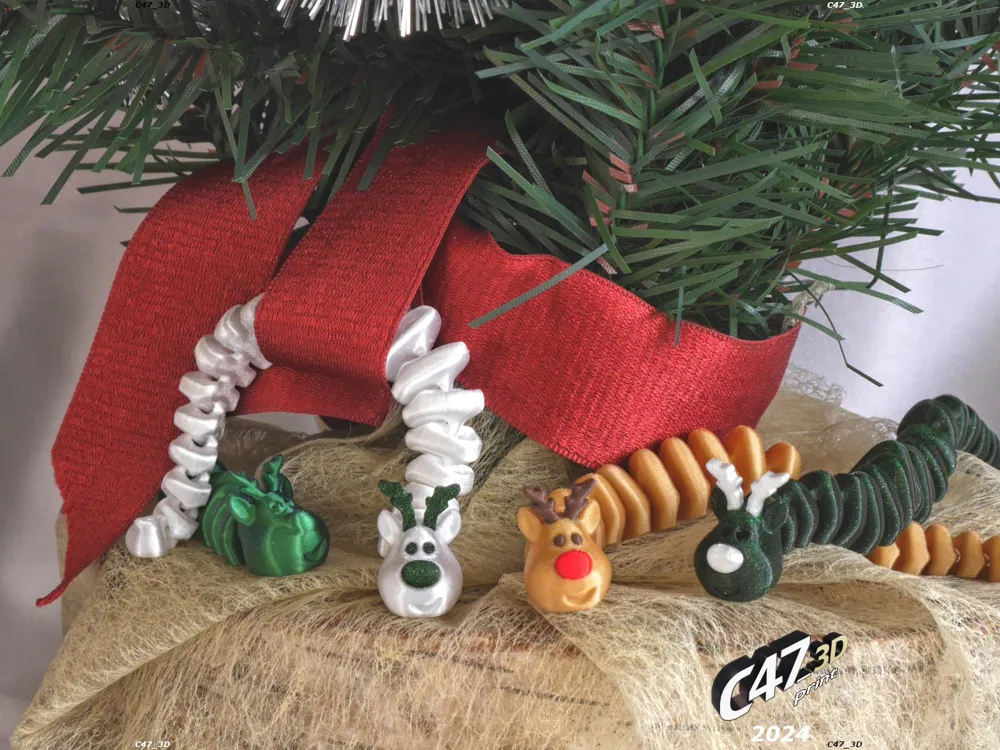
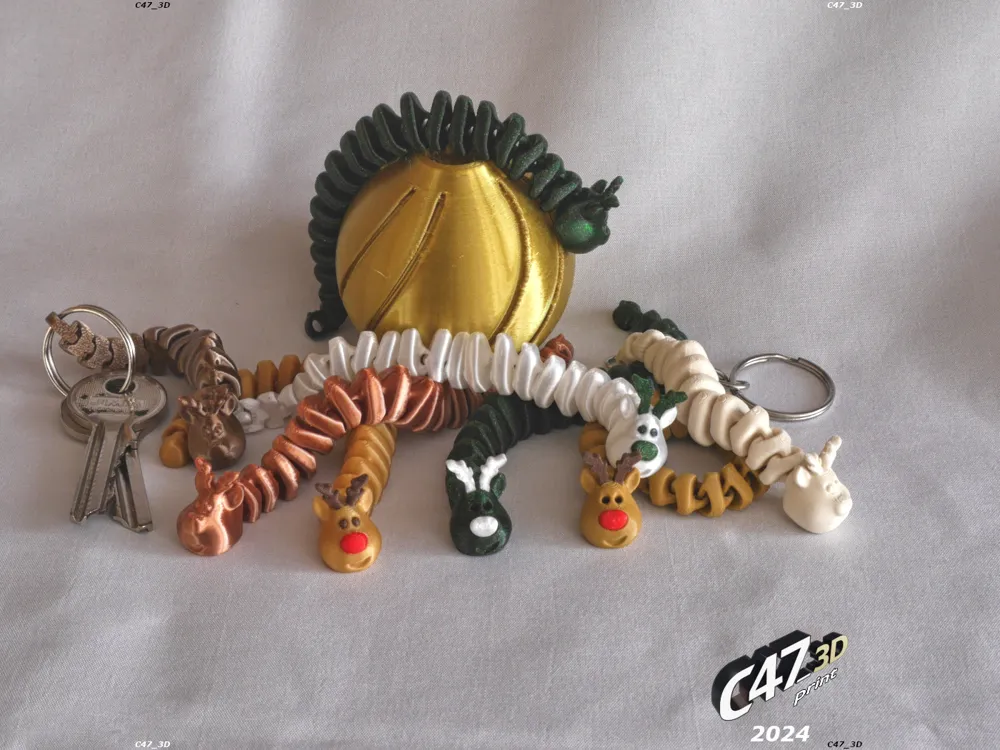
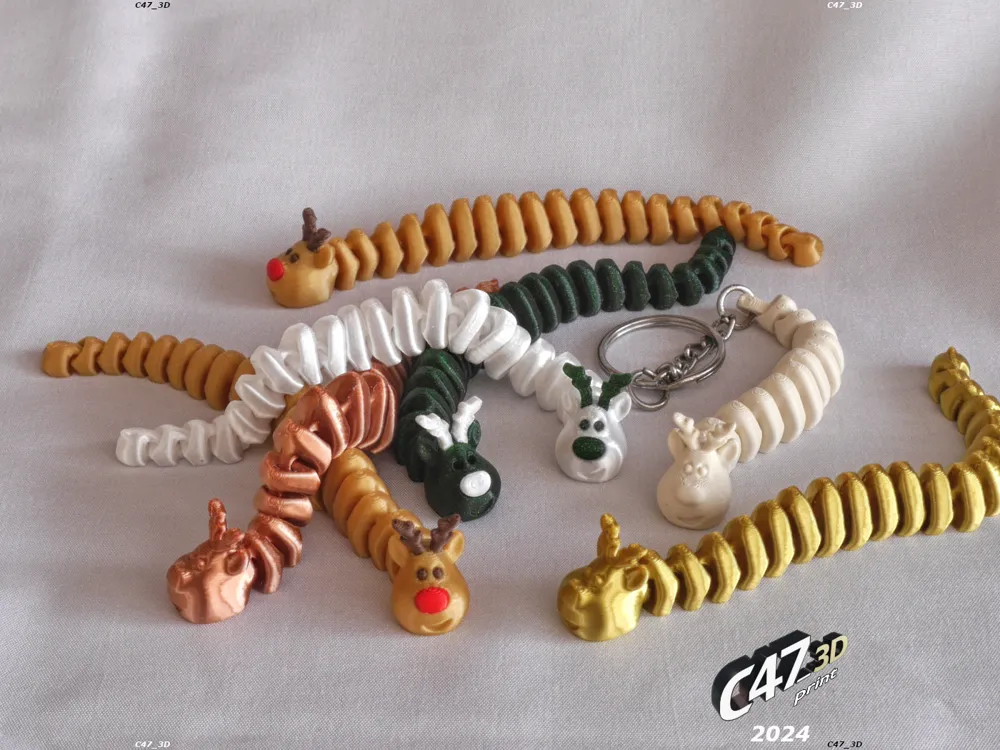
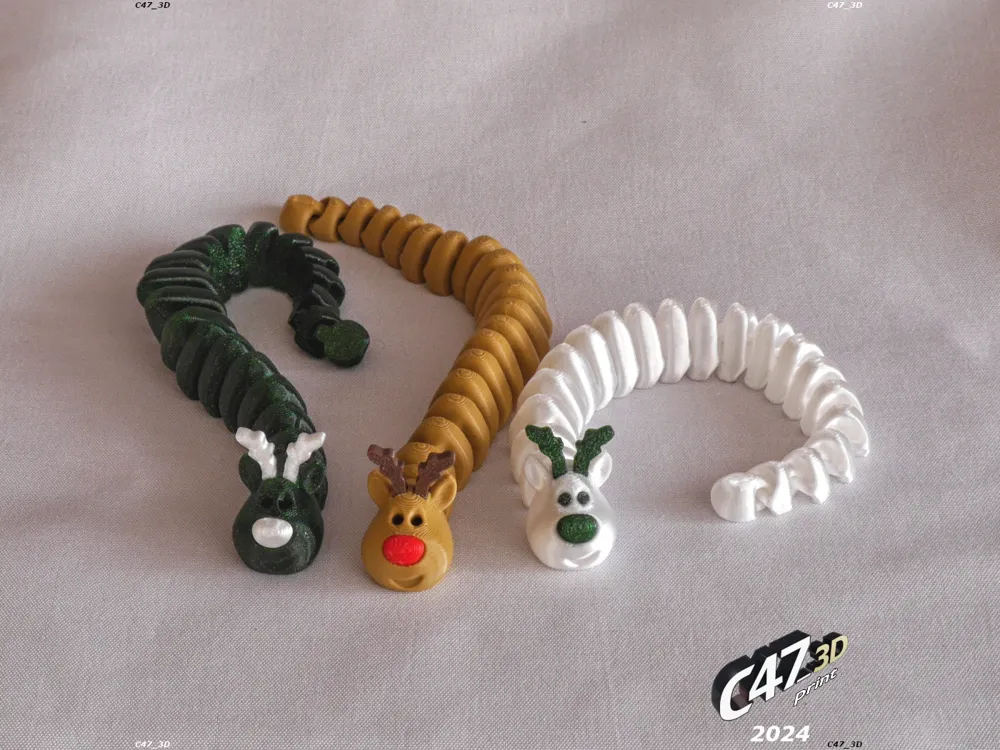
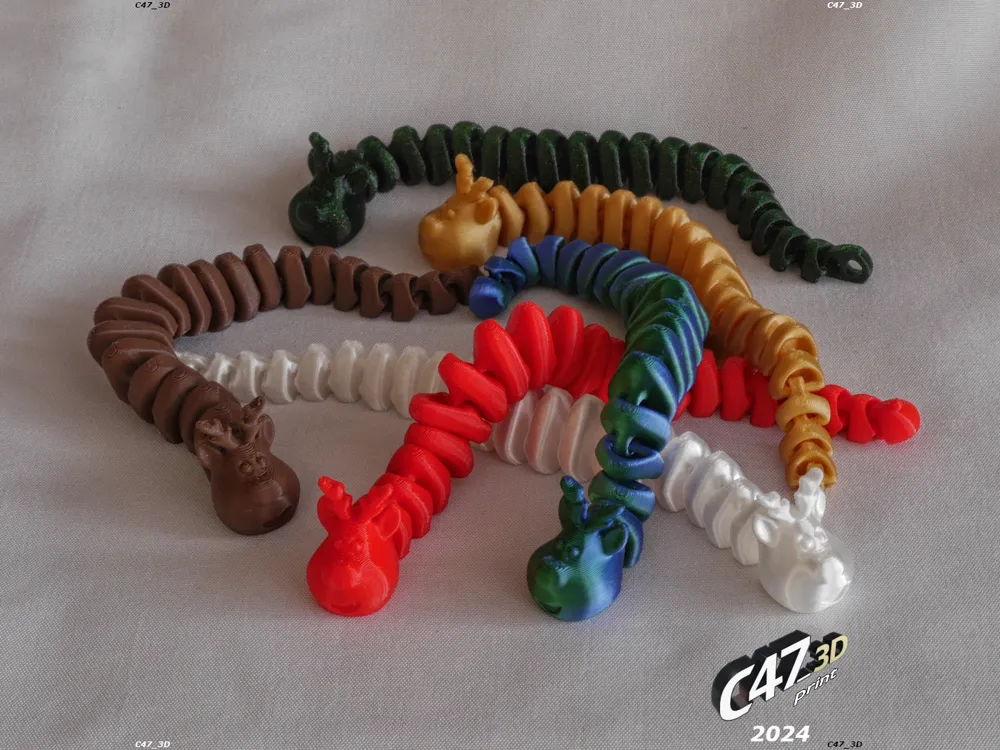
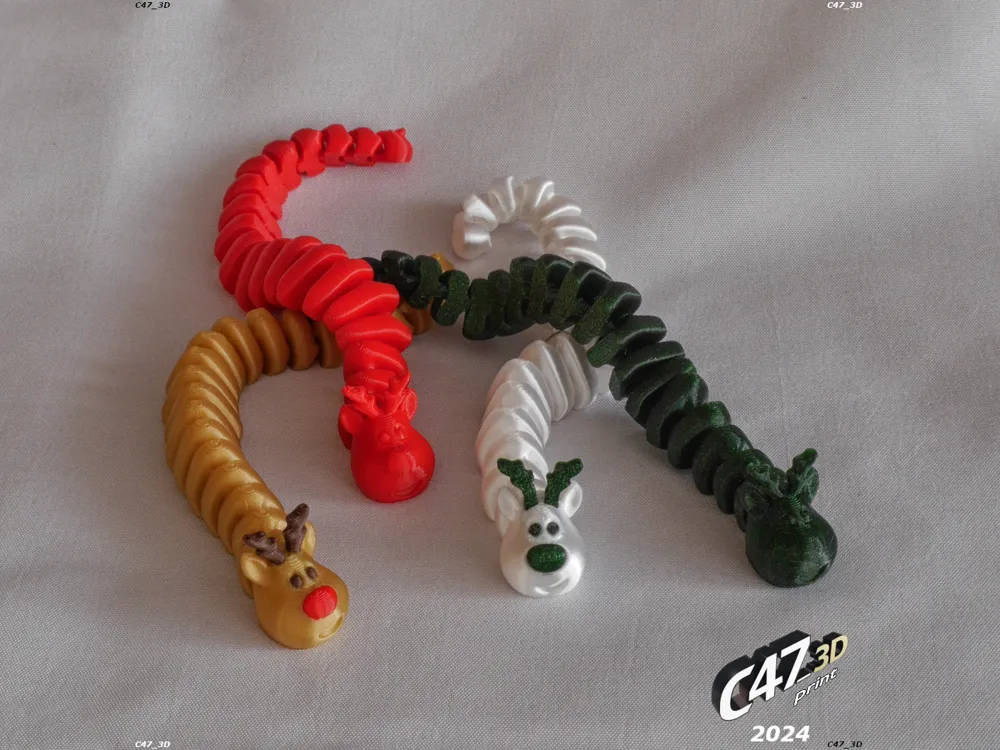
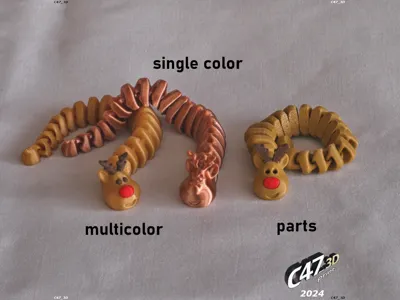
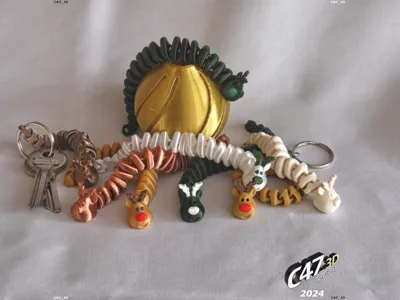
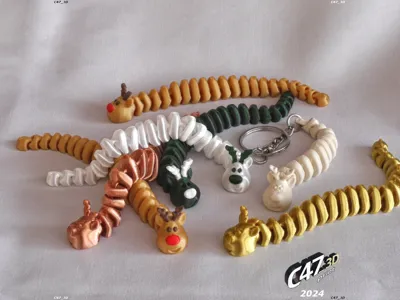
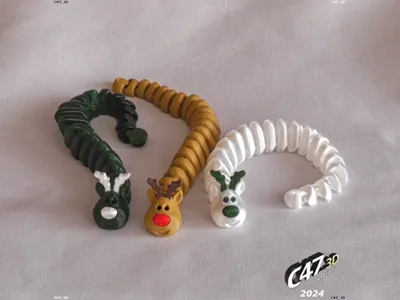
Articulated snake-like toy with a head of a Reindeer
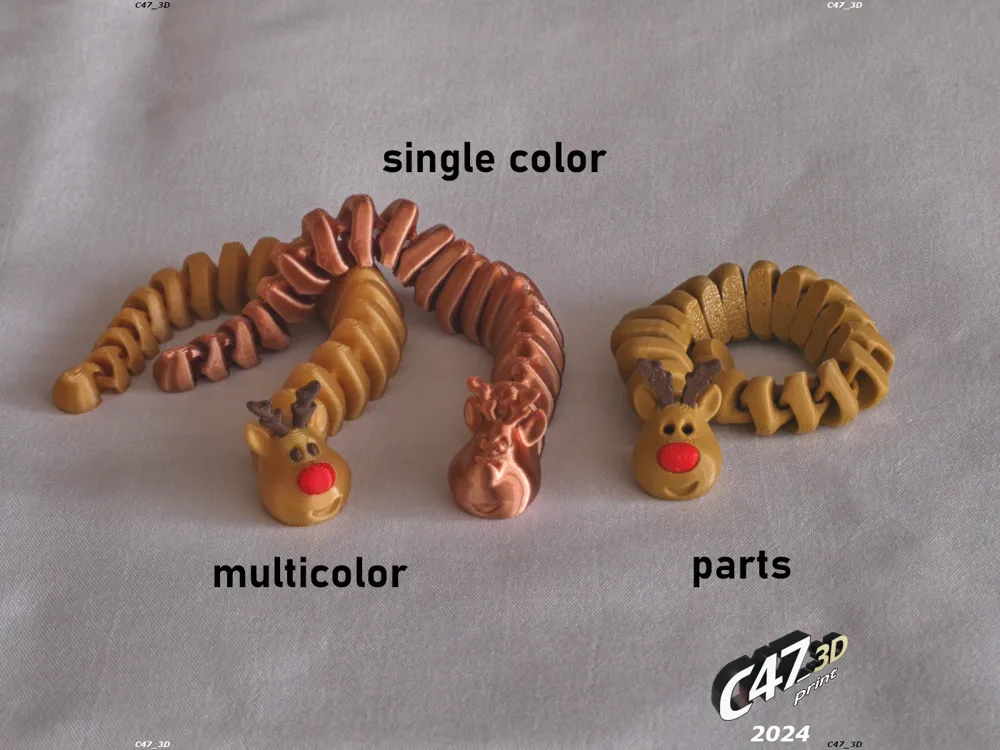
Files prepared for a single color, printing in parts in 2-3 colors and for multicolor printers
124mm long (86mm in short version)
Not for small kids (0-3yo)
---
Connectors based on my Capy Snek but body is different
Head based on my Reindeer Phone Stand (it's smaller and with some more changes)
---
If you want to sell prints of this models you can buy a commercial license
https://cults3d.com/en/3d-model/various/flexi-reind-snek-commercial-license
More Flexi Toys:
https://makerworld.com/en/collections/3293549
And Xmas models:
https://makerworld.com/en/collections/3427048
---
ARC
This is the same model as original but segments are arranged in an arc to use more square space
Use this model if you want to print ReinDSnek as big as you can on your printer
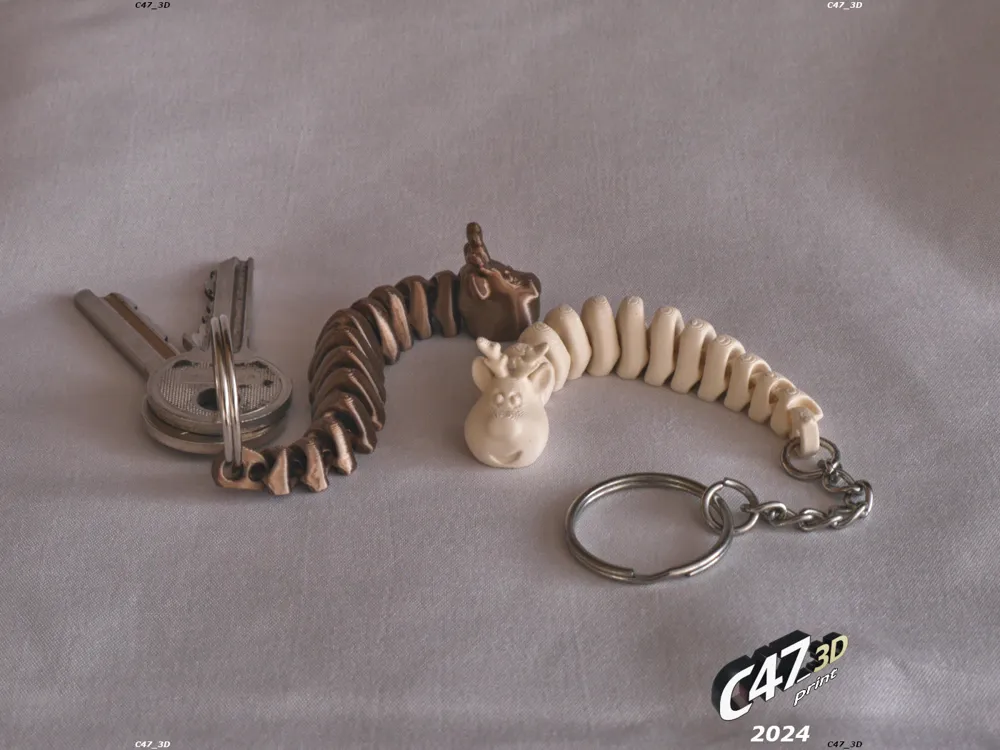
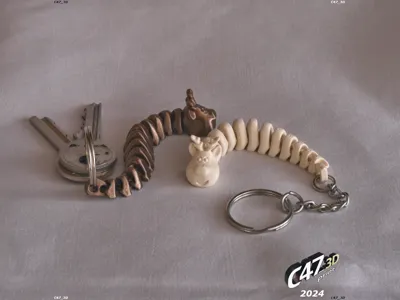
KEYRING
Last segment is with a hole for a ring or a string
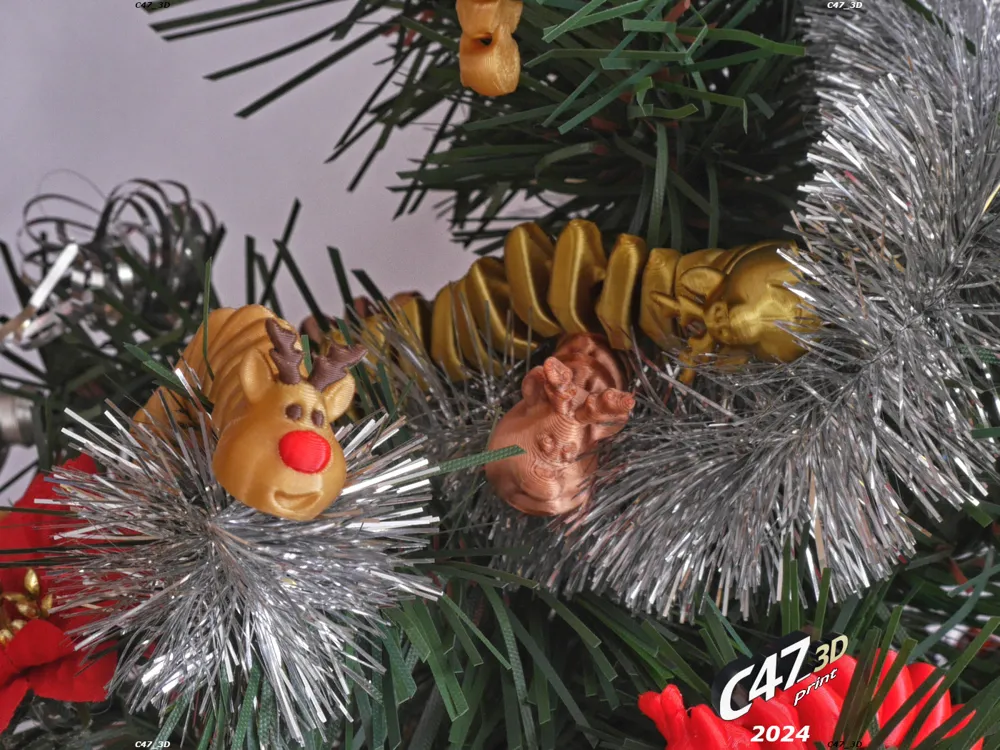
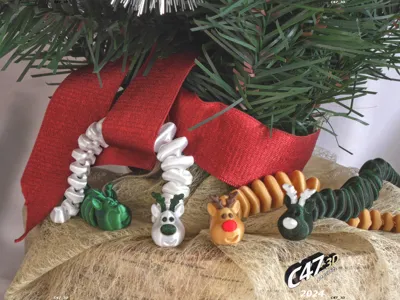
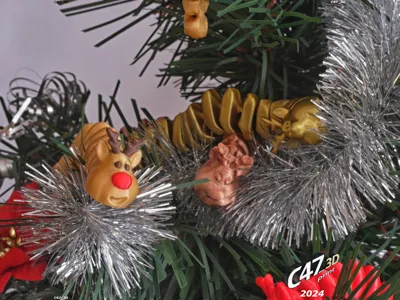
You can use is as a keyring or hang it on your xmas tree
MULTI
For multicolor printers
Select ReindSnek (or short version), MULTI_dark-brown and MULTI_red and move all 3 files to your slicer
You will be asked if it's a single object in multi parts - click YES
Then just change colors of _dark-brown and _red and print - you can use different colors than suggested
MULTI models are with a frame that will not be printed. It will help you line it up with base model to set them in exacly same place
PARTS
Files for printing in parts and assembling (glue is recommended if a toy will be used by smaller kids)
Select Body part of your choice and print him a Nose and Antlers
Original Body models are with holes for eyes. Use a 1.75mm filament in there or just leave it as it is. You can also use Eyes-addon to fill the holes in slicer (will be the same color as body)
For assembling Antlers and eyes I recommend to use a pliers
Push Antlers all they way up to a little thicker part
SHORT
Shorter version of ReinDSnek
12 segments instead of 20
---
PRINTING TIPS
I printed it with 0.16mm and 0.2 (multicolor) layer height. 0.1mm is recommended for good quality
2-3 walls
No infill needed unless you will resize the model
No supports needed
Good bed adhesion is needed. Brim is not recommended as you may need some time to remove it
Good cooling is recommended (connectors are with bridges)
---
License



Comment & Rating (14)