Small Magnetic Minecraft themed blocks


Print Profile(2)

Bill of Materials

Description
Boost Me (for free)
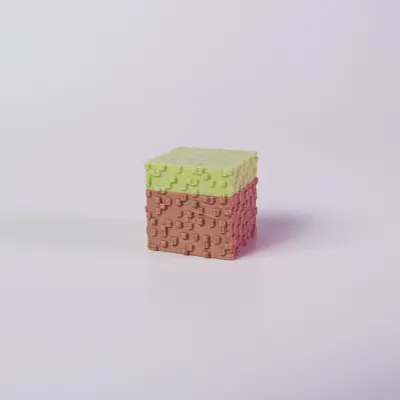
UPDATE - I made the Grass bricks be a bit bumpier on the top.
I saw an ad for some Minecraft blocks you can buy on Amazon or AliExpress, and thought I could do better.
MINECRAFT MAGNETIC BUILDING BLOCKS
NOTE: These are small blocks that were designed to be printed with a 0.2mm nozzle. I cannot guarantee what kind of results you'll get if you try to print this with a 0.4mm nozzle.
There are two print profiles - one with the bricks, the other with the magnet core holder.
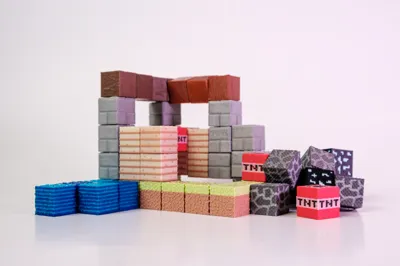
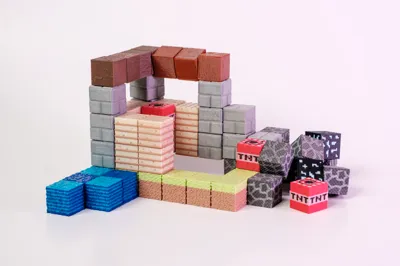
This is a set of 8 different Minecraft themed magnetic building blocks:
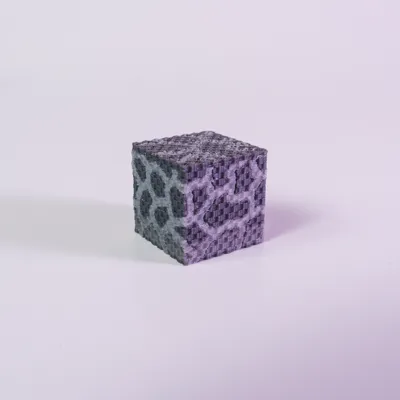
- Grass
- Stone
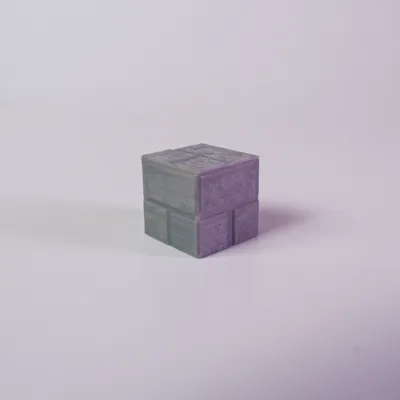
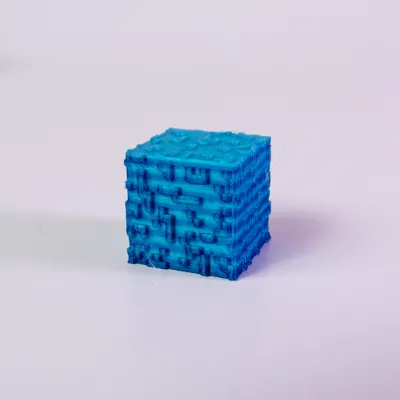
- Water
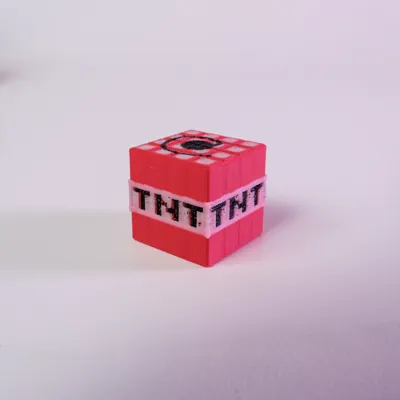
- TNT
- Wood
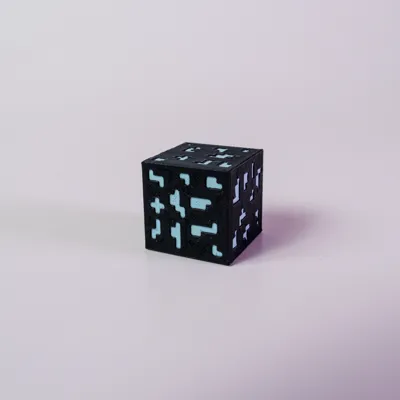
- Ore
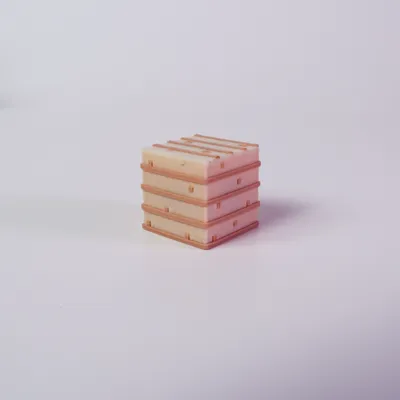
- Planks
- Cobblestone
Each ~16mm block contains six 6x3mm magnets, one for each face of the cube. You'll obviously need to order a large set of magnets if you wish to make these for yourself. 50 blocks means 50 x 6 = 300 magnets.

These cores are printed separately (can be printed with a 0.4mm nozzle). Note, make sure you use the same type of plastic for the core and for the shell. i.e. if you use PLA, use it for both. If you use PETG, use it for both.
The models for each brick type are solid, but there is a negative cube in each one that is exactly 15.1mm cubed, placed in the center of the block, to make room for the 14.9mm magnet holder core.
VERY IMPORTANT!!!
Each plate of bricks you print must have a PAUSE command inserted at the start of the first layer that covers over the negative space. This is to give you the time to manually insert the magnetic core into the shell.

Here you can see a plate with some blocks with the magnetic core inserted, and a few that are still empty. The core should just exactly fit inside the shell, and be just barely, at exactly at, the top level of the shell. Once you resume printing, the printer will then proceed to bridge across the top of the core. Thus, it's very important you make sure that the core and the top magnet within the core don't stick up higher than they should.

Magnetic Polarity
This is very important, when inserting the magnets into the core. For the four side faces, the trick is to alternate the polarity of each face. Meaning pick one face, insert a magnet into that face, move to the adjacent face, and reverse the polarity for that face. Move to the next adjacent face, and reverse the polarity again (so you're back to the same polarity as the face you started with). Move to the fourth face, and reverse it again (so you're back to the same polarity as the second face).
For the bottom and top of the core, the polarities again need to be reversed, so that you can stack one block on top of another, and the bottom magnet of the top brick will attract the top magnet of the bottom brick. Also, you have to keep your top/bottom polarities consistent across each and every brick you make.
Quantity
My build profile has different quantities of each brick type… this is kind of arbitrary. Copy and paste or delete to print as many of each type as you want.
Multicolor
I'm not going to lie, these blocks take a long time to print, especially the multi-color ones. Some of them have custom color painting, some just switch filaments at certain layers. I'll leave it to you to determine a) which colors to use and b) what your flushing volumes are to minimize waste.
License
You shall not share, sub-license, sell, rent, host, transfer, or distribute in any way the digital or 3D printed versions of this object, nor any other derivative work of this object in its digital or physical format (including - but not limited to - remixes of this object, and hosting on other digital platforms). The objects may not be used without permission in any way whatsoever in which you charge money, or collect fees.
Comment & Rating (46)