Sinden Lightgun Trigger Modification Version 3


Print Profile(2)


Description
The first “Trigger Fix” mod for Sinden Lightgun was created by Hexxed for the purpose of reducing the amount of distance the trigger travels when pulled or released. the trigger doesn't require the full travel to activate the switch, so reducing it means that the player doesn't have to pull as much, reducing the amount of time taken to make each shot, and enabling faster shooting times.
The mod has changed since that first version, with later variants being designed for easier printing and installation.
This version improves on its predecessors in two main ways:
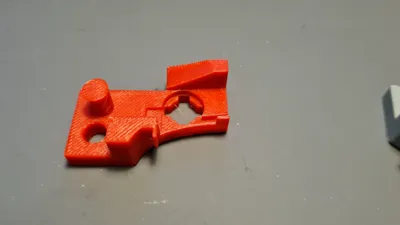
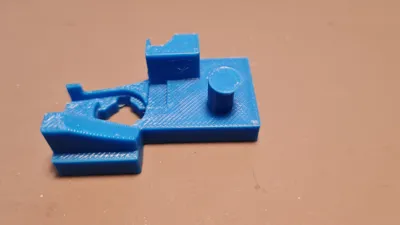
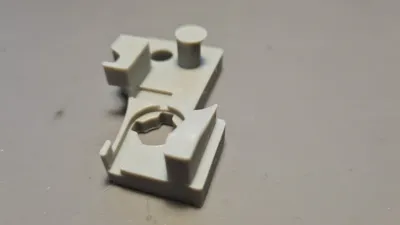
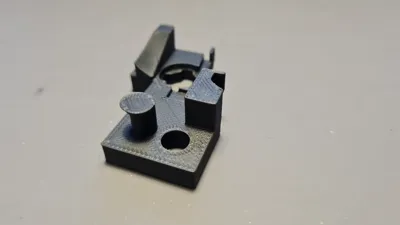
- a little raised tab section to help the long arm of the spring locate within its channel more easily.
- The sloped back block and additional hooked post to guide the internal USB cable around the top and back of the installed mod, eliminating the possibility of the USB cable interfering with the trigger.
This mod can be installed in all standard Sinden Lightguns, whether they have the recoil unit or not.
Printing is easy. The Mod requires minimal support, only a small amount to support a small protruding tab.
Installation is straightforward.
- Remove the orange ring from the front of the lightgun.
- Loosen the two screws under the sliding pump grip until the pump grip is released.
- remove the seven screws from the main body of the gun.
- Lay the lightgun flat on surface, on its left side (with the side containing the screw holes facing up), and lift the top half of the shell away. Being careful not to lose the spring from the sliding pump mechanism.
- If this lightgun contains a recoil unit, avoid contact with the large capacitor in the lightgun's handle. Move the USB cable out of the way.
- Carefully remove the trigger and its spring.
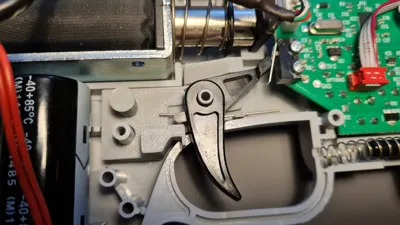
- Place the printed mod in the space from where the trigger was removed, locating the holes over the posts in the gun's shell.
- Replace the spring over its crossed post, on top of the printed mod, with the long leg of the spring pointing towards the front of the gun. Ensure the longleg rests neatly in its channel.
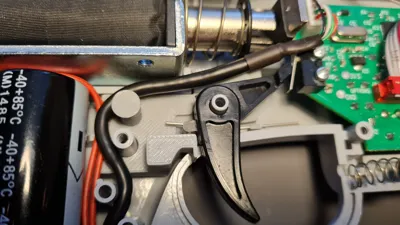
- Use a small tool to pull the short leg back while you replace the trigger in its space, on top of the mod. Release the spring's short leg so that it rests on the back of the trigger's short arm.
- Direct the USB cable around hte back post of the mod and rethread it around the posts in the lightgun's handle and out of the hole at the bottom of the shell.
Replace the top half of the shell, its screws, the pump grip and the all-important orange ring.
it's possible that, after reassembling the lightgun, the trigger might be less free, and slow to spring back to position. This would be due to overtightening of the screws near the trigger. Loosen those screws slightly to ease the friction.
The video below shows how to install the mod, if you prefer a visual guide.
Boost Me (for free)
If you like this model, consider helping me out by giving me a boost :)
Boost Me (for free)
If my model has been useful to you, please consider boosting to say thanks, to support me and keep me motivated. 🙂 It's free!


Comment & Rating (6)