
The TCG Scan Helper XXL
Print Profile(2)


Description
MTG Card Scanner V2.1 by Kante2k

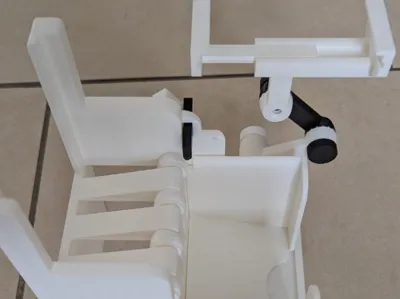
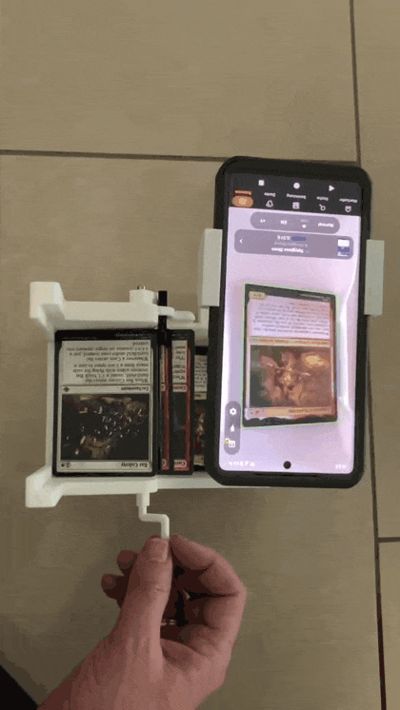
The MTG Card Scanner allows you to easily scan Magic: The Gathering cards with apps like Delver Lens or Manabox. Simply place the cards in the device and turn the crank. The rollers guide the cards into the collection box where the scanner captures them.
Update:
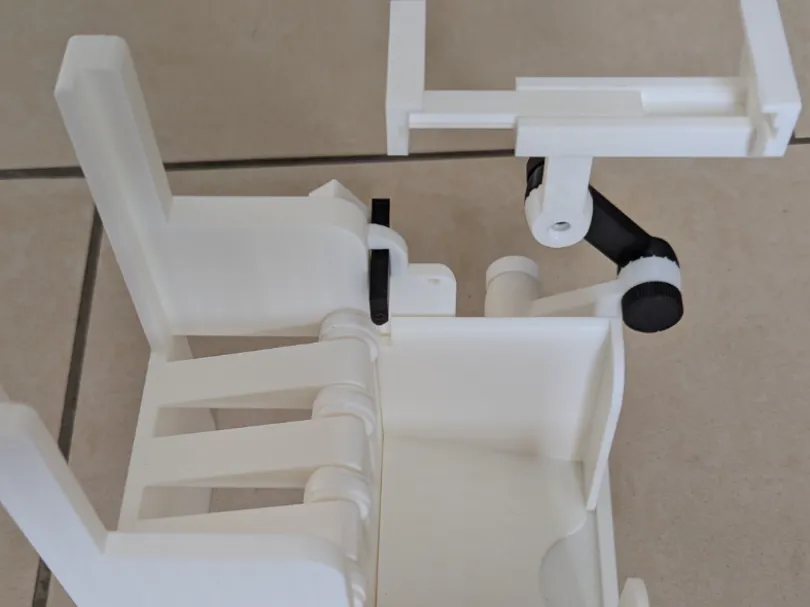
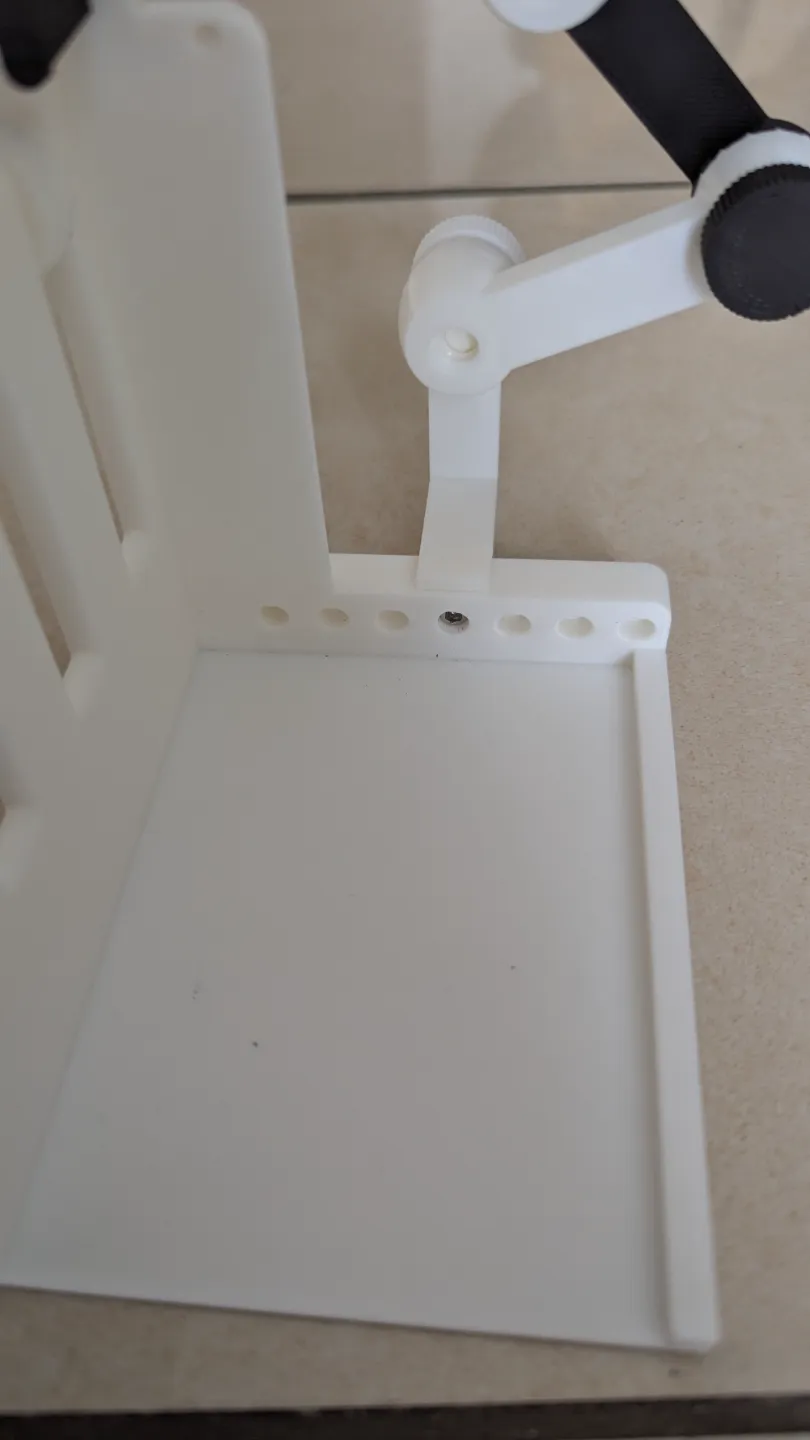
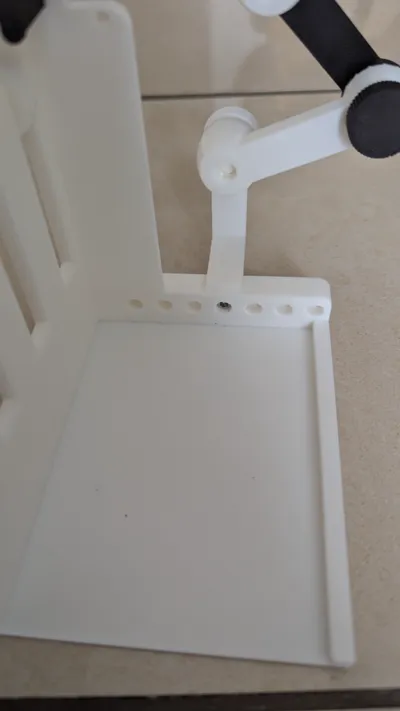
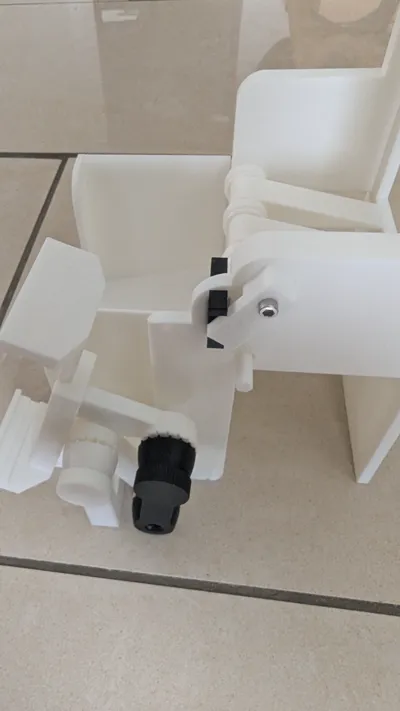
- New Phone holder, reworked the Phone holder its now better to adjust to various cell phones. some parts need to be screwed with M3 screws
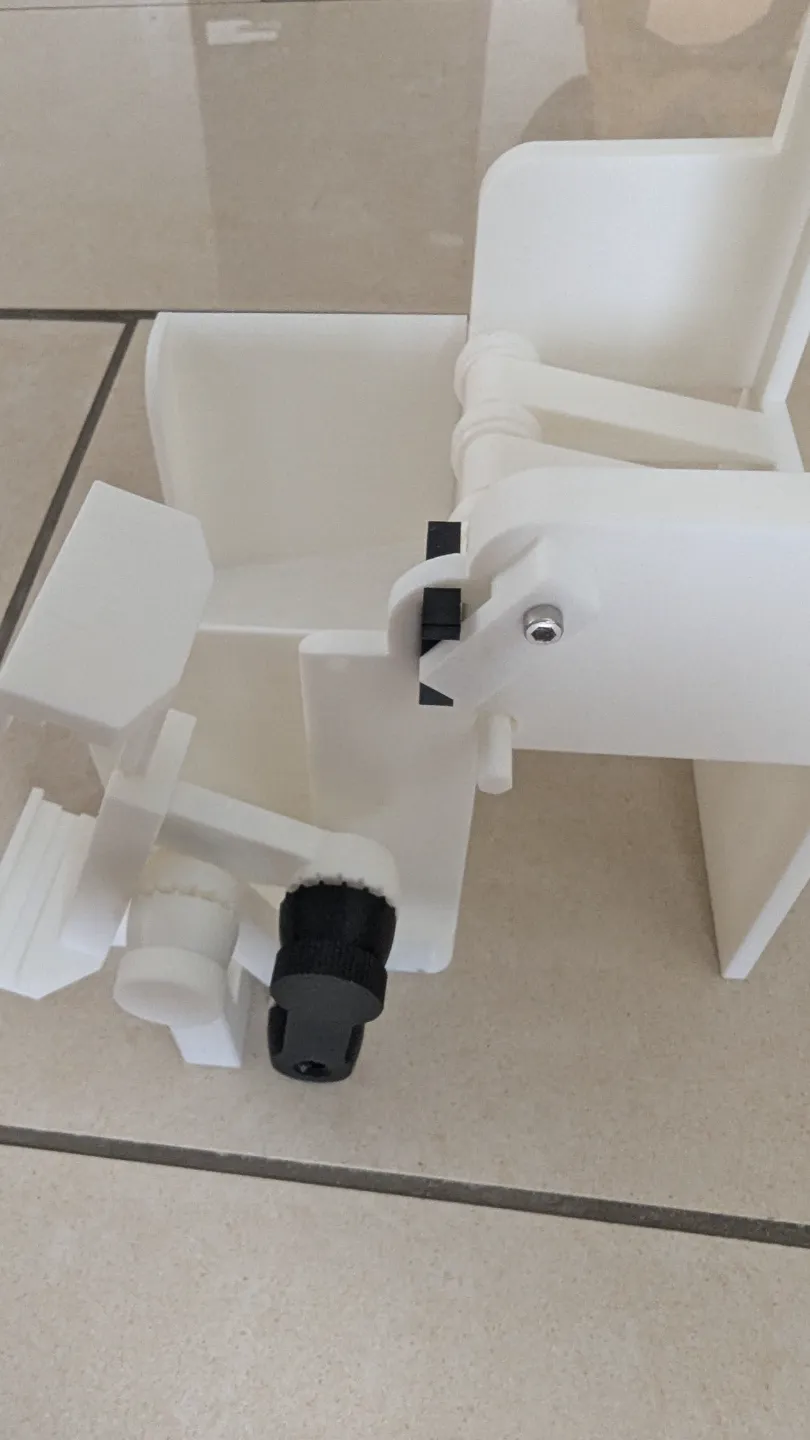
- new type of seperator holder, now no rubber bands are needed for securing the seperator, its now easier to adjust the seperator. This Part is compatible with version V2.
- Rolls are now slightly bigger from 17mm to 18mm
- Some small optimizations
Infos:
- Print the collector box and Mainbody in white for optimal contrast.
- Print the card separator using TPU and 50% infill to prevent card damage.
- The crank and shaft are now separate parts that can be snapped or glued together.
- The scanner is optimized for easier printing and simpler removal of the support structure.
- The rollers are now smooth, designed for flat, wide rubber bands.
- Start with 2 arm segments or print one more if you can not adjust the Phone to a good spot. There is a 90 degree arm part if you need horizontal orientation of your phone. Use Rubber band to have the phone holder stay together.
Required parts:
- 3x M3*10 screws
- 4x silicone rubber bands (anti-slip, 10mm diameter, 1mm thick, 5mm wide)
- 1x rubber band app. 20mm
Assembly Instructions:
- Install Rubber Bands on Rollers: Slide the rubber bands onto the rollers. Test by sliding the rollers on and off the crank to ensure they’re not too tight.
- Attach the Crank: Insert the crank from the labeled side through the hole, then place the rollers onto the crank.
- Install Card Separator: Slide the card separator through the slot with the rounded side down and secure it with the new holder.
- Assemble phone holder: Screw the base holder on the mainbody using M3 screw, slide the phone holder together, secure with rubber band and screw the small arm onto it.
- Test: Run tests using basic lands first to avoid damaging valuable cards. Poor-quality rubber bands may leave marks.
Disclaimer: I’m not responsible for any card damage. Test with non-valuable cards first to ensure safe operation.
Old Version also available.
if you enjoy my work and want to help me make more and better designs please give me a Boost.
Boost Me (for free)
Help me design more and better things
Have fun scanning
Boost Me (for free)
If you like my designs, you can give me a boost, to help me design more an better models
License

You shall not share, sub-license, sell, rent, host, transfer, or distribute in any way the digital or 3D printed versions of this object, nor any other derivative work of this object in its digital or physical format (including - but not limited to - remixes of this object, and hosting on other digital platforms). The objects may not be used without permission in any way whatsoever in which you charge money, or collect fees.


Comment & Rating (59)