Pokeball


Print Profile(18)


Description
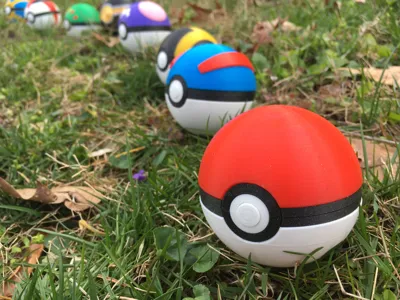
Profiles for the 4 most popular designs are provided. For additional Pokeball variants:
Generation 2: (https://makerworld.com/en/models/1692204-pokeball-generation-2#profileId-1793871)
Generation 3: (https://makerworld.com/en/models/1688443-pokeball-generation-3#profileId-1789530)
Generation 4: (https://makerworld.com/en/models/1706046-pokeball-generation-4#profileId-1809851)
Misc. Info:
- The print-in-place ring mechanism has two versions with different tolerances. Make sure your elephants foot compensation is set properly to prevent the hinge from seizing.
- The loose version has a minimum gap size of 0.3mm, and should work with most (non-bambu) printers
- The tight version has a minimum gap size of 0.2mm, and should only be printed if you are confident with your printer's capabilities
- The magnets I used measure 6mm x 1.75mm (6x2 nominal). I got them from amazon: https://www.amazon.com/gp/product/B07KJ9H31P
- Printable alignment pins are included, but you can use machined pins too
Assembly Instructions:
Insert 4 pins into the holes in the lid. IMPORTANT: The 8mm pins go in the back, and the 6mm pins go in the front.

Attach the lid piece to the ring. I recommend not gluing the pieces together until the magnets have been tested.

Repeat previous steps with other lid piece, and insert the magnets into the front counterbores. Make sure the Magnets are facing the correct direction before gluing them.

Insert the inner button into the outer button, and glue the button assembly to ONE hemisphere of your choice of the assembled Pokeball (different media show the button on different sides).


FAQ/Troubleshooting
- Where can I find designs of additional Pokeball versions?
- Additional designs for Pokeballs from Generation 2, 3, 4+ are located under this model's remixes
- Will you make a <XXX> Pokeball?
- I am constantly making new designs. Check back often for project updates. Before Bambulab-compatible profiles are available, some designs are first uploaded as STLs first to Printables at https://www.printables.com/model/687259-pokeball
- Can I sell the Pokeballs I printed?
- No, this model is published under a non-comercial license for personal use only. Comercial licensing can be separately obtained through a designated subscription at patreon.com/yoyothechicken
- How large are these Pokeballs?
- The basic Pokeball has an outer diameter of 69.5mm, and an inner diamter of 63.5mm (2.5in) though it's smaller in the front and back. This is slightly smaller than the Pokeballs sold at Pokemon Center.
- Where can I get a stand for my Pokeballs?
- There is no official stand, but some users have made there own. One such design is available at https://www.printables.com/model/975901-pokeball-display-stand
- I don't have the correctly sized-magnets. Will <XXX> sized magnets work?
- Most likely no, since the holes in the model are 6x2mm to fit magnets of the same size. However, if you scale the model, magnets proportionally larger or smaller may fit. Some users have also created profiles/remixes for other size magnets. The model also does not need magnets to be assembled
- How do I fix “stringing" issues on the inside of the dome?
- Poorly formed overhangs can resemble stringing in the dome. Try lowering the layer height or print speed. Refer to the sliced profiles for reference.
- What can I do if the hinge rings do not close?
- Most users don't have problems with the rings, but stuck rings can be saved by repeatedly applying pressure back and forth at the pivot point. Do not apply pressure to the rings themselves.
- If bending the hinge does not work, check if the first few layers of your print are bulging out. If they are, increase the elephant foot compensation in the slicer.
- If adjusting the elephant foot compensation, there are loose-tolerance and separate ring versions of the hinge available in this model's STL files.

Comment & Rating (2512)