Print-In-Place Ratchet Driver


Print Profile(2)


Description
Optional Magnet: (5mm diameter, 2mm depth)


Print Tips:
- Print with PETG
- Make sure to split the parts into objects
- A small amount of WD-40 makes the ratchet sound and feel a lot nicer (much less dry)
- Best results with a smaller nozzle
- Either use AMS for colored print, or set the first layer to be a different color

(If printing on a crappy printer, scale up the outer ratchet by arount 2%. Mid-range printers should be able to print this as is.)
Troubleshooting:

This is a part that i printed on my ender 3
Parts stuck together:
- Use a blade to seperate the ratchets

- Press on the center until the part clicks

- Insert an extension shaft, into the hex slot, and rotate the part several dozen times until the ratcheting is smooth and consistent.

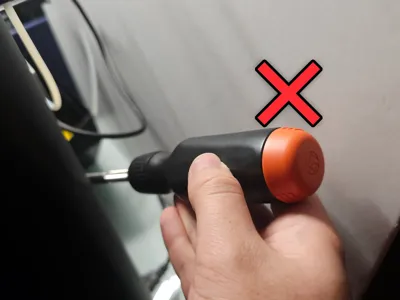
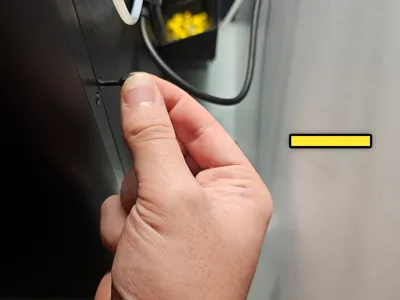
Cranking the driver too hard will cause the ratchets to buckle. This shouldn't be an issue with general use, however your milage may vary based on what PETG you use, along with print settings.
I used both Prusament petg and Bambu petg. Both seem to hold up well.

Originally designed to remove a few screws in my boiler room which were blocked by some pipes. I've been developing the idea since.
License
You shall not share, sub-license, sell, rent, host, transfer, or distribute in any way the digital or 3D printed versions of this object, nor any other derivative work of this object in its digital or physical format (including - but not limited to - remixes of this object, and hosting on other digital platforms). The objects may not be used without permission in any way whatsoever in which you charge money, or collect fees.
Comment & Rating (69)