
Arcane Ekko Mask - wearable cosplay prop - Serev3D


Print Profile(1)

Description
One of our favorite characters from Arcane is Ekko, since season 1! We've been planning to put out some cosplay props from League of Legends and Arcane for a while, and since Season 2 just came out, I think it's the perfect time to do so :)
Let me know what else would you like us to make next!
Check out all our latest designs on our Patreon: https://www.patreon.com/SEREV3d
- For getting the rights to sell the 3d prints of our designs, become a paid member on our patreon: https://www.patreon.com/SEREV3d
▶ ▶Join our Serev3D Authorized Sellers List
On our patreon we provide Ekko's bat/sword and also a multi part version of the mask, so you can use two different filaments to print it!
--->Ekko's bat/sword and multipart mask<----

Recommended filaments:
Printed on:
-Bambu P1S
3d Print Settings:
We recommend to keep the orientation of the object the way it's being imported, the position minimizes the amounts of supports needed and keeps the layer lines not too visible.
Layer Height: 0.2mm
Infill: 7% (if you want it stronger-heavier, you can set it to 10%)
Infill pattern: Gyroid
Wall loops: 3
Supports: Automatic Tree(organic) Supports, Threshold angle 28° TopZ Distance: 0.28, BottomZ Distance: 0.2 (like this the supports can be removed easily, if your print might move or fail at the beginning, adjust the amount to something lower like 0.15, it might be harder to remove the supports afterwards, but it will hold better while printing)
--------------------------
POST PROCESS recommendations:
To achieve a nice metallic finish on the the mask and sword, follow these steps:
0. Use Gorilla Super Glue Liquid , also it's recommended to do some pla welding to fuse the joined parts together, so they will hold strong
1. Sanding & Smoothing: Start by sanding the print to smooth out layer lines, working your way up to finer grits.: 3m Pro Grade Grit: 120, 3m Pro Grade Grit:220, 3M Wet or dry Sandpaper Grit: 600
2. Priming: Apply Rust-Oleum Painter's Touch Spray Paint White suitable for plastic to create an even base.
3. Metallic Paint: Use metallic spray paints or airbrush paints, such as chrome, gold or silver.: Rust-Oleum Aged Metallic Weathered Steel, and Pébéo - Acrylic Fine Studio Acrylics - Silver
You can also use Rub 'n Buff Wax Metallic Finish for a textured look.
4. Weathering & Shading: Add depth with washes or dry brushing darker tones into the creases to create a realistic worn look.
5. Sealing: Finish with a clear coat to protect the paint.
-------------------------------------
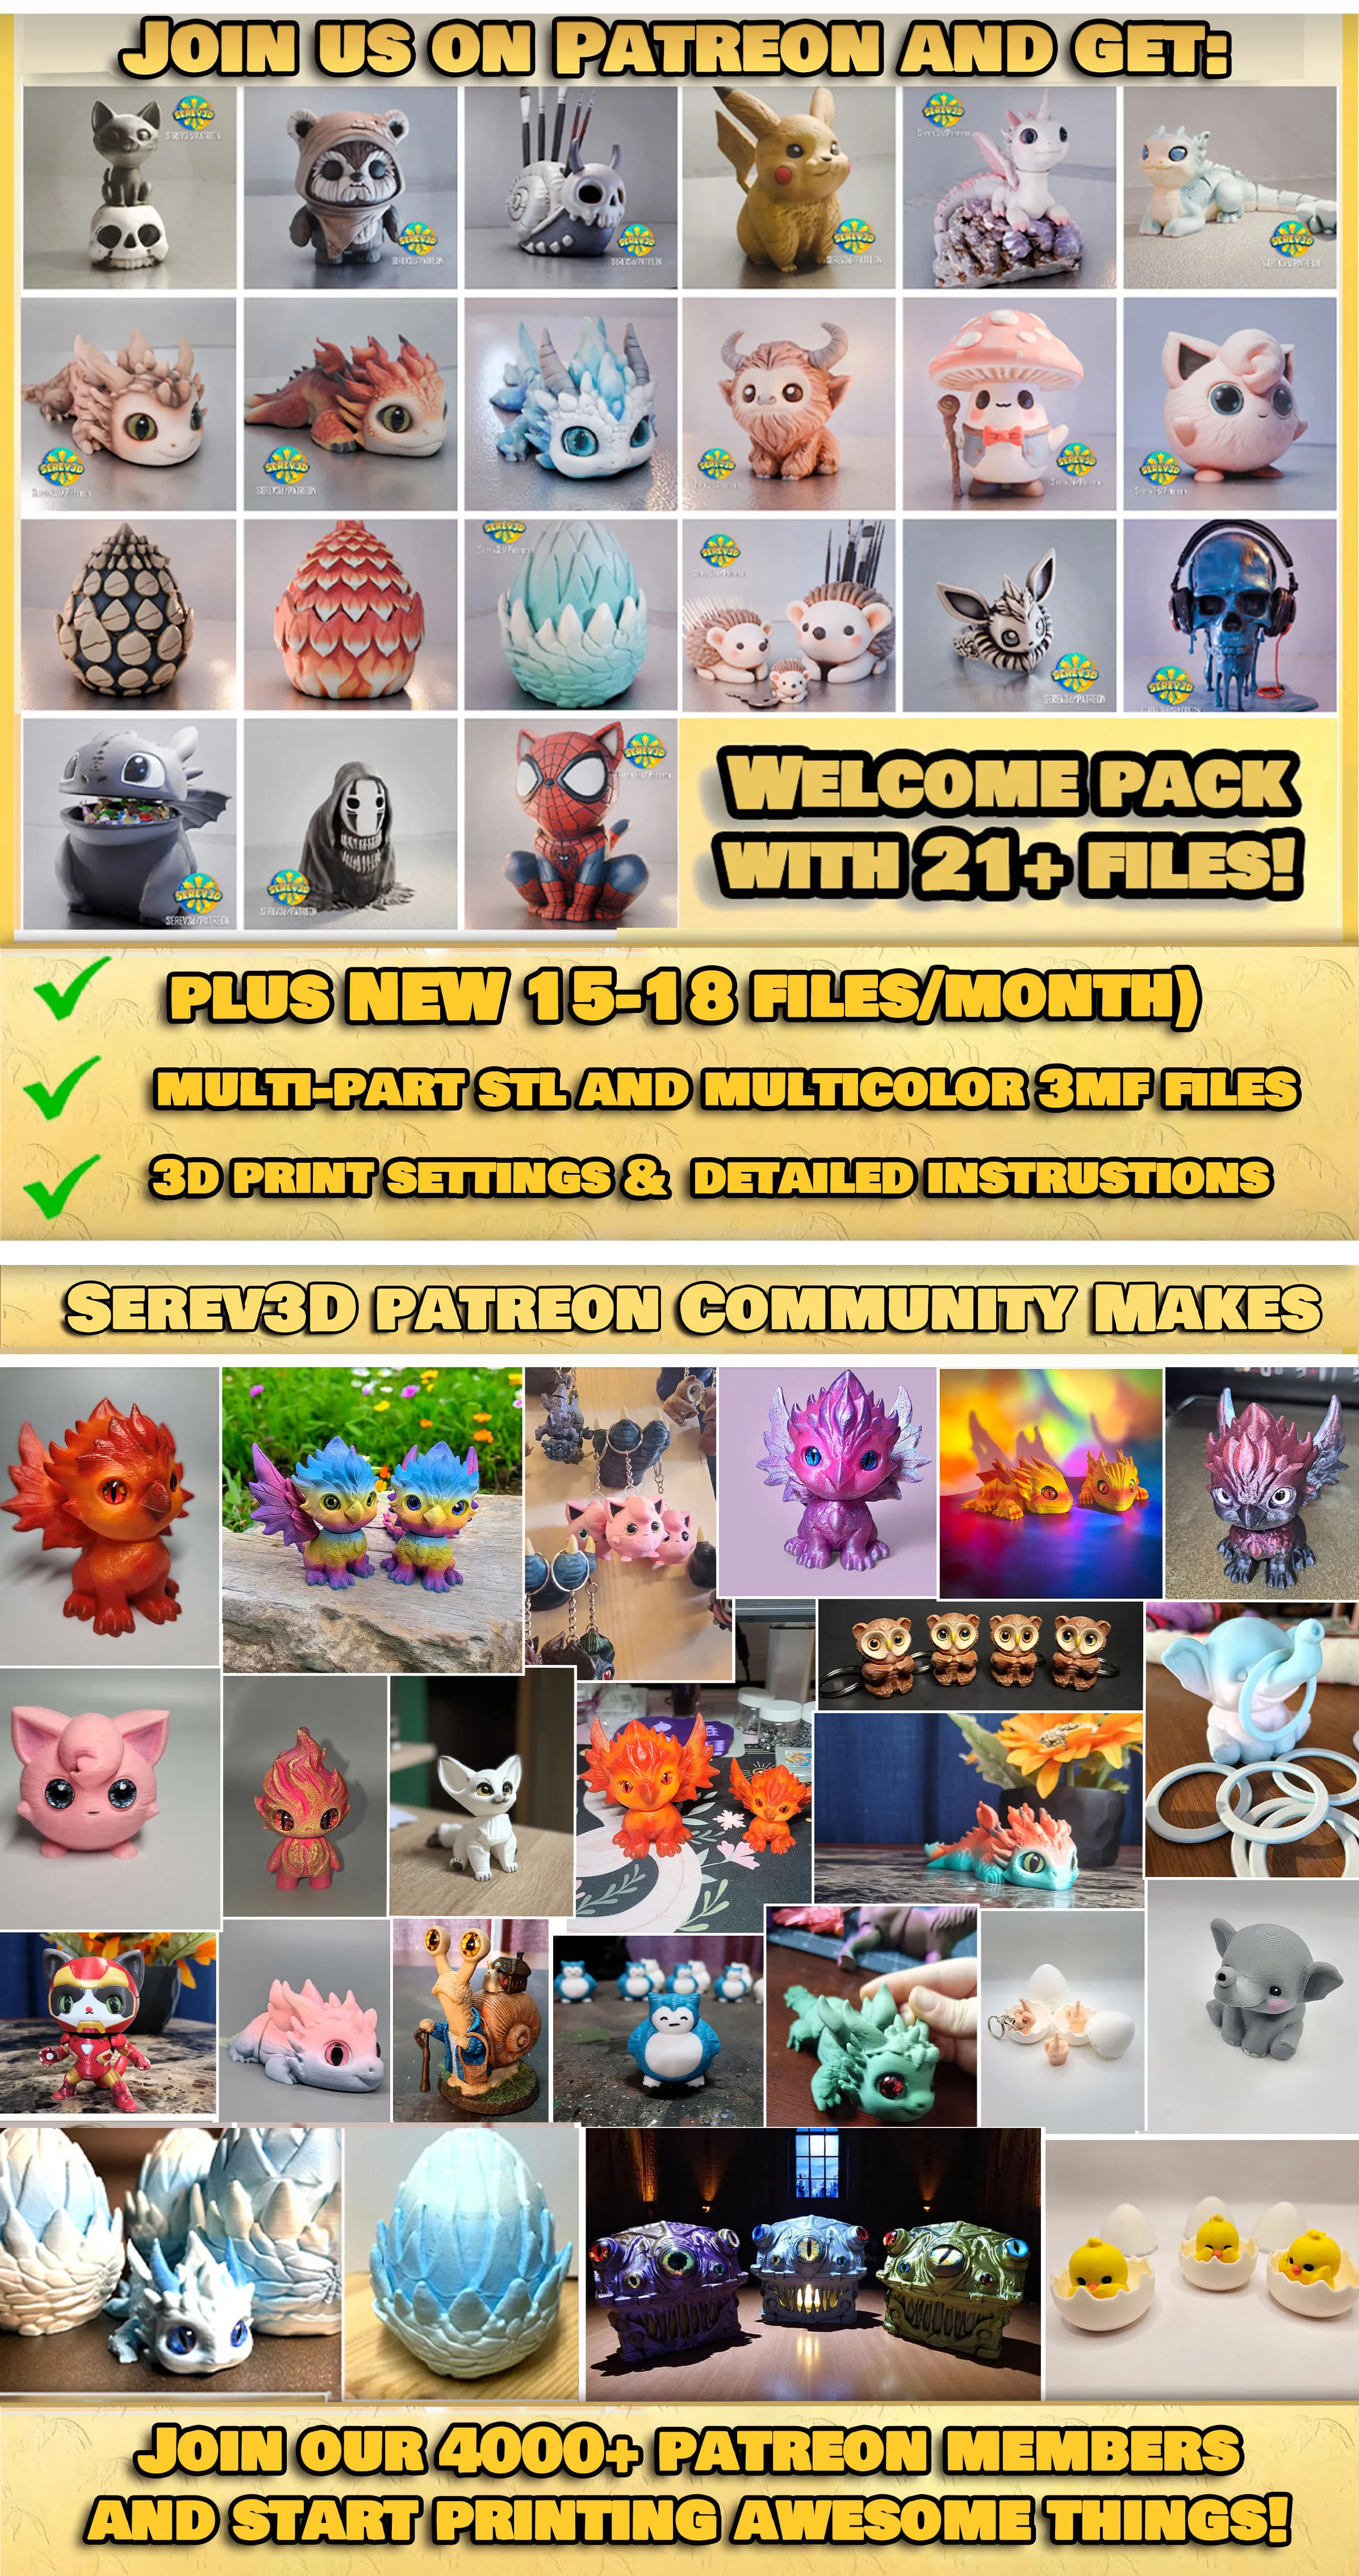
Check out our Patreon exclusive designs too, we have a lot more awesome things to print:
🔹 Join SEREV3D on Patreon & unlock everything!
We are looking forward to see your prints, Show us your finished results in the comments!
-------------------------------------
Don't forget to show off your awesome makes on
►Our Patreon chats: https://www.patreon.com/serev3d/chats
►Or in our SEREV3d facebook group: https://www.facebook.com/groups/1569100737016945
License



Comment & Rating (50)