Makita (power tool battery XT60 and DC power input socket


Print Profile(1)
Description
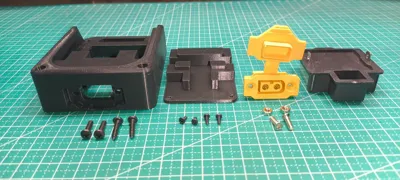
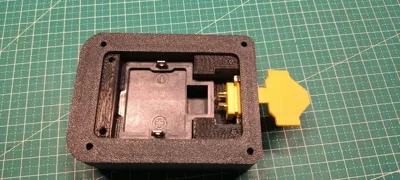
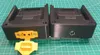
My design for a Makita power tool battery power adaptor begins with an XT60E-F interface adaptor, as shown in the family photo below:


You will need to purchase the XT60E-F, Makita battery power plug, and screws. Use M3*10 (ideally M3*15) stainless steel cross-head screws and nuts to secure the XT60. The bottom cover uses M2*6 black iron pan-head self-tapping screws, and the adaptor is secured with M3*14 black iron pan-head self-tapping screws. Assembly is shown below:


The XT60E-F may be a tight fit and require some force during installation. I do not own a Makita battery; I used a Dayi A3 to Makita converter. See image:

Using the XT60E-F dust cap will protect the interface when used outdoors.
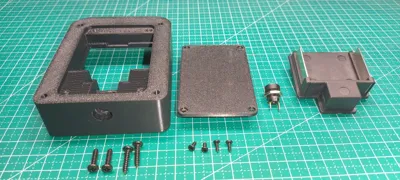
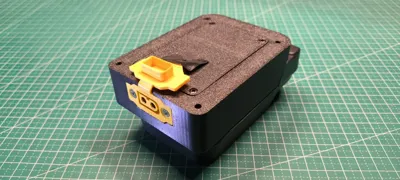
Next, the DC-022B interface adaptor, family photo below:


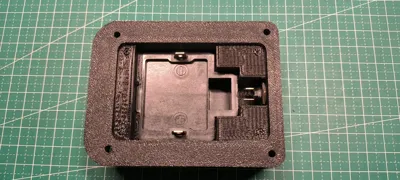
You will need to purchase the DC-022B female connector, Makita power plug, and screws. The screws are M3*14 and M2*6 black iron pan-head self-tapping screws. Assembly is as follows:


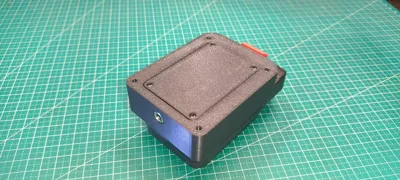
Alternatively, for the DC interface model, you can directly route the power cord without using the DC-022B female connector—I have not included photos of this. Finally, after assembling according to the images, solder the positive and negative wires (be extremely careful not to reverse them!), and it’s ready to use. Those interested can download and print. Thank you!!!
License
You shall not share, sub-license, sell, rent, host, transfer, or distribute in any way the digital or 3D printed versions of this object, nor any other derivative work of this object in its digital or physical format (including - but not limited to - remixes of this object, and hosting on other digital platforms). The objects may not be used without permission in any way whatsoever in which you charge money, or collect fees.
Comment & Rating (17)