World´s 1st 3D Printed GYROSCOPE Toy


Print Profile(2)
Bill of Materials


Description
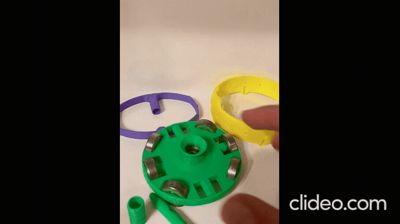
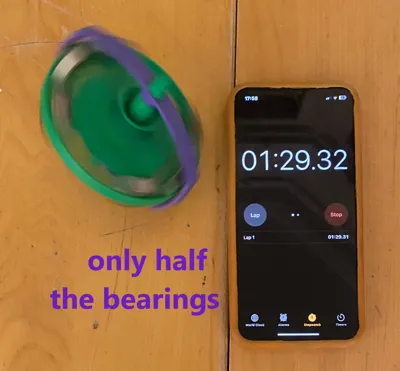
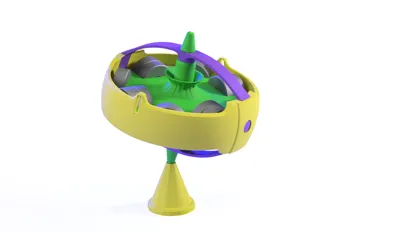
This is, to my knowledge, the first 3D printed gyroscope toy. It is a perfect gift for any science loving child or just to have fun with it yourself. It spins for well over a minute with half of the maximum bearing for me and you can even balance on the string. The total printing time is just under 2 hours, making it an ideal project for enthusiasts and makers. The gyroscope can be fully assembled by hand without the need for glue or special tools. Some sanding may be necessary on the axle, a clamp can be used to help insert the bearings if they are too tight and an acrylic pen can be used to add grip to the wind up mechanism.
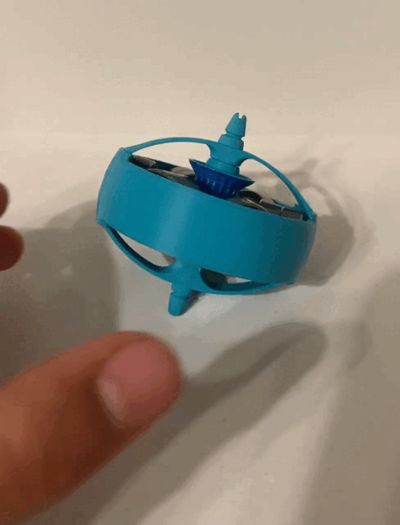
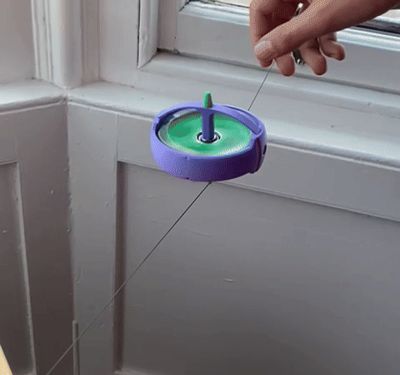
I have a compact smaller version of the gyroscope that can also balance on the tip of a pen and hang horizontally by a string.
Boost Me (for free)
I would really appreciate a boost if you liked the design
Operating the Gyroscope: Step-by-Step Instructions
Preparation
- Grip the gyroscope by holding the circular holes on the guard firmly.
Cord Insertion
- Insert the launch cord into the designated hole on the wheel.
Launching
- Wind the cord carefully around the wheel, ensuring:
- The cord does not tangle with the central spacer
- The cord is wound smoothly and evenly
- the cord does not detach from the wheel
Launch Technique
- Grasp the cord's end securely with a firm grip.
- Pull the cord swiftly and decisively with one smooth, strong motion.
Pro Tips
- Maintain a consistent, straight pulling motion slightly angled upwards so the cord dose collide with the bearings
- Keep the gyroscope stable during launch
- Practice will improve your technique and launch precision
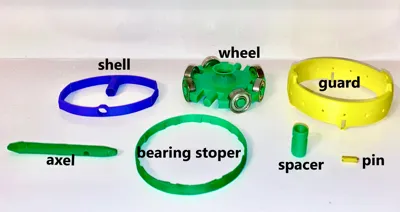
Components:
- Bearings: Requires one high-grade bearing and 6 to 12 additional bearings for weight.
- String: A 1mm diameter string is needed that is around a meter and a half in length.
Assembly Instructions:
Insert Bearings into the Wheel:
- Use a clamp if necessary, as the bearings will fit tightly to ensure safety.
Attach Bearing Stopper:
- Place the bearing stopper(the thin circle) around the wheel and bearings.
Position the Spacer:
- Place the spacer(the cylinder) on top of the central bearing, ensuring that the groove is at the bottom.
Assemble Wheel and Spacer into the Shell:
- Insert the wheel and spacer inside the shell.
Insert the Axle:
- insert the axle(pencil looking part) inside the shell and spacer aligning the holes. If the axle does not fit, try spinning it with a drill while sanding it for a smoother fit.
Secure with Pin:
- Insert the pin(small cylinder) into the hole to secure everything in place.
Optional :
- If using the cone, add some grippy tape to its base for stability
- once asembled coat the wheel´s wind up mechanism with acrylic using an acrylic pen for extra traction.
- For added safety, insert the guard by placing one end from above and the other from below.
Safety:
- keep away from hair
- beware of spinning parts
License
You shall not share, sub-license, sell, rent, host, transfer, or distribute in any way the digital or 3D printed versions of this object, nor any other derivative work of this object in its digital or physical format (including - but not limited to - remixes of this object, and hosting on other digital platforms). The objects may not be used without permission in any way whatsoever in which you charge money, or collect fees.
Comment & Rating (26)