
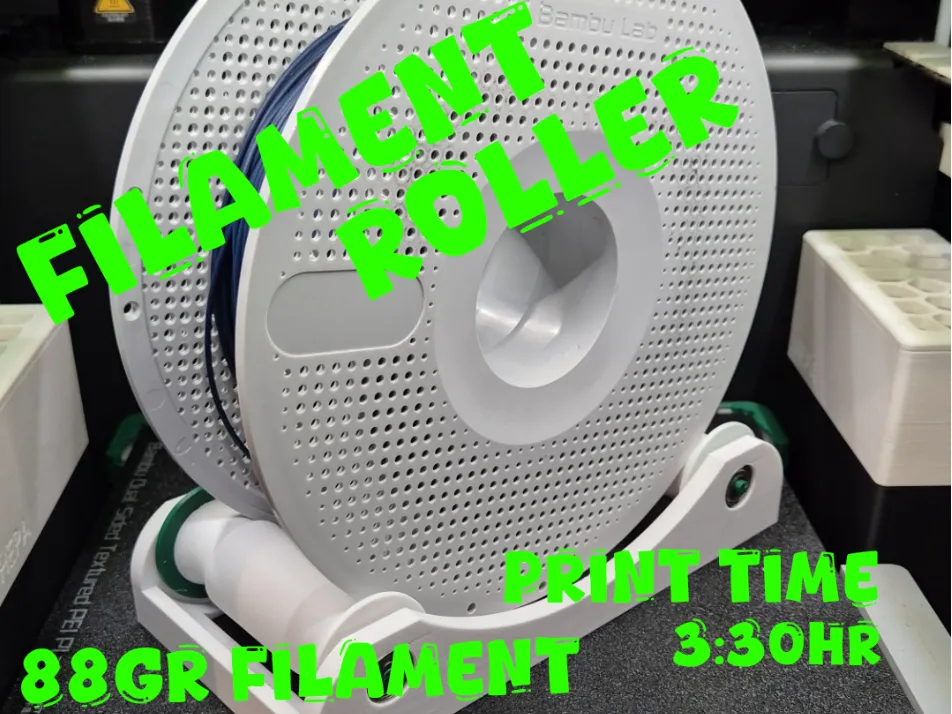
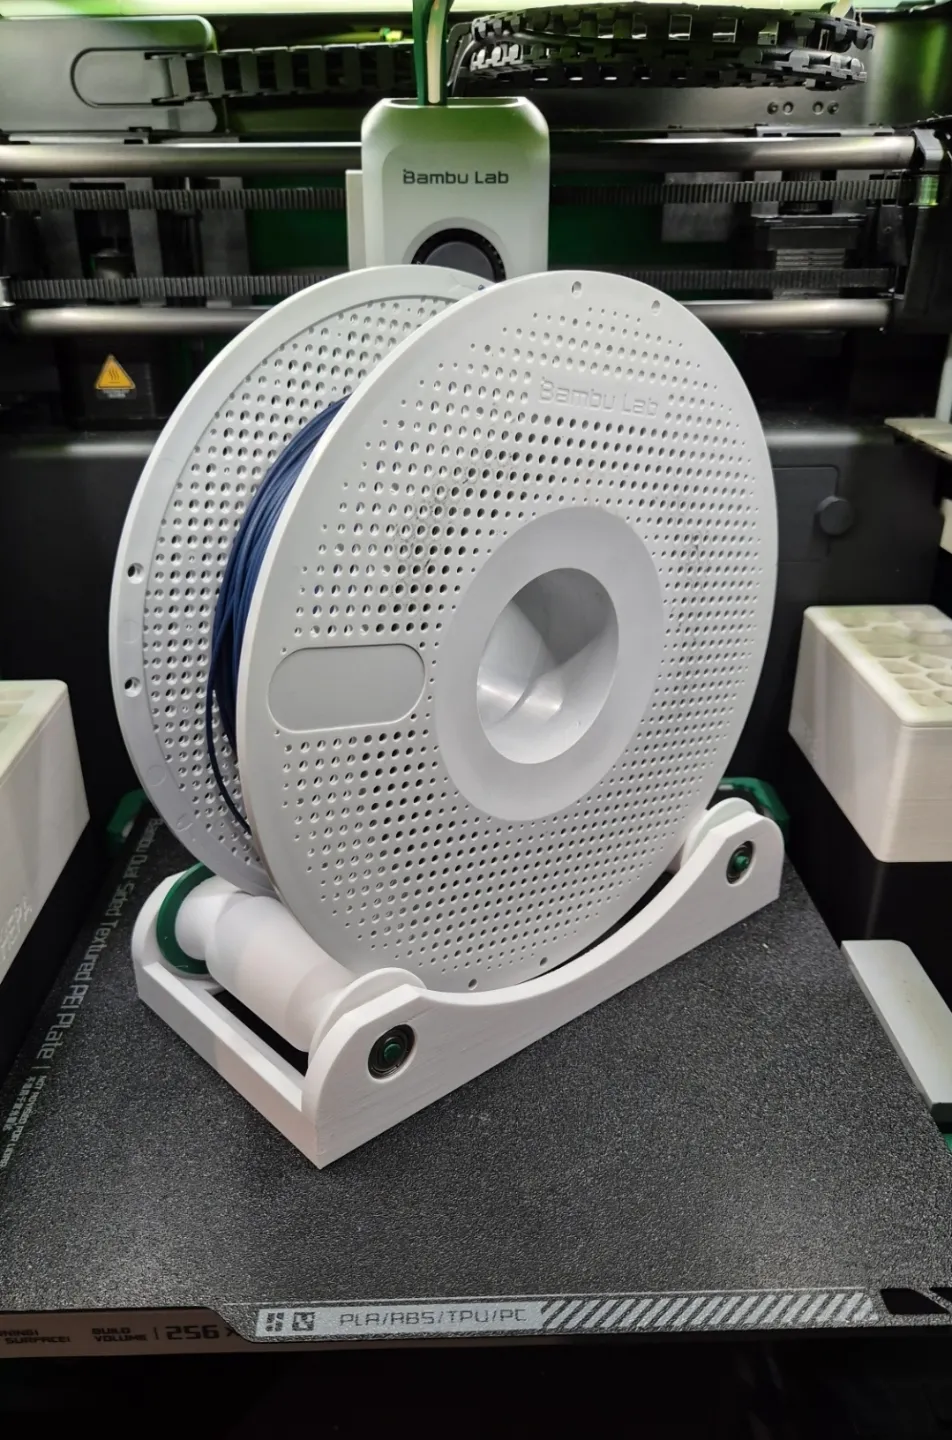
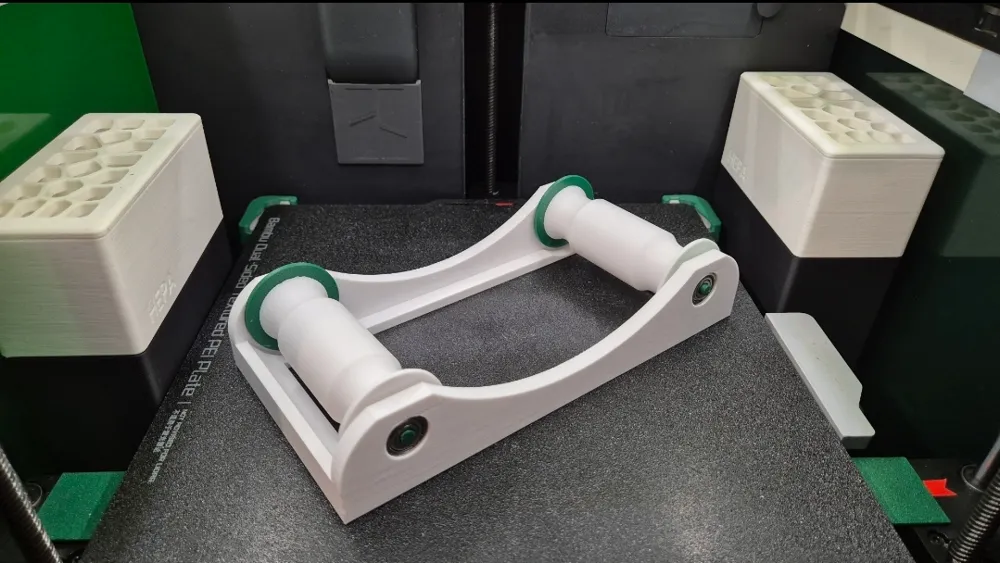
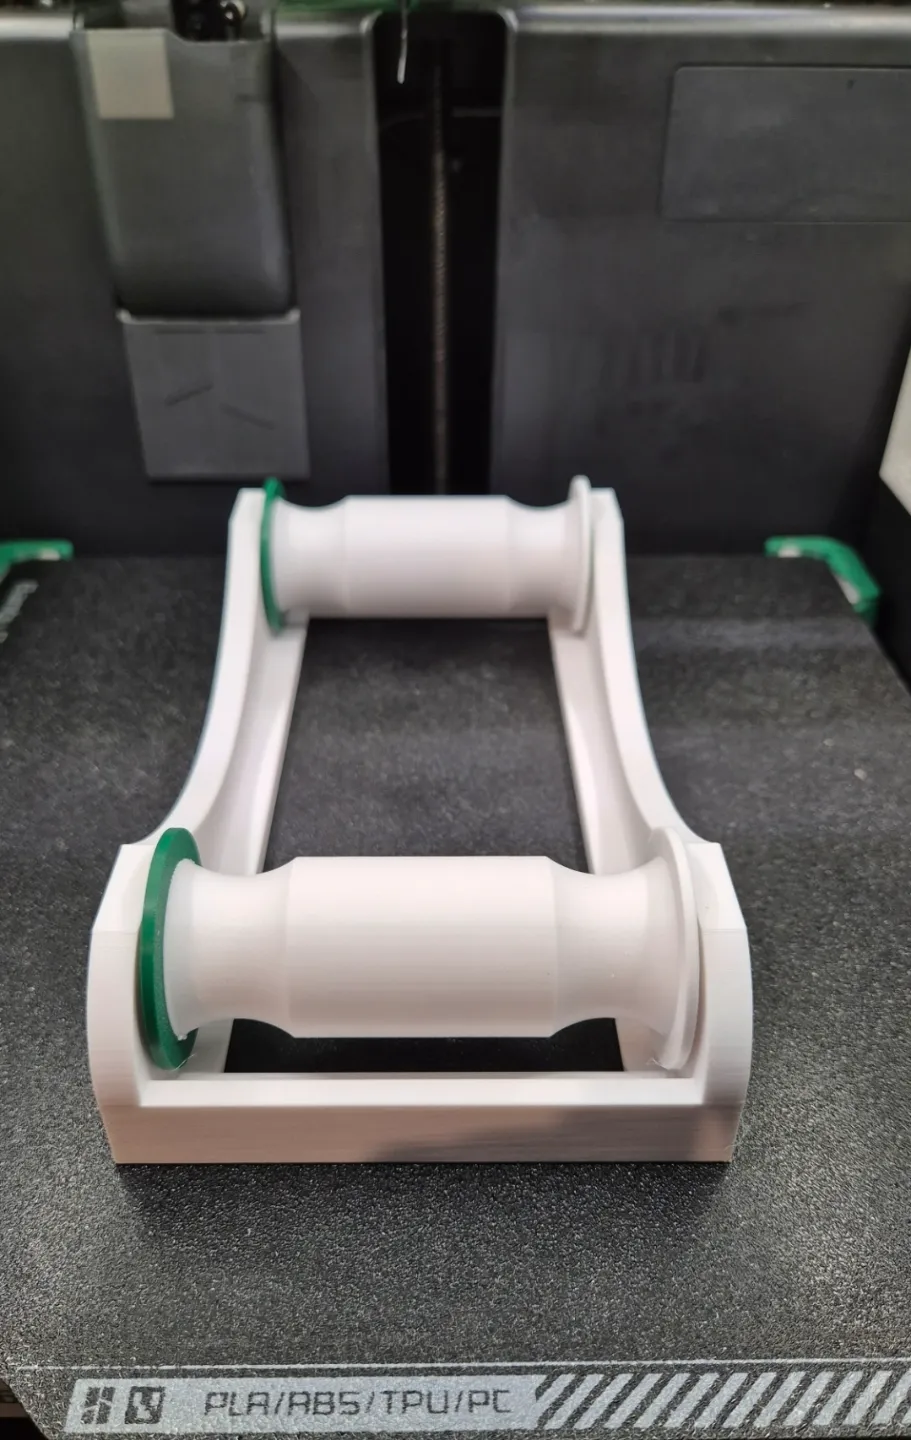
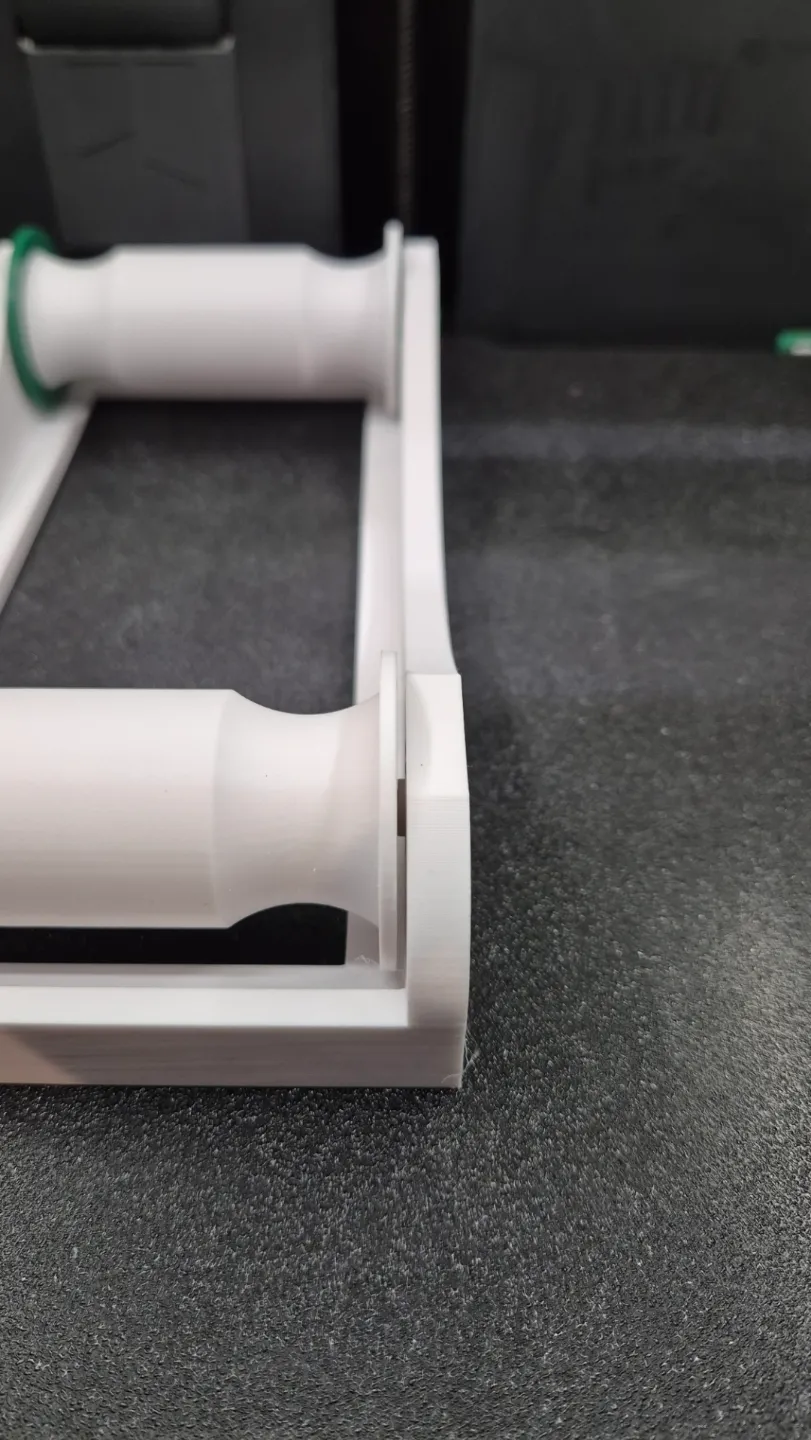
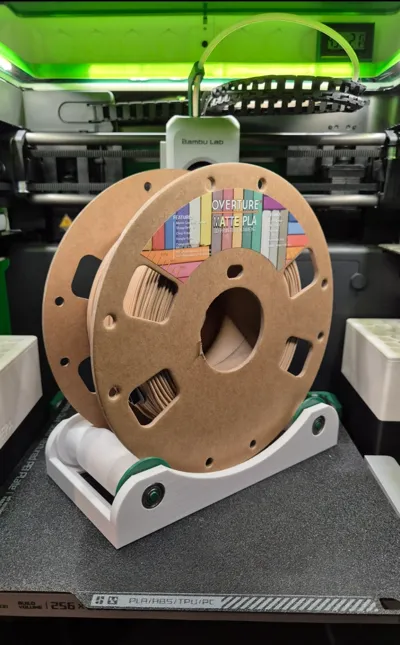
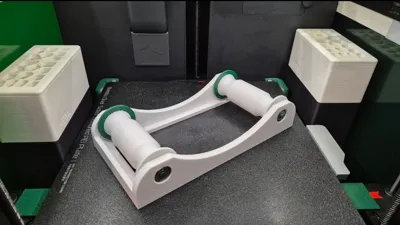
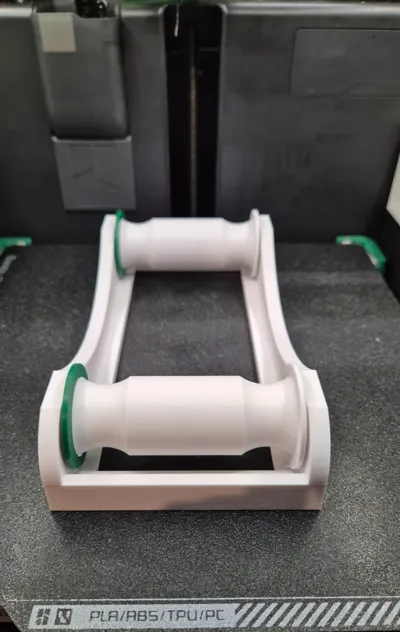
Filament roller - self aligning - with bearings
Print Profile(3)


Bill of Materials

Description
Boost Me (for free)
If you like my work, a boost is apreciated :) It cost you nothing and helps me continue my work :)
Update:
Added a new Roller for narrow spools. That one works with the 1kg and smaller ones like the 0,5 kg rolls.
If you have problems with the rods not fitting in the holes, this is probably bcs your filament is not adjusted perfectly. However….you can just rescale them to ~94%~97% and they should fit.
I just got myself an A1 Mini and I did not like the spool holder, so i designed something on my own.
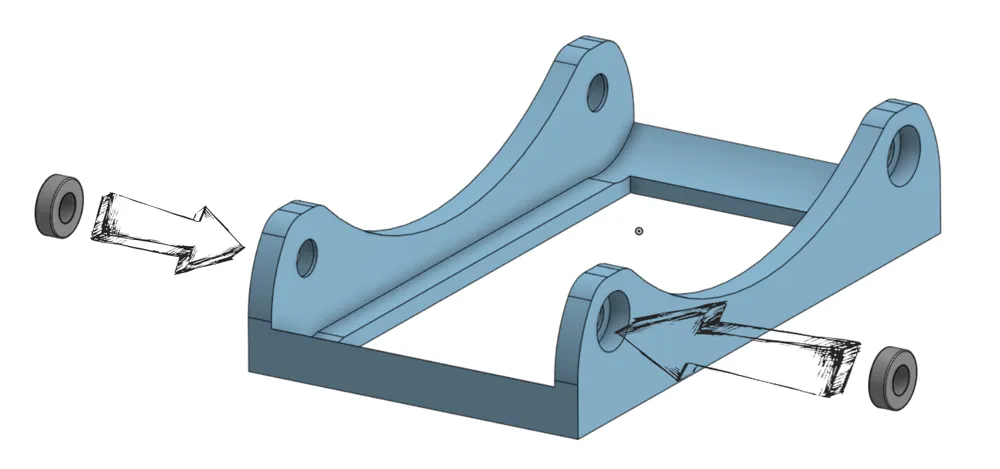
You will need 4x 625ZZ Bearings 5x16x5mm
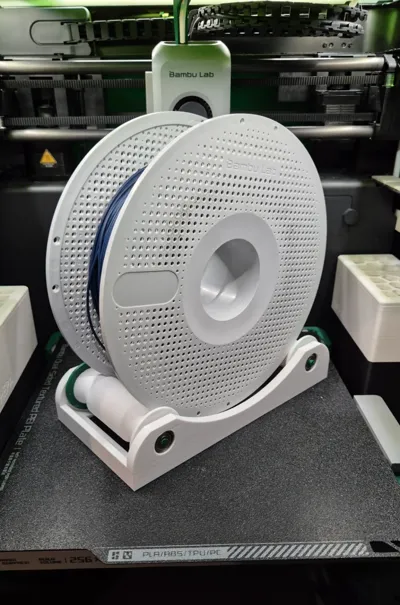
But because of those bearings the spool runs very very smooth with almost no friction.
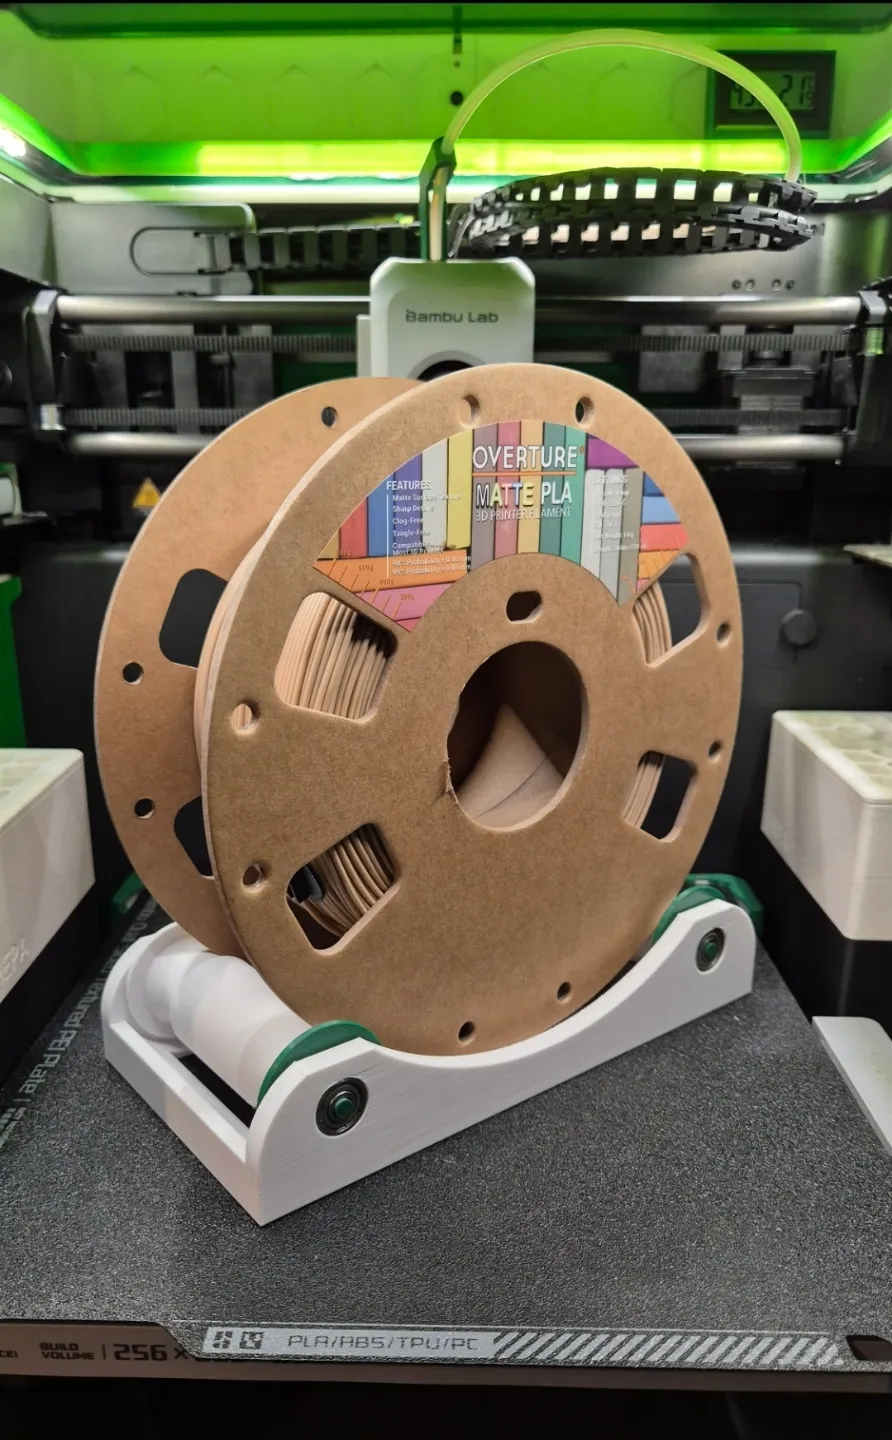
Spool is self aligning / centering as well, so you can use any spool from any brand you want.
Multicolour print is possible if you wont to have colored accents.
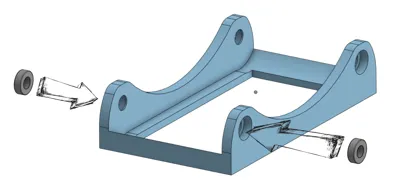
Step 1:
Insert the 4 bearings from the outside.
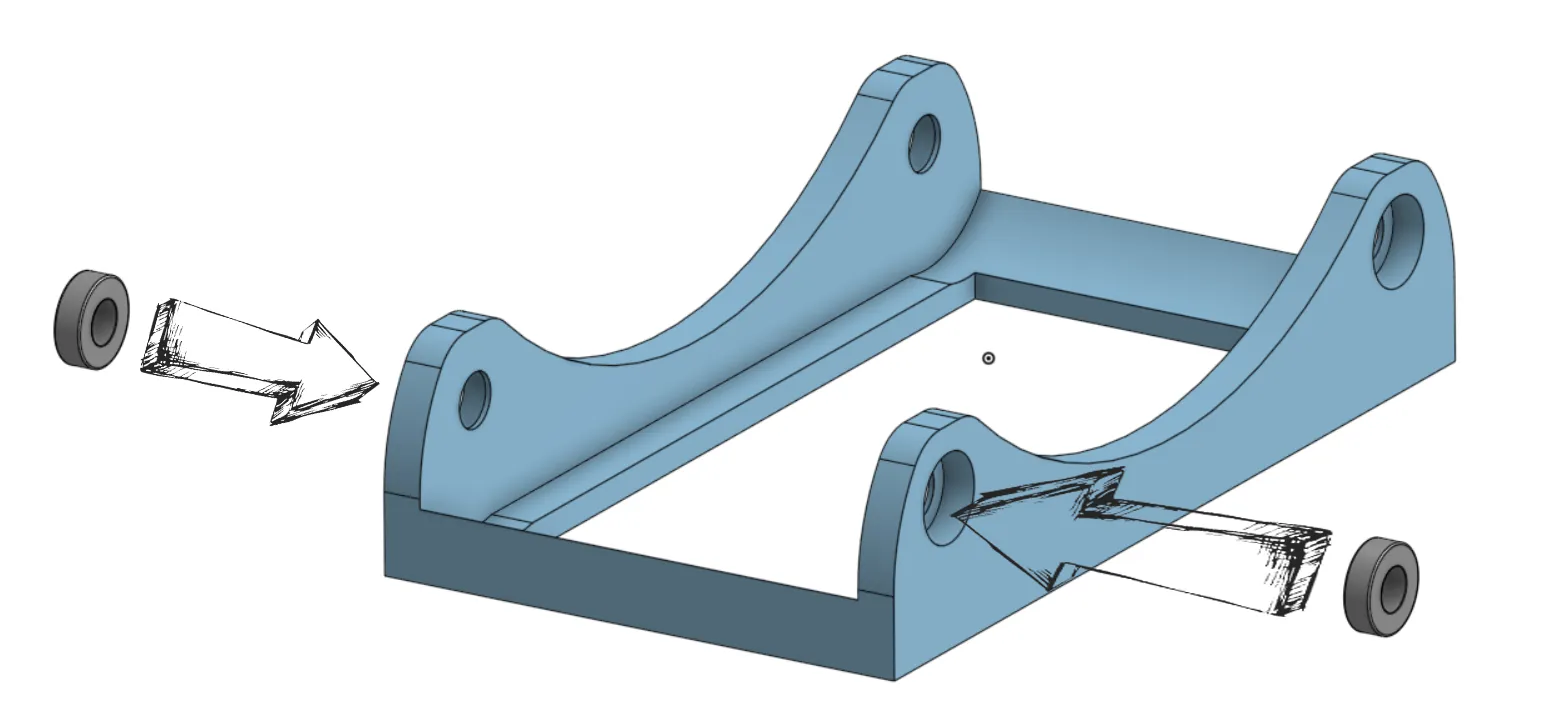
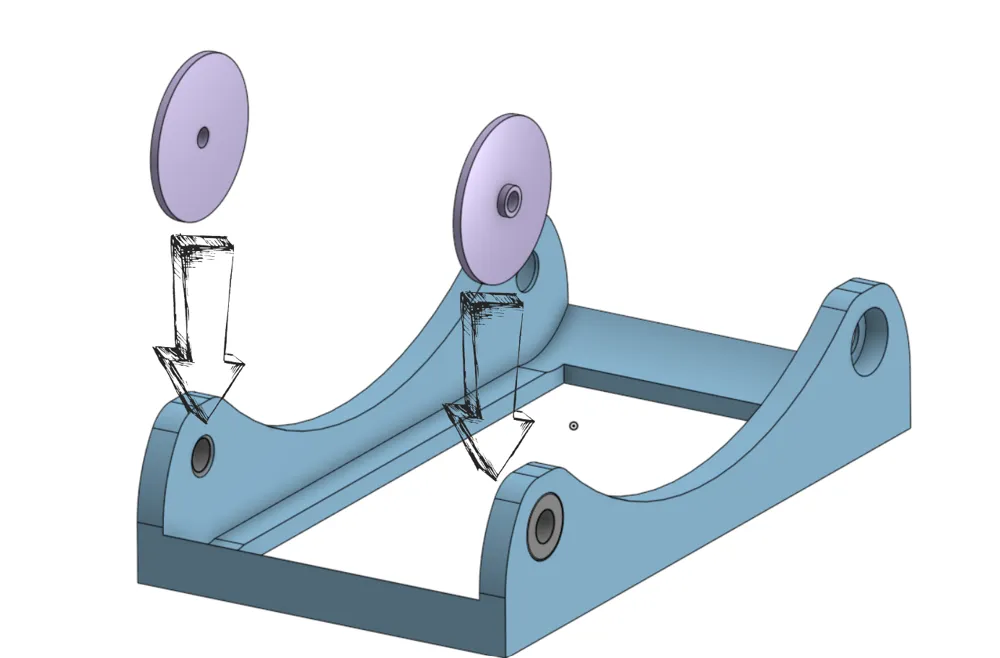
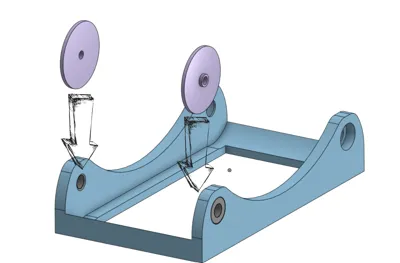
Step 2:
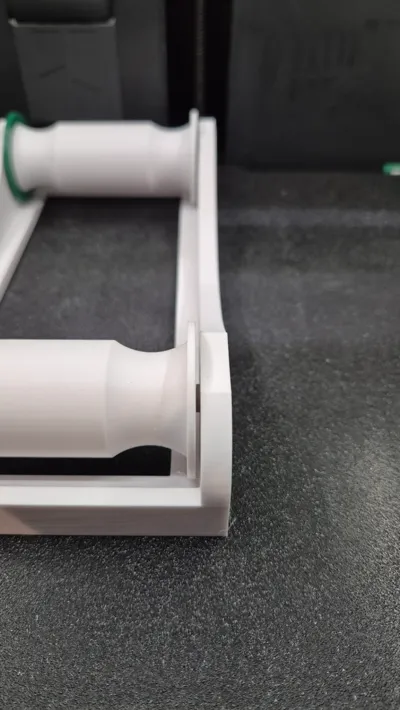
Insert the 4 Spacers, Check carefully for the thicker side. Those has to face outwards.
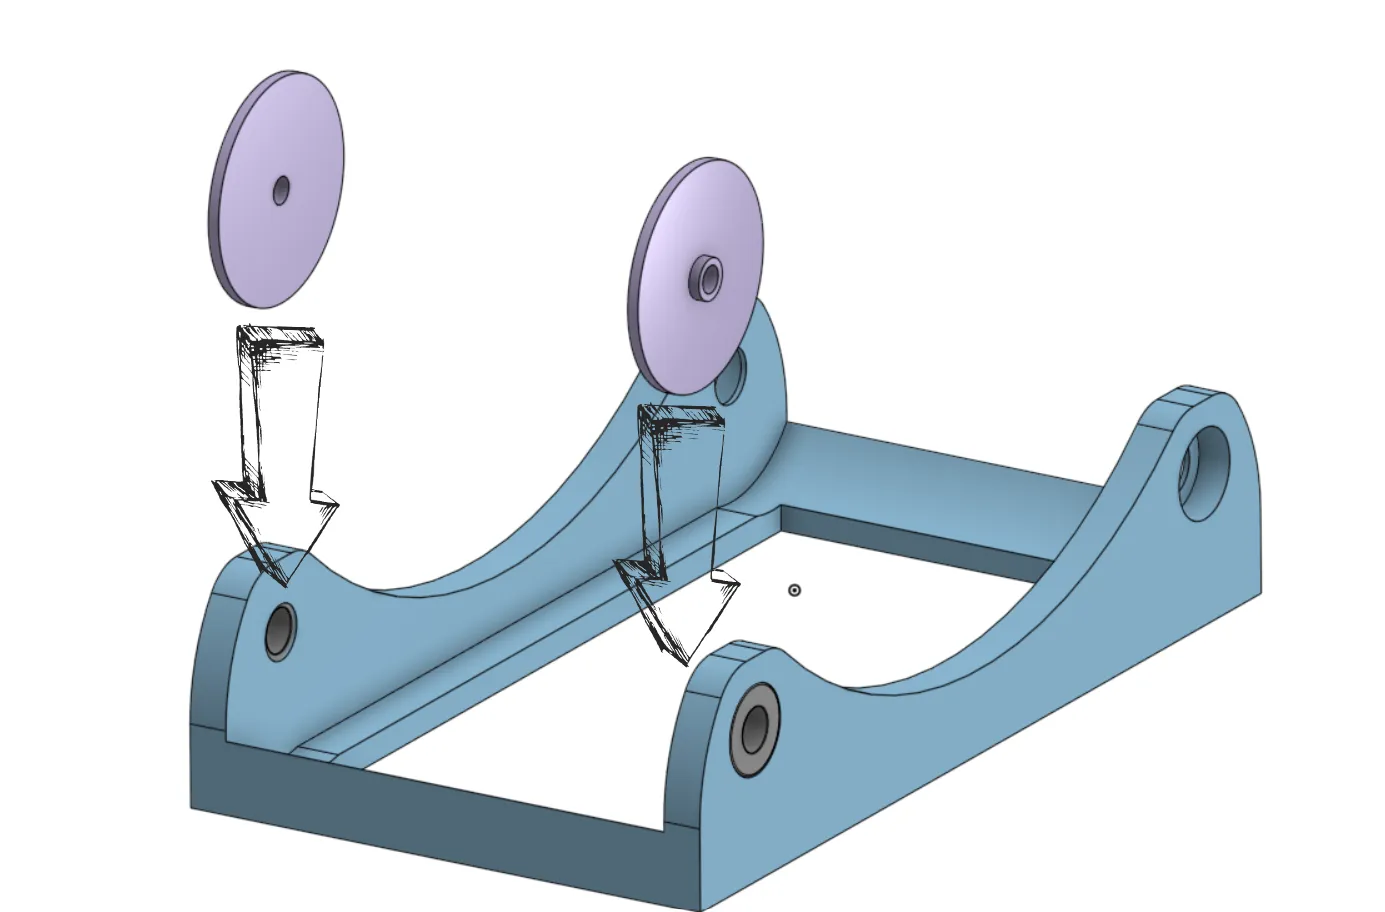
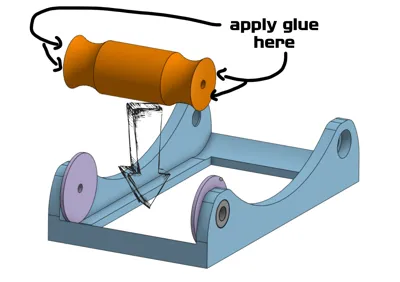
Step 3:
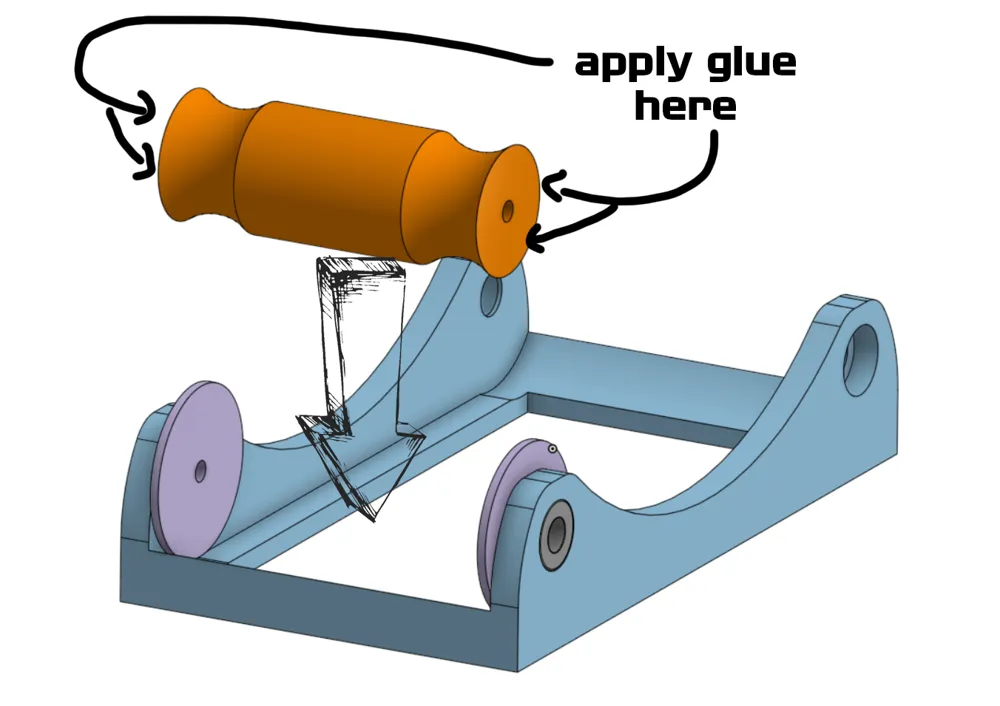
Insert the 2x Rollers. Aplly some glue at the edges.
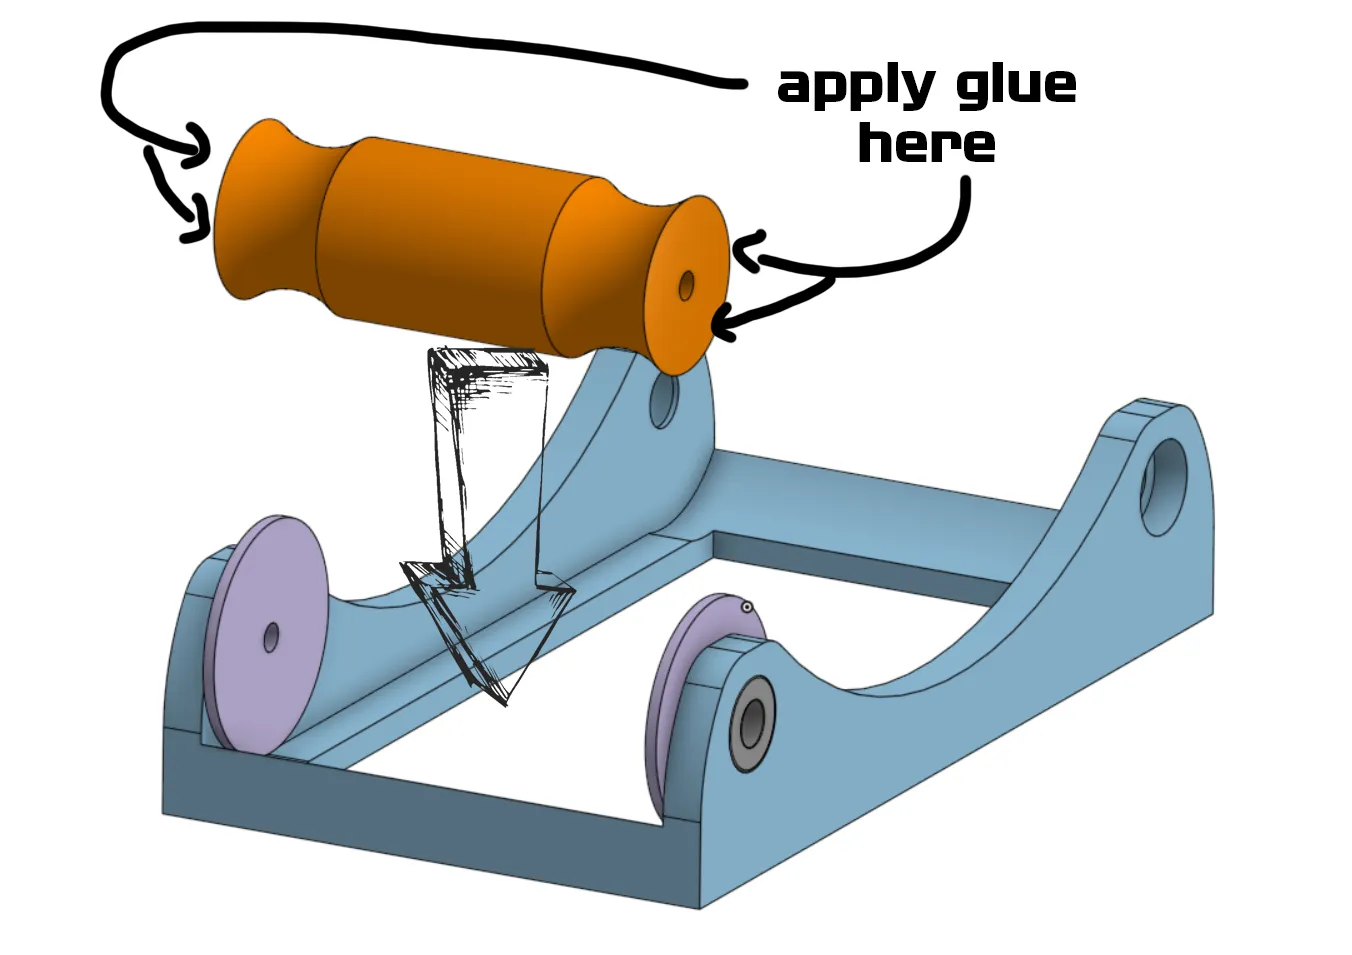
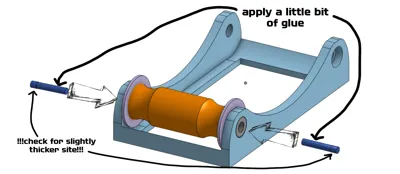
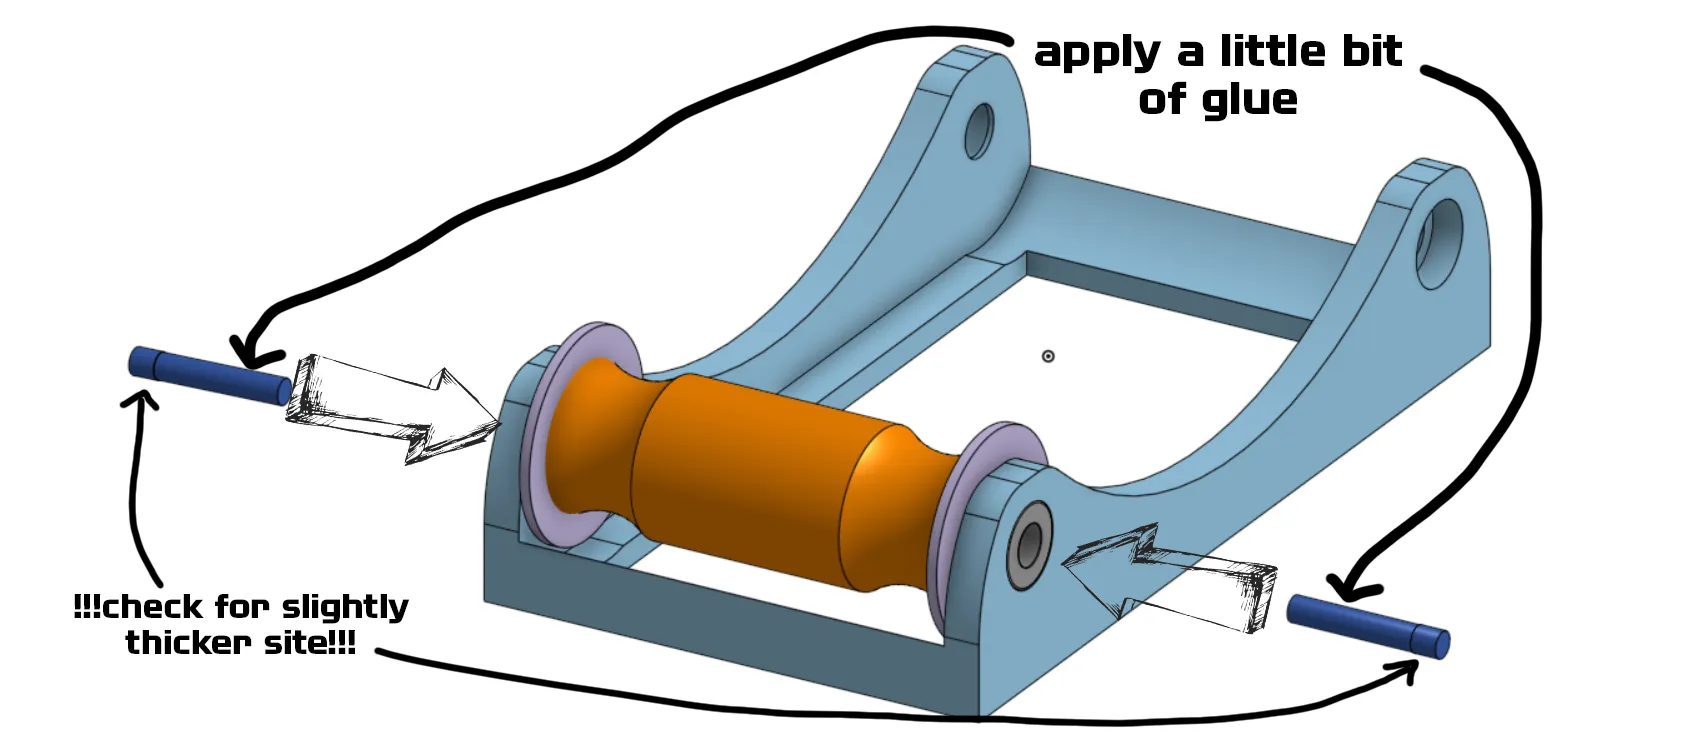
Step 4:
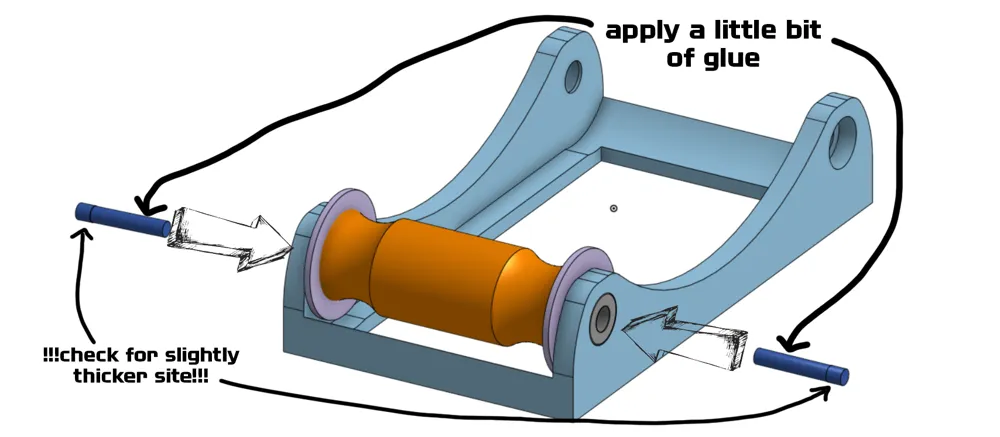
Insert the 4 rods from the outside. Check for the bigger site and correct alignment. Those rods are a tight fit and you probably need a hammer for the install. They should remain in place without glue, but just to be safe, add a tiny bit of glue to the rods. If you want, add some at the end of those rods as well. So the bearings cant fall out as well.
If your roller is not centered after the installation, print yourself 2x 1mm thick rectangulars and stick them beetwen the frame and the roller (use them as a temporary spacer for installation), thereafter you can hammer the rods in place and keeping the roller centered. At the end remove those parts again. Your roller should now be centered and not moving anymore.
License

You shall not share, sub-license, sell, rent, host, transfer, or distribute in any way the digital or 3D printed versions of this object, nor any other derivative work of this object in its digital or physical format (including - but not limited to - remixes of this object, and hosting on other digital platforms). The objects may not be used without permission in any way whatsoever in which you charge money, or collect fees.


Comment & Rating (47)