
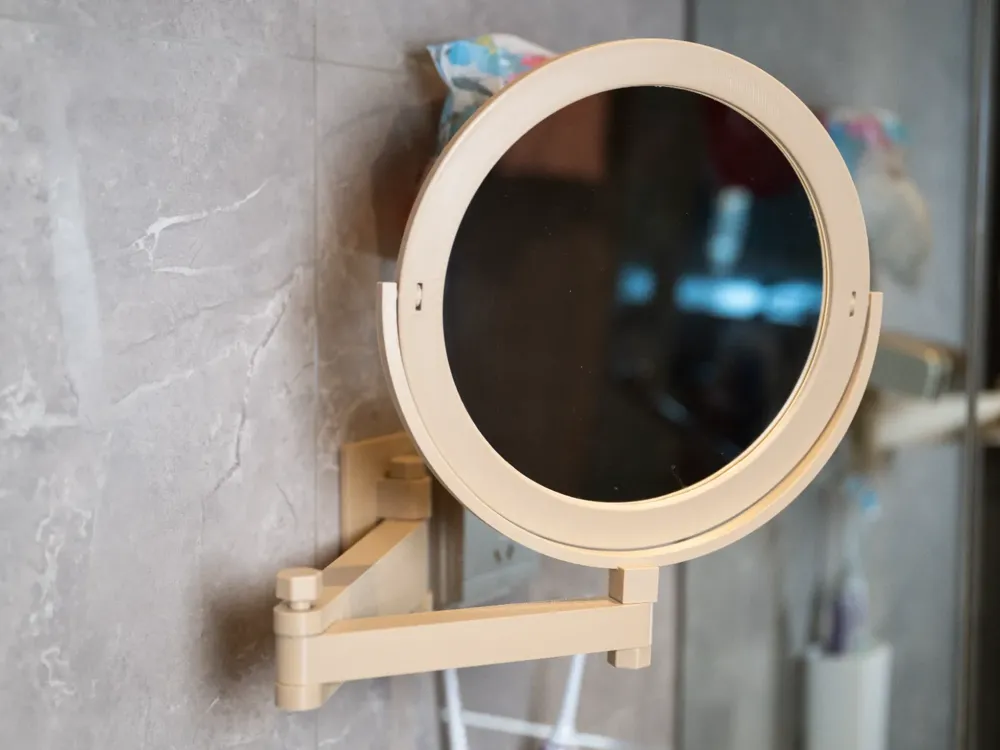
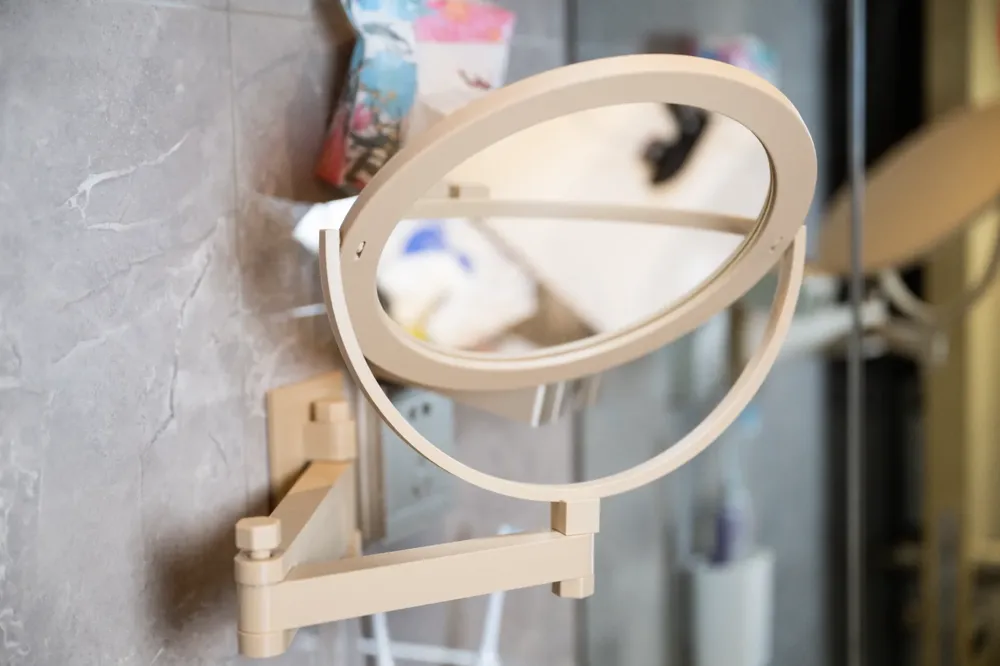
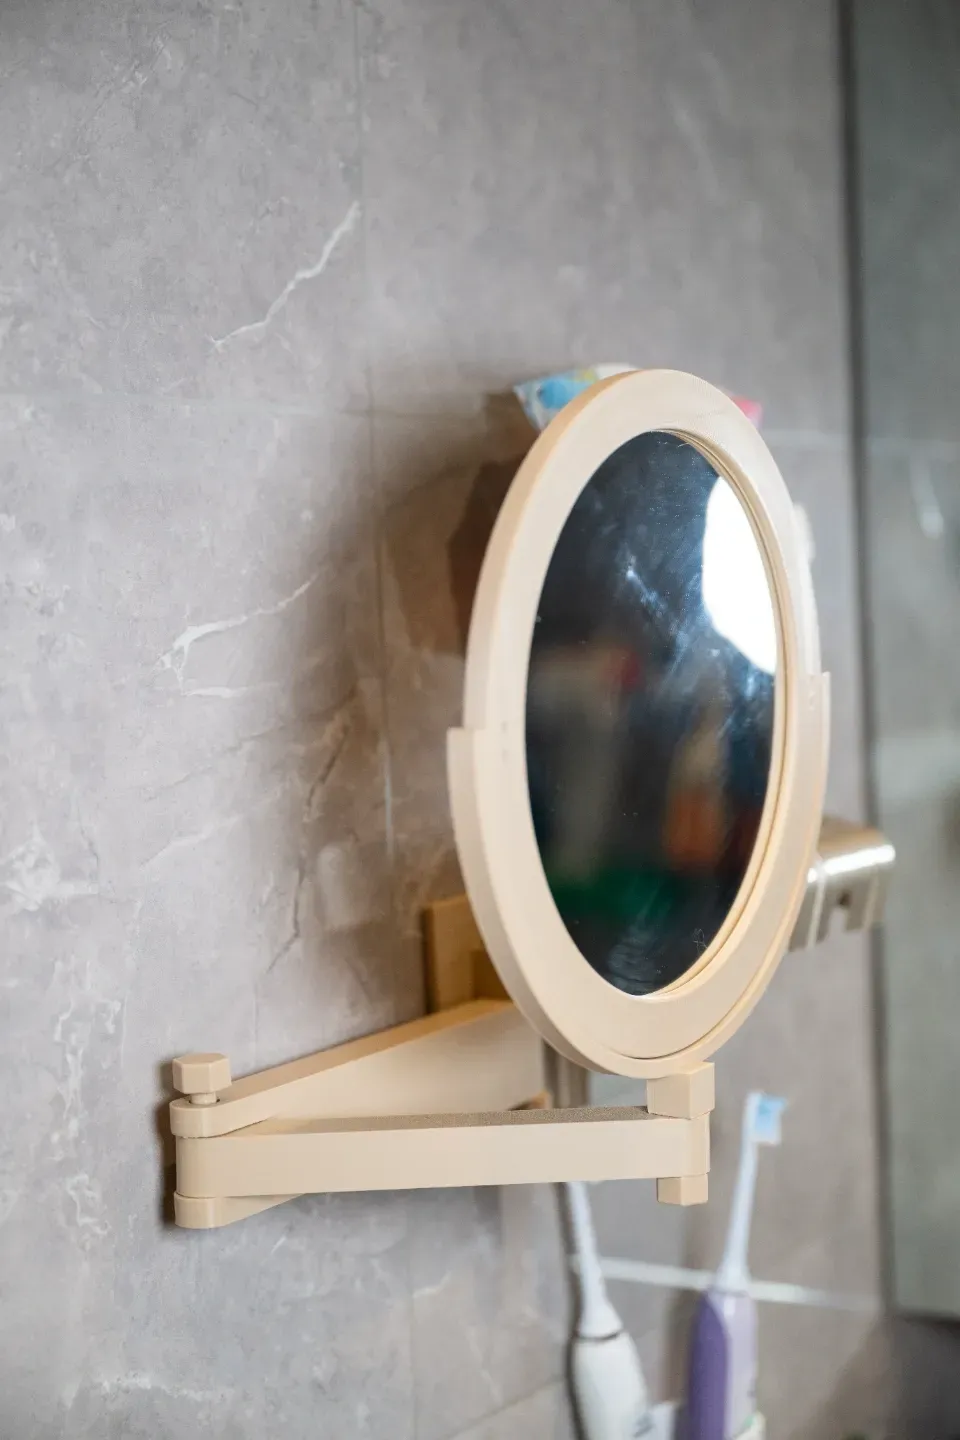
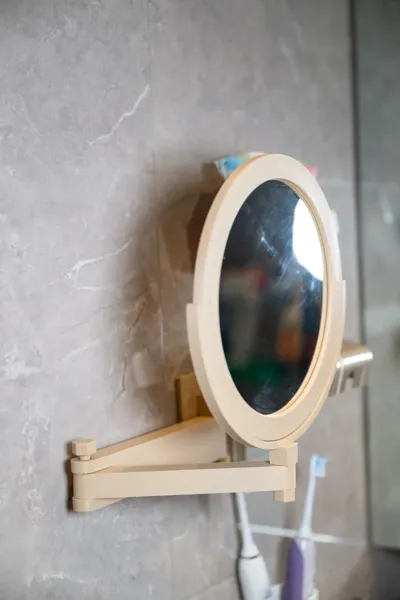
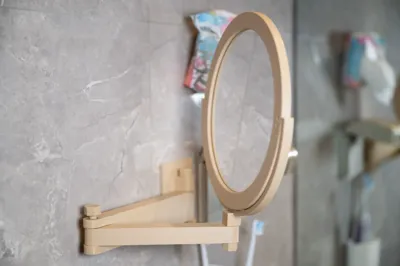
Retractable Wall-Mounted Makeup Mirror (Hardware-Free)
Print Profile(2)

Description
Boost Me (for free)
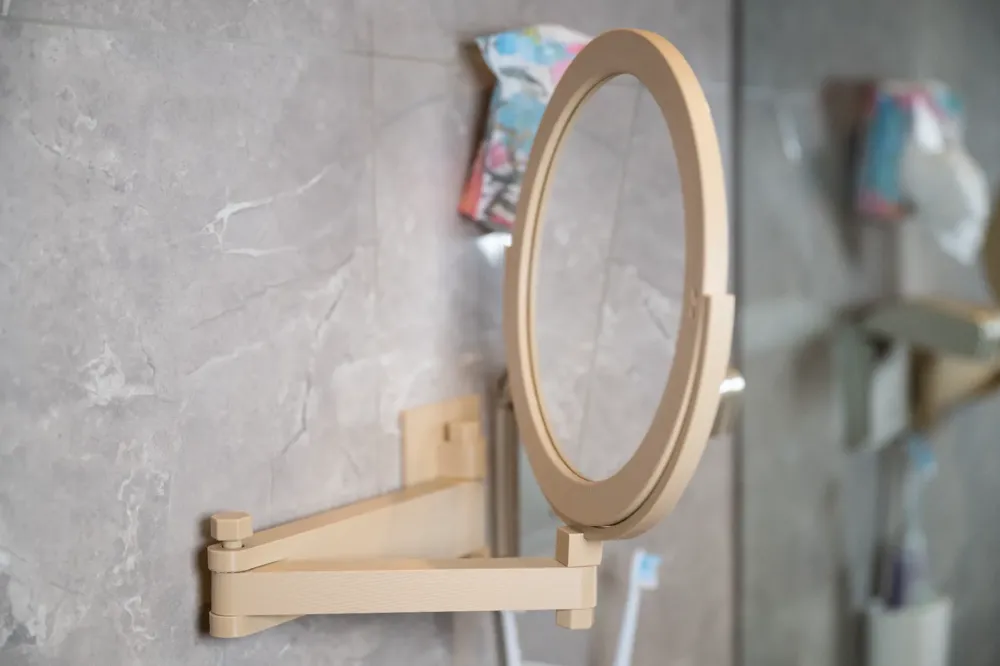
Mirror dimensions: 200mm diameter, 1mm thickness
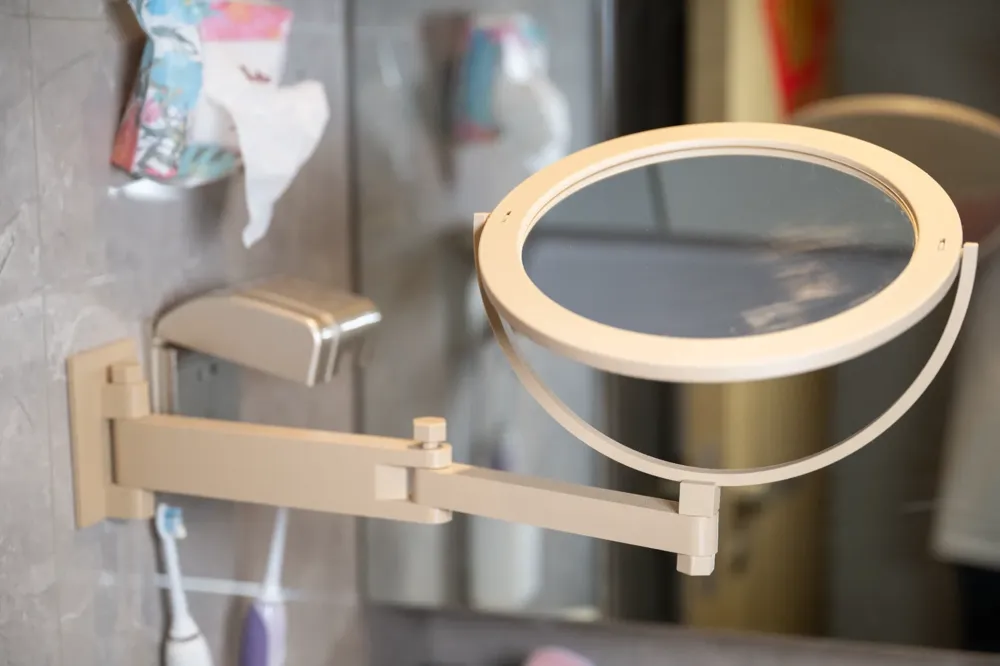
Arms fully extended approximately 36cm in length
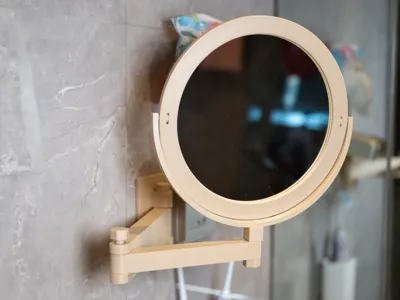
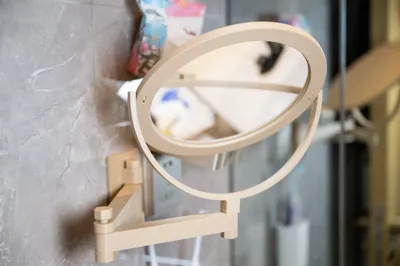
All components, excluding the mirror, are 3D printed and require no additional hardware. Secure to the wall using super glue
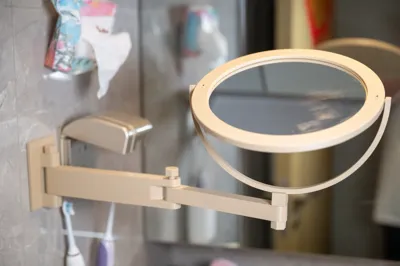
February 6, 2025: Added phone holder module (Configuration 2), allowing the mirror to be replaced with a phone holder. Configuration 2 includes bottom mounting bolts of varying lengths; these are not interchangeable with the original bolts. The phone holder accommodates both portrait and landscape orientations and can even hold an iPad mini
Printing and Assembly Guide (Read completely before commencing printing):
1. The print comprises three parts; it is recommended to print them in the order of Part 1, Part 2, Part 3
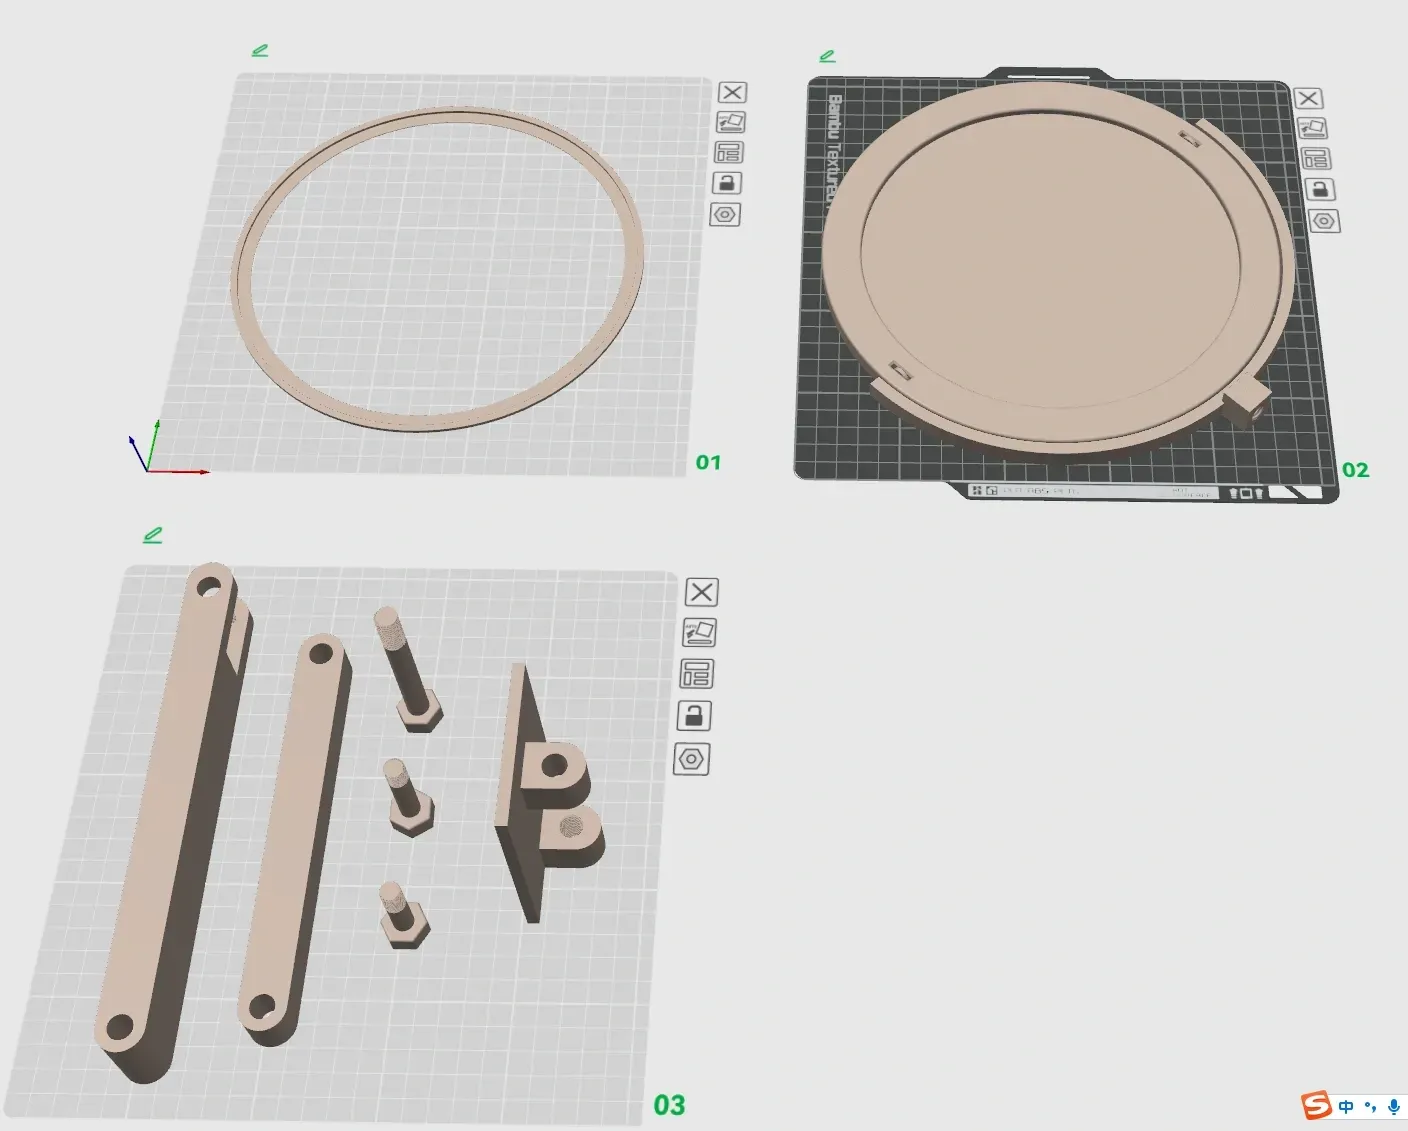
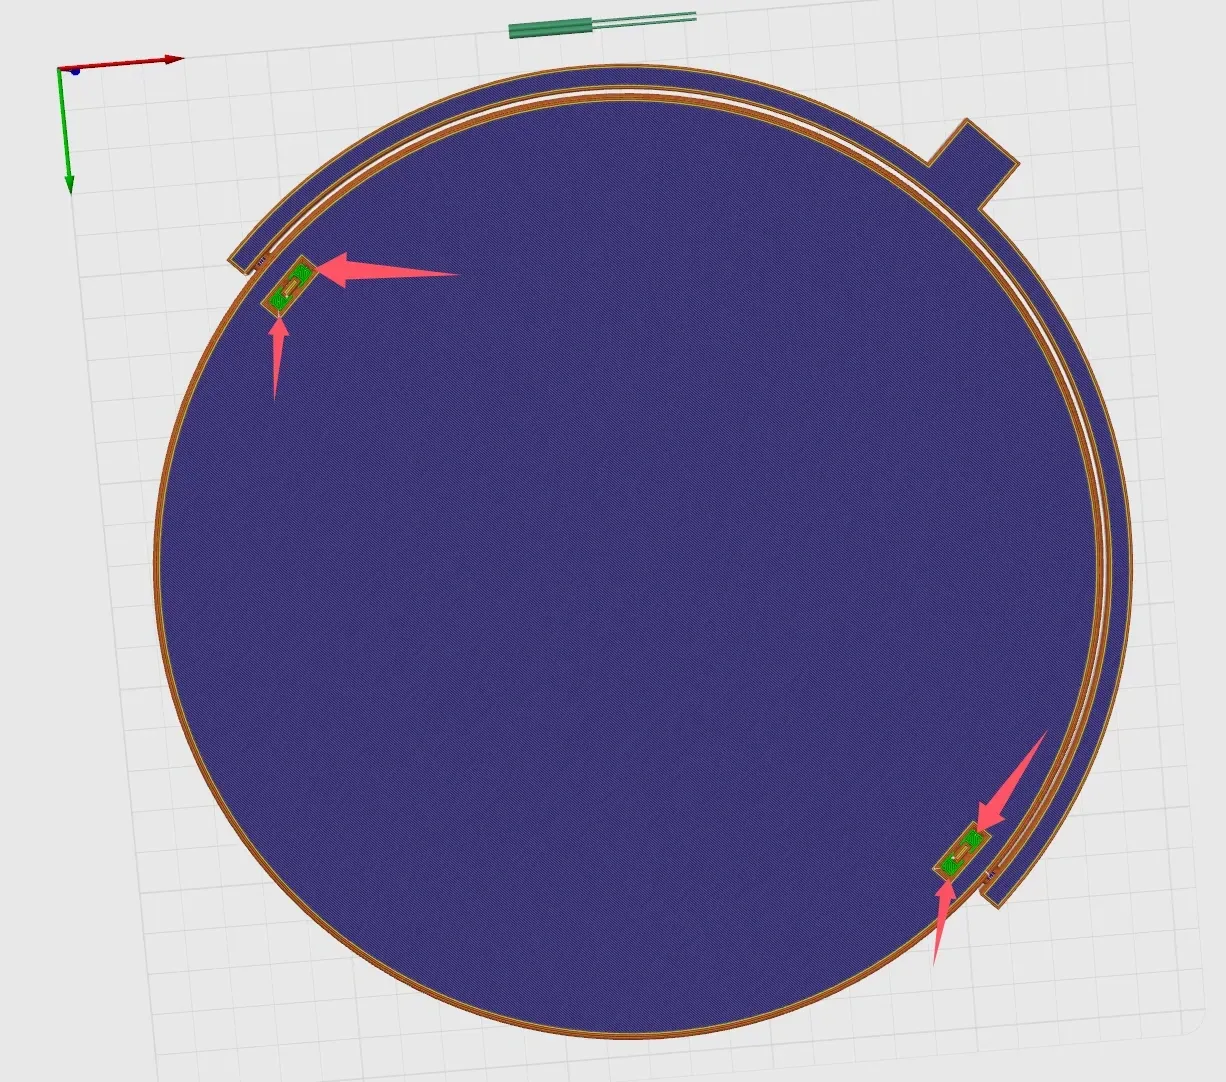
2. When printing Part 2, an automatic pause will trigger at layer 30. At this point, carefully place the mirror reflective side up into the central circular recess. Note that there will be a gap around the mirror; do not resume printing yet
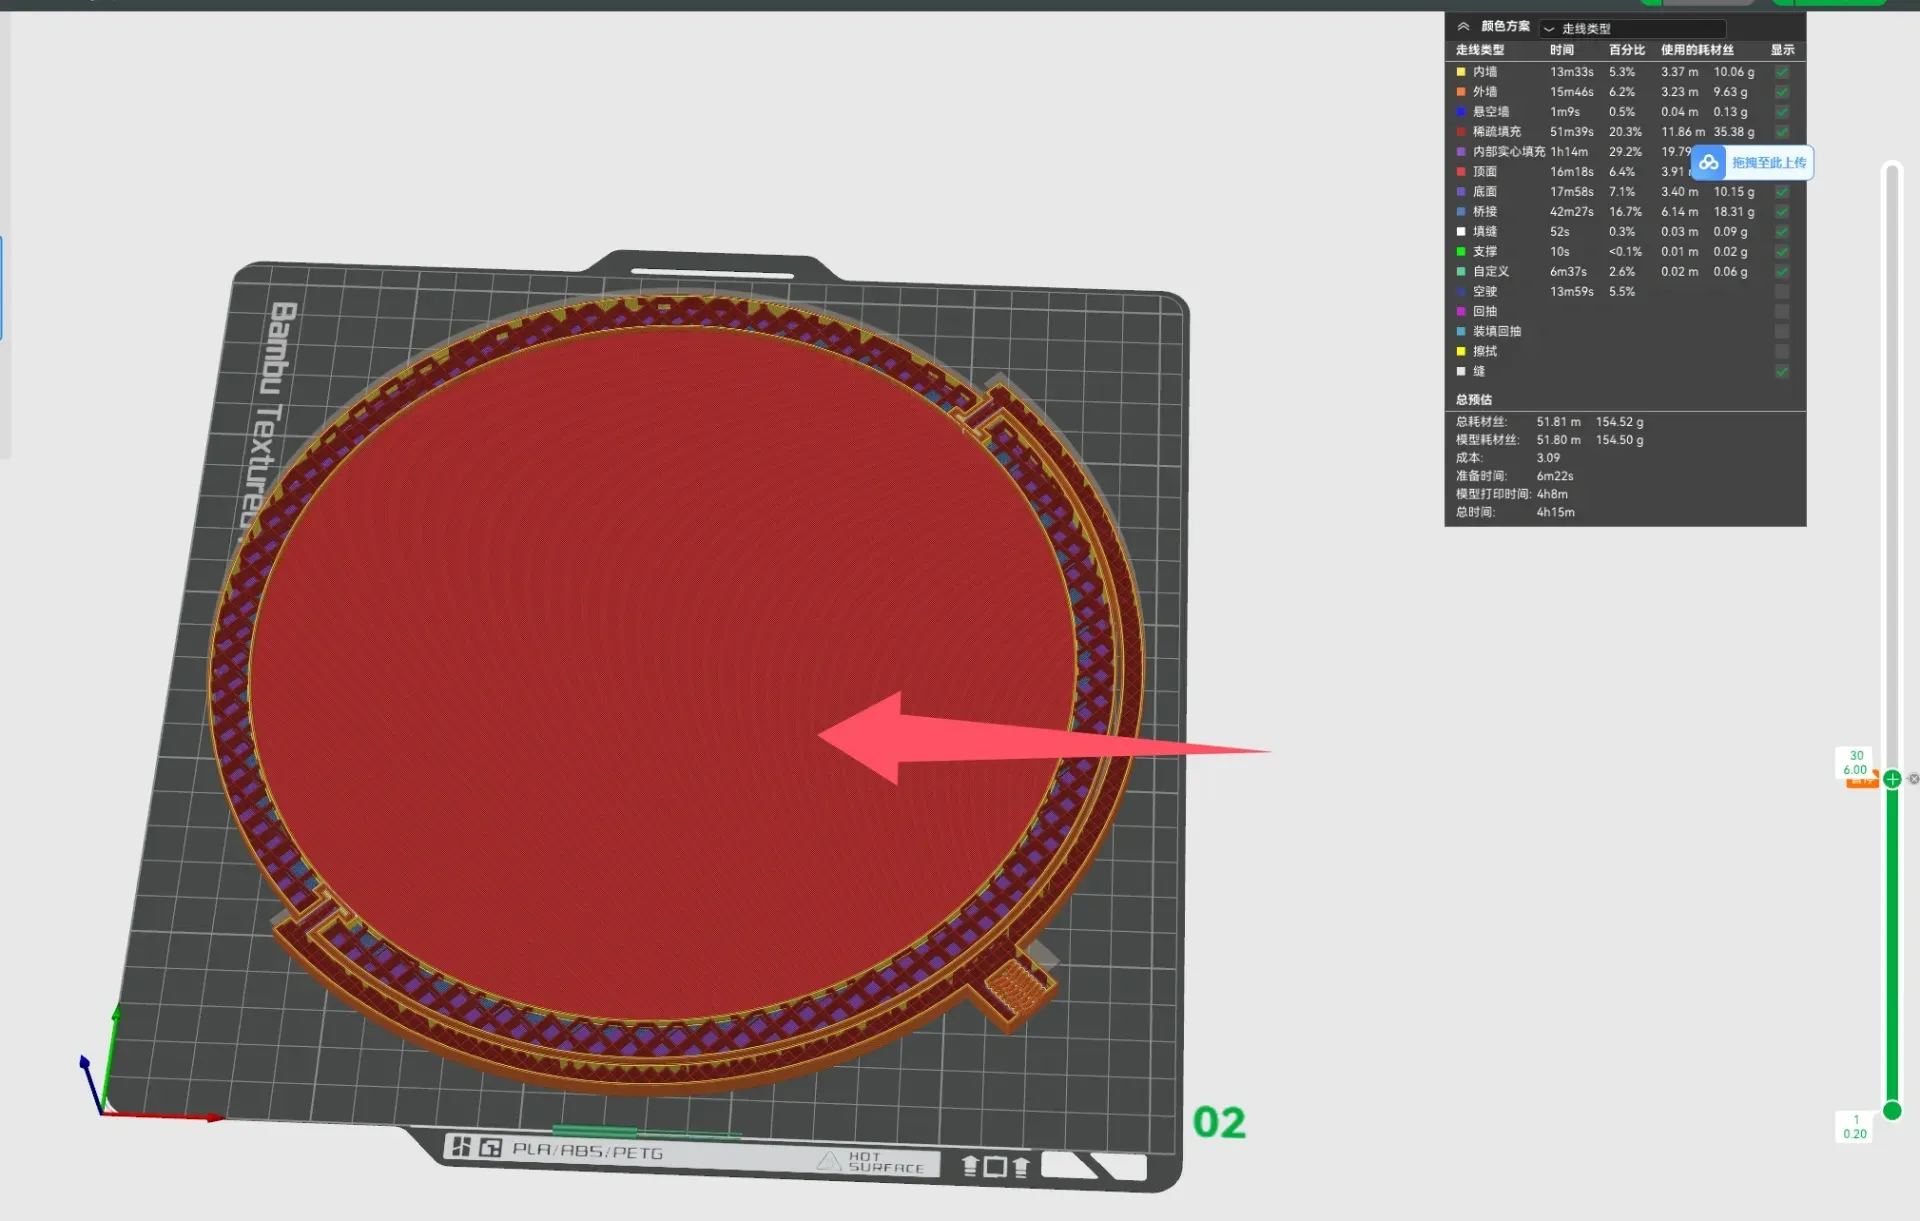
3. Insert the mirror housing (printed in Part 1) into the gap at the mirror's edge, ensuring the flat side of the housing faces upward. The mirror housing must be installed; otherwise, the filament will not adhere properly to the mirror during subsequent printing, resulting in failure
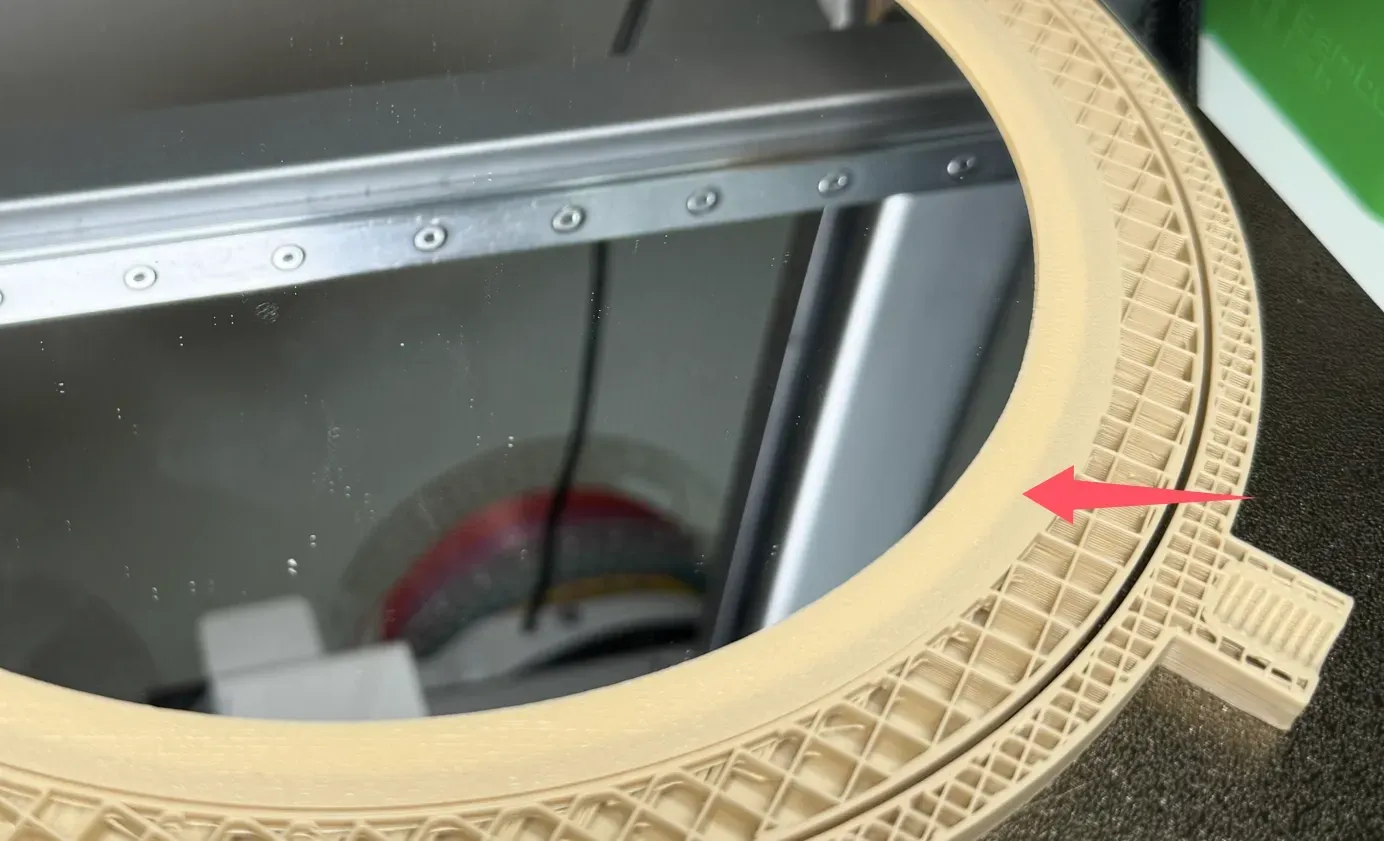
4. Once all parts have printed, proceed to assembly
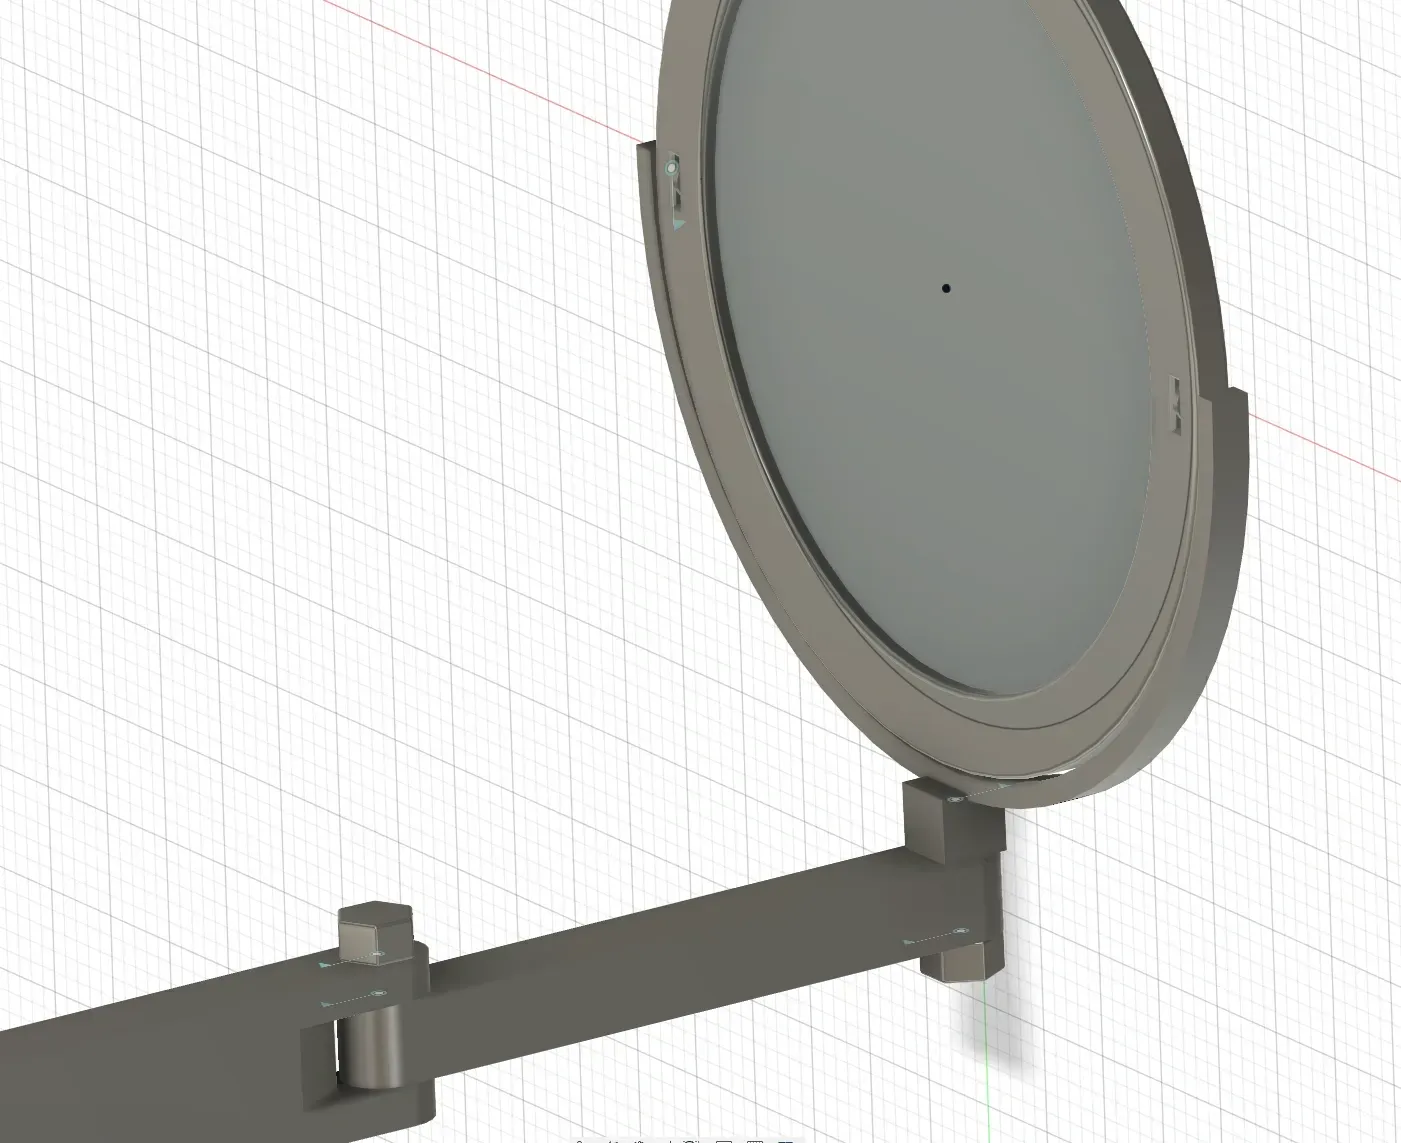
5. Three bolts are required: the longest connects the backplate and the long arm; the medium-length bolt connects the long arm and the short arm; the shortest connects the short arm and the mirror frame
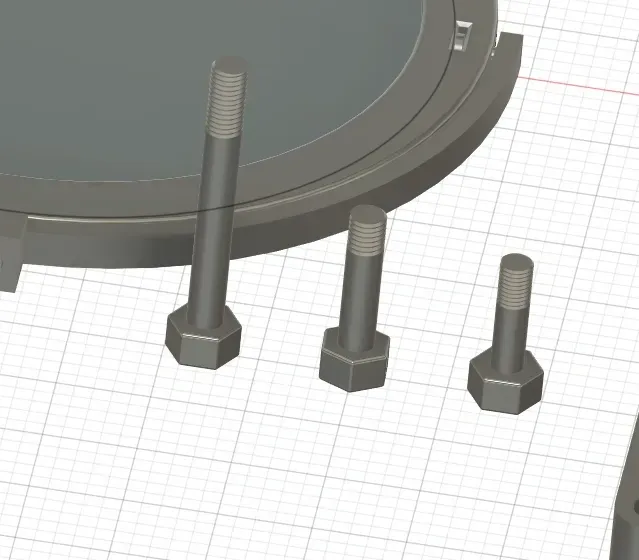
5. First, connect the backplate and the long arm, ensuring that the threaded side of the long arm faces downwards
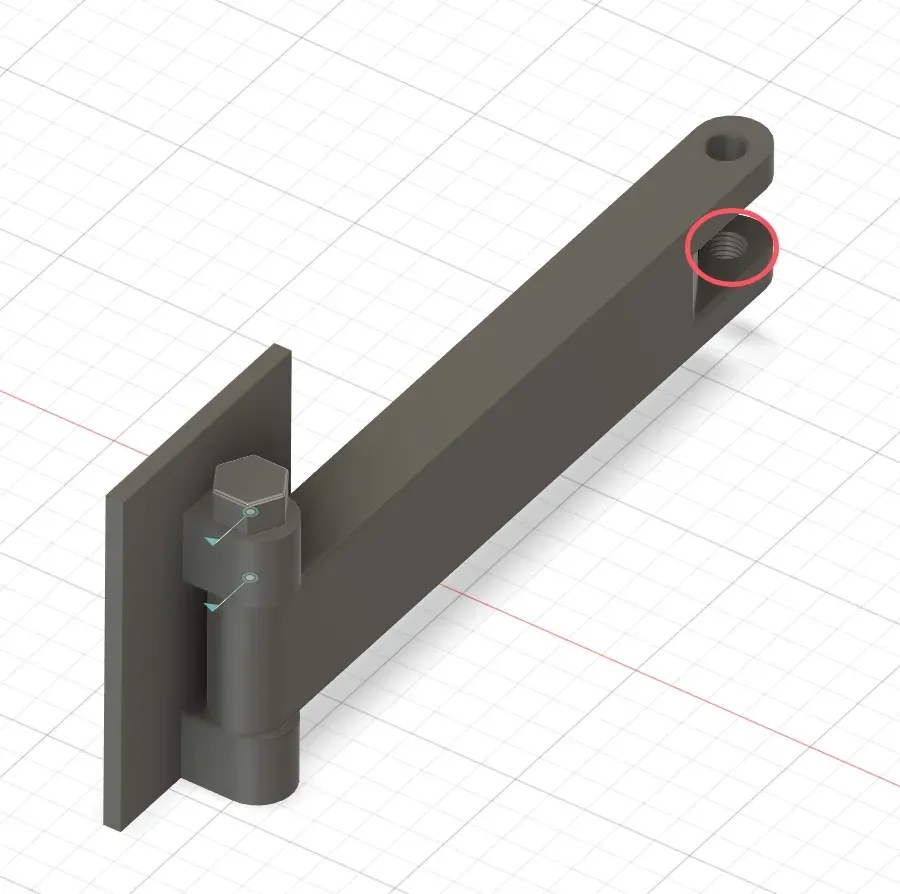
6. Connect the short arm and the long arm
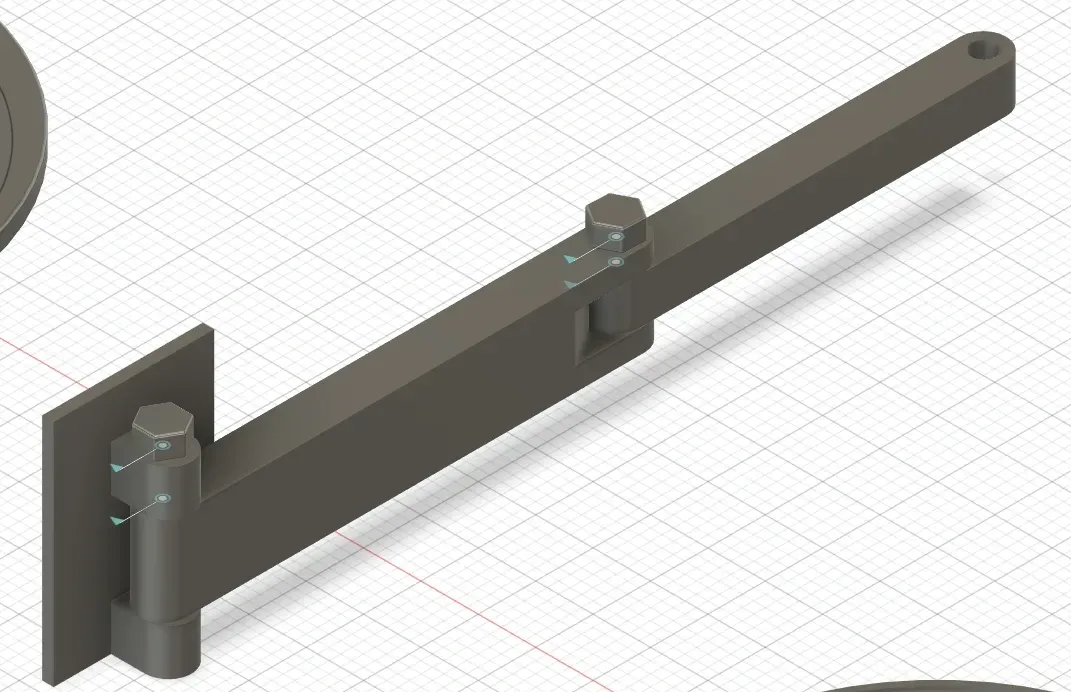
7. Remove the brim from the bottom of the mirror frame
8. Connect the mirror frame to the short arm. The mirror assembly is now complete
Feel free to share your experiences and any questions in the comments section. If you find this helpful, please leave a positive rating. Thank you
License

You shall not share, sub-license, sell, rent, host, transfer, or distribute in any way the digital or 3D printed versions of this object, nor any other derivative work of this object in its digital or physical format (including - but not limited to - remixes of this object, and hosting on other digital platforms). The objects may not be used without permission in any way whatsoever in which you charge money, or collect fees.


Comment & Rating (11)