
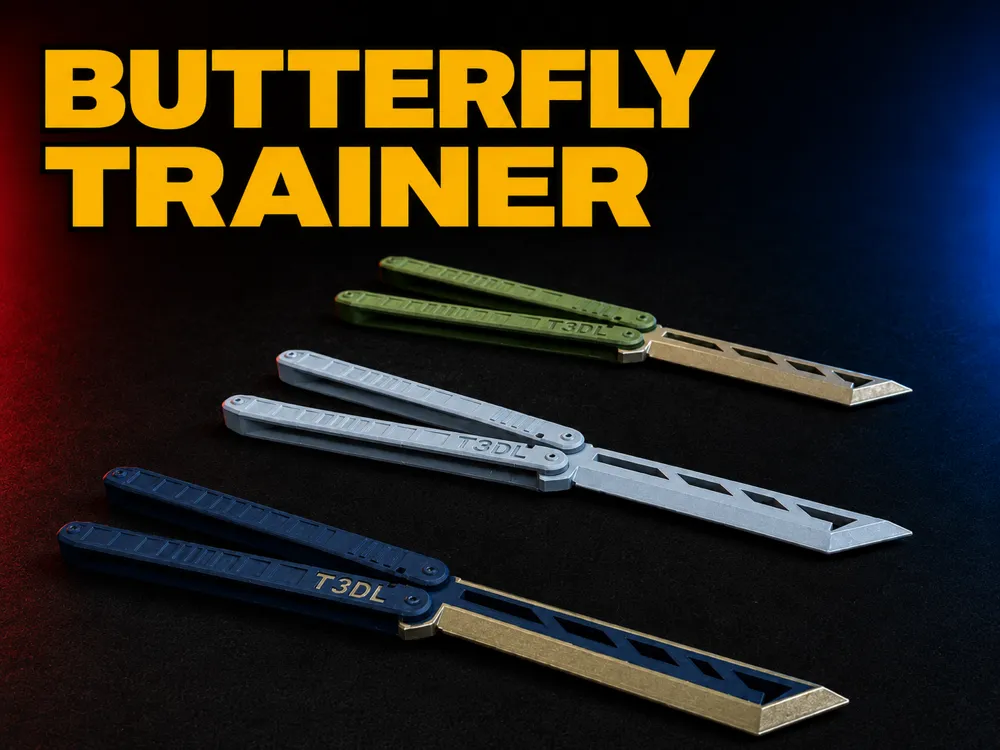
Butterfly - Katana




Print Profile(5)



Description
Membership
Get licensed and sell my 3D prints hassle-free!
🔴🔥 NEW VERSION AVAILABLE! 🔥🔴
👉 CLICK HERE FOR THE NEW MODEL + STAND! 🦋🔪
Safety Notice
This model is a Balisong-style trainer/prop designed for practicing flipping tricks, hand coordination, and skill-based fidget use.
It is not a knife, not a weapon, and not designed for cutting, stabbing, striking, impact, or any harmful use. Do not use it against people, animals, or objects.
Safety Measures
This model includes constructive safety limitations. The geometry and material strength are designed for the intended trainer/prop function at the original scale.
This model is not a real knife, not a weapon part, and is not designed or suitable for use as a weapon.

Assembly
The knife's design has been intentionally kept simple to make assembly as easy as possible. You only need a bit of filament to attach the handles to the blade. Be sure to align the handles correctly during assembly!
The holes for the filament pins are designed to be tight enough to hold everything securely on their own. I strongly recommend avoiding the use of super glue, as the pins could break and become difficult to remove. Without glue, the pins can be easily replaced if necessary.

Assembly Tip:
Position the blade and handles, then simply insert some filament into the holes. Cut it to the correct length, and use a bit of heat and pressure to thicken the ends. This prevents the pins from slipping out, and if one breaks, it can be quickly replaced!


If you have any questions, please write to me 👍😄
Explore my tools:
- Caliper: Amazon Link
- Tool Kit: Amazon Link
- Soldering Mat: Amazon Link
- Cutting Mat Set: Amazon Link
- Disposable Gloves: Amazon Link
- 4L Storage Containers 6 Set: Amazon Link
- spring clamps - Amazon link.
- Graphics Tablet with Display: Amazon Link
- Graphics Tablet: Amazon Link
Your feedback and support mean a lot to me. To stay updated and see more content, don't forget to follow, my YouTube channel: My YouTube Channel. If you’d like to support my work further, you can do so here: Buy Me a Coffee.
License

You shall not share, sub-license, sell, rent, host, transfer, or distribute in any way the digital or 3D printed versions of this object, nor any other derivative work of this object in its digital or physical format (including - but not limited to - remixes of this object, and hosting on other digital platforms). The objects may not be used without permission in any way whatsoever in which you charge money, or collect fees.


Comment & Rating (844)