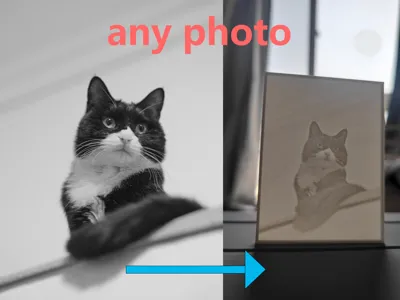
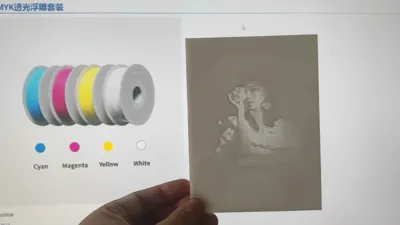
3D printers are meant for photo printing! --- Transforming photos into lithophanes—process and engineering code, not a directly printable model


Print Profile(3)


Description
Printers should be used for printing photos!
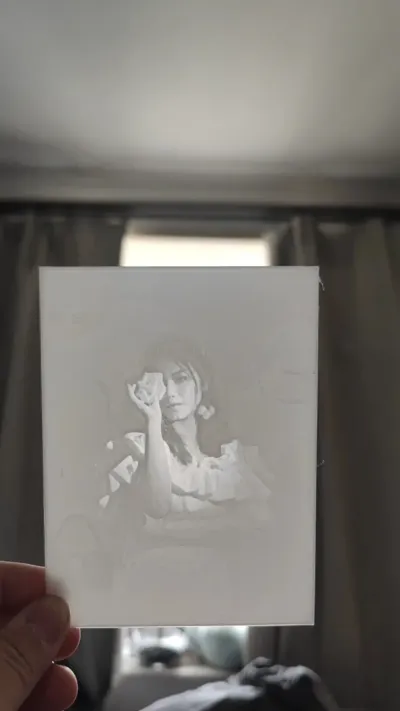
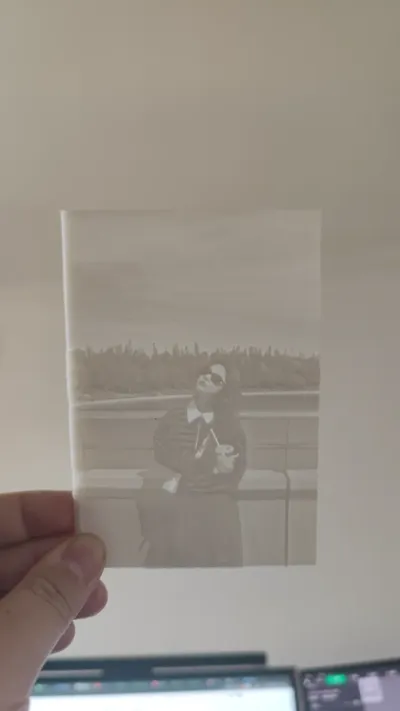
Generate high-resolution 3D printed negatives (black and white only) with smooth tonal transitions [monochrome printing, no AMS required]
-------------
Very Significant Update
A brand new lithophane photo generator that no longer requires any third-party software
https://makerworld.com.cn/zh/models/2597956-da-yin-ji-jiu-gai-yong-lai-da-zhao-pian-cong-zhao#profileId-2992295
New toy, laser-cut model converted to 3D printed model
https://makerworld.com.cn/zh/models/2597856-wo-mei-you-ji-guang-mo-zu-ji-guang-dao-qie-mo-xing#profileId-2992162
-------------
Boost Me (for free)
If this is useful or you like it, please help by giving a free like and a boost so more people can see it and save $18
The lithophanemaker used in official tutorials generates too low resolution and overly harsh tonal transitions
Inspired by Hueforge, this is designed to replace Hueforge's negative capabilities, providing better color transitions and resolutionNot everyone wants to purchase this software ($18 ≈ ¥130)
Providing a free solution for generating lithophane negatives, saving everyone $18
It does not achieve Hueforge's embossing effect. If you need to print color lithophanes, you should still go to Hueforge
Since parametric generation in MakerWorld Lab does not support reading user-uploaded image files, it is provided in this format
https://makerworld.com.cn/zh/models/269104#profileId-206513
Use the exposure sheet to get appropriate thickness parameters
Last updated: 2025-05-03 02:00
See update notes at the bottom of the document
Usage Guide
- Software installation required
- OpenSCAD: Download link https://openscad.org/
- Open the configuration page using any of the methods provided below. If an address is inaccessible, you can use any mirror site instead
- Domestic small server (may show insecure, just proceed as I haven't configured an SSL certificate)
- Access address 1: https://vivapercuore.ddns.net:11443
- Access address 2: http://vivapercuore.ddns.net:11180
- Thanks: Mirror site deployed by @清扬 https://makerworld.com.cn/zh/@user_2347760893
- Thanks: Australian mirror site deployed by @lucayunxiao https://makerworld.com.cn/zh/@lucayunxiao
- GitHubPages
- Deploying…
- If anyone else is willing to provide deployment capabilities, please contact me to have it posted here
- Domestic small server (may show insecure, just proceed as I haven't configured an SSL certificate)
- Following the web page prompts, select an image, and adjust parameters
- Click the generate button
- Obtain suitable thickness parameters through the exposure sheet project: https://makerworld.com.cn/zh/models/269104#profileId-206513
- Download the .dat and .scad files sequentially
- Remember to delete old files, otherwise (1) will appear after the filename, leading to reading old files
- Ensure the .dat and .scad files are in the same directory
All calculations are performed locally, all generation is local, no data is uploaded, no interfaces are requested, execution speed depends on computer configuration
PS: Please use modern browsers like Chrome; browser compatibility issues will not be addressed
- In OpenSCAD, press Ctrl+O to open photo2stl.scad (the file you just downloaded)
- Press F5 to preview (this step can be completely skipped)
- Press F6 to generate the model
- Wait for "Rendering finished" to appear in the console (this might be slow, the software may become unresponsive midway, please wait patiently)
- Press F7 to export the STL file and select a directory to save it
- Wait for "STL export finished" to appear in the console (this might be slow, the software may become unresponsive midway, please wait patiently)
- Excessively large photo pixel dimensions will result in very slow generation
- Import the STL into Bambu Studio
- [When using presets] Download the 3mf file from the page (which contains more finely tuned parameters), and use the print profile within the file
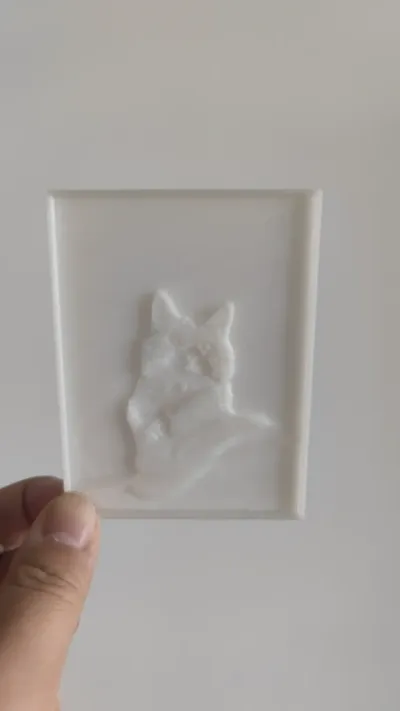
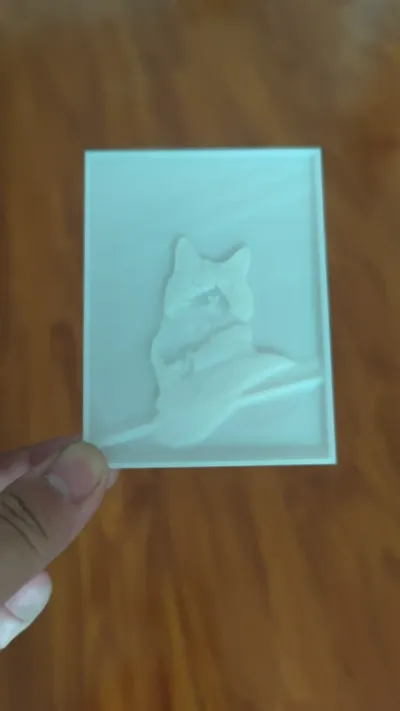
- Standard profile recommended for 0.4mm nozzle [2.6H - example image]
- Fine profile recommended for 0.2mm nozzle [6.9H - example image]
- Fast profile 0.4mm nozzle in spray mode [48Min - example image] (significantly improves speed, with a slight decrease in detail and transition effect)
- [When not using presets] Manually adjust the layer height to the configuration you manually modified on the page
- Modify the corresponding printing process (I will adjust the project order later to match Bambu Studio)

- Use white or other highly transparent filament
- When customizing settings, please note:
- Layer height parameters must strictly correspond to the generation settings
- Must use 100% infill
- No supports required
- Delete the example photo in the 3mf file, import your own generated STL file, place it in the center, or configure it manually
- Bambu Studio may prompt that there are too many triangular facets; ignore this warning, as simplifying the model may result in blurry generated photos
- When importing STL, there is no need to manually adjust the size
- Scaling will lead to inaccurate layer height
- If needed, you can note down the Z-axis height, modify the size scaling, then deselect uniform scaling, and restore the Z-axis setting
- Try to set the size directly during generation
- Print, and await the finished product
Docker deployment
- Thanks to https://makerworld.com.cn/zh/@huge_d for providing Docker deployment:
- Deployment startup command:docker run -d --name photo2reliefnegative-film -p 80:3000 --restart always dd5407/photo2reliefnegative-film:latest Access address: IP or domain (http, port 80)
Offline solution
- Offline package
- You can get the offline package solution and code from GitHub
- The directory is located in the nodeServer folder under the root directory
- A kind user has created instructions for using the offline package
- GitHub project address:
https://github.com/Vivapercuore/photo2reliefNegative-film/blob/main/README.md
- Another very simple offline solution
- Directly press Ctrl+S on the webpage to save the entire page locally
- Double-click to open and use anytime, completely offline
- However, it will not update to new versions and will not have update capabilities
PS:
- Exporting STL and slicing can be very slow if precision settings are too high or dimensions are too large
- It is recommended to print only one photo at a time
- PETG is 12-15% slower than PLA
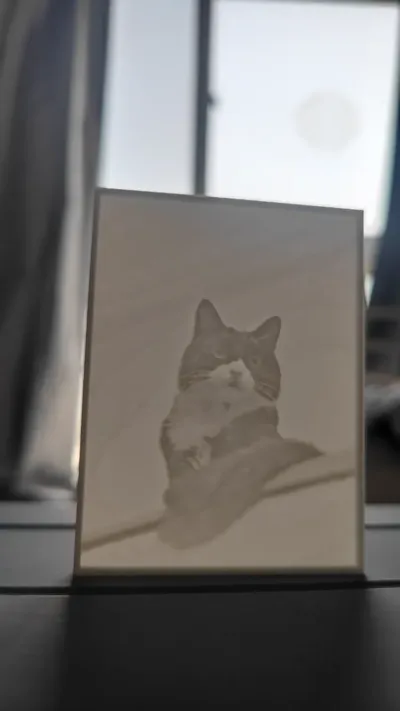
You can add other accessories like photo frames or backlit panels for use
Hope it is useful to you & hope you like it
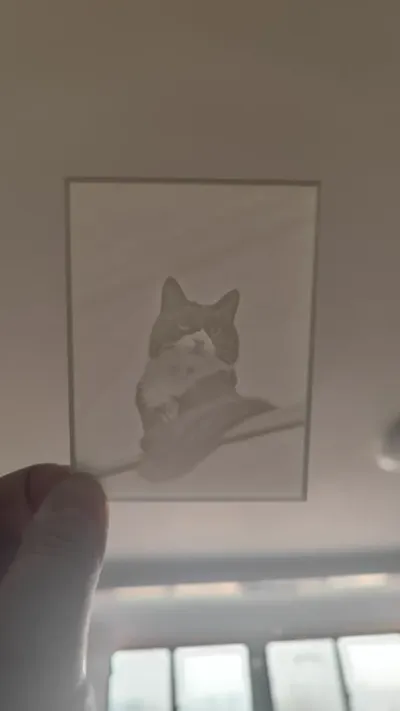
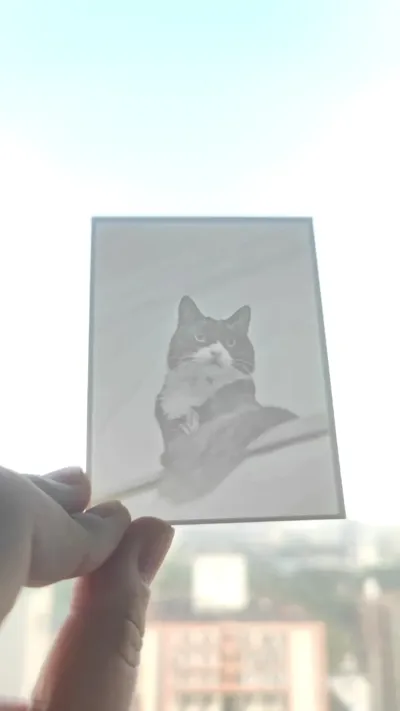
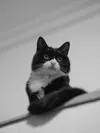
The example photo is of my cat. His name is Sushi, and he is very cute! Please praise him everyone!
Changelog
Online package solution - no command-line operations required, fully visual point-and-click
- V2.4 2024-07-07 15:00
- Now supports setting the long side dimension directly by clicking the image size reference
- Algorithm optimized
- V2.3 2024-06-29 17:55
- Fixed a precision issue caused by decimal border values leading to generation errors
- V2.2 2024-06-28 00:43
- Fixed an issue of inaccurate height caused by OpenSCAD software precision
- Added a fast mode configuration and corresponding 3mf file that significantly increases printing speed
- Optimized the depth map algorithm for greater accuracy
- V2.1 2024-06-27 18:00
- Updated interaction, now requires selecting an image first, as some data calculations depend on image dimensions
- Updated parameters, border height (thickness) is now an absolute value
- Added display of finished product dimensions & common photo size references
- Adjusted the position of initial layer height and single layer height to match the order in slicing software
- Description and prompt texts updated & images will no longer appear larger than the screen
- V2.0 2024-06-26 21:30
- Interactive page, local data and file generation
- No cloud computing involved; data is destroyed upon exit
Offline package solution - no longer updated, but preserved
- V1.4 2025-05-03 02:00
- Added preview function
- V1.3 2024-06-26 02:00
- Added precision parameter to control file size
- V1.2 2024-06-25 22:00
- Fixed errors that border settings might cause
- V1.1 2024-06-24 16:00
- JPG format is now supported, no longer need to convert JPG to PNG
A series of image pre-processing procedures have been automated and built-in - User setting parameter adjustment
- Supports automatic size adjustment, requiring users to manually set the long side
- Automatically compresses image pixel dimensions
- After setting the size, there is no longer a need to manually modify the size in Bambu Studio
- Adjusted parameter settings to support more nozzle sizes
- More command-line status output
- Updated documentation
- JPG format is now supported, no longer need to convert JPG to PNG
- [When using presets] Download the 3mf file from the page (which contains more finely tuned parameters), and use the print profile within the file
Documentation (1)
Comment & Rating (1)