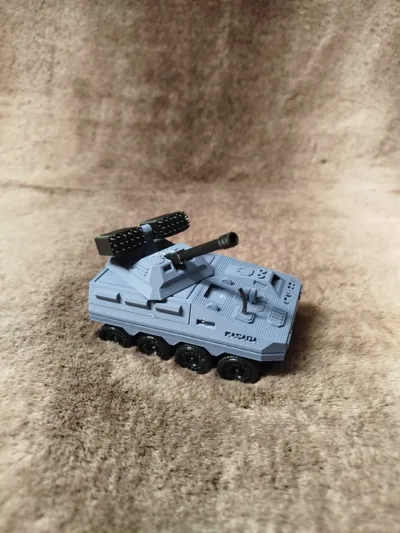
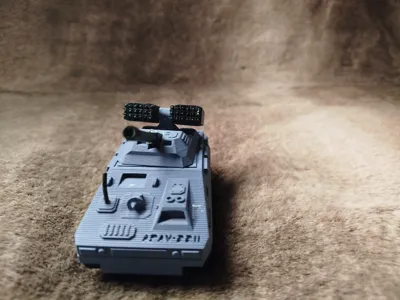
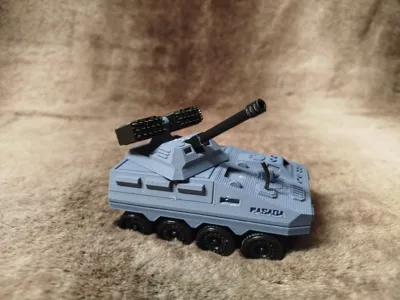
APAG Masada - The Armoured Artillery Gun Model!


Print Profile(1)

Description
Salutations from Bruticus Creations!
Second in my line of Armoured Vehicles, the APAG Masada is here to power wash the battlefield of it's enemies! This hardy little model is a light armoured self-propelled artillery gun capable of coordinating with frontline troops through it's antenna and it's communication dish and unleashing a deadly rain of rockets or a precise artillery strike with it's impressive armament! Although it's armour is sparse, it's designed to be able to carry lots of supplies for it's crew for long term solo missions, never meeting it's enemy face to face but making sure it's presence is duly felt!
This model is intended for playsets, as a toy or model in a diorama, but the possibilities are endless! Bruticus Creations Pro or any of it's affiliate entities are not liable for any injury or death resulting from the misuse of this item.
Printing:
I used normal PLA for the entire model, and it came out great! However, I used Soft PLA for the tyres, which enable it to roll perfectly on any surface, giving the model even more authenticity. To make the spinning turret:
- Use the small black pin and slot it up through the hole in the turret base (the piece with three boxes on 2 sides) without any glue
- Apply a miniscule blob of glue to the hole in the bottom of the turret (the grey piece with the supports for the rocket pods)
- Stick it onto the protruding black pin!
- When it's time, apply a limited amount of glue to the bottom of the turret base (make sure to leave room away from the pin) and stick it on to the rest of the vehicle.
- Feel free to contact me for pictures or instructions!
Make the tyres by sticking the axles into the tyres using miniscule blobs of glue in each tyre hole, then after it has reasonably dried, slide the axle through and do the same to the tyres on the other side. If you accidentally put too much glue and it spills out threatening to stick the tyre to the suspension hole, don't panic, just twist both tyres on the same axle to break the spilled glue bonds every once in a while.
Make the antenna by covering a small piece of 1.75 mm filament and pushing it straight inside. It should go in perfectly if your printer is tuned correctly.
Settings:
- 0.16 layer height to make sure you can't see the layers. Lower if possible.
- Glue will be required for the axles and the wheels
- Use supports for the turret, and the Grey Body
- 20+ infill is alright: adjust to your preference
Comment & Rating (19)