
KUMIKO Modular LED Lamp: "ALFA"
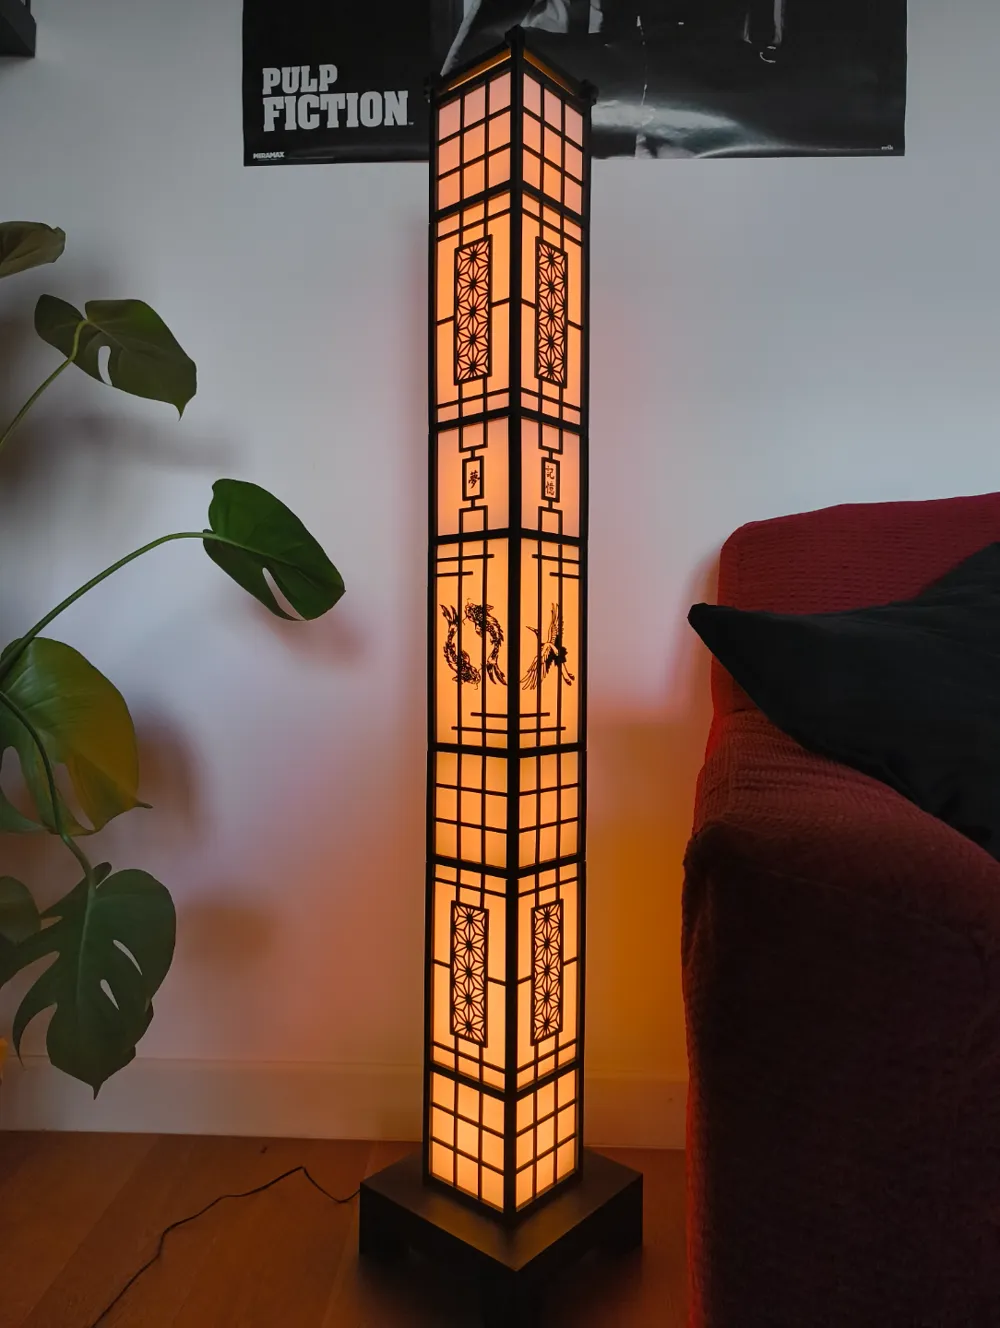

Print Profile(3)



Bill of Materials


- TP-Link Tapo L900-5 LED strip Smart Wi-Fi 5m x 1:
- Super-Glue x 1:
Description
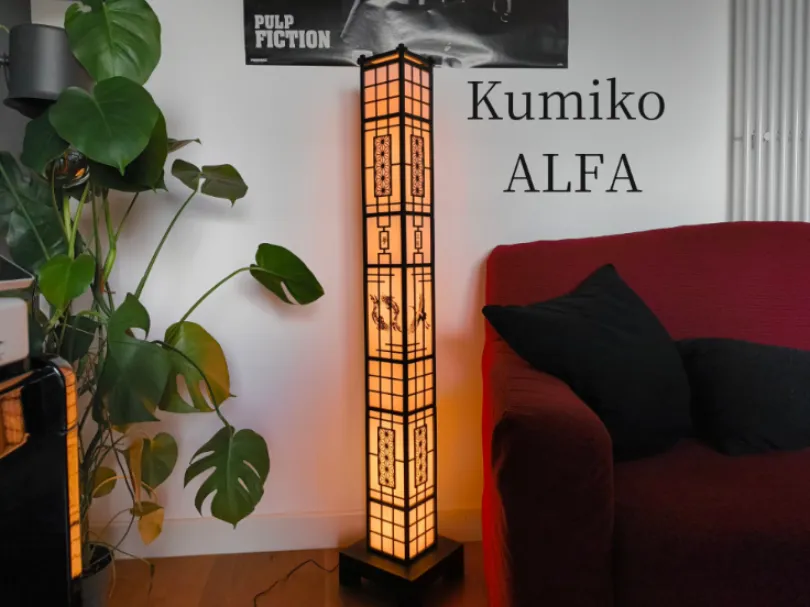
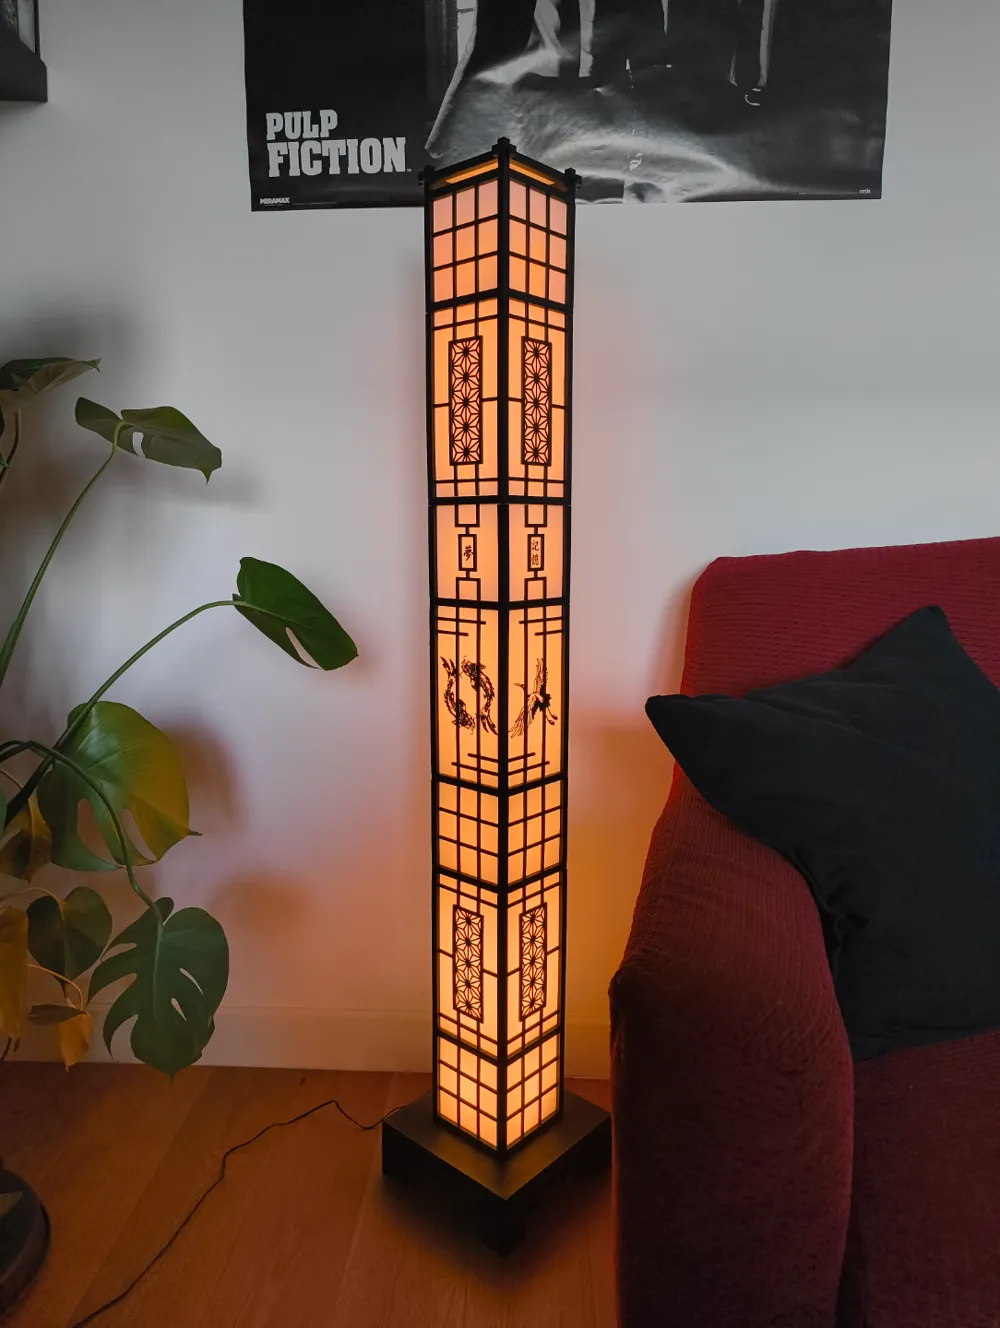
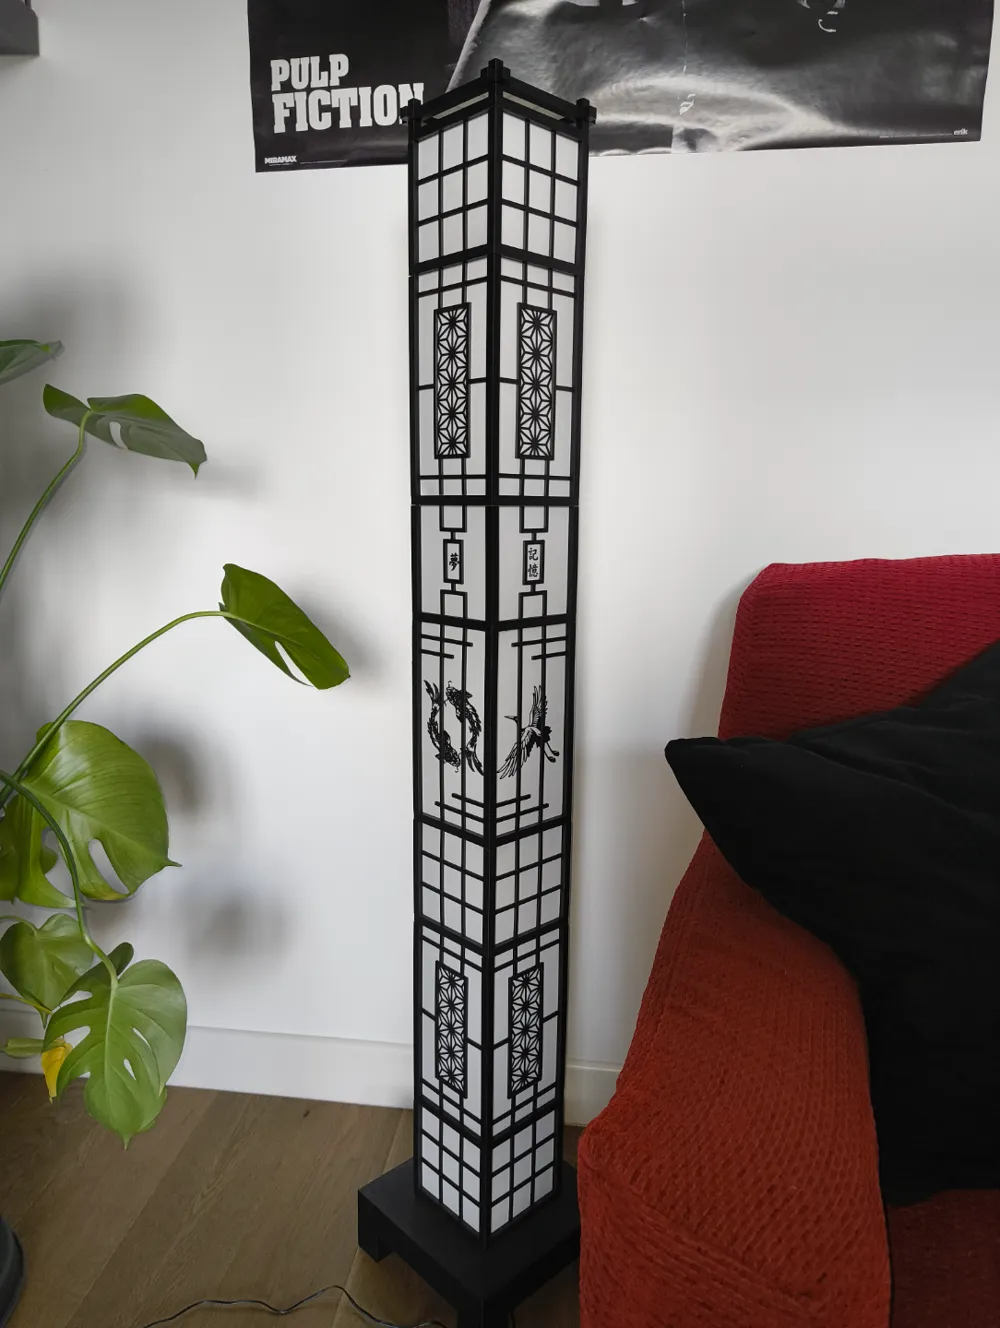
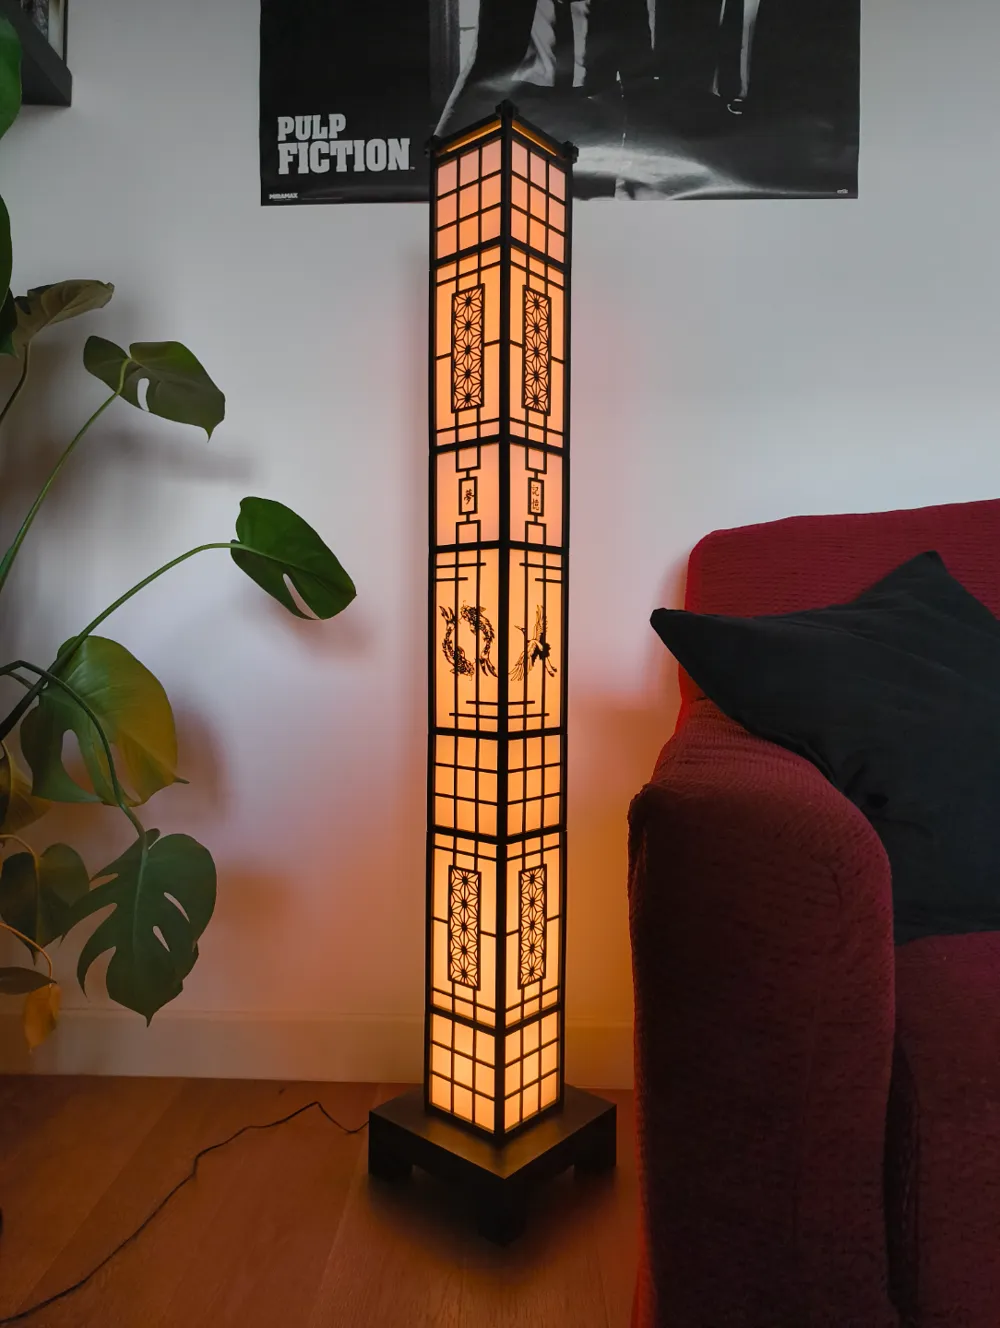
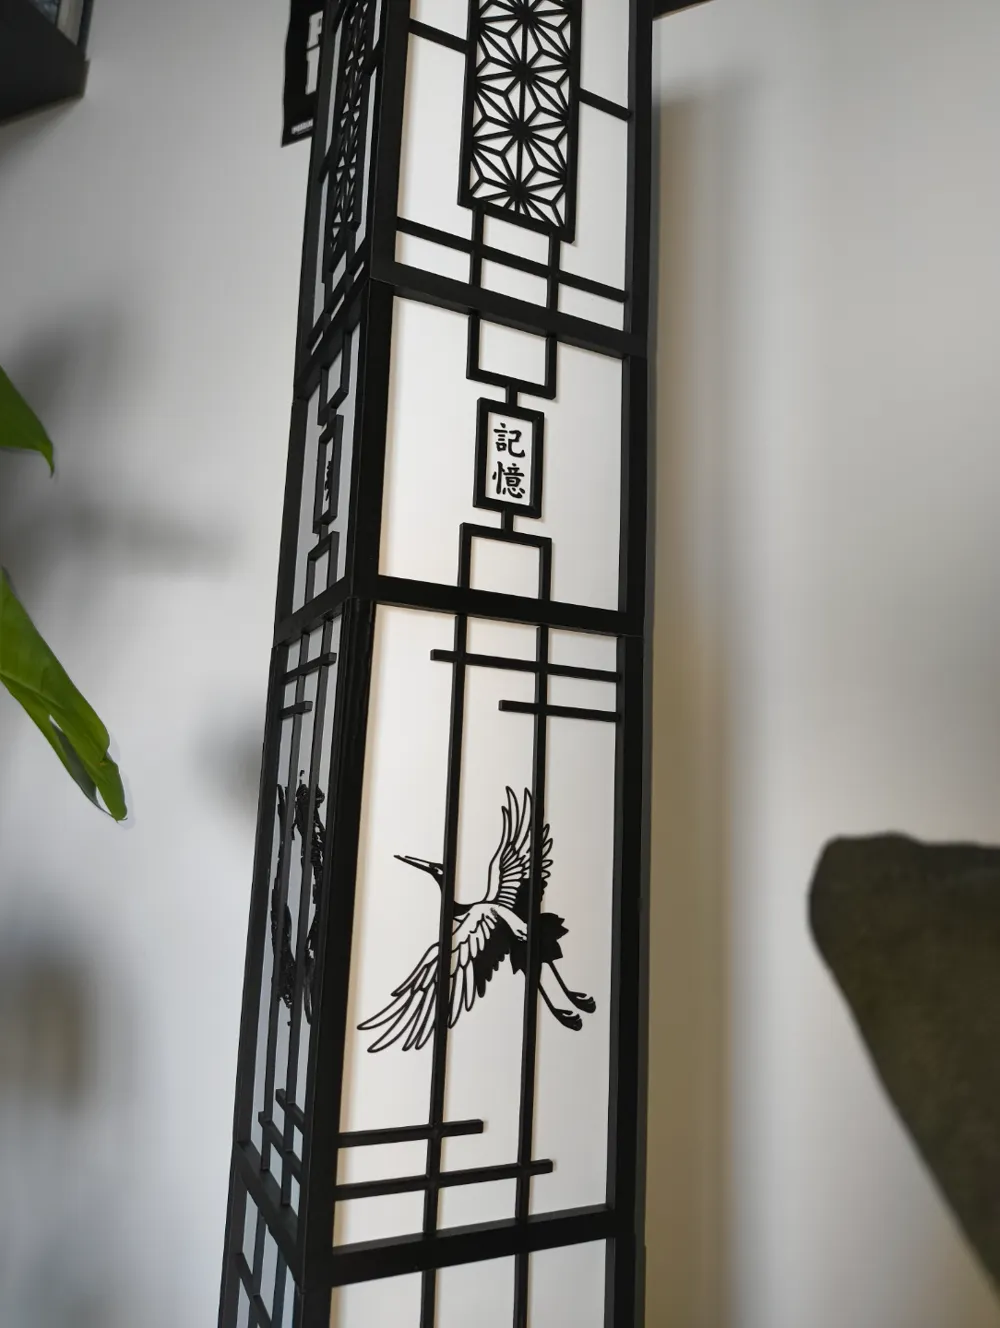
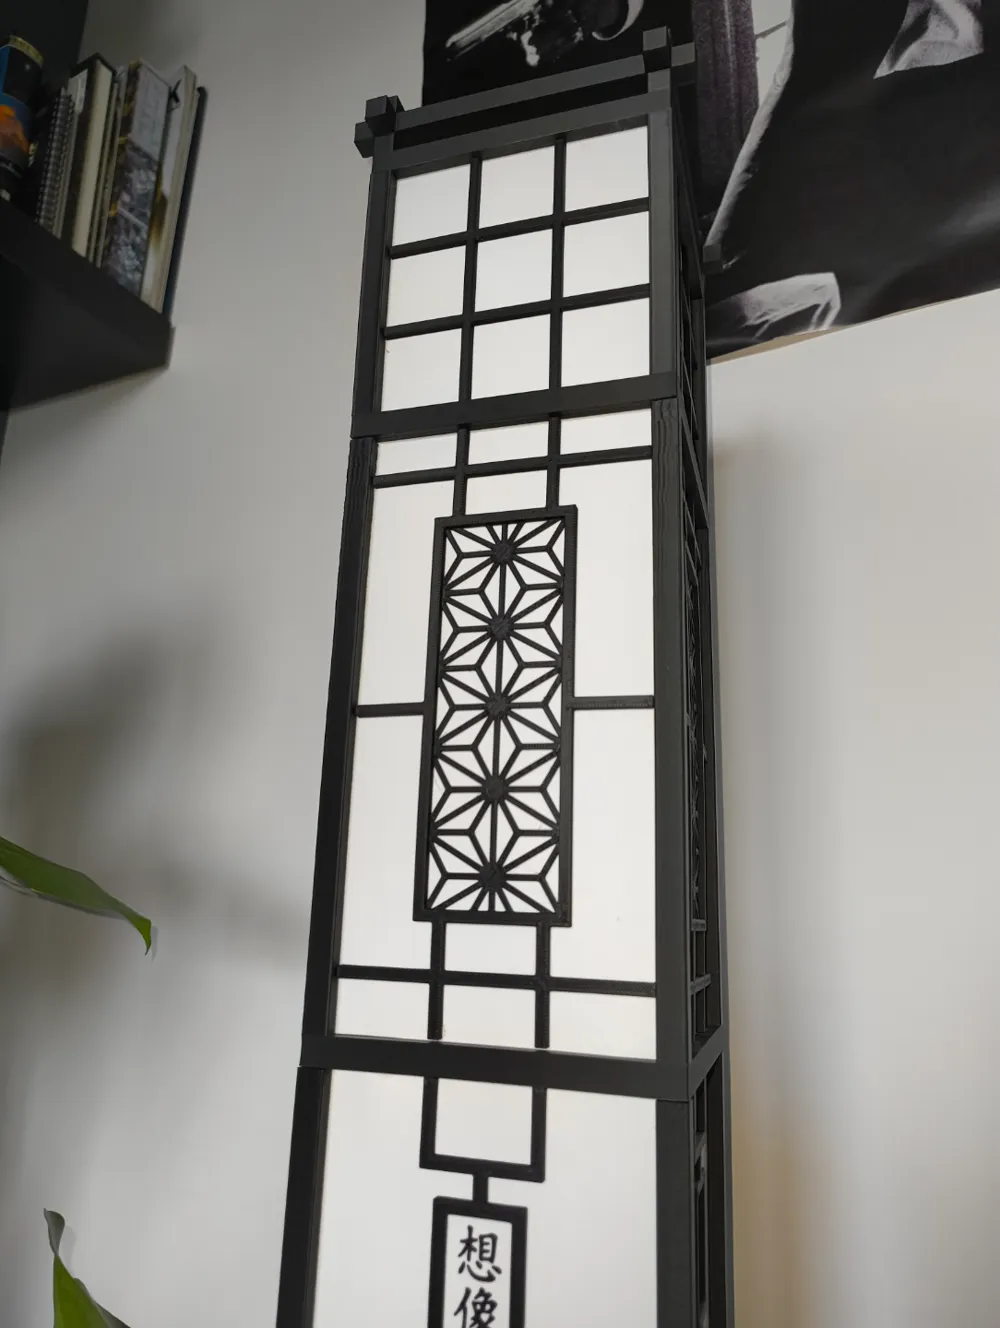
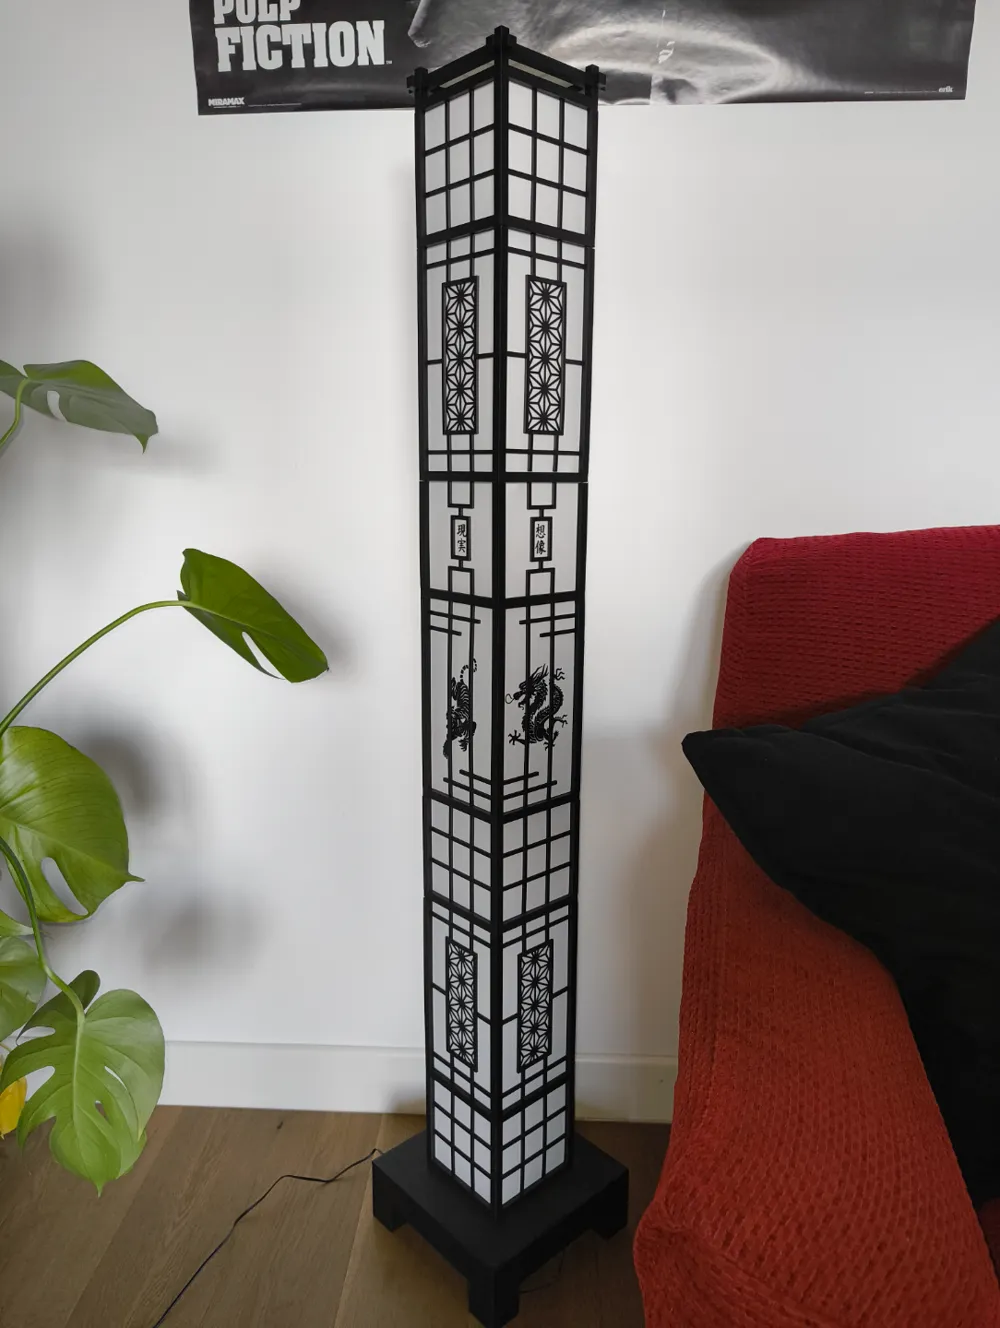
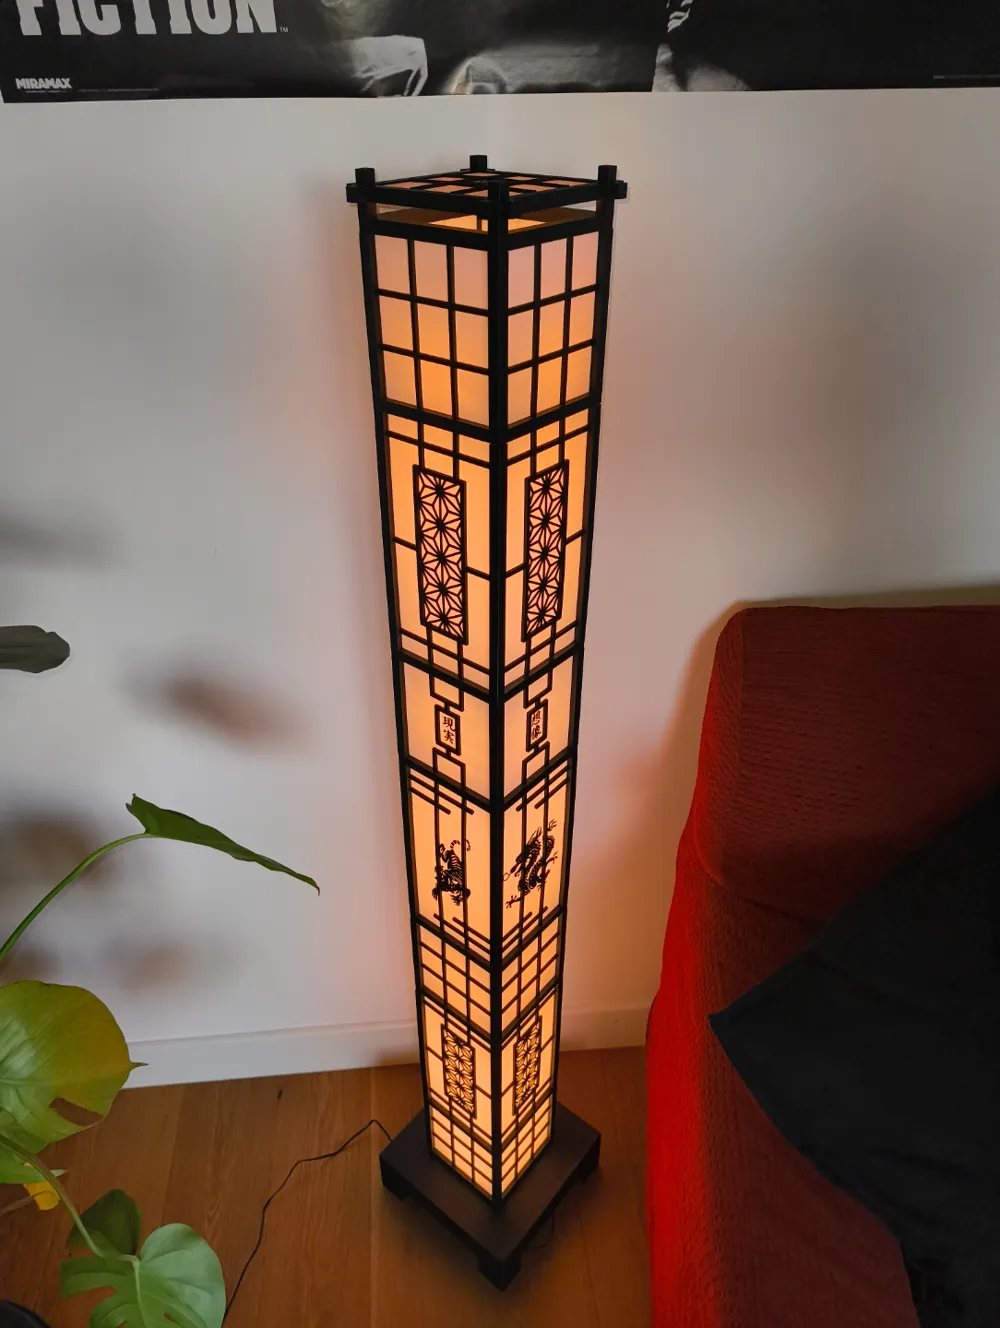
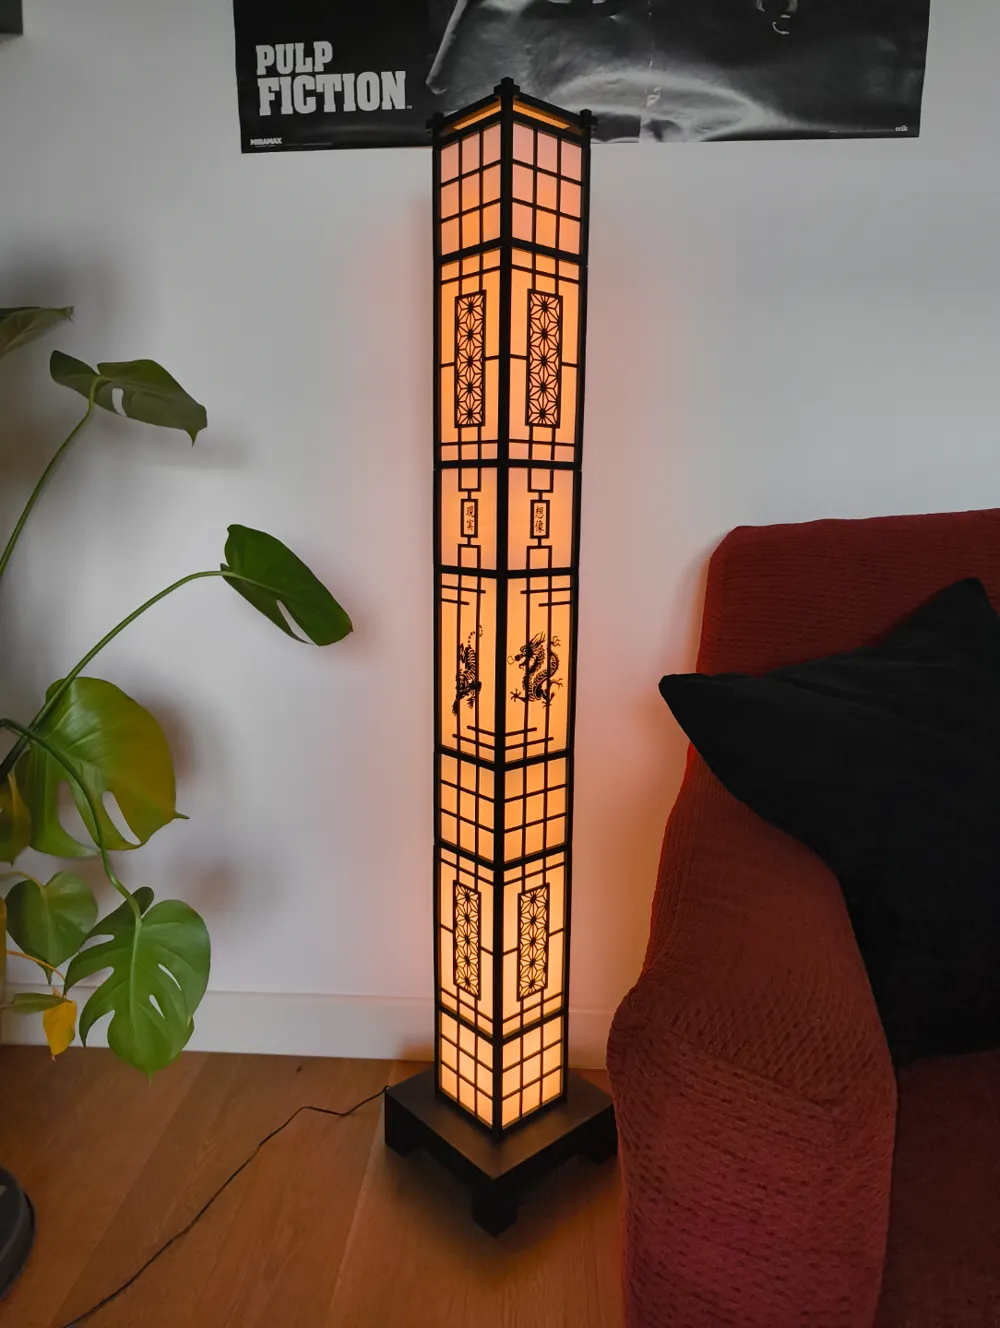
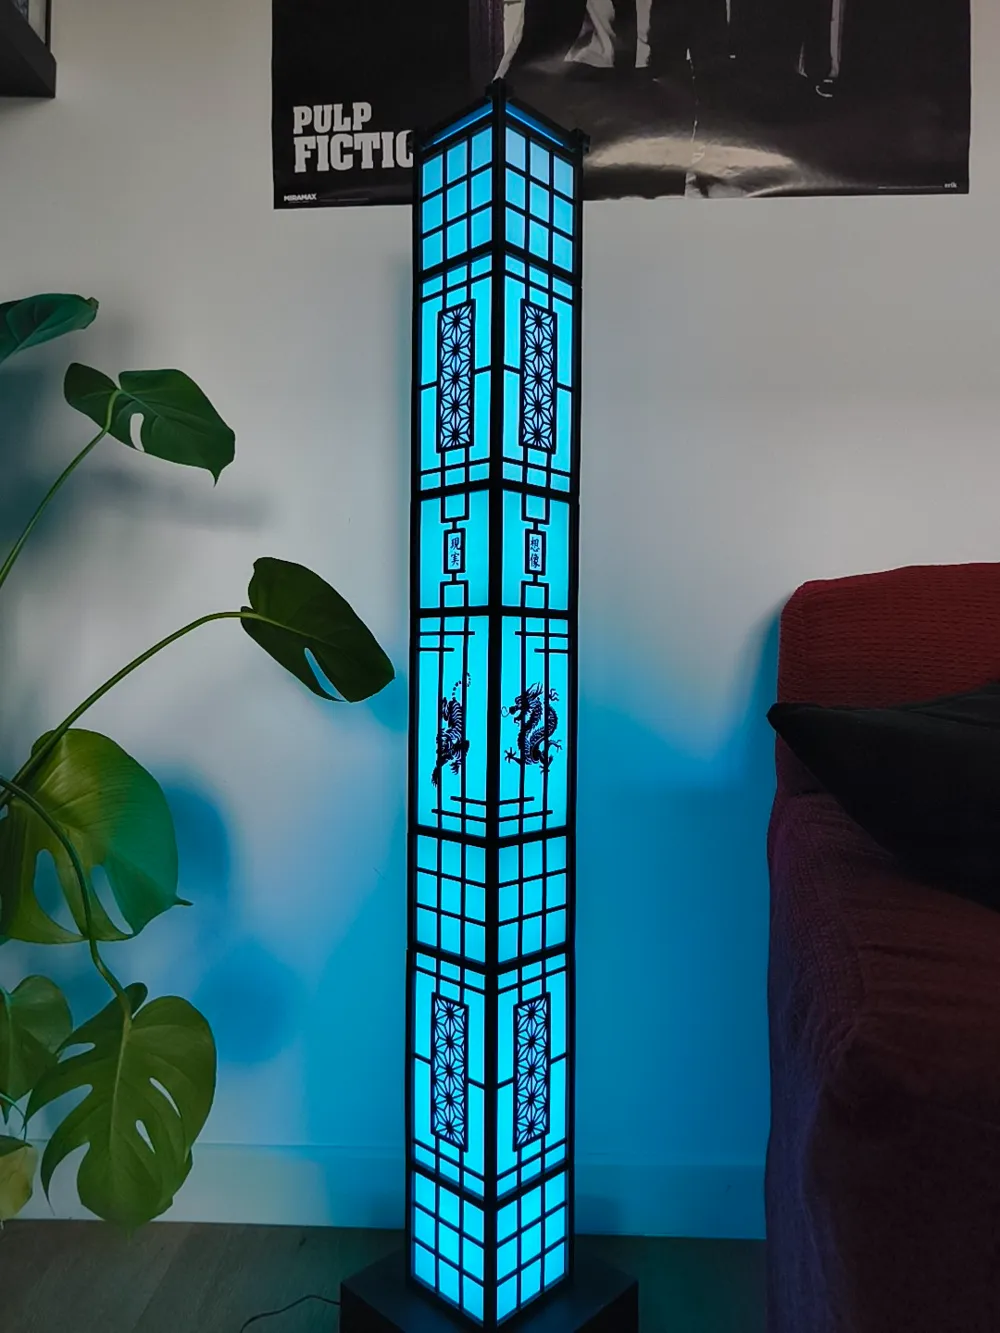
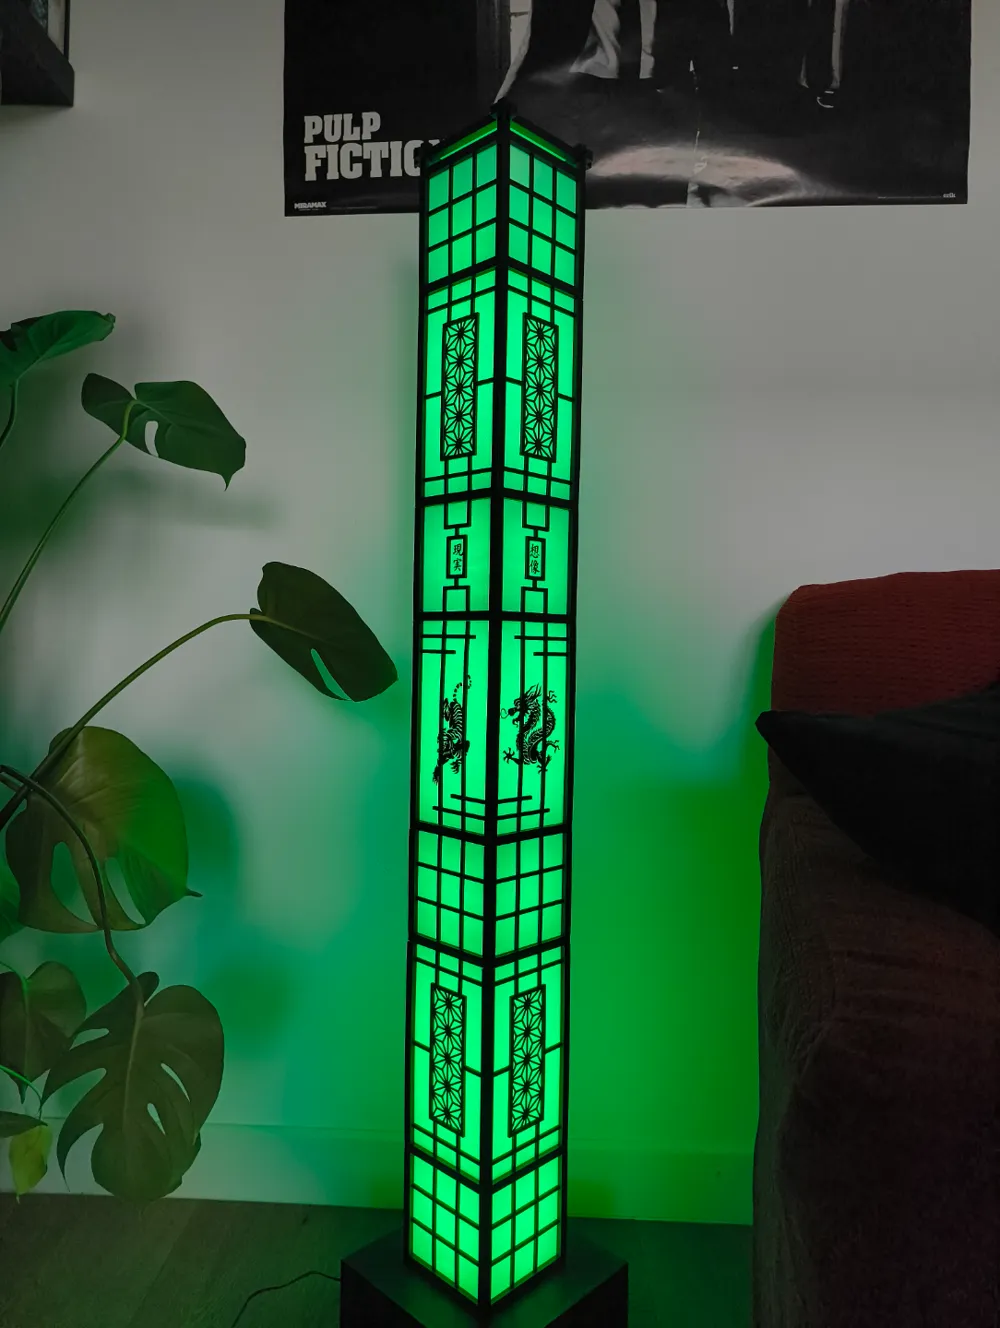
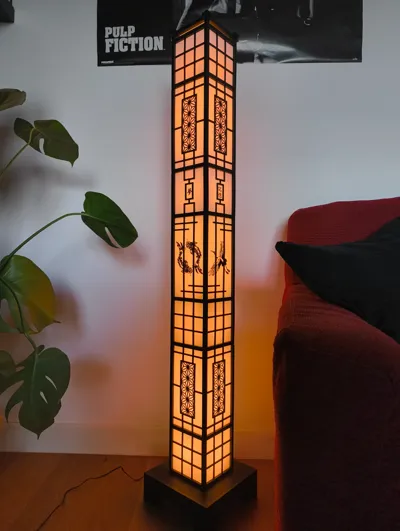
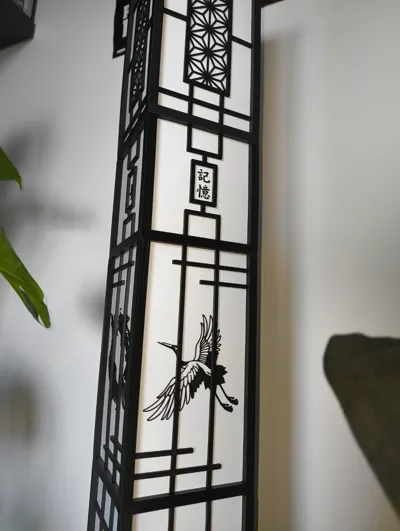
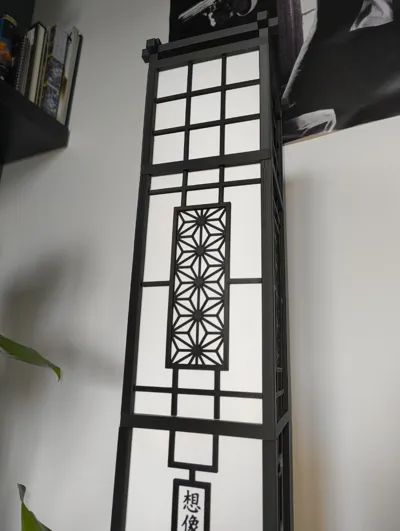
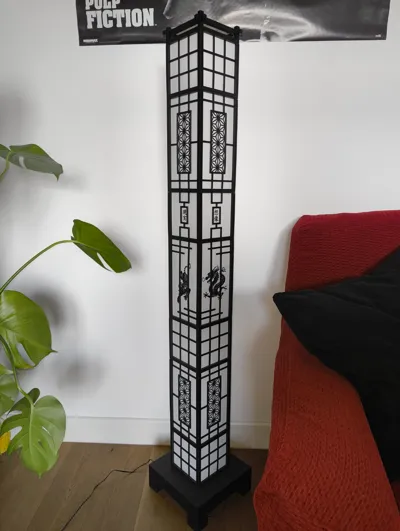
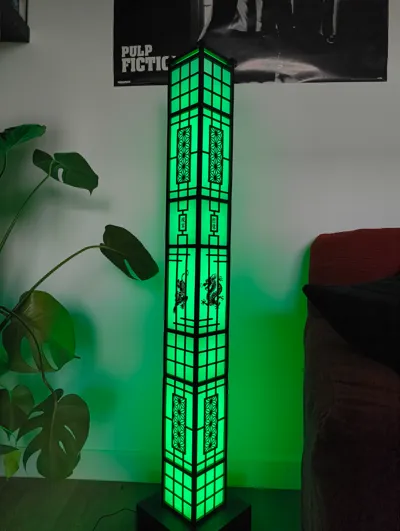
The Kumiko modular lamp is a combination of tradition and modernity, drawing inspiration from the ancient Japanese art of both Kumiko and Shoji lanterns.
Thanks to its modular structure, it can easily adapt to different design needs and spaces.
It features a system of stackable structures and decorative panels, using custom 3d printed connectors, allowing endless possibilities for configuration and customization.
I made different configurations, you can check out my profile for the others! Every configuration is a variant of the same system! Everything is compatible!
Choose your panels!
You can find different panels or parts in the stl files or print profiles.
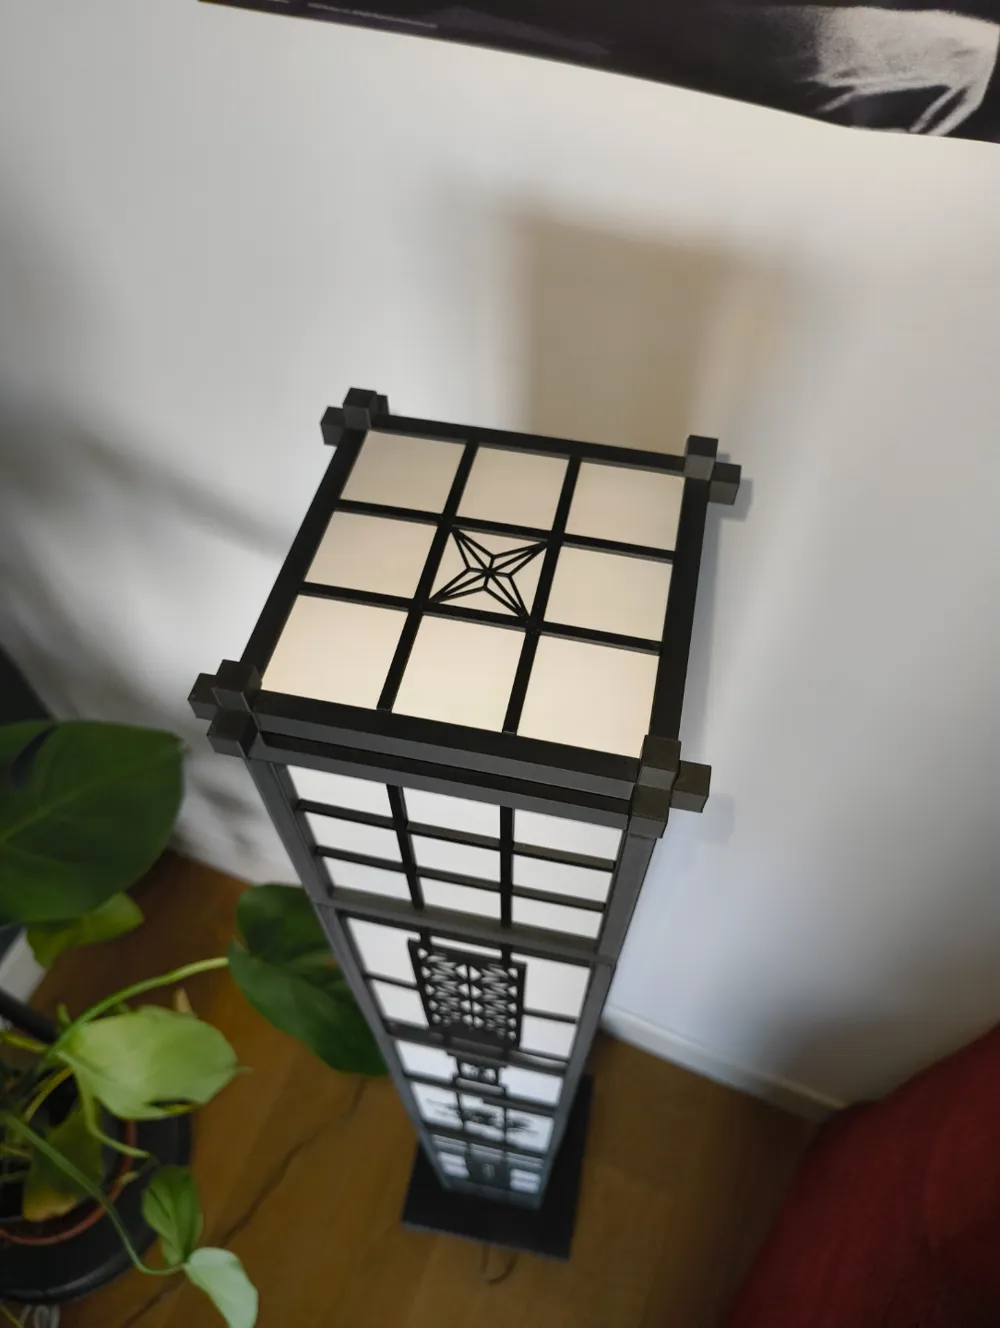
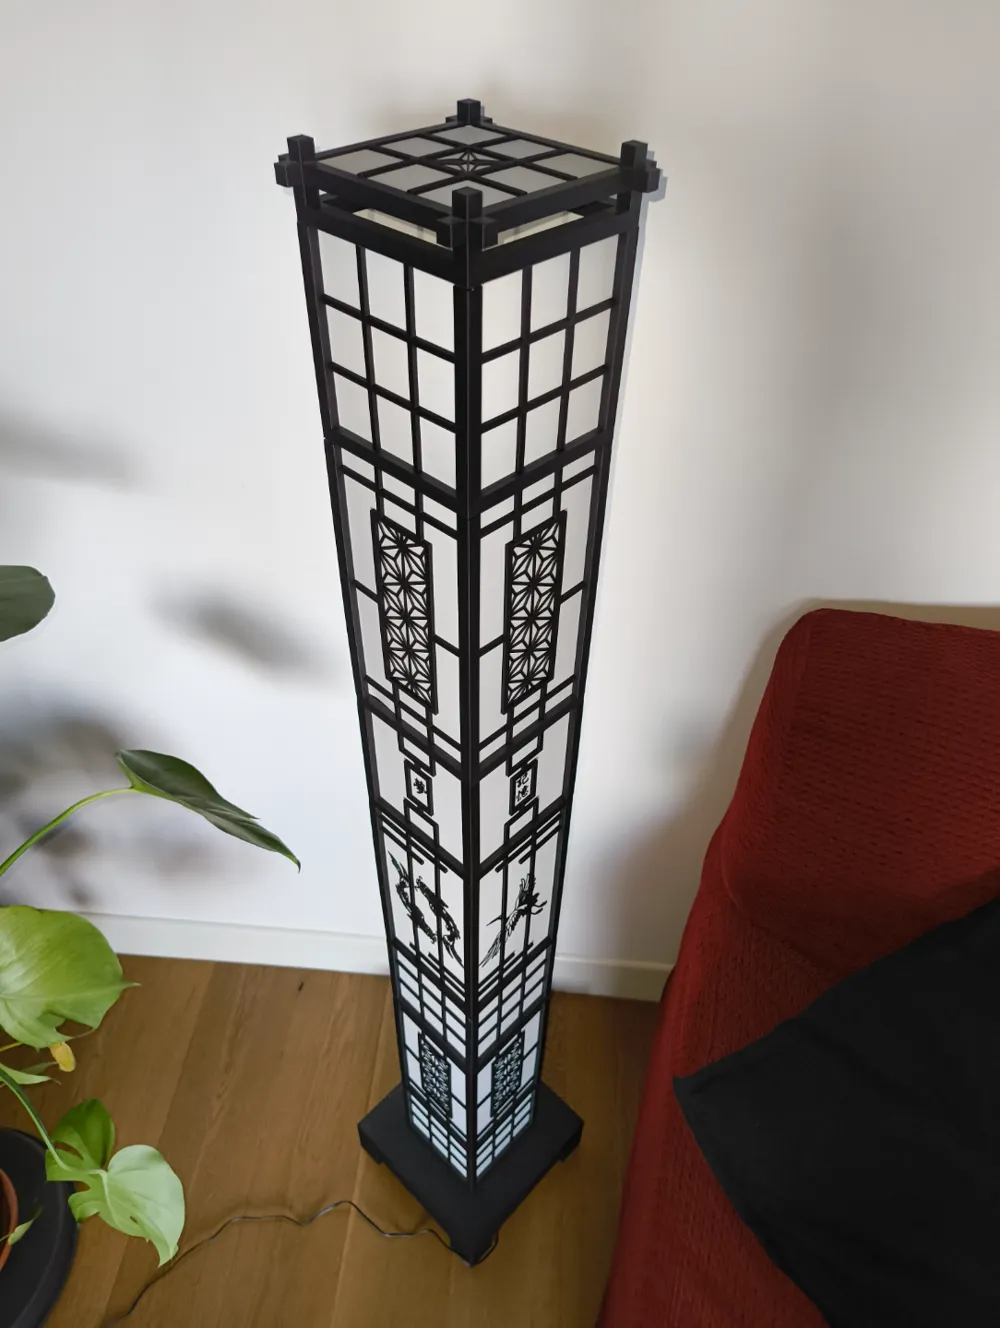
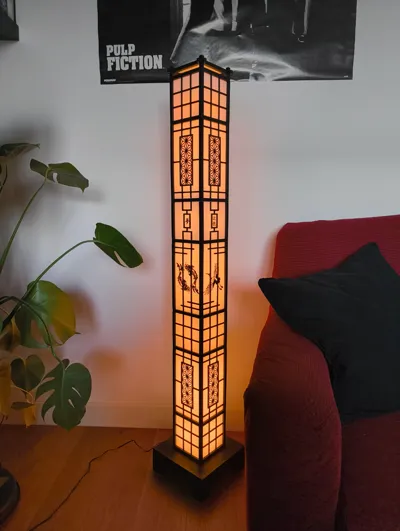
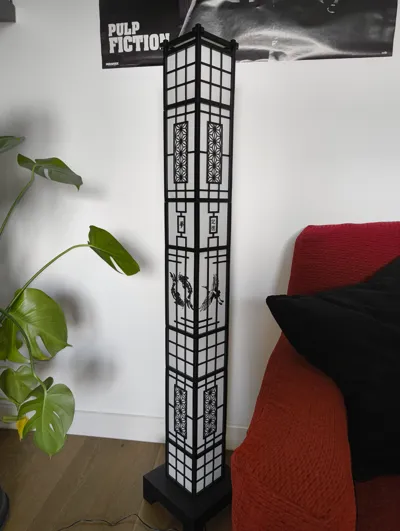
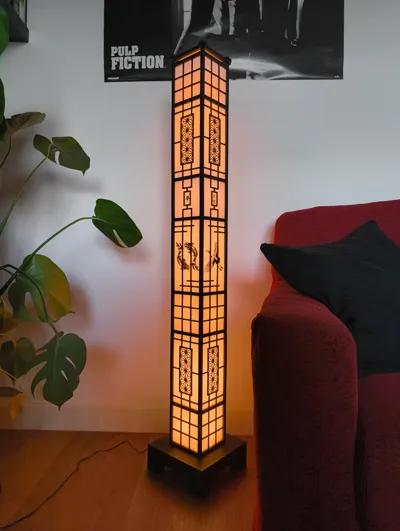
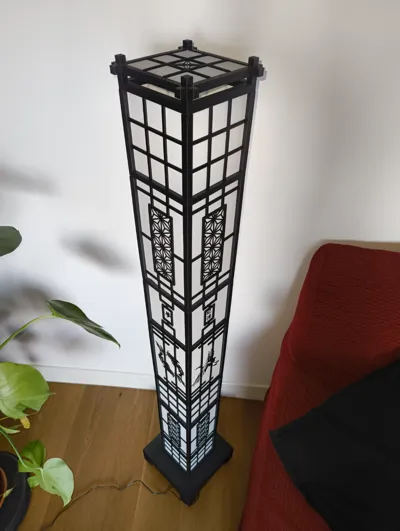
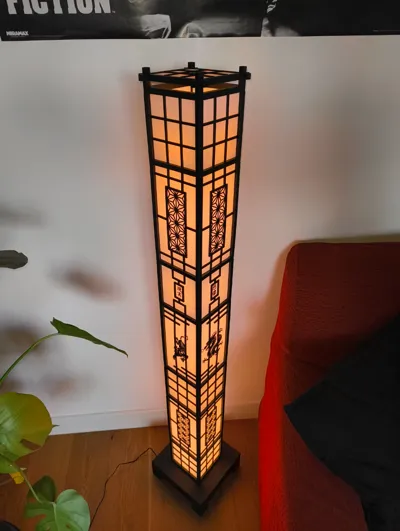
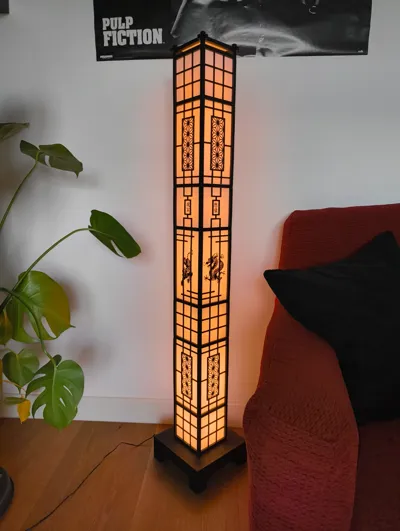
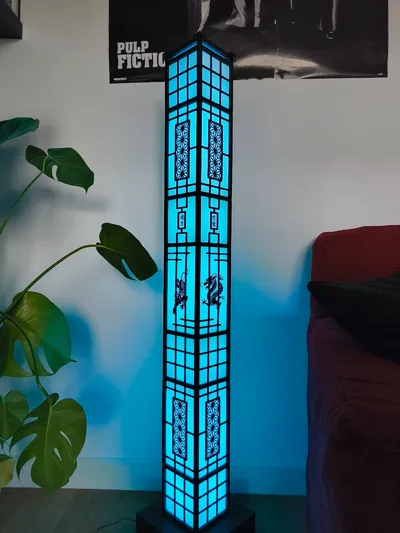
The ALFA configuration is 1.33 meters tall, 100% 3D printed (excluding the led strip).
The led strip goes around a modular rod structure, protected by transparent cilinders (PETG translucent required).
I used Bambu PLA Matte for structure and panels, petg for connectors and rods (any color, they are hidden), petg translucent for cilinders. I recommend using some super glue only to connect the rods and the cilinders.
Make sure to print the transparent cilinders with line width 0.45.
The project is based on the “TP-Link Tapo L900-5 LED strip Smart Wi-Fi 5m” ( https://amzn.to/48VorH7 ) . Other strip lights might work, but i can't assure that the wiring fits, so make sure to watch the images of the instructions first, to see if they do.
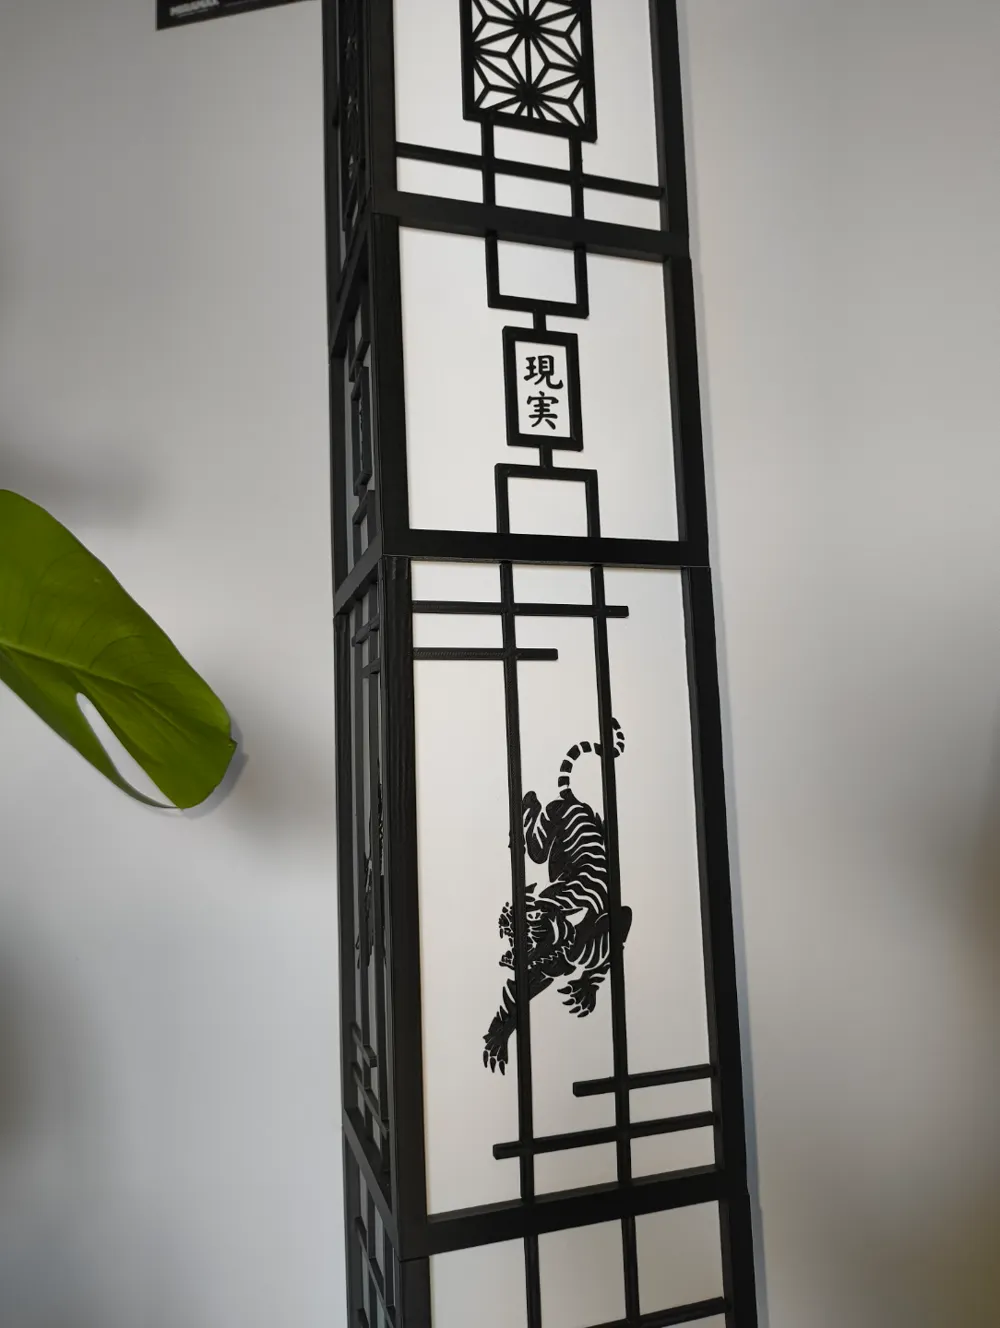
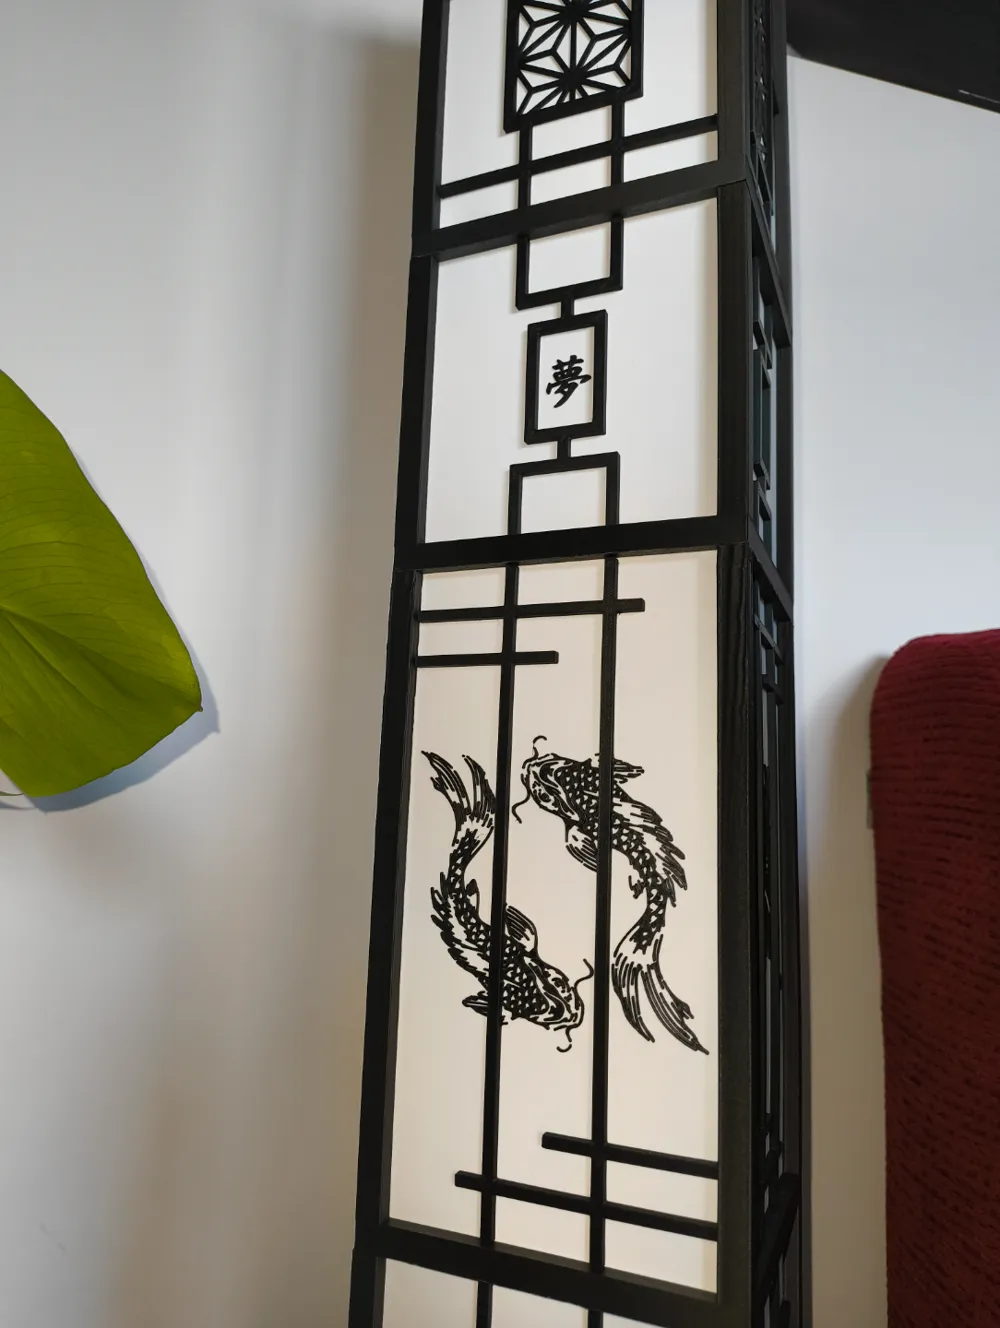
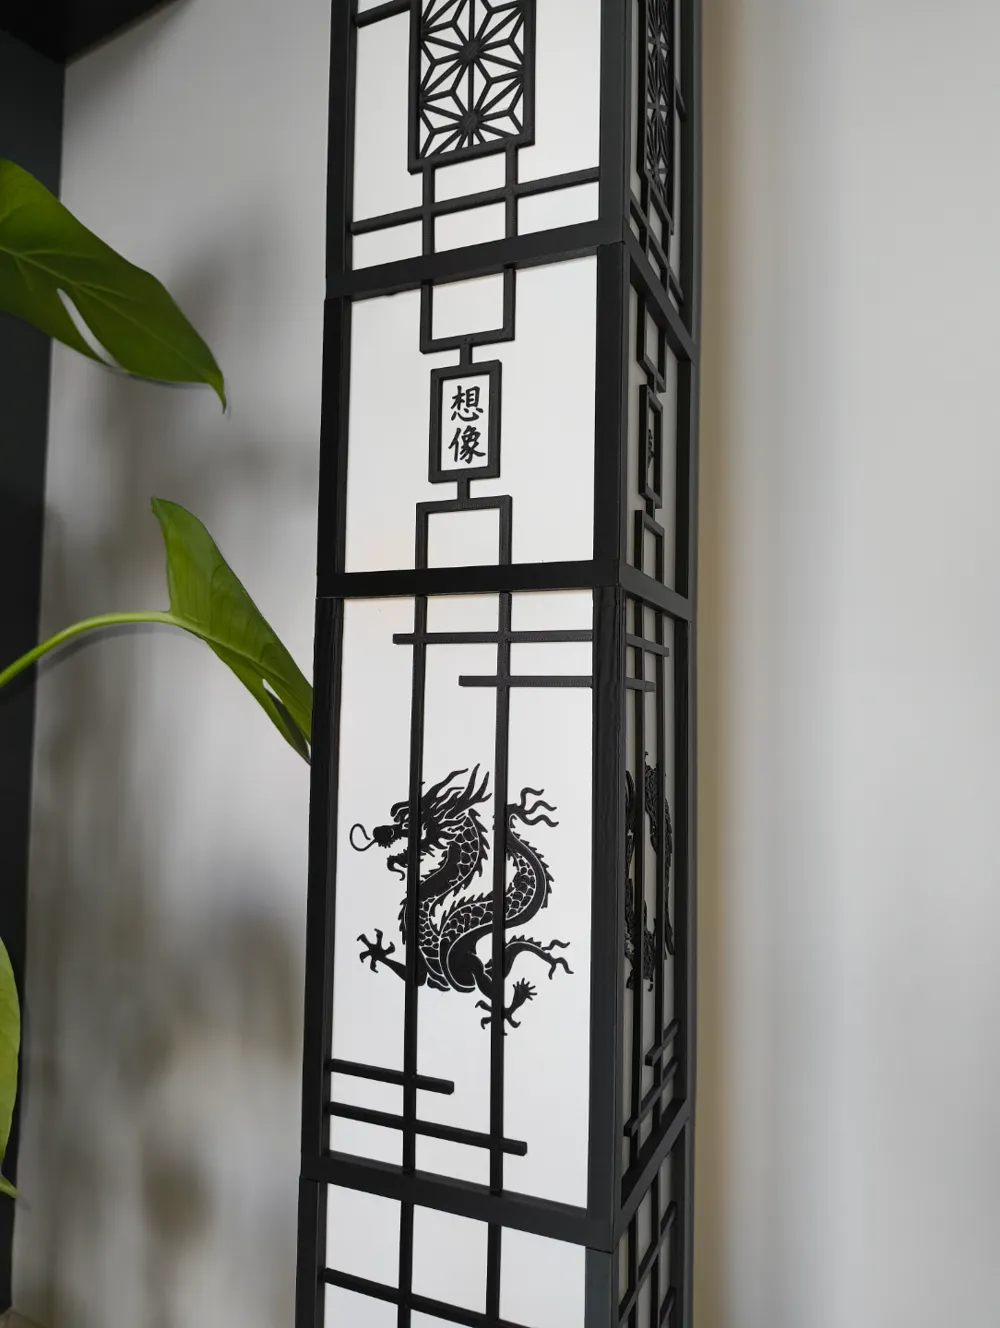
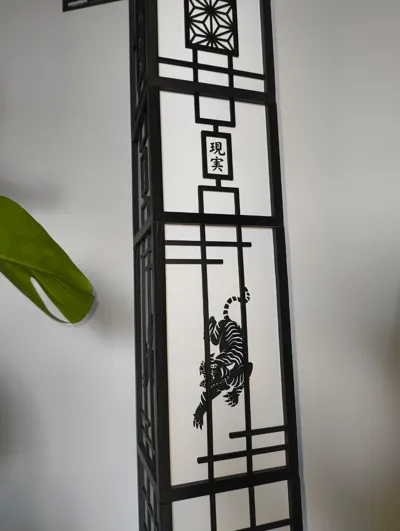
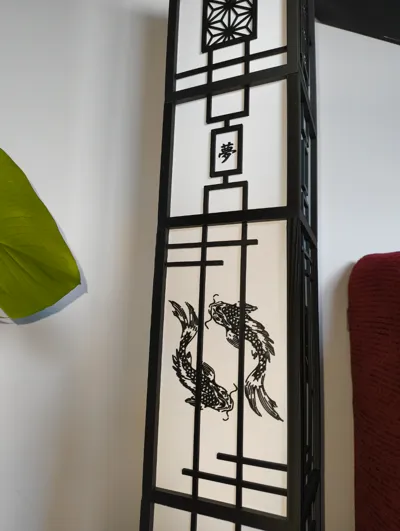
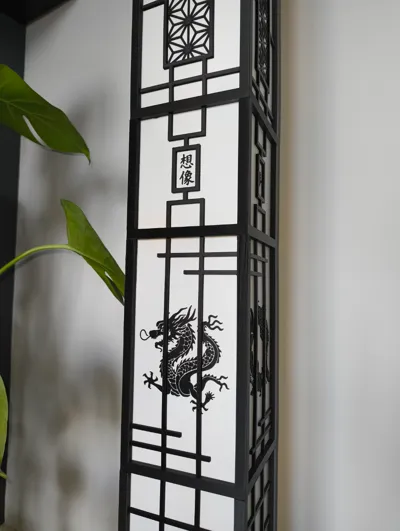
There is some philosophy behind my panel choice. I associated four states of mind activity to four japanese relevant animals: the heron with the memories, the koi carp with the dreams, the dragon with the imagination and the tiger with the reality.
If you want this exact configuration you can follow the instructions below, using the “ALFA” print profile as your printing list.
ASSEMBLY INSTRUCTIONS
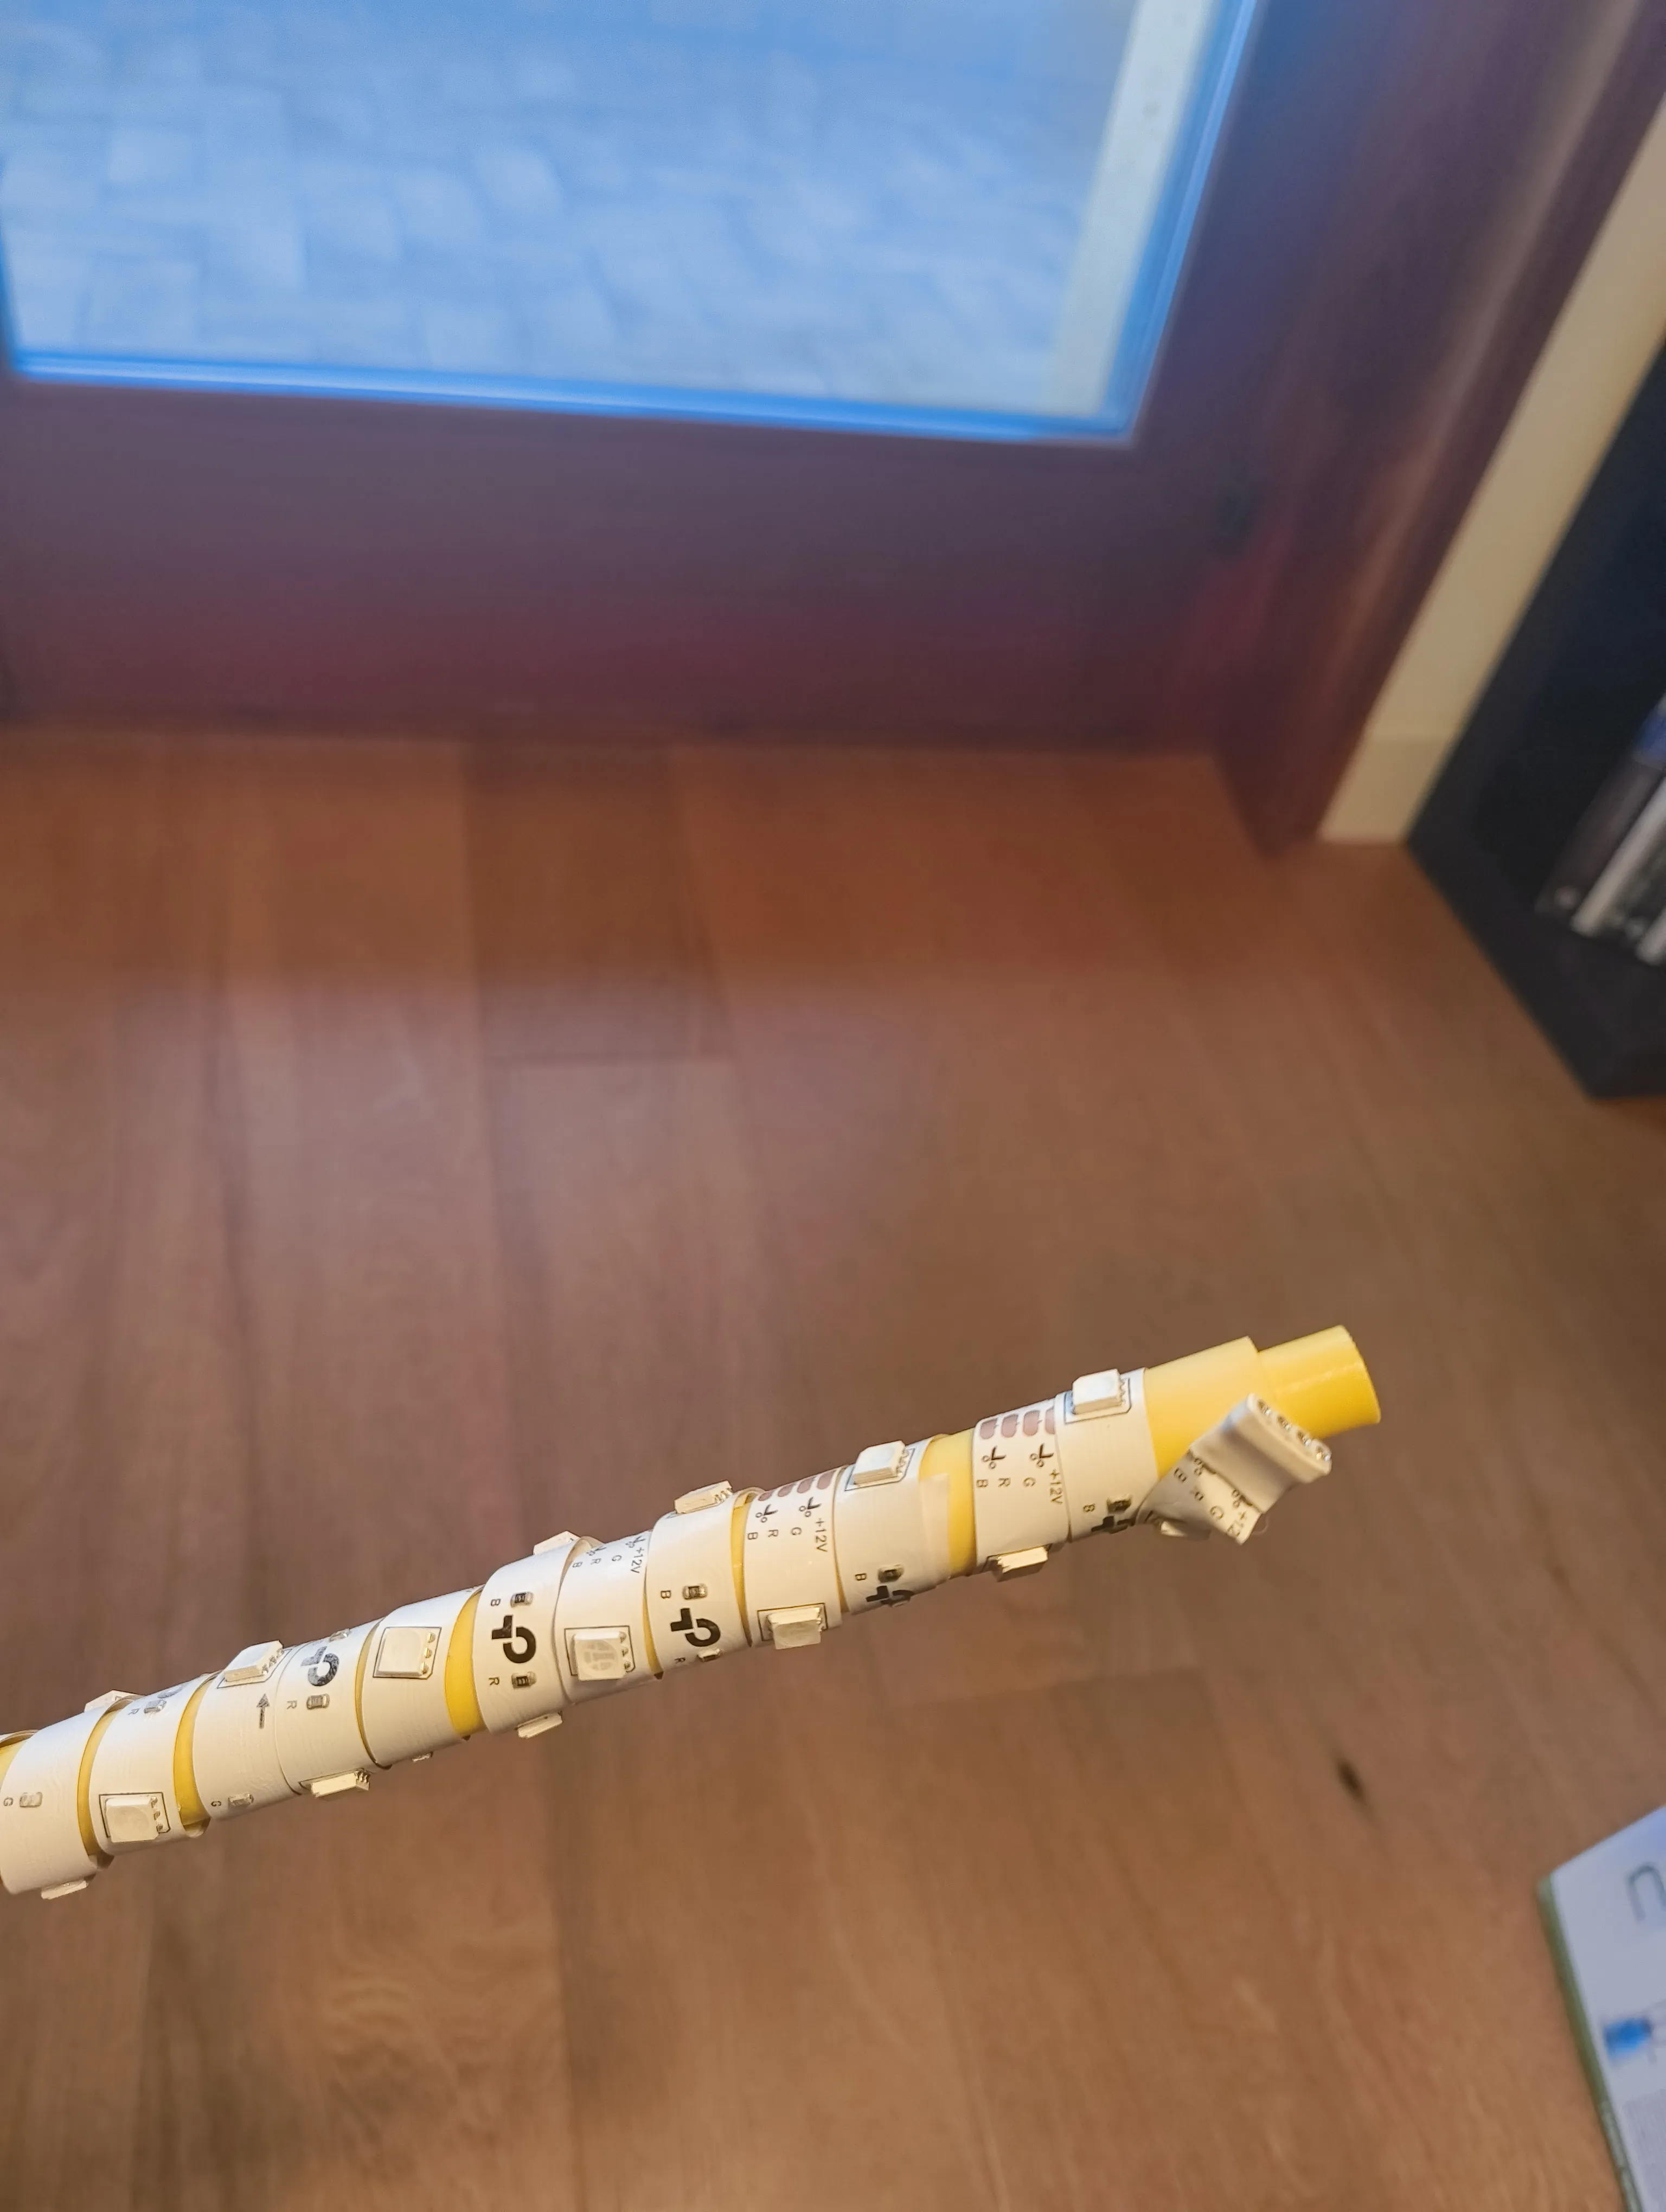
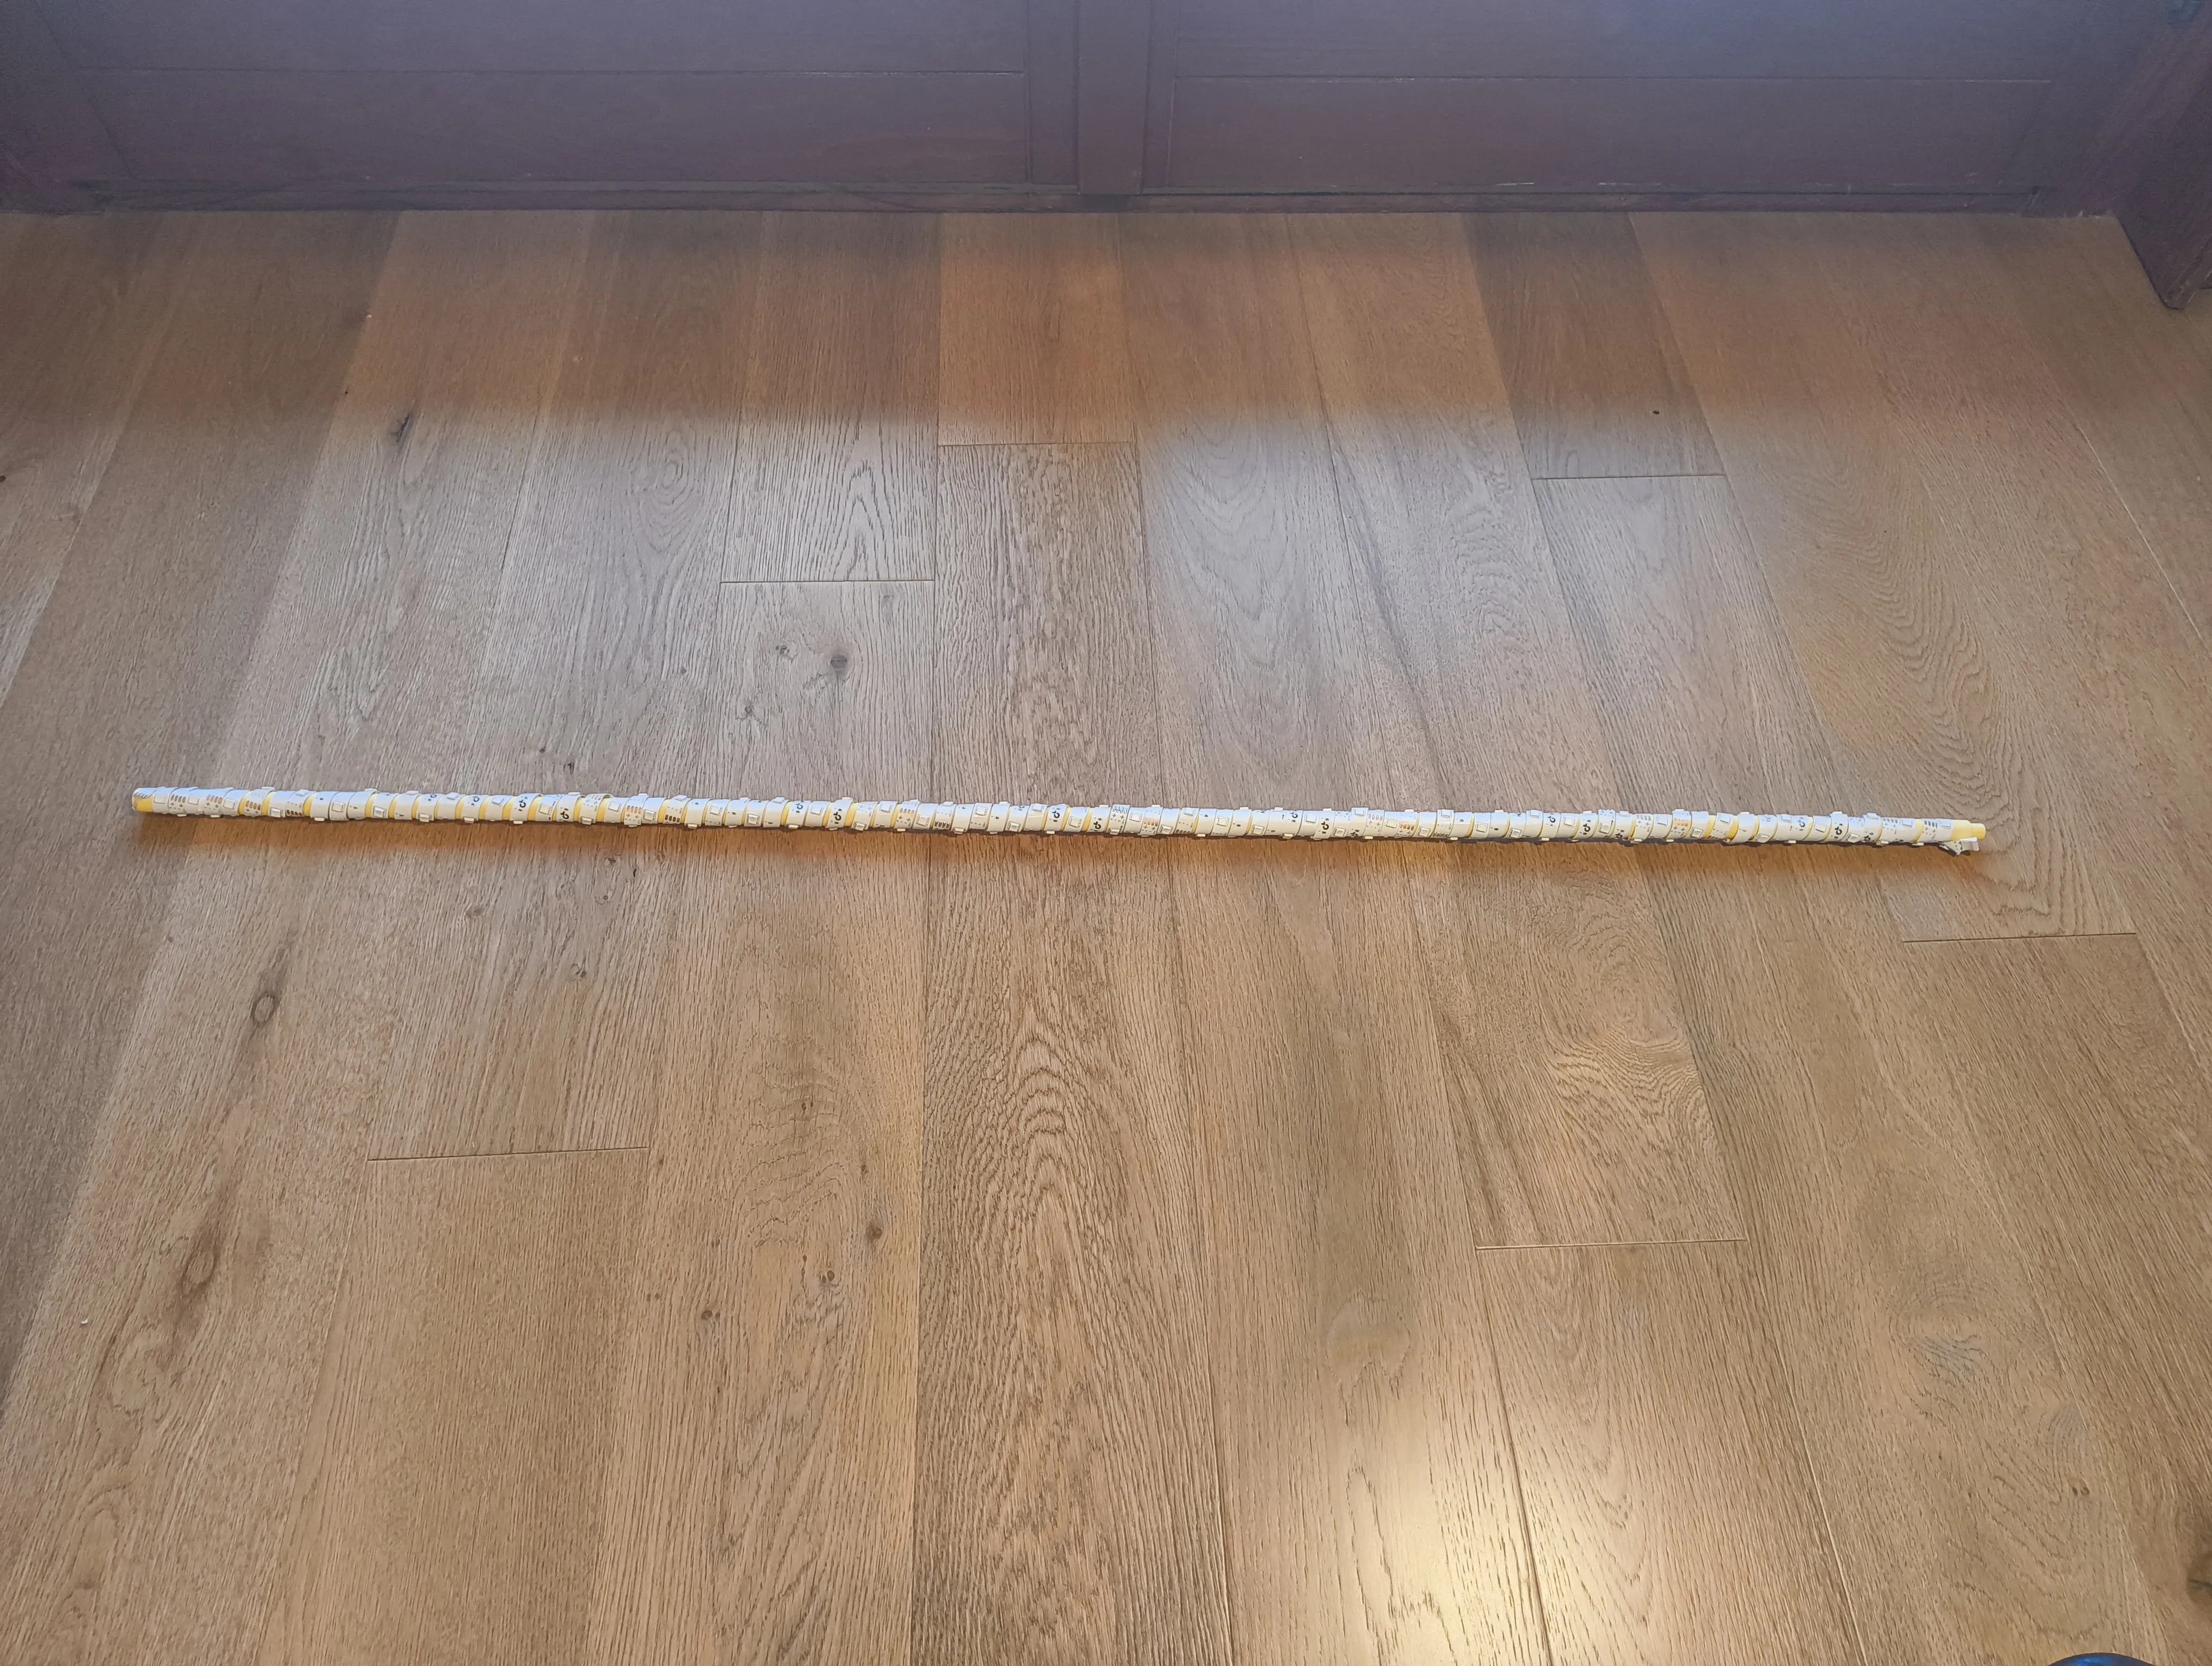
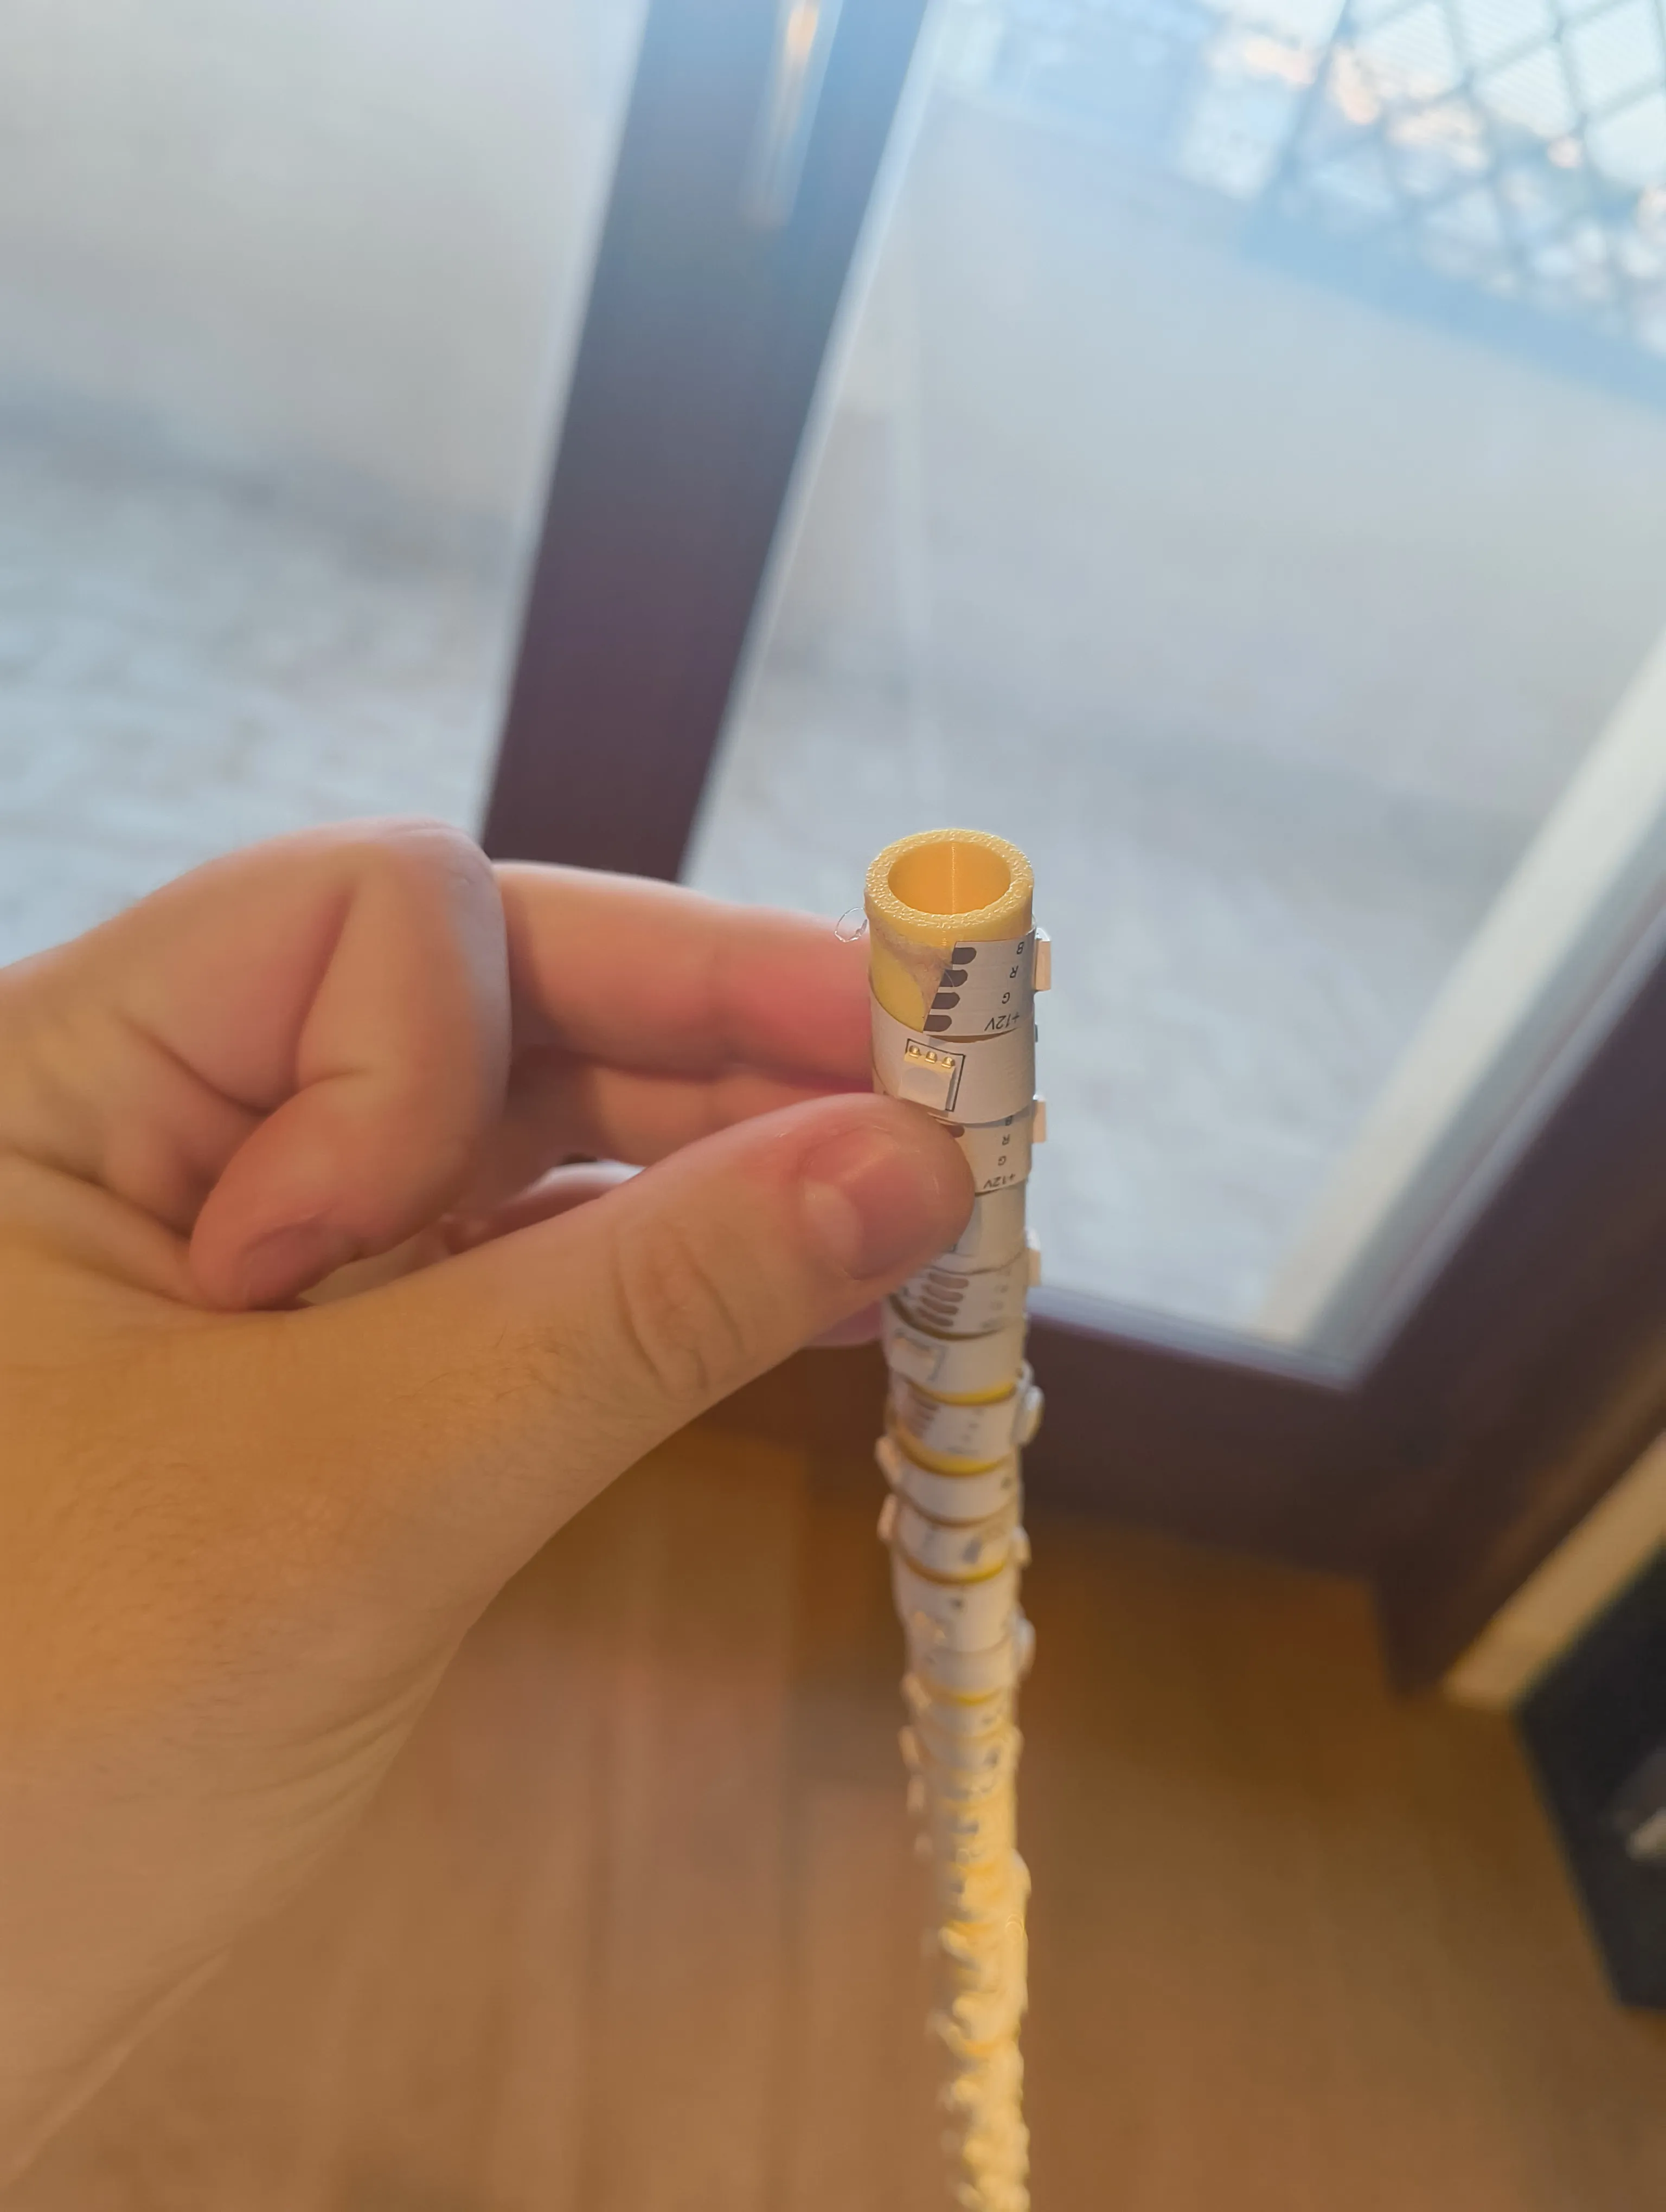
STEP 1 Connect every rod, using some glue, and wrap the led strip around, with the led wire end on the hole side and the led connector on the other side, as shown in the images |
 |
 |
 |
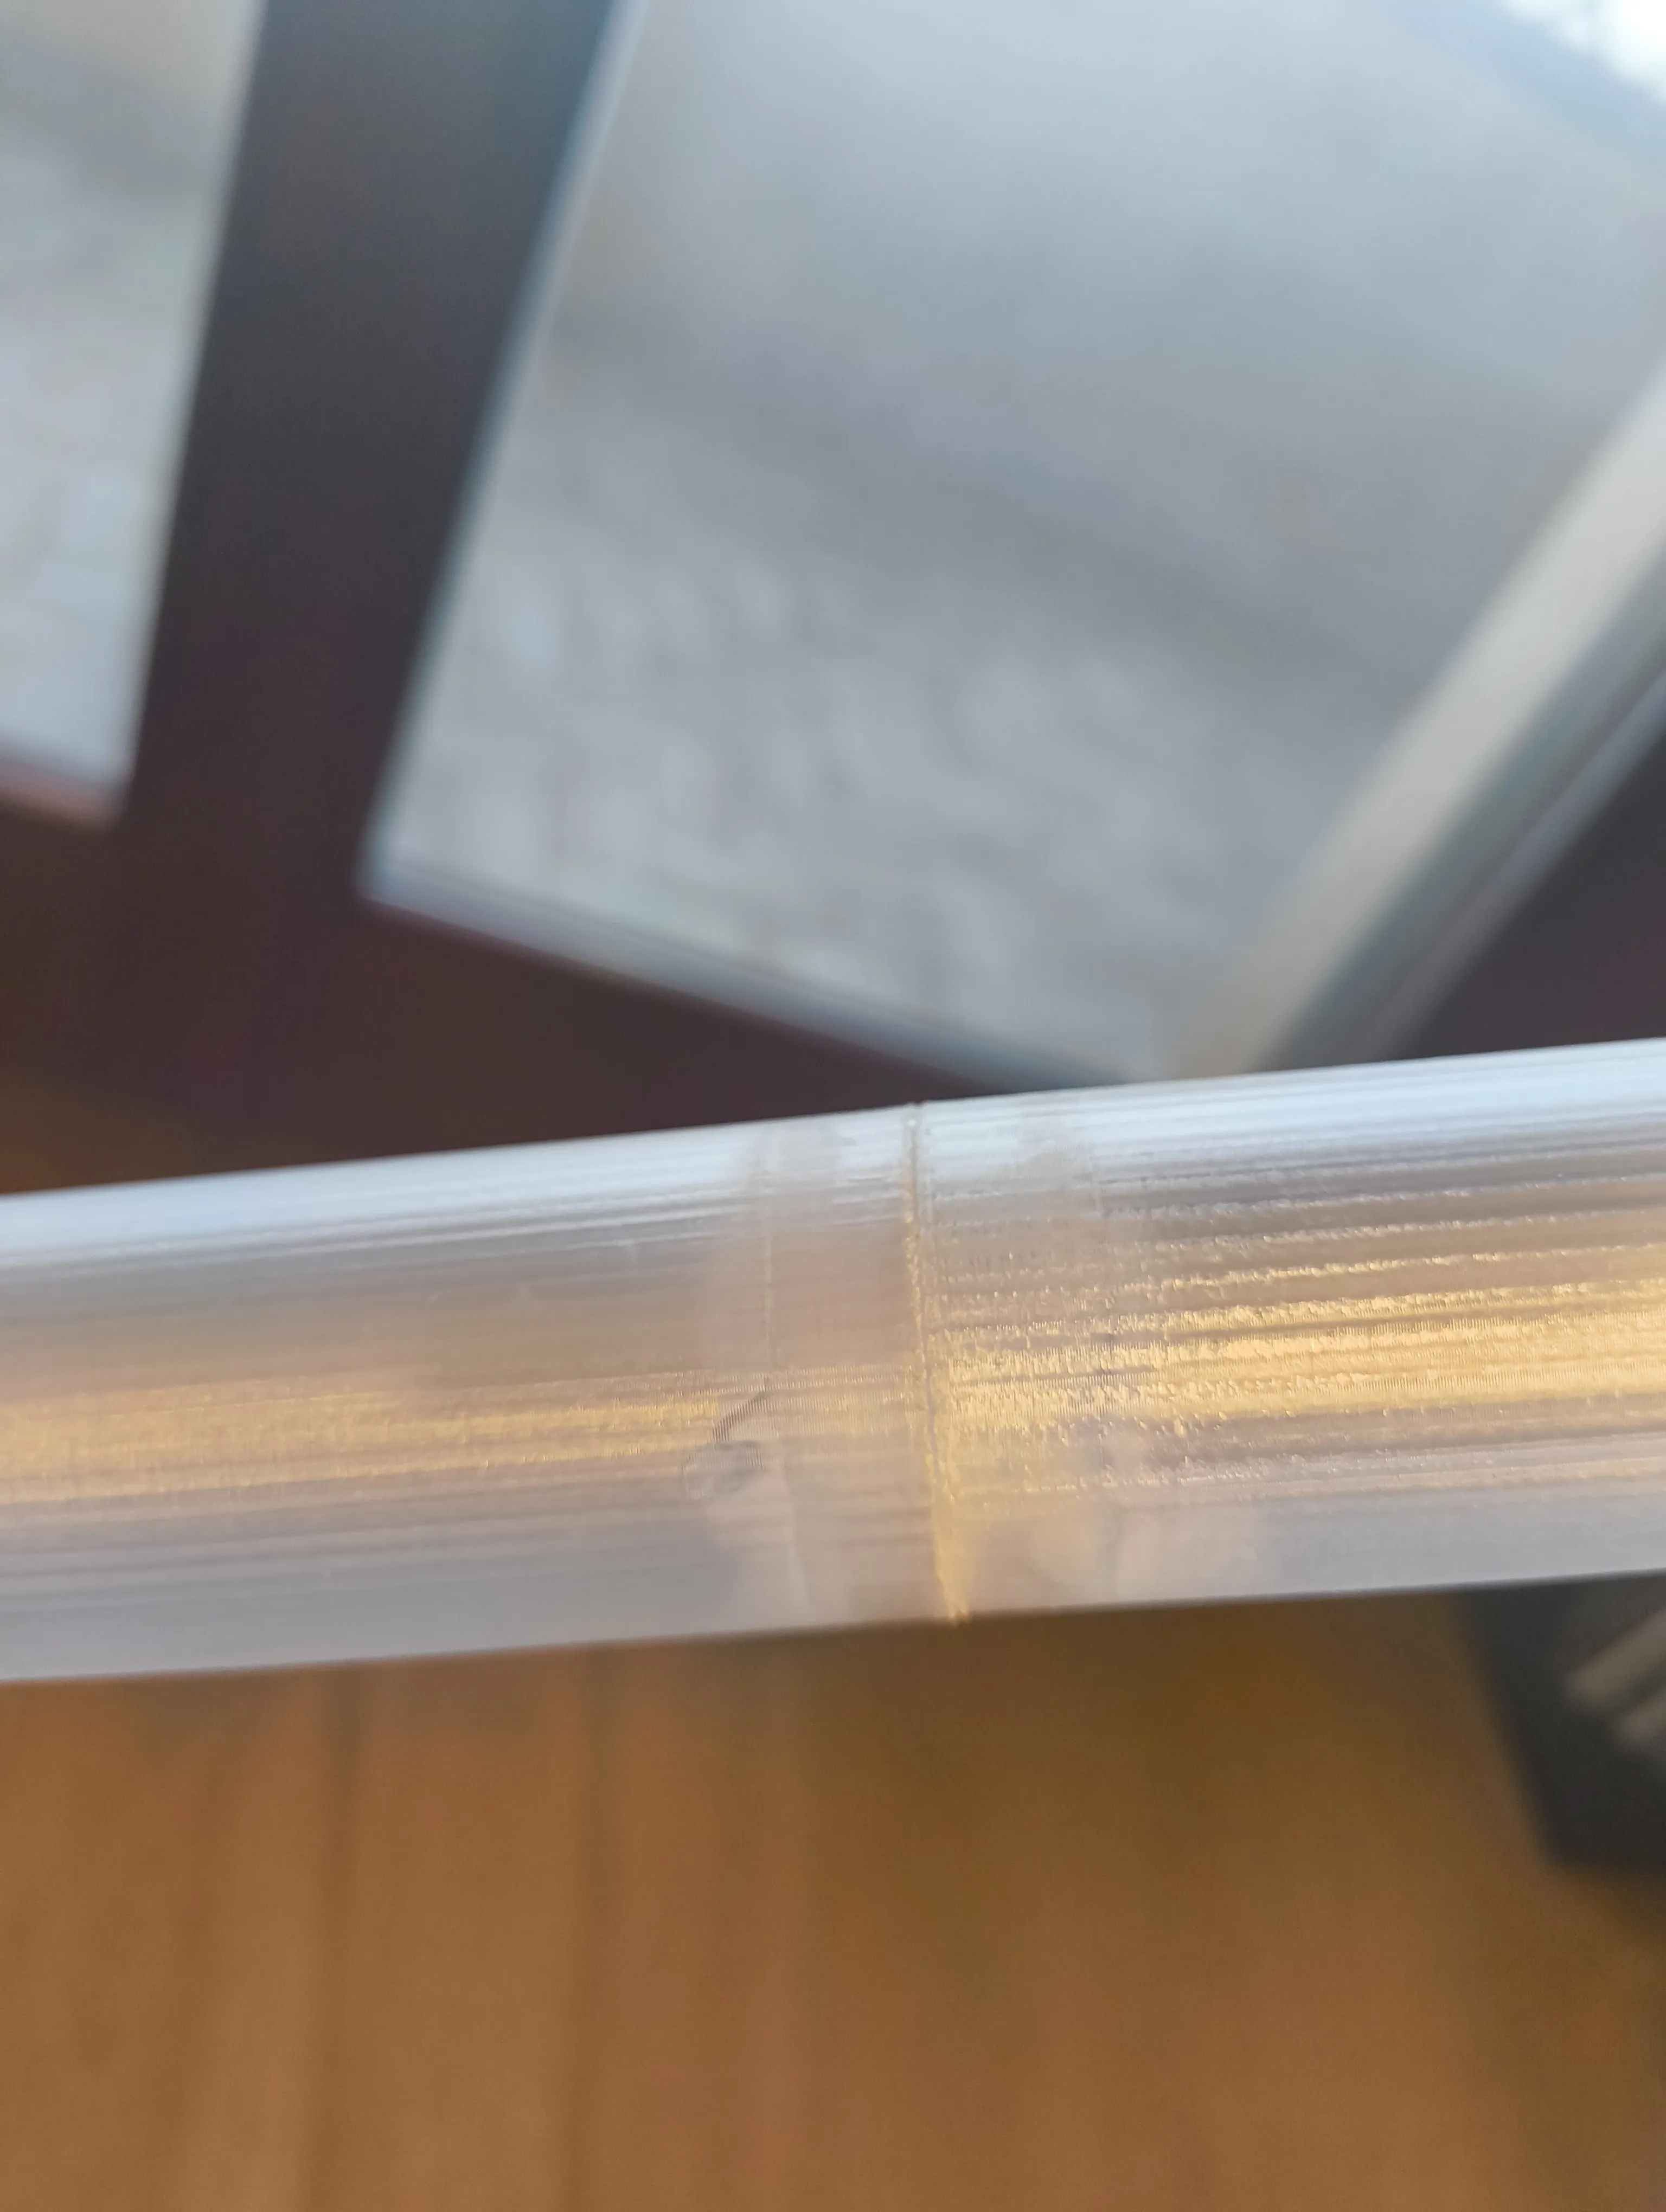
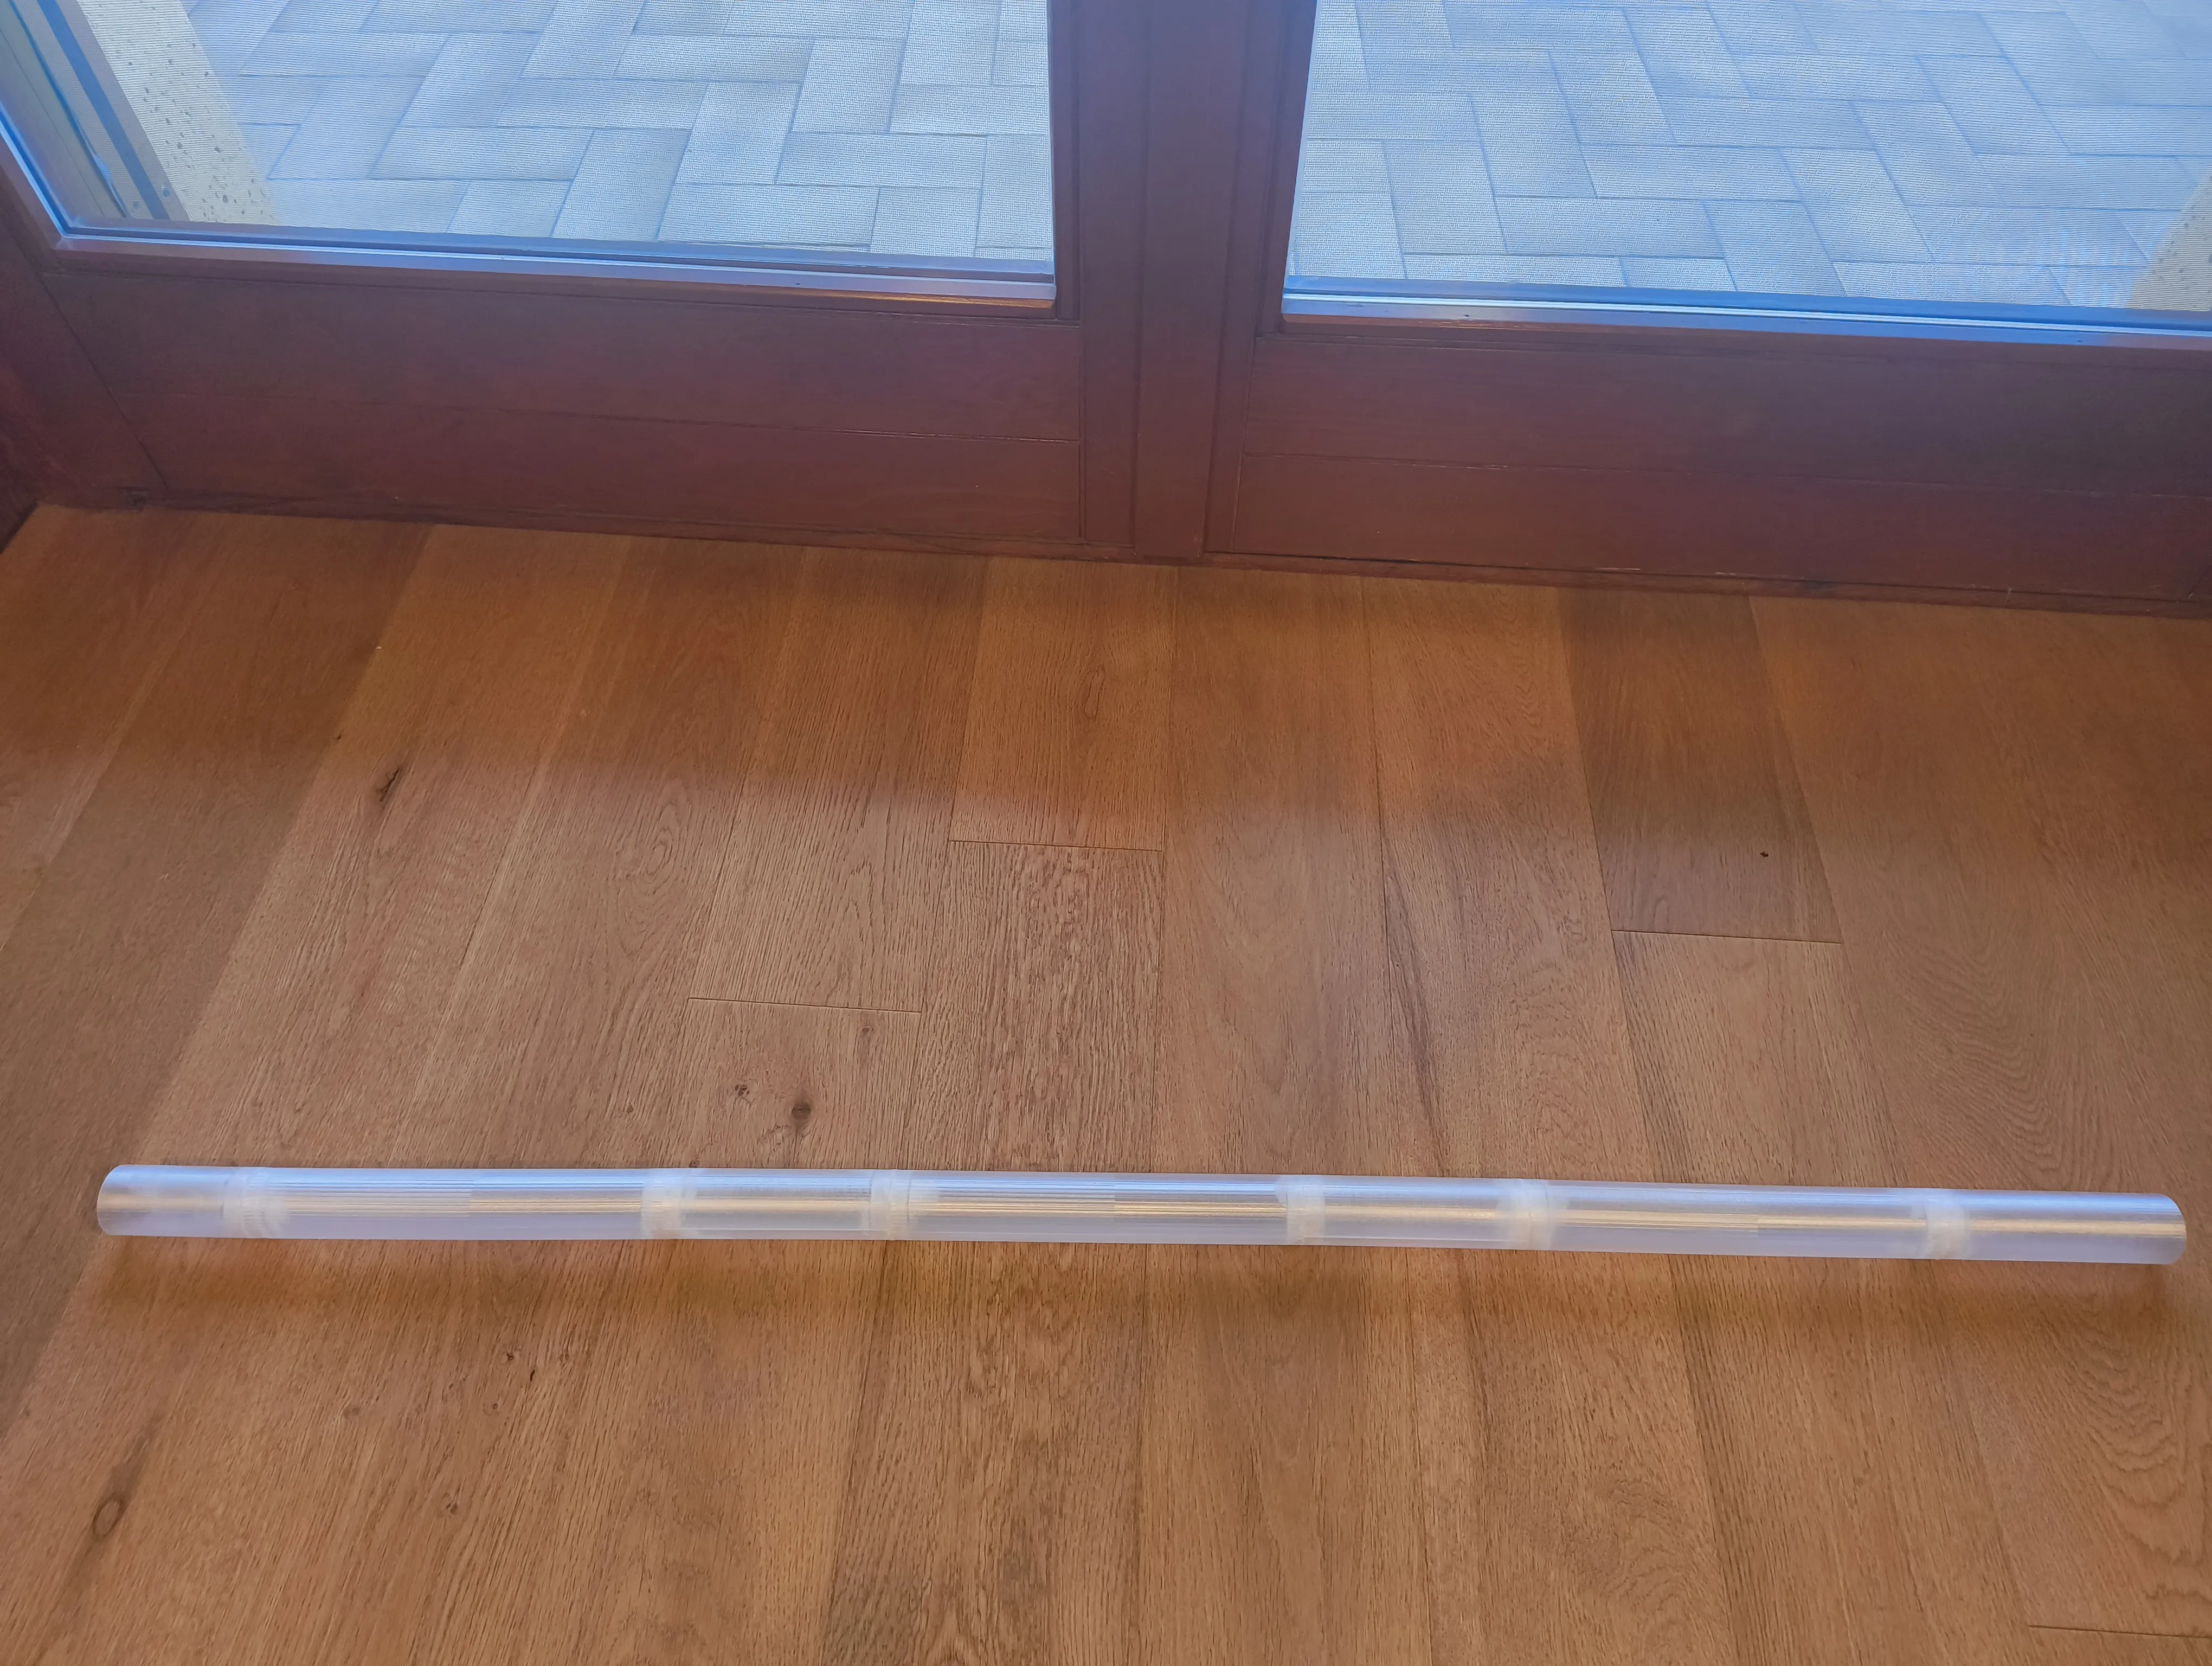
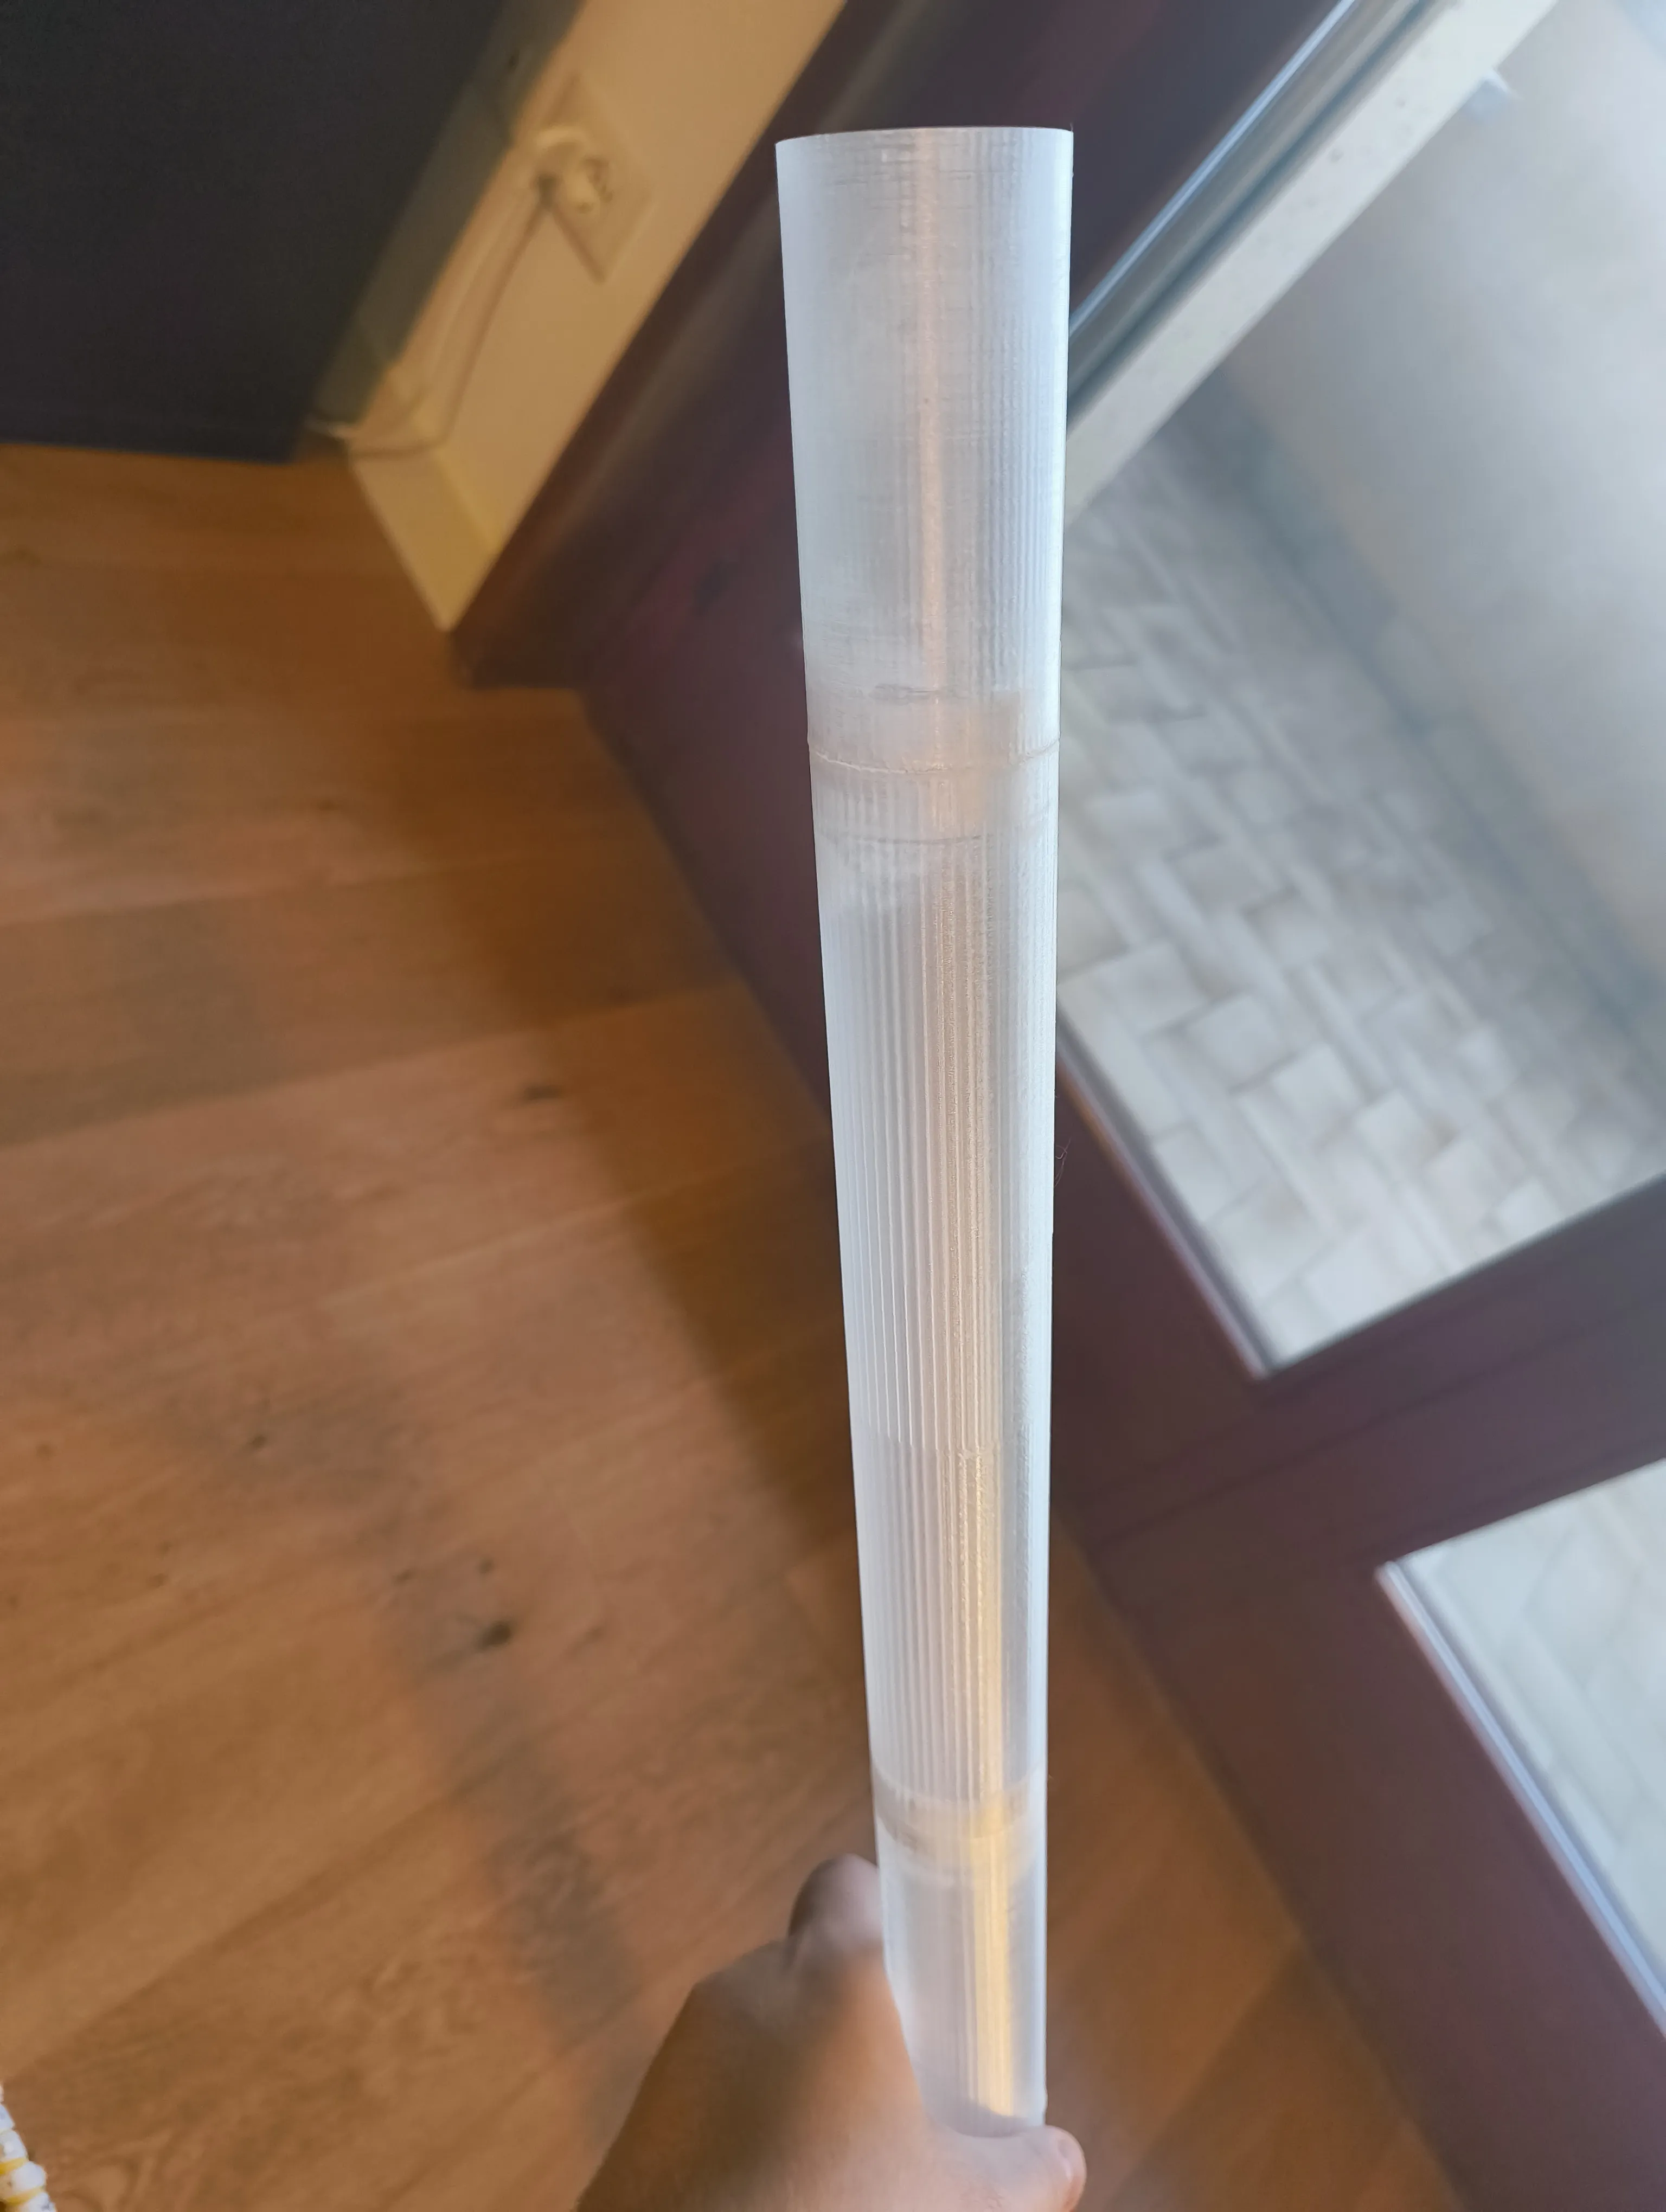
STEP 2 Connect the transparent cilinders using the “transparent cilinder connectors” (put them half way inside each cilinder), with some glue too. You'll end up with a long transparent tube |
 |
 |
 |
STEP 3 Put the Tapo led connector wire inside the cilinder base, as shown: |
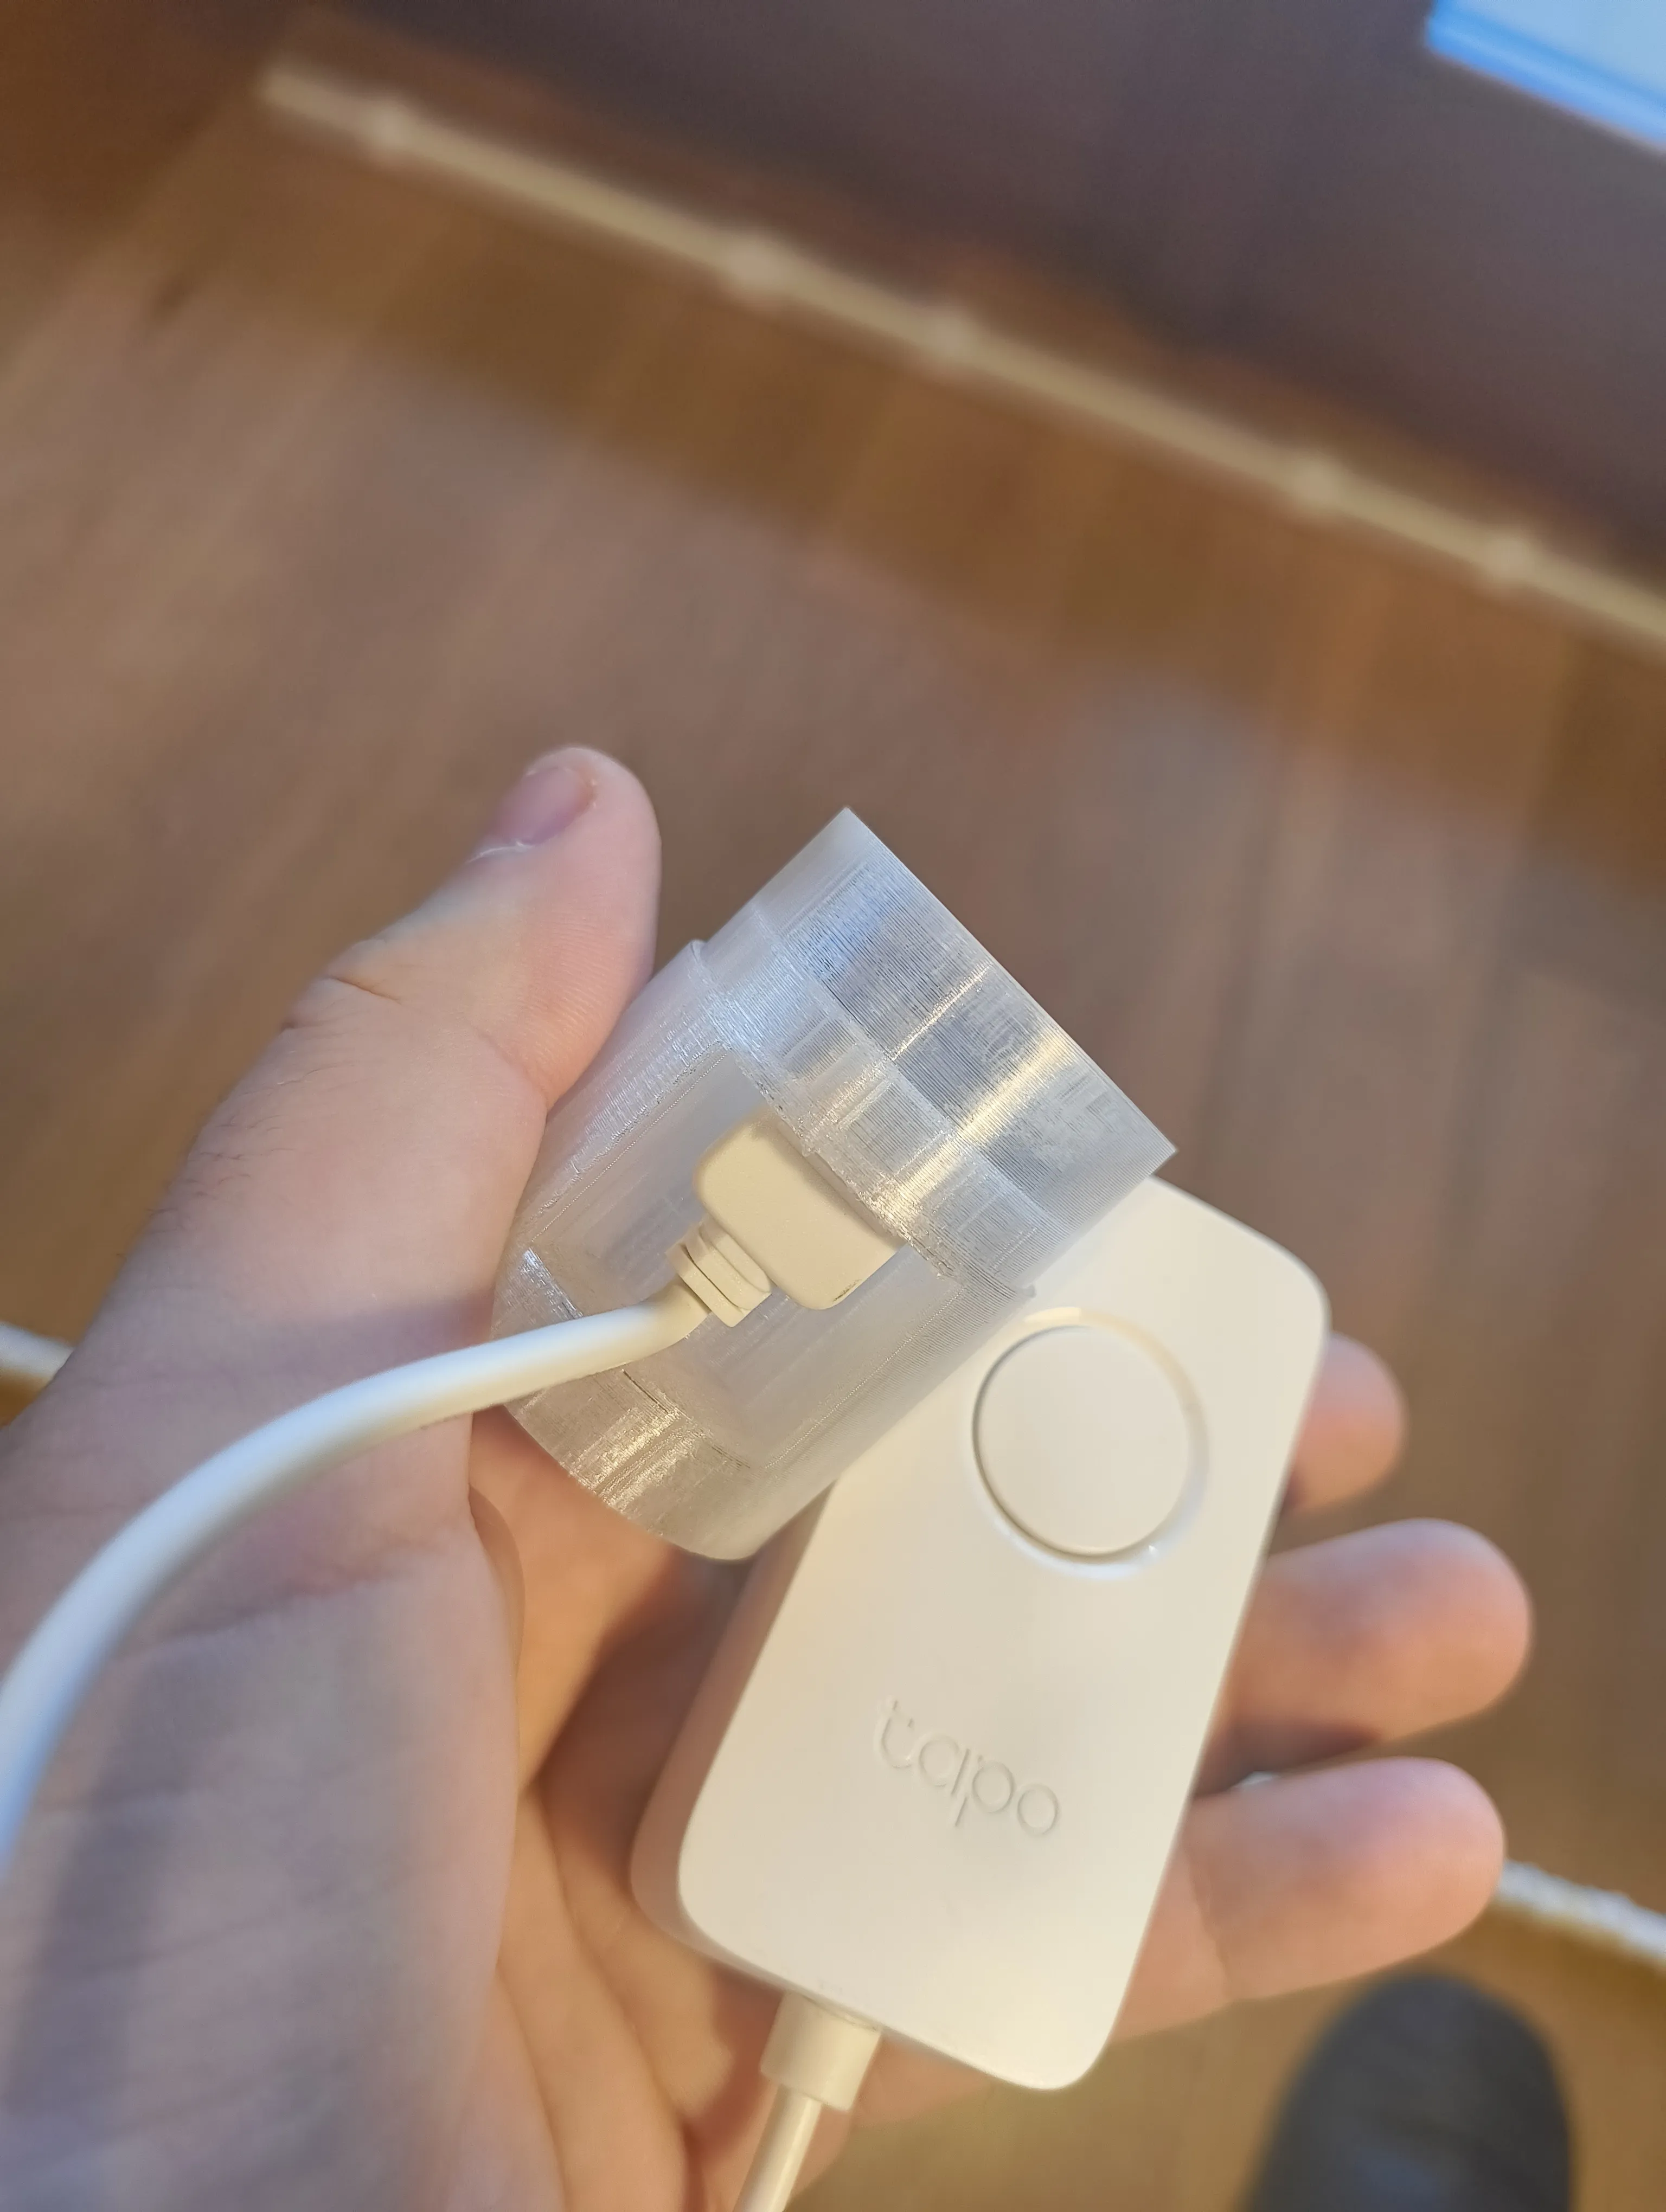 |
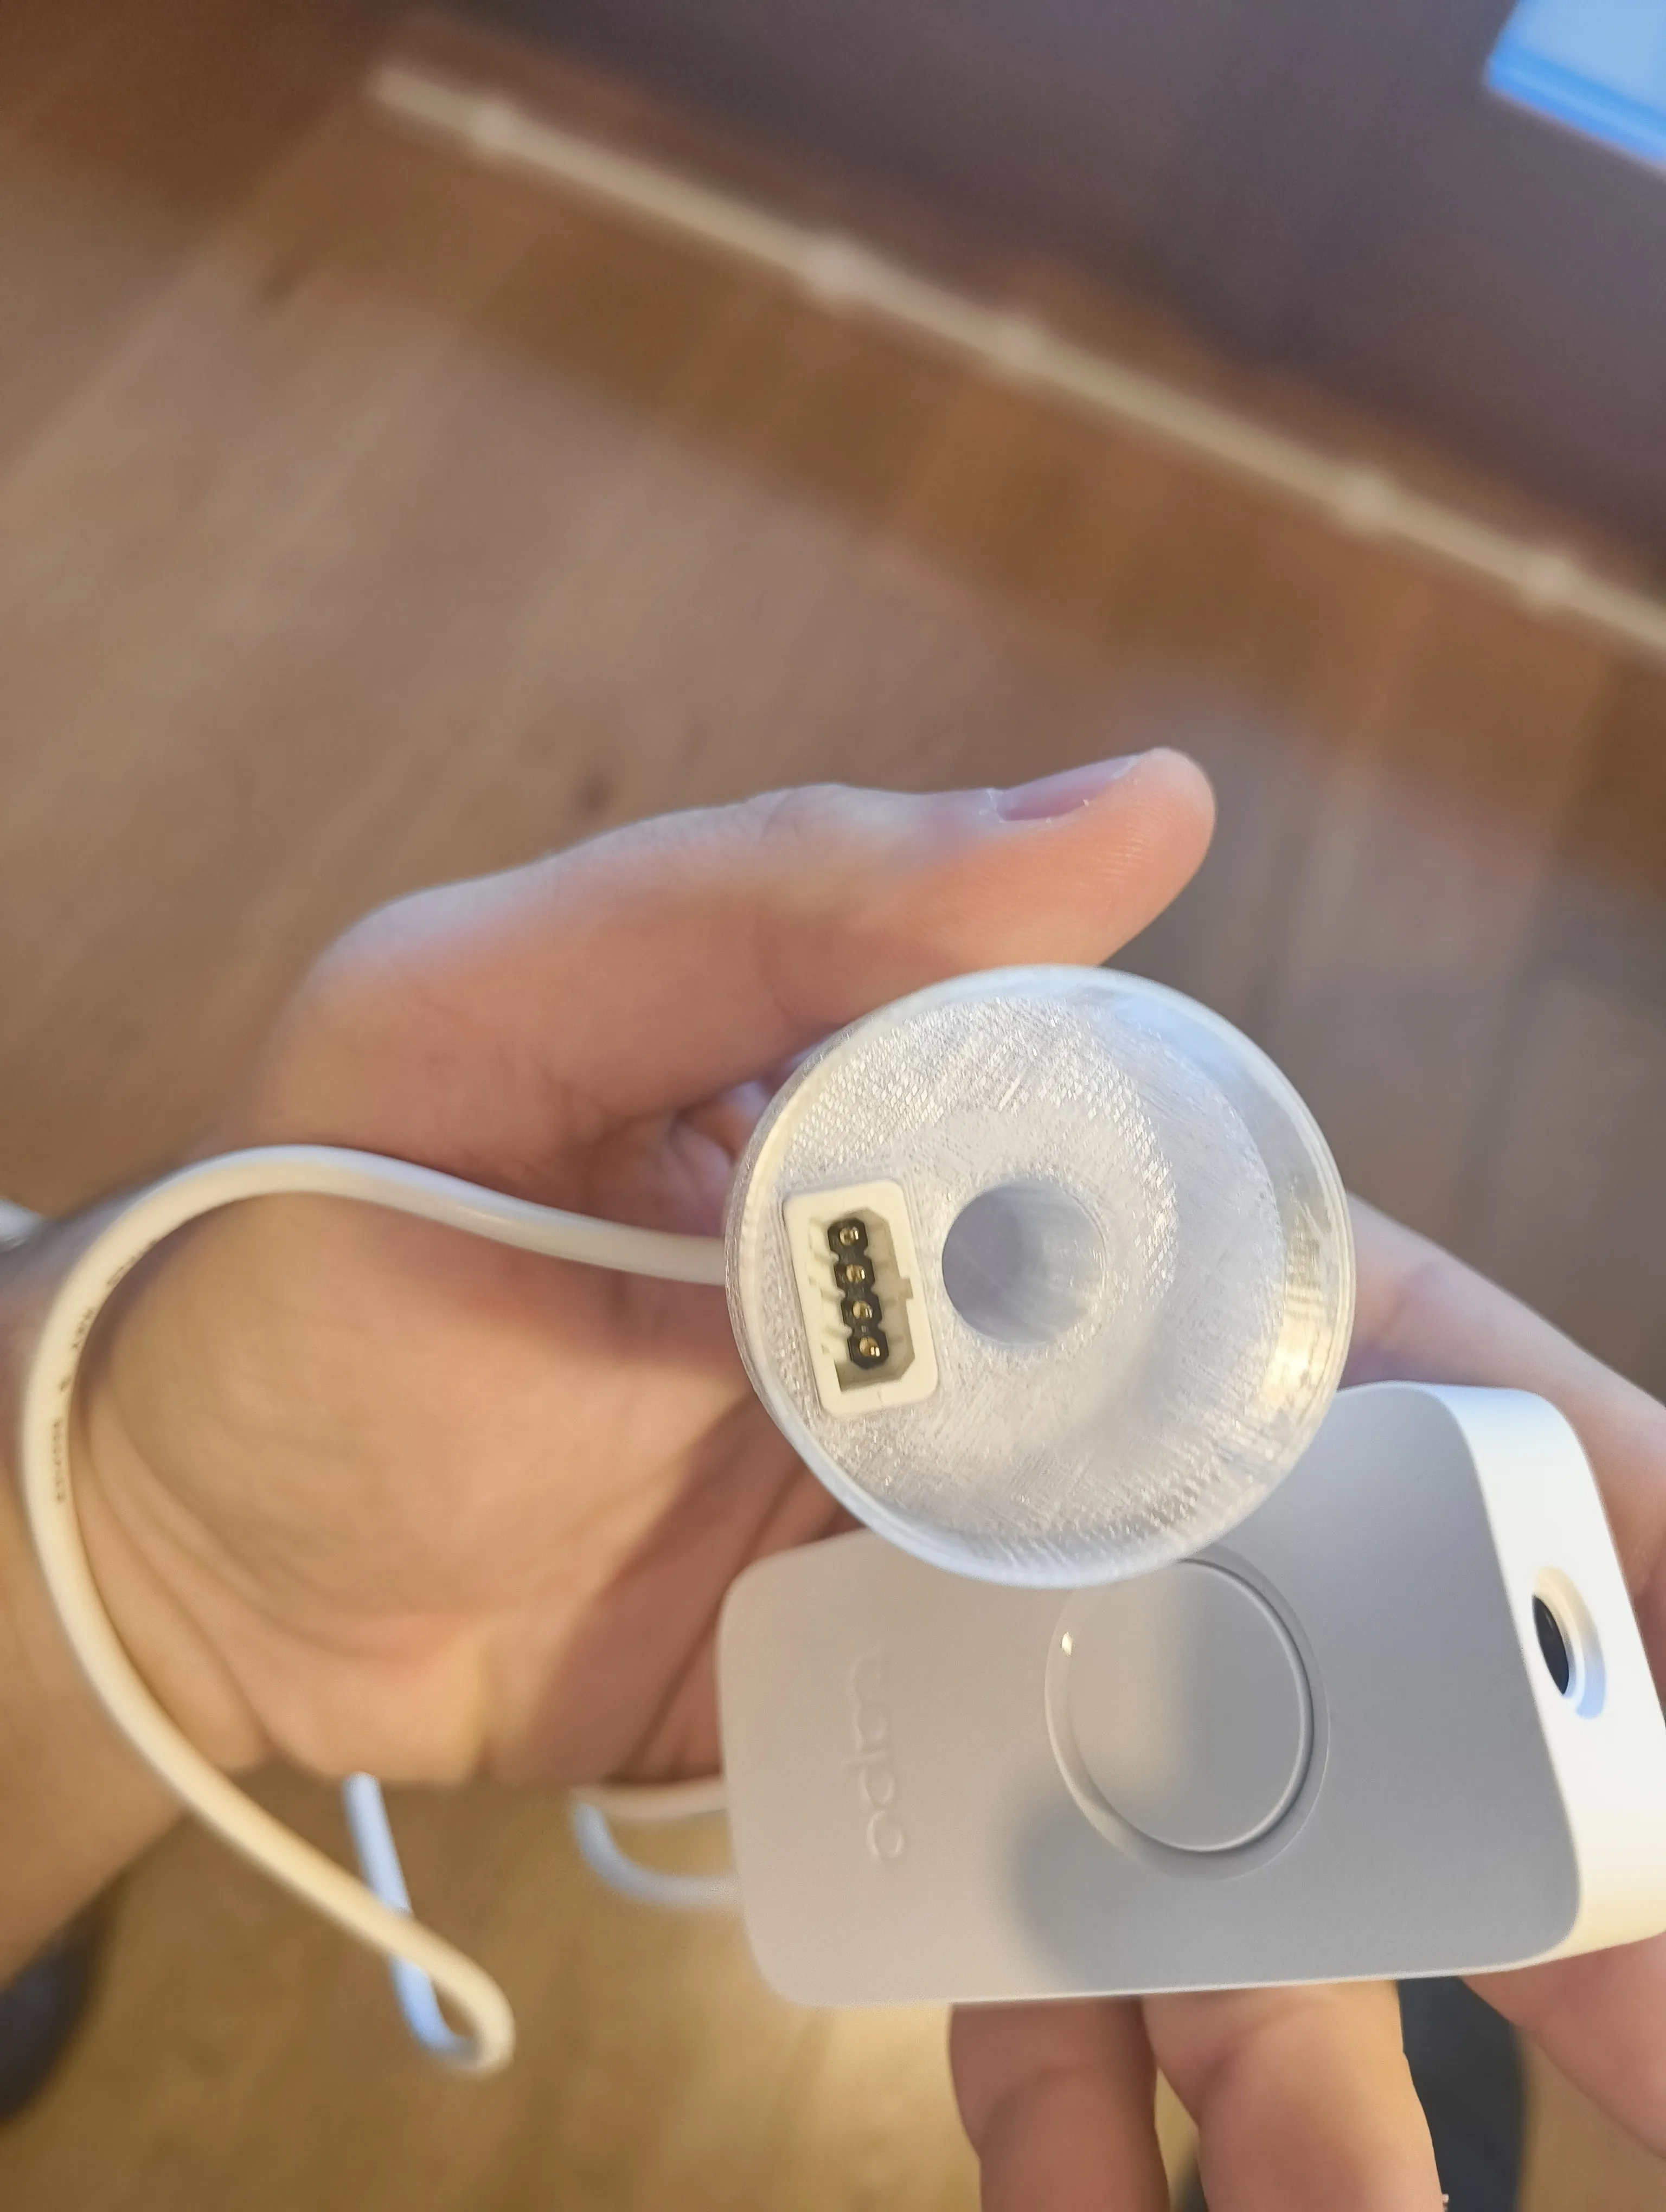 | |
STEP 4 Connect the led strip to the connector, and then the rod to the cilinder base hole: |
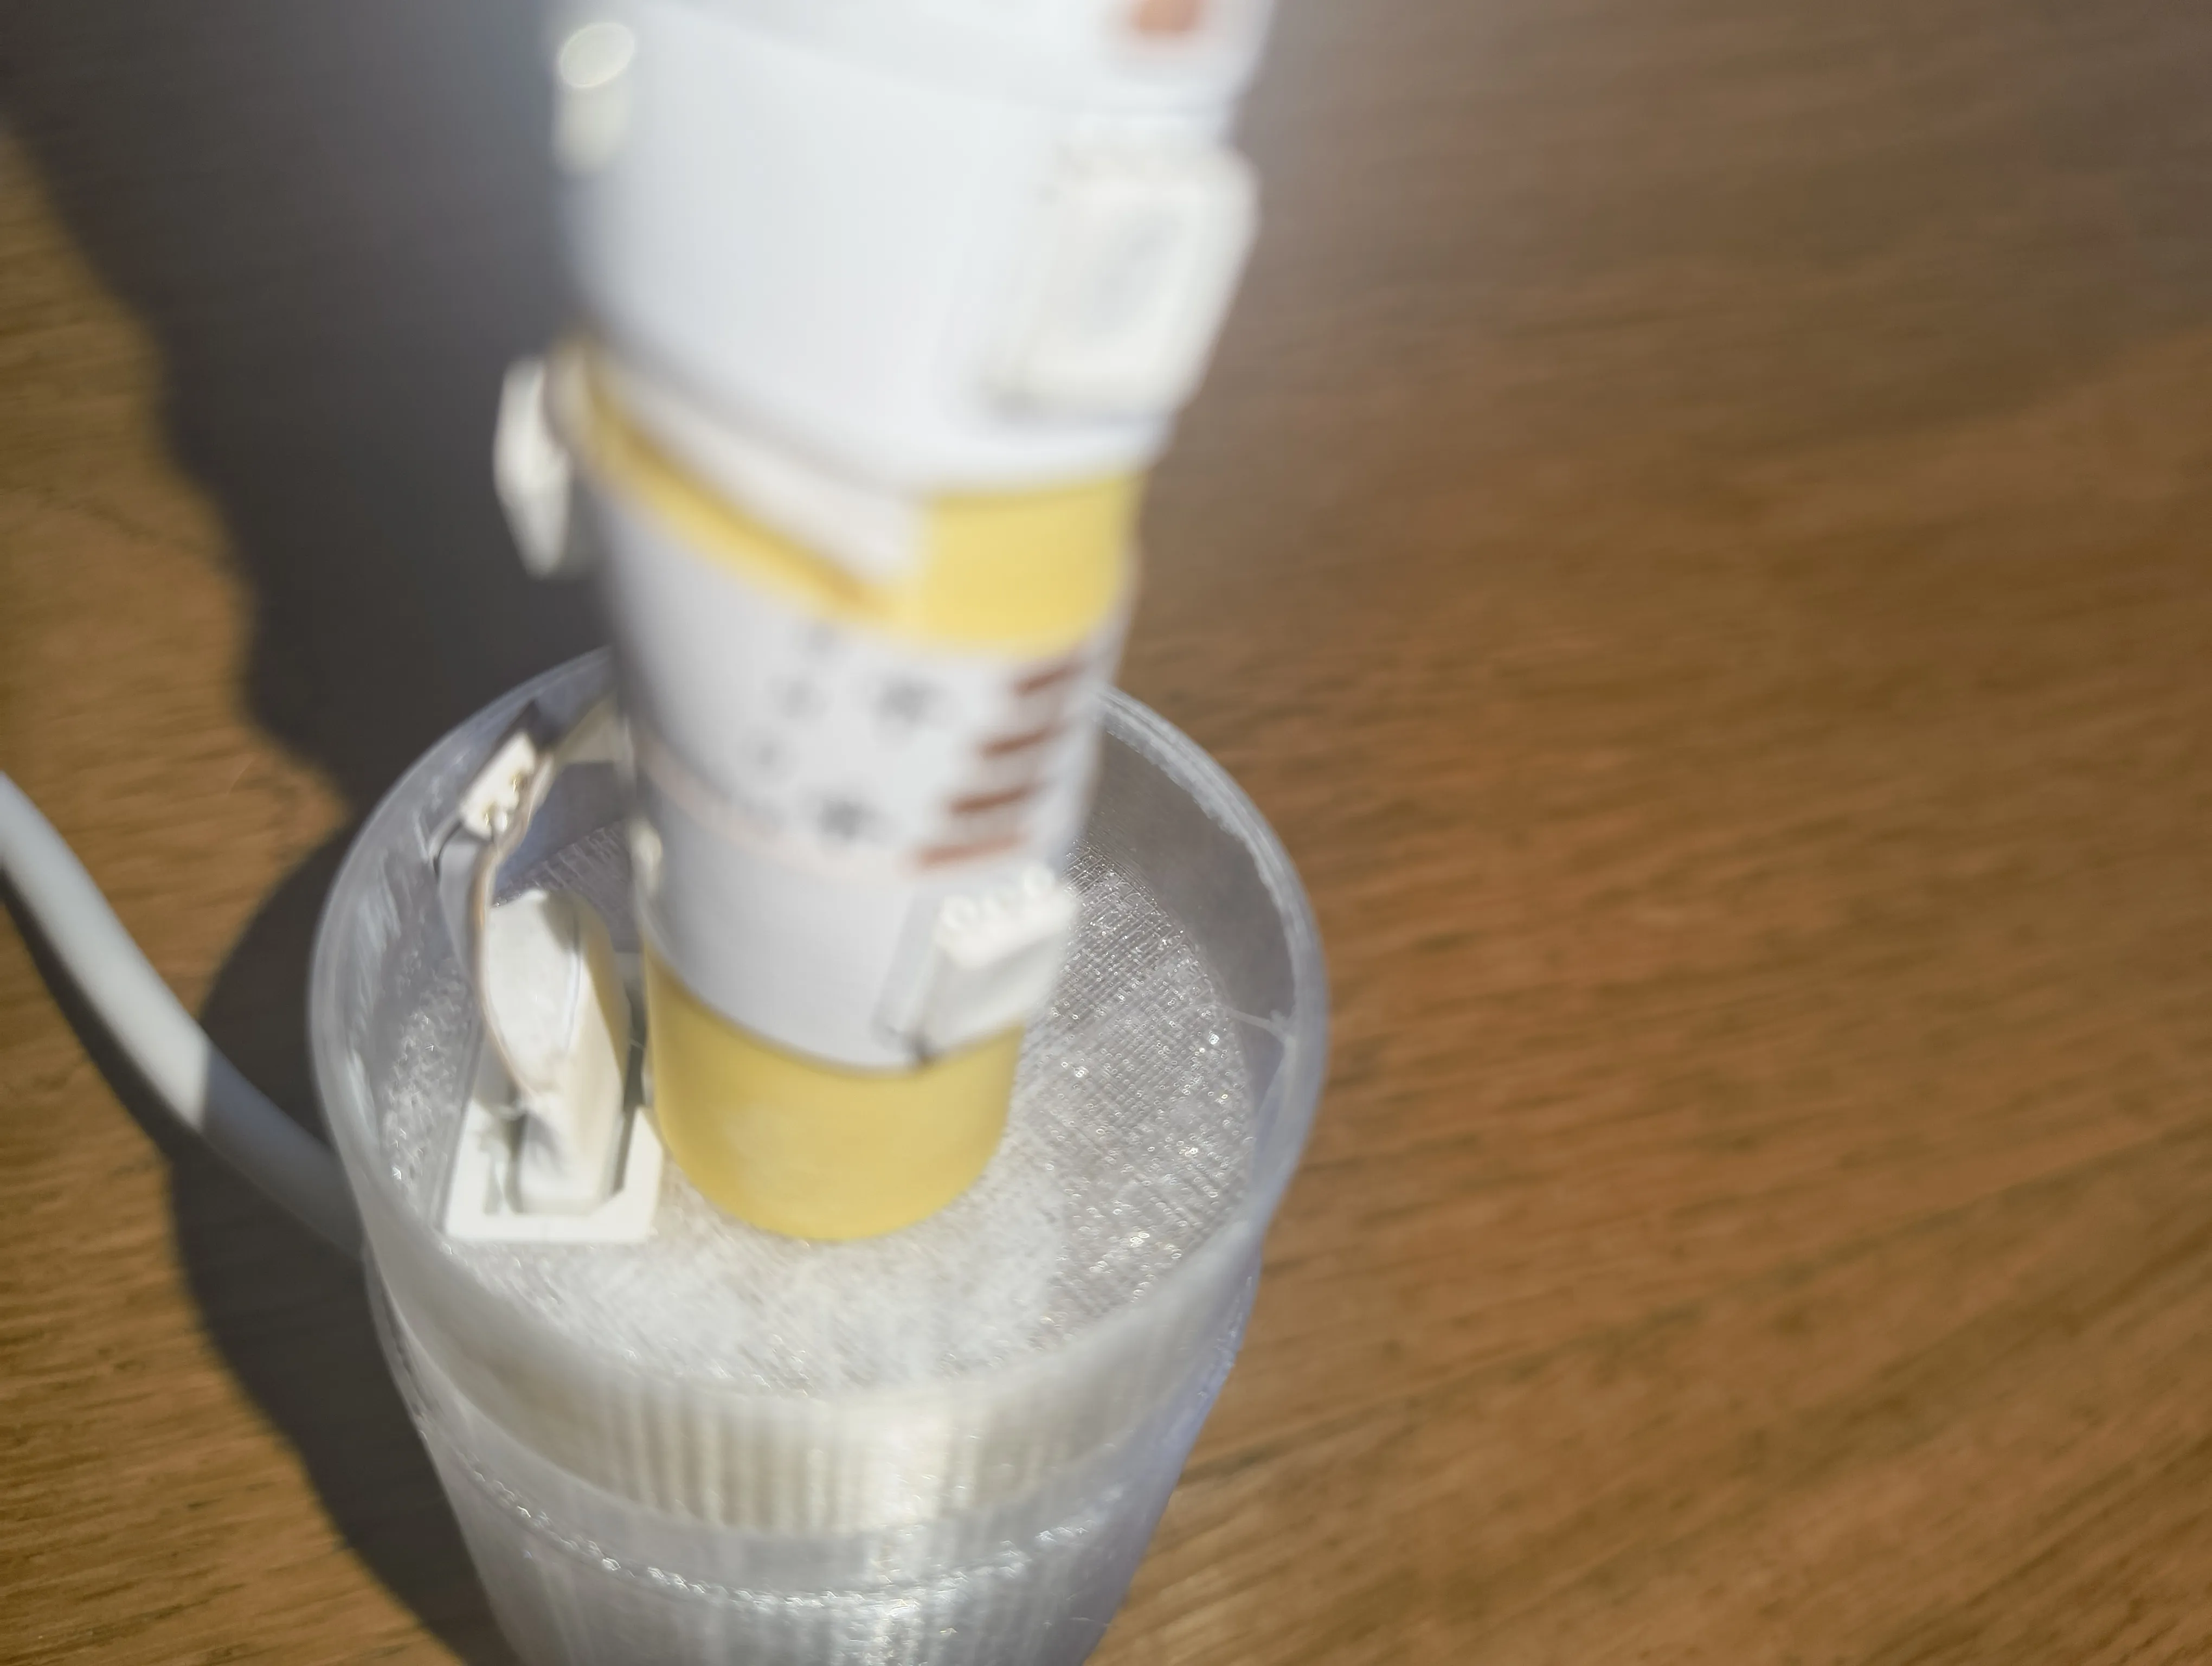 | ||
STEP 5 Put the led rod inside the transparent tube and connect it with the cilinder base: |
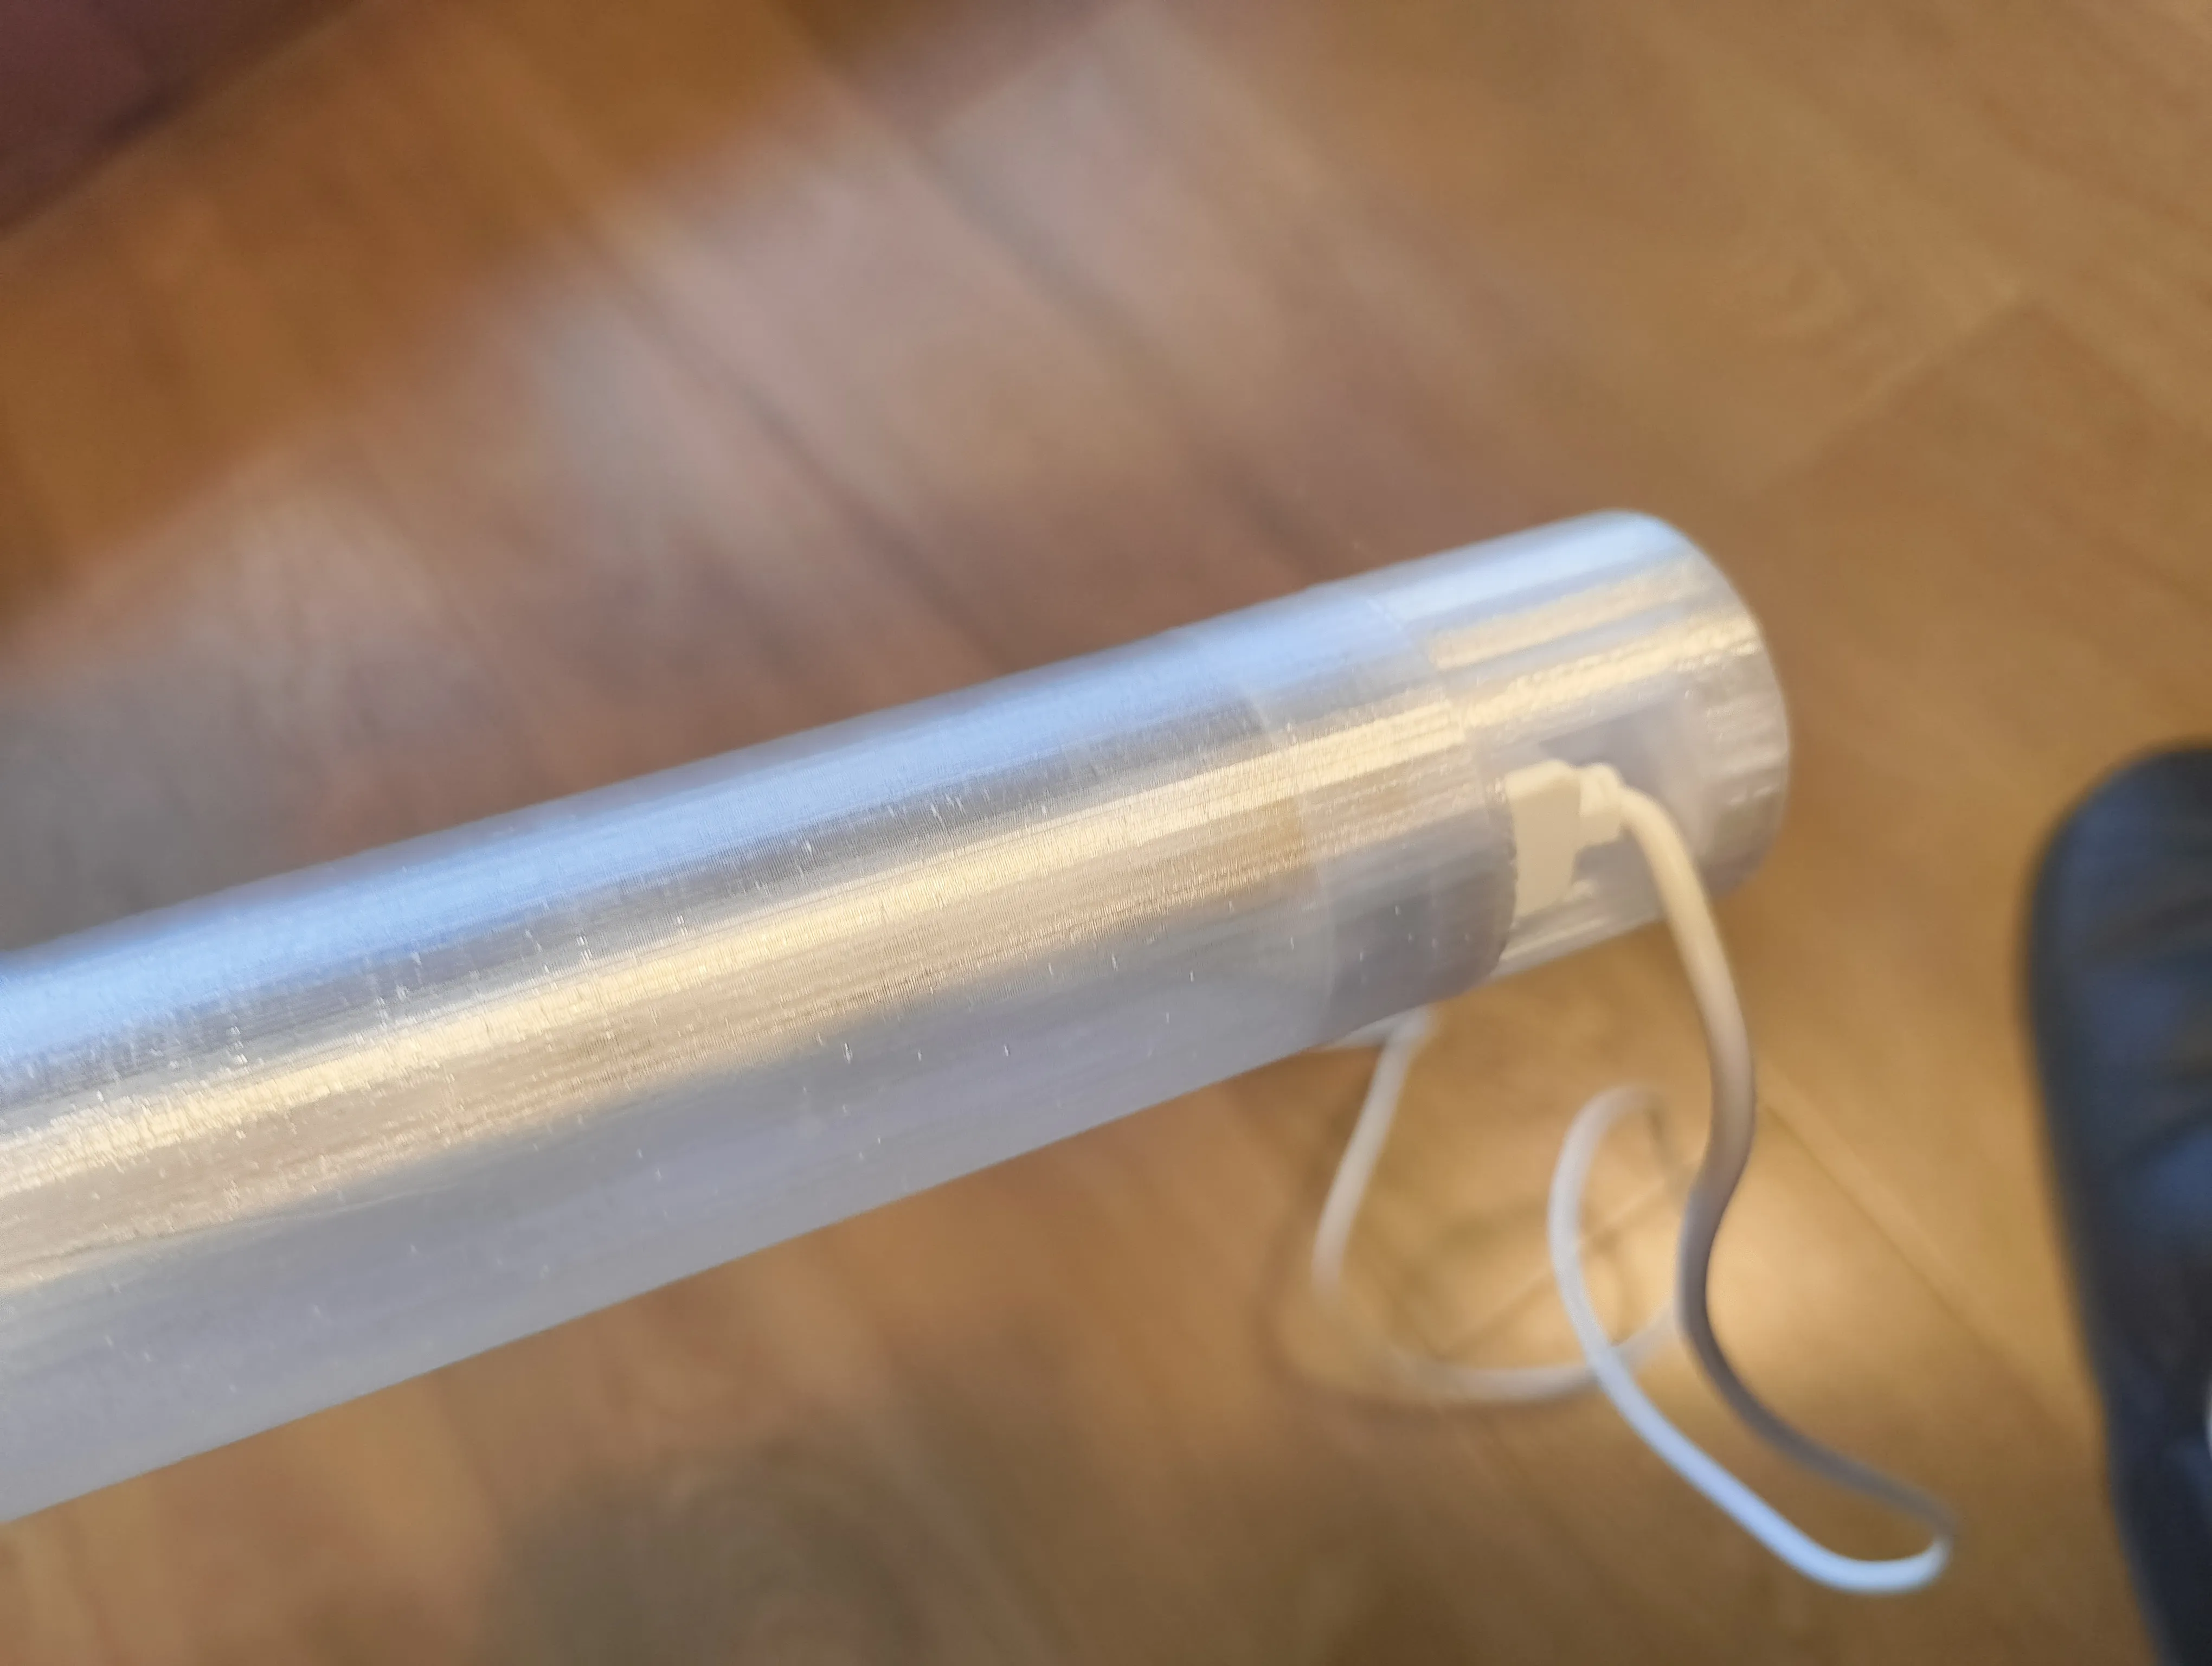 |
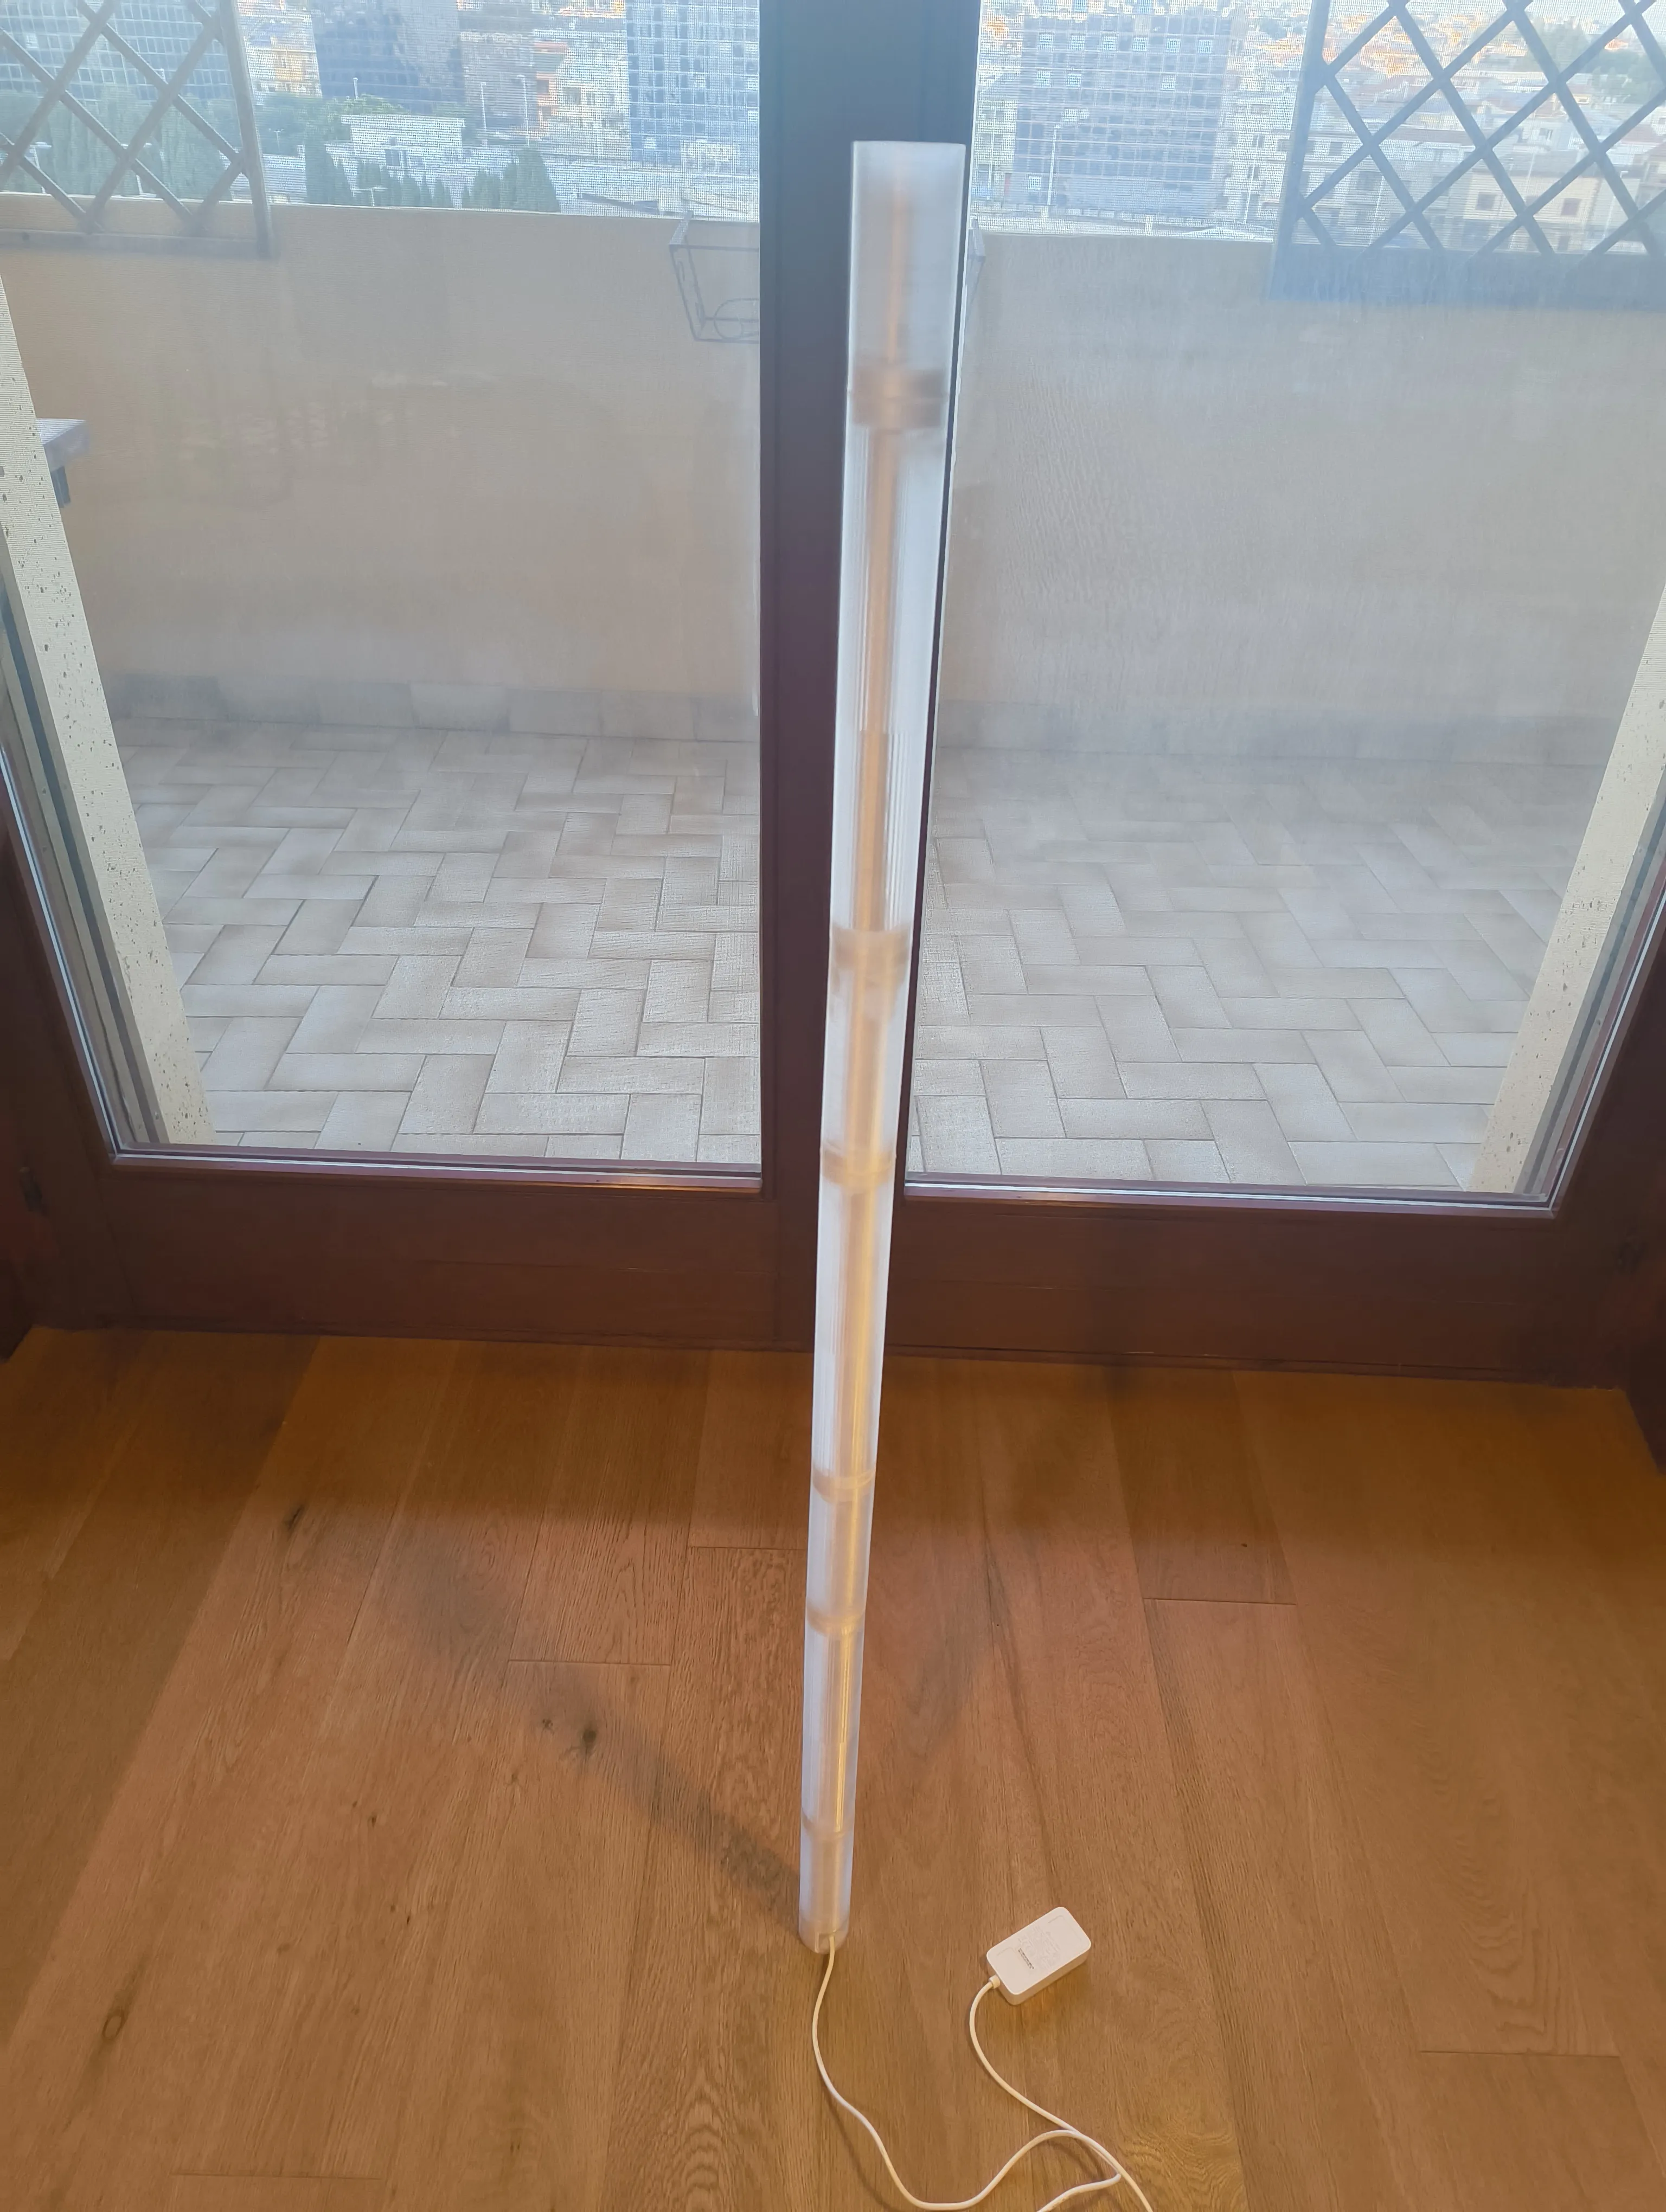 | |
STEP 6 Close the transparent tube with the transparent cap, making sure it inserts the rod hole too: |
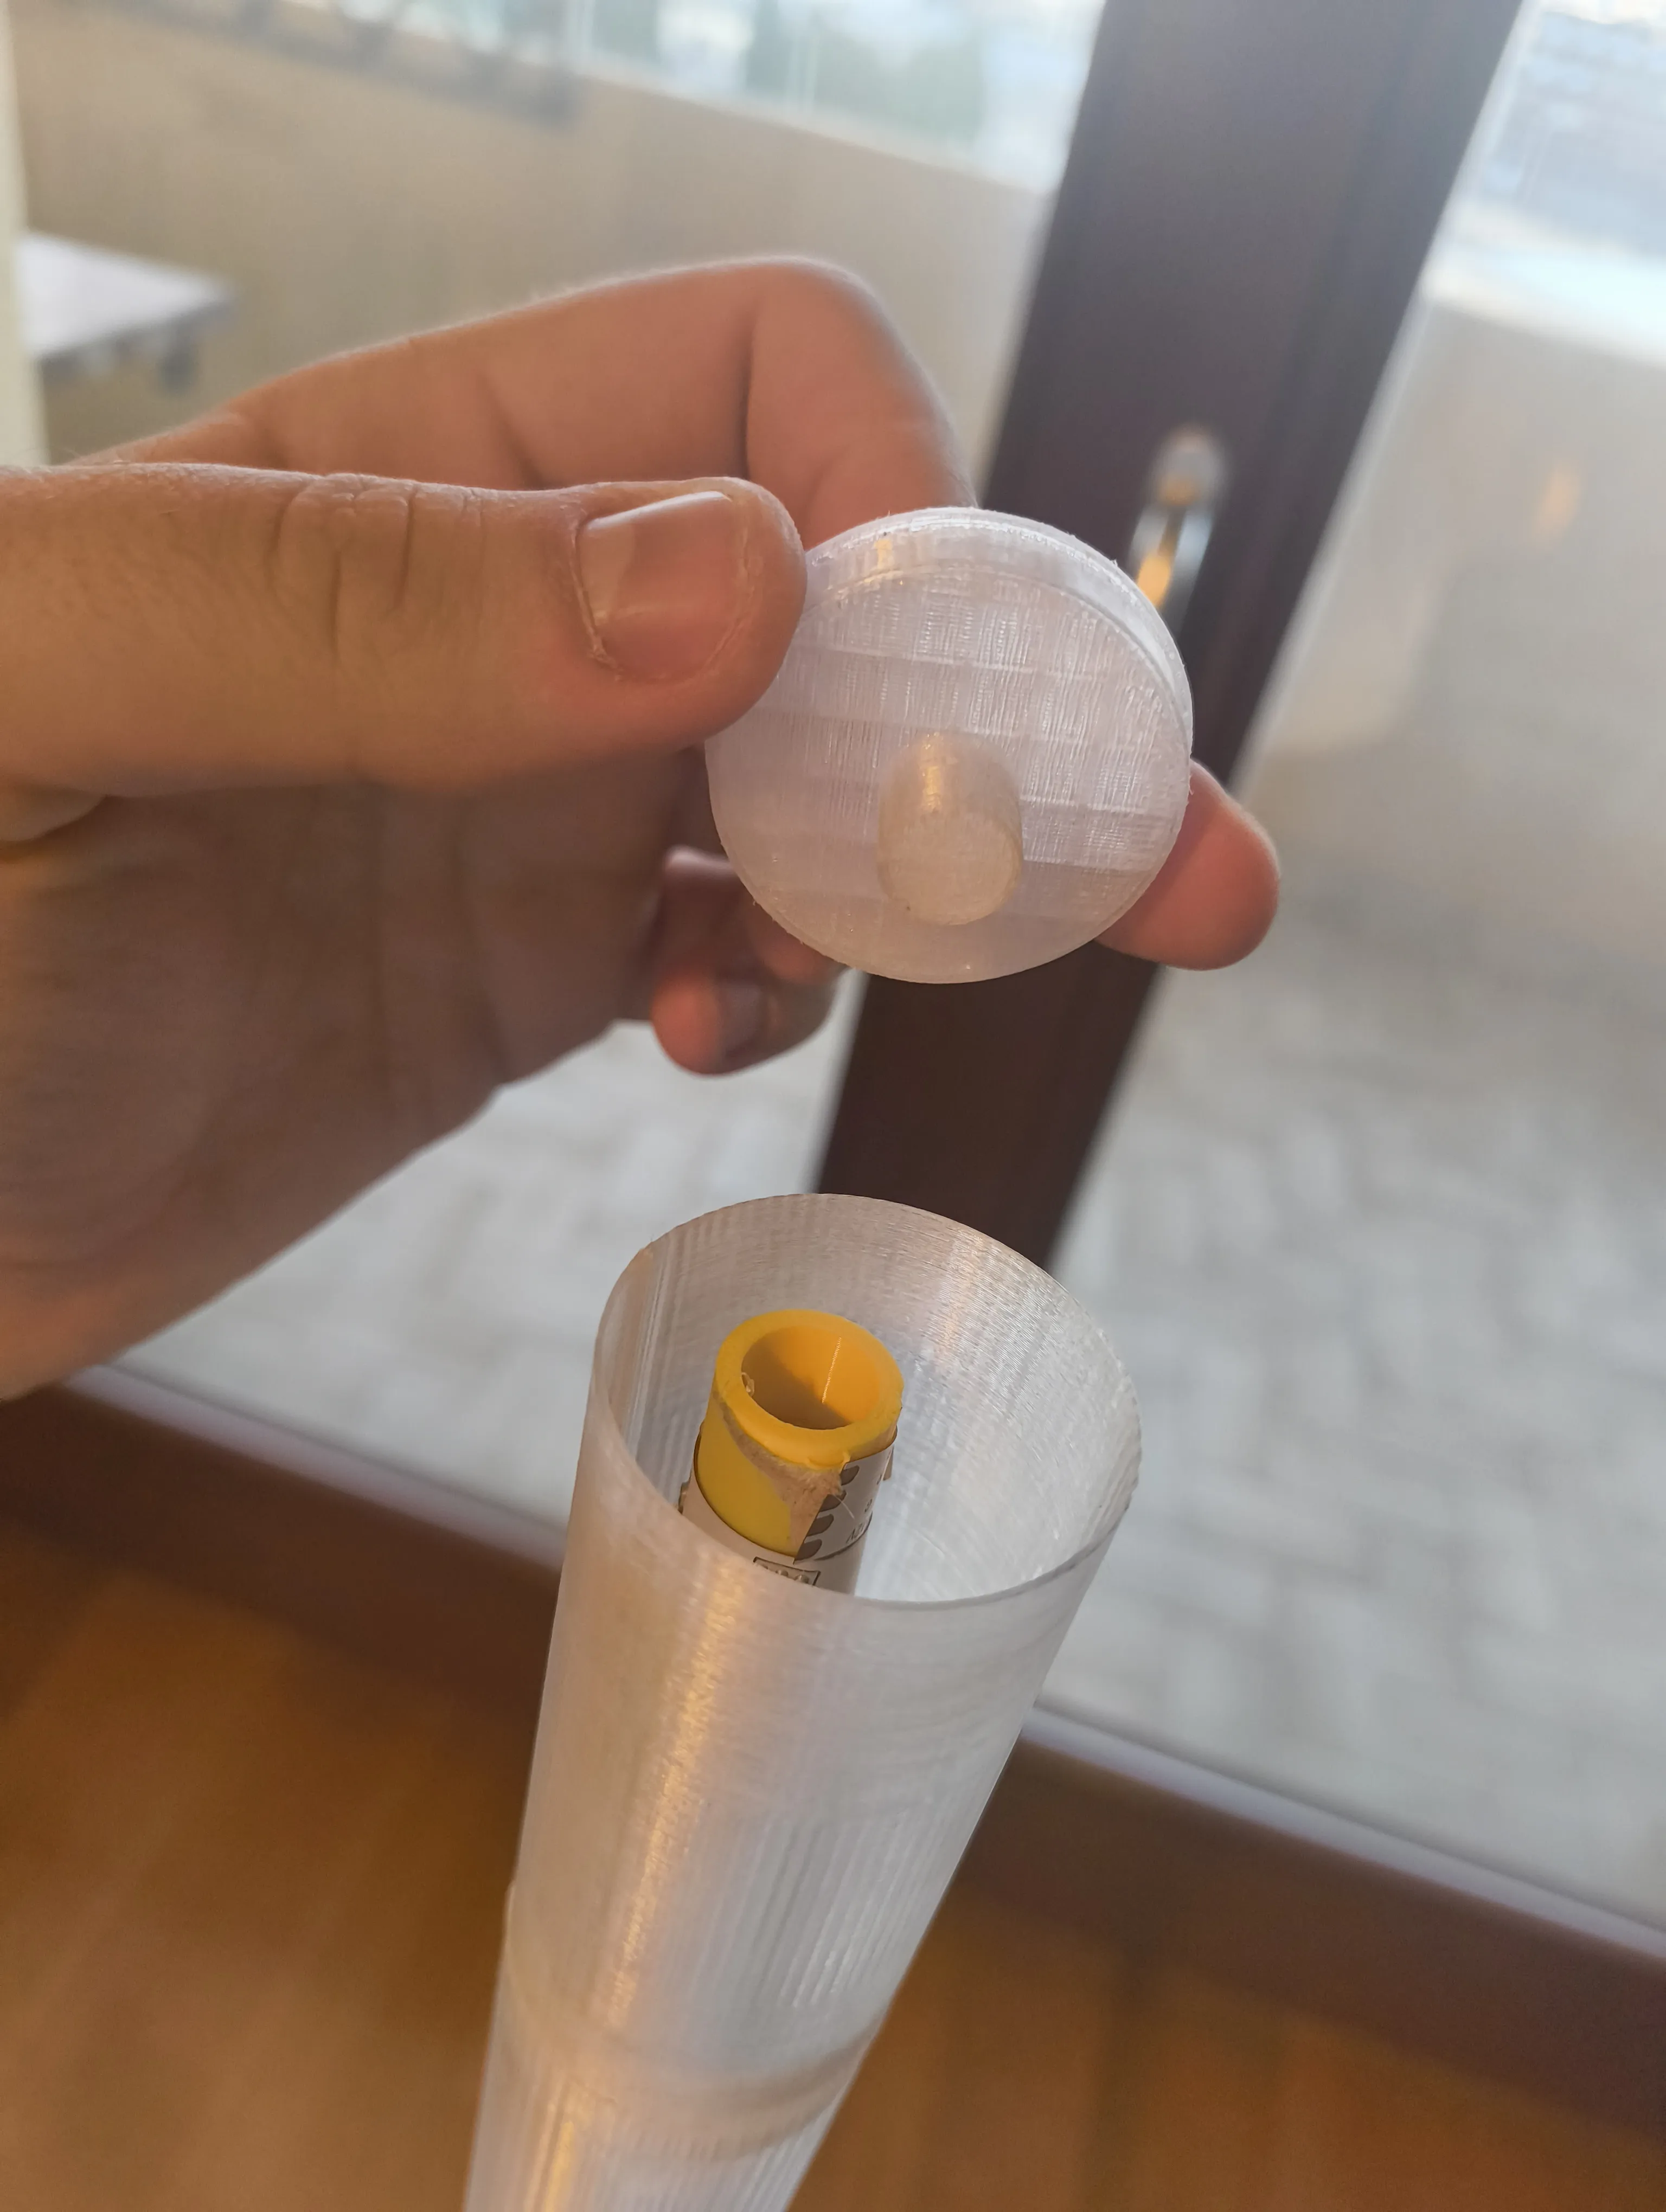 |
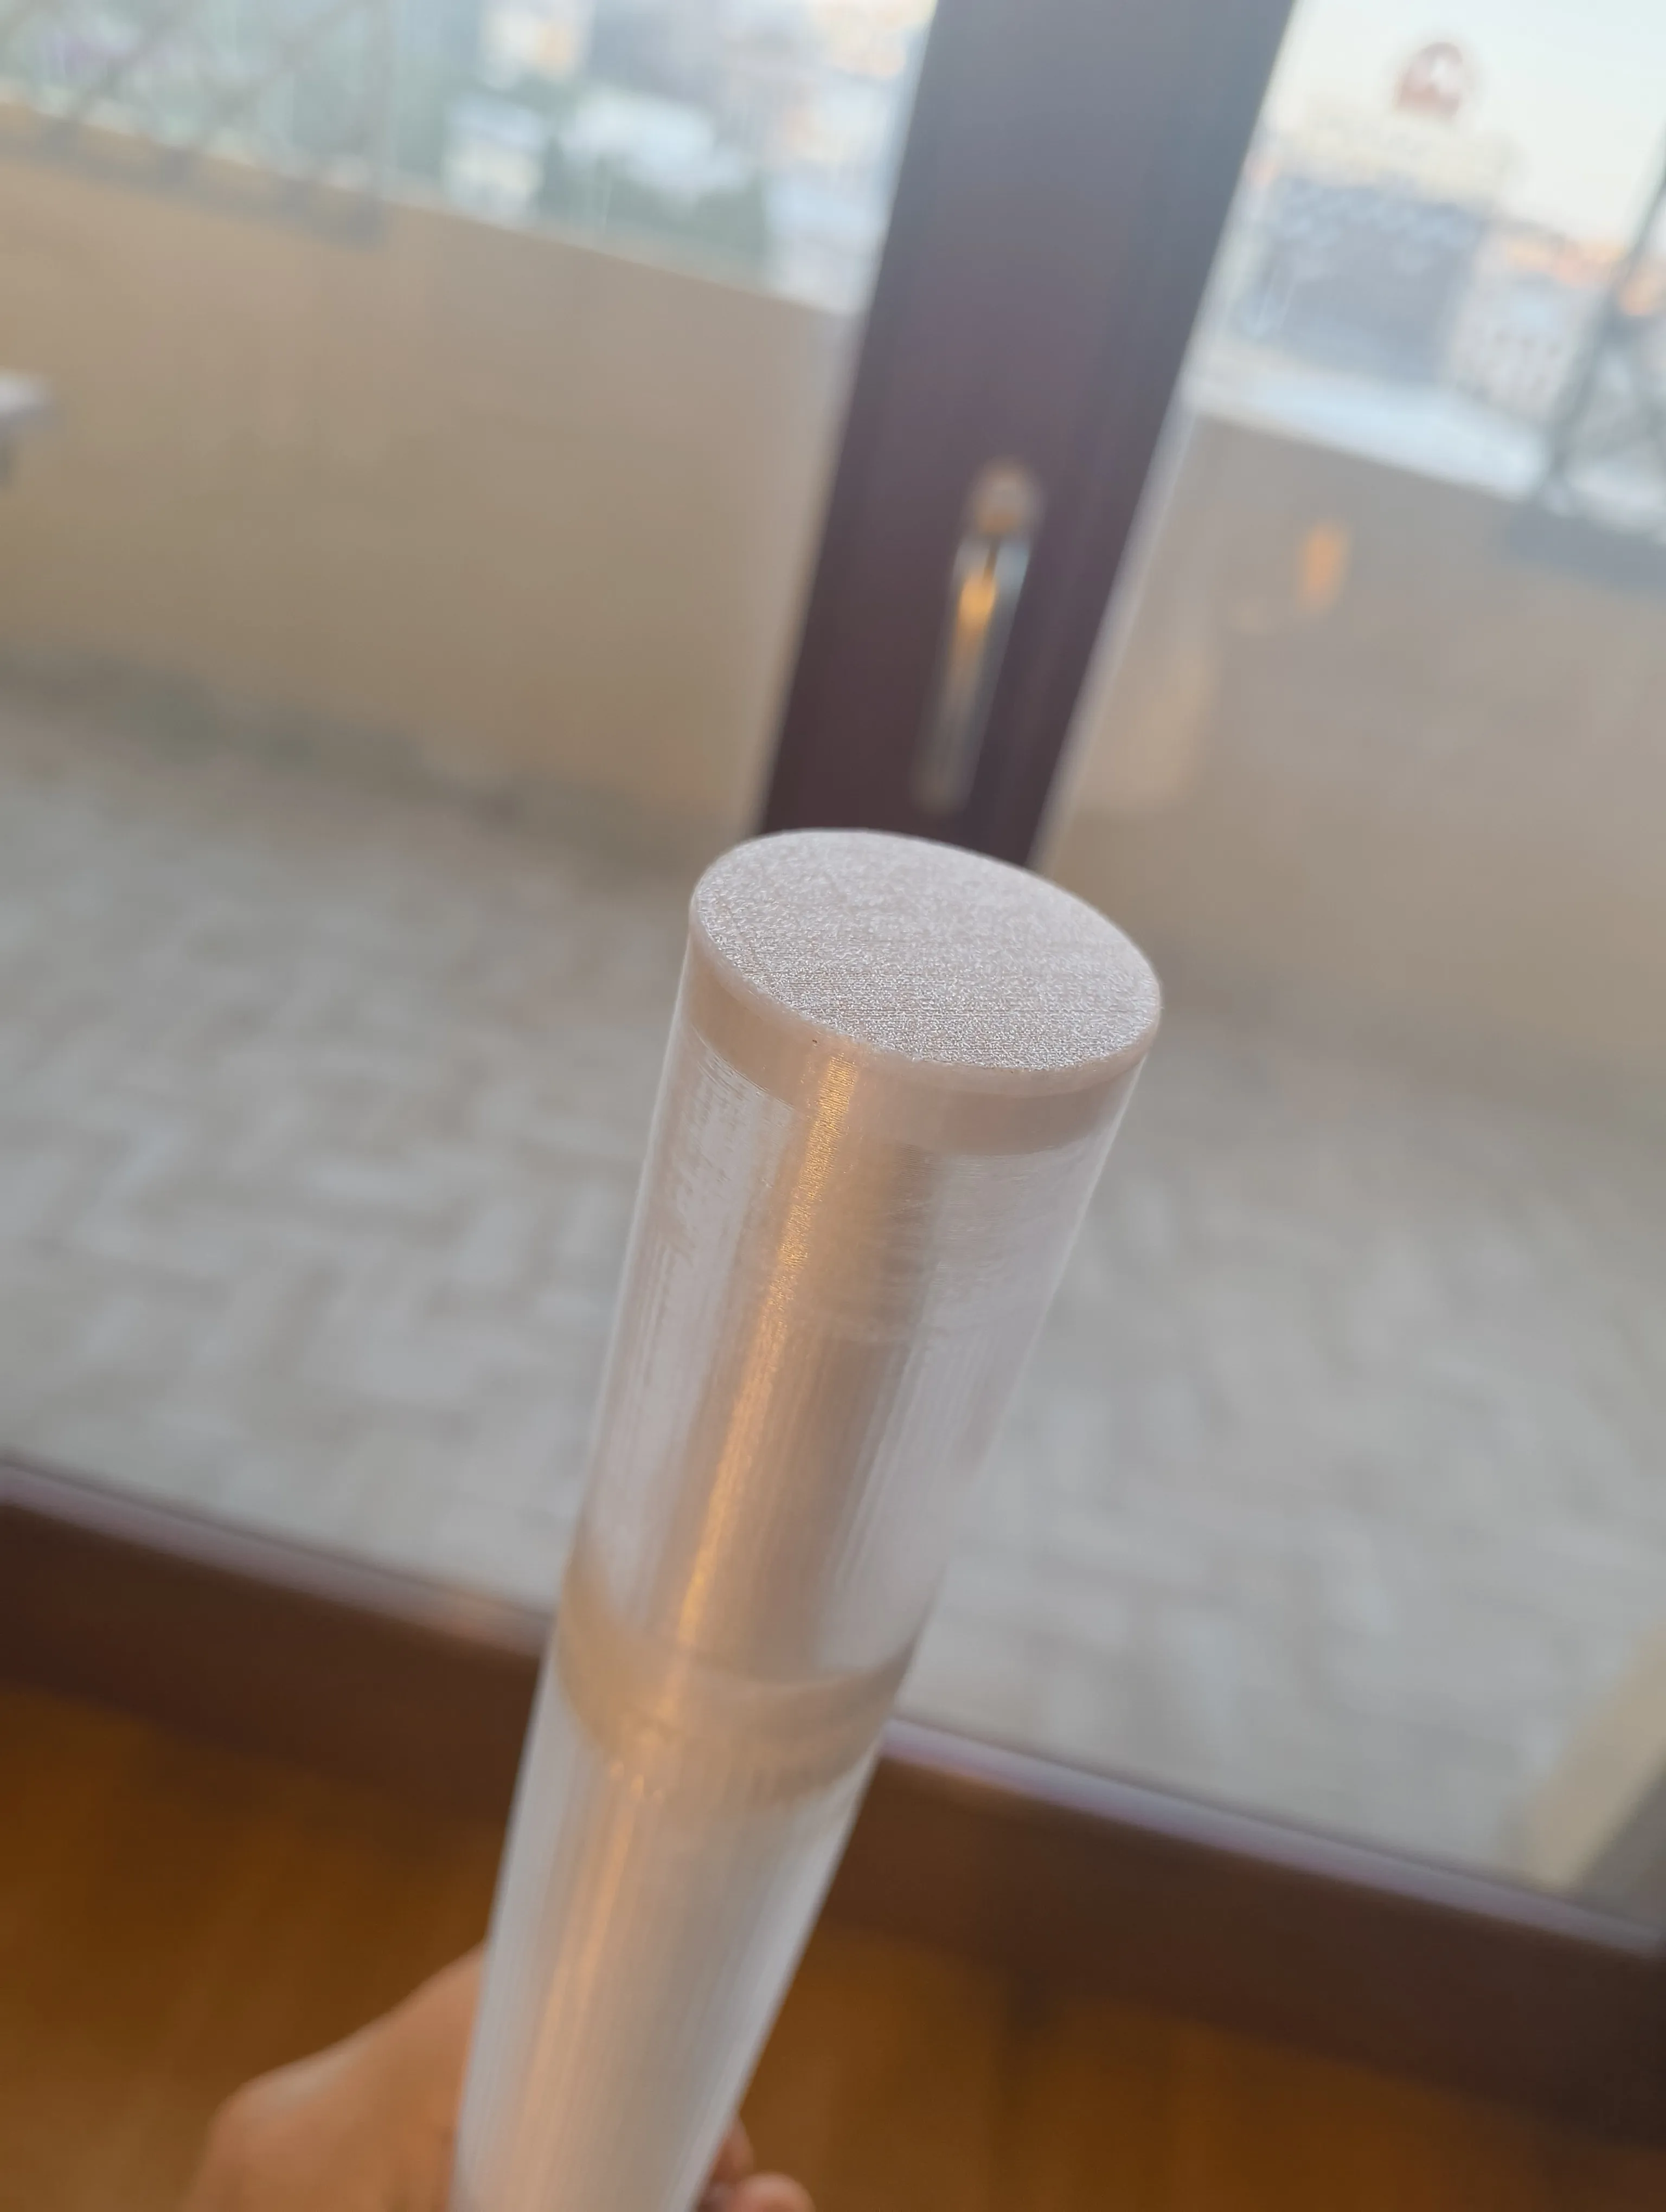 | |
STEP 7 Make the black wire pass through the hole in the base, then connect it to the Tapo white box. This is a good moment to connect your led strip to Alexa, if you didn't do it before. Then hide the Tapo white box and most of the wire inside the big base, as shown: |
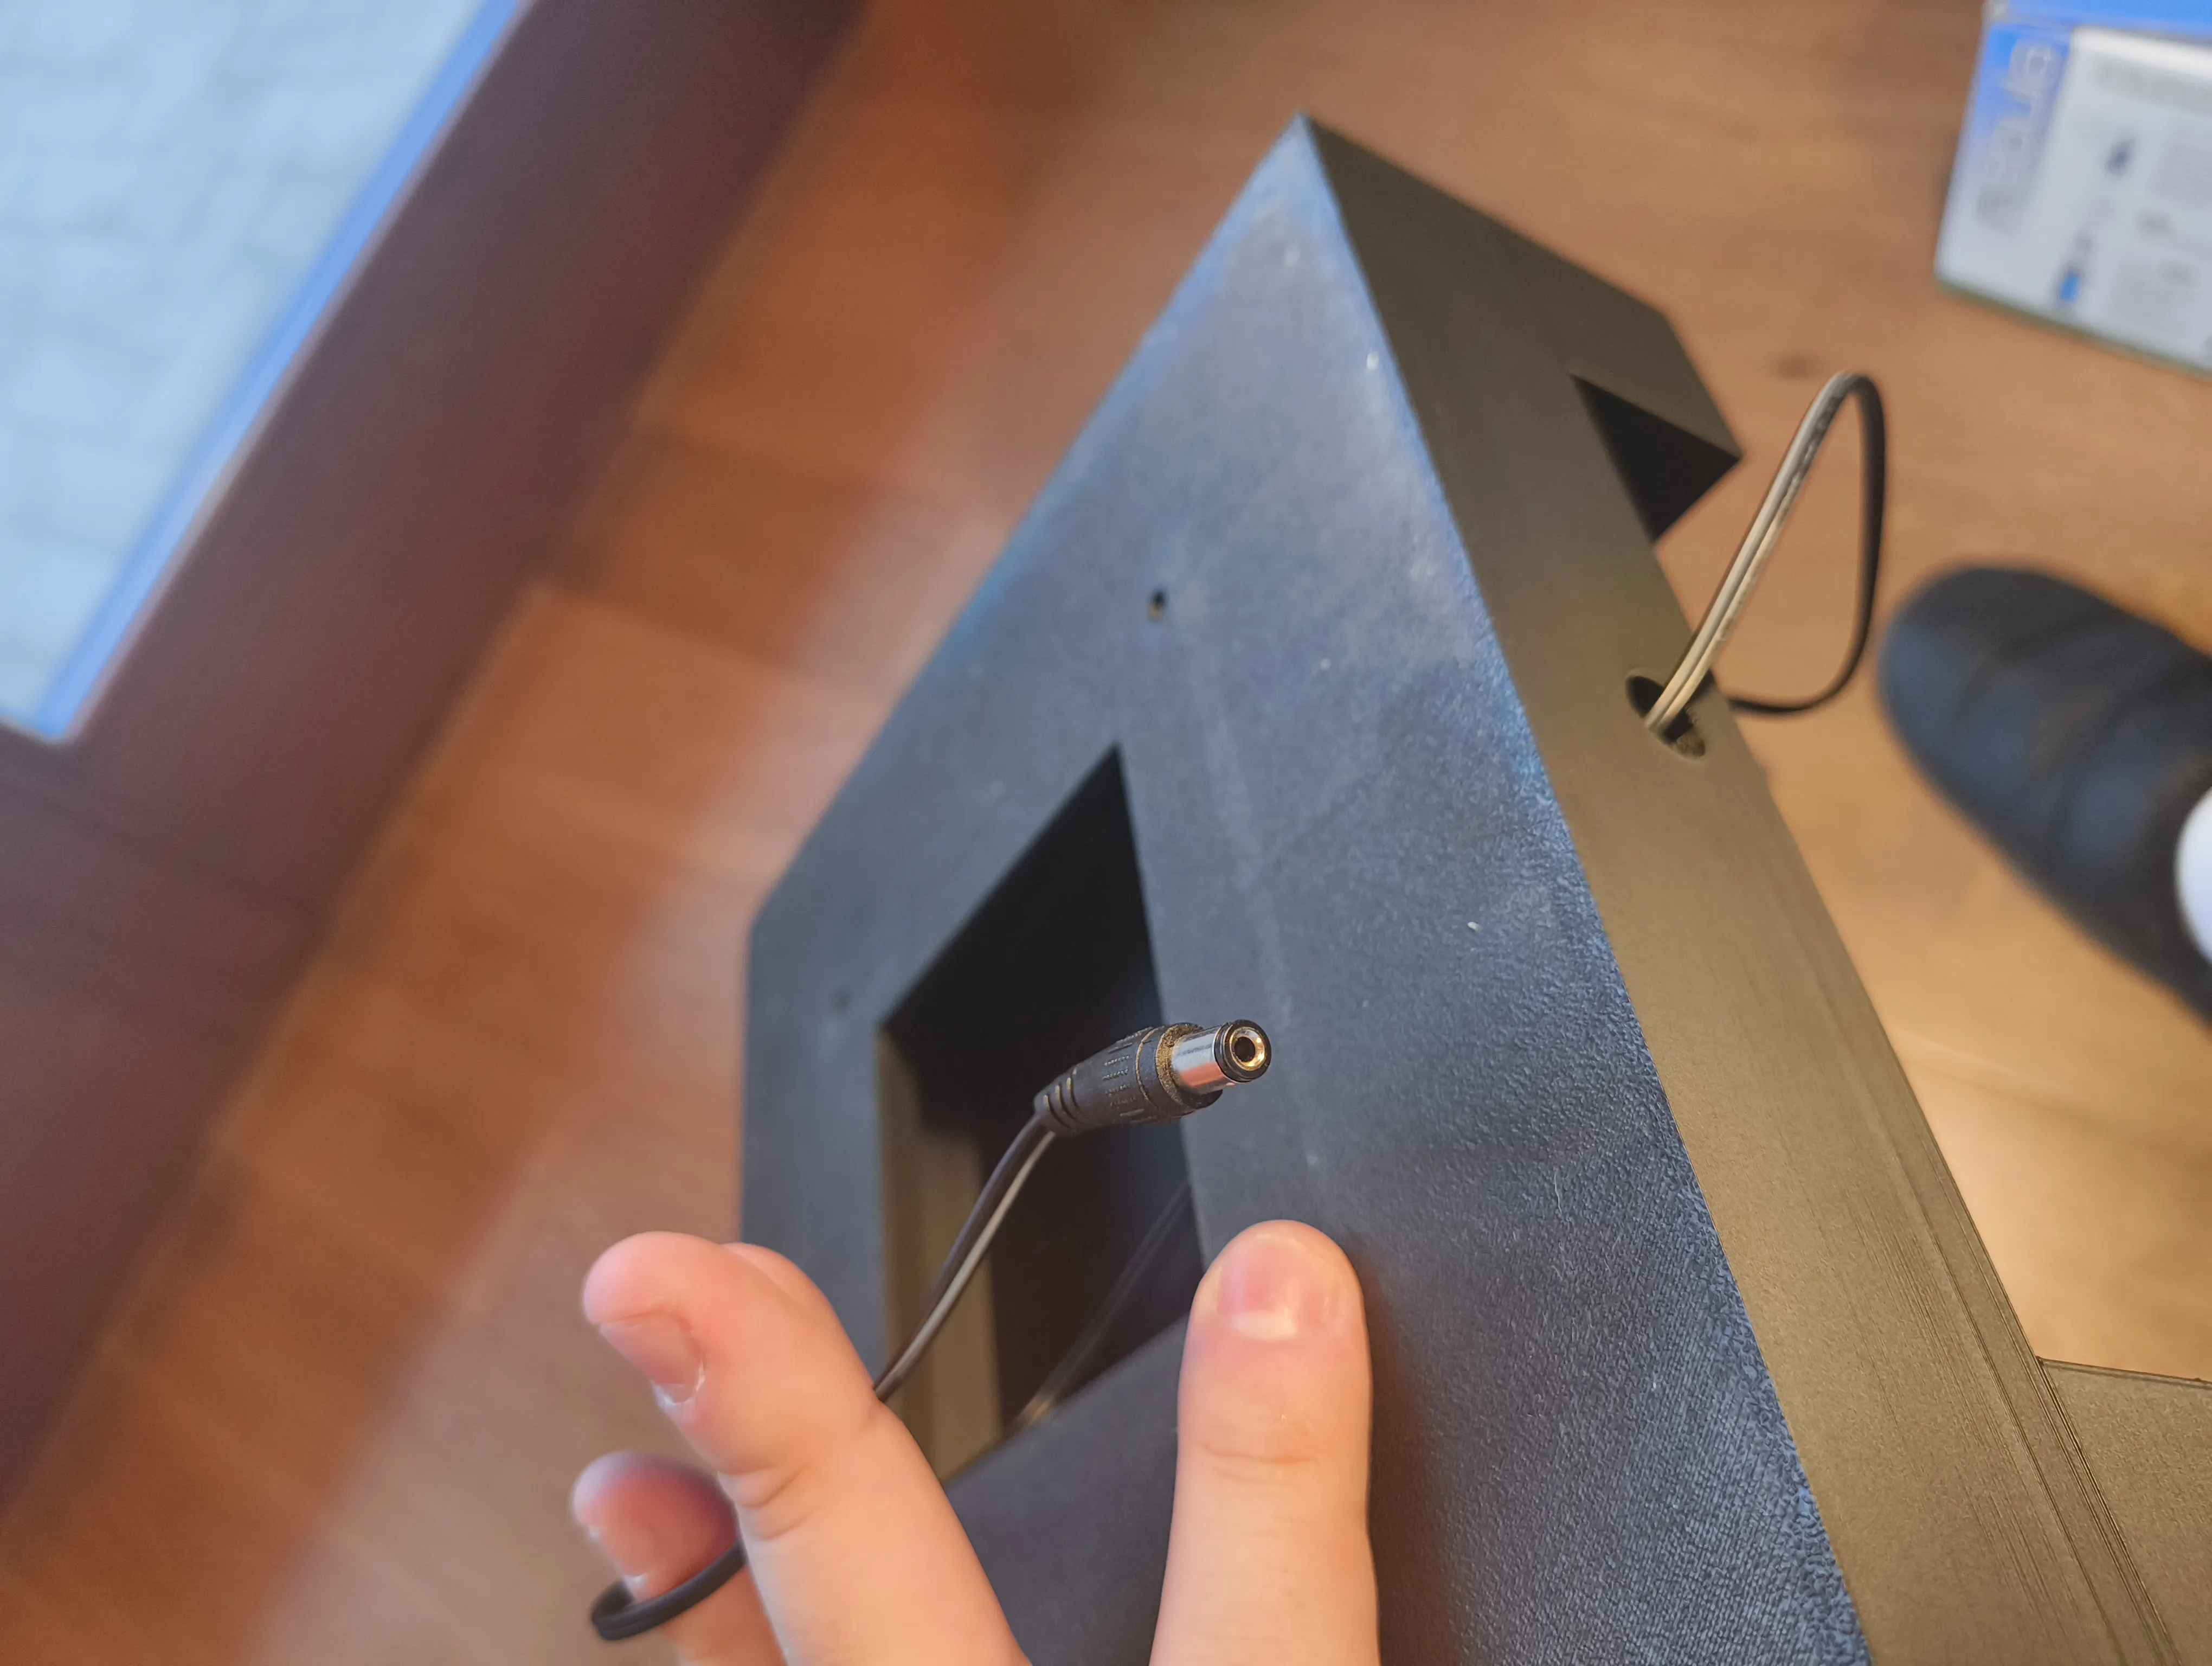 |
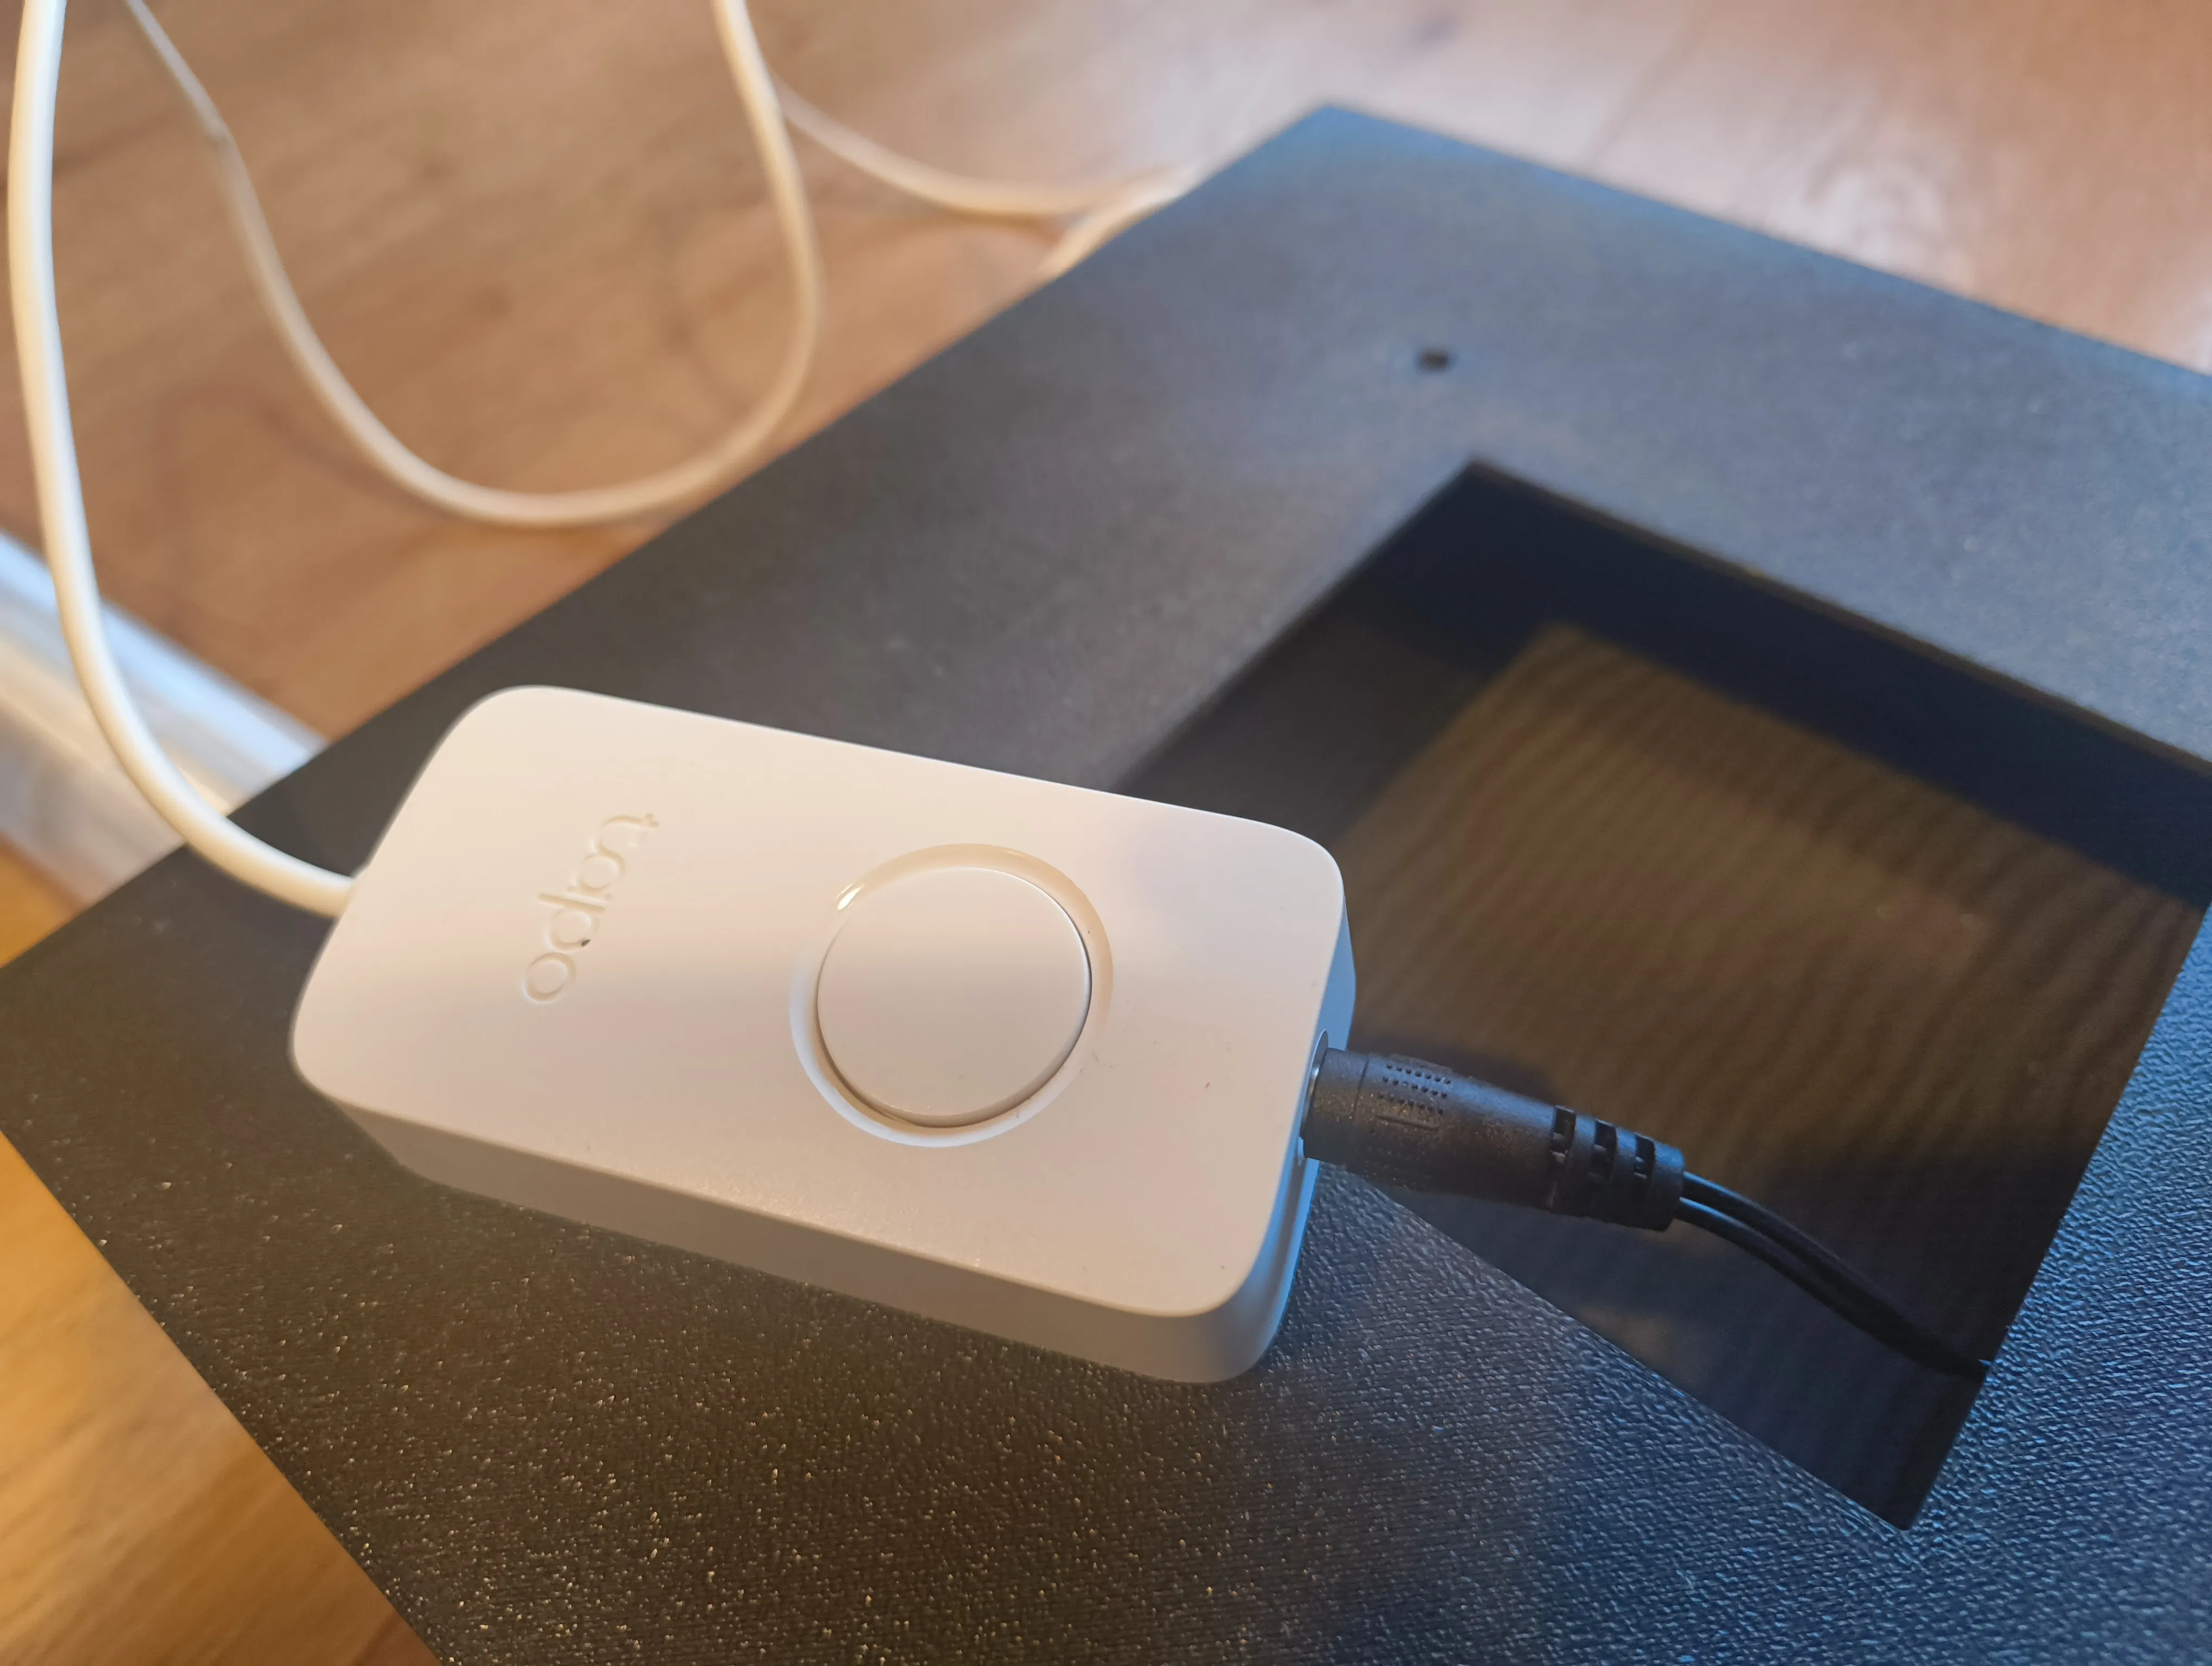 |
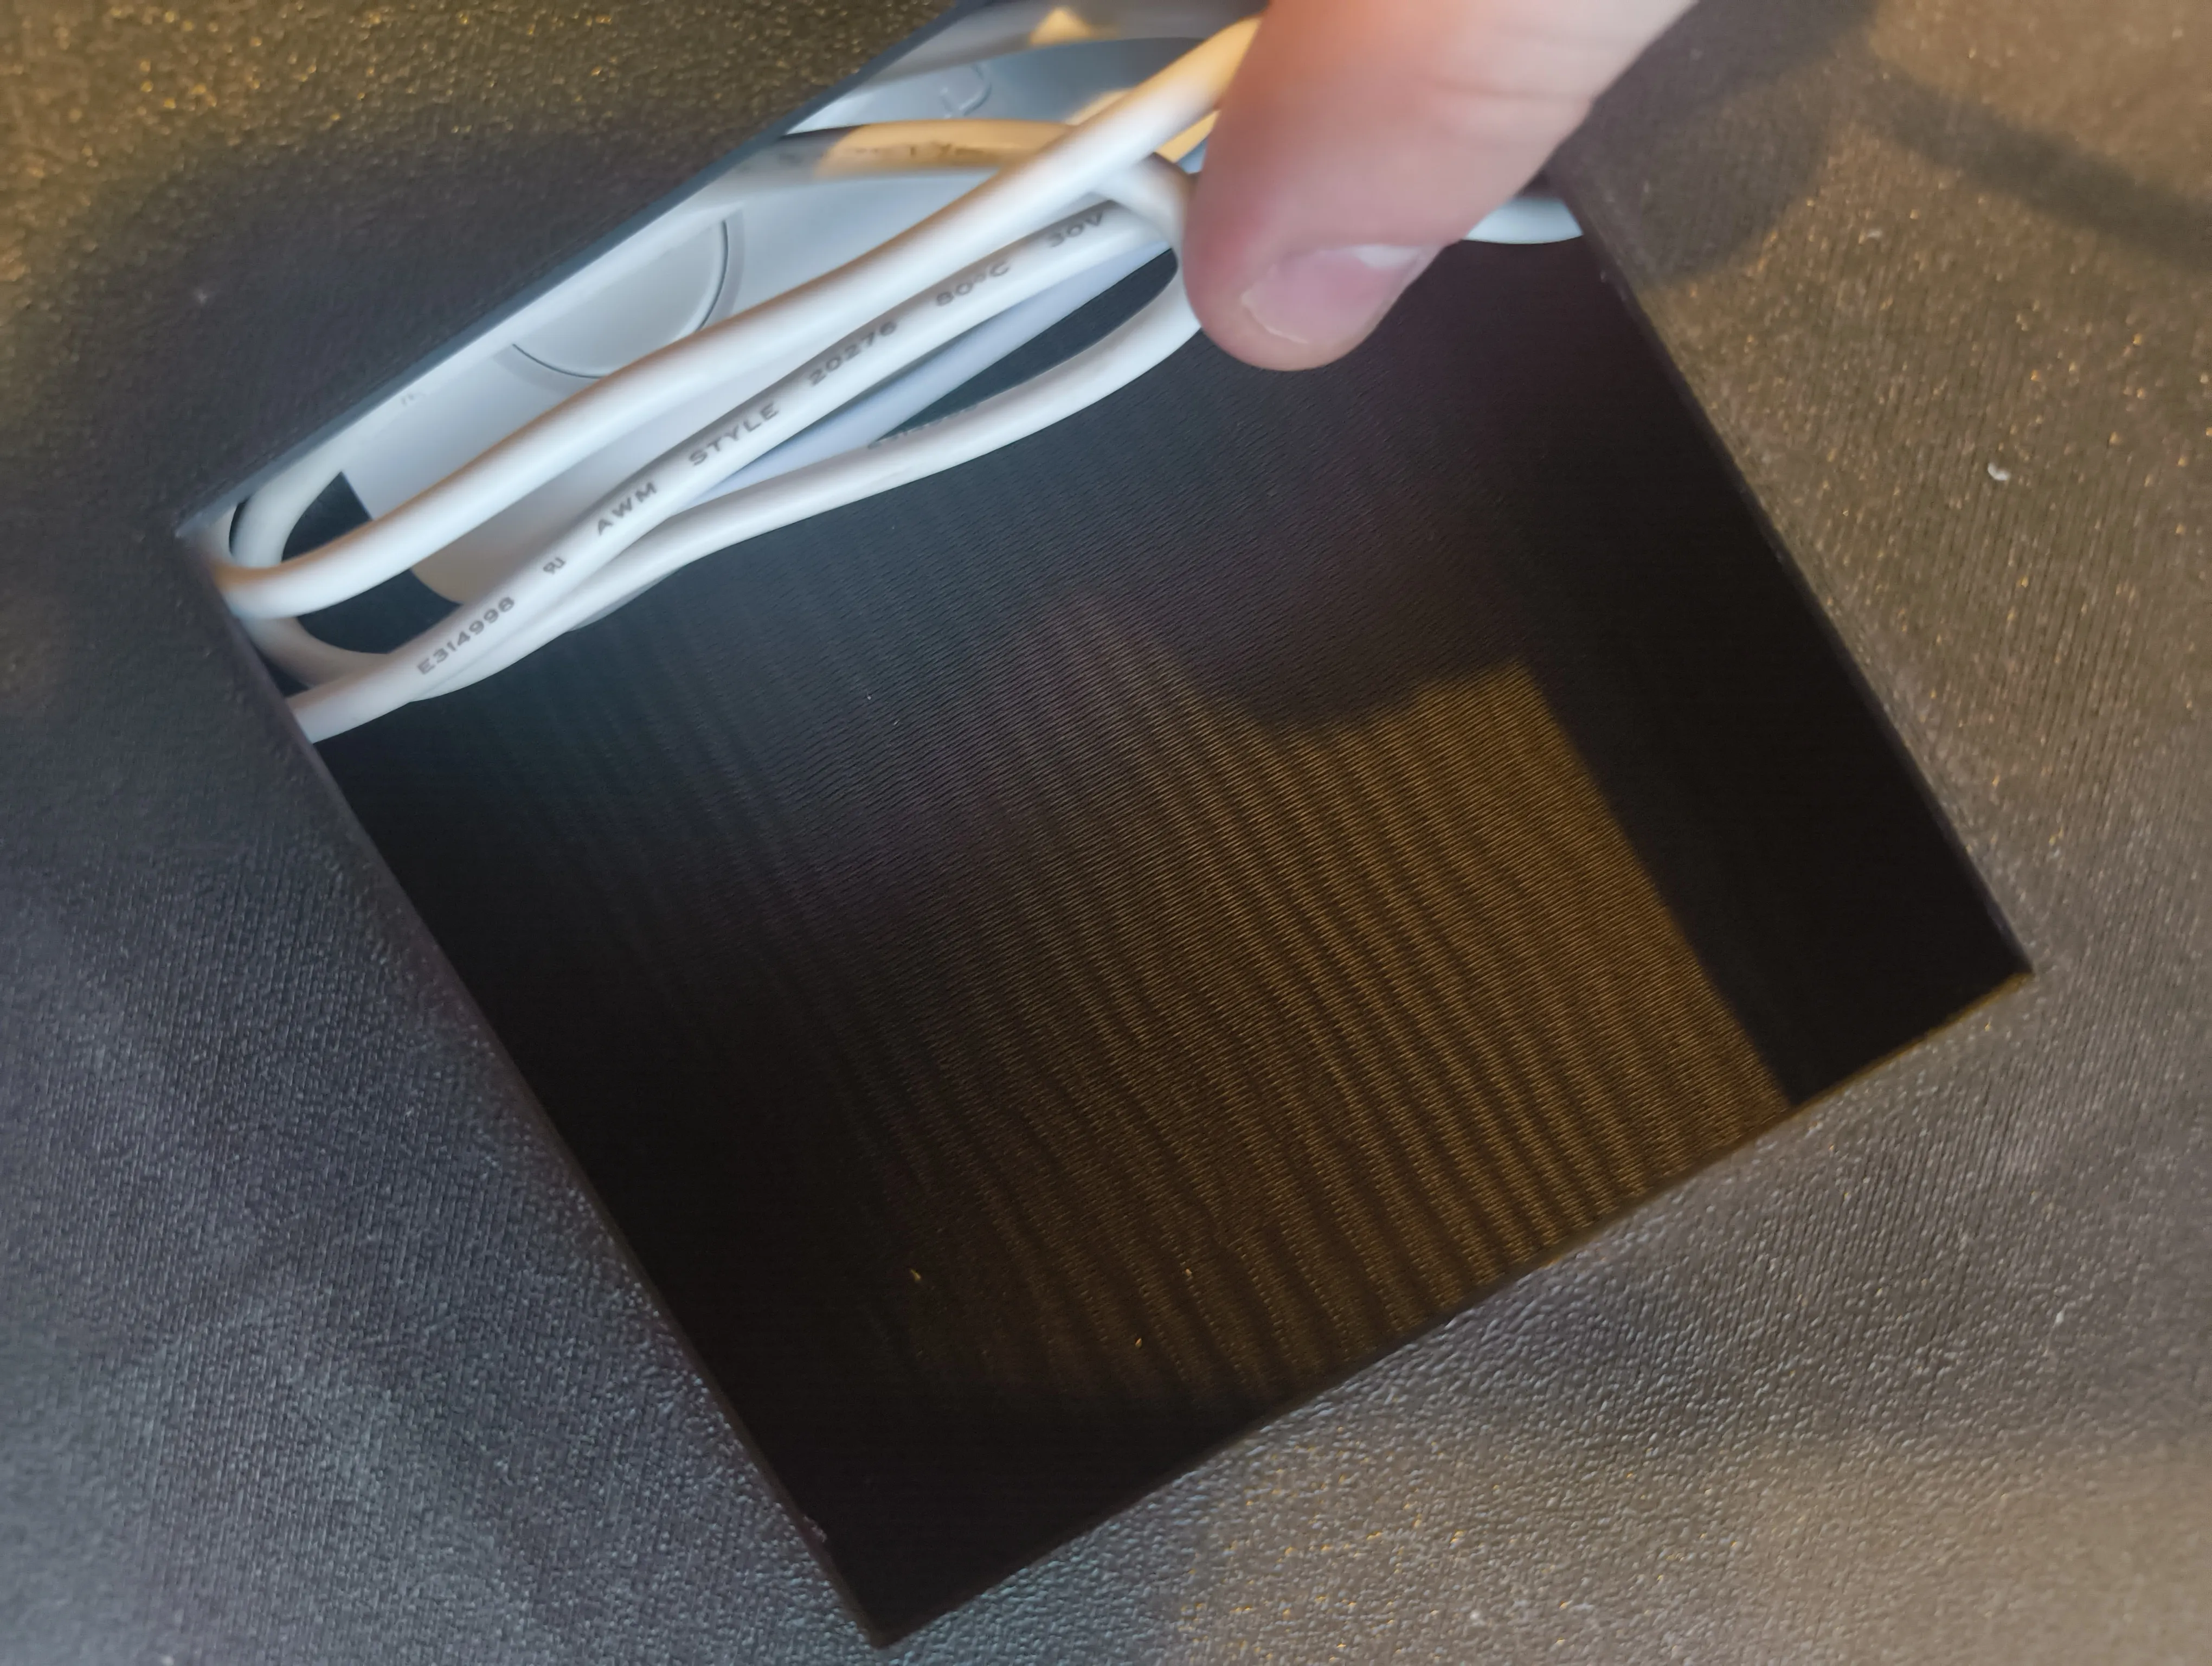 |
STEP 8 Put the 4 base connectors in the 4 base holes, with the big part down the hole: |
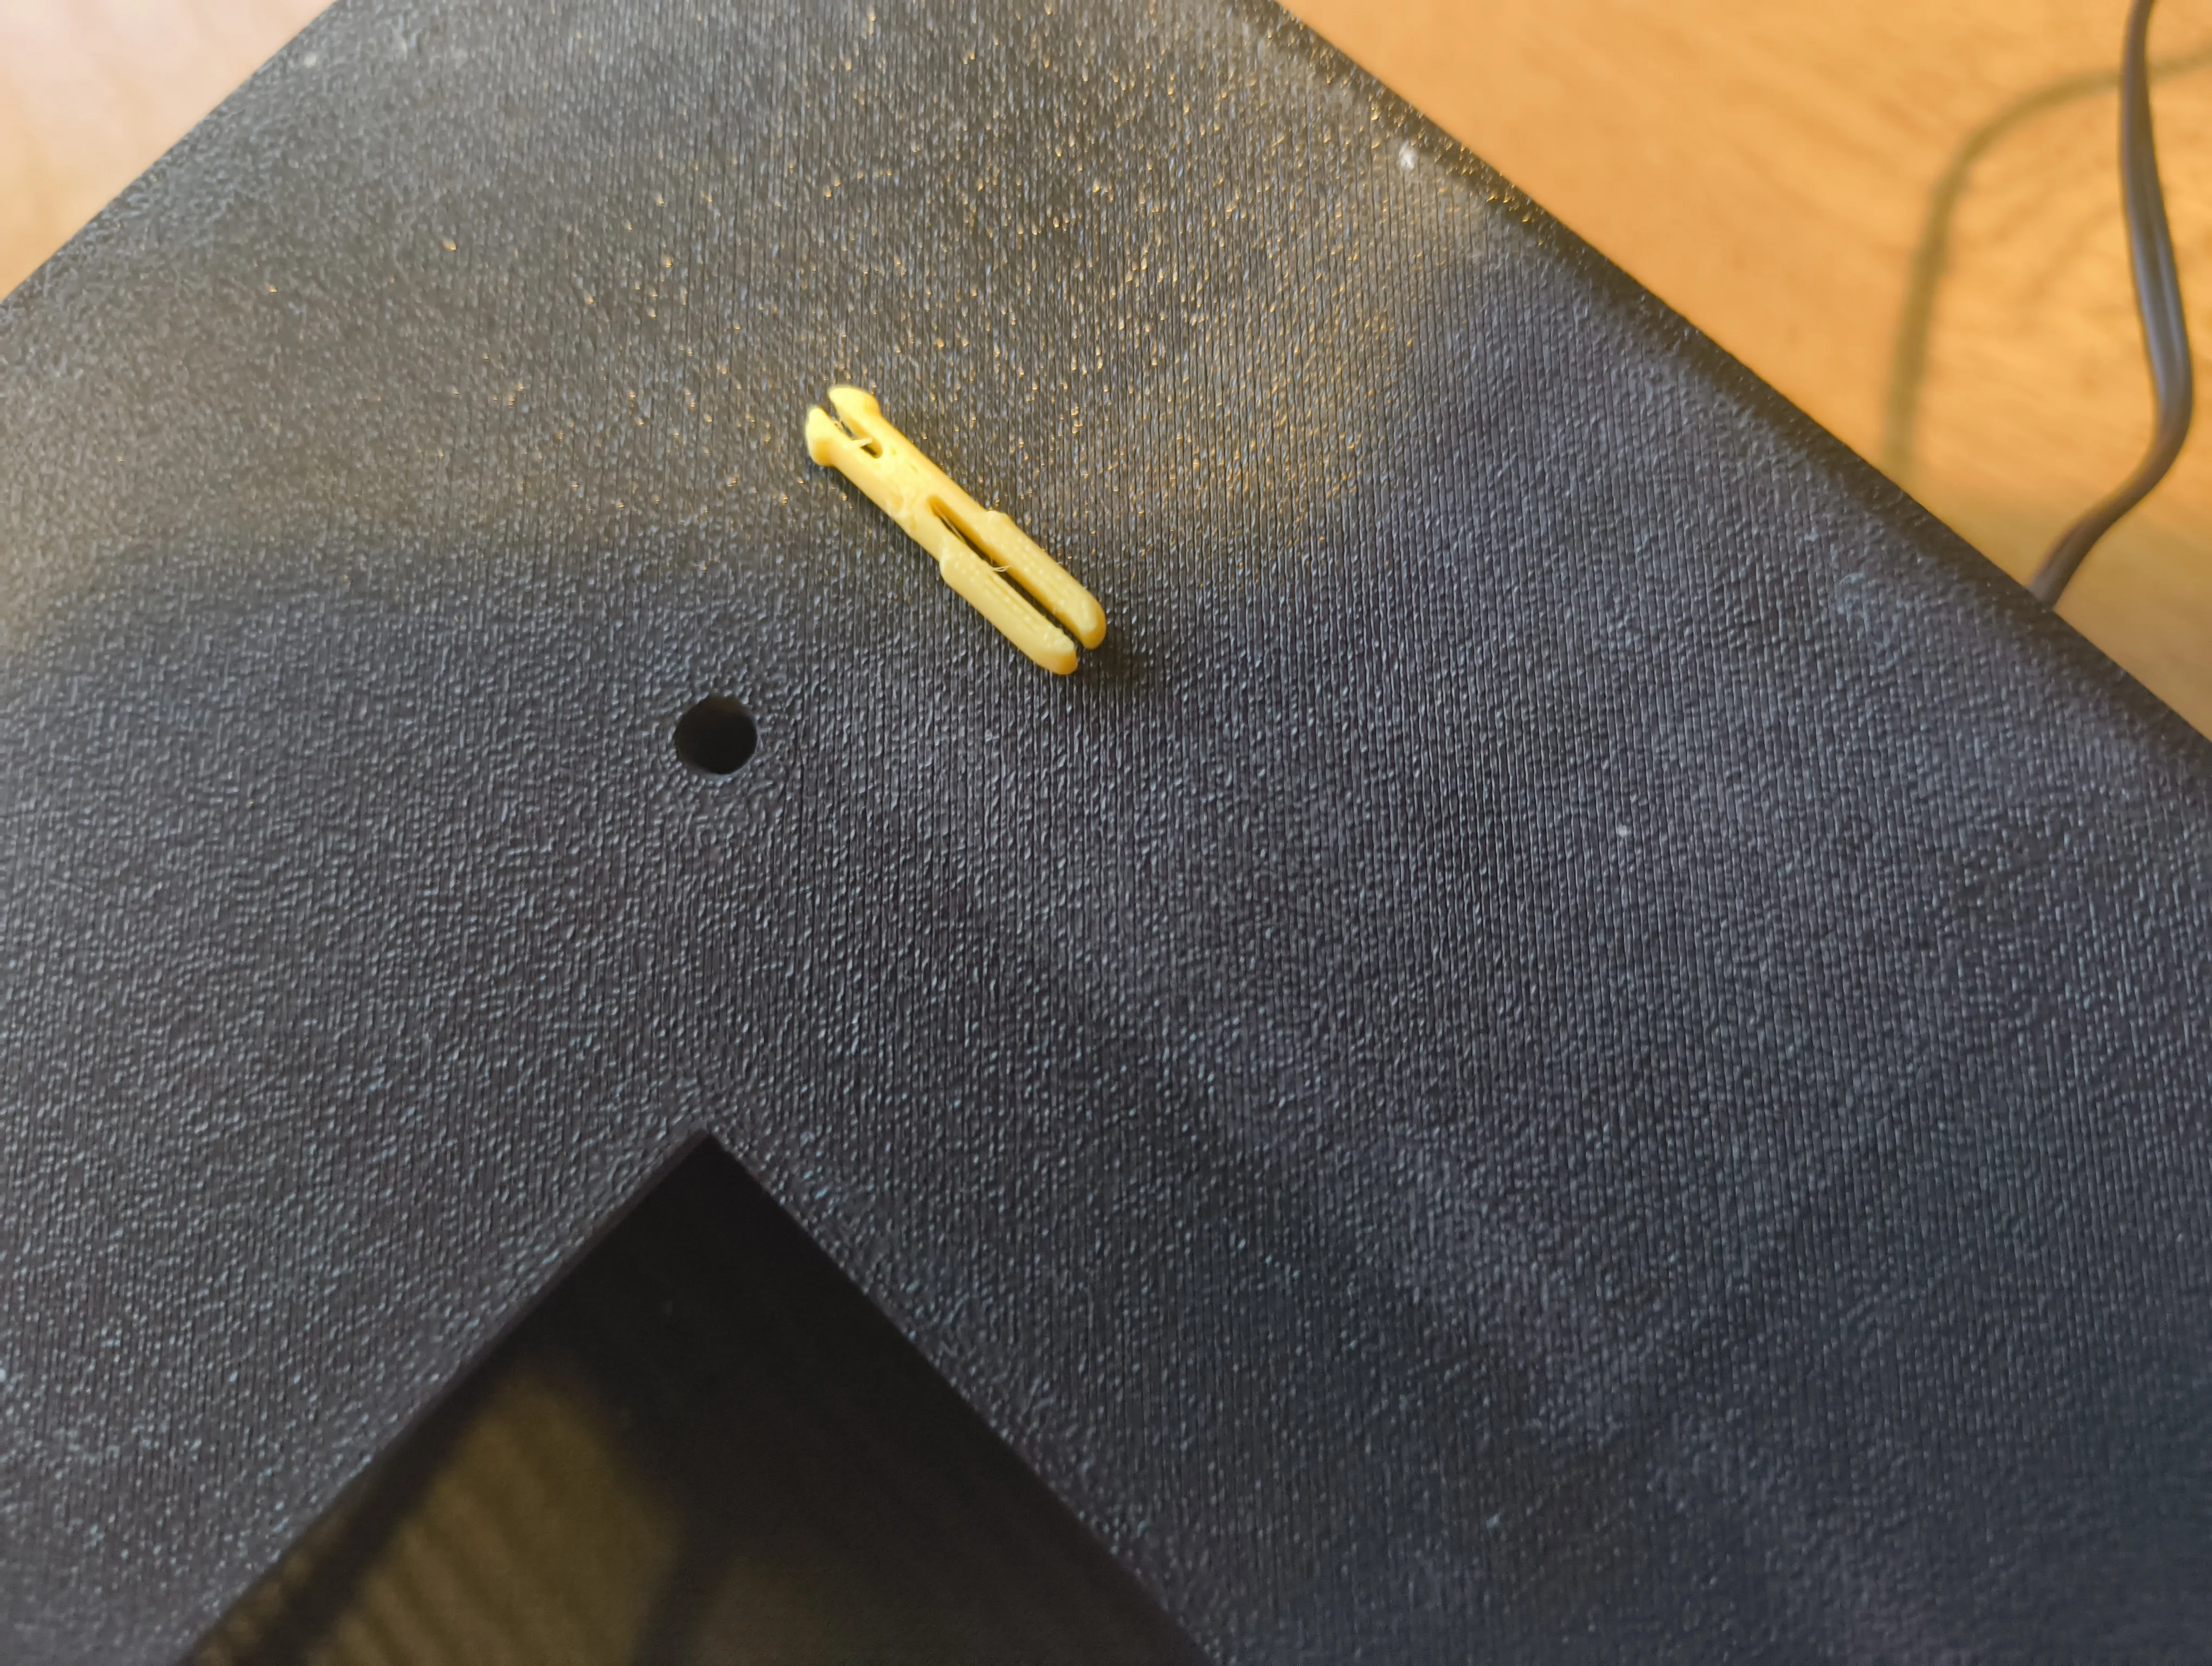 |
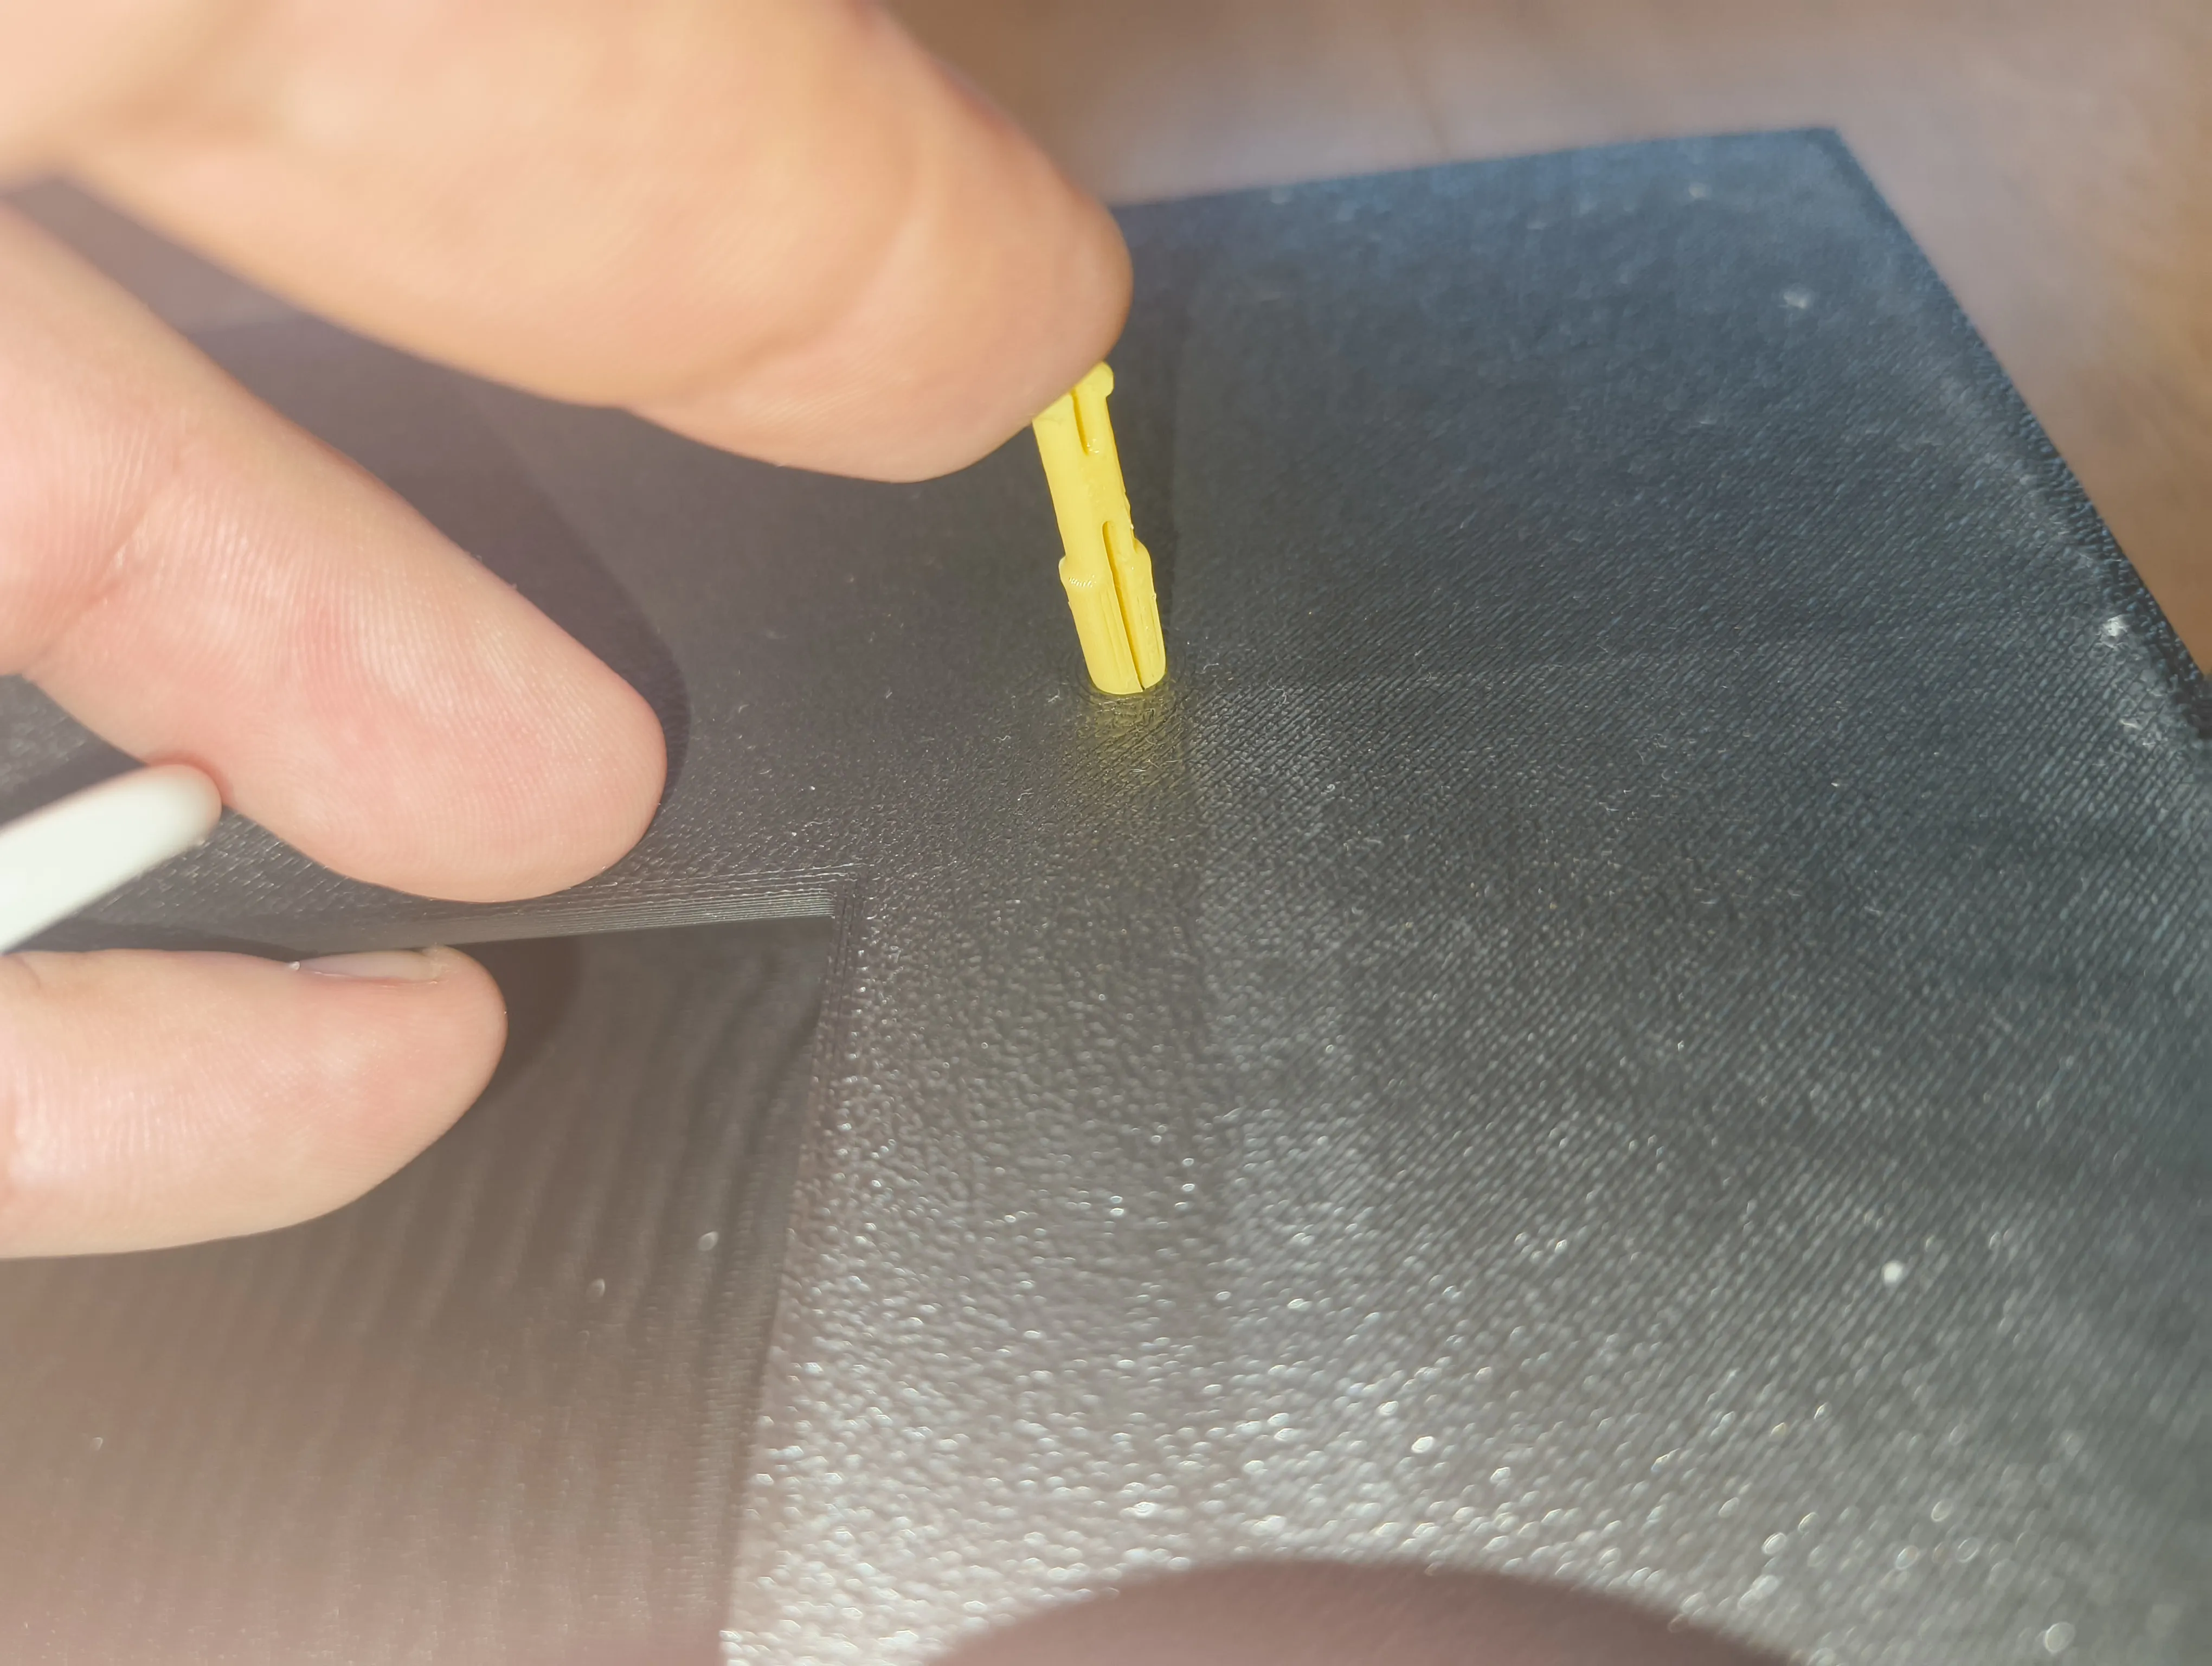 | |
STEP 9 Put the led tube standing at the center of the base, hide all the wires. Hold it in place with a hand, and with the other hand let the first short structure slide in. Then connect it with the base. |
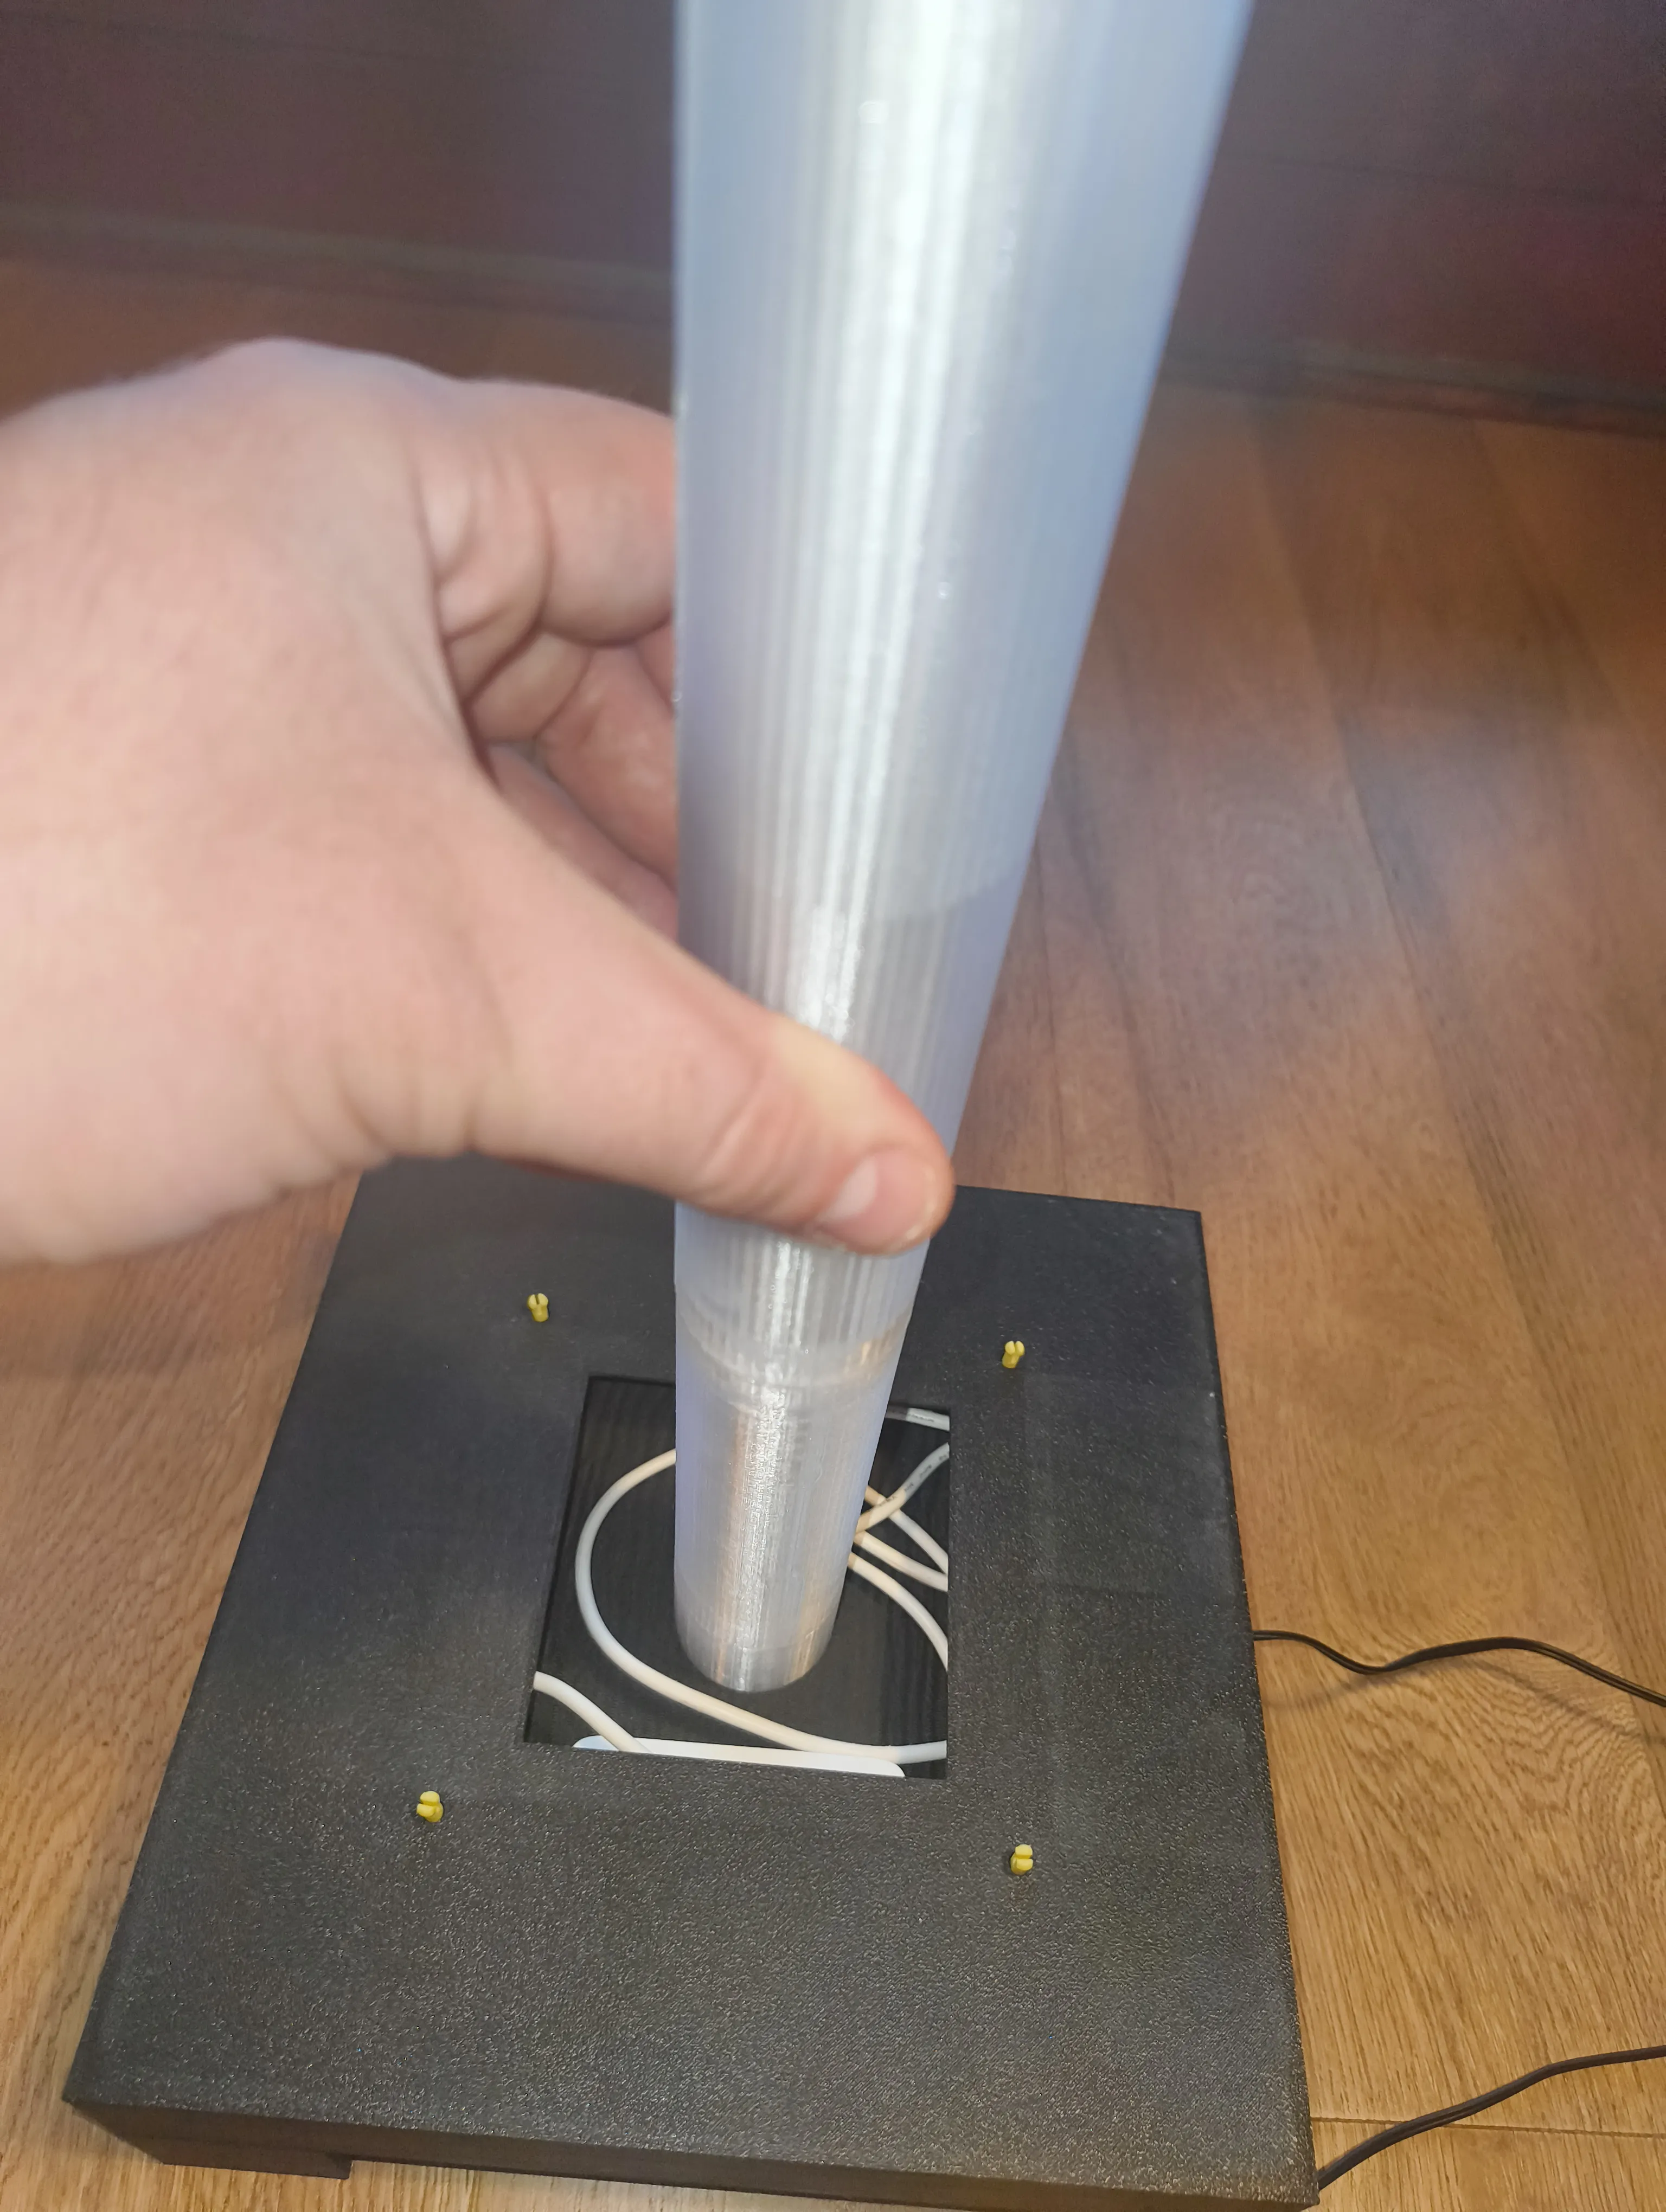 |
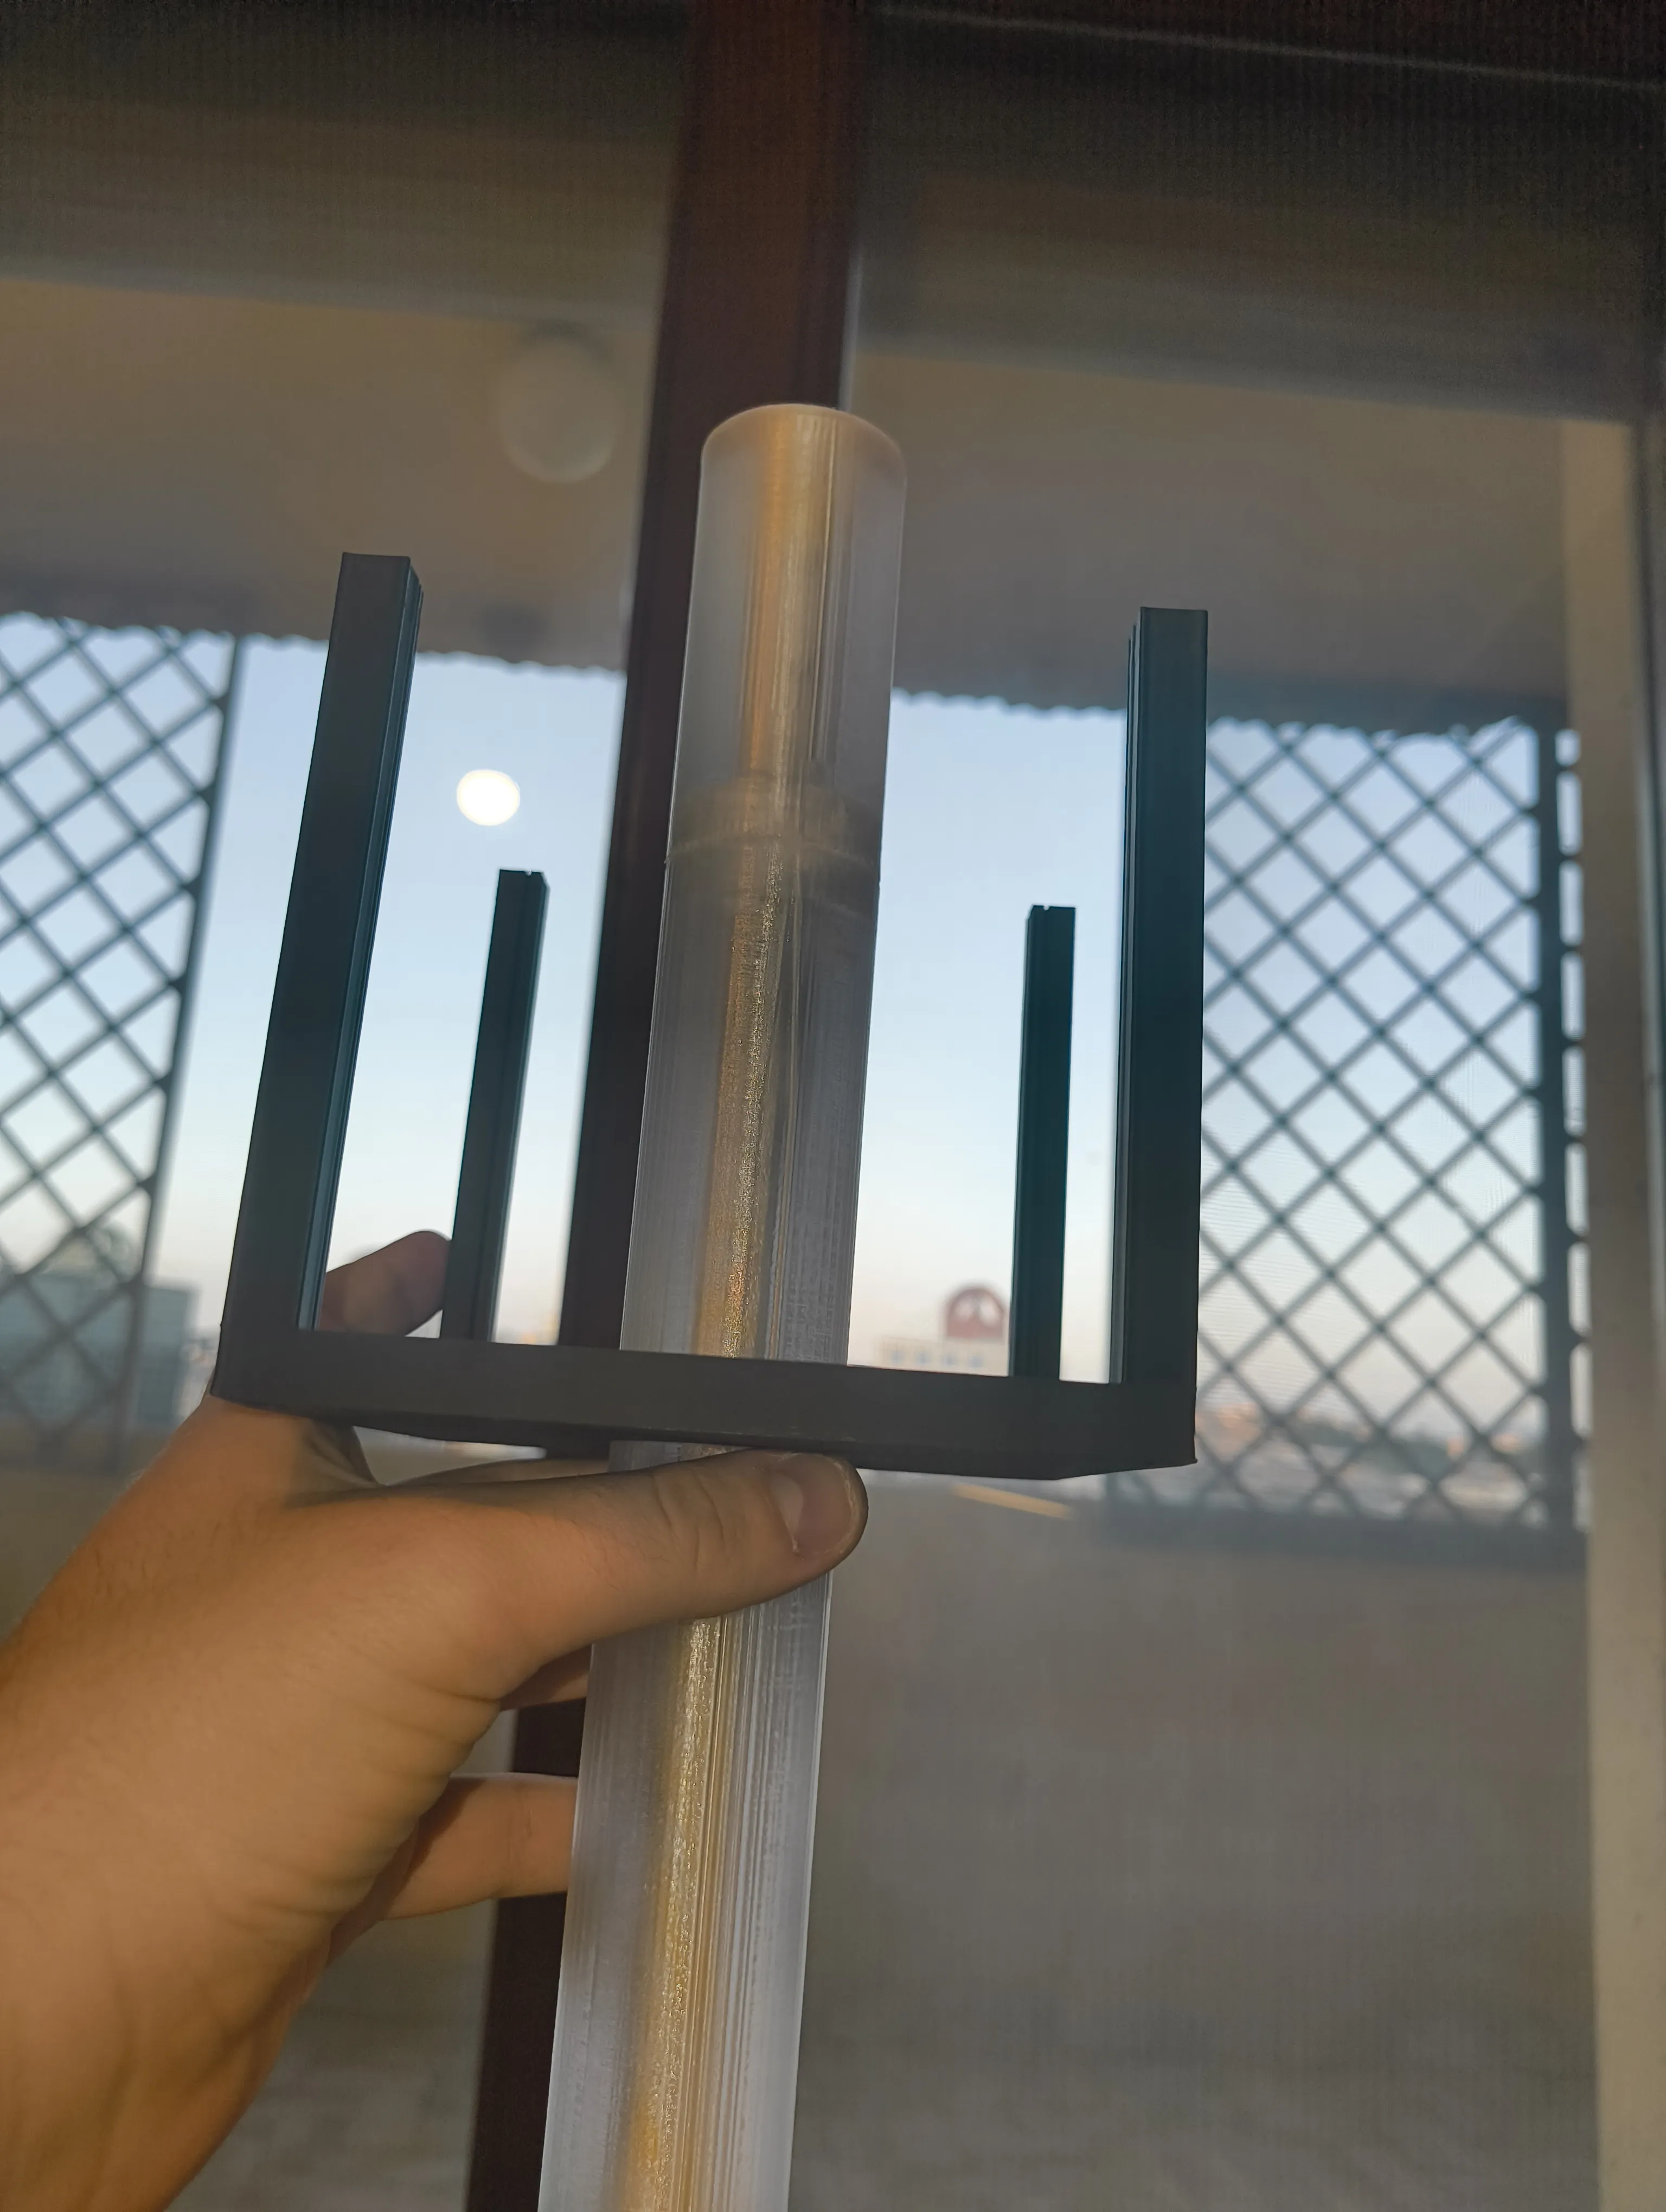 |
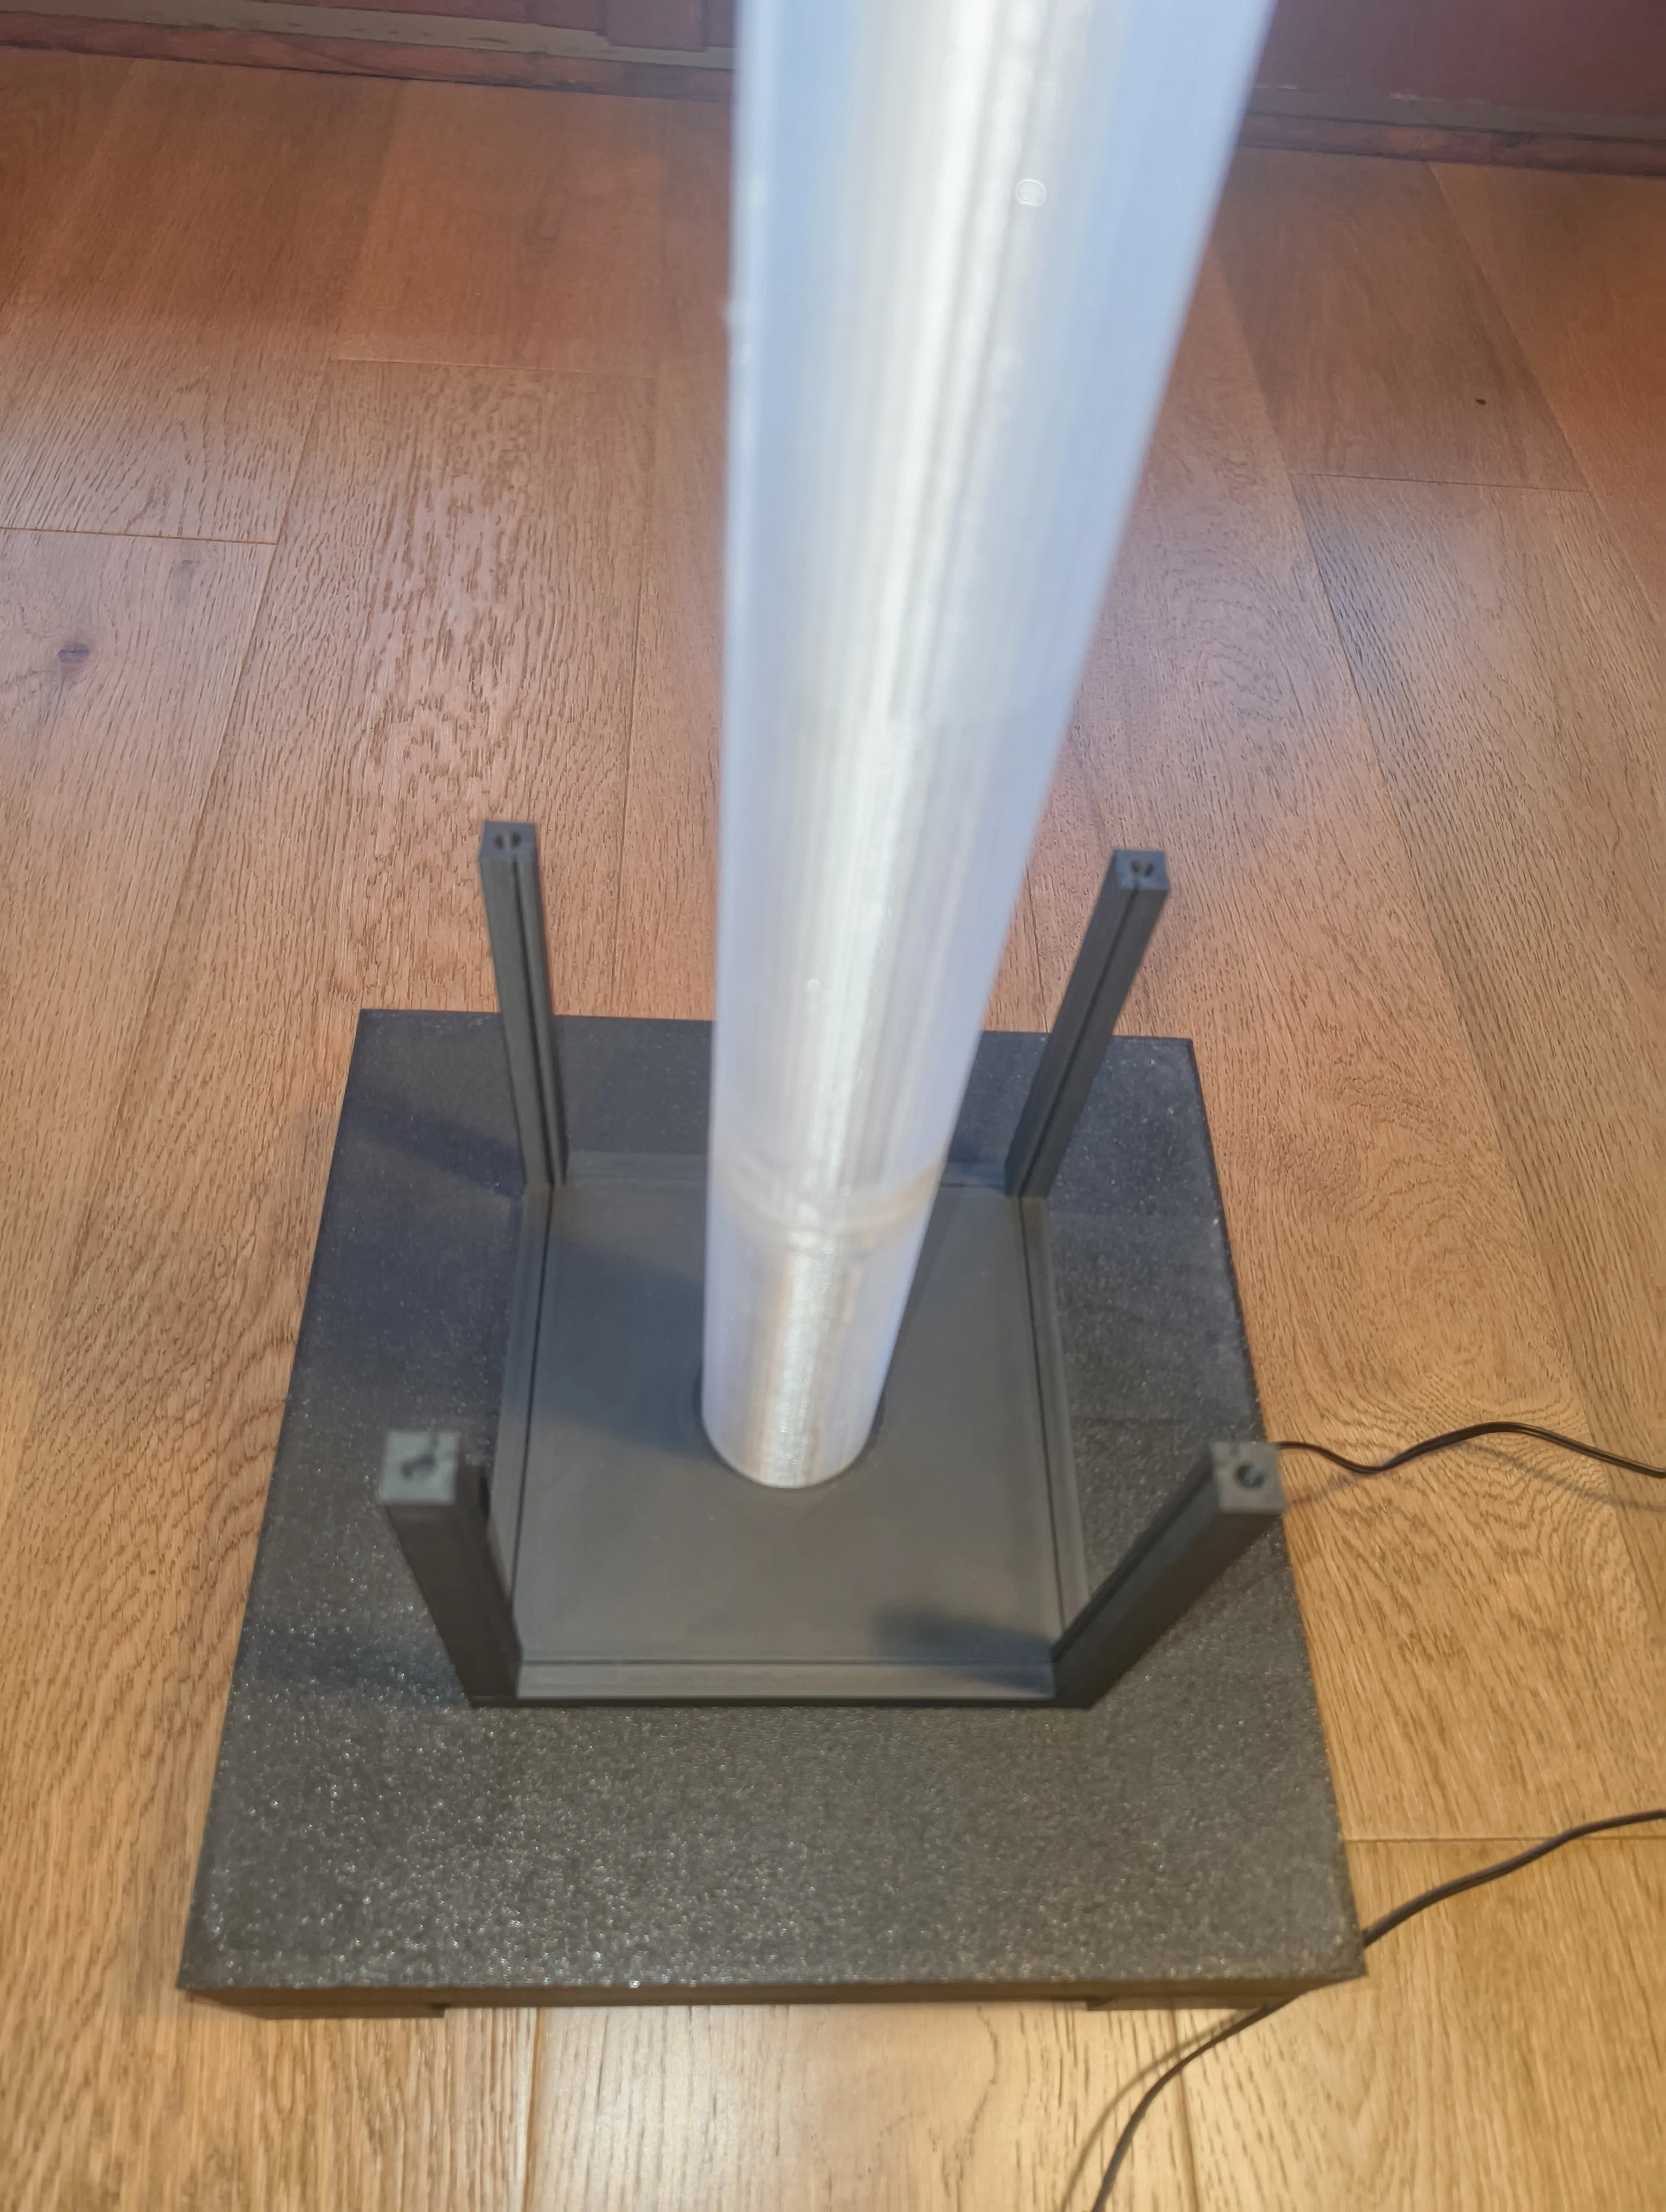 |
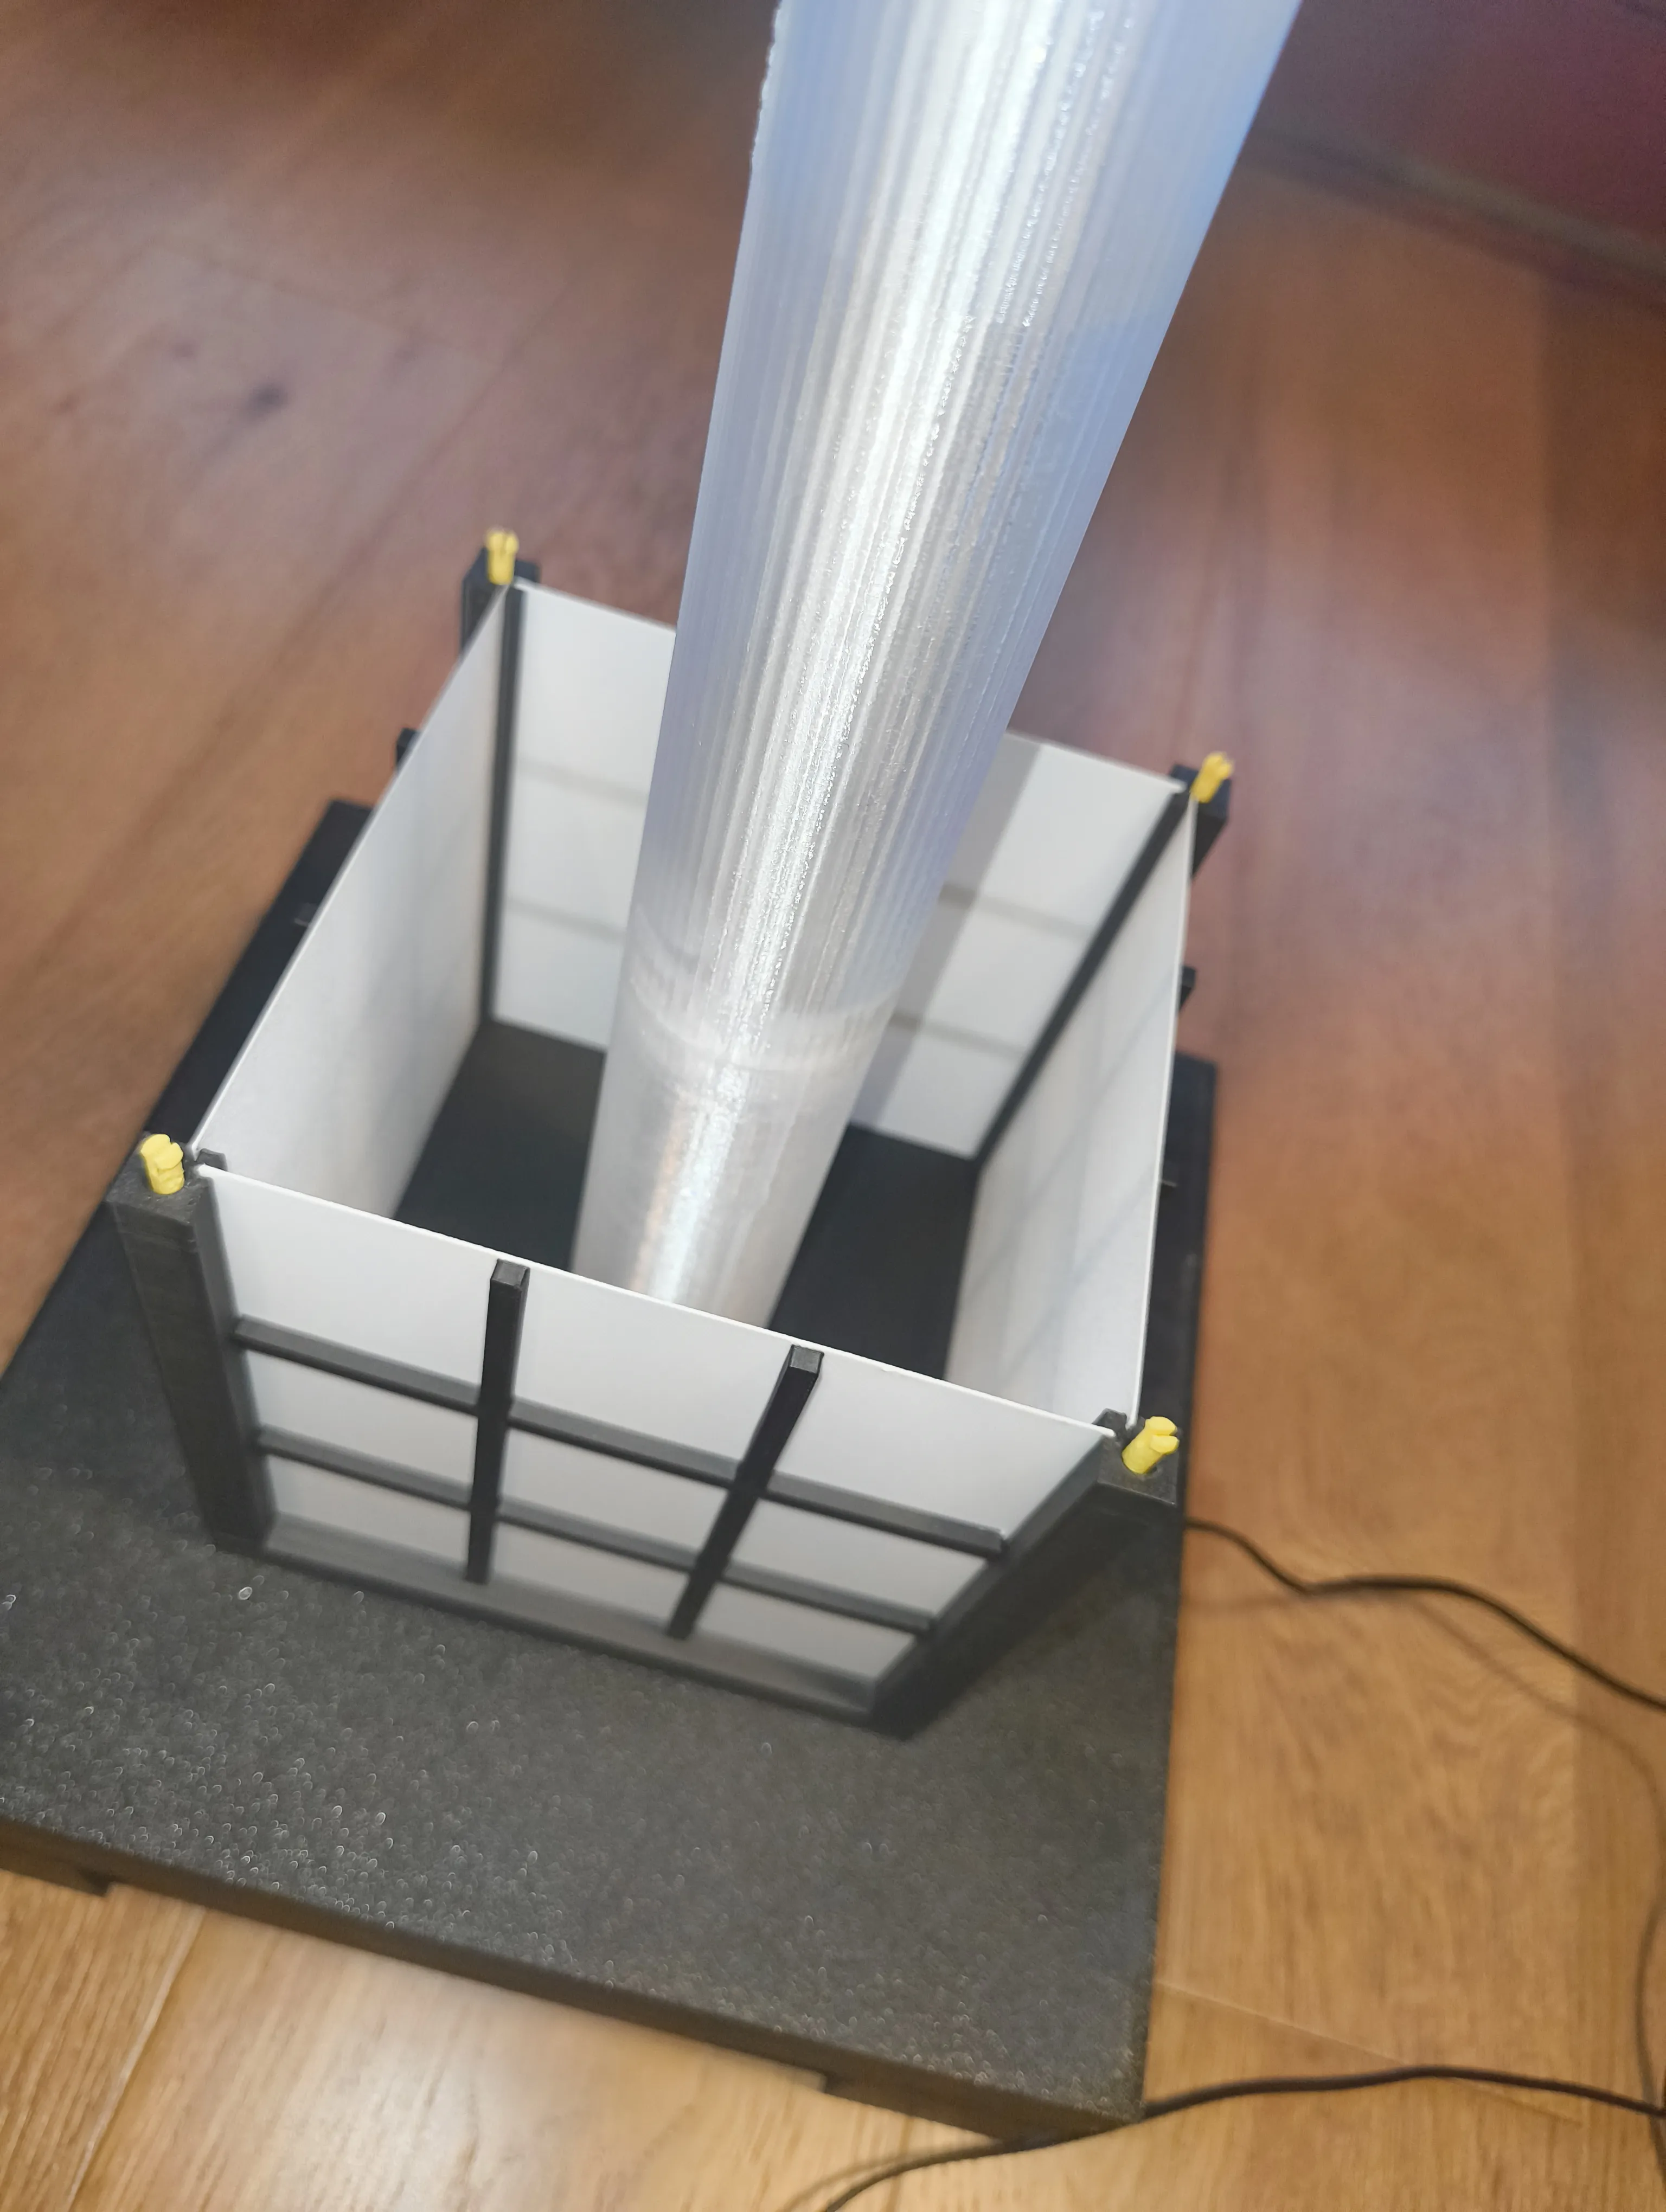
STEP 10 Put the connectors on the structure, then slide 4 panels in, following the lateral guides: |
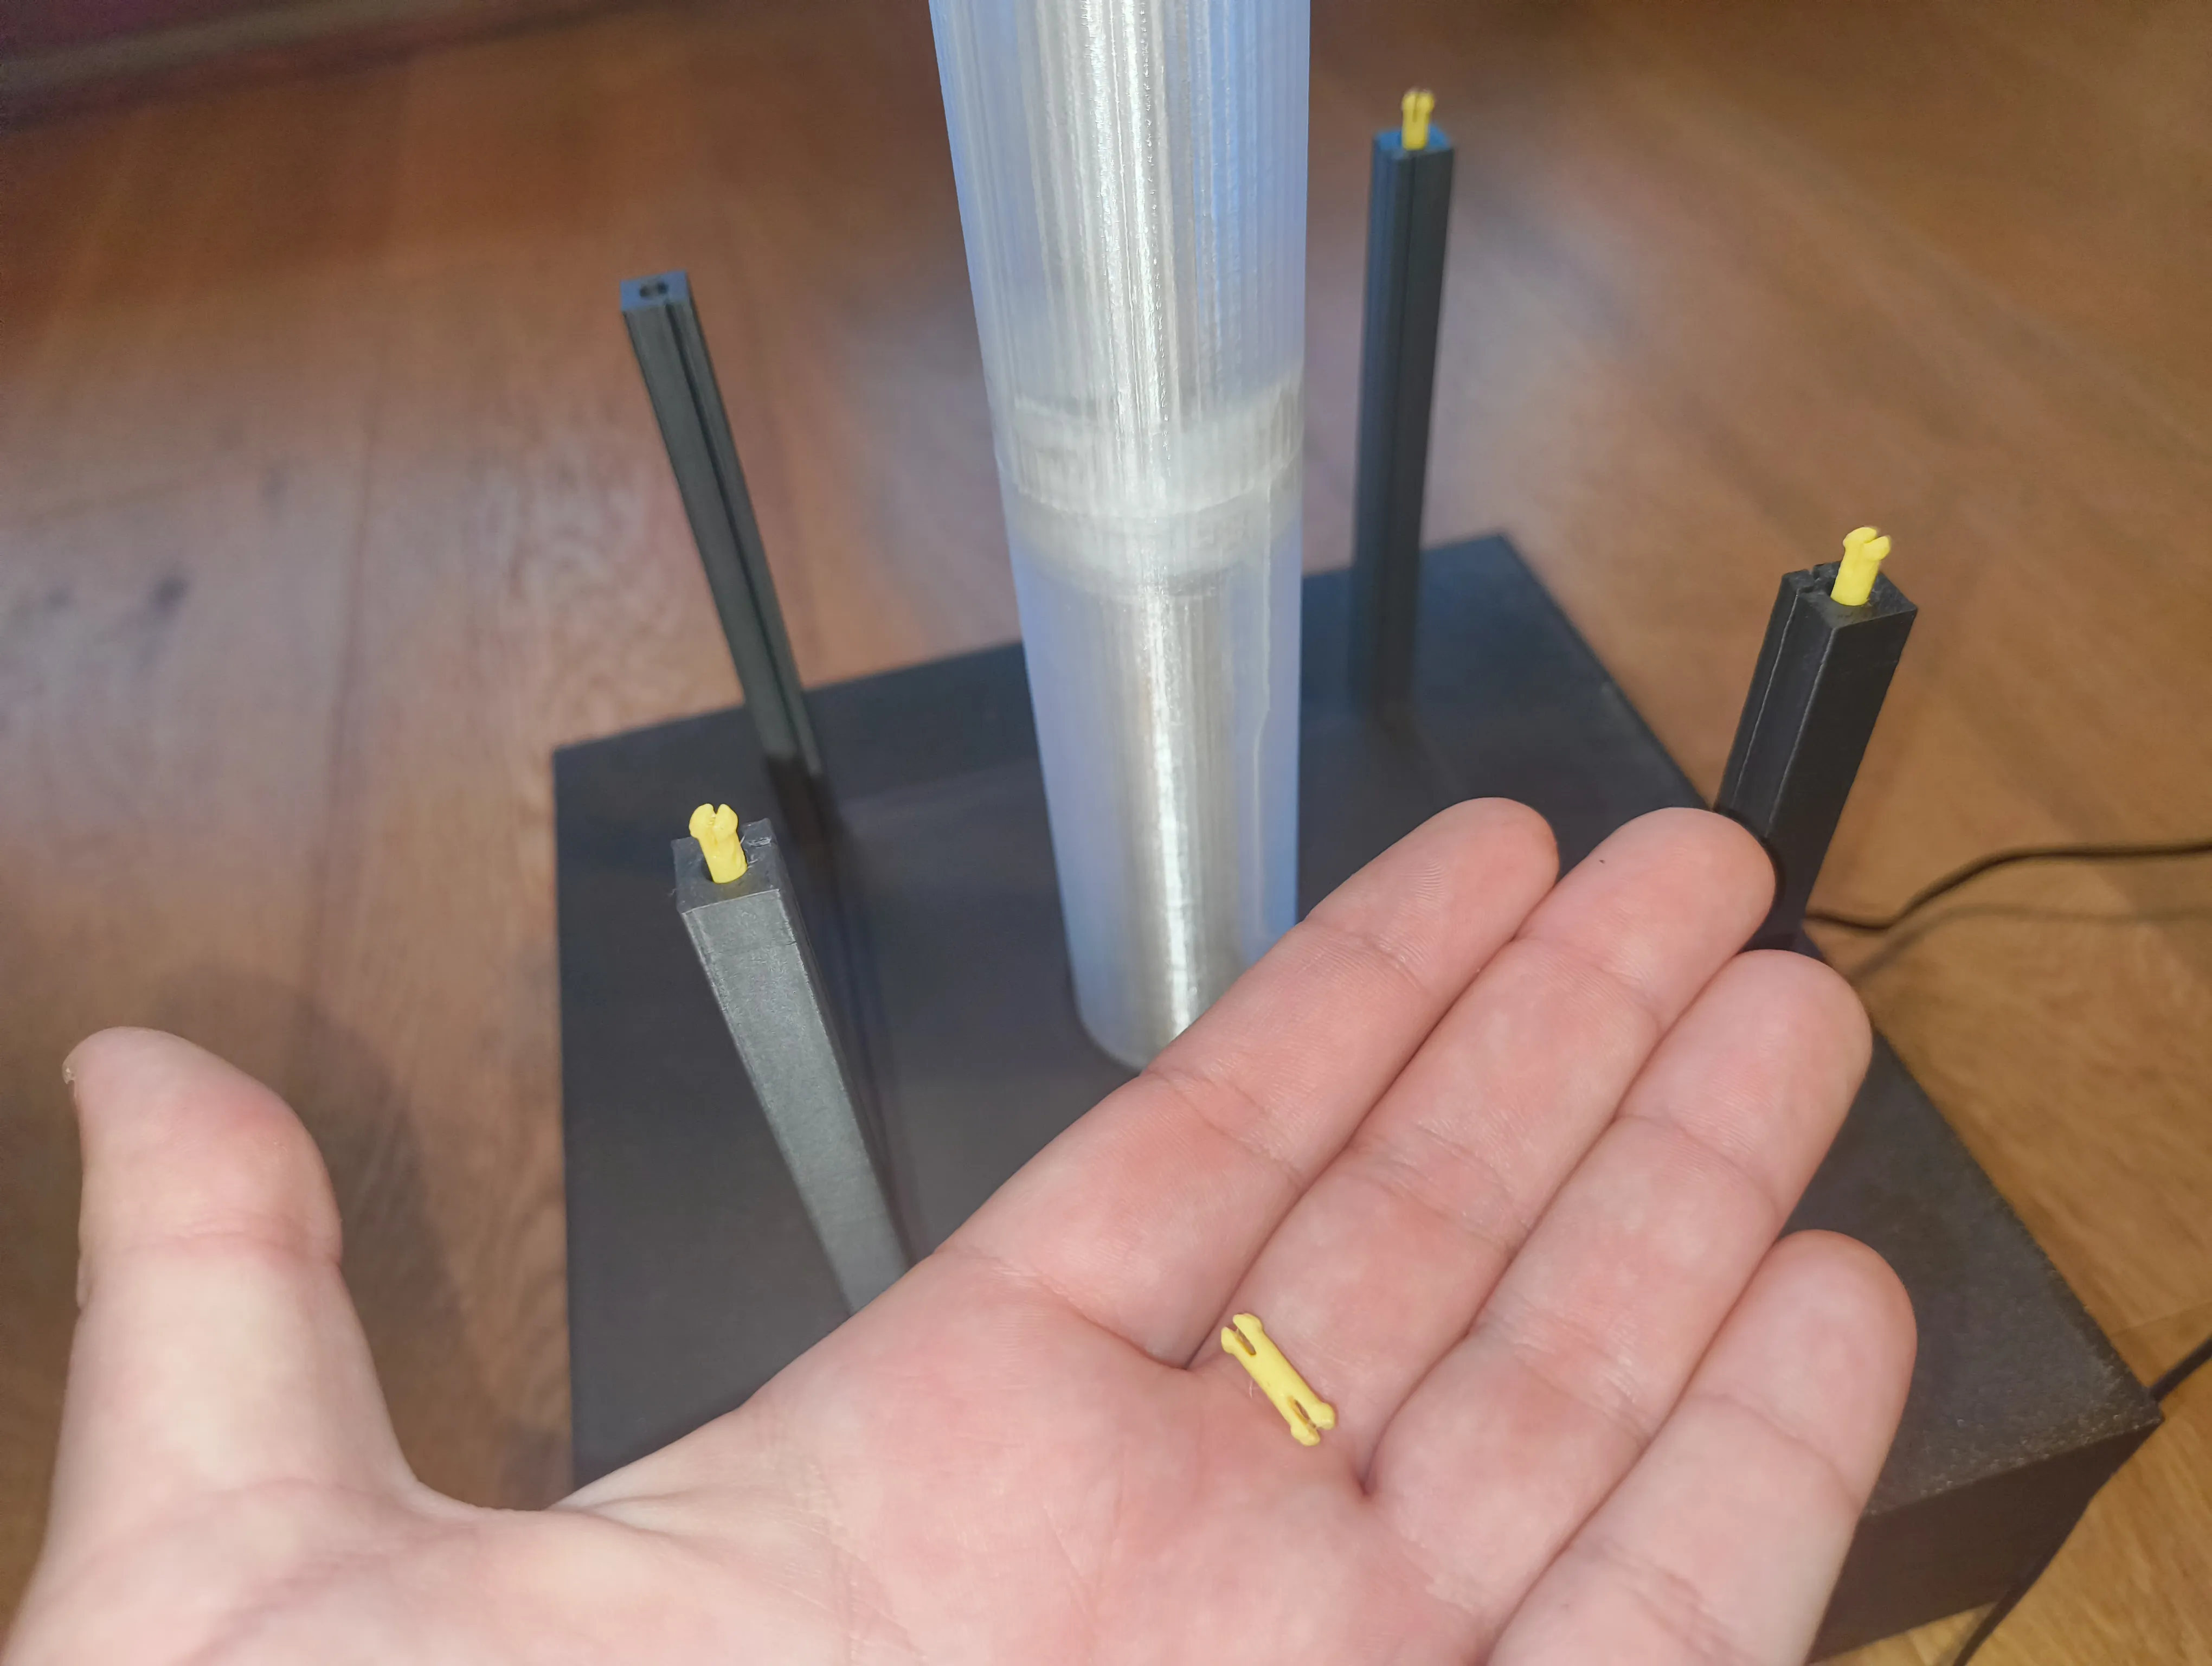 | 
| |
STEP 11 Slide a tall structure, try to hold the below panels in position on their guides and connect it. You can also pretty much adjust the position of the panels after you put the new structure on. Make sure everything is in position, connectors should click. Put the panels and the connectors on the new structure. Then repeat this action, alternating tall and short (or use the configuration you prefer) until you reach the top. If you use the animal panels with the kanji panels (as i did) you should put the dream kanji on the koi carp side, the imagination with the dragon, the reality with the tiger and the memories with the heron (there is a thought behind this association). |
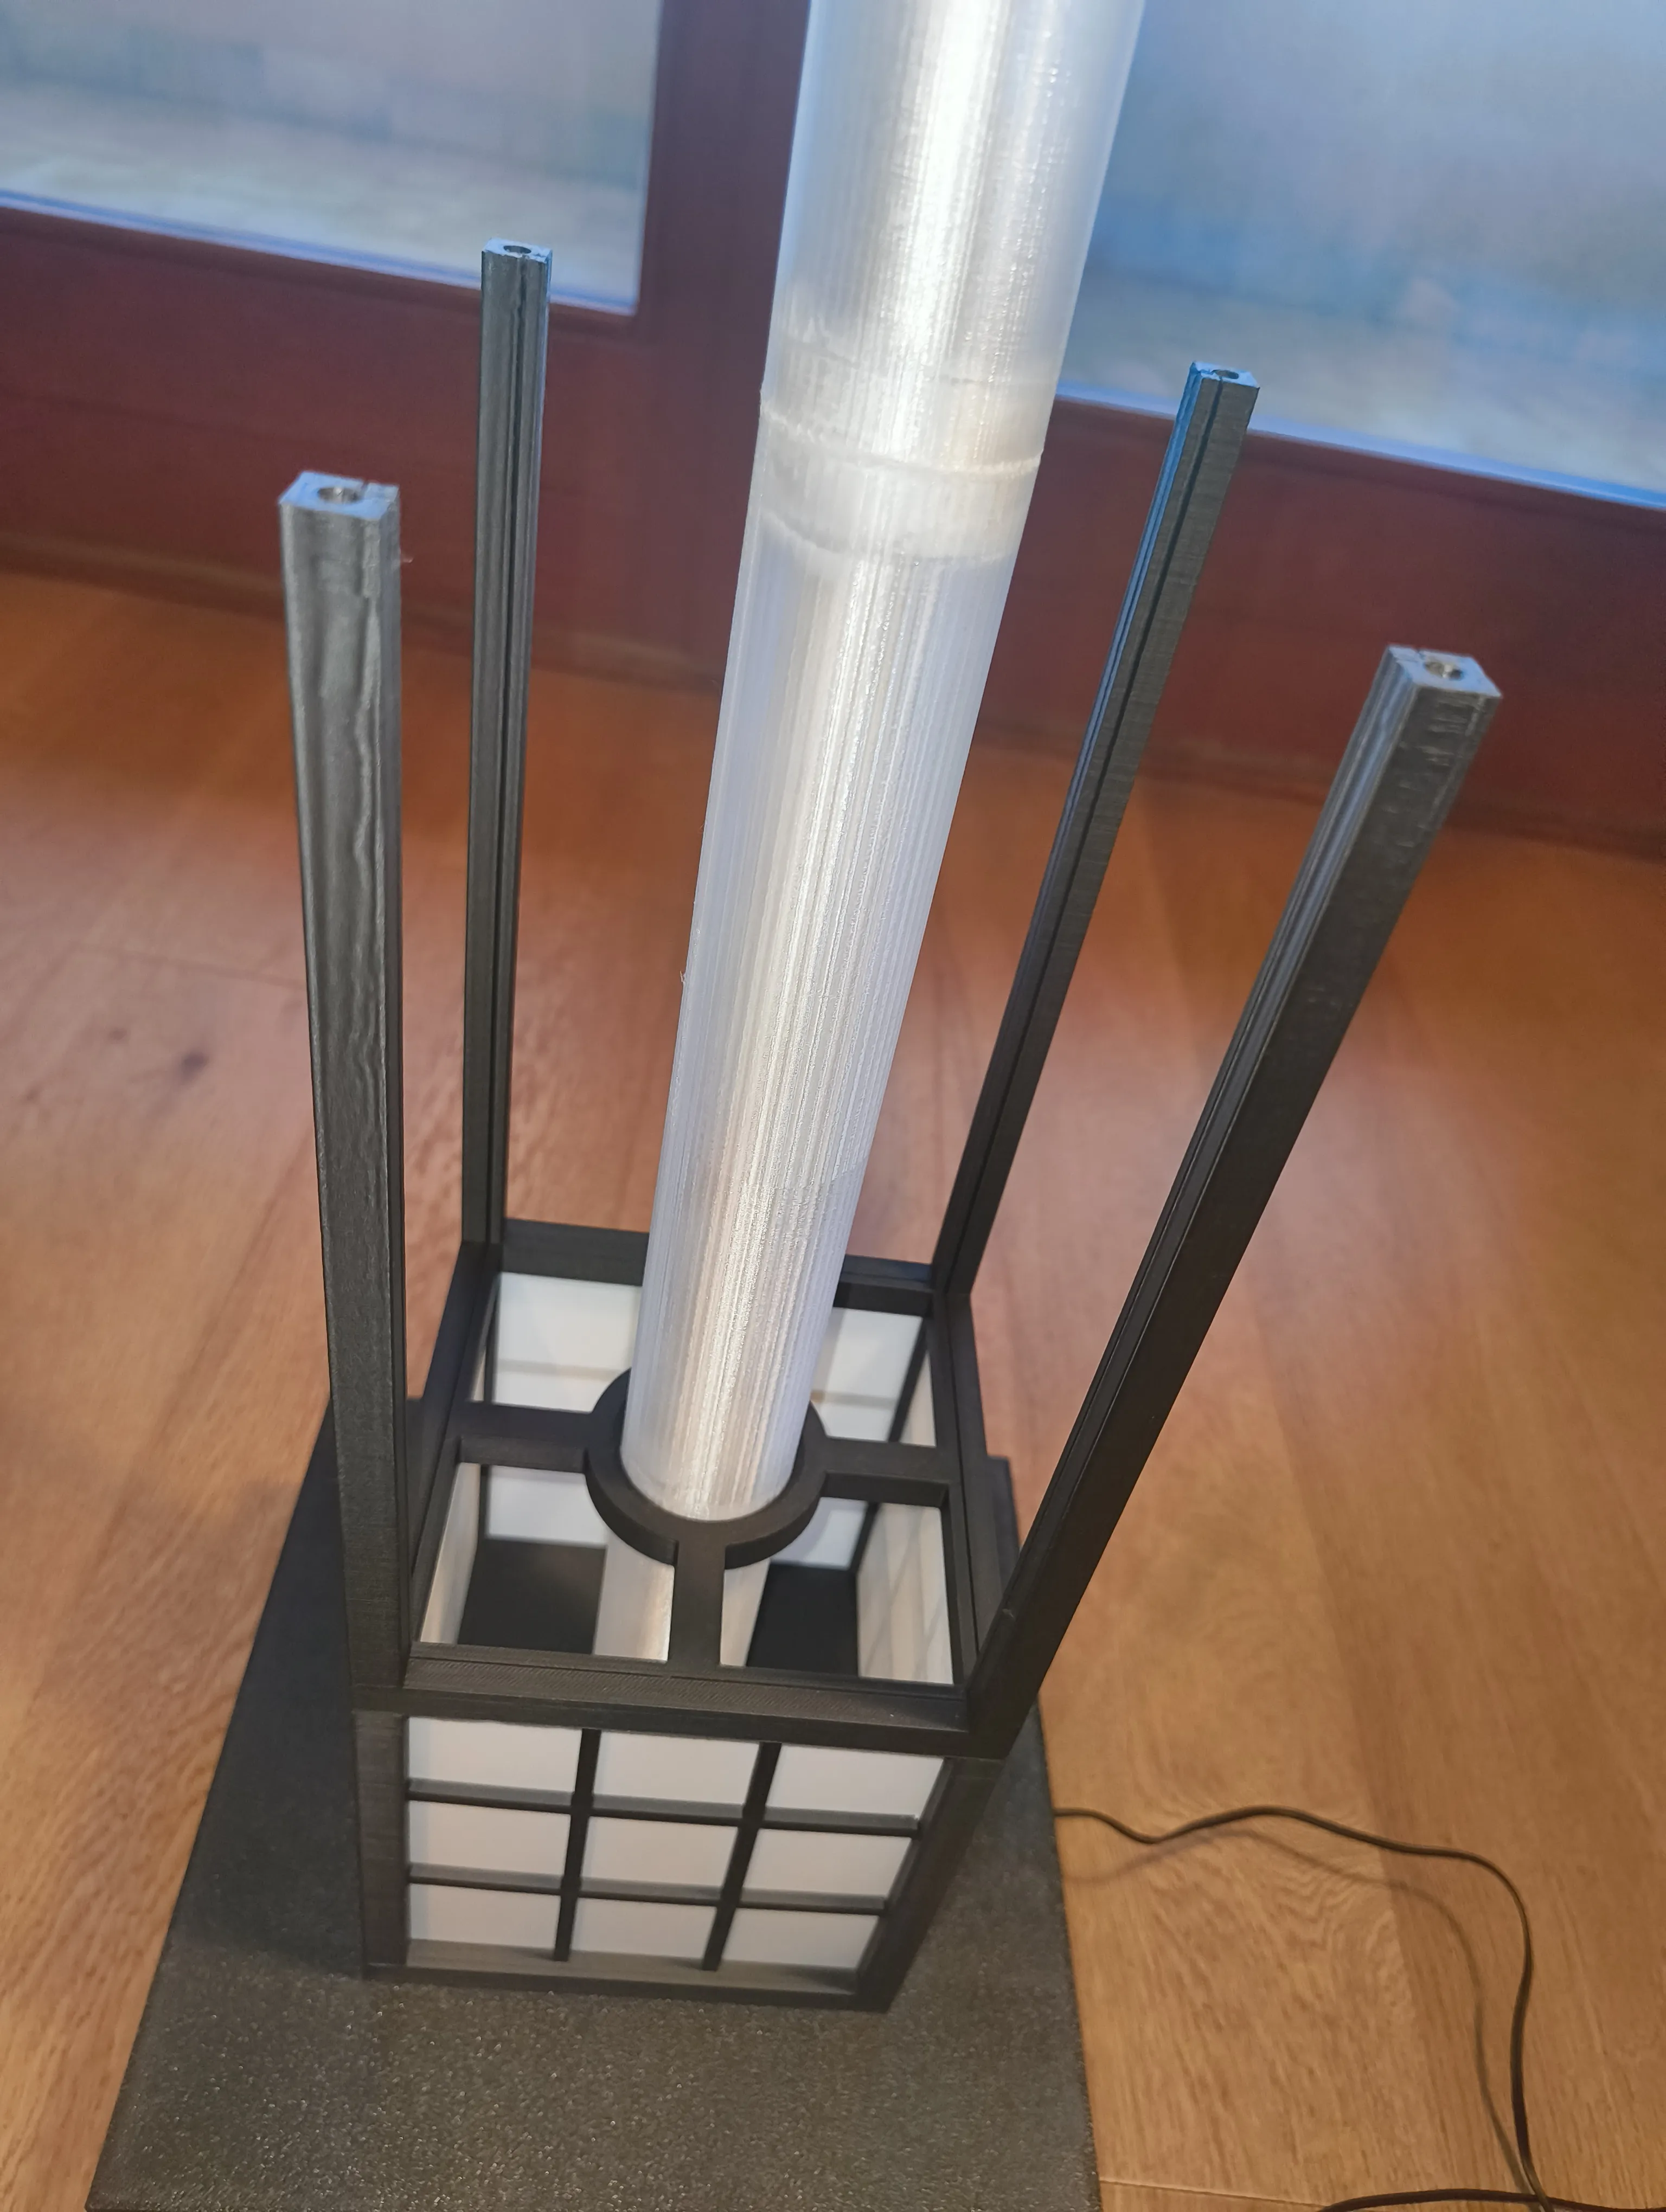 |
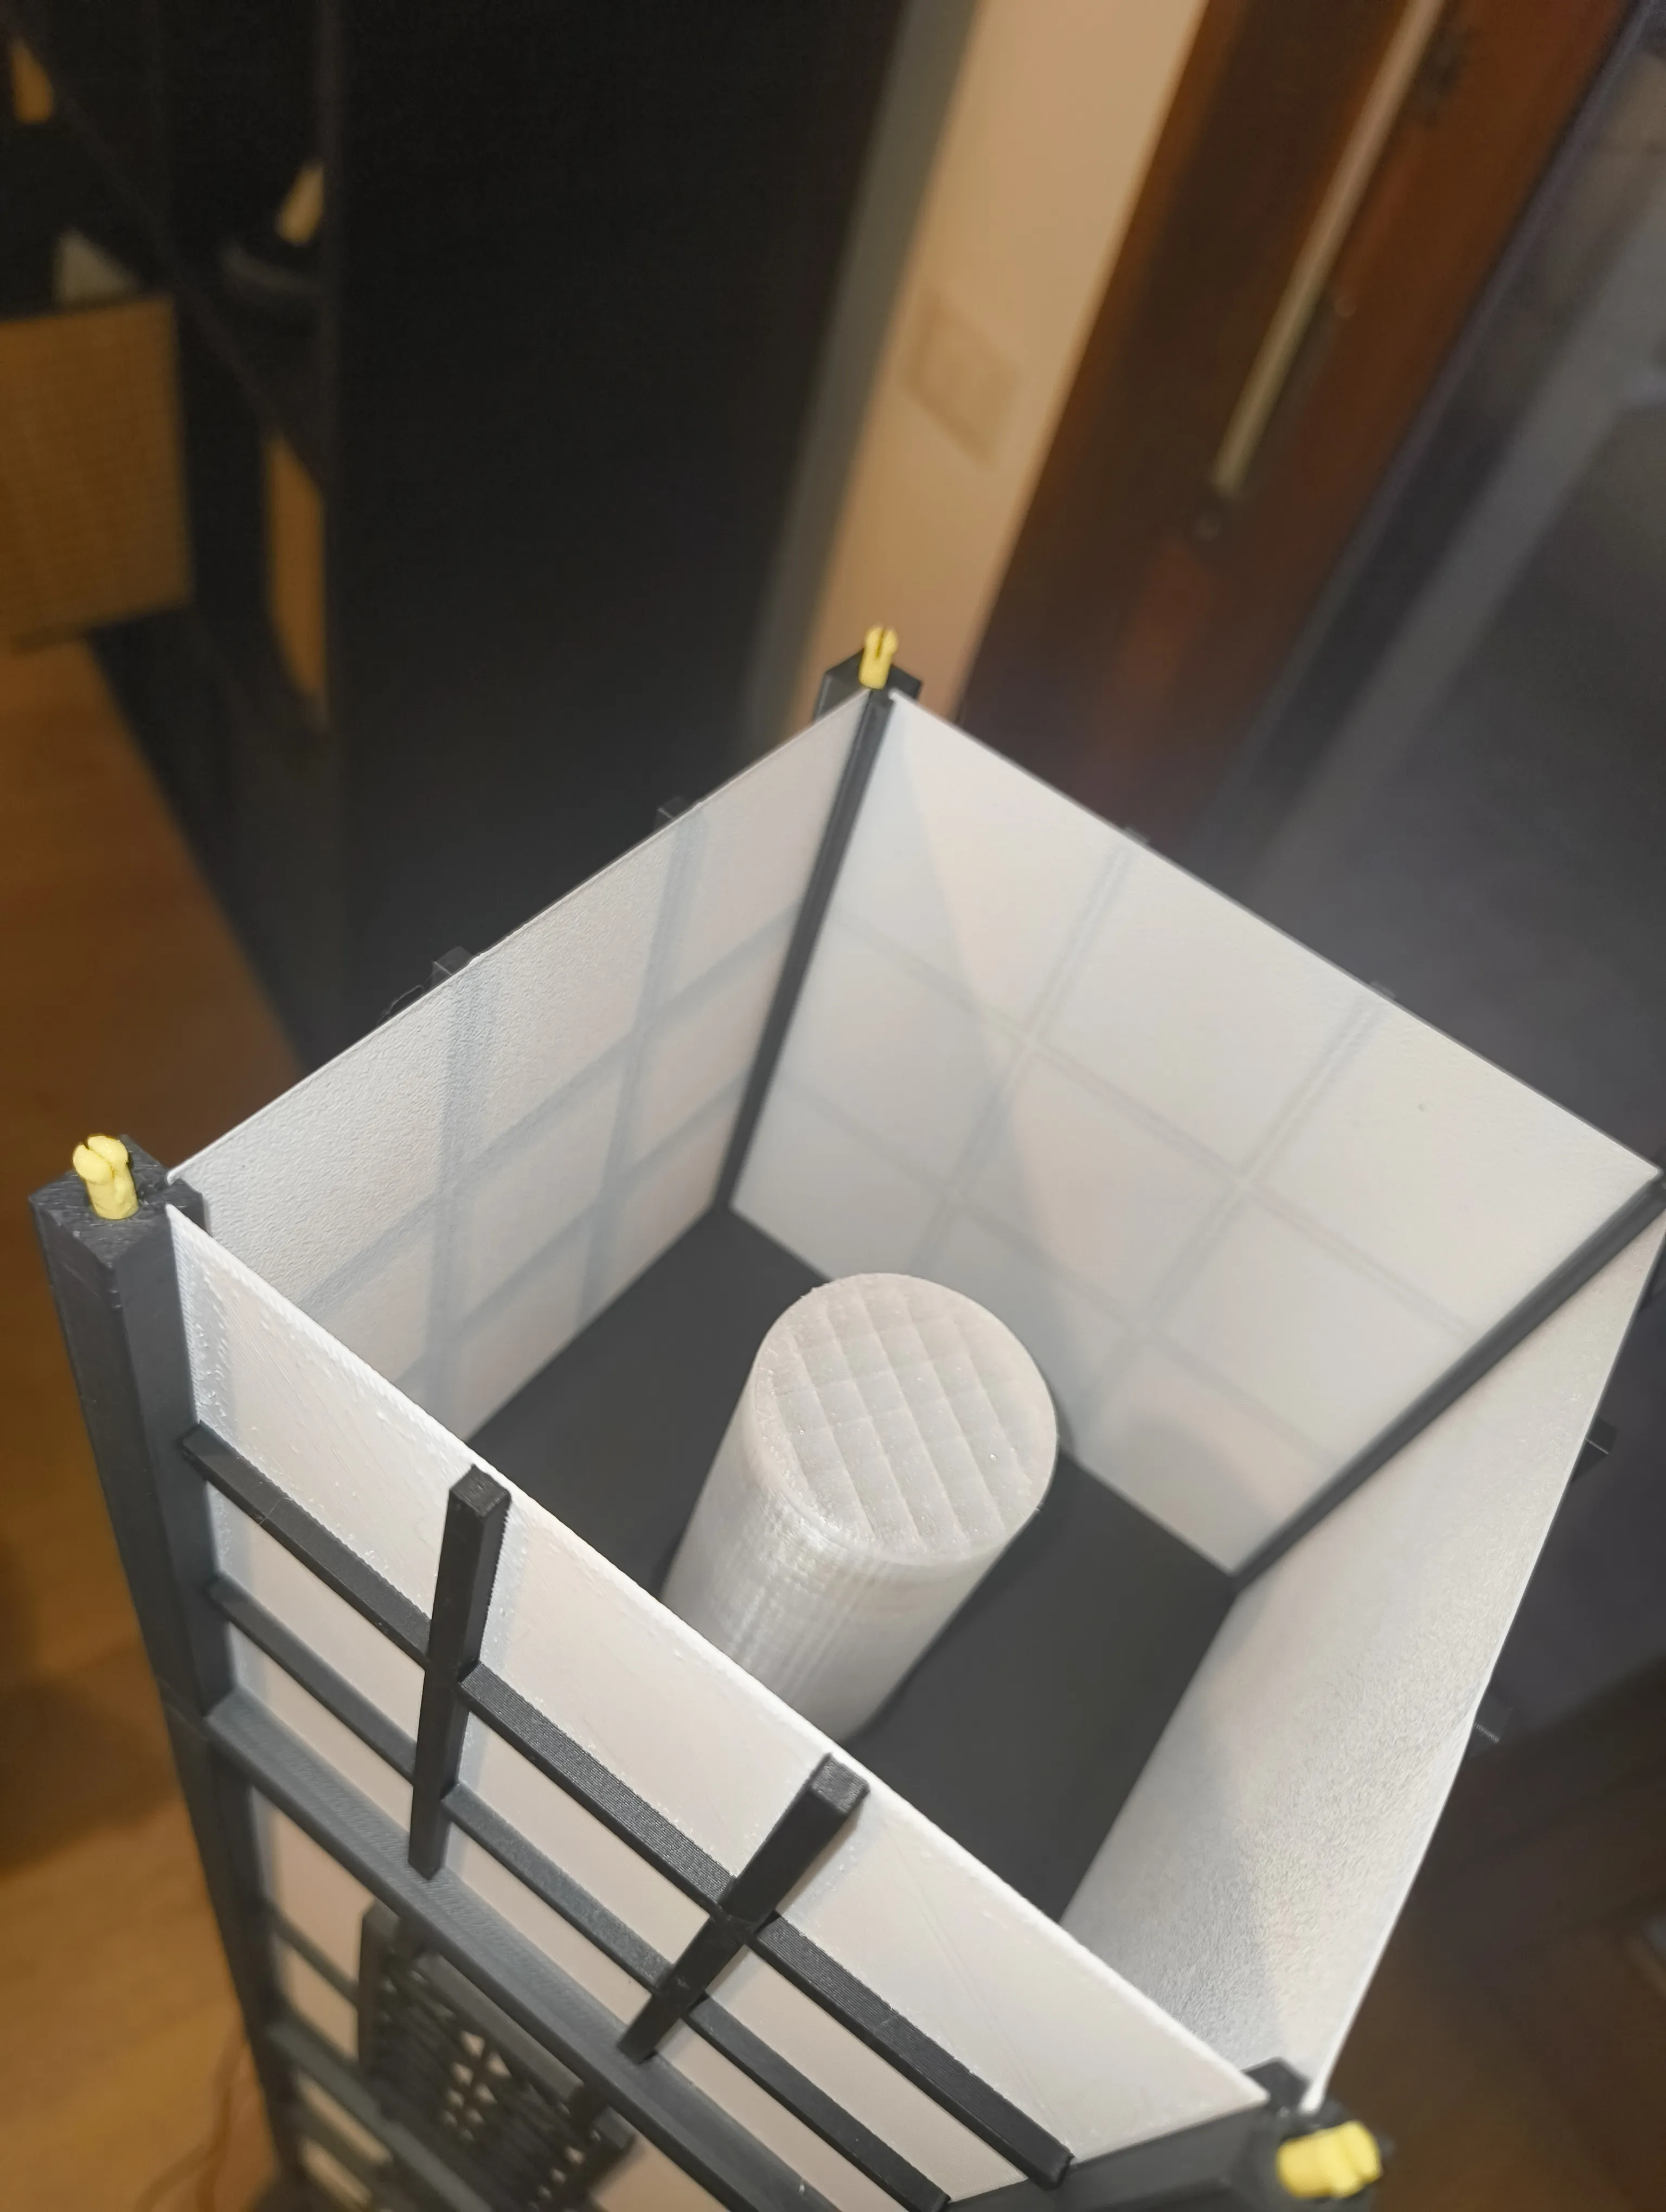 | |
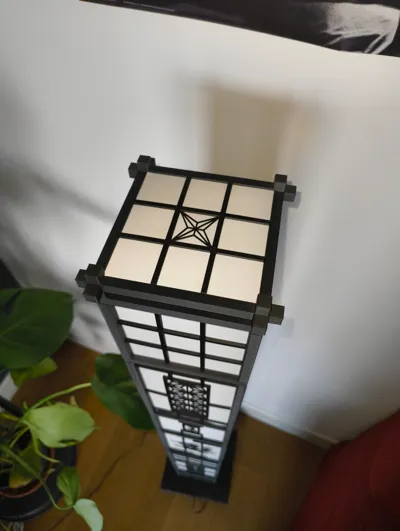
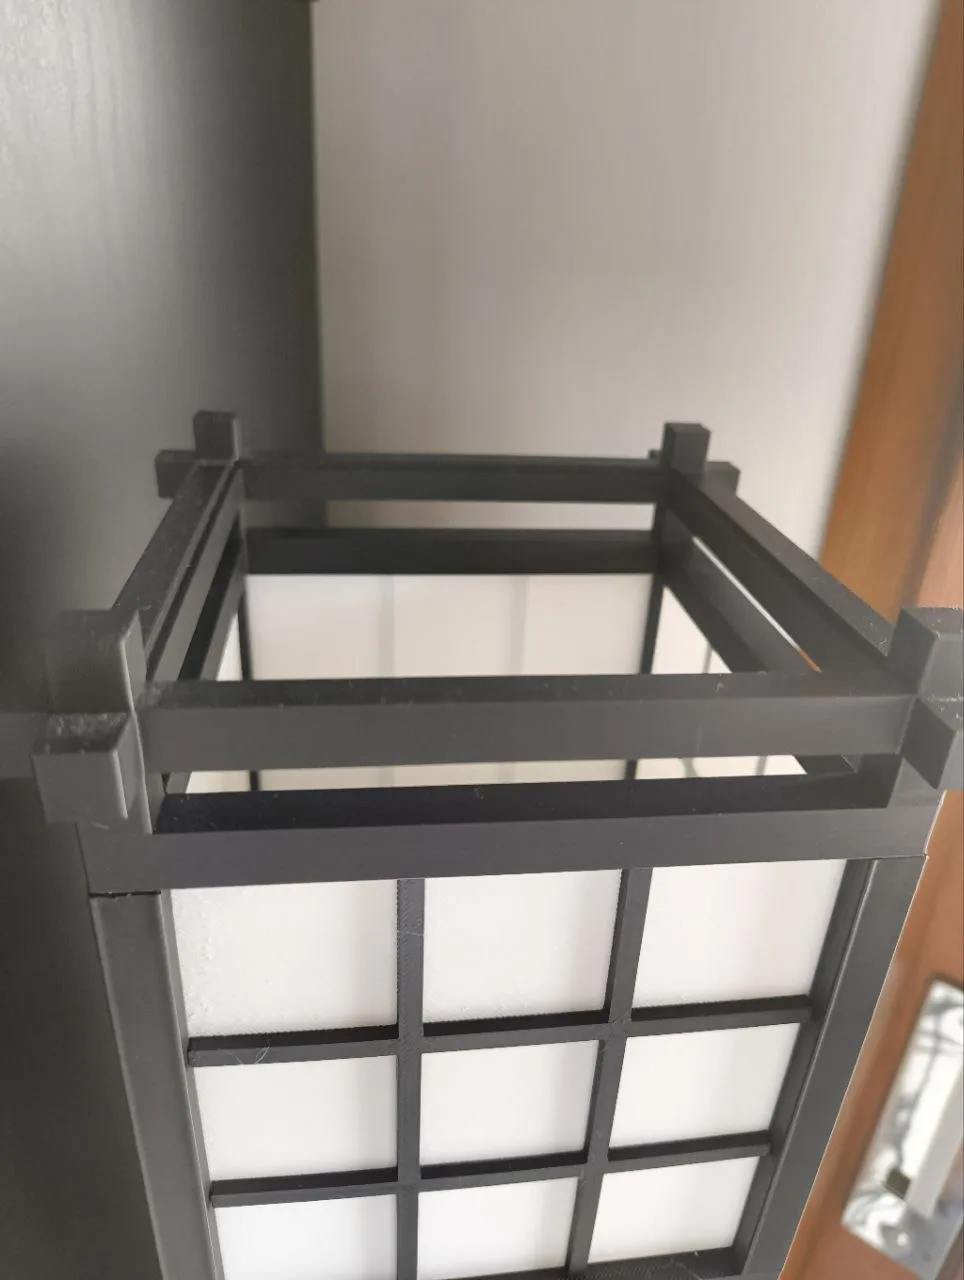
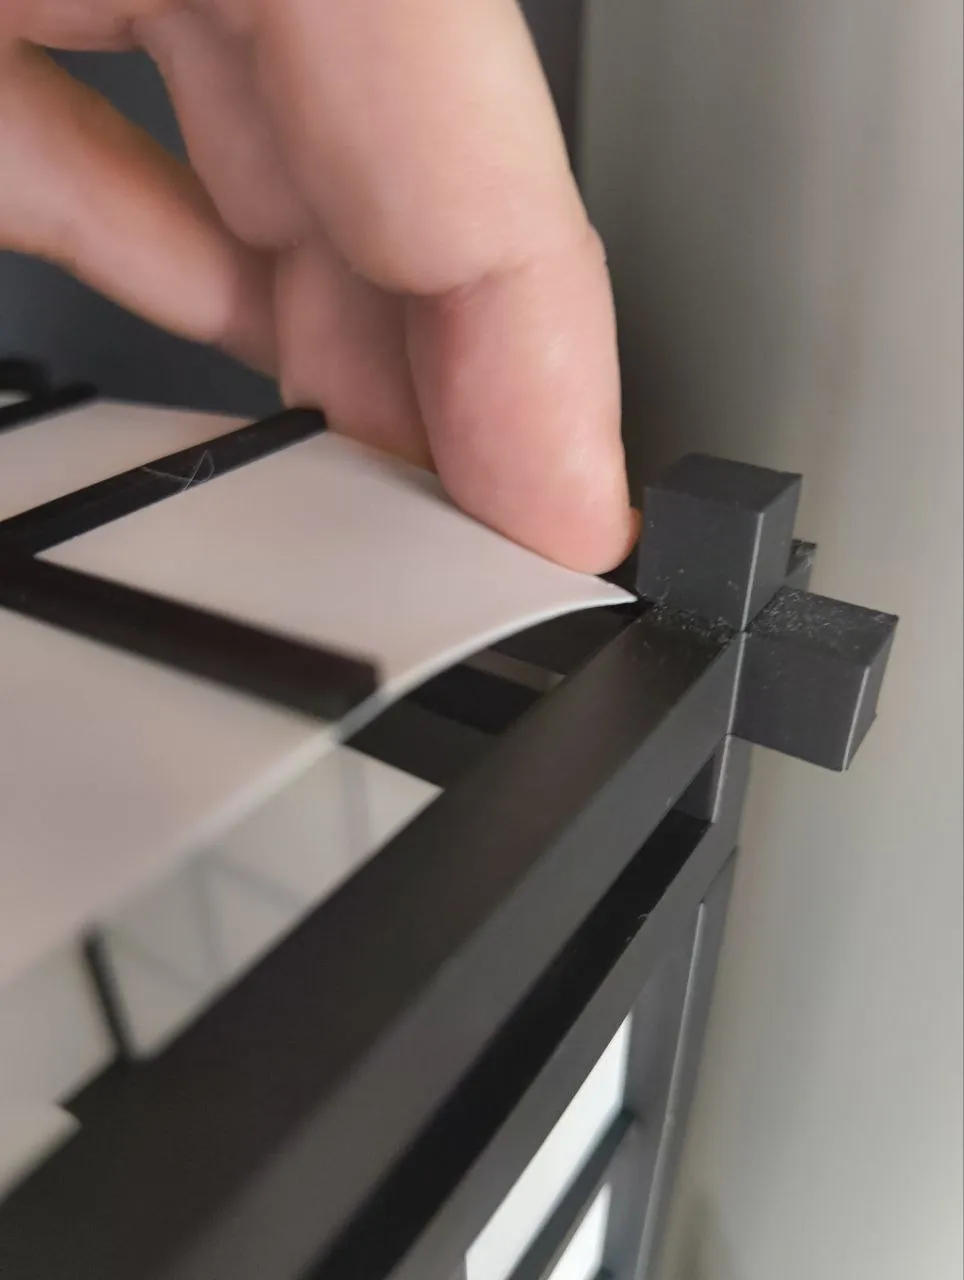
STEP 12 (END) Snap the lower part of the roof to close the structure. Then put 4 other connectors on it and snap the upper part of the roof on them (the one that has cross angles. Then insert the roof panel on top, bending it a little bit to make sure it fits in the corners, as shown: | 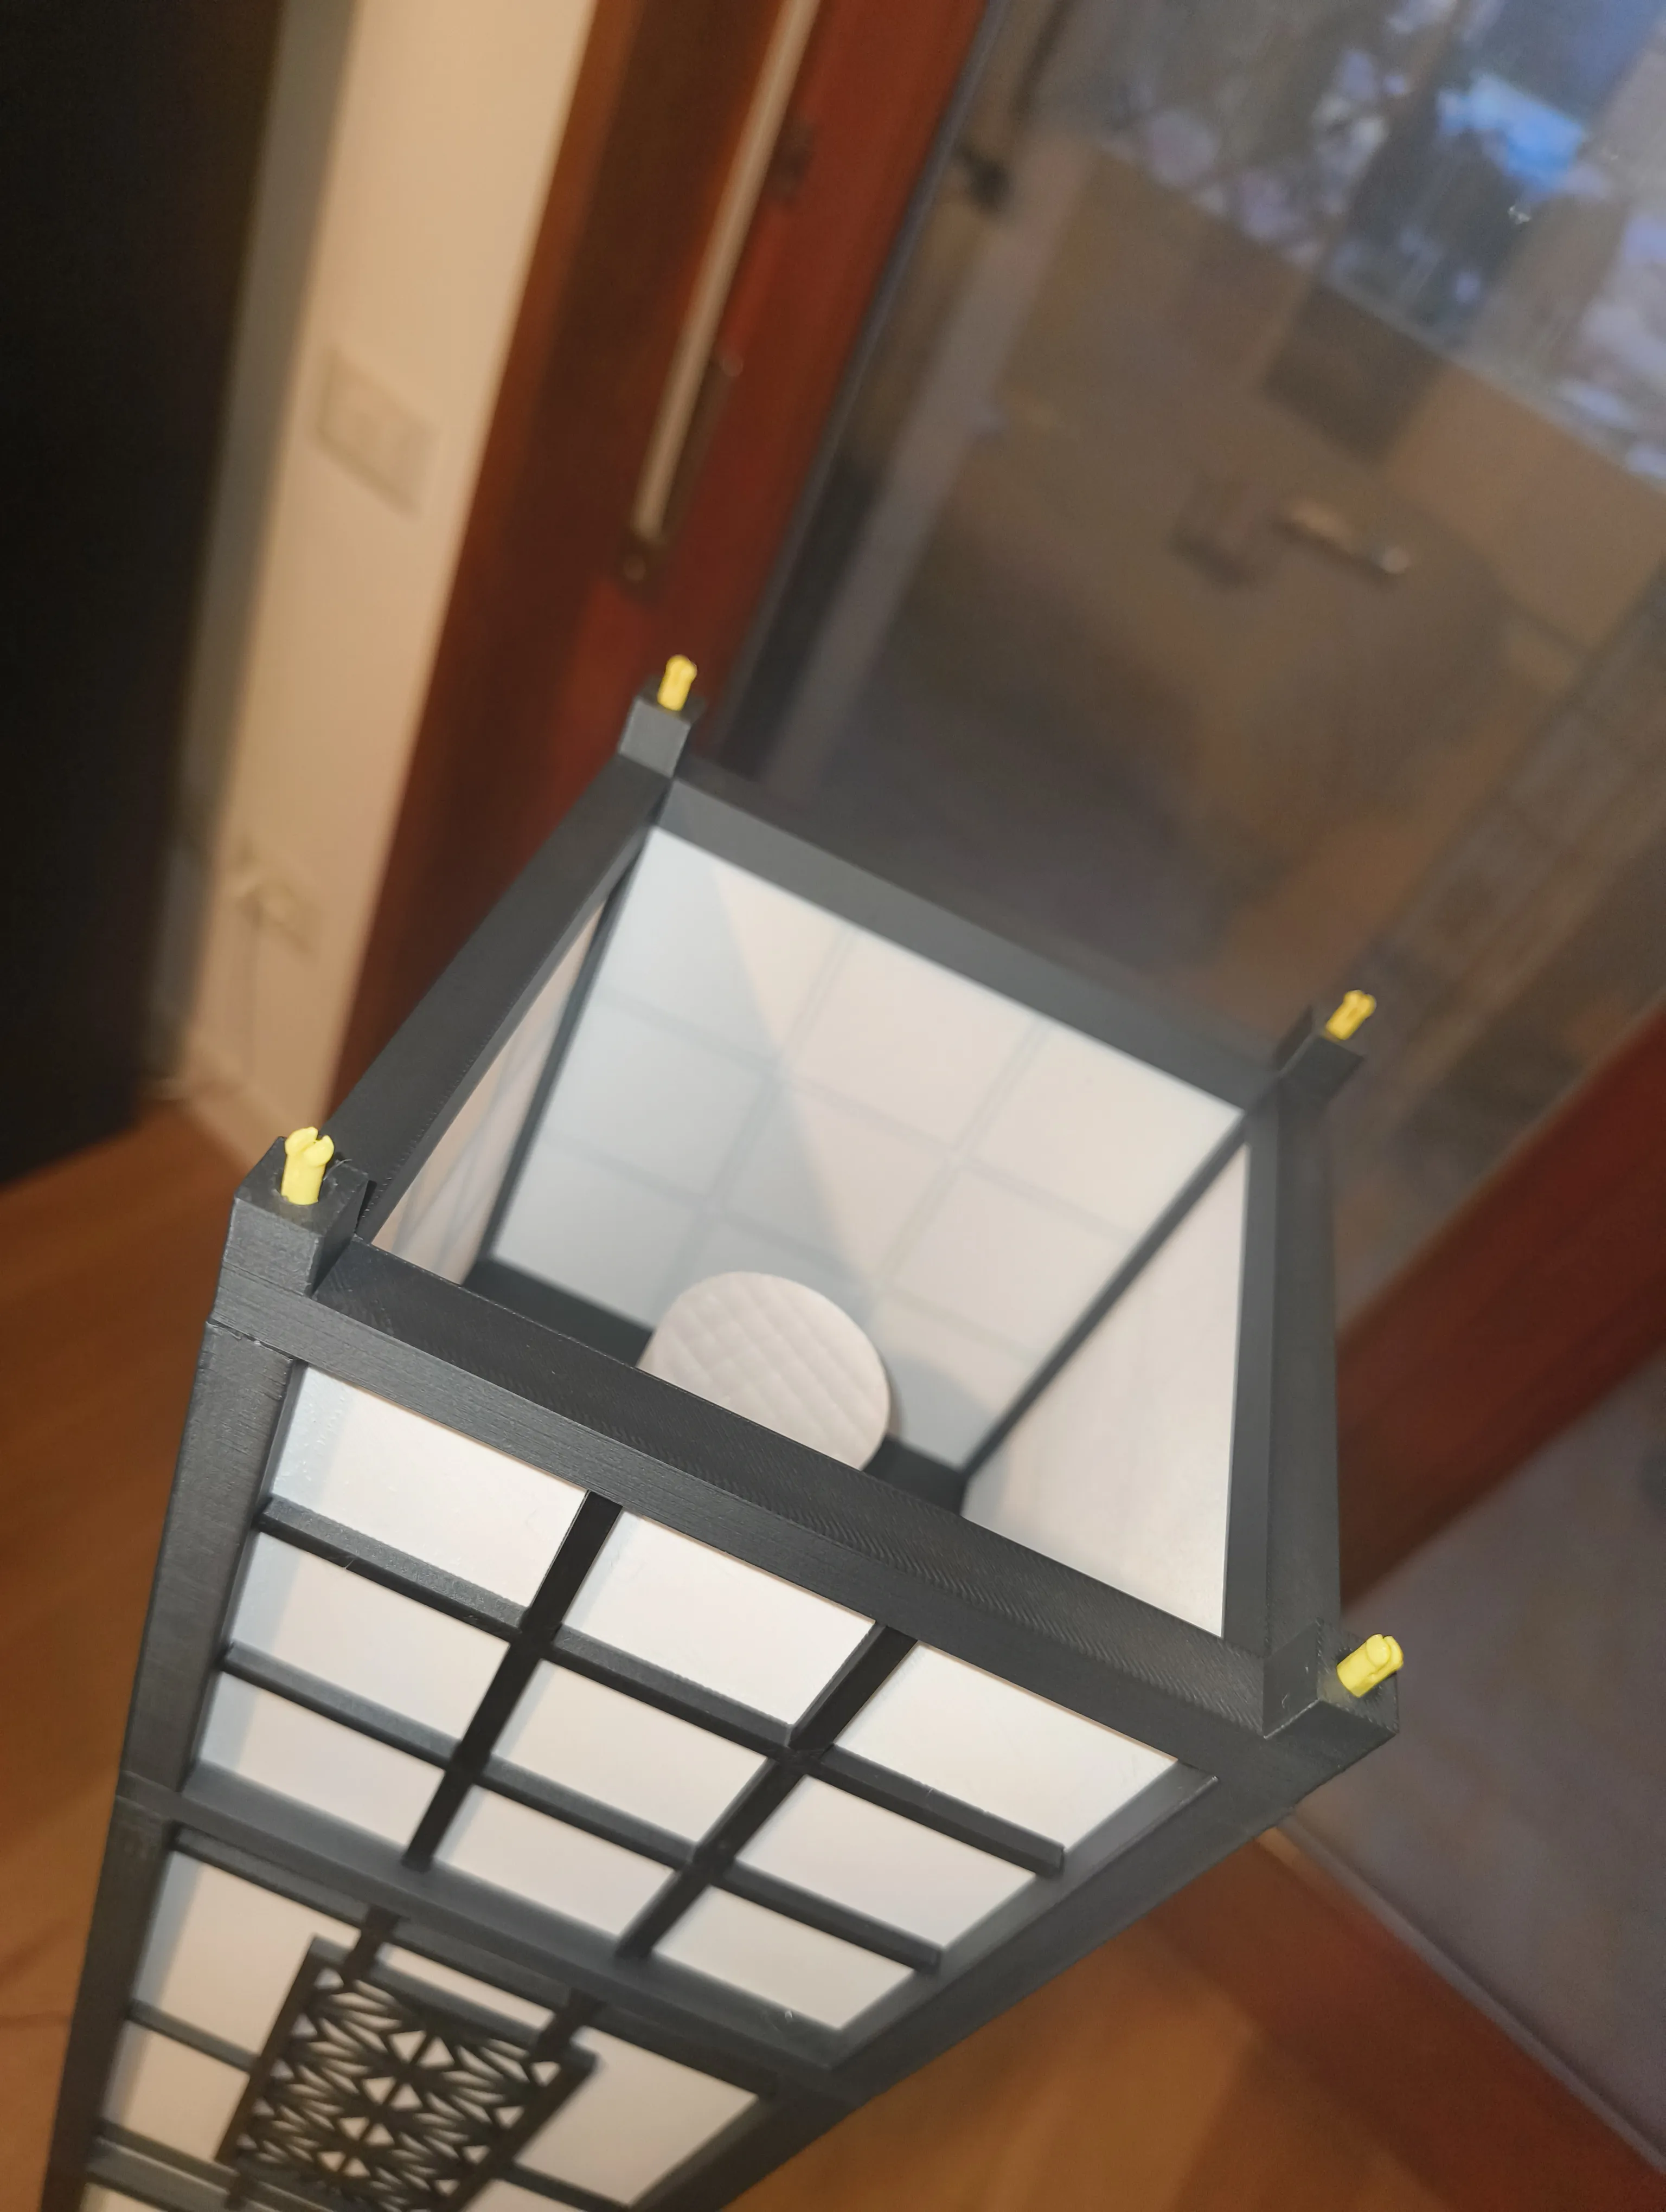
| 
| 
|
And then it's finished!
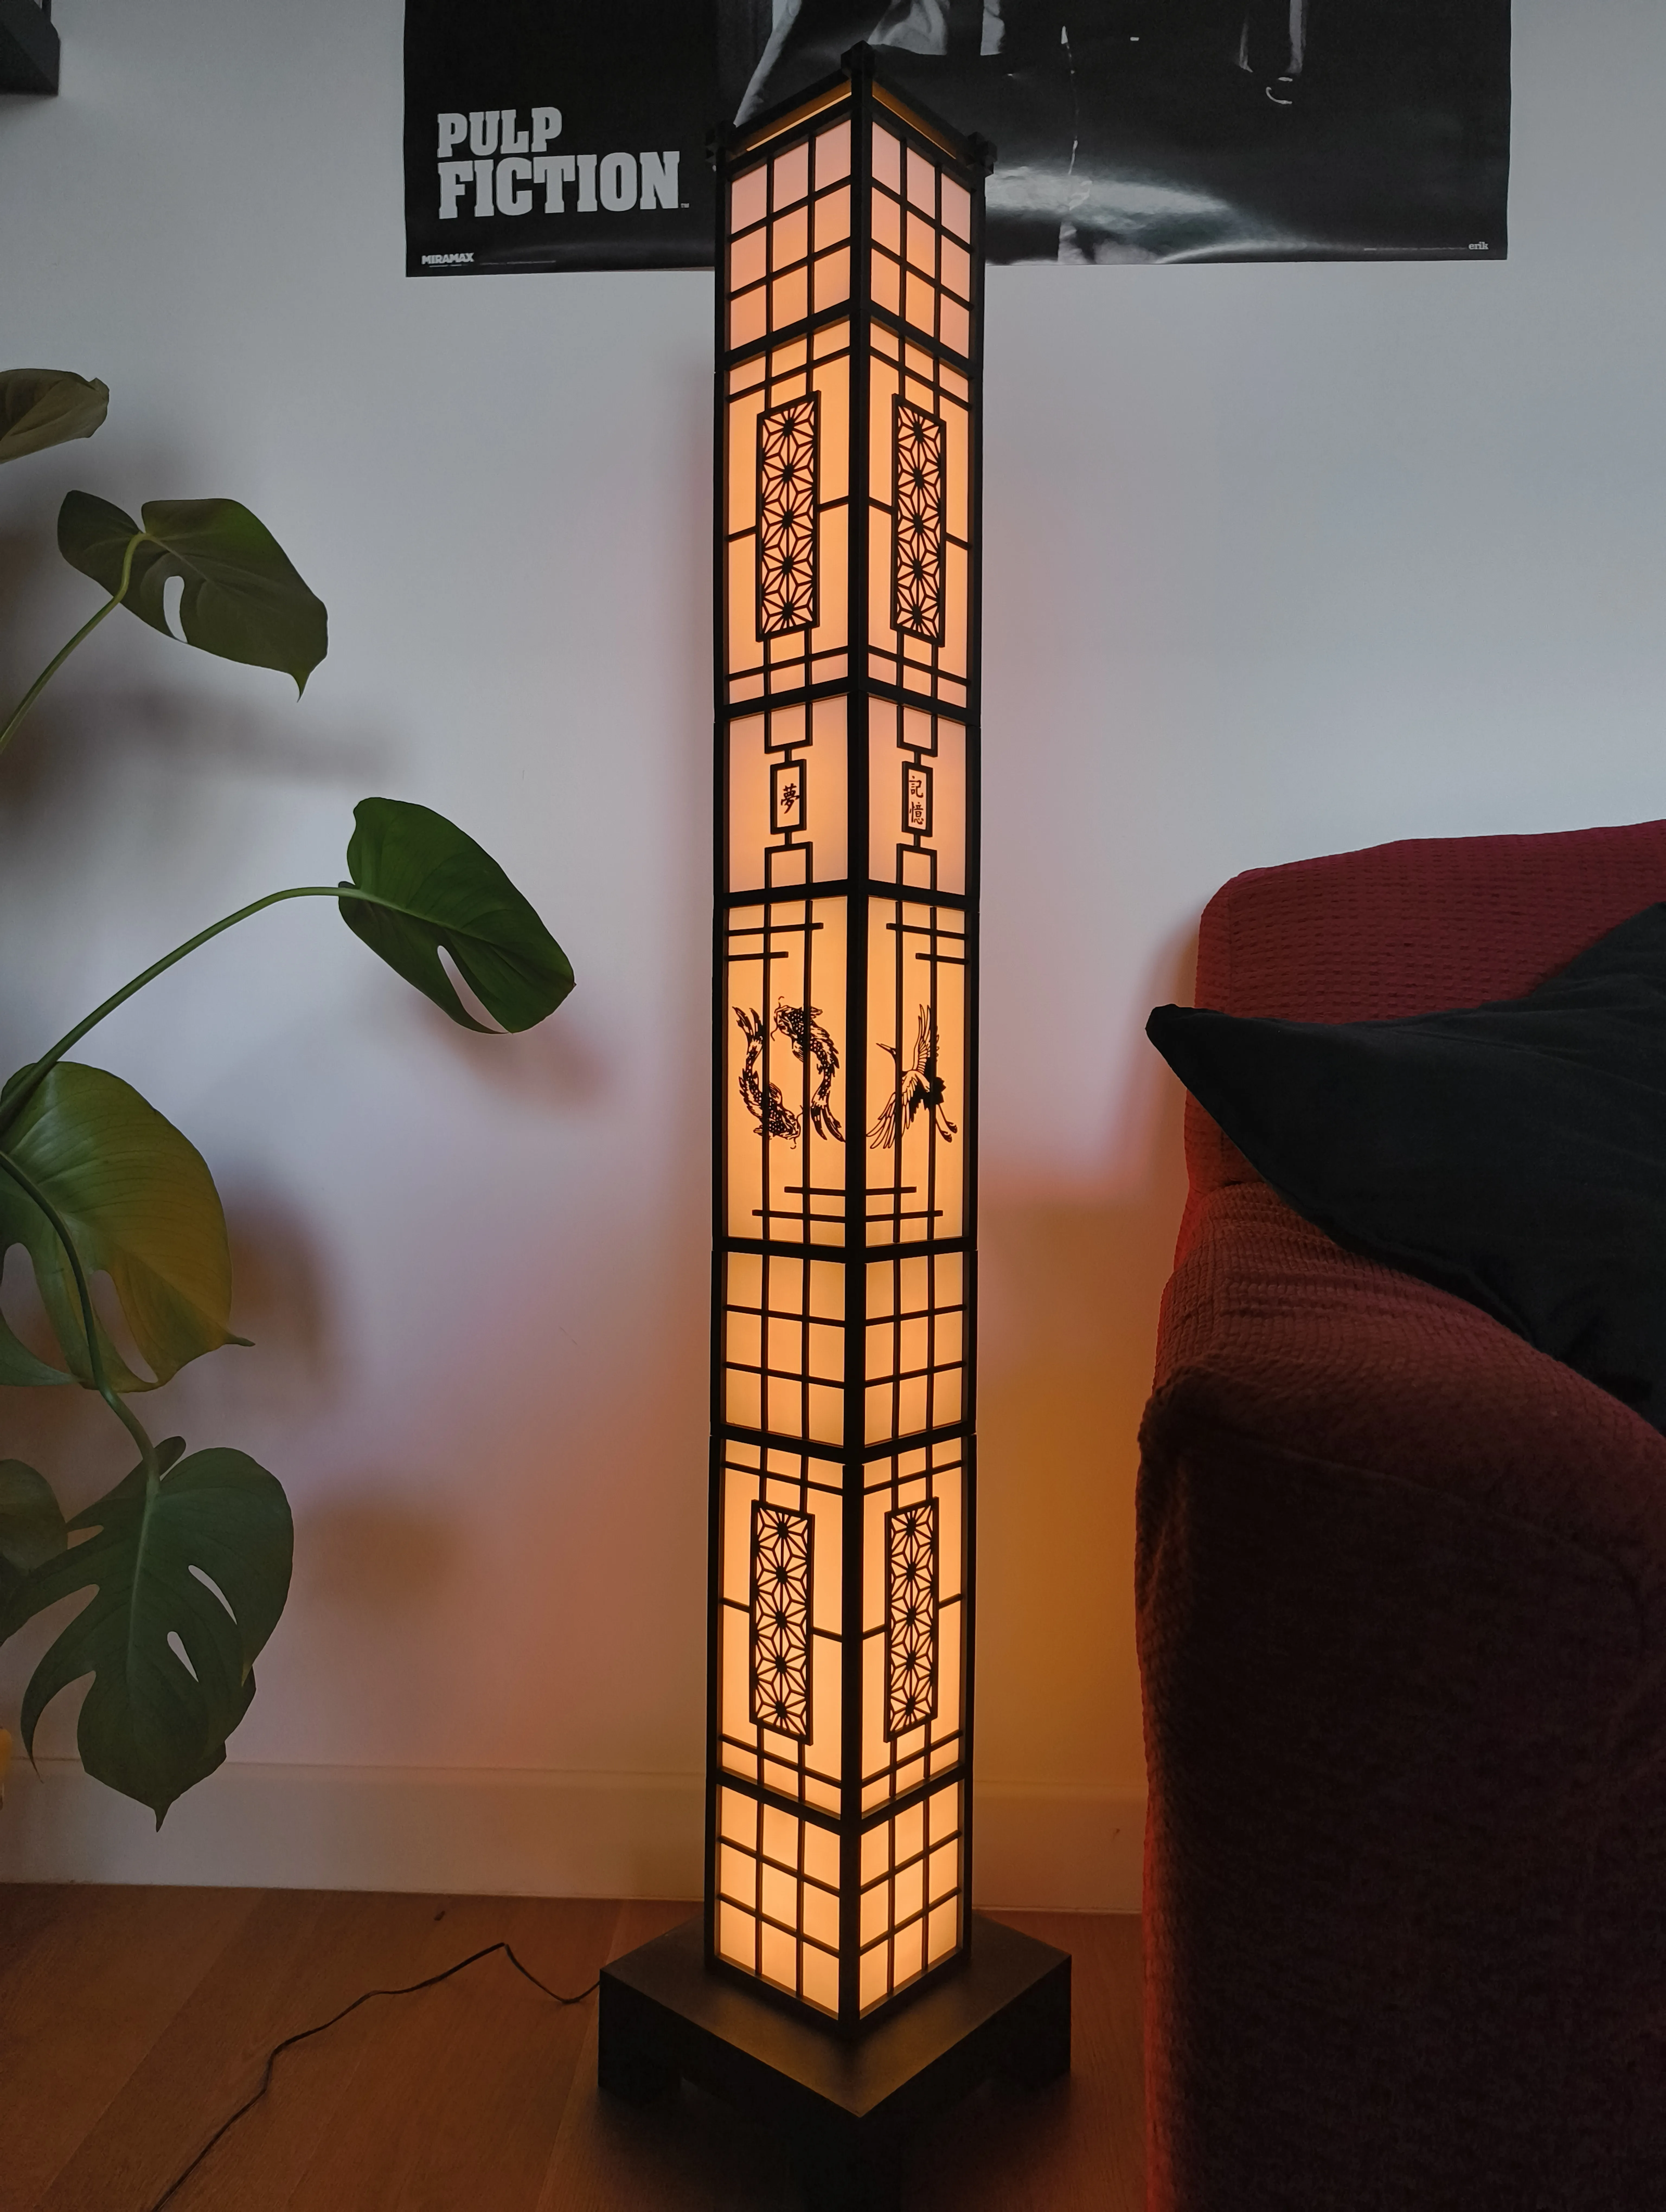
If you want a different configuration, the printing list to follow is:
- You need a base (+4 “base connectors” if you use the “big base”, +4 “connectors” if you use any other base)
- Then you need a roof (+ 4 “connectors”)
- For every “tall structure” you'll need: 4 “tall panels”, a “tall transparent cilinder”, a “tall core led rod" and 4 “connectors”
- For every "short structure” you'll need: 4 “short panels”, a “short transparent cilinder”, a “short core led rod”
But for the last structure, you don't want the led strip to end too high, so:
- if the last structure is tall you'll need to use a "short transparent cilinder” and a “short core led rod” for it
- if the last structure is short you'll need to use a “very short transparent cilinder” and a “very short core led rod” for it
To make it more clear, here is a couple examples:
- 2 tall structures and 2 short structures, ending with a short structure: You'll need 2 tall cilinders, 2 tall rods, 1 short cilinder, 1 short rod, 1 very short cilinder, 1 very short rod
- 2 tall structures and 2 short structures, ending with a tall structure: You'll need 1 tall cilinder, 1 tall rod, 3 short cilinder, 3 short rod,
- 4 tall structures and 2 short structures, ending with a short structure: You'll need 4 tall cilinders, 4 tall rods, 1 short cilinder, 1 short rod, 1 very short cilinder, 1 very short rod
if you need any help you can dm me :)
Boost Me (for free)
Writing this description was harder than making the actual project lol
Make sure to follow, like and boost!
Enjoy!
License

You shall not share, sub-license, sell, rent, host, transfer, or distribute in any way the digital or 3D printed versions of this object, nor any other derivative work of this object in its digital or physical format (including - but not limited to - remixes of this object, and hosting on other digital platforms). The objects may not be used without permission in any way whatsoever in which you charge money, or collect fees.


Comment & Rating (201)