
Qidi Plus 4 Heater Duct Temperature Fix
Print Profile(1)

Description
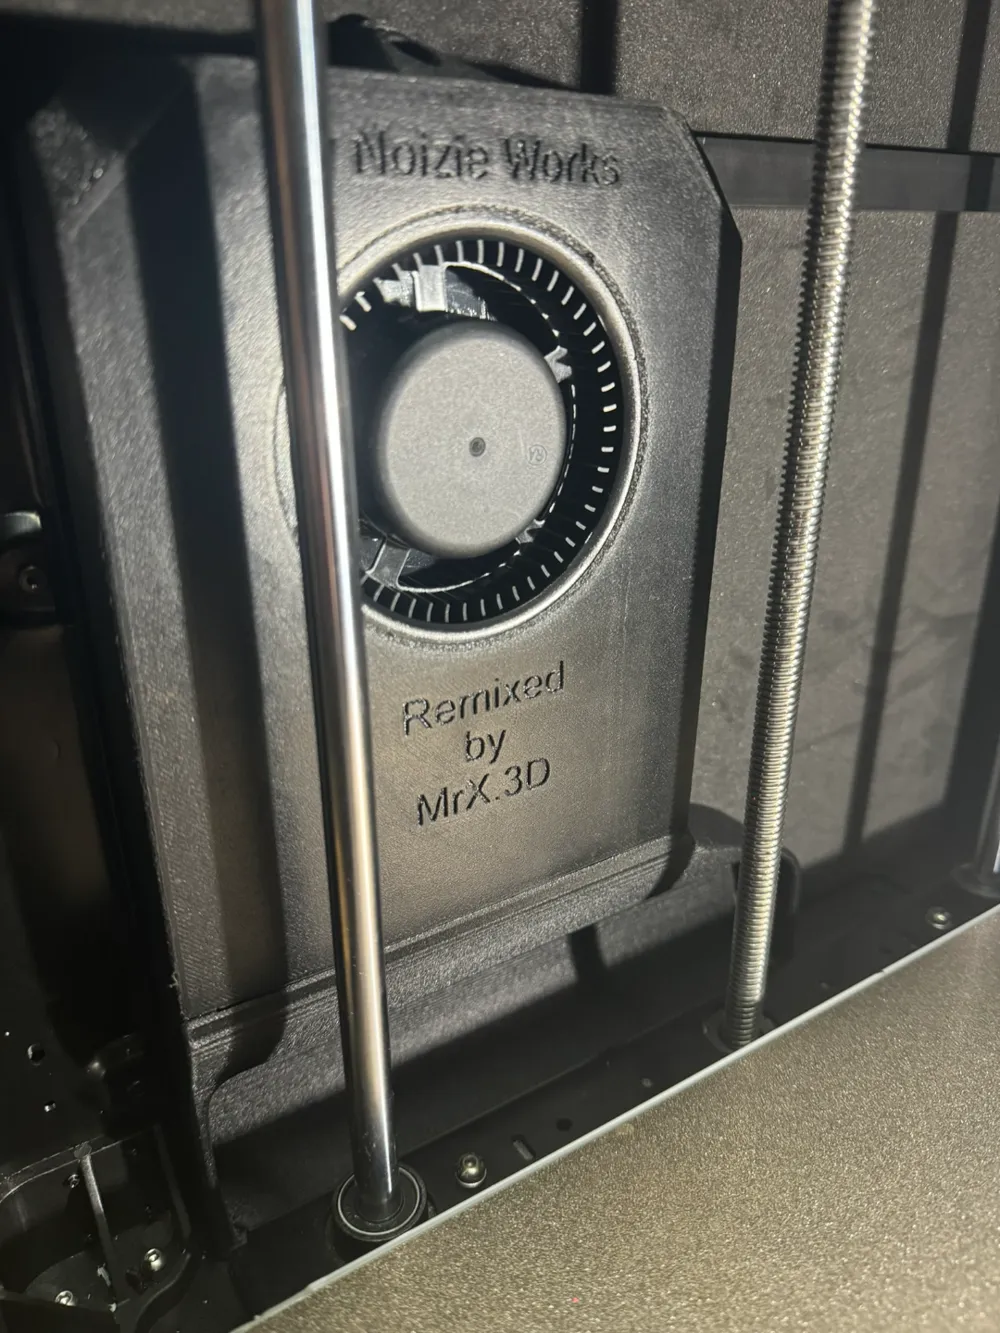
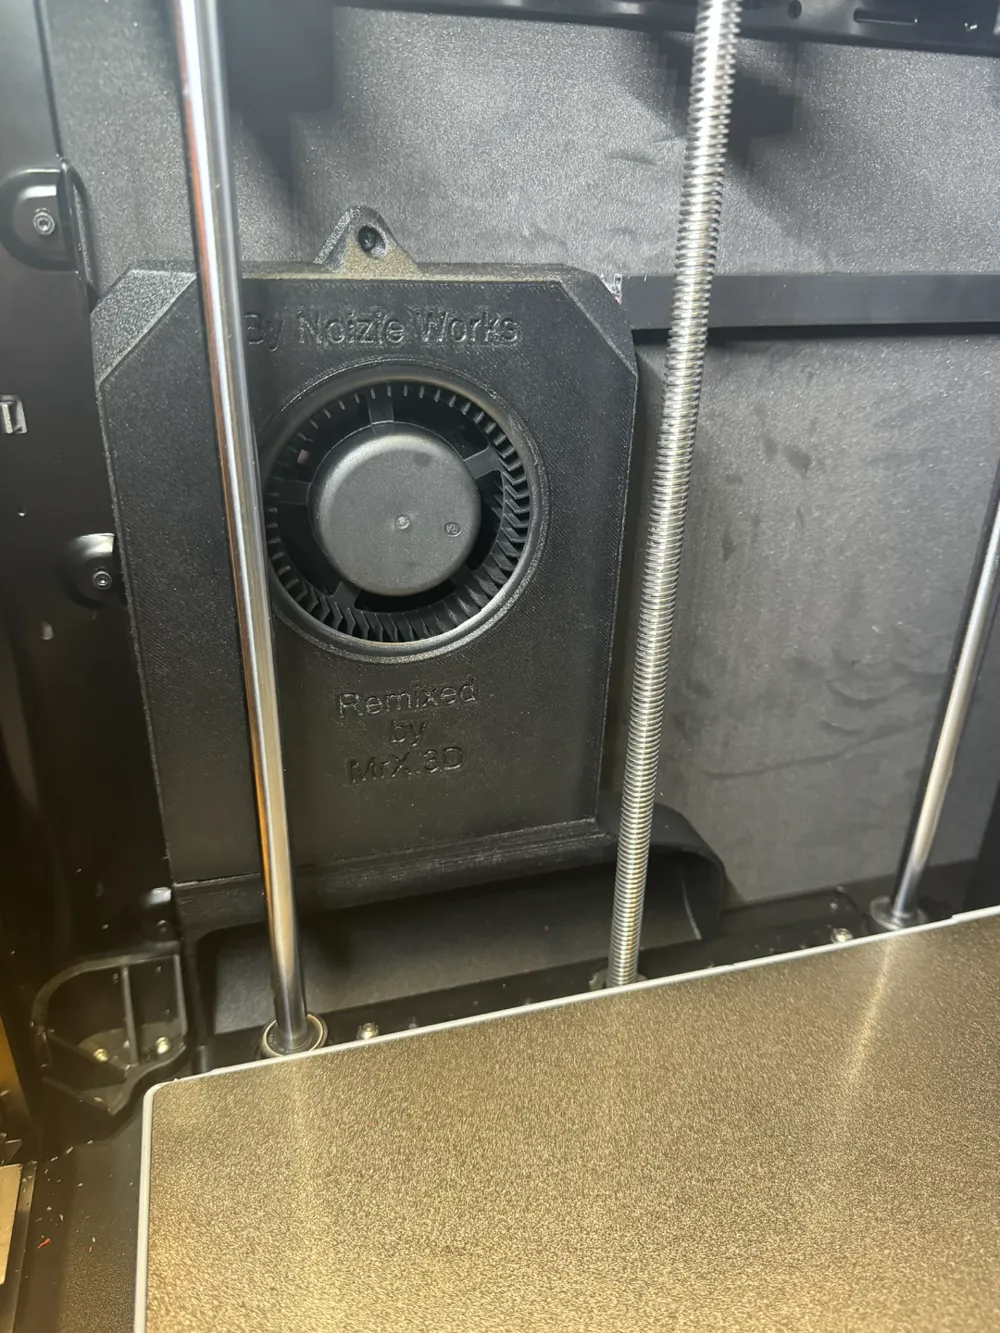
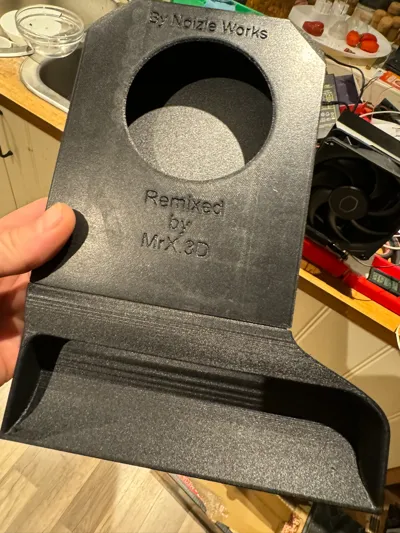
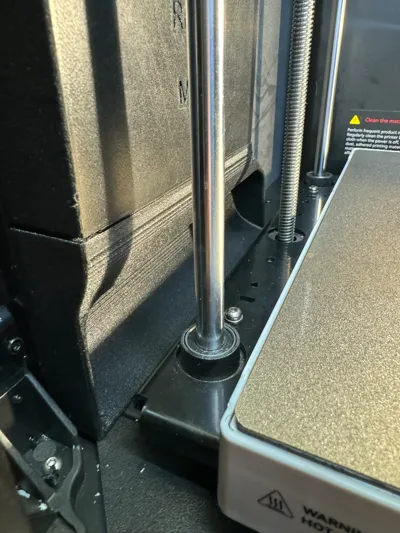
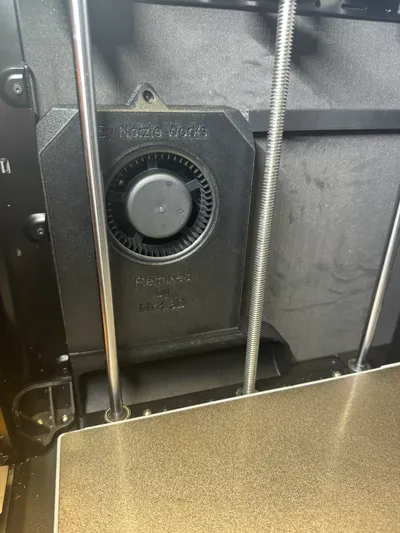
This mod will fix any issues of overheating the chamber fan assembly on tall models. Read Original model author text for more info.
Recommendation is to print this with a filament withstanding at least 150c without deforming. The PTC-Unit is not insulated, so -CF filaments is not recommended. I used Bambu PA6-GF for this and it turned out fantastic. Make sure to dry it though!
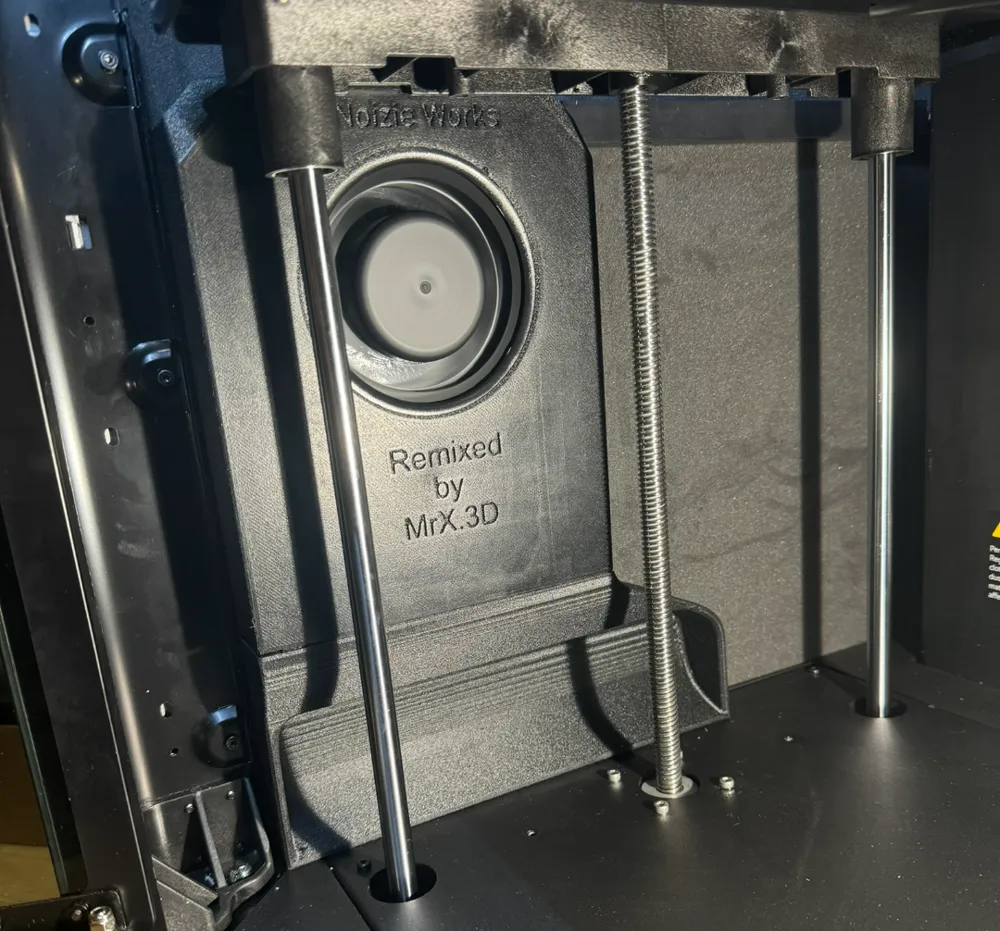
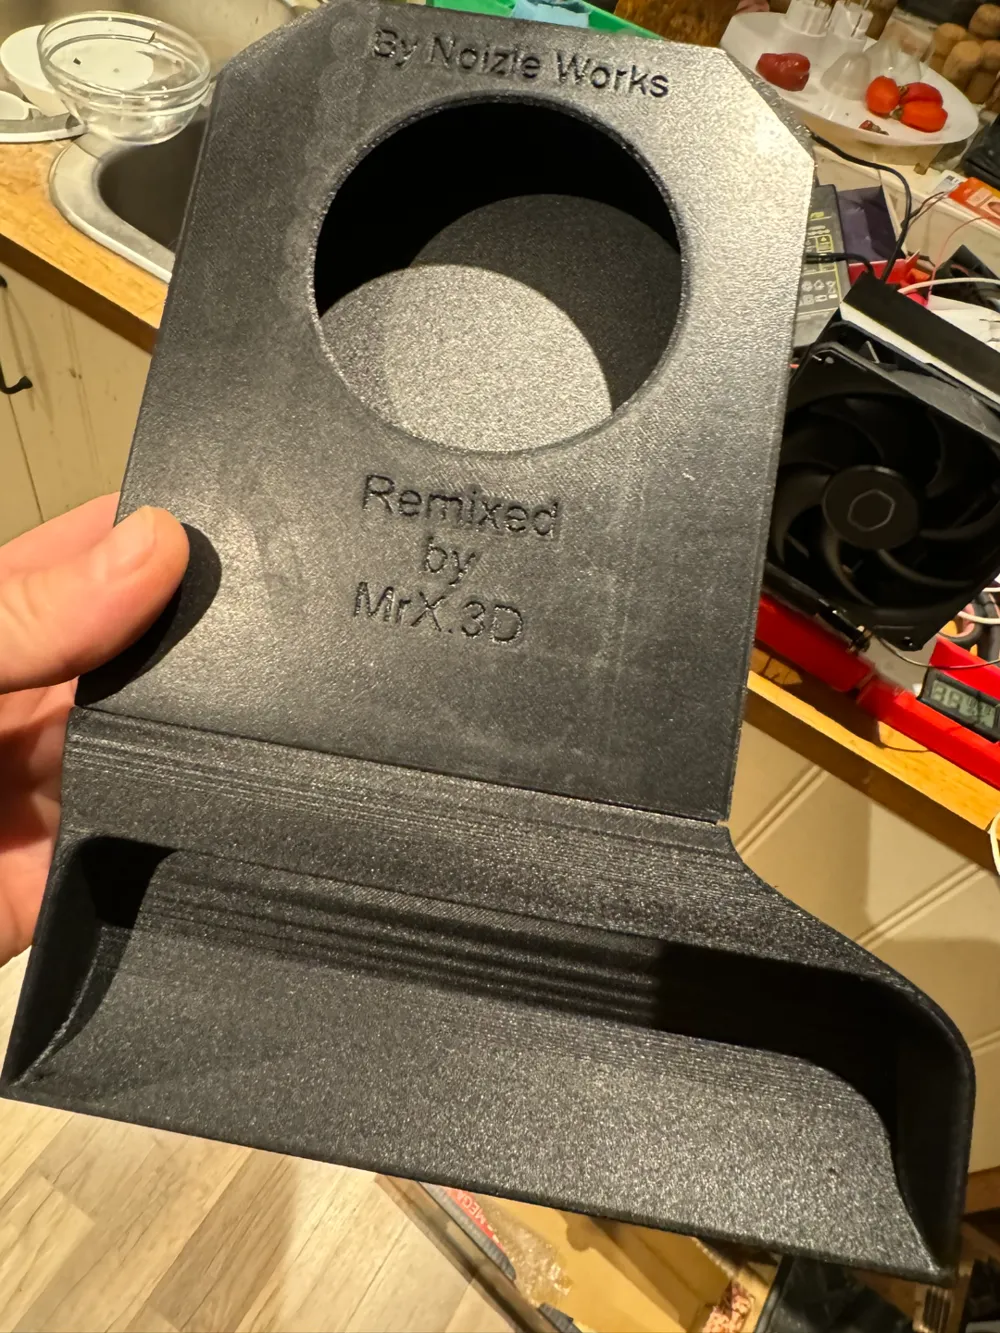
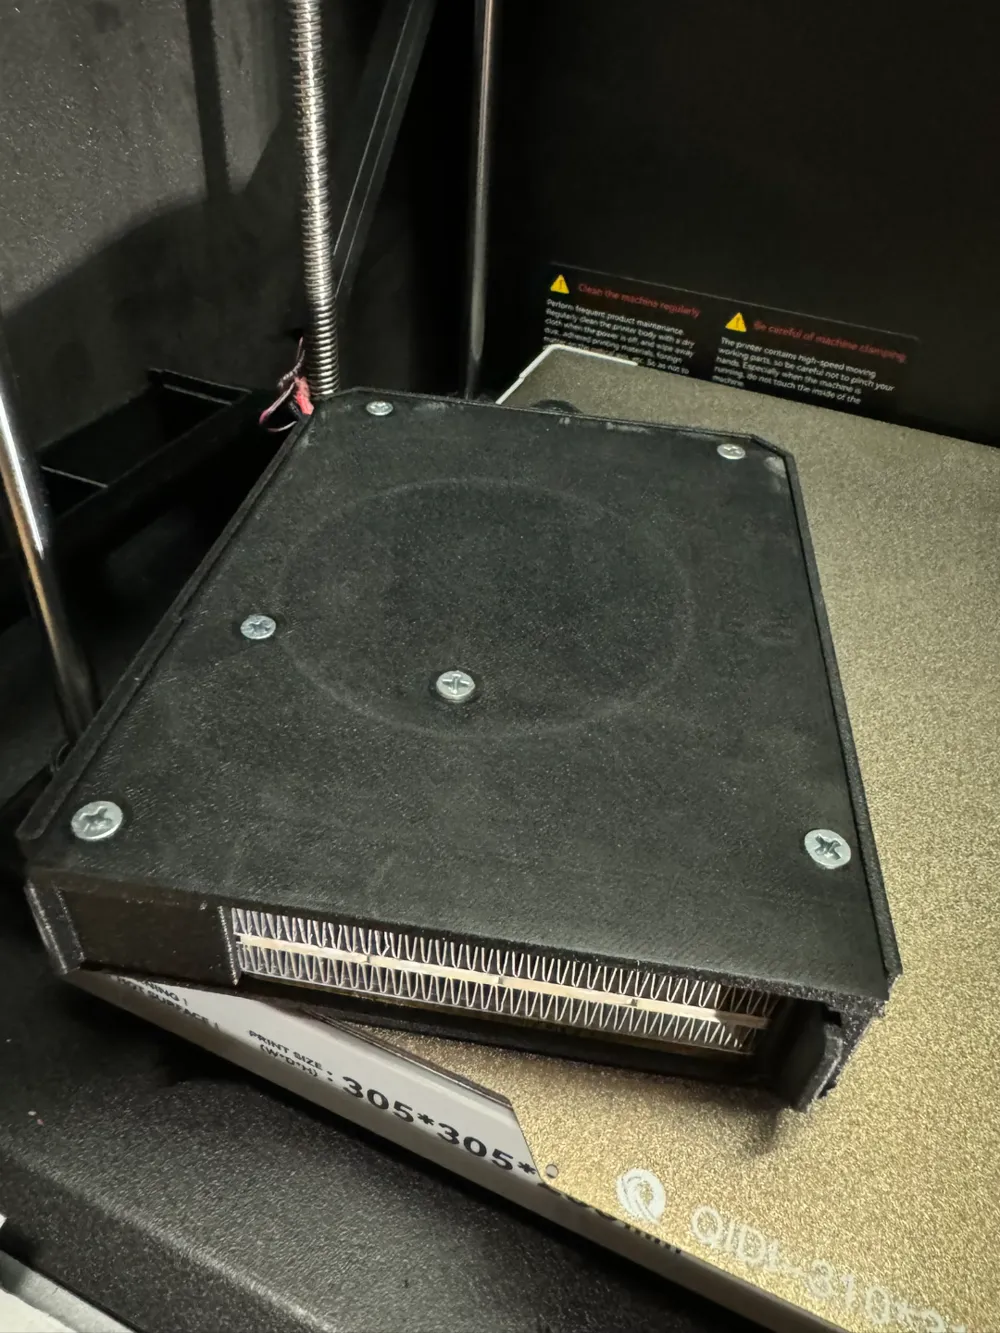
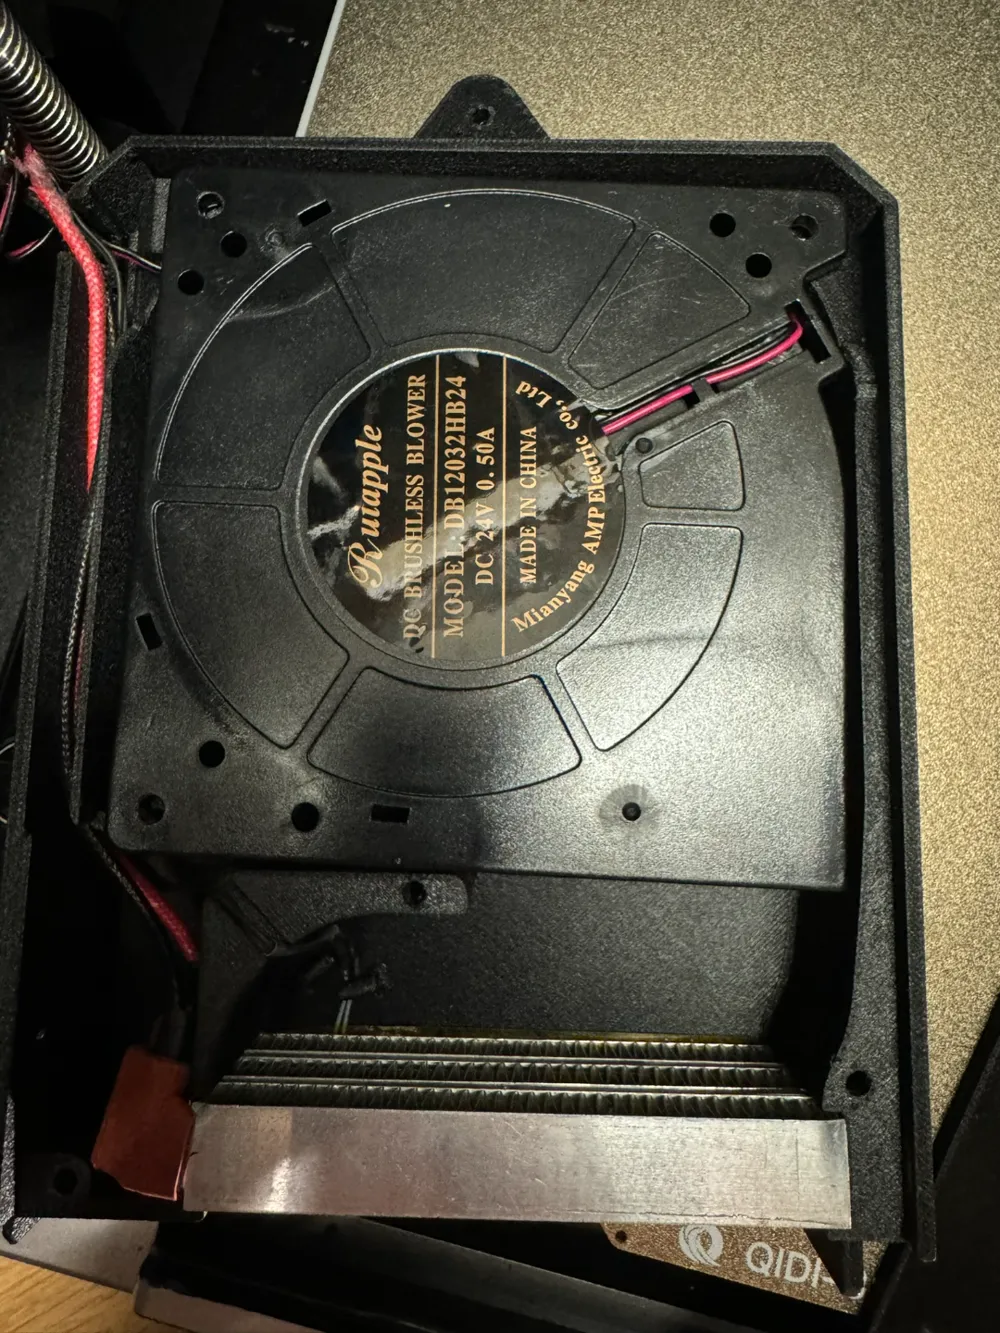
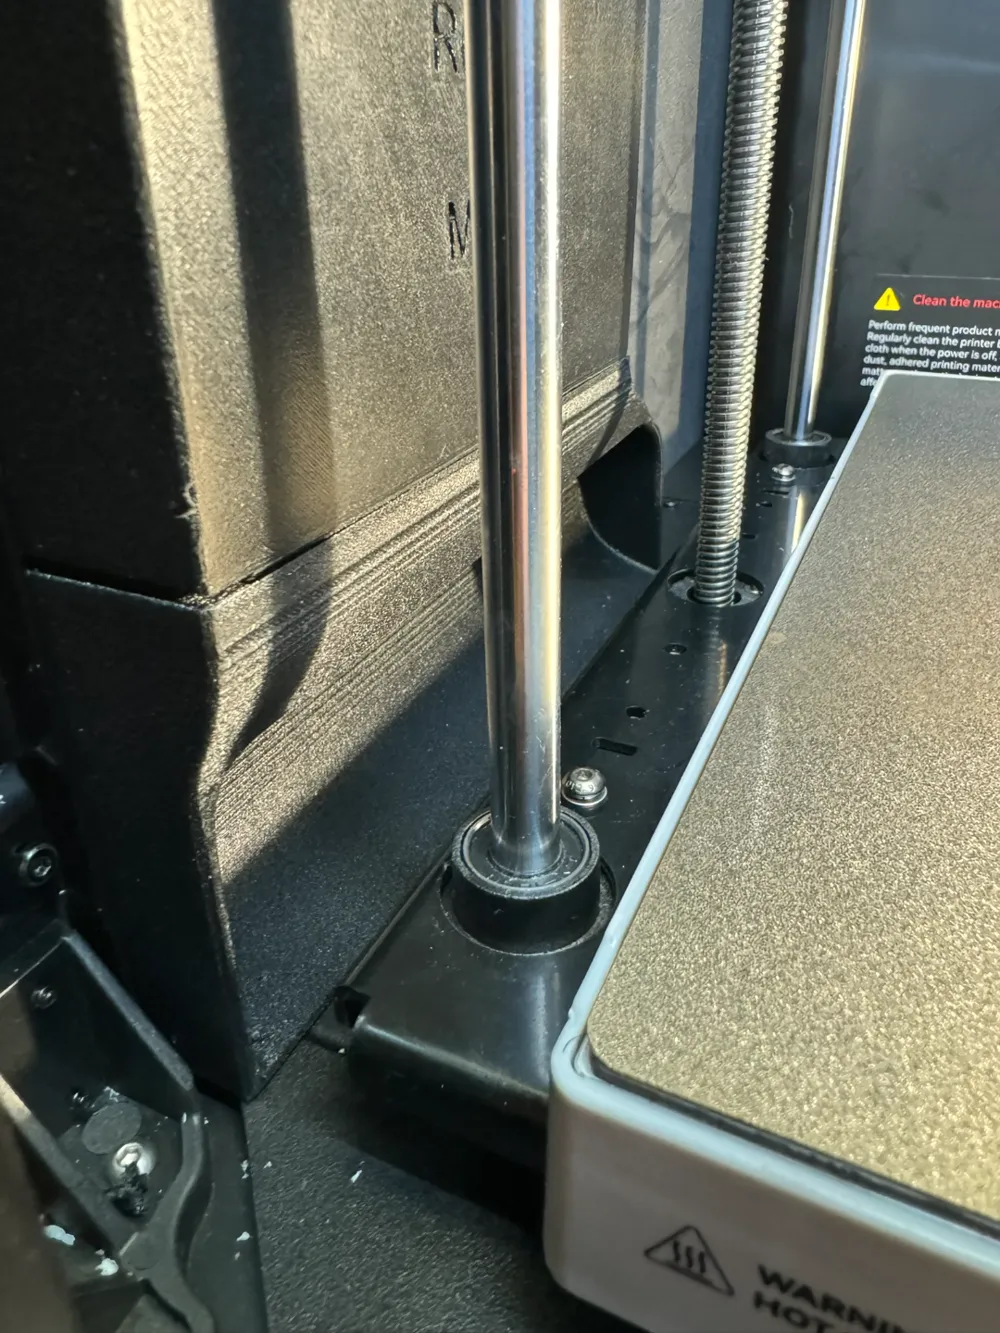
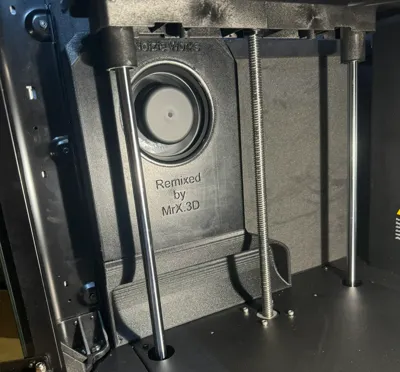
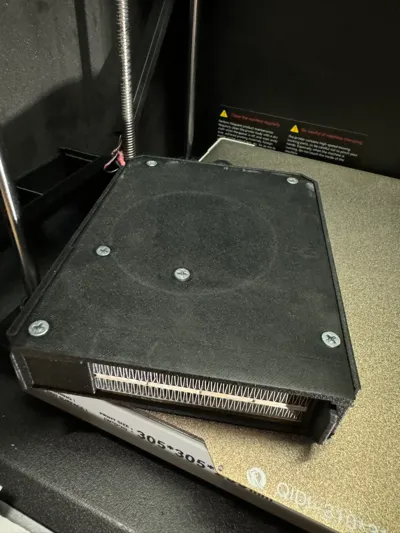
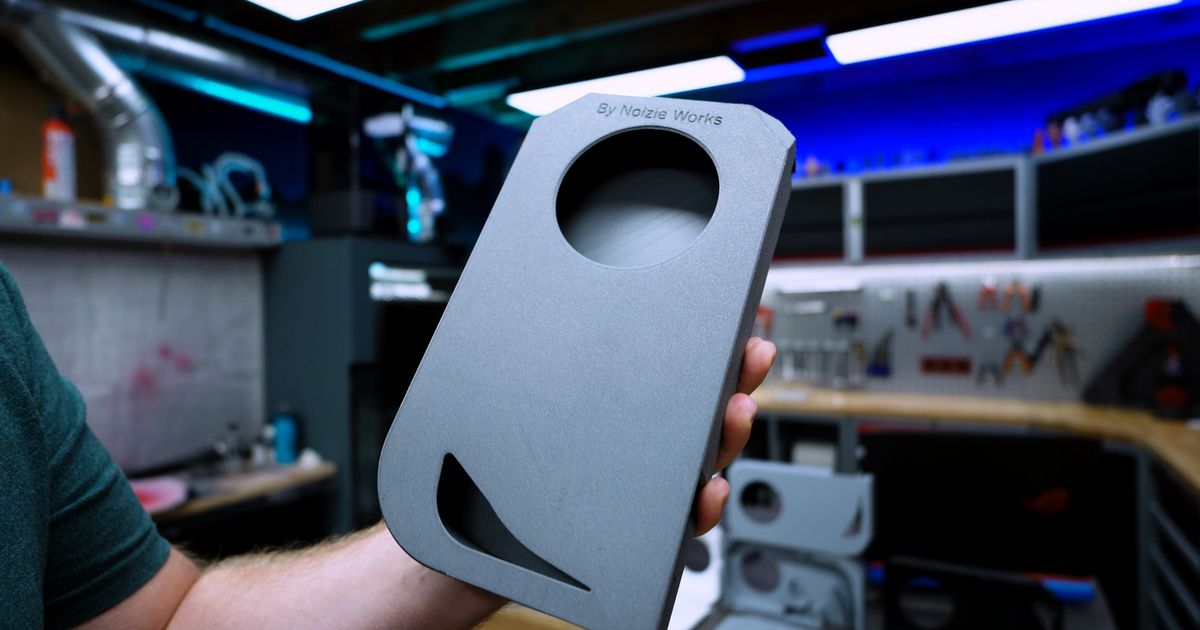
I tested the model by Noizie Works but found it is maybe not optimal to blow air out of the side, ending up in heating the rear corner. This version has the same direction as the original, but the opening is wider, taller and also more shallow to distance it from the build plate assembly to ensure free air flow. It is separated in 3 parts, The FAN and PTC-Heater Housing, the outlet duct, and the lid. All parts can be printed on a X1C, since you probably have your Plus4 in parts, afraid of using it.
Remove the original assembly and strip it from parts. It is taped to the wall, and you will have to use some force. There's also a cable guide taped to the wall that has to come loose. The assembly is attached from the bottom of the printer, and with one screw to the wall.
- Attach the "Outlet" with two screws (From the underside of the printer). Original screws might work, I lost mine so don't know for sure.
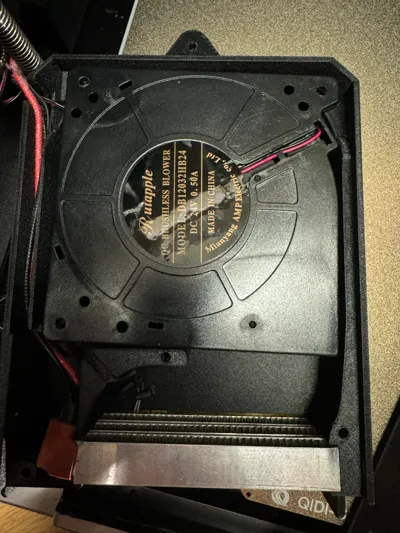
- Move the internals (Fan, Temp-Sensor, PTC-Heater), to the "Housing"
- Attach the lid using 6x 30mm dry wall screws
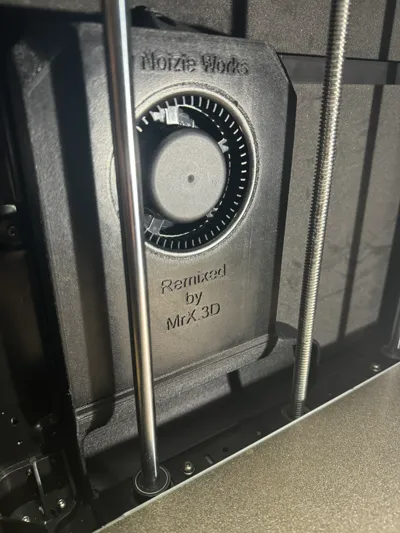
- Attach the assembly by aligning it down into the "Outlet"
- Attach the screw that attaches the "Housing" to the wall
Enjoy chamber heating without errors…
This remix is based on
License



Comment & Rating (0)