
Stormtrooper POPART HueForge
Print Profile(1)

Description
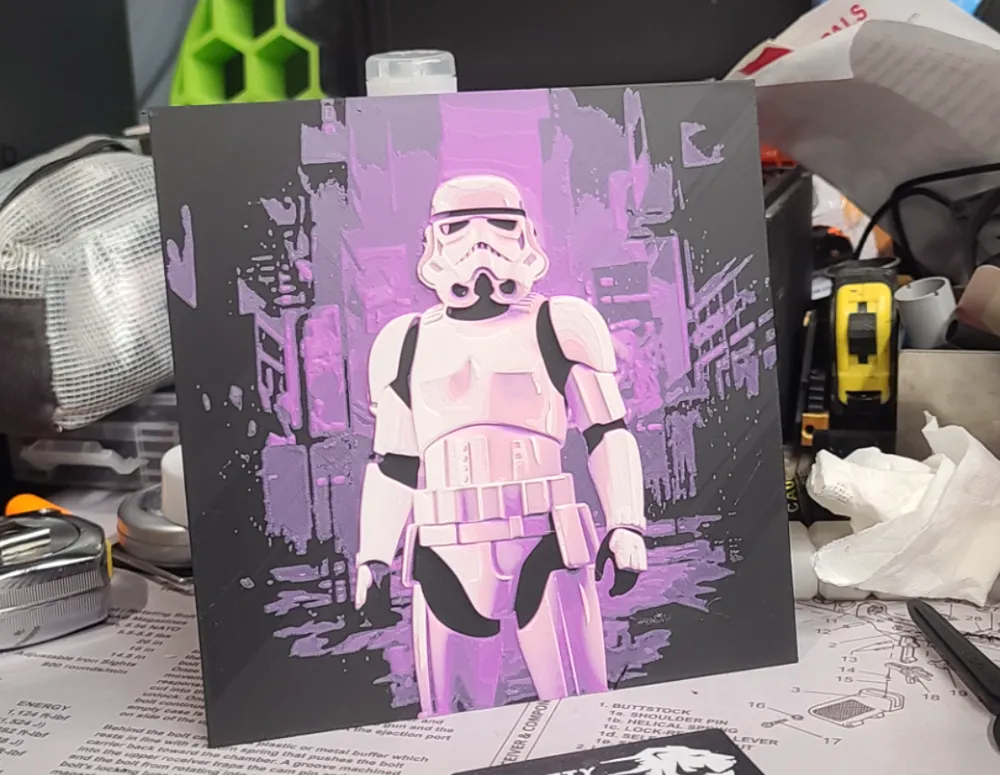
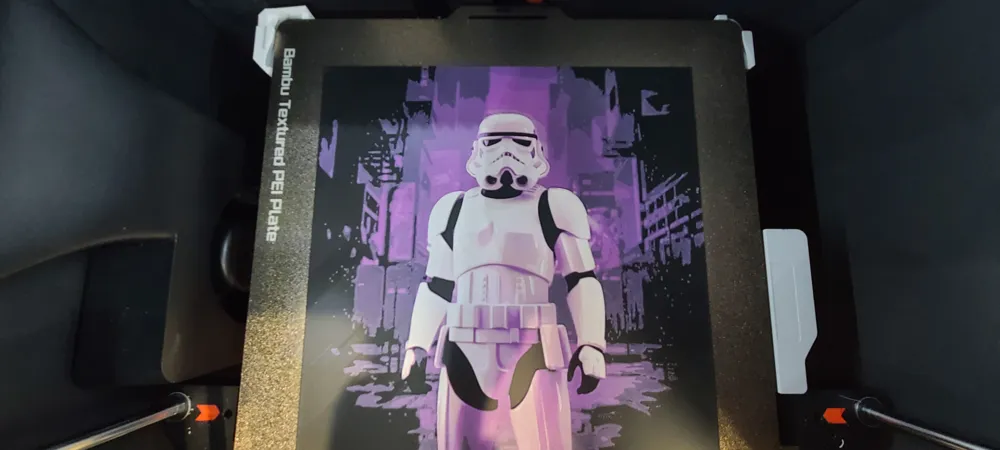
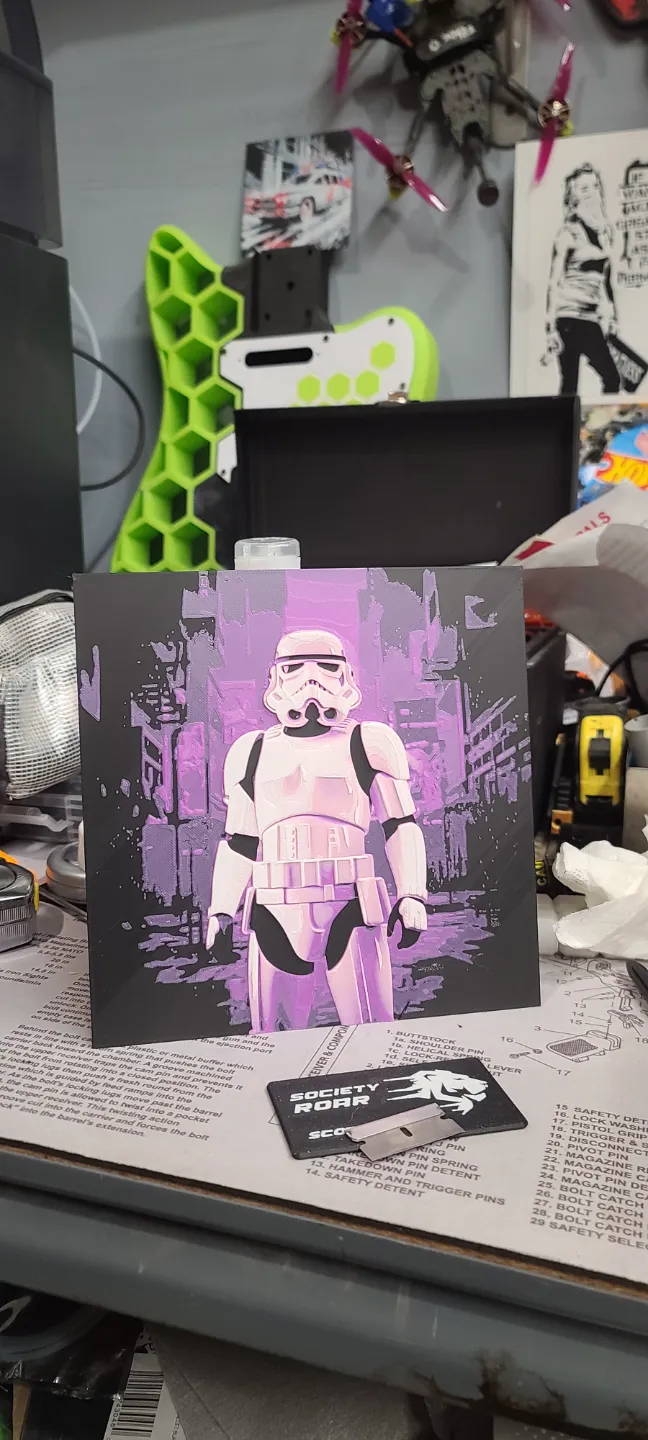
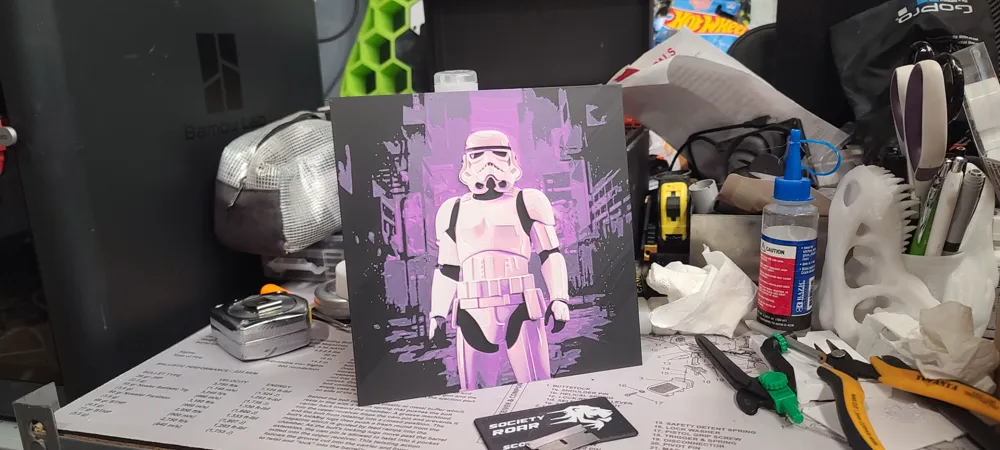
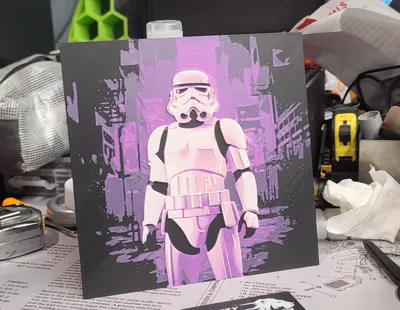
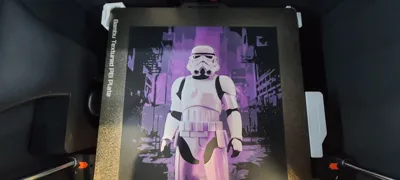
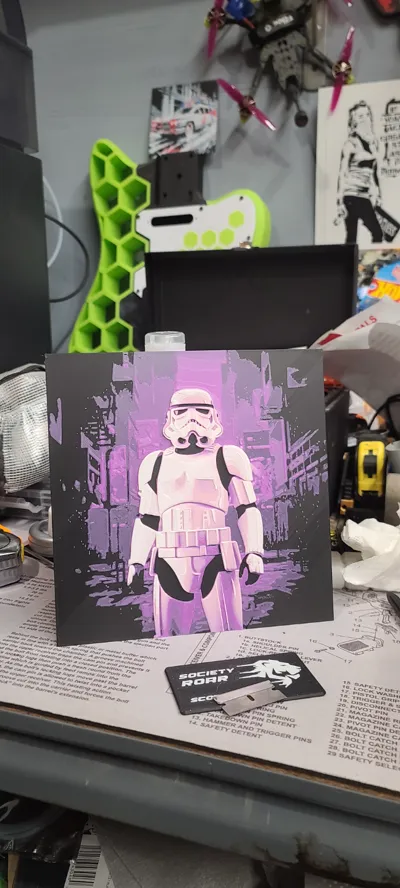
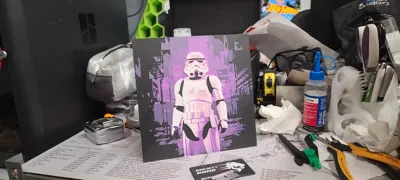
Bring the iconic Stormtrooper into a new dimension with this bold and vibrant HueForge design. This rendition reimagines the classic armor with a modern and artistic twist, incorporating striking hues of purple, pink, and ivory white alongside the traditional black. Perfect for fans of Star Wars and collectors of unique, eye-catching designs, this model is a standout addition to any display.
Boost Me (for free)
Boost this to the Star (wars)
Why It Stands Out:
This Stormtrooper design combines timeless Star Wars imagery with a bold and vibrant color palette, making it a perfect blend of nostalgia and modern artistry. Its detailed design and smooth transitions ensure a high-quality print that stands out in any collection.
HueForge Print Instructions
Printer Settings:
- Layer Height: 0.08mm
- Initial Layer Height: 0.16mm
- Infill: 100% for enhanced detail and strength.
- Model Dimensions: 200mm x 200mm.
- Depth Guidelines:
- Min Depth: 0.56mm
- Max Depth: 2.2mm (Actual Depth: 2.2mm).
- Higher Layer Heights: Acceptable below Min Depth (0.56mm) to speed up printing.
Filaments Used
- Black: PLA PolyLite Black (Transmission Distance: 0.3).
- Purple: PLA Hatchbox Purple (Transmission Distance: 2.6).
- Pink: PLA Hatchbox Pink (Transmission Distance: 12).
- Ivory White: PLA BambuLab Matte Ivory White (Transmission Distance: 3.5).
This design uses 4 unique filaments to achieve its vibrant and modern Stormtrooper aesthetic.
Color Swap Instructions
- Start with Black:
- Print with Black filament for the first 8 layers (up to 0.72mm).
- Switch to Purple:
- At Layer #8 (0.72mm), swap to Purple filament and continue through Layer #13 (1.12mm).
- Switch to Pink:
- At Layer #13 (1.12mm), change to Pink filament and continue through Layer #22 (1.84mm).
- Final Switch to Ivory White:
- At Layer #22 (1.84mm), switch to Ivory White filament and print until completion at 2.2mm.
Additional Notes:
- Precision Layering: For best results, stick to the specified 0.08mm layer height to capture all intricate details.
- Filament Swaps: Ensure smooth swaps at the designated layers for sharp, clean color transitions.
- No Supports Required: Optimized for clean, support-free printing.
License

You shall not share, sub-license, sell, rent, host, transfer, or distribute in any way the digital or 3D printed versions of this object, nor any other derivative work of this object in its digital or physical format (including - but not limited to - remixes of this object, and hosting on other digital platforms). The objects may not be used without permission in any way whatsoever in which you charge money, or collect fees.


Comment & Rating (0)