Shogi Board And Pieces


Print Profile(1)

Description
Ever wanted to have the authentic shogi experience on the go? Now you can with this 1:2 scale eight sun shogi board!
This is an entirely impractical shogi board. It took nearly an entire spool of filament to print due to the thicker than necessary sides. However, my goal was to create a “portable” version of an eight sun floor standing board as close as possible, including a sense of weight and solidity.
I tried my best to use accurate dimensions wherever possible, divided by two of course. This Gist and the comments below it was very helpful. Where I was not able to find dimensions, I made a best guess and used photos and my own boards and pieces as reference material. The feet and piece stand designs are based on the SA101 board from Maruhachi Gobanten. The design of the piece box and some of the piece stand dimensions were referenced from Kurokigoishiten. I also referenced some dimensions from the Japan Shogi Association. To make the pieces easier to print, they are all flat and at the same height. Keeping the slanted faces would have added unnecessary filament swaps. The typeface is Noto Sans.
Printing
No supports are needed. An AMS is necessary. A wood filled filament would be ideal. I used eSUN Wood PLA which does not contain any wood and is instead only wood colour with a foaming agent for texture.
- Board, base, and feet: I suggest printing these at 0.24 mm layer height. Infill pattern can be your preference but I went with gyroid for additional strength and to avoid any possible regular patterns which might ruin the appearance. The feet can be printed by object instead of by layer.
- Pieces: Print these solid to add as much weight as possible to the already tiny pieces. The layer height should be 0.2 mm to match the depth of the text.
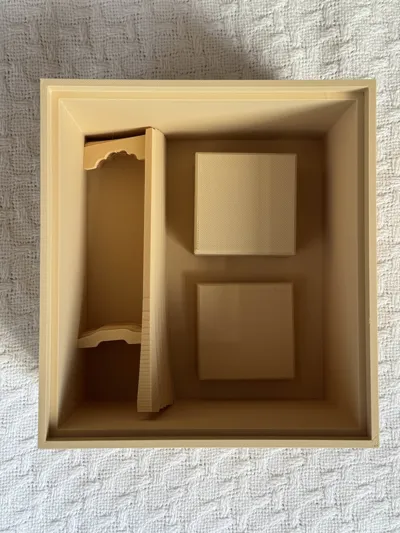
- Piece box and piece stands: These can all be printed by object. I used 0.2 mm layer height. You'll need four sets of the piece stand leg prints, or eight legs in total.
Note: The print profile still includes support filament in slot 1 from when I tried to print the piece stand legs upright. Please ignore it.
Assembly
- Feet: The feet should be glued in place using superglue. The fit is a bit looser than expected, if I had more filament I would have liked to revisit the feet and either make use of a friction fit, or just a better fit for glueing. Make sure they are lined up before the glue sets.
- Piece stands: These are friction fit. Each leg is identical and fits only one way into another leg. Once the four legs are together, snap them into the bottom of the piece stand itself. Disassemble them to pack them away inside the board.
Comment & Rating (7)