
M1 Abrams Tank's Mighty 120mm Round | Full Size


Print Profile(2)
![[New A4] M829A4 Easy Screw-on Parts, Less Filament, Stronger](https://makerworld.bblmw.com/makerworld/model/US8015c0e1af3b91/702508138/instance/afcecd4660be62a9.png?x-oss-process=image%2Fresize%2Cw_100%2Fformat%2Cwebp)
![[OLD A2 Version] M829A2 with Peg-based Assembly](https://makerworld.bblmw.com/makerworld/model/US8015c0e1af3b91/702507163/instance/2024-11-18_effdd099b61f1.png?x-oss-process=image%2Fresize%2Cw_100%2Fformat%2Cwebp)






Description
Want more like this model? Check out these collections: Grenades | Artillery & Ammo | Life-size Weapons | Missiles & Bombs | and more (3)… |
Summary
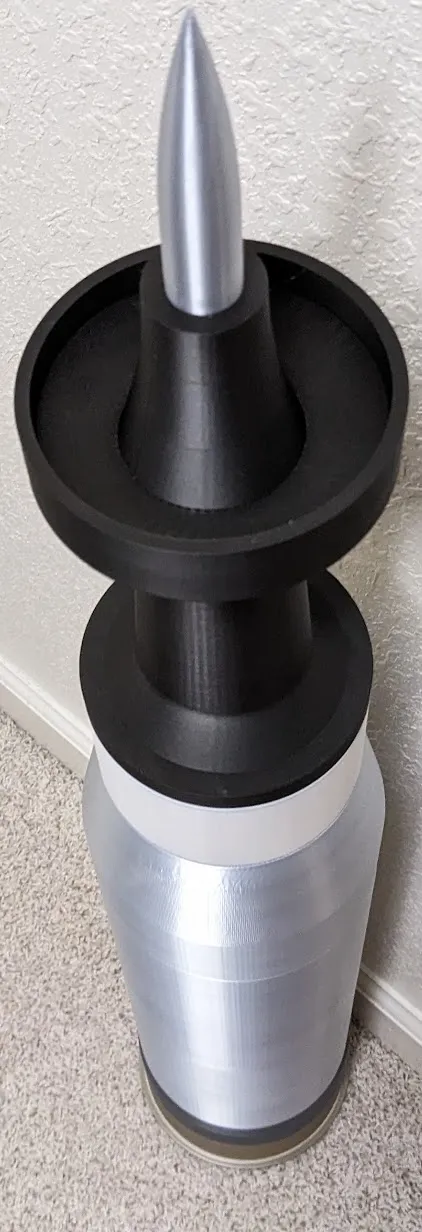
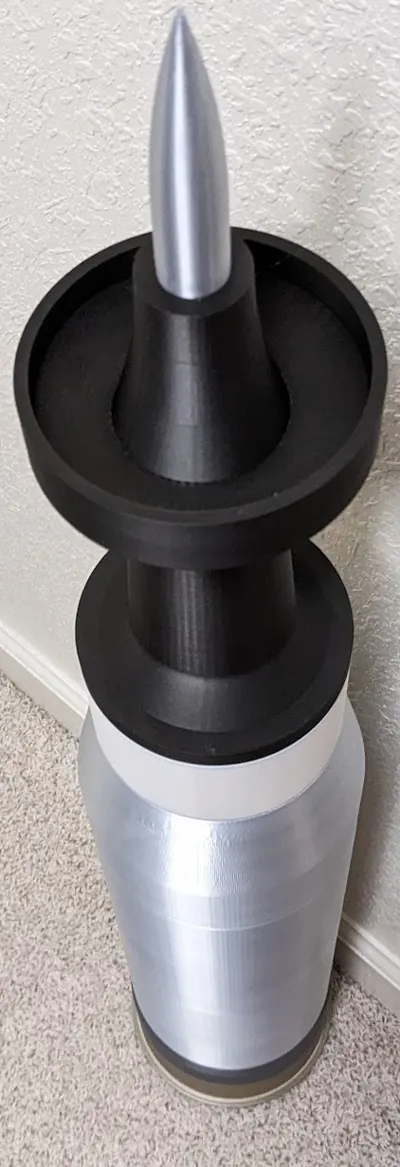
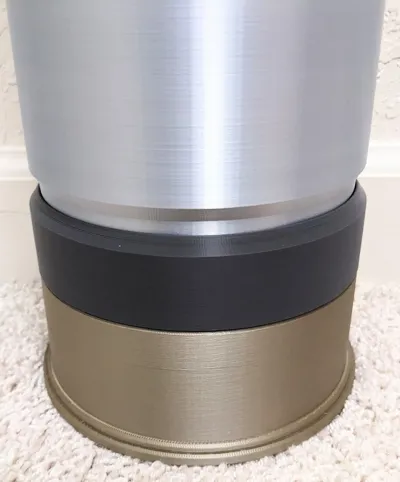
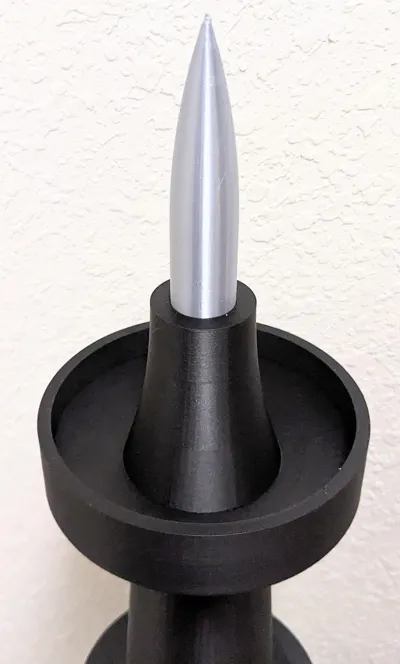
This is a 1:1 life-sized replica of the legendary 120mm Round fired by the M1 Abrams Tank, Leopard 2, and Leclerc, to name a few.
New A4 Version Filaments used
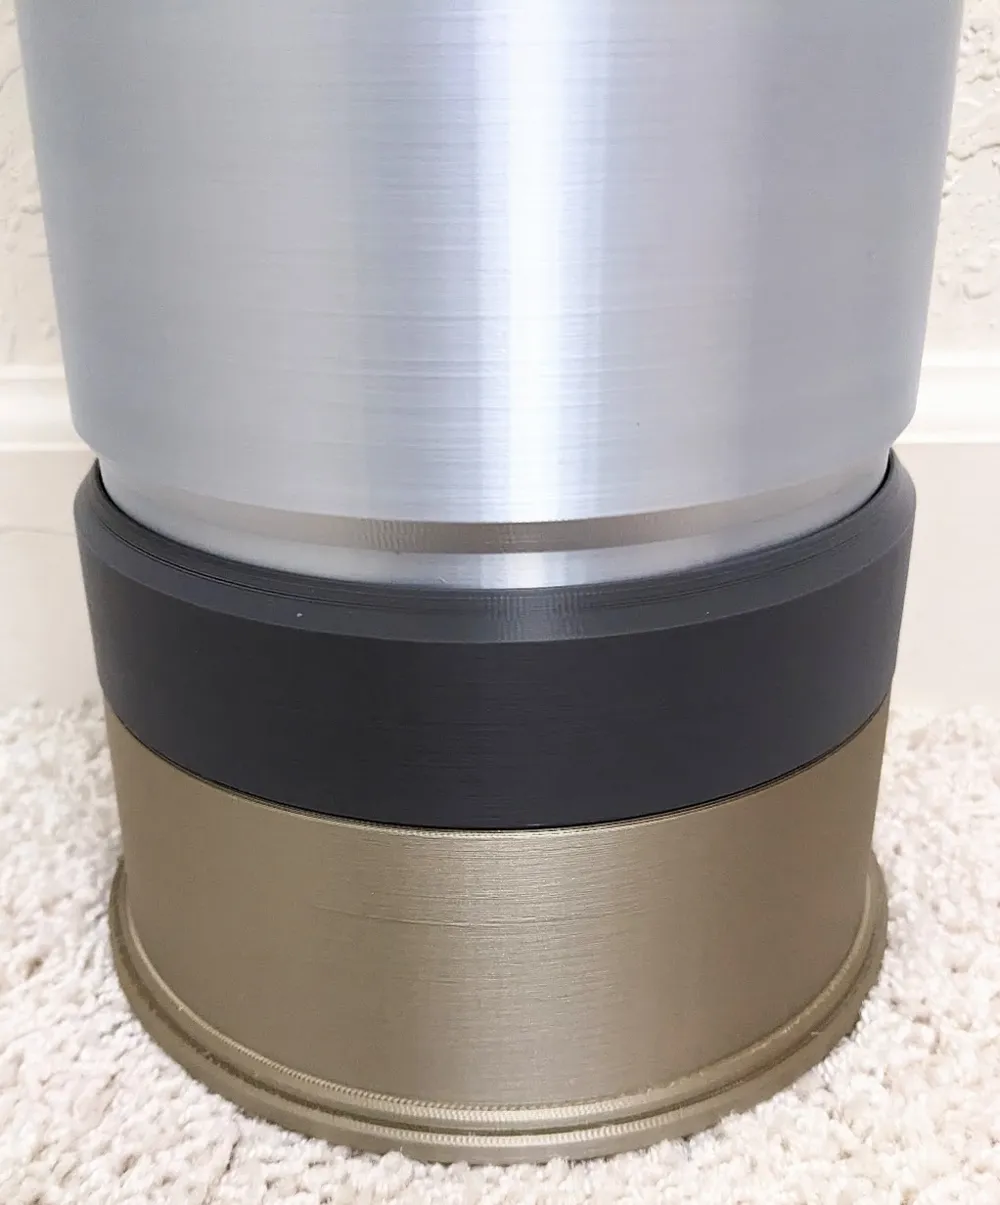
- Base/Bottom
- Bambu Metal Iridium Gold
- Polymaker Metallic Chrome (Amazon link)
- Bambu Basic Dark Gray would work too
- Casing Main Body
- Sunlu Silk Silver (Amazon link)
- Note: I printed at a higher speed than you are supposed to with Silk to intentionally make it look dull/less-shiny. I printed it with Bambu Matte settings despite it being Silk.
- Any semi-shiny light gray filament will work though such as:
- Bambu Silk+ Silver
- Bambu Basic Silver
- etc
- Sunlu Silk Silver (Amazon link)
- Round/Shell (at the top)
- Bambu Basic Light Gray
- You can also use white filaments
- Sunlu Black Silk (Amazon link)
- Bambu Metal Iron Gray would work too
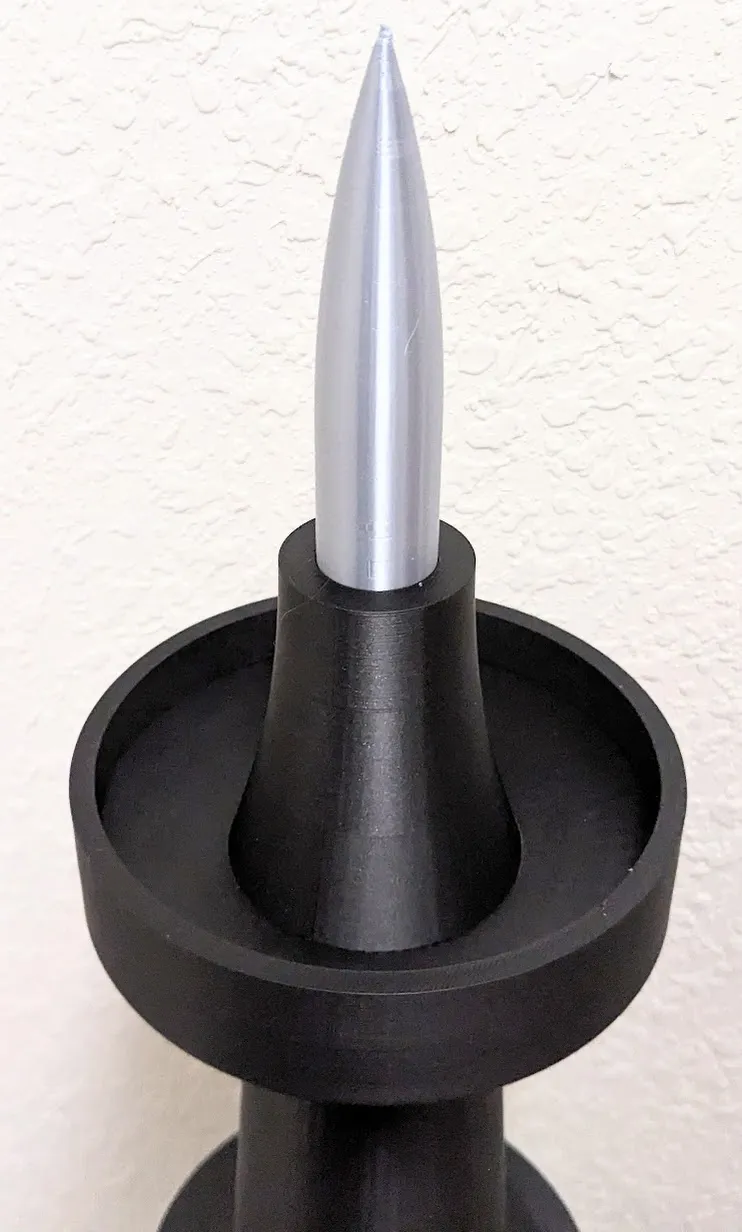
- Bambu Silk+ Silver (for the pointy tip)
- Bambu Basic Light Gray
A2 Version Filaments used
- Silk Silver for the main body and sabot tip
- Metal Iridium Gold and Matte Black for the bottom of the base
- Basic Blue Gray for the top of the base
- Basic White for the bottom of the sabot
- Metal Black for most of the sabot casing
Newer A4 Version Assembly
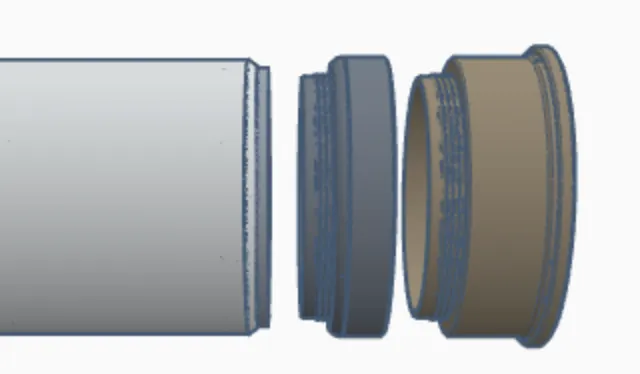
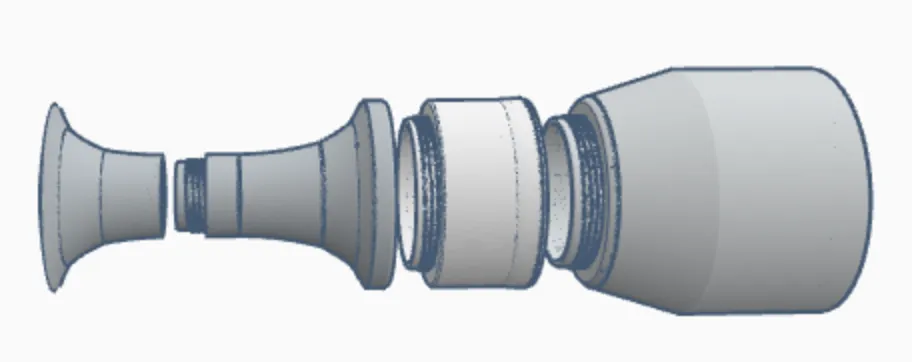
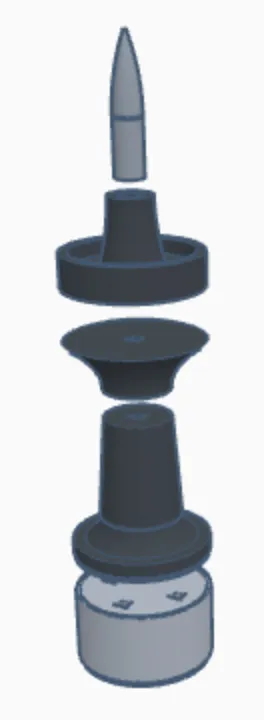
Simply screw the pieces together and stick the pointy tip into the top. See image below for assembly order.
- Screw the main body segments together as shown below:
- The parts should screw together very easily, if you find you have to force the screws to get them started, then your two pieces probably aren't level.
- Make sure the parts of level/flat when you start screwing them on so you don't screw them on at an angle. If you set one piece on a table or flat surface, that helps a lot.
- Make sure you don't over tighten the screwed on parts
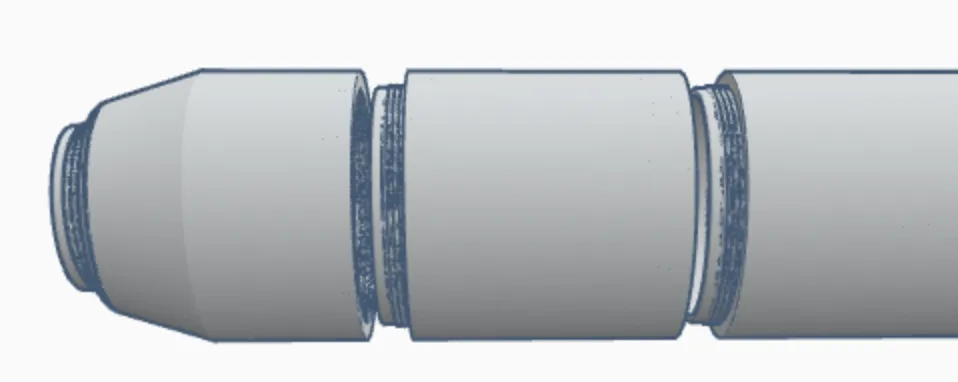
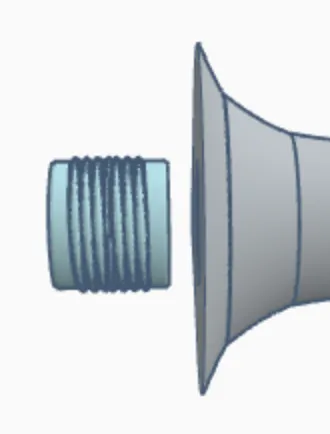
2. Next, take the double side screw peg (shown in blue below) and screw it fully or partly (either is fine) into the piece as shown below:
3. Then, screw the other side of double sided screw into the other piece as shown below. As you tighten it will tighten into both at the same time.
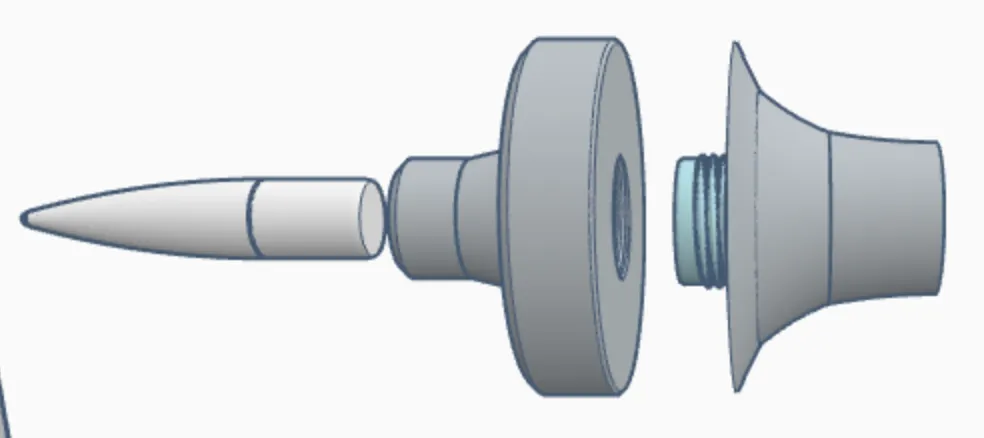
4. Lastly, insert the pointy tip into the top and that's it.
Older A2 Version Assembly
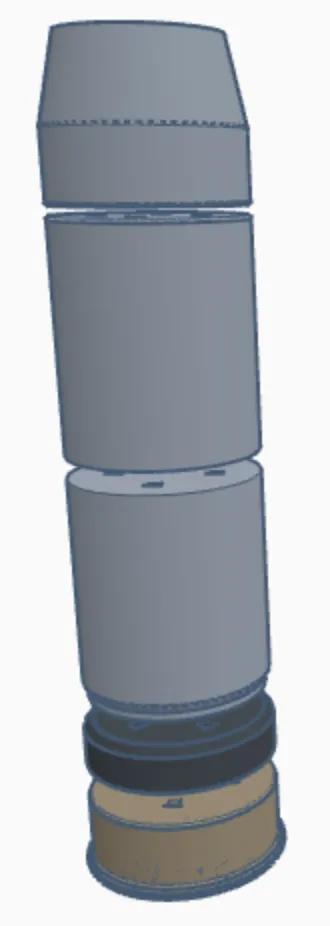
Simply connect the pieces as shown below using the provided pegs. You should use the looser pegs provided if you intend to glue the parts together for greater strength (recommended).
If you have more than one build plate, I recommend switching between build plates to let the parts cool down before removing them to help prevent any cracking since these are such big pieces with a lot of adhesion. If you don't have multiple build plates, then I recommend at least waiting 10 minutes or so to let the plate cool down for the larger silver pieces.
Boost Me (for free)
If you enjoy my work and would like to help support my ability to share more (and even better) models in the future, please consider boosting or buying me a coffee at the link below. Your support is what helps me have enough filament and supplies to do all the print testing required for my models to be high quality and easy to assemble. It takes a mountain of test prints for each model. Thanks :-)
| Here's a link to my Buy Me a Coffee page, thanks for the support! |
( ! ) Do not sell my prints — I have not authorized selling prints. If you sell my prints on Etsy, Amazon, eBay, etc, I will find out.
This 3D print is intended for decorative purposes only and is not suitable for children. Small parts may present a choking hazard and edges may be sharp. By printing this 3D print, you assume all liability for any harm to yourself or others resulting from its use.
License

You shall not share, sub-license, sell, rent, host, transfer, or distribute in any way the digital or 3D printed versions of this object, nor any other derivative work of this object in its digital or physical format (including - but not limited to - remixes of this object, and hosting on other digital platforms). The objects may not be used without permission in any way whatsoever in which you charge money, or collect fees.


Comment & Rating (148)